In order to work effectively with Affinity Photo, it is helpful to make some basic preferences before diving into image editing. These adjustments not only make it easier for you to operate the software but also allow you to utilize the tools and functions optimally. In this guide, we will go through the most important settings and shortcuts step by step that you should adjust. This way, you will be well-prepared for your next project.
Key Insights
- Adjustment of shortcuts for more efficient operation.
- Organizing tools according to your needs.
- Surface settings for better clarity.
Customizing Shortcuts
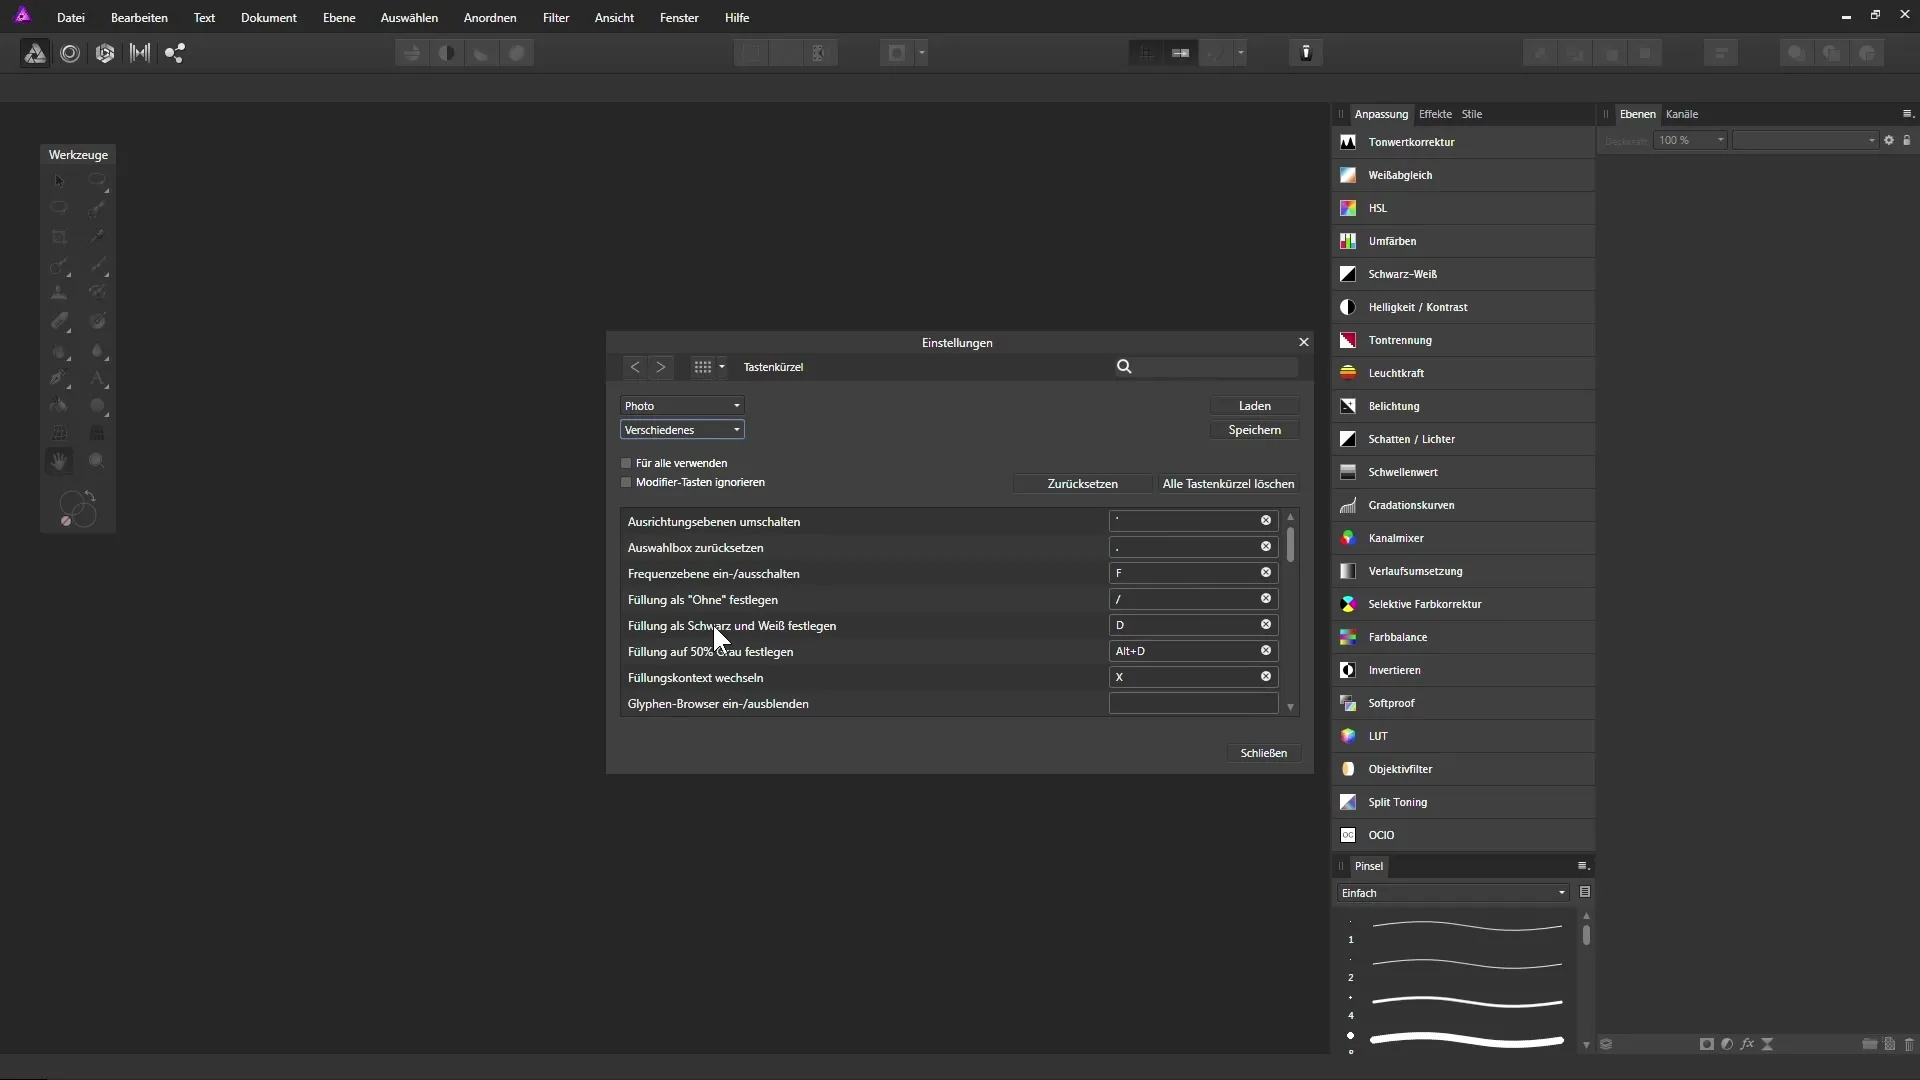
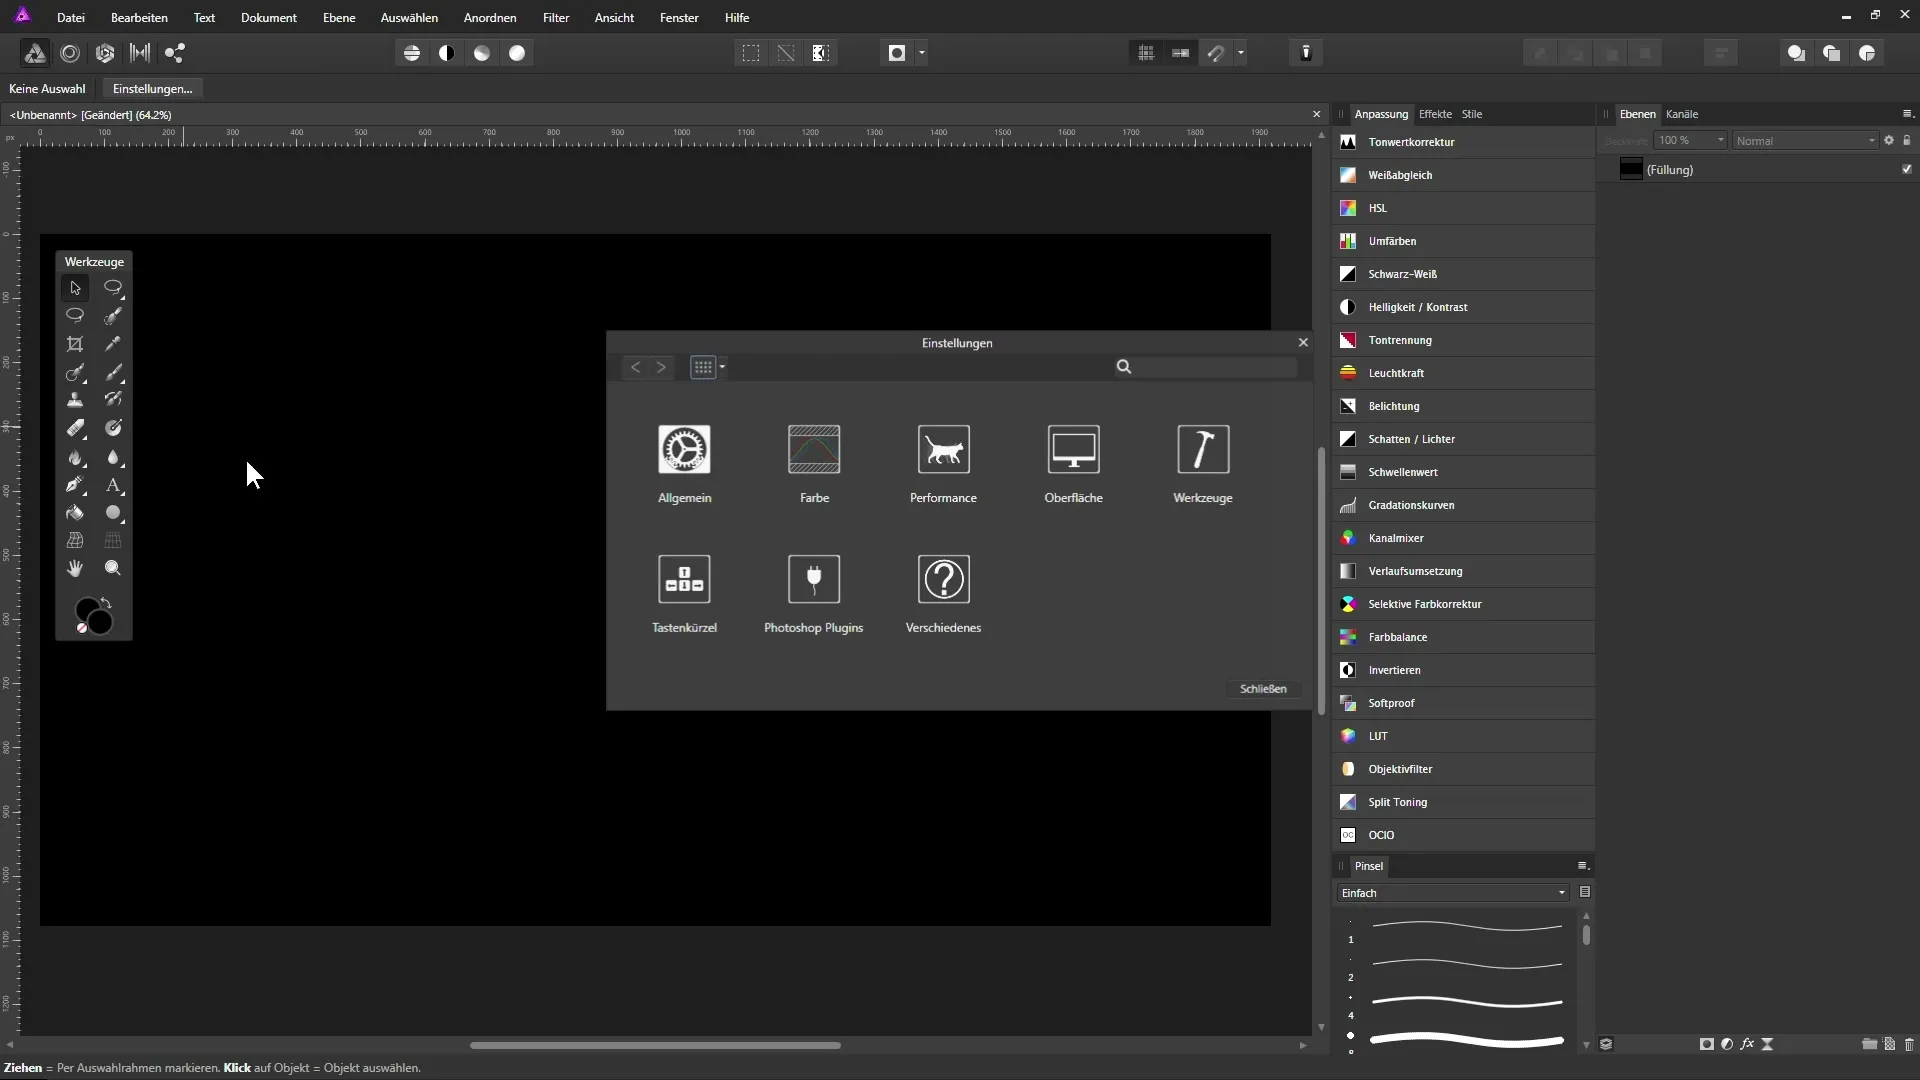
Start by opening the preferences for the shortcuts in Affinity Photo. To do this, go to the “Edit” menu and select “Preferences”. There you will find the section for shortcuts where you can customize various commands.

Here you can see which shortcuts are already assigned and which ones are still empty or not optimal. A common command that many want to adjust is “Undo”. By default, the shortcut for this command is “Control + Z”. To change this, you should look for the corresponding command in the settings and set a new, more intuitive shortcut.
To set a new shortcut, simply click in the field of the desired command and press the key that you would like to use in the future. This adjustment will help you access the most important functions more quickly without having to navigate through menus.
Quick Switch Between Black and White
Another useful shortcut is “D”, which serves for a quick switch between black and white when filling colors. When working with colors and wanting to quickly return to a black-and-white fill, just press the “D” key.

If you also need a neutral gray color, you can use the shortcut “Alt + D” to set a 50% gray fill. This is also practical when working with masks or color overlays.
Effective work also means managing color selections correctly. Therefore, the shortcut “X” for quickly switching between the foreground and background color is especially recommended.
Customizing the Toolbar
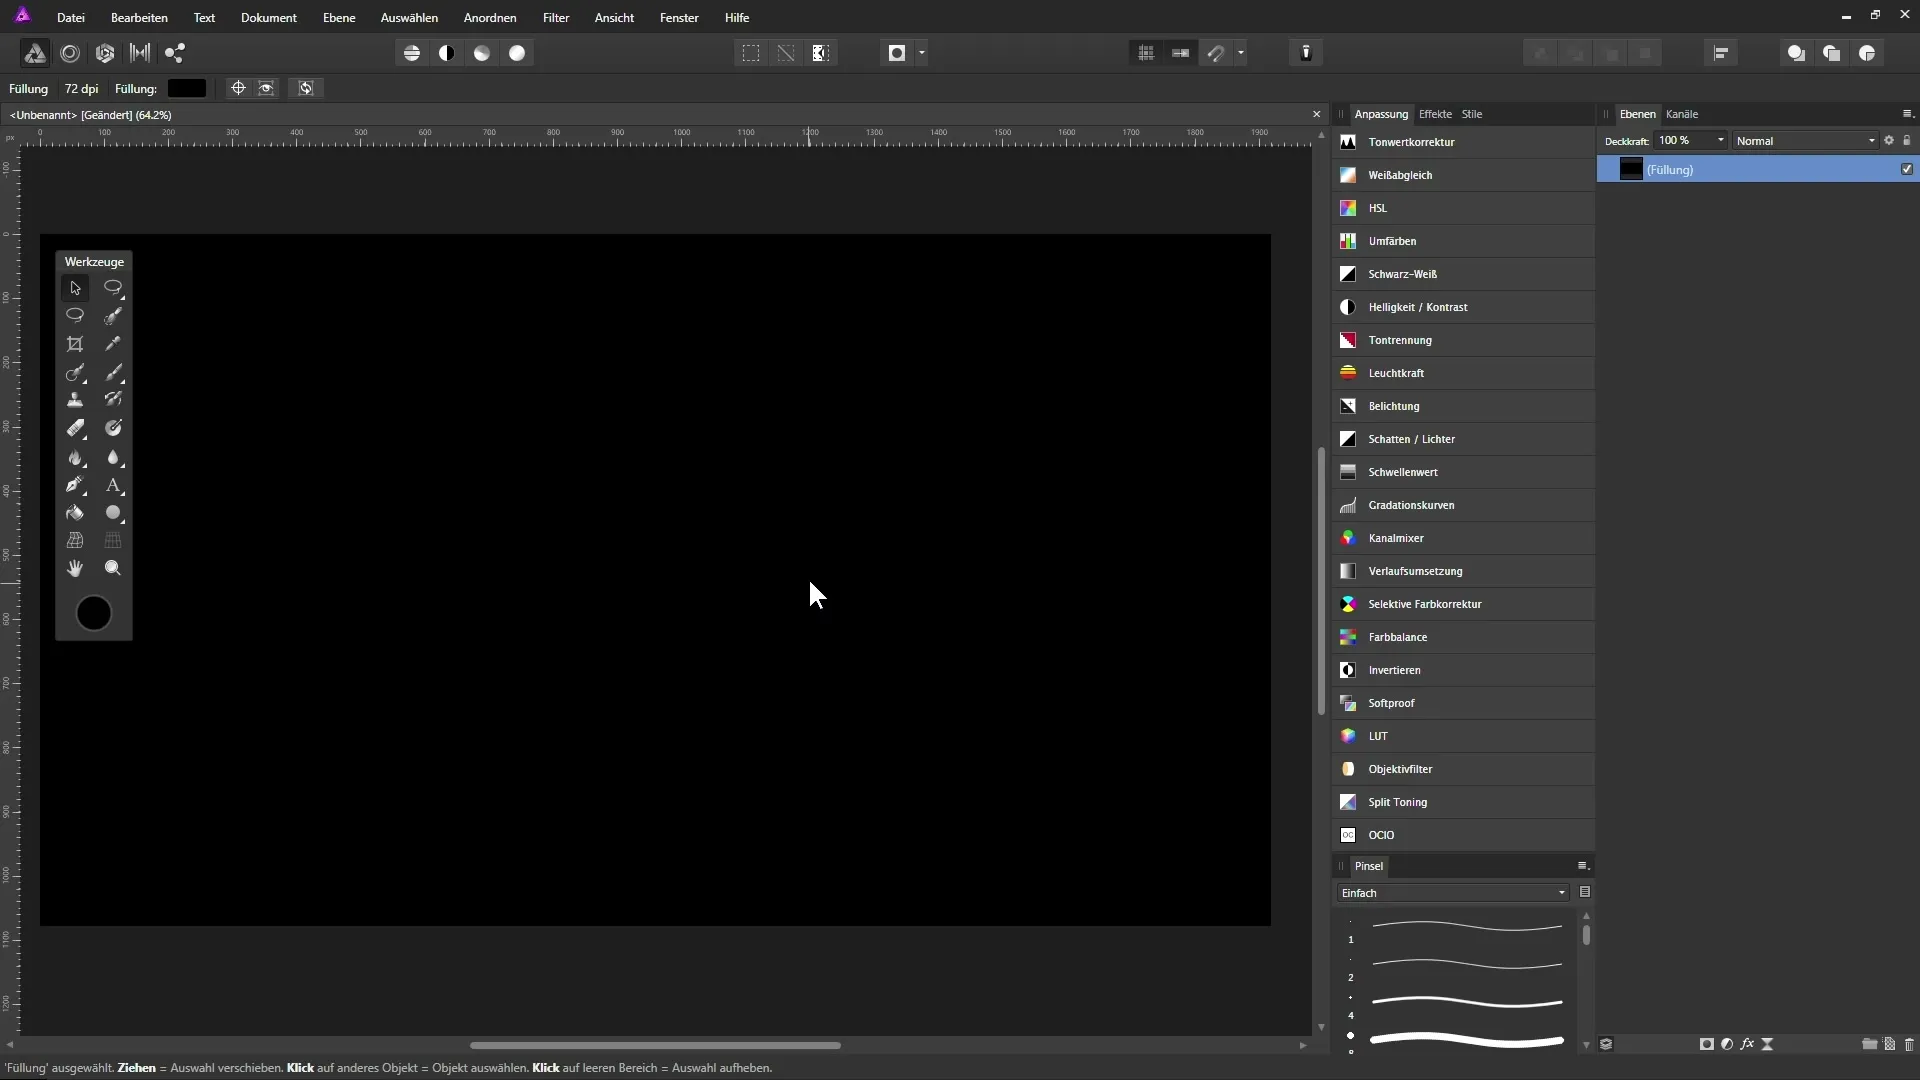
Now let’s move on to customizing the toolbar. To have all tools quickly accessible, go to “View” and select “Customize Tools”. In the window that opens, you will see your current tool arrangement on the left side as well as all available tools on the right side.

Here you can arrange the tools you use most often and create space for your favorite functions. This is important so that you don't have to search for a long time when you need specific tools.
You can move tool groups by simply clicking and dragging the tools. Additionally, you have the option to adjust the number of columns for the display of your toolbar to maintain a better overview.

Some users love to display their tools in color, while others prefer monochrome icons. If you want monochrome icons, go back to “Edit” > “Preferences” and then to the “Interface” section. There you can enable or disable the “monochrome icons” option.

Completing Preferences
After you have customized your shortcuts and the toolbar, you have successfully made the most important preferences in Affinity Photo. These adjustments will help you implement your project more efficiently and effectively.
Summary – Improving Photos in Affinity Photo: Step-by-Step Guide to Preferences
When editing photos in Affinity Photo, it is crucial to adapt the software to your needs. By correctly configuring the shortcuts and customizing the toolbar, you can significantly increase the efficiency of your work. Use this guide to make optimizations that will help you work more creatively and quickly.
Frequently Asked Questions
How do I change a shortcut in Affinity Photo?Go to “Edit” > “Preferences” > “Shortcuts”, click on the field of the desired command and press the new key.
What do the shortcuts “D” and “Alt + D” do?With “D” you immediately switch to a black-and-white fill, while “Alt + D” resets a gray fill (50%).
How do I customize my toolbar?Select “View” > “Customize Tools” to move, add, or remove tools.
Can I change the appearance of the tools?Yes, go to “Edit” > “Preferences” > “Interface” to switch between colored and monochrome icons.
Can I change the number of columns in the toolbar?Yes, in the customization menu of the toolbar, you can increase or decrease the number of columns.


