Have you ever wondered how to improve the sharpness of your images in Affinity Photo? The right sharpening can make the difference between an average and an outstanding photo. However, sharpening is a sensitive topic and there are some pitfalls to avoid. In this guide, I will show you how to effectively increase the sharpness of your images and which tools are helpful.
Key takeaways
- Sharpening should be applied selectively, not globally to the entire image.
- The "Unsharp Mask" filter and the High Pass filter are effective tools for sharpening.
- You can use masks to selectively choose which areas should be sharpened.
- Using the luminance mode can minimize color saturation when sharpening.
Step-by-step guide
1. Understand the background of sharpening
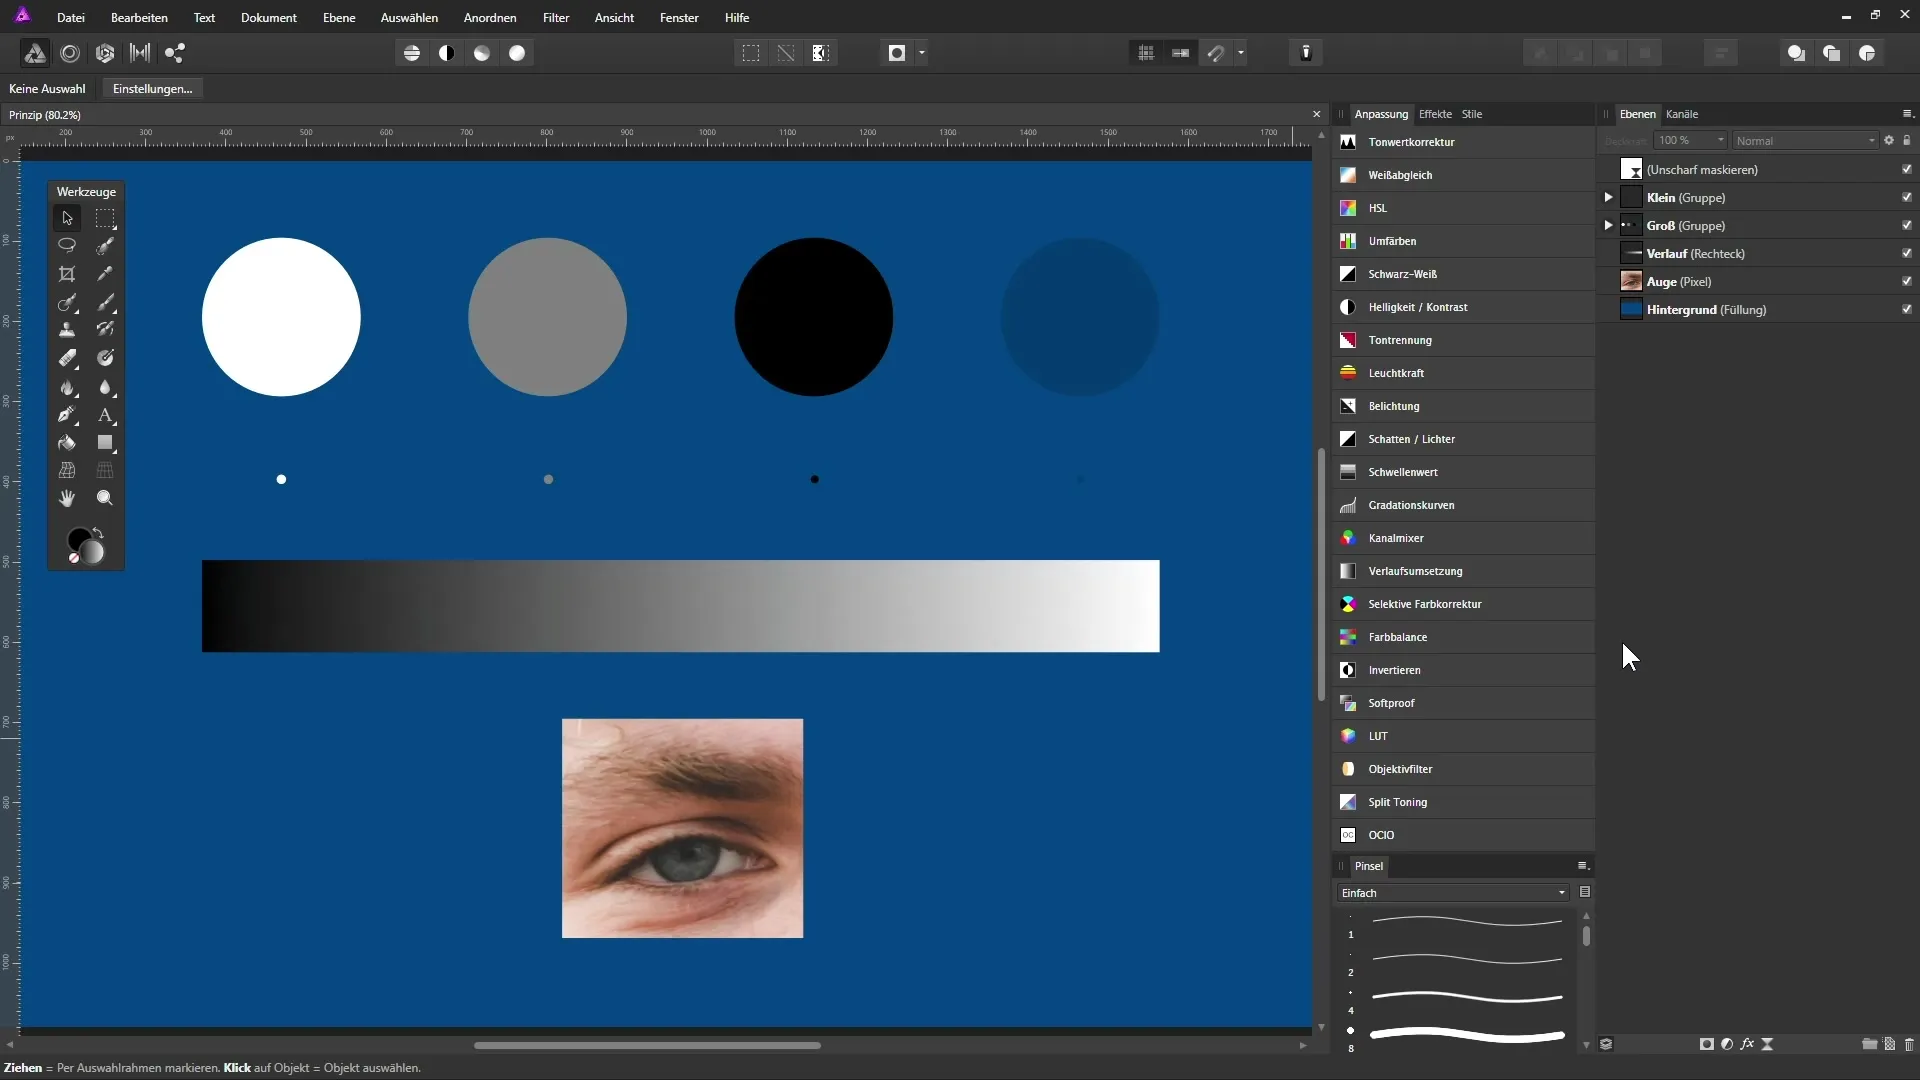
Before you start sharpening, it is important to understand what happens during the process. Sharpening is not a process that truly makes the image sharper; it only increases the contrast in certain areas, enhancing the perception of sharpness. Thus, you should always remember that an image should be captured in focus from the start.
2. Choose the right filter
In Affinity Photo, there are several sharpening filters, but the "Unsharp Mask" filter is one of the most well-known and effective. This filter allows you to control the sharpening as desired. You can select the filter in the layers panel and adjust the settings by double-clicking on the preview icon.
3. Start with the settings
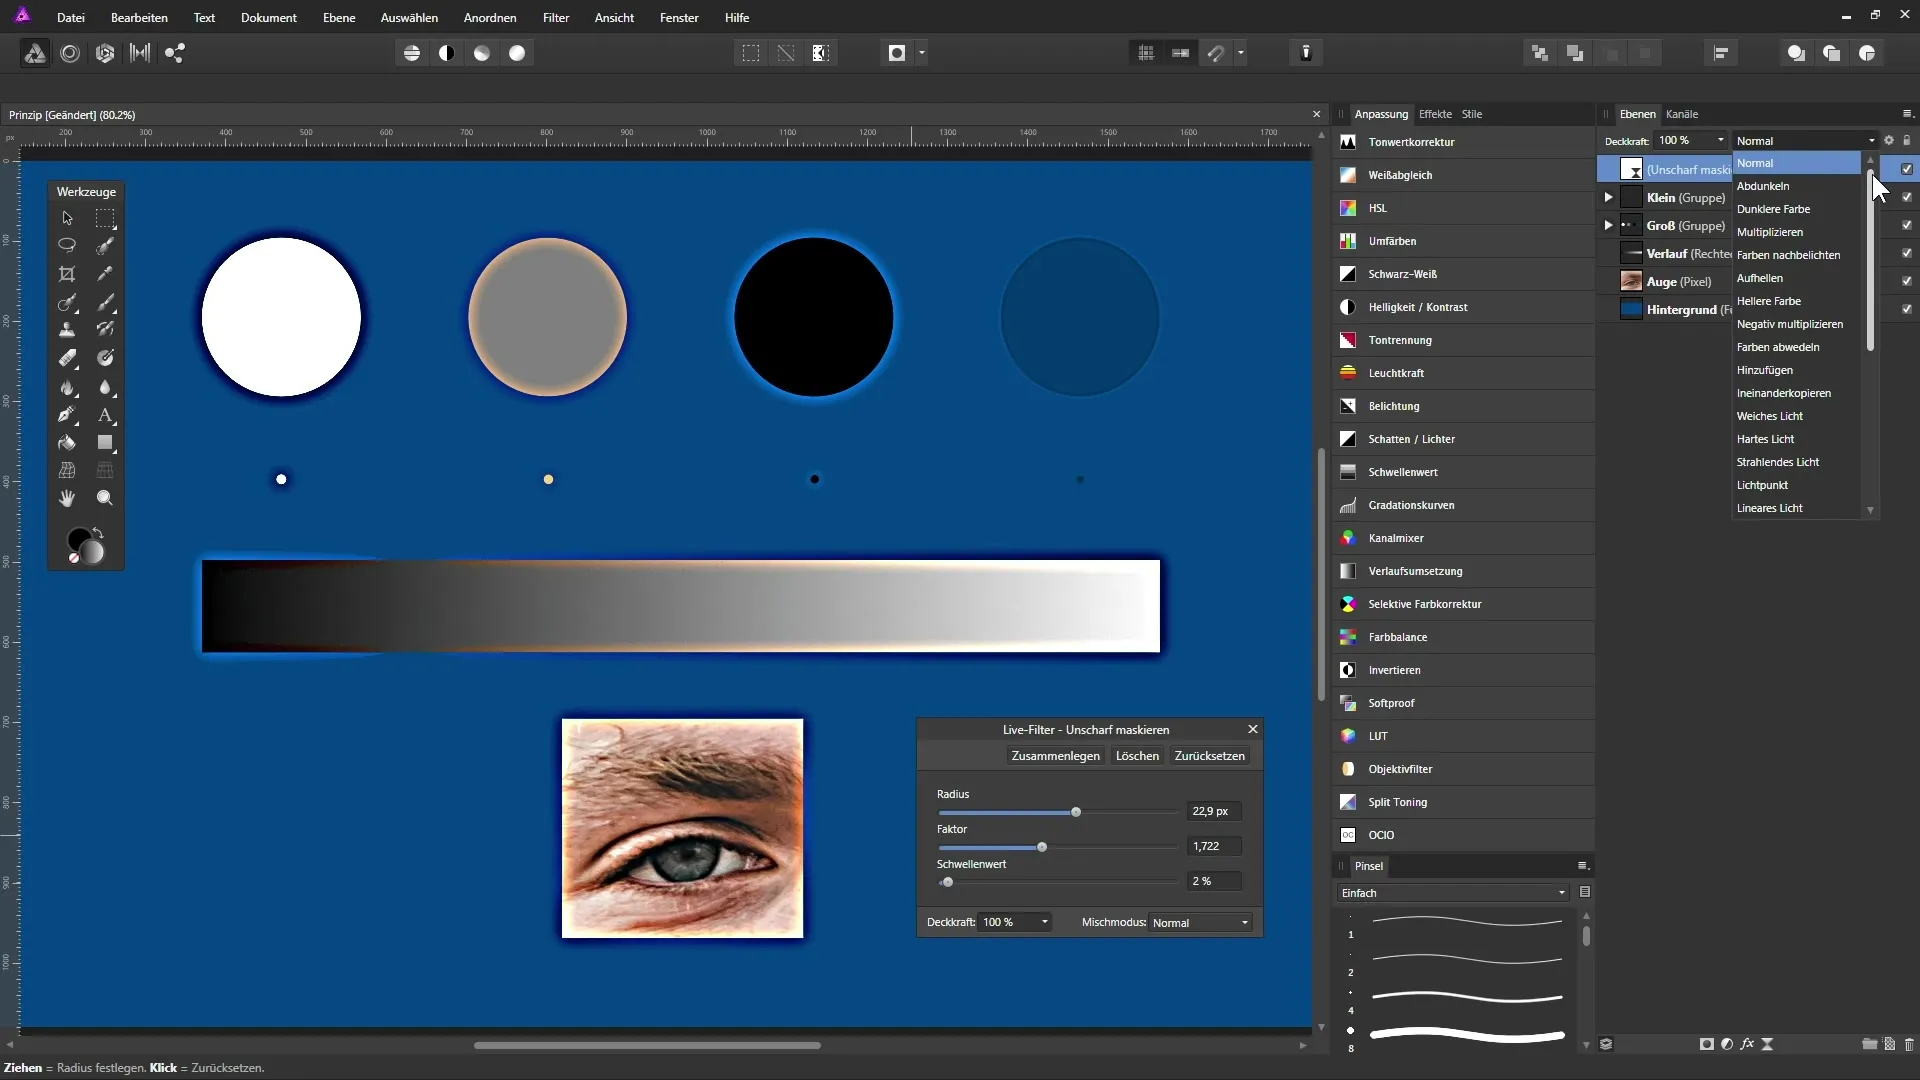
Initially, set all sliders to zero. As you adjust the radius and the factor, pay close attention to how the image changes. The radius determines the size of the areas being sharpened, while the factor controls the intensity of the sharpening.
4. Recognize contrast
Observe how sharpening increases the contrast at the edges of your image details. Strong contrast leads to a more pronounced sharpness impression. Experiment with different radii and factors to achieve the best result.
5. Adjust the threshold
The threshold indicates at what point the contrast receives a sharpening effect. Increase this value to exclude less contrasted areas that may not need sharpening. This is particularly valuable for details like pores in the skin.
6. Minimize color changes
To prevent colors from being affected while sharpening, you can change the mode to “Luminance.” This helps to avoid unwanted color changes in your image. Test how the image changes in different modes.
7. Execute the sharpening
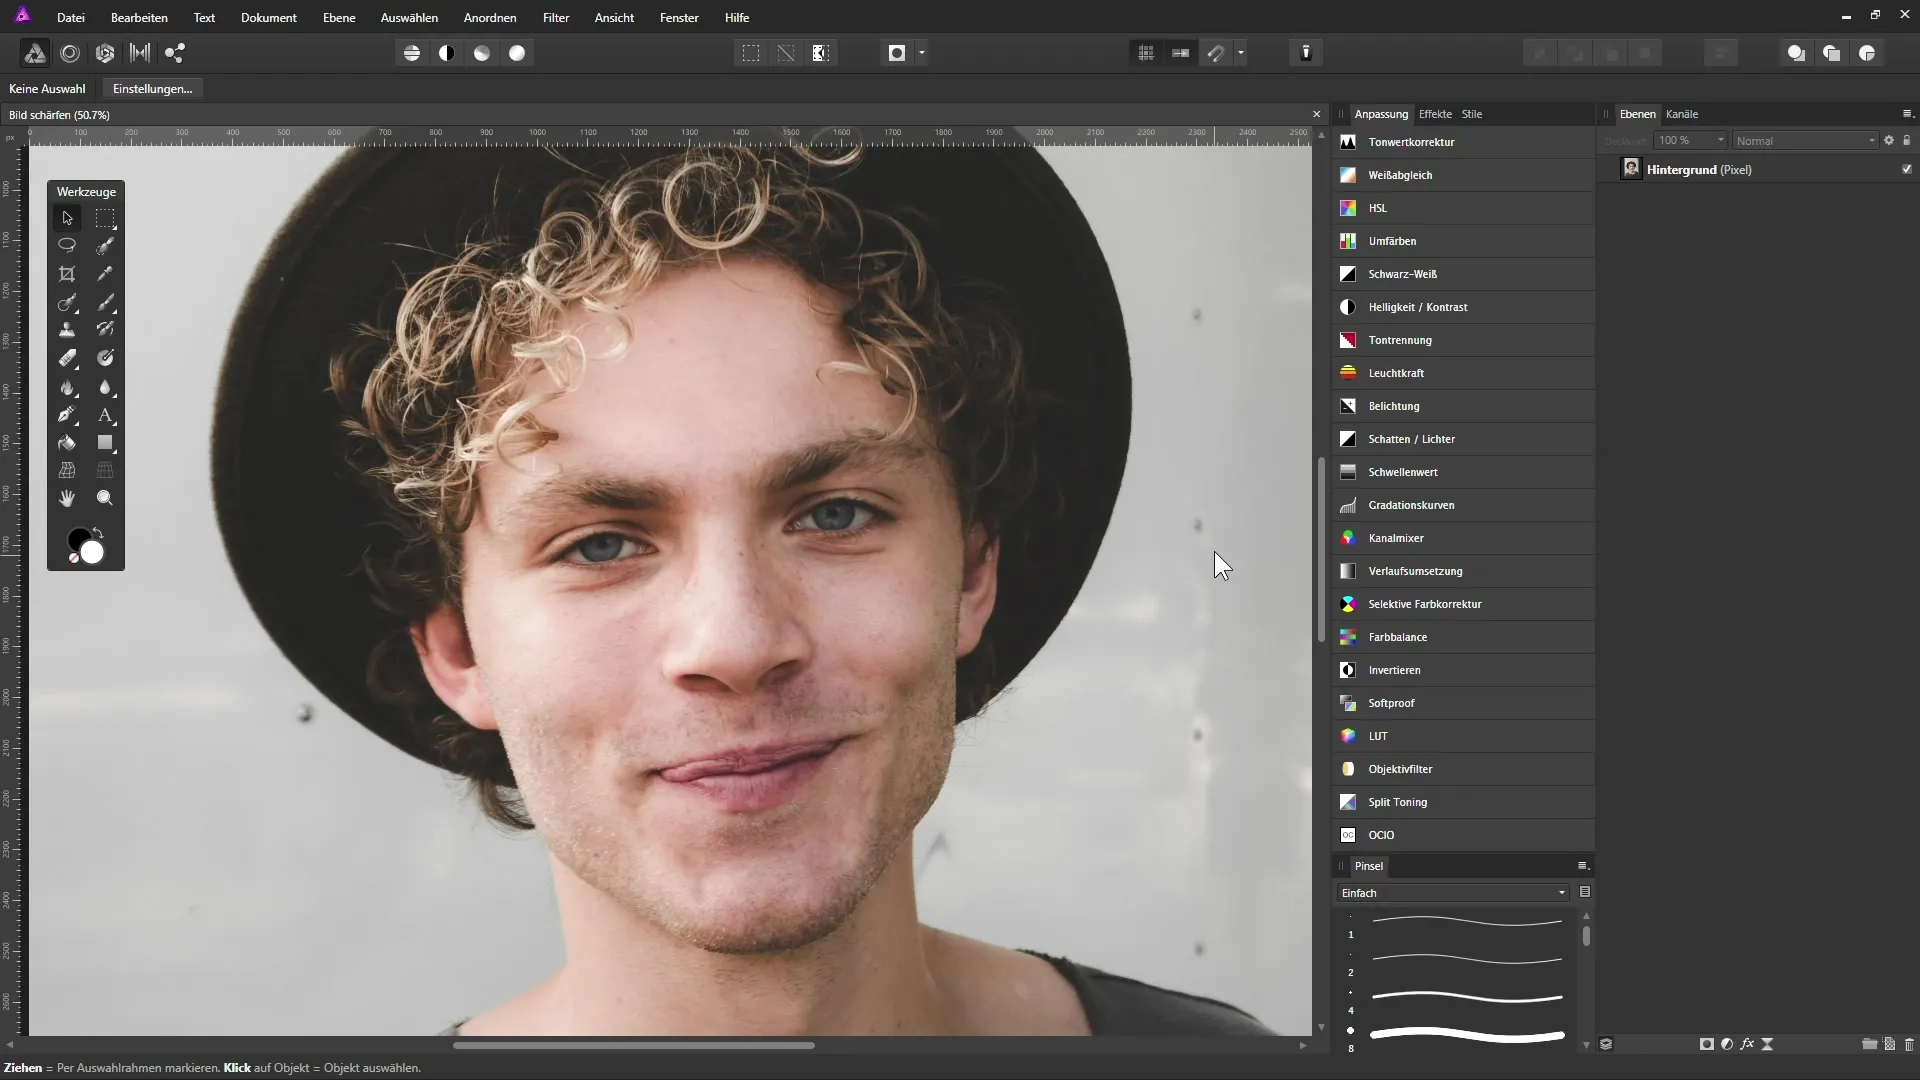
When checking your image, apply the respective sharpening. Start either globally and use masks to exclude areas or apply sharpening selectively, depending on the content of the image.
8. Use masks effectively
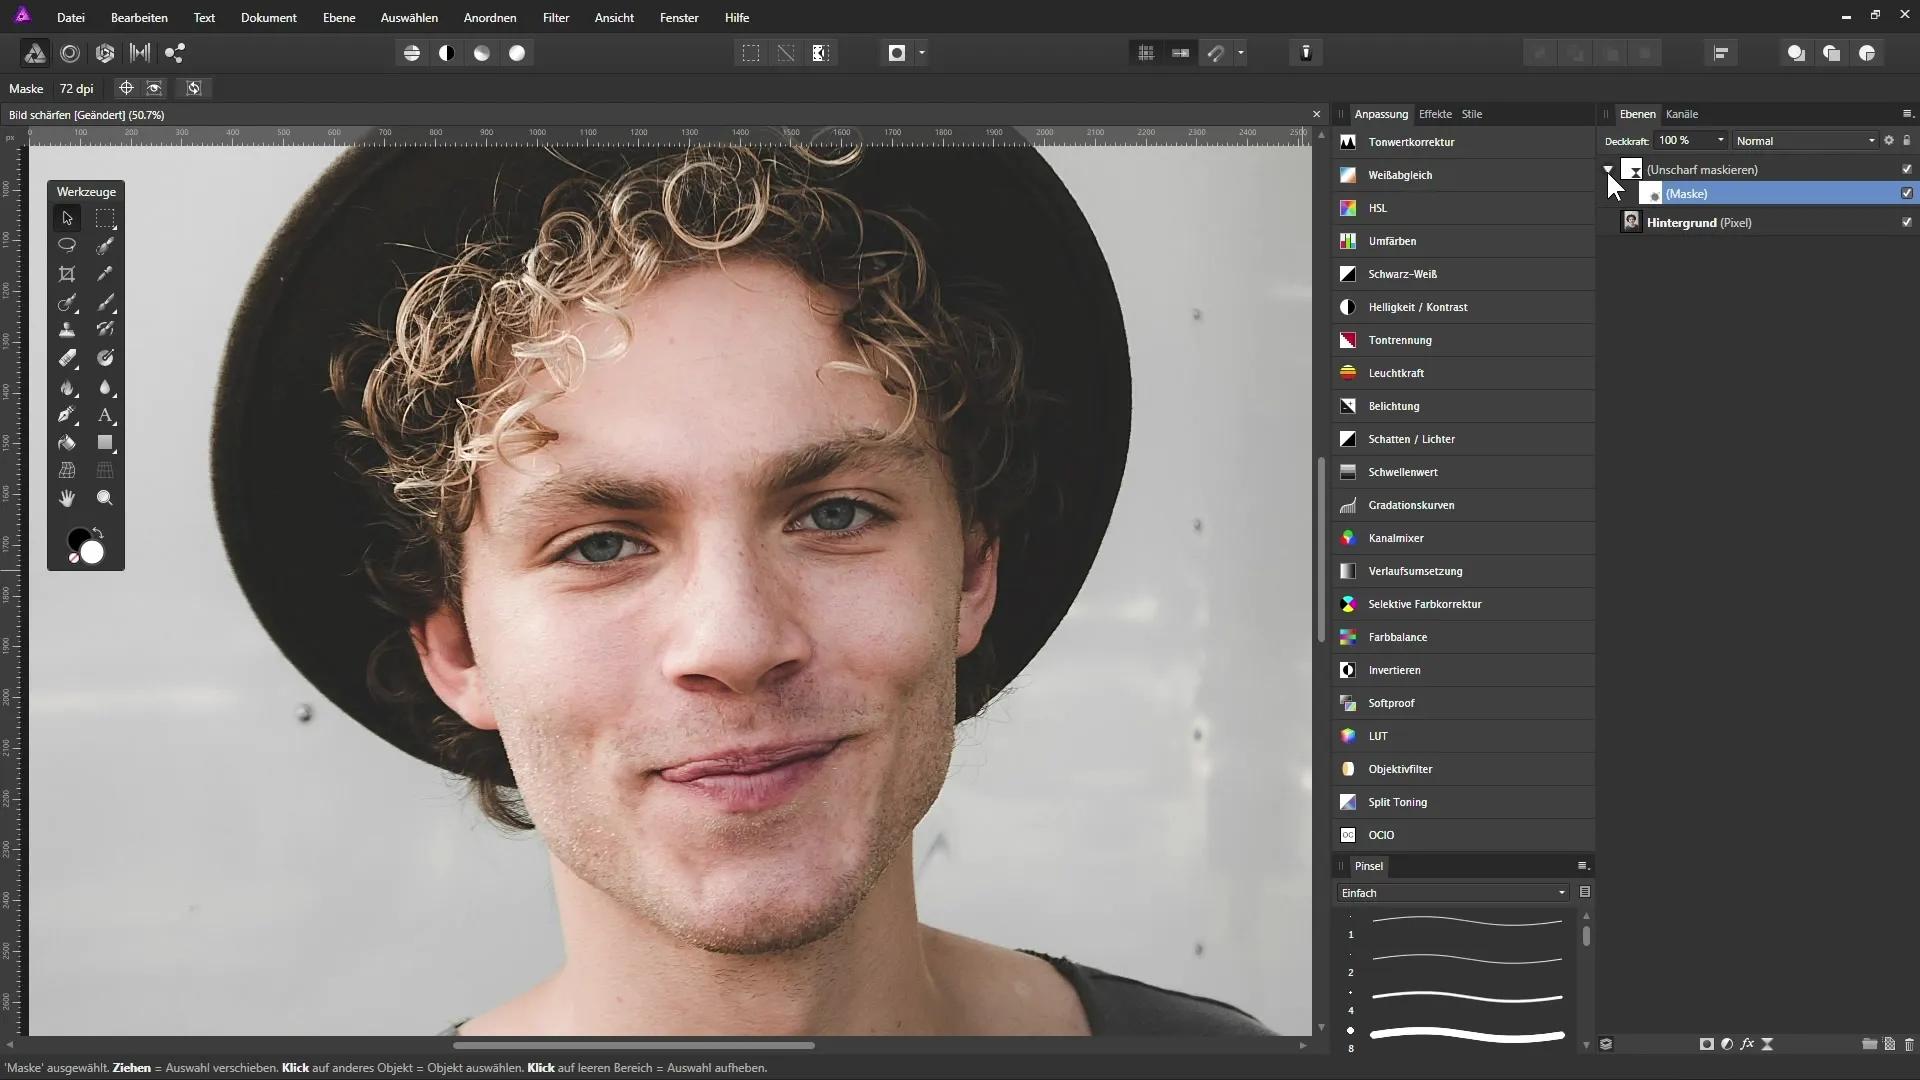
To protect certain areas of the image, you can use masks. Create a mask that allows you to make sharpening visible in the desired places while leaving other areas untouched.
9. Use high pass filter for details
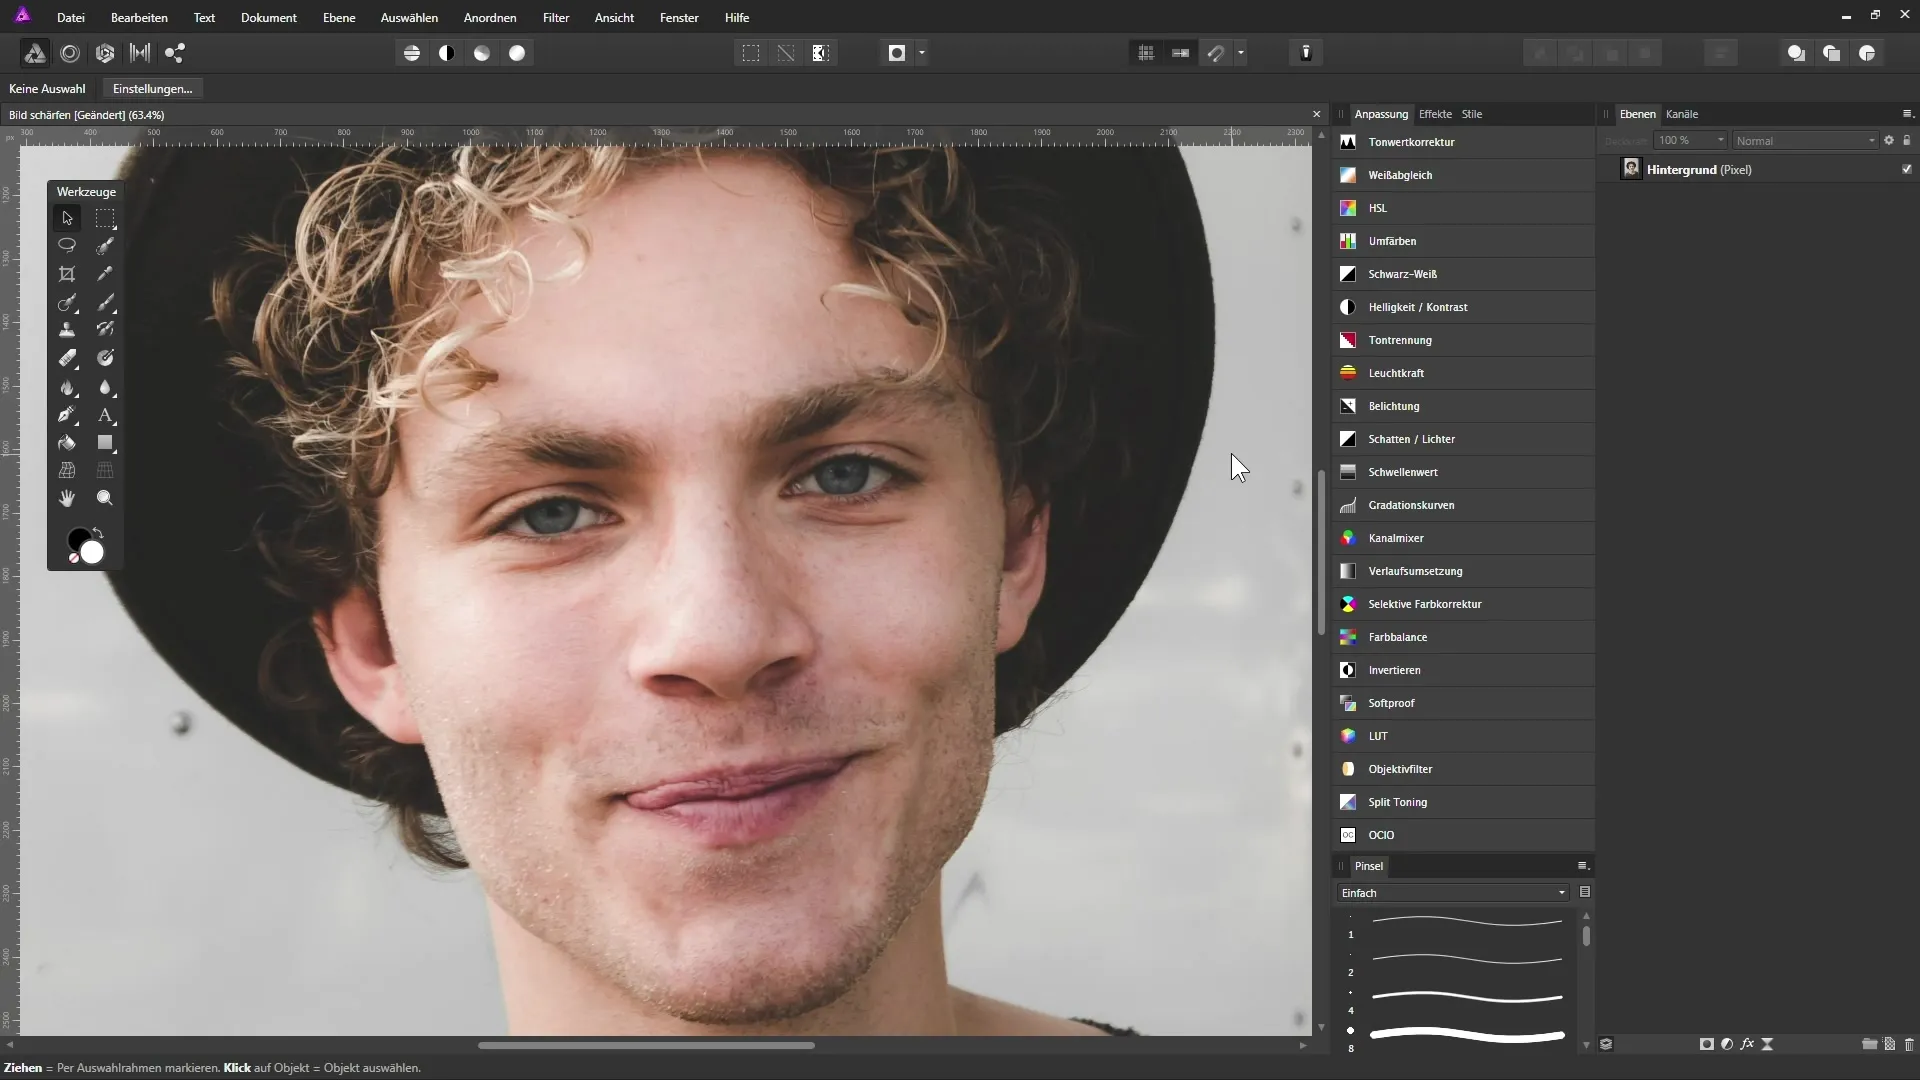
Another method for sharpening is the high pass filter. You can create a live filter layer with this effect, thereby enhancing image details and making them more three-dimensional.
10. Finalizing your sharpening
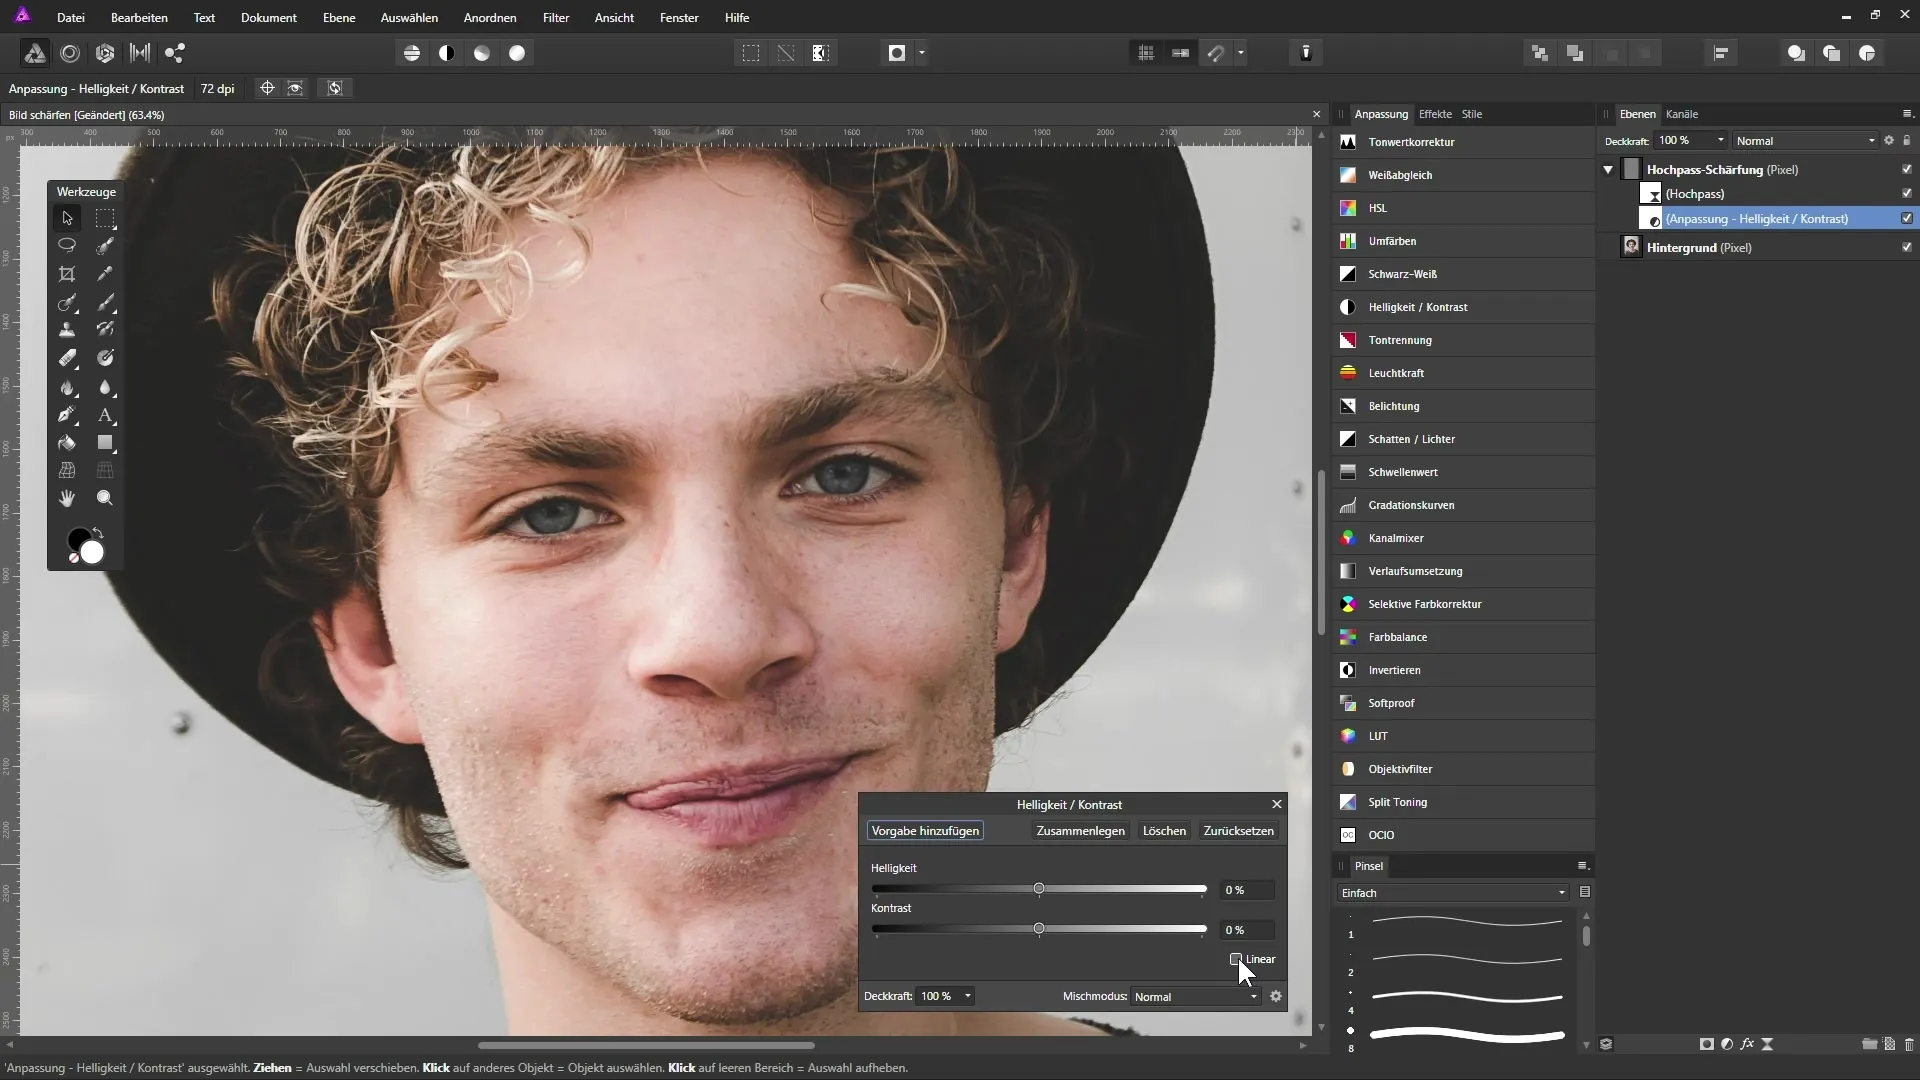
To complete the sharpening, you may want to add an adjustment layer. This allows you to fine-tune the strength of the sharpening as desired. Trust that the visual result is crucial; the image should look good without appearing overdone or edited.
Summary - Guide to sharpening images in Affinity Photo
In this guide, you learned how to effectively use sharpening in Affinity Photo to improve your images. You now know which tools and techniques are available to you, and how important selective application is. Experiment with the Unsharp Mask and High Pass filters to achieve the best look for your needs.
Frequently Asked Questions
How do I sharpen an image in Affinity Photo?Use the Unsharp Mask filter or the High Pass filter and adjust the settings as desired.
Can I limit sharpening to specific areas?Yes, by using masks, you can selectively apply sharpening to the desired areas.
How do I prevent color changes while sharpening?Change the mode of the sharpening layers to Luminance to minimize color changes.
How can I tell if an image has been over-edited?Upon closer inspection, artifact-like edges or unnaturally saturated colors may indicate over-editing.
What do I do if I'm not satisfied with the sharpness?You can adjust the sharpening or edit the mask to have less or no sharpening on certain areas of the image.


