The croppingof an image may seem like a simple task at first glance, but it holds great potential for enhancing the visual impact and composition of a photo. With AffinityPhoto, you can do more than just a simple crop – you can transform the entire feeling of the image and deliberately direct the viewer's attention. In this guide, learn how to effectively use the cropping tool to achieve stunning results.
Key Insights
- Cropping not only changes the dimensions of an image but also its overall expression.
- You can adjust, set, or even define new aspect ratios for the image.
- The tool offers practical features for straightening, grid aids, and darkening borders.
Step-by-Step Guide
To use the cropping tool effectively in Affinity Photo, follow the steps below:
1. Activate the Cropping Tool
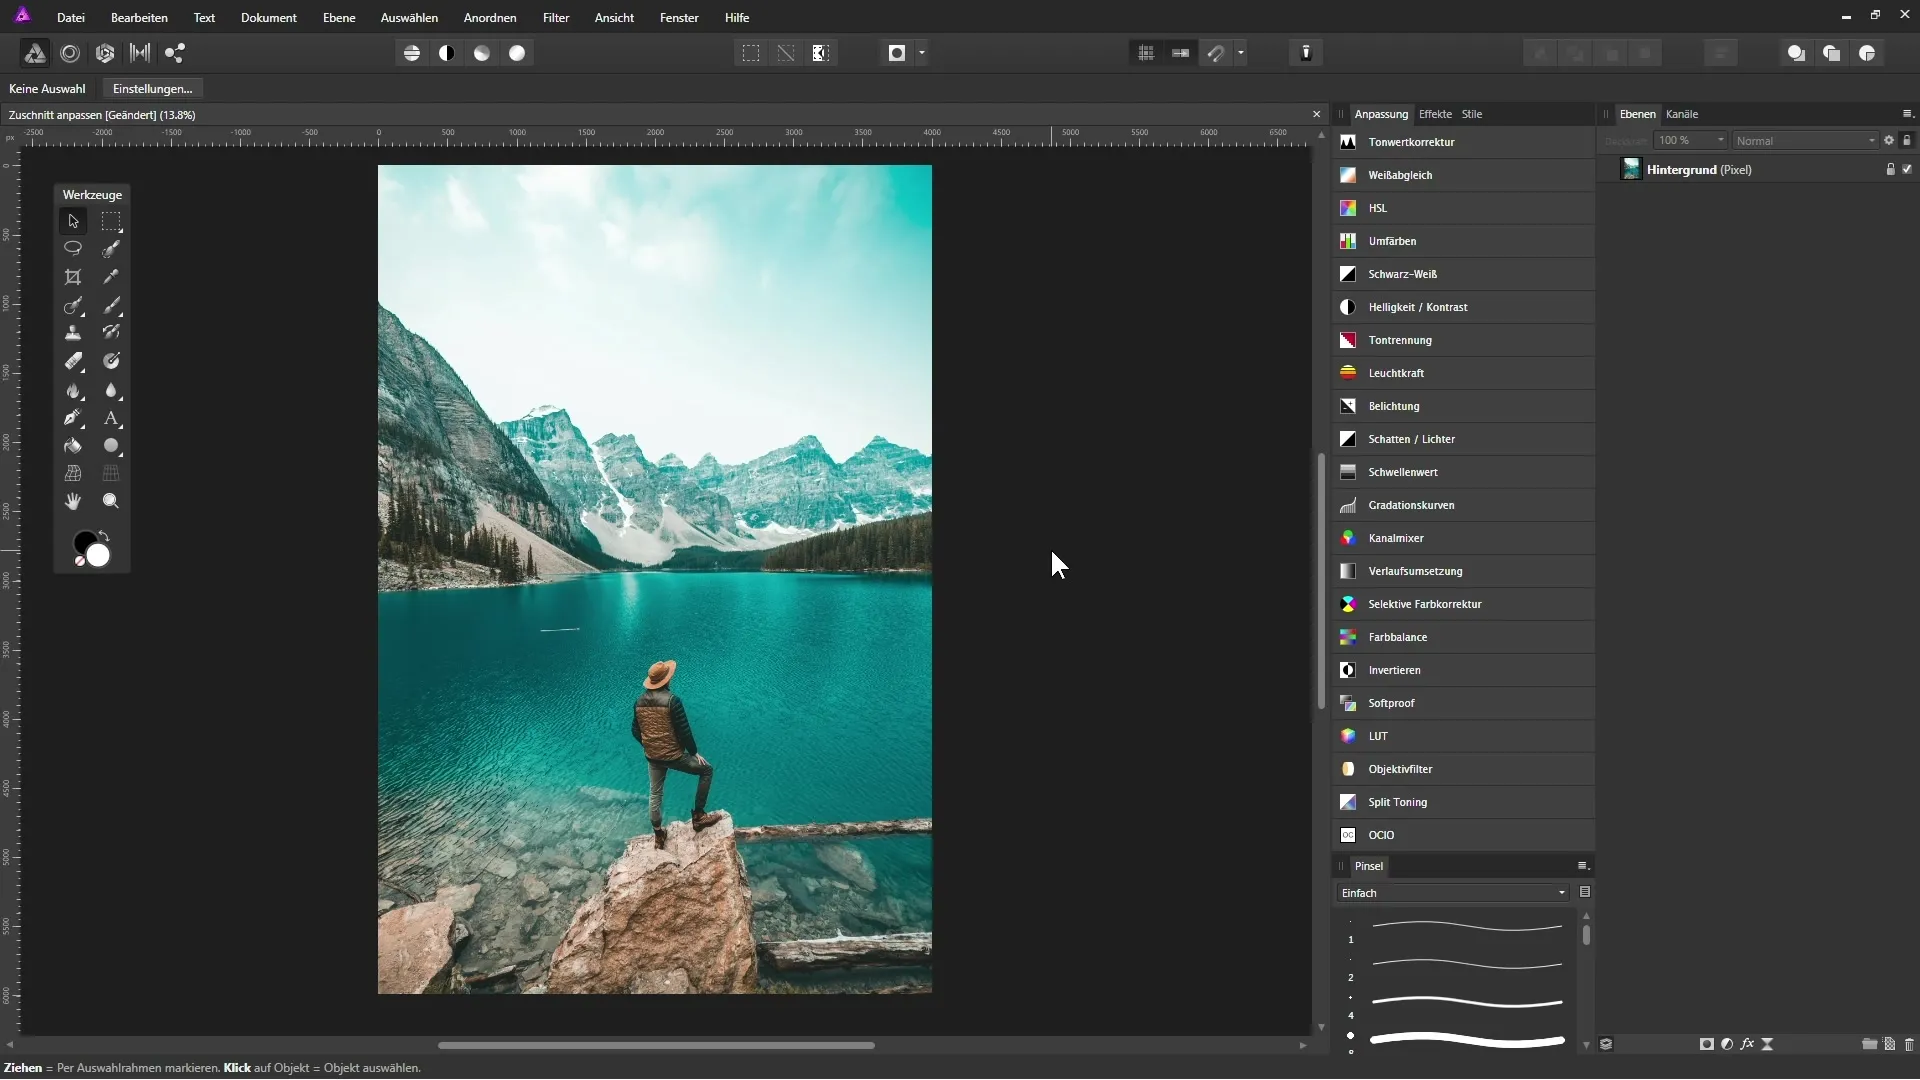
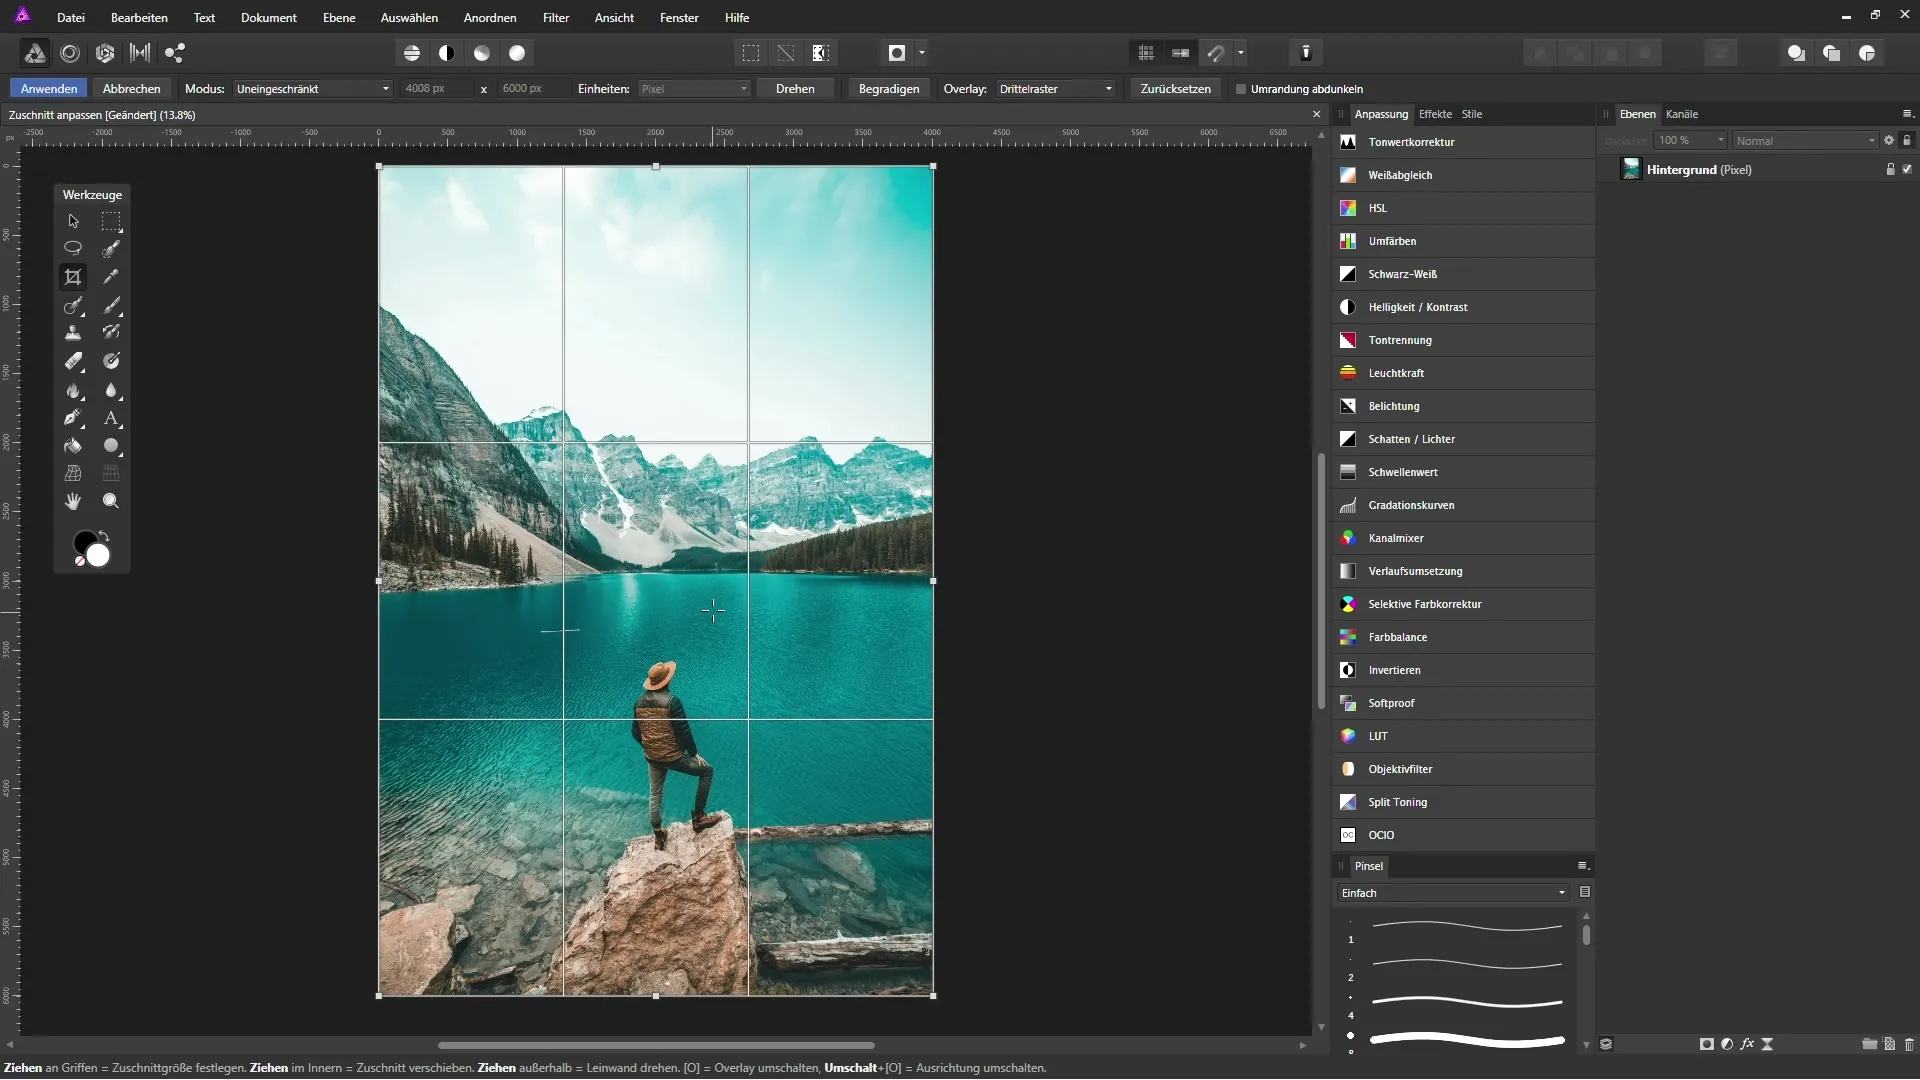
Activate the cropping tool in your Affinity Photo workspace. You can find it in the toolbox. Once you activate the tool, anchor points will appear at the corners and edges of your image.

2. Use Anchor Points and Grid
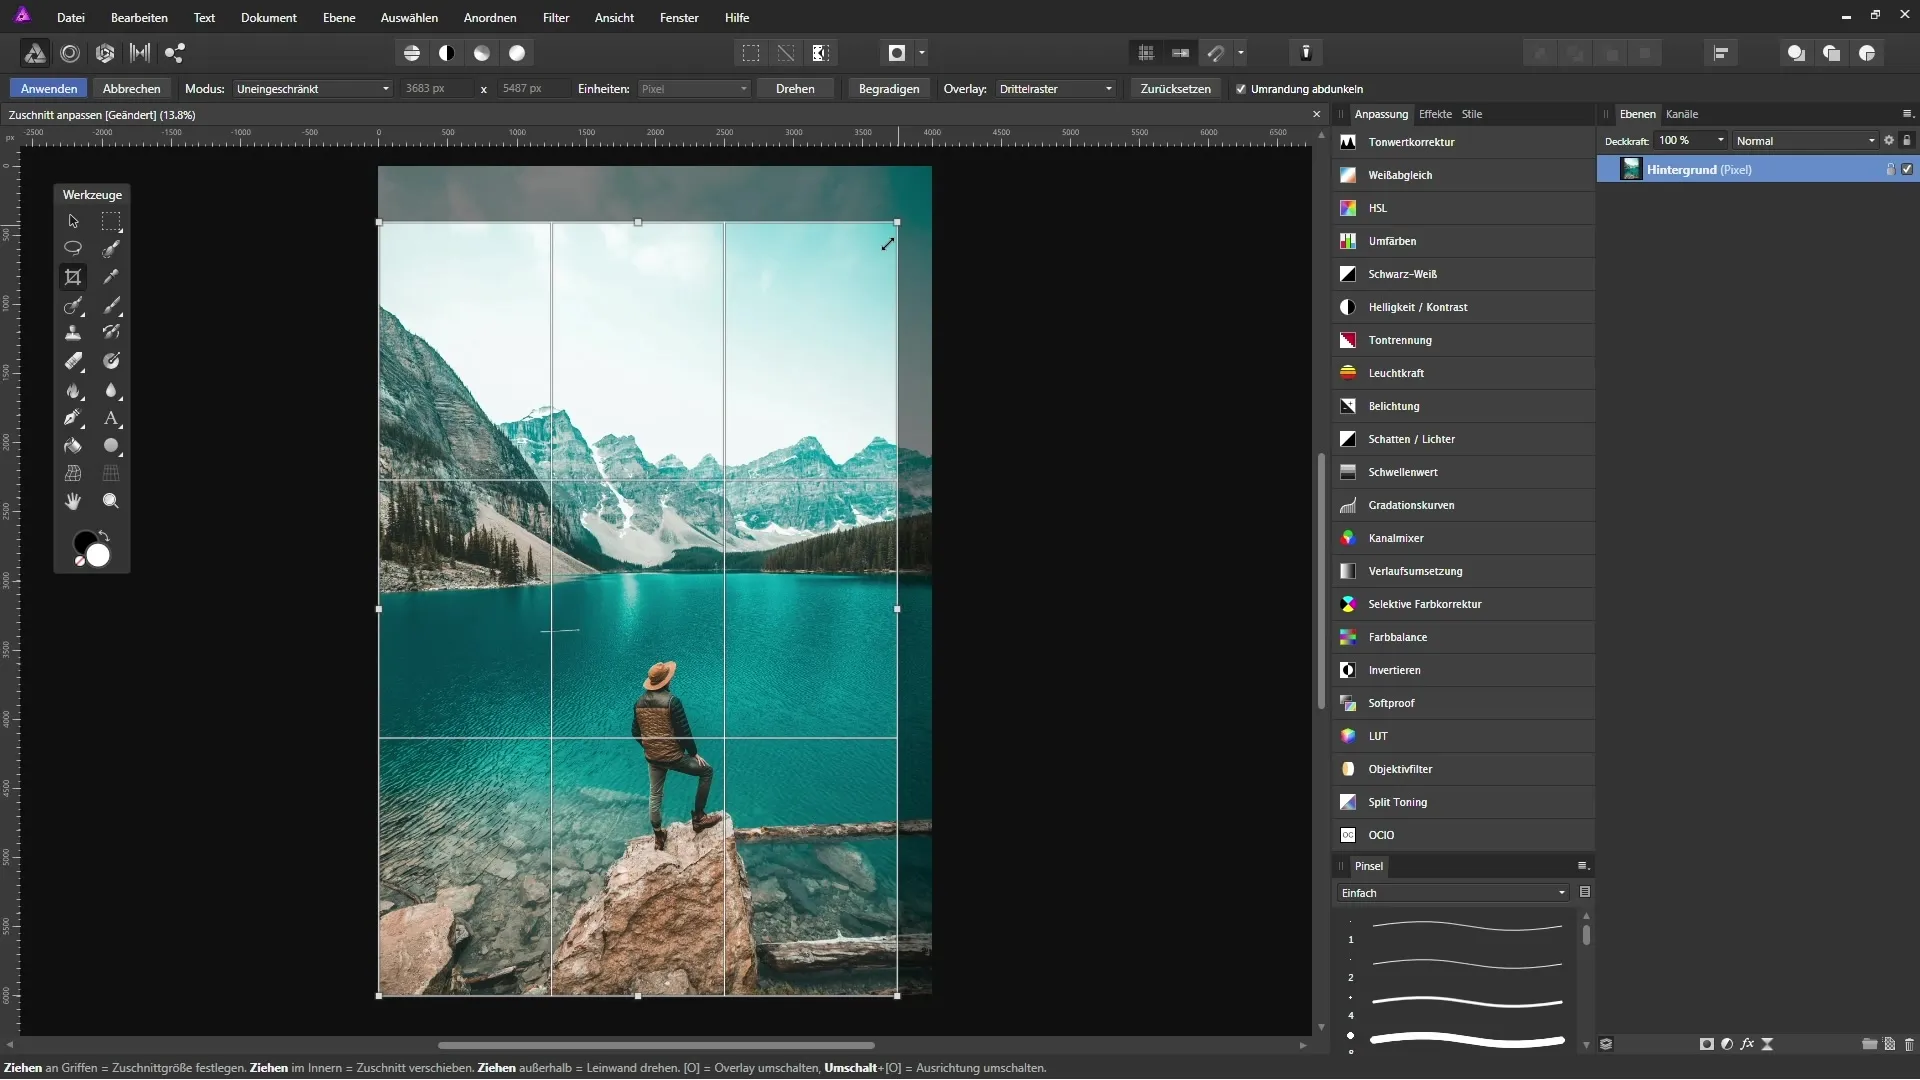
The anchor points allow you to set the width and height of the image. Additionally, a grid will be displayed to assist you with placement and cropping. You can drag the anchor points to change the crop areas of your photos.
3. Change Document Size
If you want to adjust the size of the entire document, go to “Document” and then “Change Canvas Size.” This is particularly useful if you need a specific format forprint or for the web.
4. Proportional Cropping
To maintain the original aspect ratio, activate the “Original Ratio” option. This will keep the width-to-height ratio intact when scaling up or down.

5. Free Cropping
If you want to crop the image completely flexibly, select the “unrestricted selection” option. This allows you to pull the corners as you wish.
6. Set Custom Aspect Ratio
You also have the option to enter a custom ratio. This allows you to set specific dimensions, such as the 16:9 ratio for cinematic formats.
7. Save Presets
If you frequently use similar crops, you can save them as presets. Click on “Add Preset” and name your new preset. This way, you can quickly access this crop for future projects.
8. Use Absolute Dimensions
If you need an exact size for your crop, you can specify the exact pixel values in the settings field. This is especially helpful if, for example, you require a square image of 800x800 pixels.
9. Use the Straightening Function
If your image shows a tilted horizon, you can use the straightening tool. Simply draw a line along the tilted horizon, and the image will be automatically adjusted.
10. Grid and Overlay Options
The cropping tool also offers visual aids such as grids or darkening at the edges to make your work easier. Activate the “Darken Border” option to focus on the cropped area.

11. Final Touches and Adjust Document Size
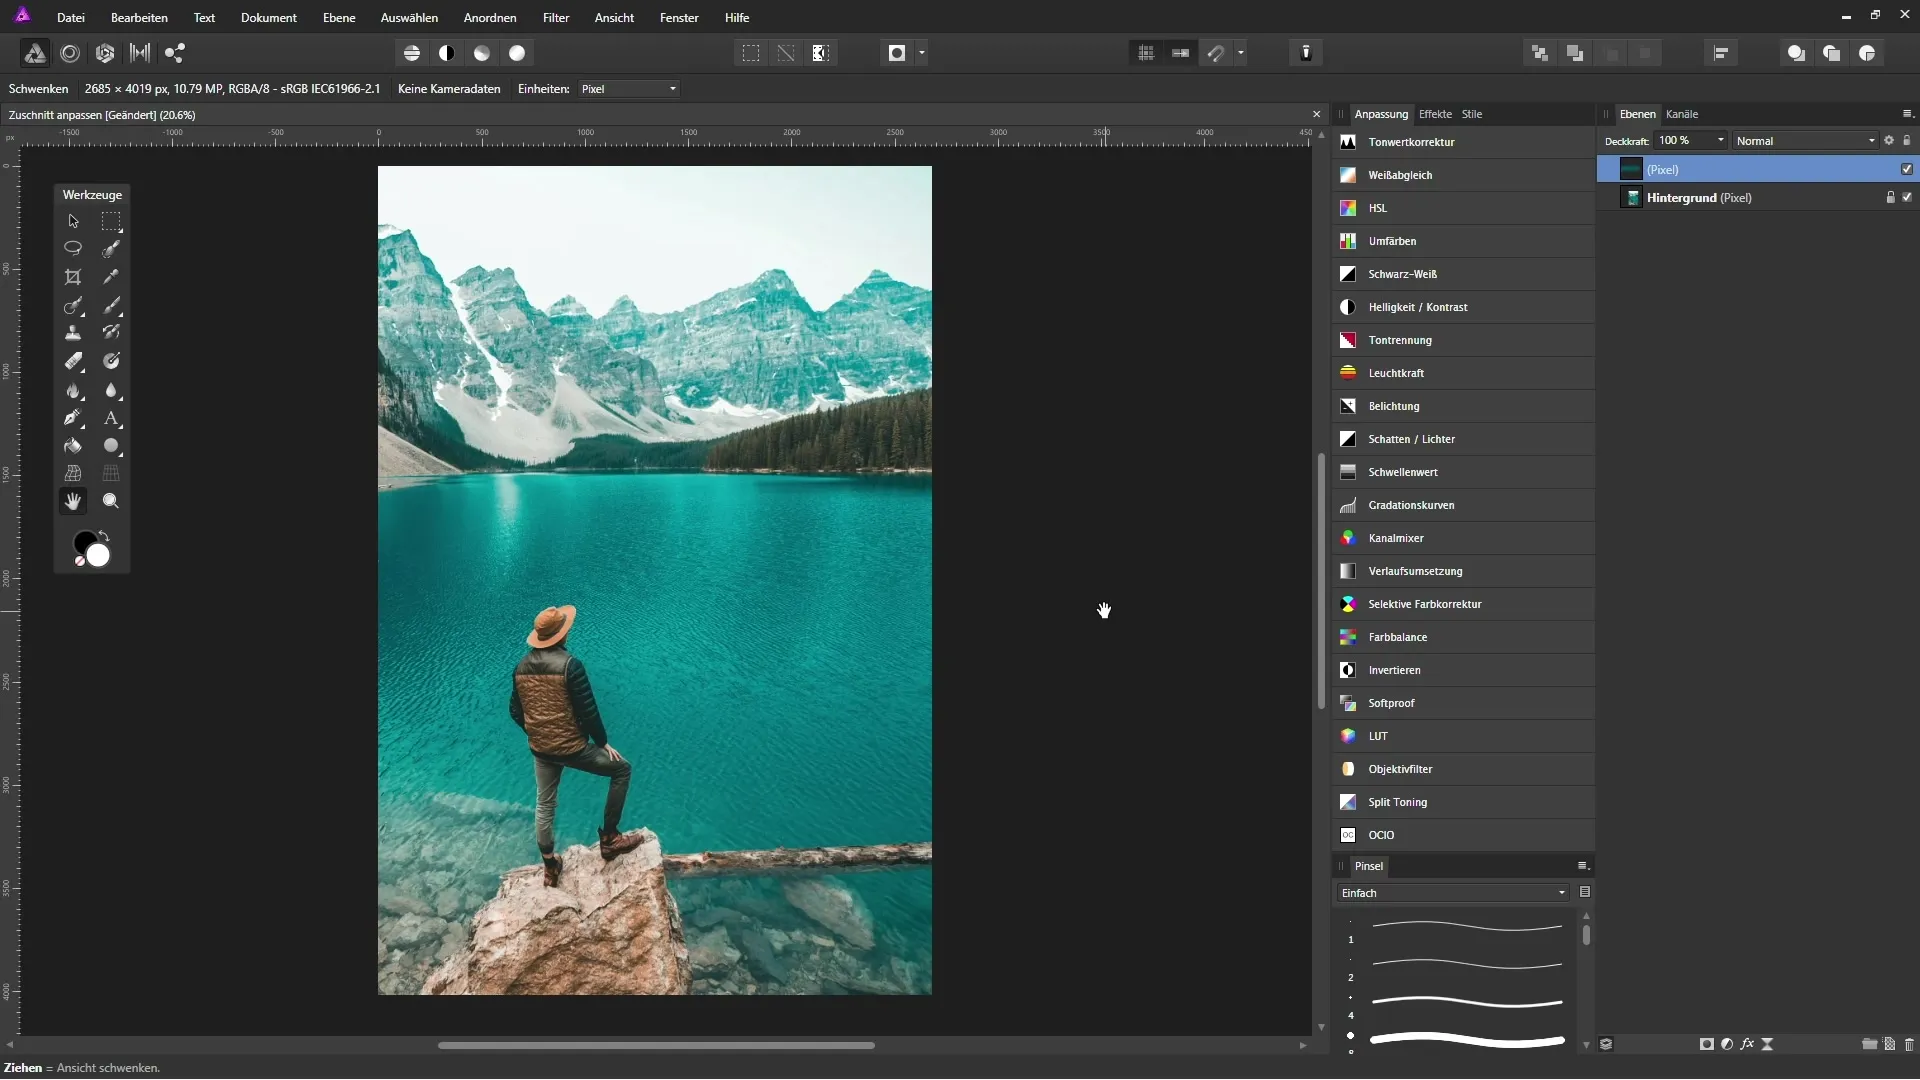
After cropping, you can further adjust the document size to ensure your image meets the desired quality. Pay attention to whether the lock for proportional adjustment is open or closed.

Conclusion – Cropping Images in Affinity Photo: A Beginner's Guide
In this guide, you learned how to effectively use the cropping tool in Affinity Photo to enhance the appearance of your images. From activating the tool to functionalities for straightening and saving presets – you now have the skills to design your images professionally.
FAQ
How can I activate the cropping tool?You can find the cropping tool in the toolbox of Affinity Photo.
Is there a way to maintain the aspect ratio?Yes, you can select the “Original Ratio” option to preserve the aspect ratio when cropping.
How do I save a custom crop ratio?Select “Custom Ratio” and name it as a preset that you can retrieve later.
Can I straighten the horizon of an image?Yes, use the straightening function to easily correct tilted horizons.
Can I change the size of the entire document?Yes, under “Document” – “Change Canvas Size,” you can adjust the size of the entire image.


