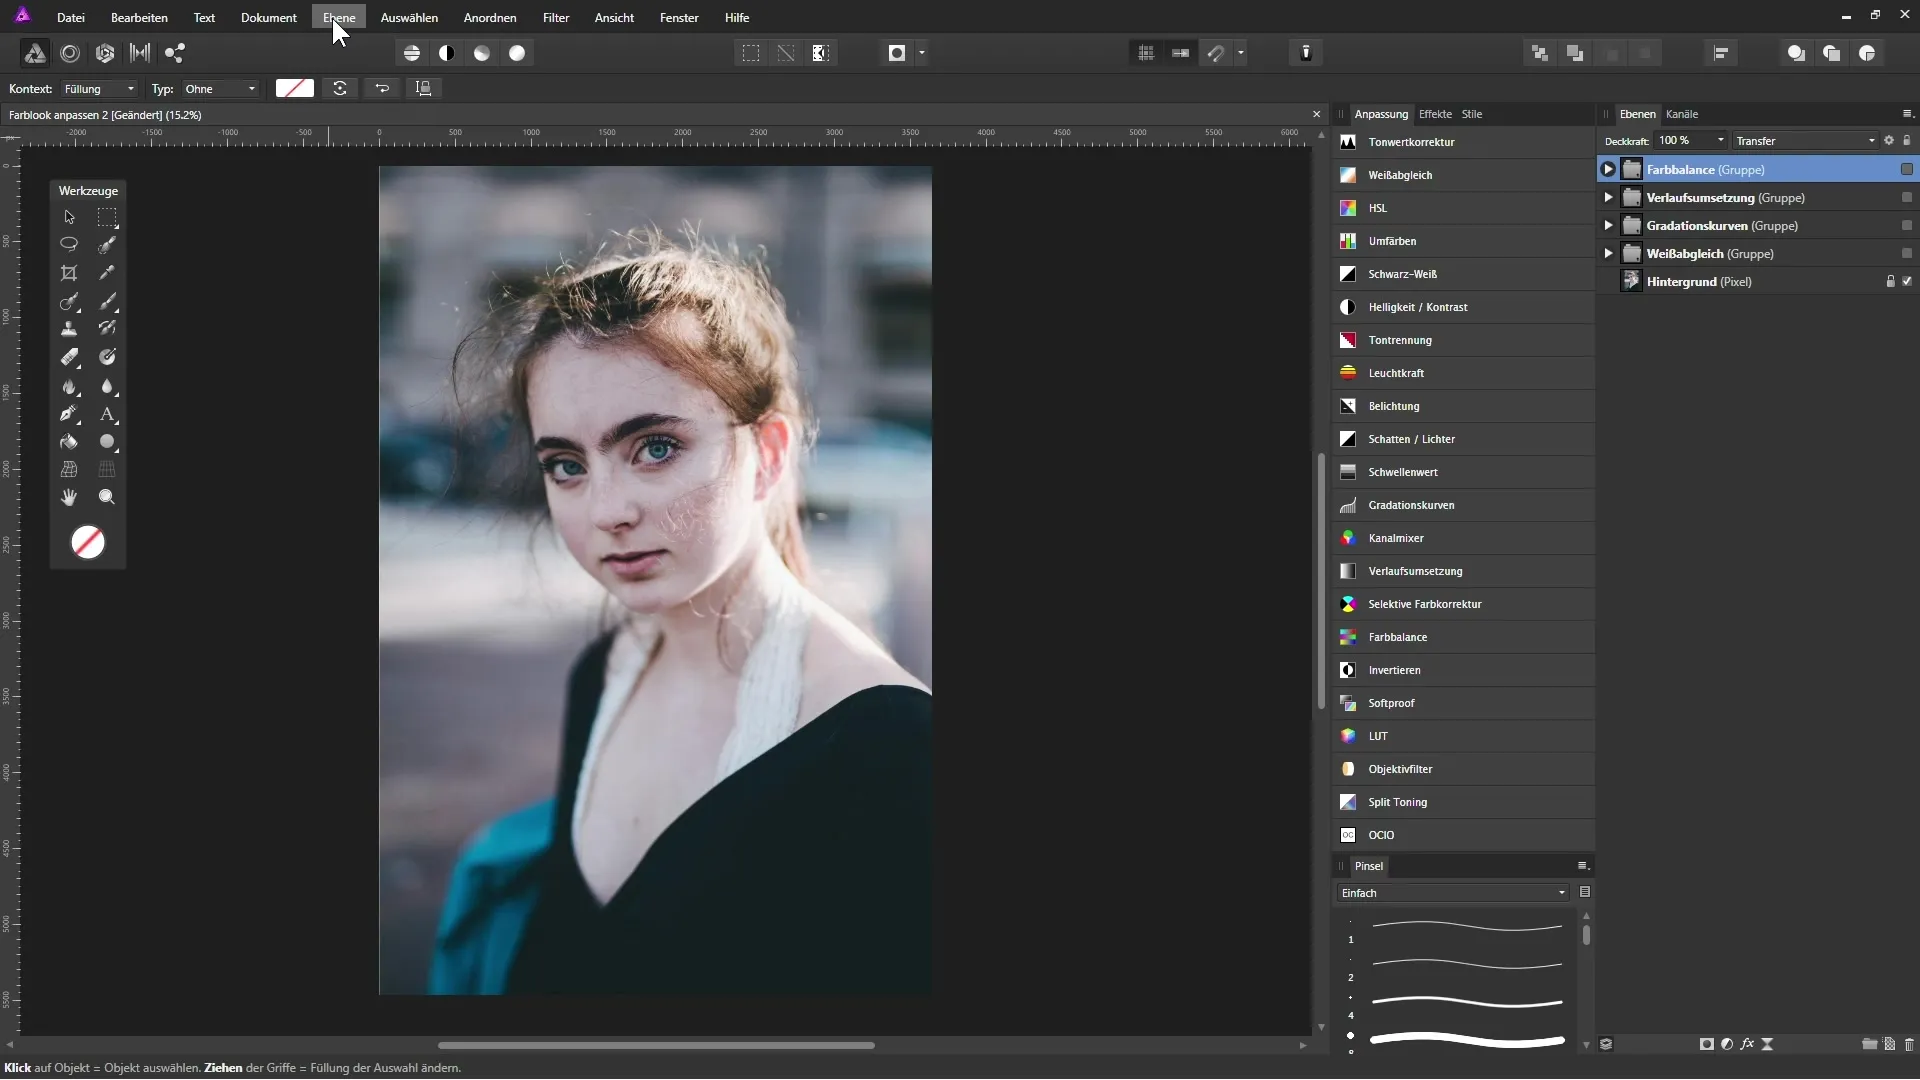
If you want to create convincing and engaging images, the color look is crucial. Even minimal adjustments in color design can massively change the impact of a photo. In this guide, you will learn how to efficiently adjust the color look of your image using Affinity Photo. We will go through various methods to place your photos in the right light.
Main insights
- The color look influences the mood of an image.
- With adjustment layers, you can work non-destructively.
- Various tools like white balance, curves, gradient mapping, and color balance provide you with a range of design options.
Step-by-step guide
1. Adjust white balance
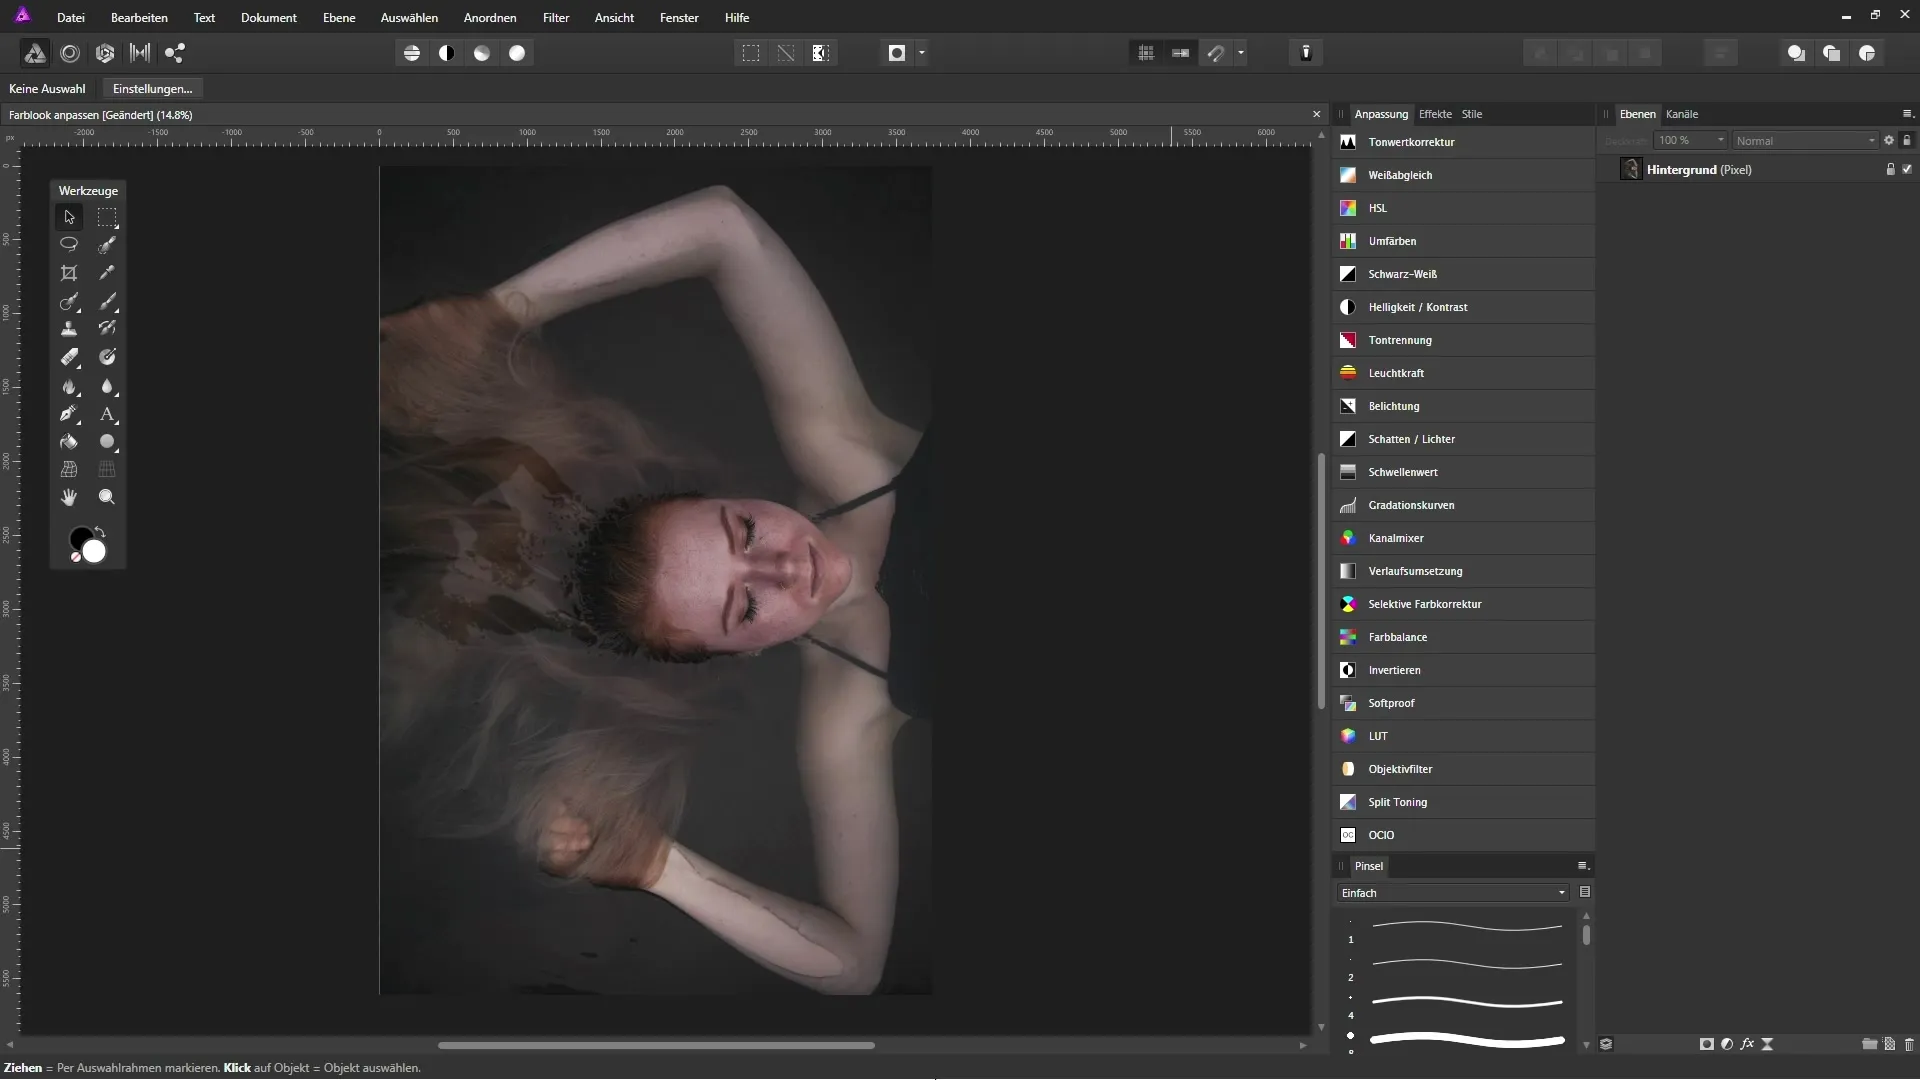
The first step in color design is adjusting the white balance. It is used to make the image cooler or warmer, depending on your desired look.
Create a new adjustment layer for the white balance by clicking the corresponding icon in the layers panel. You will have two sliders: one for the cooling or warming values and one for the color mix between magenta and green.
Move the regulatory anchor for the white balance to the left to make the image cooler. A value around 70% already provides an appealing bluish look. Experiment with the green slider to further intensify the eerie mood.
2. Use curves
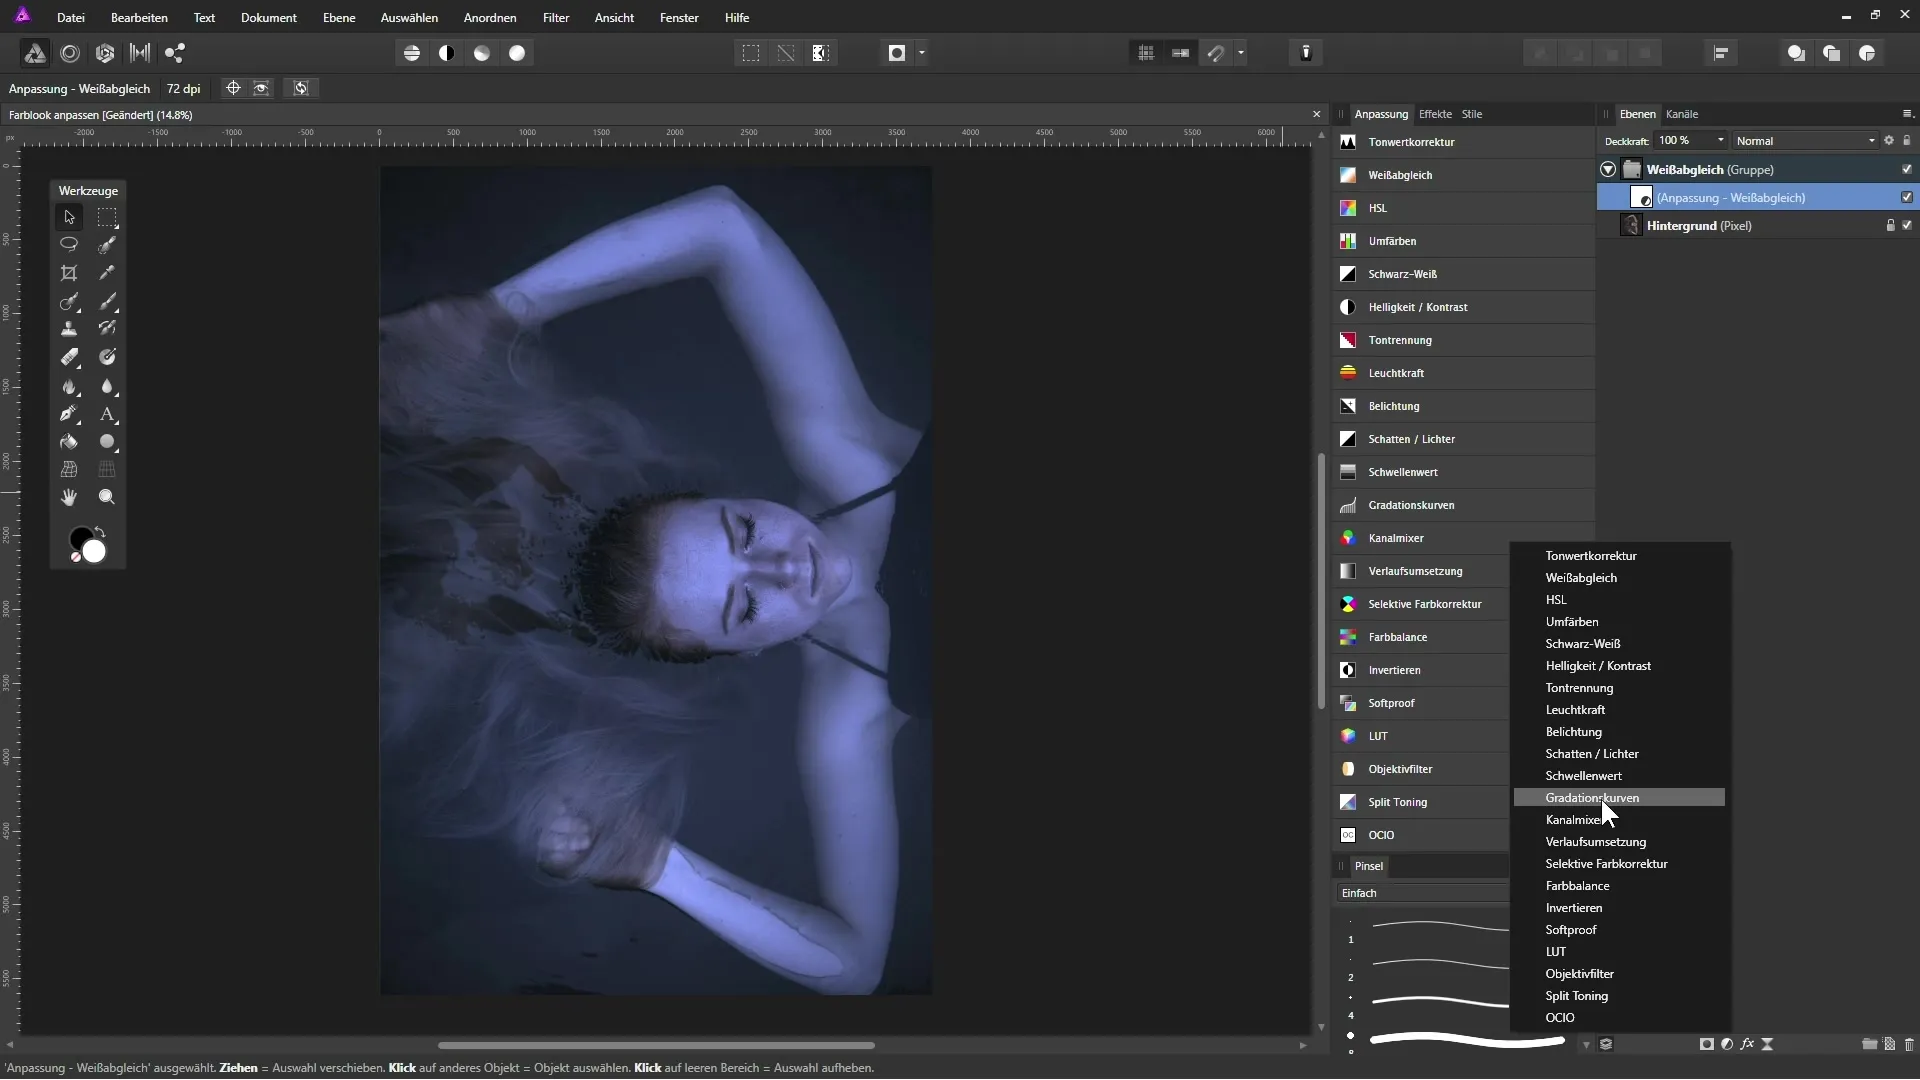
Another method to influence the colors and contrast of your image is using curves. This adjustment layer allows you to selectively lighten or darken the dark and light areas of the image.
Create a new adjustment layer "Curves" and use the anchor point to lighten the dark areas. Set another point in the curve to adjust the brightness of the midtones without overly brightening the highlights. Fine work is also necessary here to achieve the desired result.
3. Change layer mode
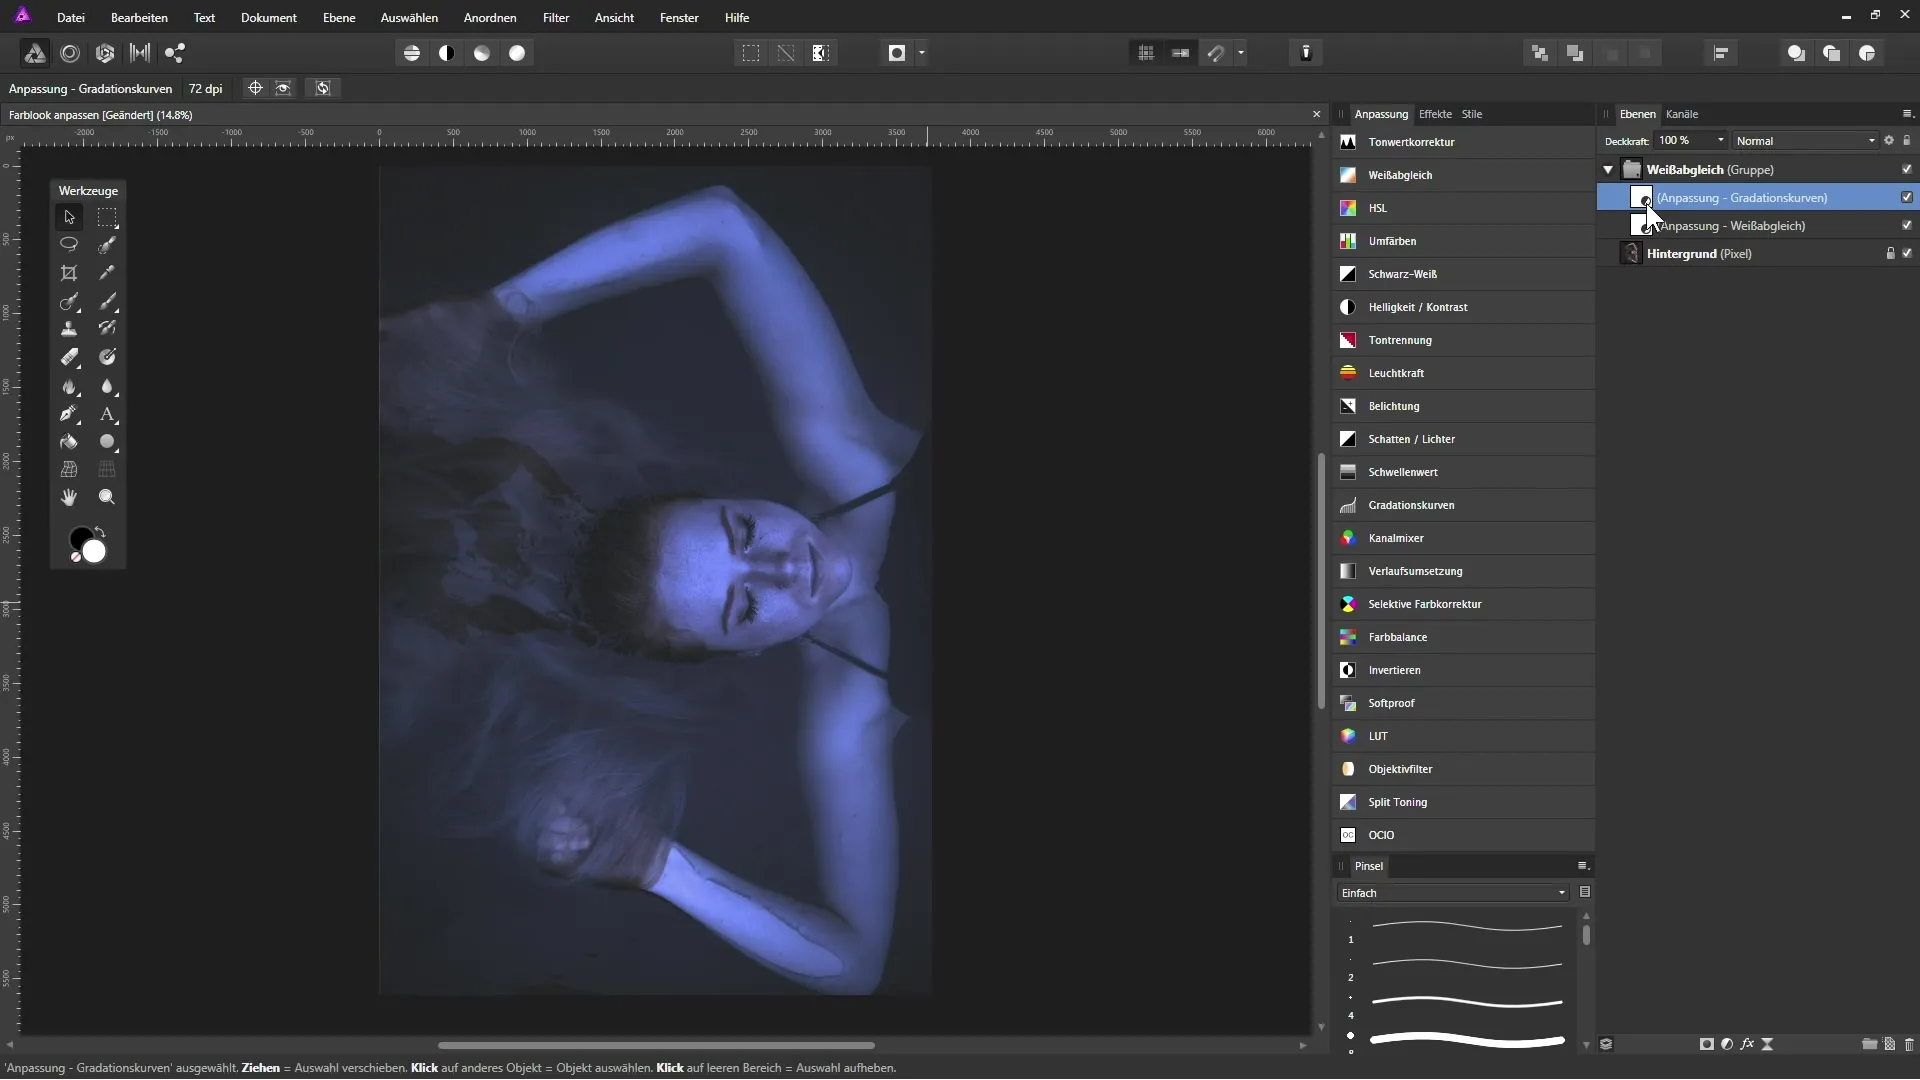
Sometimes it can be useful to change the layer mode of an adjustment layer. For example, you can change the curves to "Luminance" to affect only the brightness of the image while leaving the hue values unchanged.
This technique also helps avoid excessive saturation that can occur when using curves.
4. Add gradient mapping
Gradient mapping is a creative way to apply different color gradients to your image. This technique allows you to assign different colors to the dark and light areas.
Create an adjustment layer for gradient mapping, select the hues for shadows and highlights, and adjust saturation and brightness. This way, you can create an interesting transition that adds depth to your image.
5. Use color balance
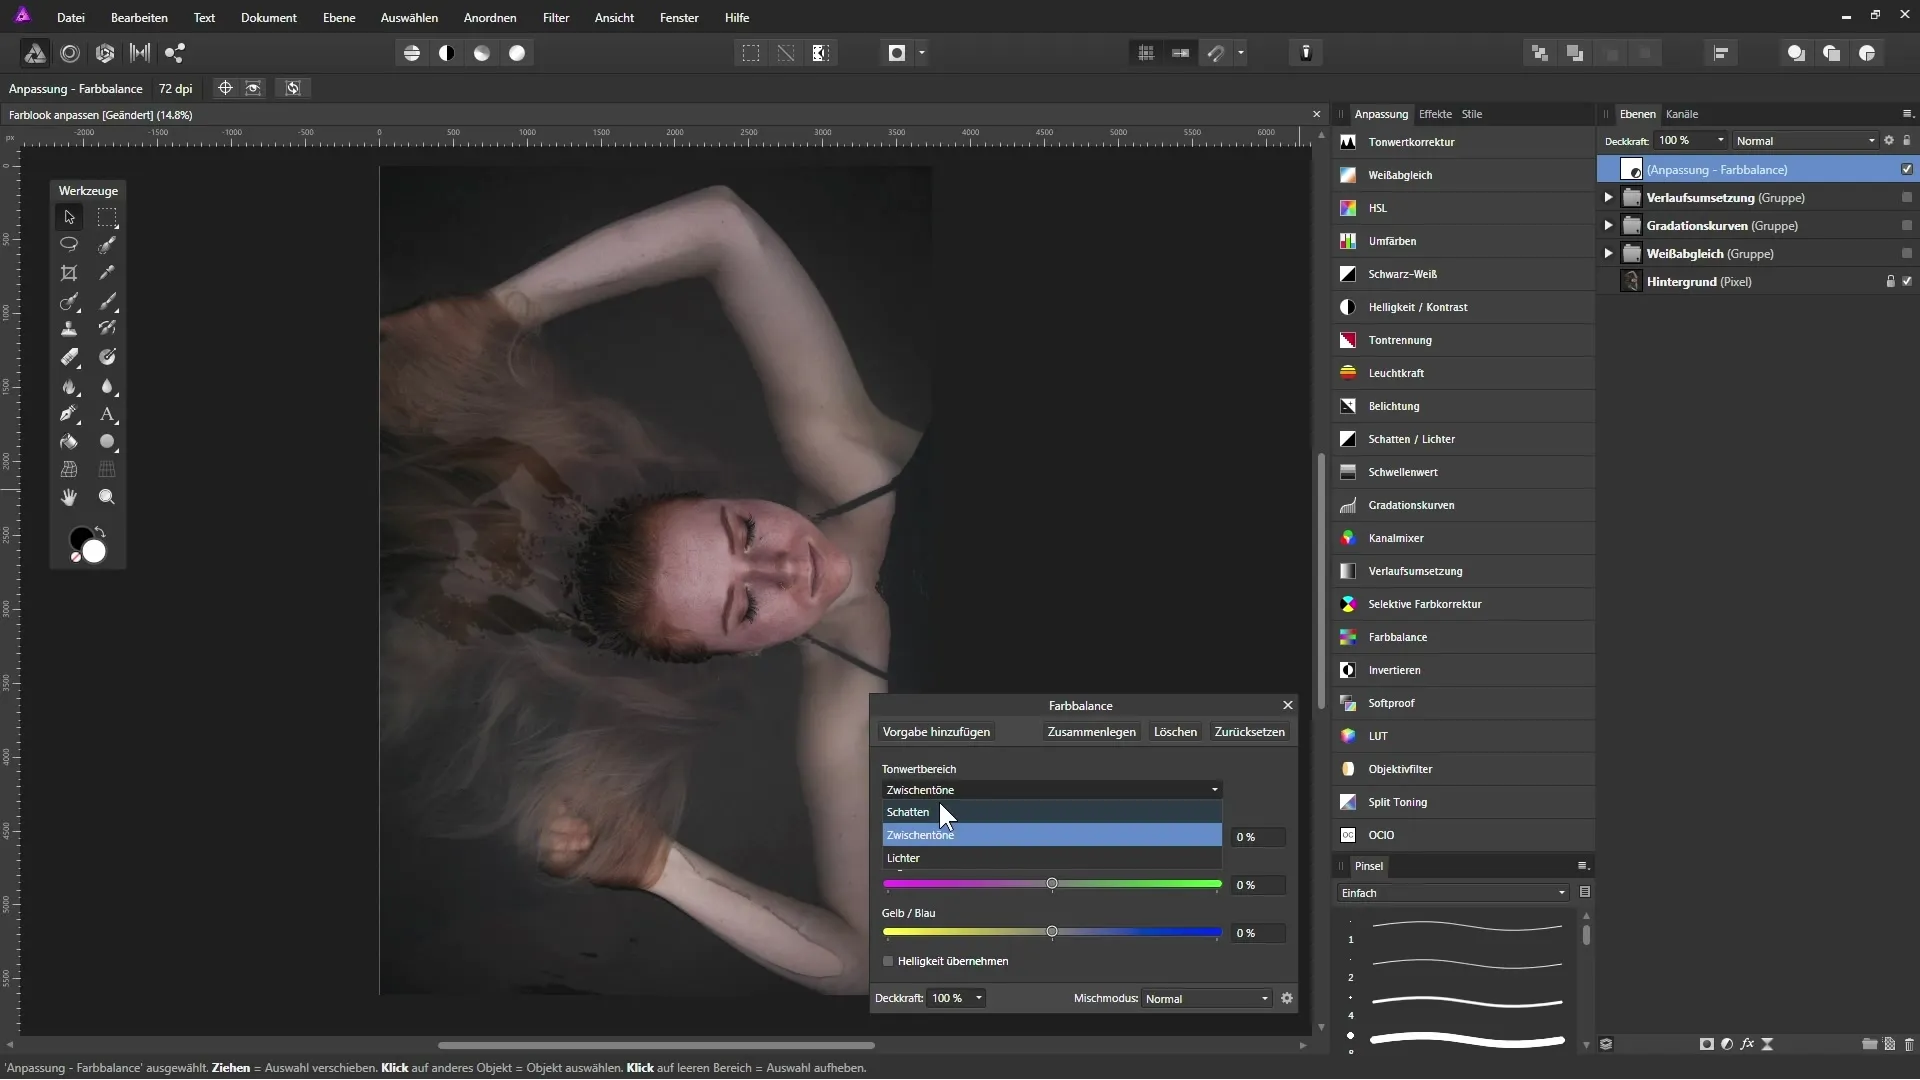
Color balance is another powerful tool that you should use. It allows you to add or reduce specific colors in shadows, midtones, or highlights.
Create a new color balance adjustment layer and select the desired color values accordingly. While you are adjusting the shadows, you can use cyan and blue for a cooler image, while you can adjust skin tones in the midtones.
6. Work with a fill layer
Finally, you can use a fill layer to quickly change the color look of your image. Create a new fill layer, choose the desired color, and change the layer mode to "Soft Light". This gives you the opportunity to make subtle changes quickly and effectively.
Check the opacity to ensure that the adjustment appears natural and the original image remains recognizable.
Summary - Adjusting the color look in Affinity Photo
In this guide, you have learned how to adjust the color look of your images using various tools in Affinity Photo. By strategically using white balance, curves, gradient mapping, and color balance, you can significantly enhance the mood of your images.
Frequently Asked Questions
How can I change the colors in an image?You can adjust the colors in an image by using adjustment layers like white balance, curves, or color balance.
What is the function of curves?With curves, you can specifically change the brightness and contrast in different tonal ranges of your image.
Why should I use layer modes?Layer modes allow you to achieve different effects by defining how layers interact with each other. They help optimize the representation of light and color.
Can I change my adjustments later?Yes, all adjustments made in Affinity Photo are non-destructive. This means you can make changes or revert adjustments at any time.


