The ability to remove unwanted elements from images is one of the most valuable skills in digital image editing. Whether it's distracting objects in snapshots or disturbing elements in nature shots – Affinity Photo provides you with a variety of tools to tackle these challenges. In this guide, I will show you how to effectively remove parts of images without compromising the original.
Main Insights
- Affinity Photo provides several tools to non-destructively remove image objects.
- You should always work on a new transparent layer to undo changes or modify them later.
- Using different tools like the repair brush, restoring tool, and blemish removal tool is crucial to achieving optimal results.
Step-by-Step Guide
Preparing the Workspace
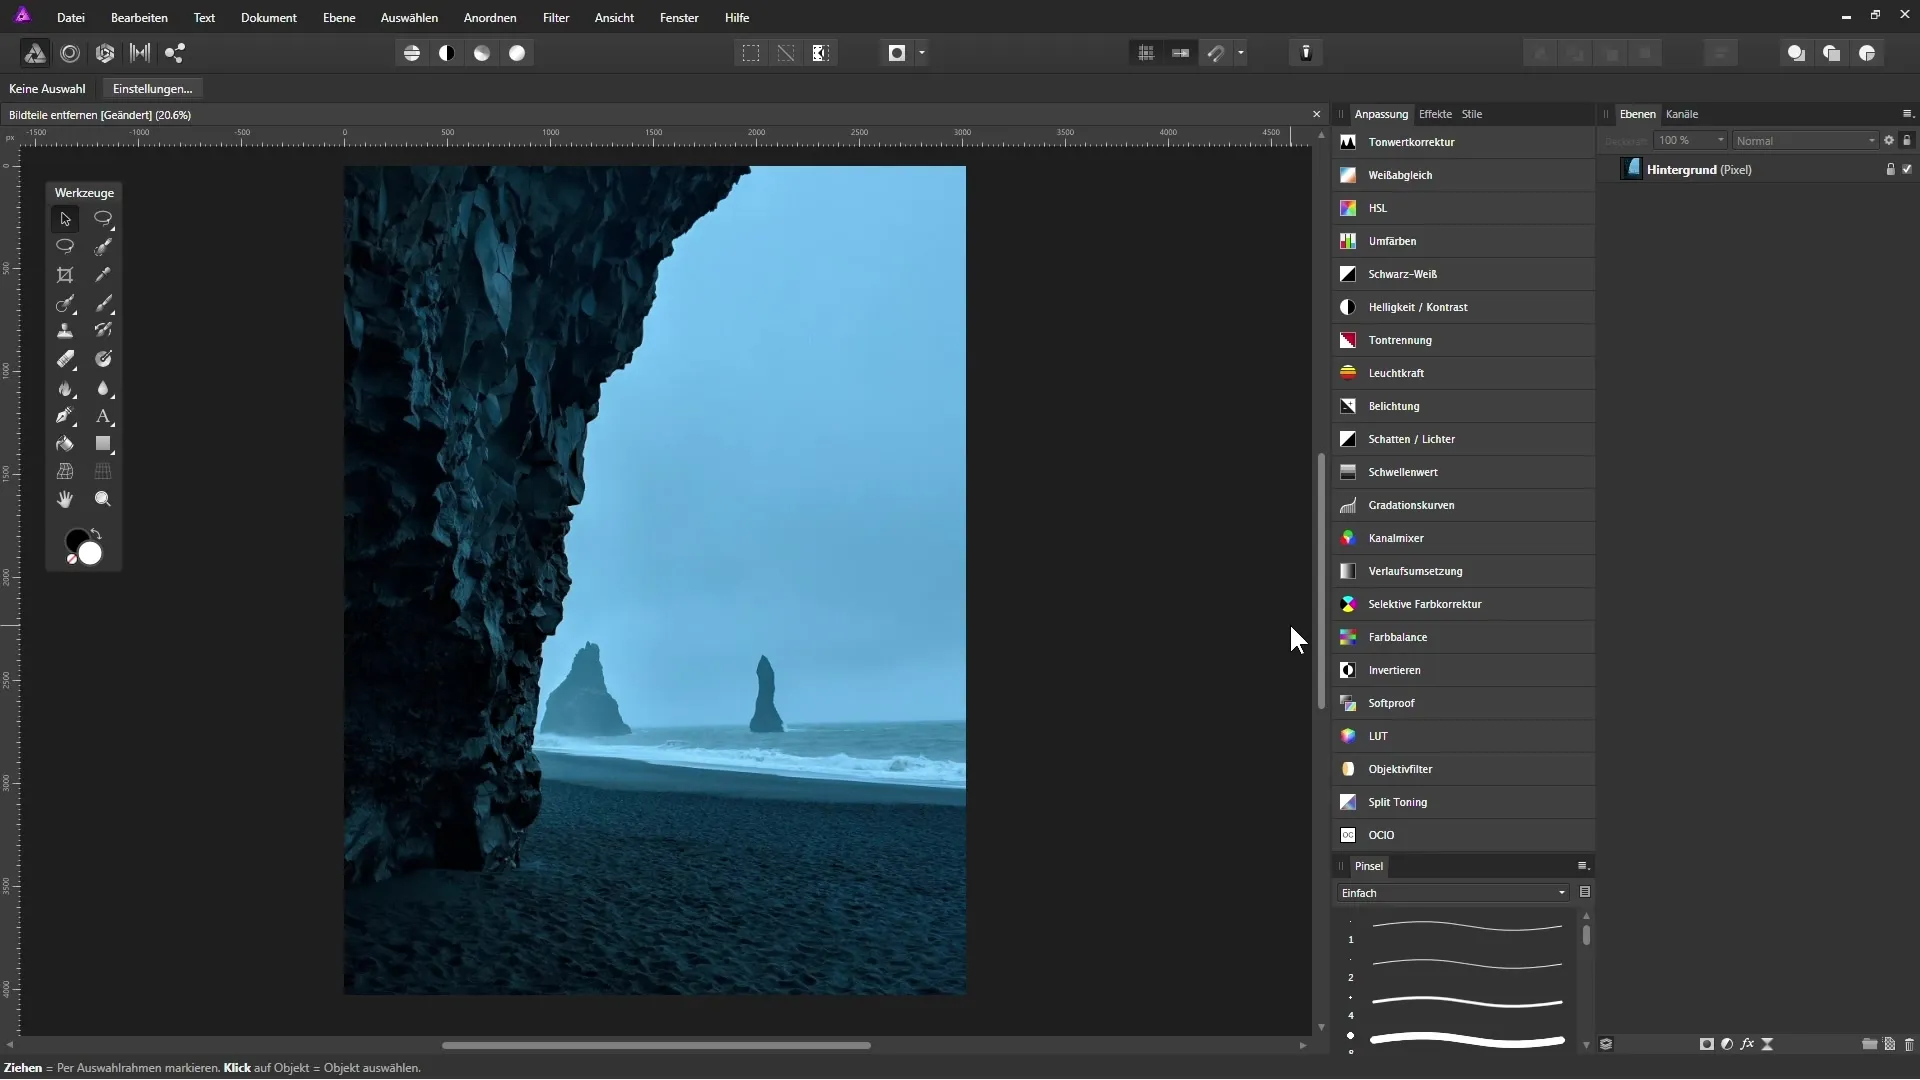
Before you start removing parts of your image, it is important to create the right starting point. Click the background layer in the layers palette and create a new, empty transparent layer. This is done by clicking the corresponding icon. This allows you to work non-destructively, meaning you can make changes at any time without affecting the original image.
Using the Repair Brush Tool
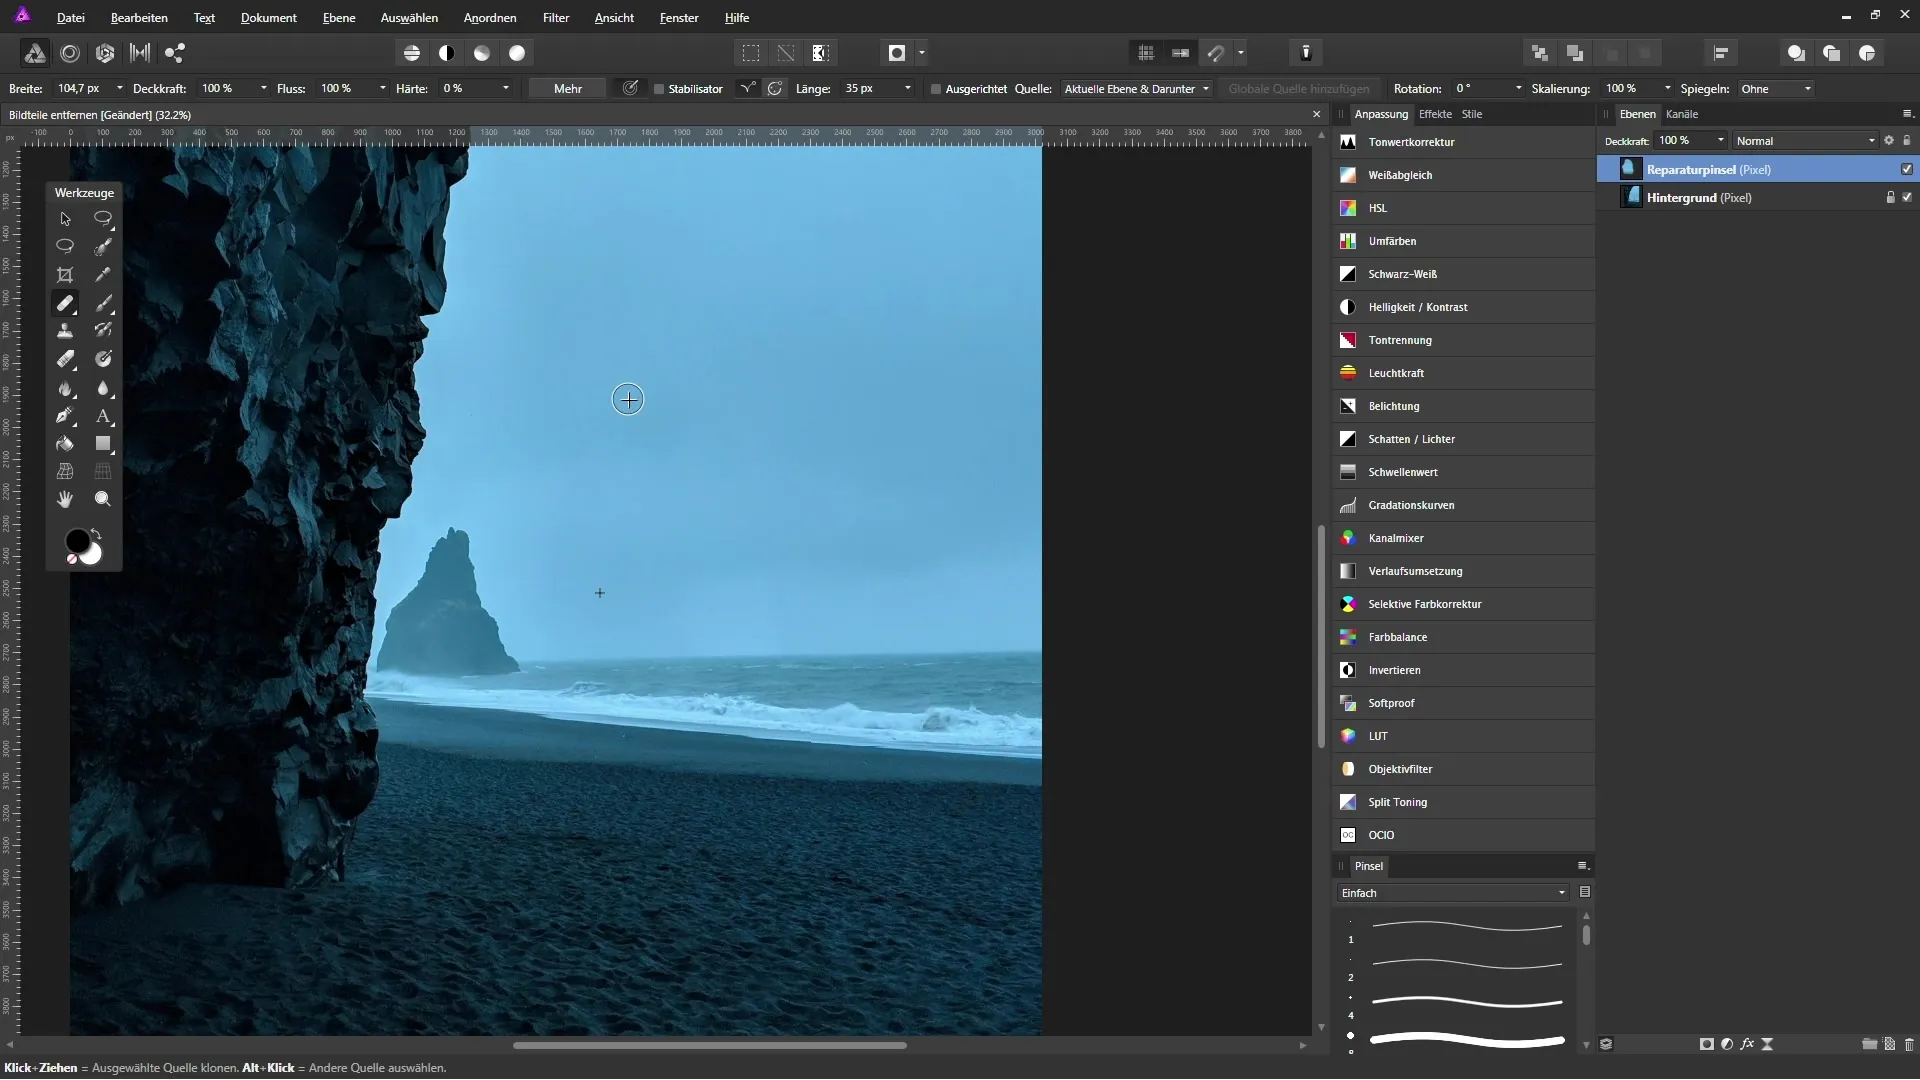
The repair brush tool is an efficient method for removing parts of the image. Select the tool and make sure to set the source to "Current Layer and Below." This allows the tool to use information from both the current layer and the underlying layers. Zoom into the image for more precision: hold down the Alt key and select an area you want to use as a source. Then paint over the unwanted area. You will see that the tool automatically captures image information and repairs the area accordingly.
With the same technique, you can balance brightness differences by also working at the edges of the edited area. By painting slowly and carefully, you can create an appealing transition.
Using the Restoring Tool
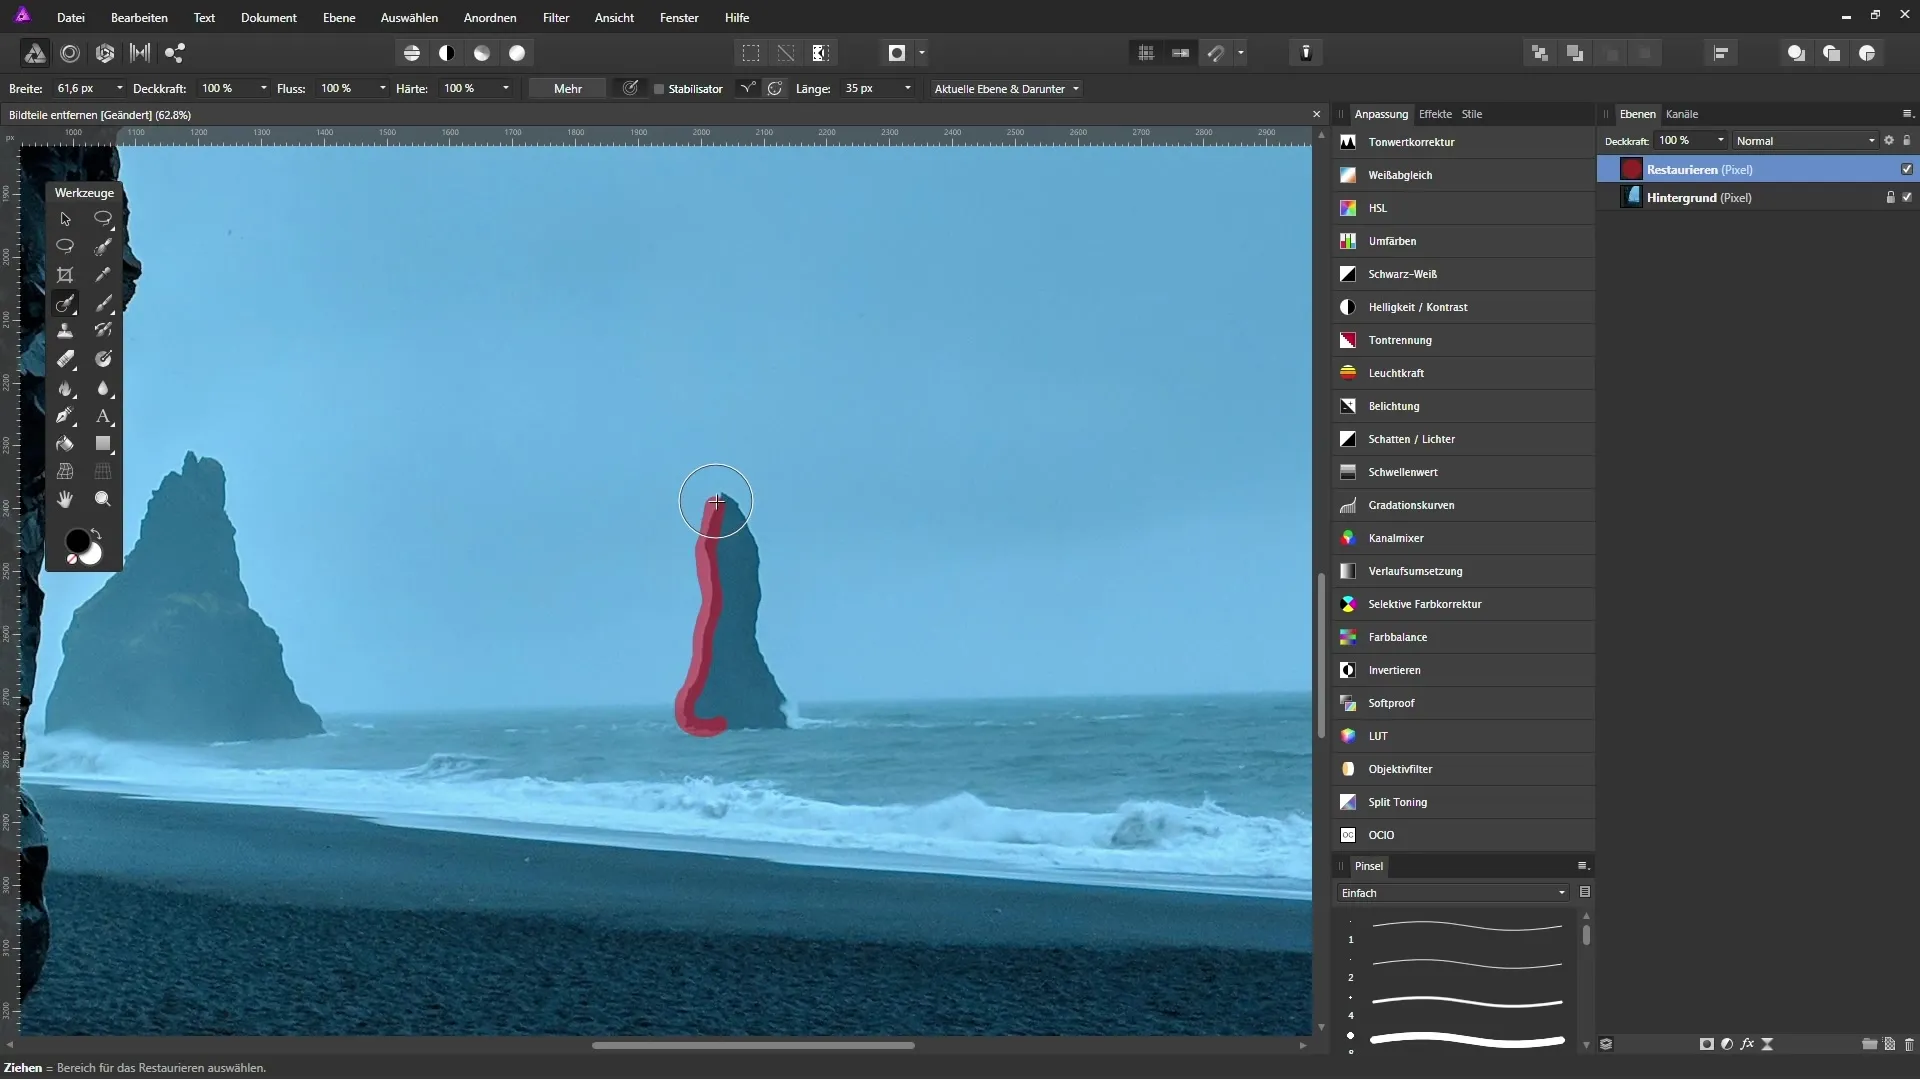
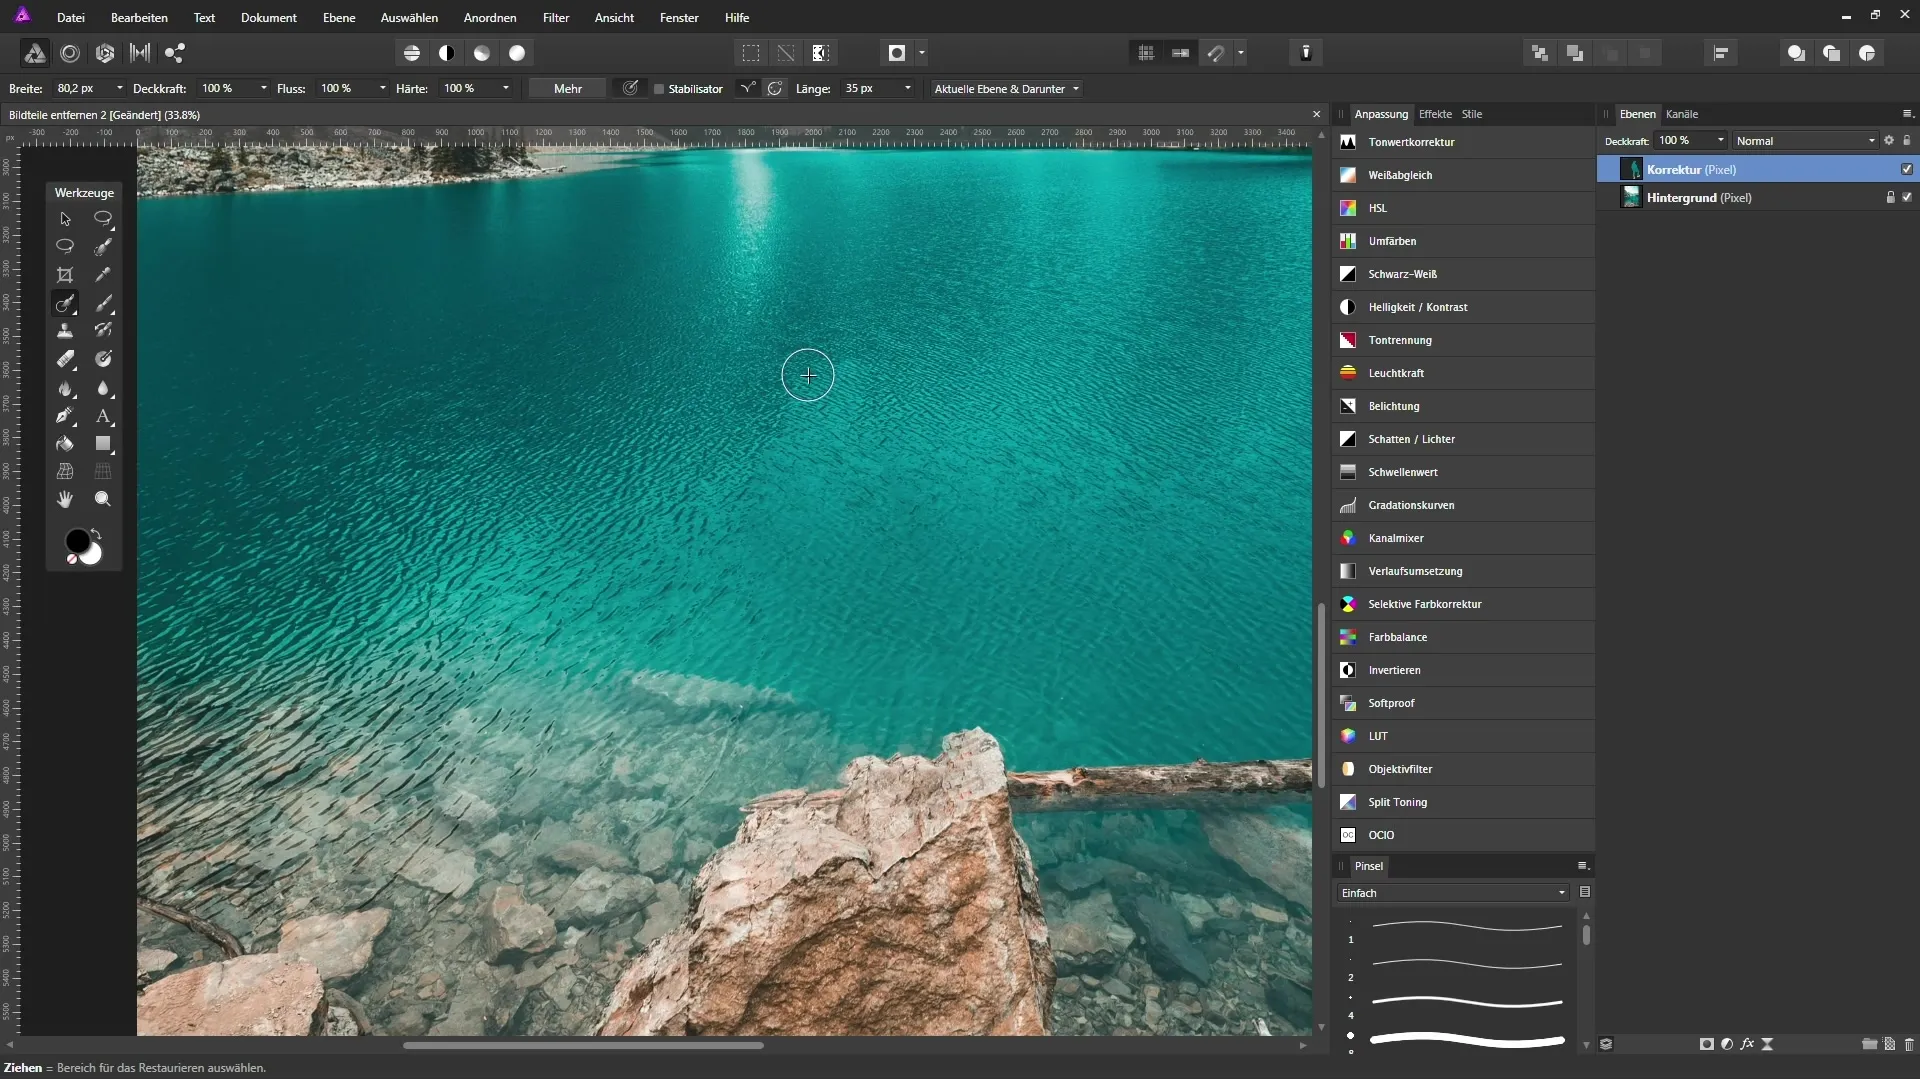
The restoring tool works similarly to the repair brush, but you do not need to define a source. Set it to "Current Layer and Below" as before and simply paint over the area you want to remove. Affinity Photo will automatically try to find the appropriate source to repair the area. Make sure to select the area as precisely as possible, such as with a slight border. If you don’t like the result, you can paint over it again to improve the adjustment.
Working with Regular Selections
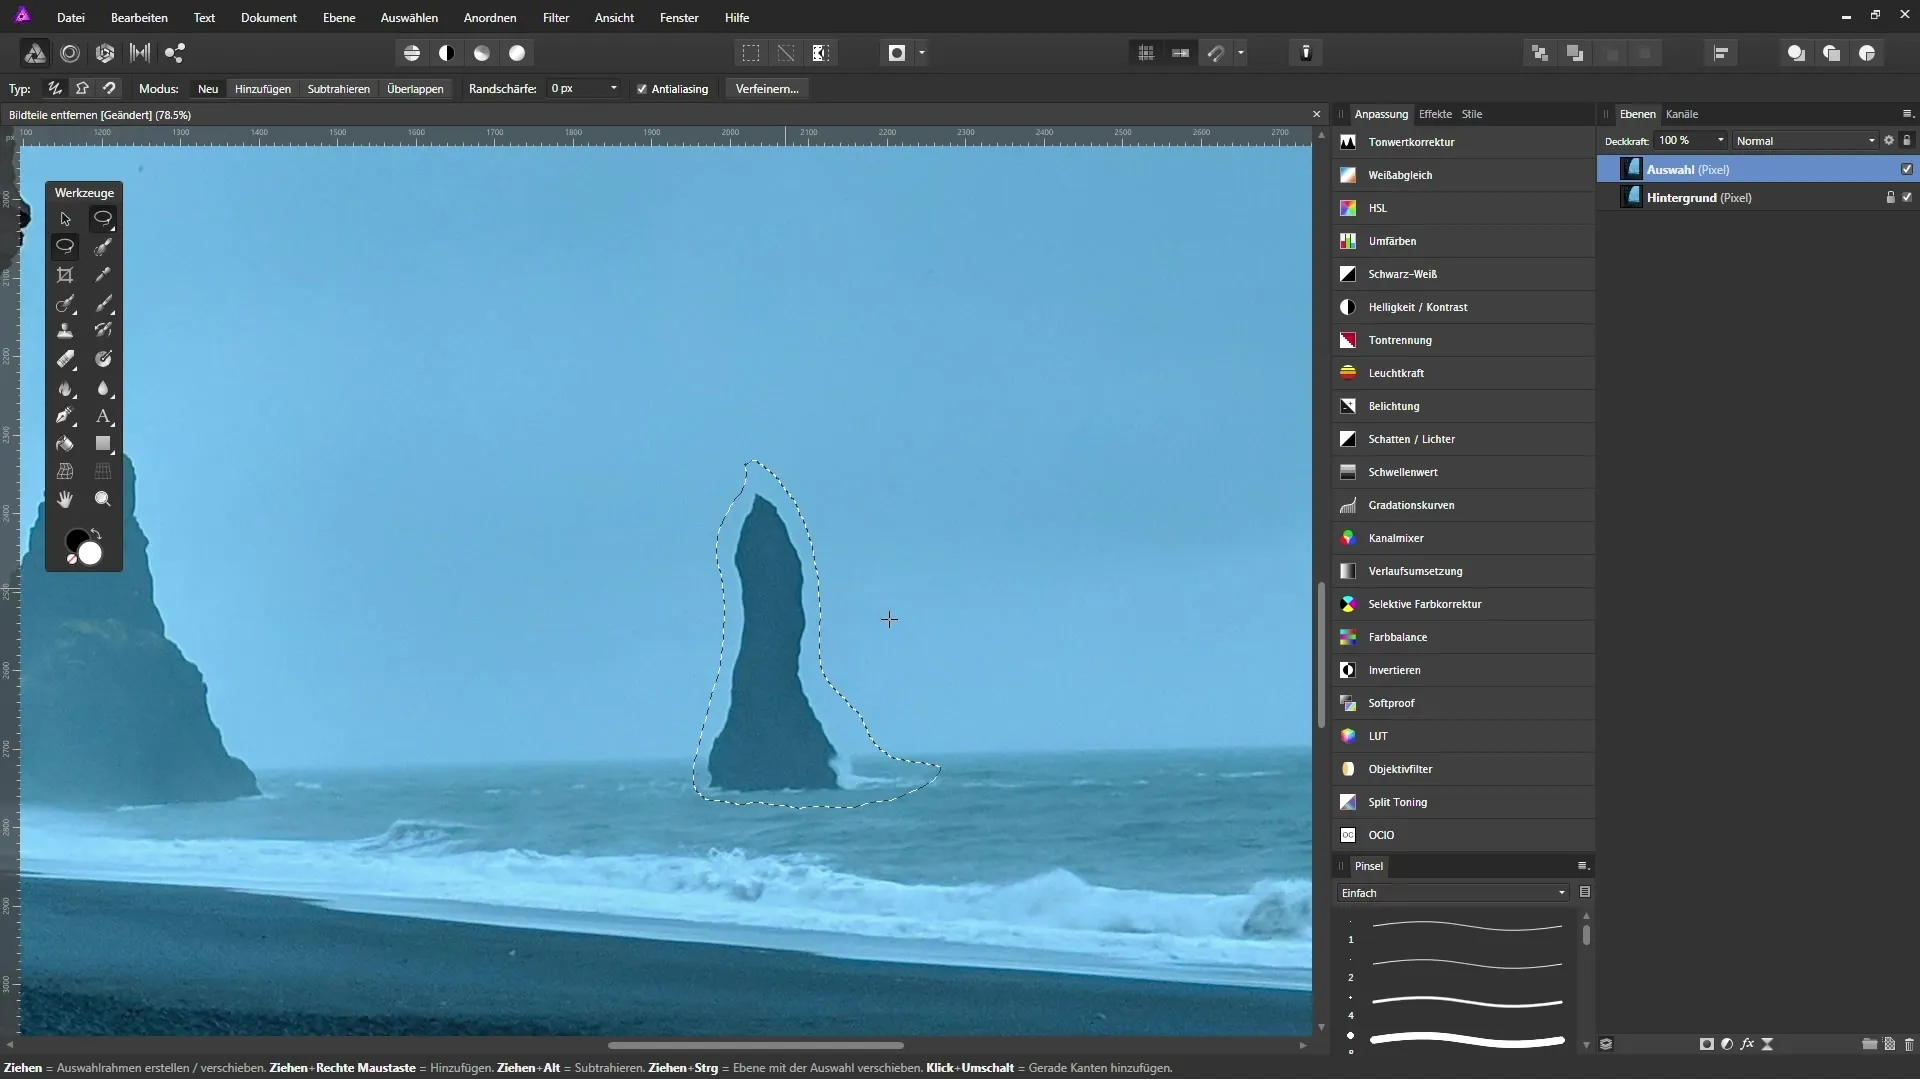
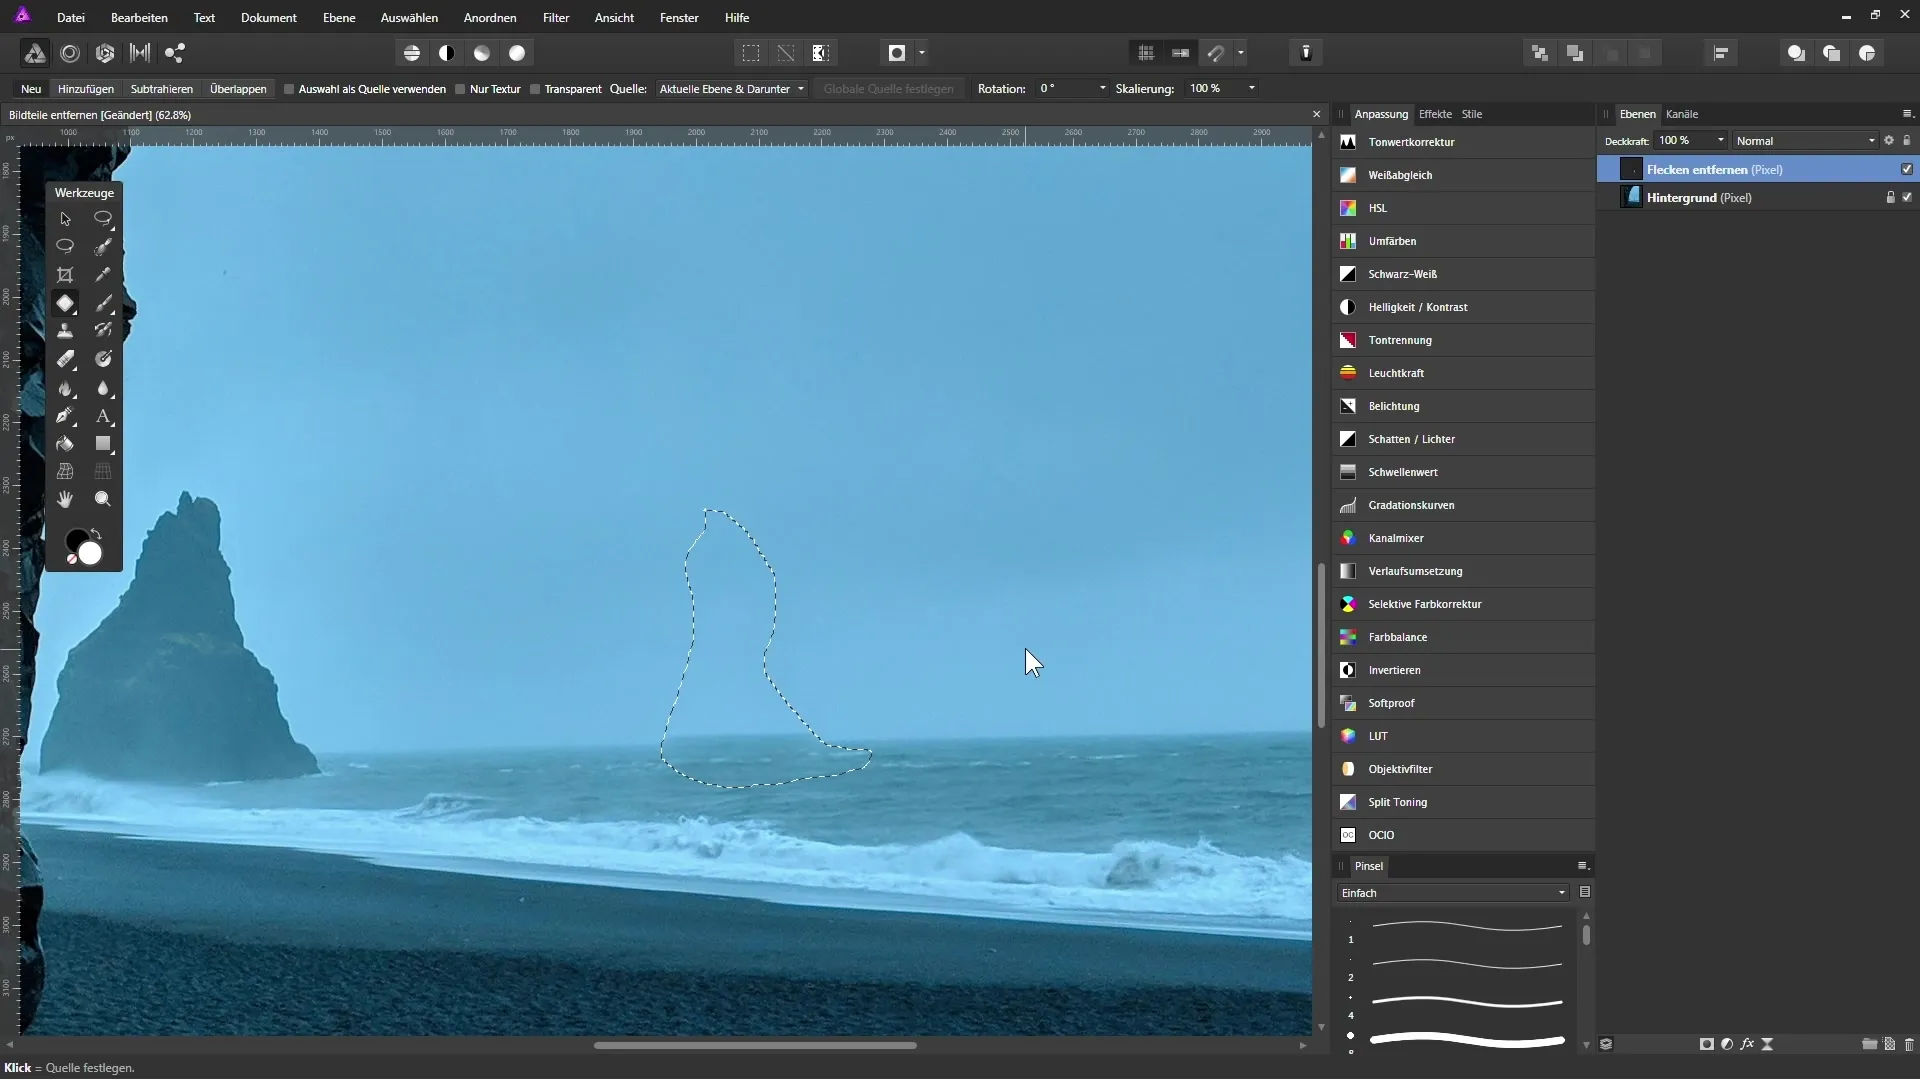
Another method for image editing is using the lasso tool. This is particularly helpful when you want to edit or remove a specific part of an image. To do this, select the background layer, create a copy, and work on that. Hold the left mouse button while selecting the desired area. Adjusting the selection is also easy: you can subtract or add areas with the Alt key. Then apply the command "Edit > Restore" to correct the selected area.
Blemish Removal Tool
This tool gives you additional control, especially for specific flaws in the image. Again, create a new transparent layer and select the blemish removal tool. Now you can target areas you want to edit. Hold the mouse button down to define the source for the repair before painting over the unwanted part. With this tool, you have significant influence over the results, as you can precisely determine how the area should be adjusted.
Combining Tools
In many cases, it makes sense to combine multiple tools to achieve optimal results. For example, first edit the image with the restoring tool and then use the blemish removal tool to correct small inconsistencies. Make sure to work on a separate layer so that you can easily undo changes or hide and show the layer as needed.
Summary – Effective Guide to Removing Image Parts in Affinity Photo
In this guide, you have learned how to remove unwanted elements from your images without compromising the original image. With various tools like the repair brush, restoring tool, and blemish removal tool, you now have the ability to edit images non-destructively. Working on separate layers gives you additional flexibility and control, allowing you to make adjustments at any time.
Frequently Asked Questions
How do I remove unwanted objects in Affinity Photo?Use the repair brush or the restoring tool on a new transparent layer.
What is the difference between the repair brush and the restoring tool?The repair brush requires a defined source, while the restoring tool finds a source by itself.
Can I undo my changes at any time?Yes, if you work on a separate layer, you can change visibility or delete the layer at any time.
What happens if I do not work on a new layer?Changes are applied directly to the original image, making non-destructive editing impossible.
Which tools are best for removing objects?The restoring tool, repair brush, and blemish removal tool vary in effectiveness depending on the content of the image.


