Editing photos, especially in product photography, requires a certain sense for detailsand contrasts. Good image editing allows you to create moods and direct the viewer's attention to specific elements. Here you will learn how to deliberately increase the contrast in your images and emphasize finedetails.
Key insights
- Increase the basic contrast to enhance the visual impact.
- Ensure that you do not create pure black or white to retain details.
- Use adjustment layers and live filters to optimize image quality.
- Use masks to make targeted adjustments without affecting the entire image.
Step-by-step guide
1. Increase basic contrast
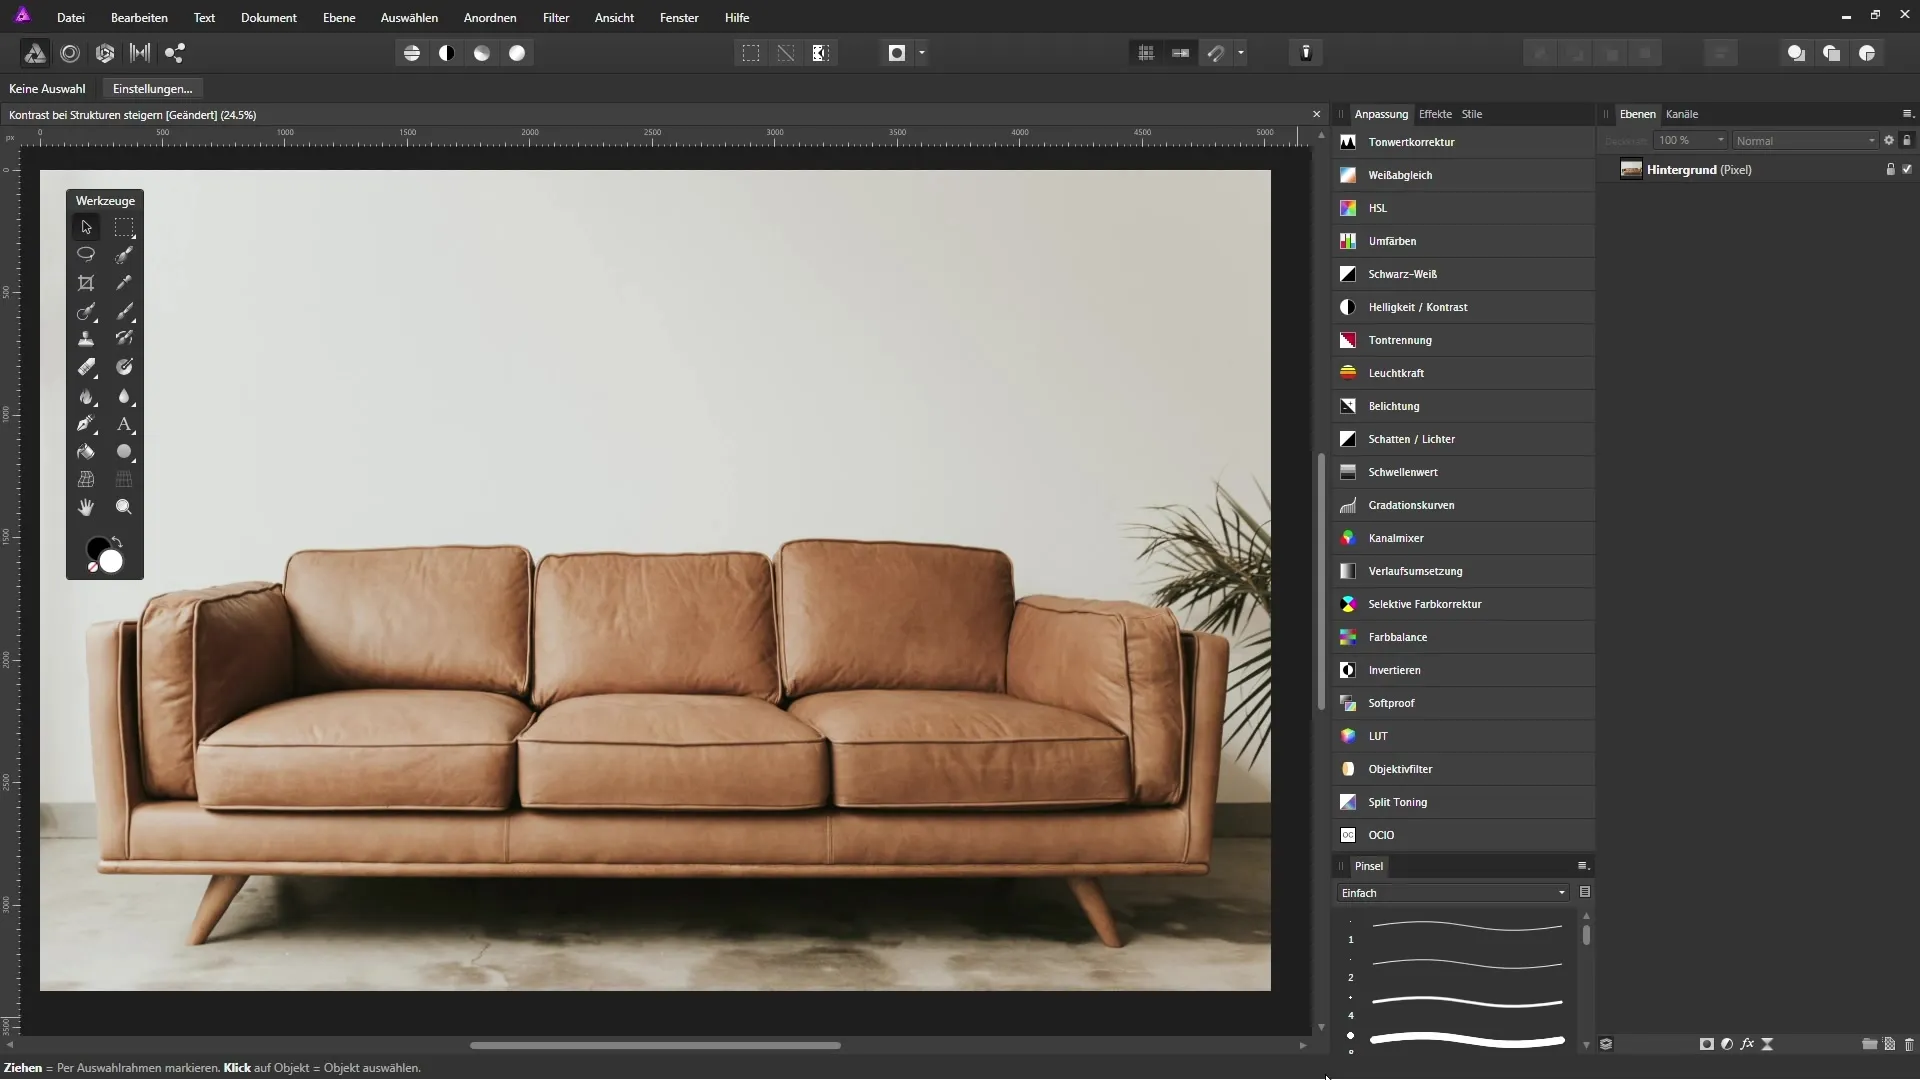
Start with the image you want to optimize. There are images where increasing the basic contrast makes a significant difference, especially in product photography. You should keep in mind that not every image should be treated the same. For example, it can be nice for portrait images if the darkest tones appear slightly brightened. In your current product image, for instance, a couch, it is clear that more contrast is needed.
2. Adjustment layer for tonal correction
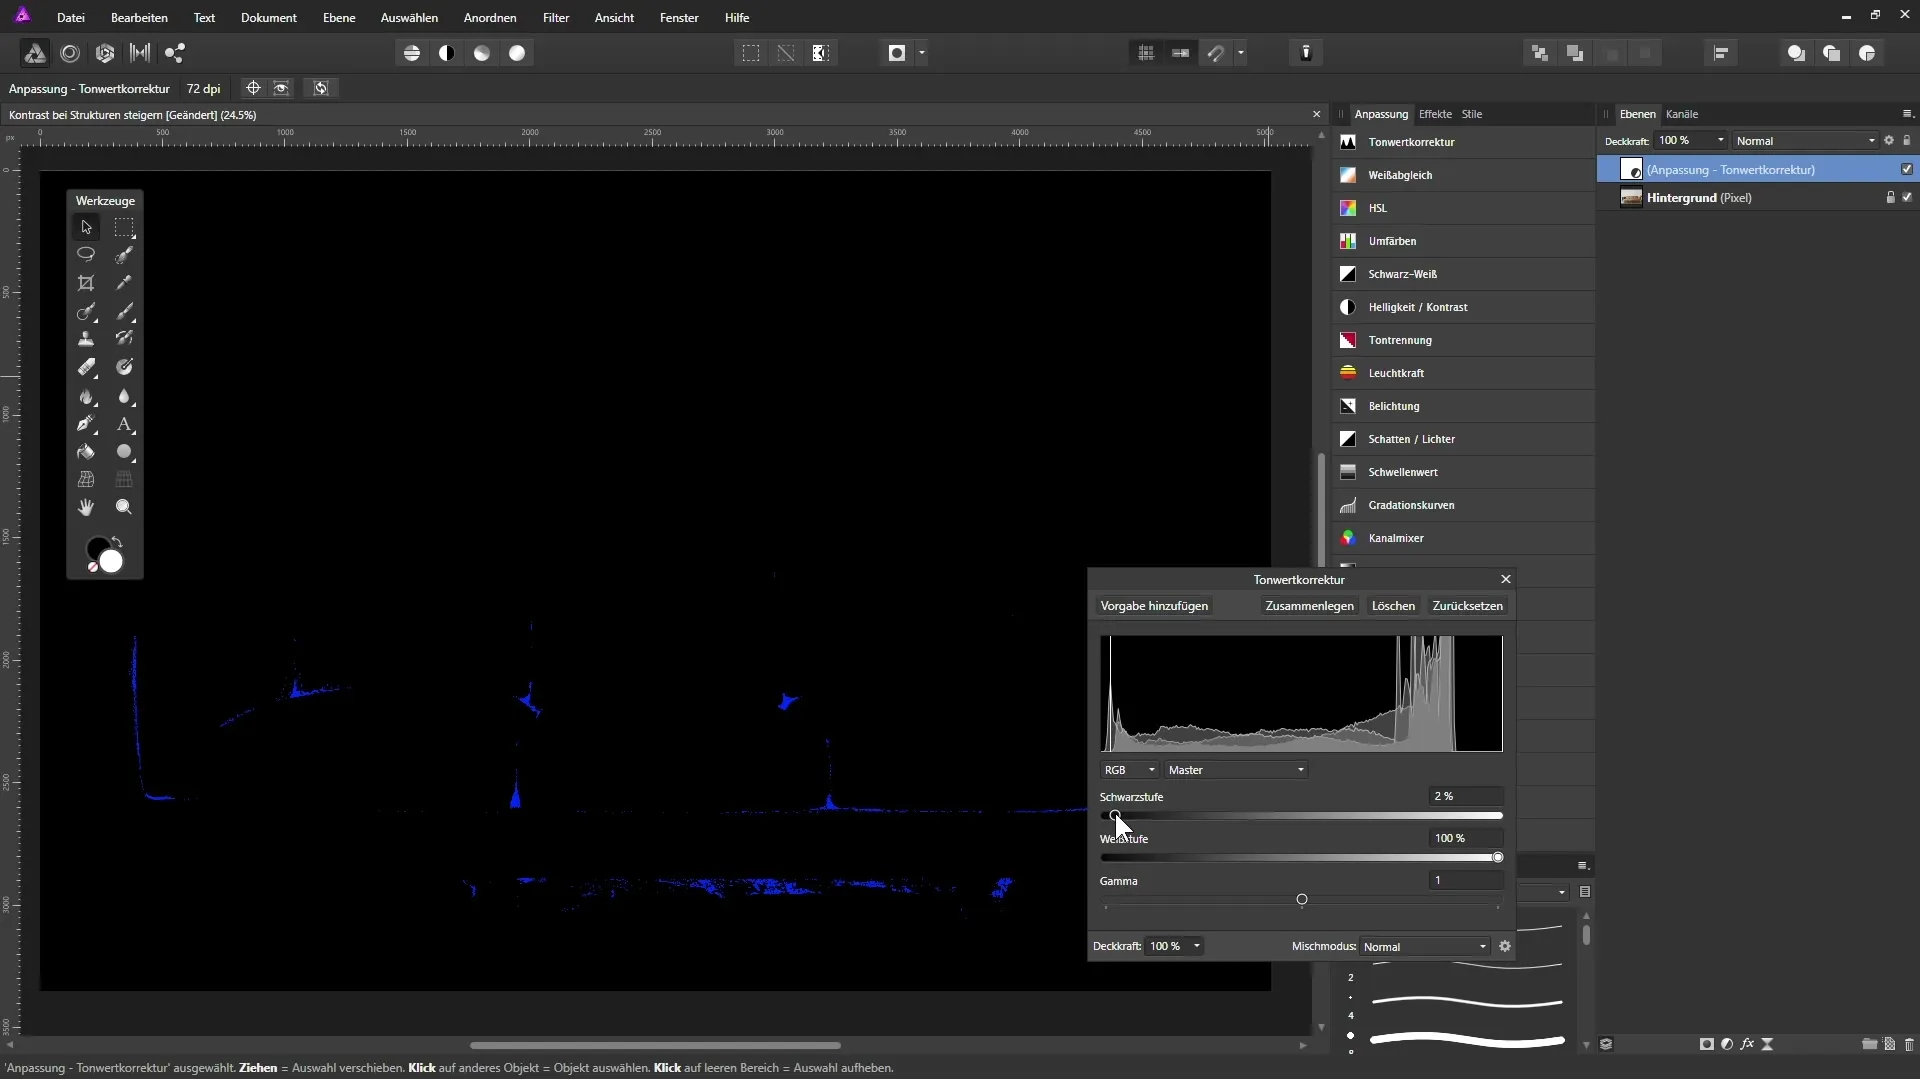
To increasethe contrast in the image, next, create a new adjustment layer for tonal correction. The histogram of the image will be displayed to help you understand where the dark and light areas are located. You should notice that there is no pure black or pure white. These areas are crucial for further editing.
3. Adjust black and white levels
Hold down the 'Alt' key and move the black level slider to the right. This will define the darkest point of your image. Pay attention to the blue areas that appear, as they indicate where the darkest tones in your image are. Release the mouse when you reach the desired area.
A similar technique is used for the white level slider. Again, hold down the 'Alt' key while moving the slider to the left until the first light area becomes visible. Be careful not to lose delineation.
4. Saturation and layer mode
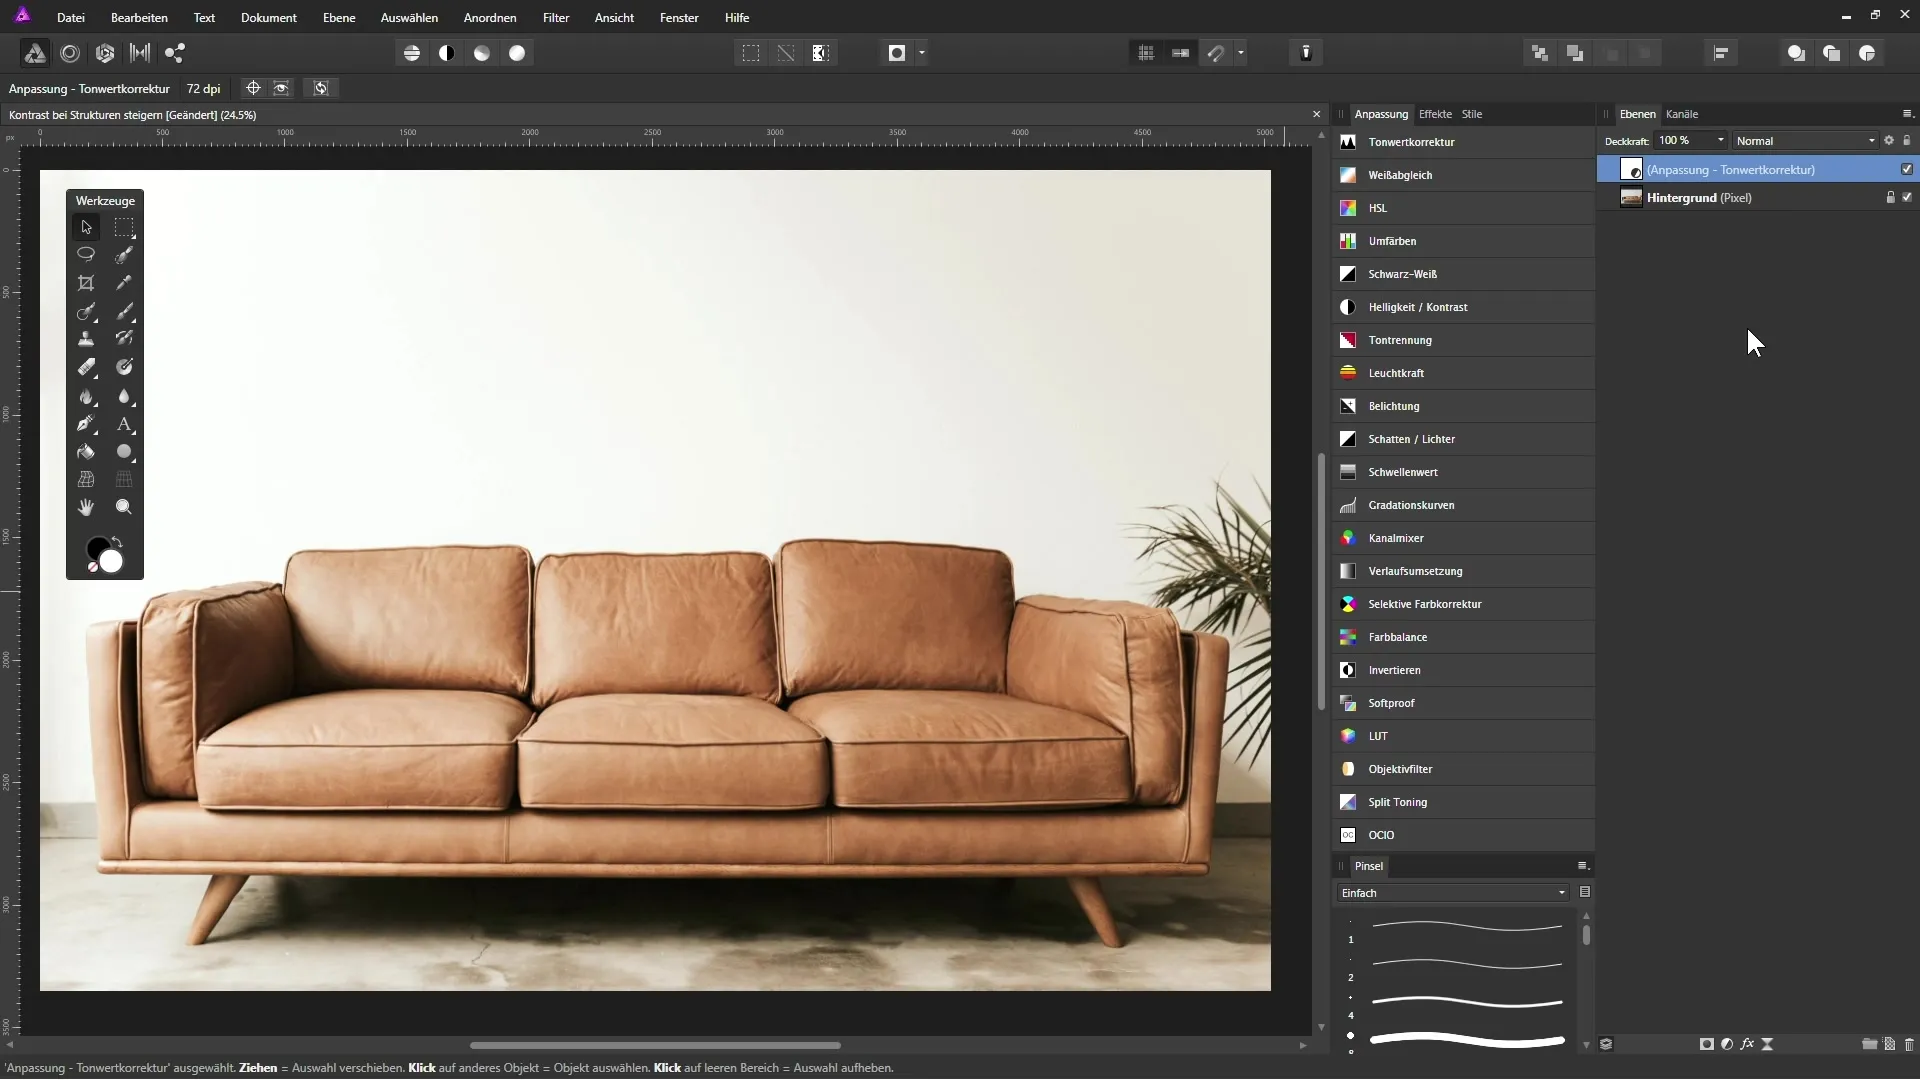
After adjusting the tonal values, you may notice that the saturation of the image has also increased. If you do not like this effect, you can change the layer mode from "Normal" to "Luminosity". This way, the tonal correction will only be applied to the brightness information and will not affect the colors.
5. Add high-pass filter
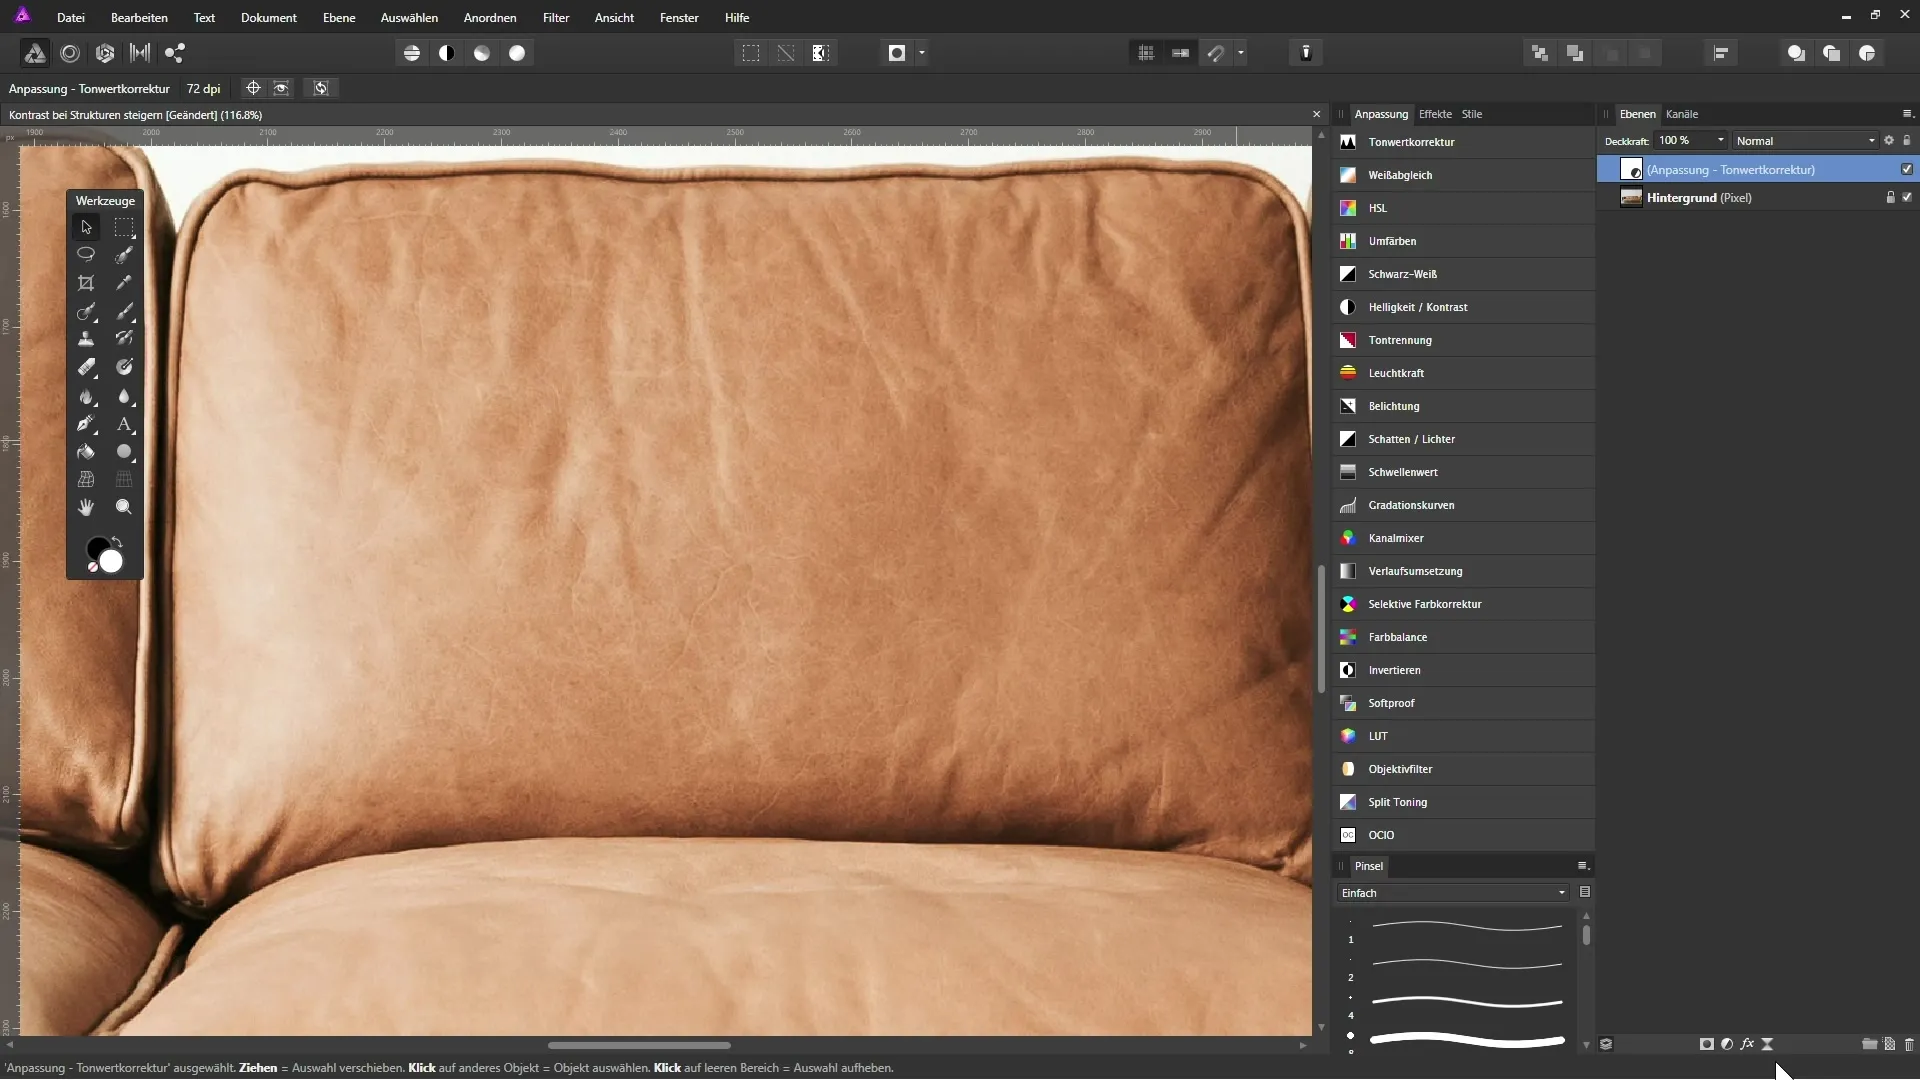
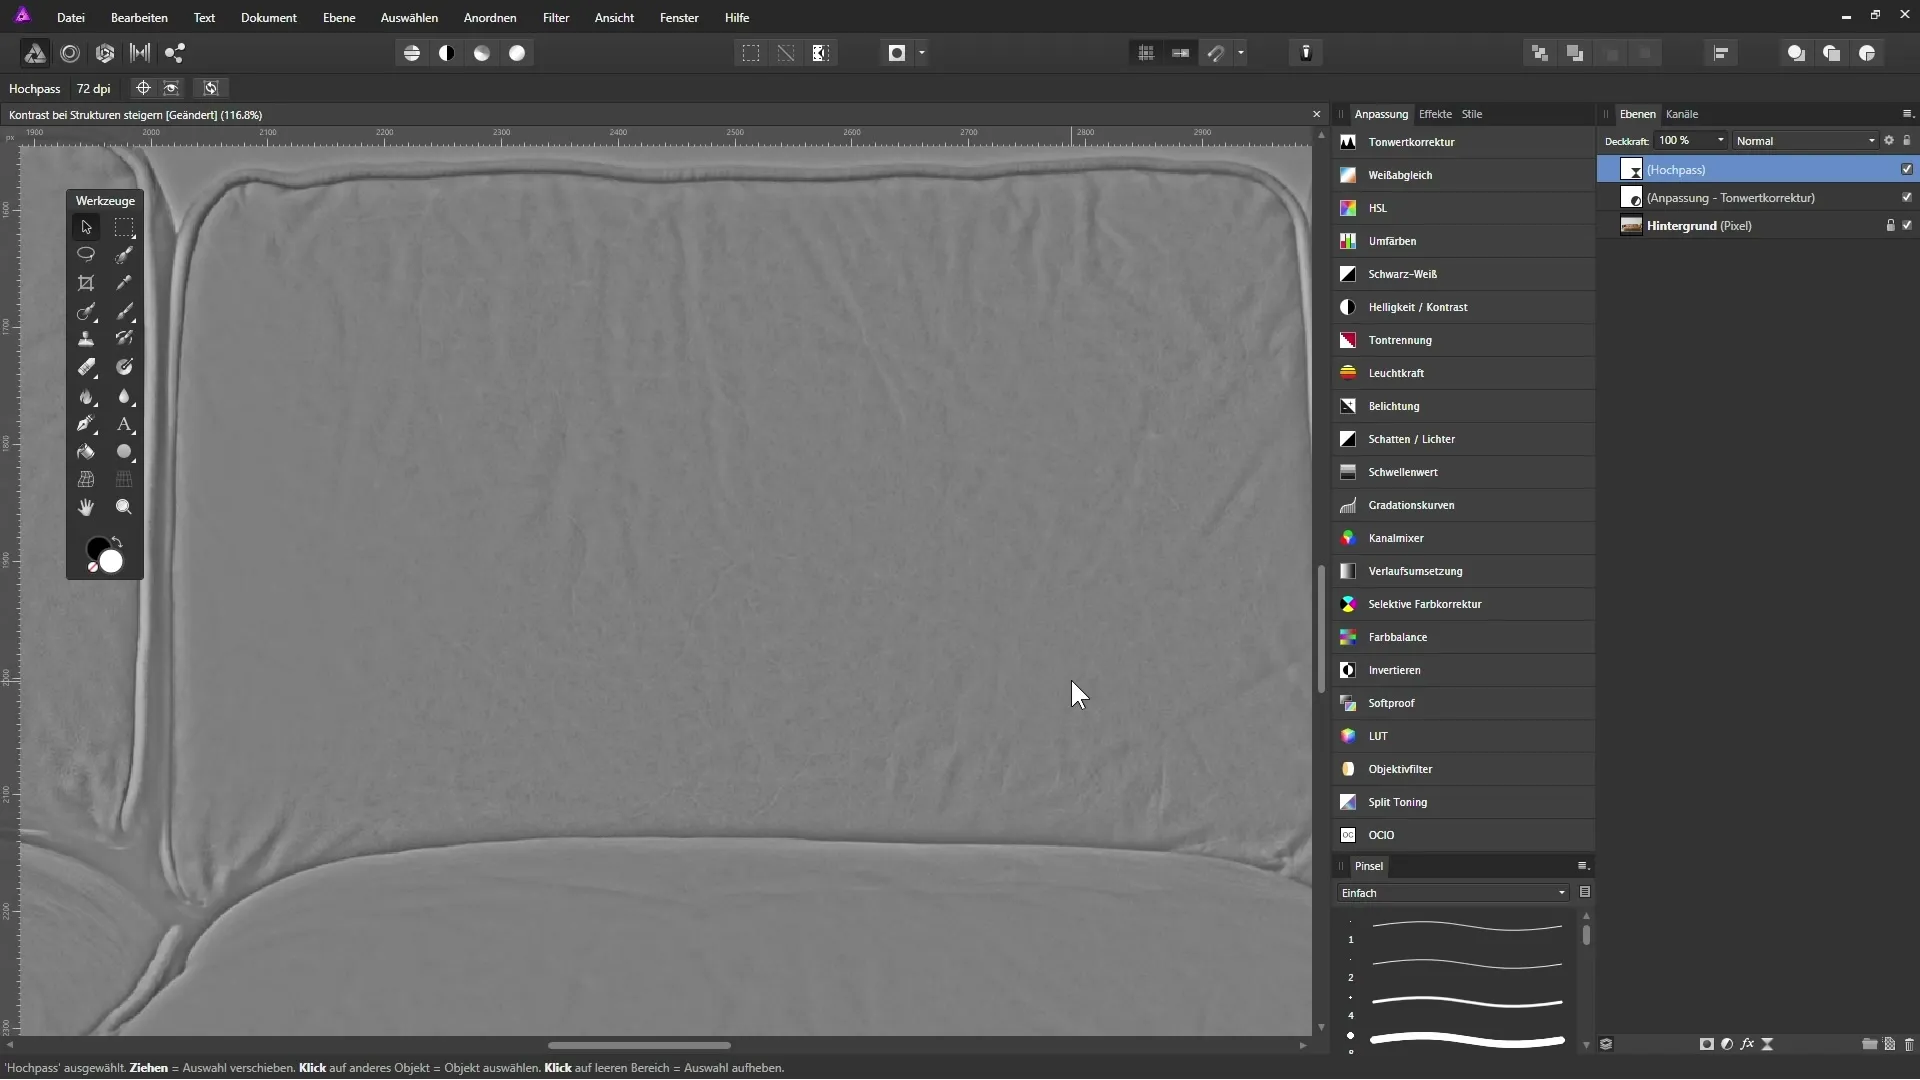
To enhance fine details in the image, create a high-pass filter with a live filter layer. It is important to bring the high-pass filter layer to the top position in the layers palette. Set the filter to monochrome to avoid unwanted color nuances. Now increase the radius so that the details become visible.
6. Set high-pass layer mode
Change the layer mode of the high-pass filter to a mode like "Soft Light" or "Overlay". These modes brighten the light areas of the image and darken the dark areas. You can decide which mode looks best for your image.
7. Mask unwanted areas
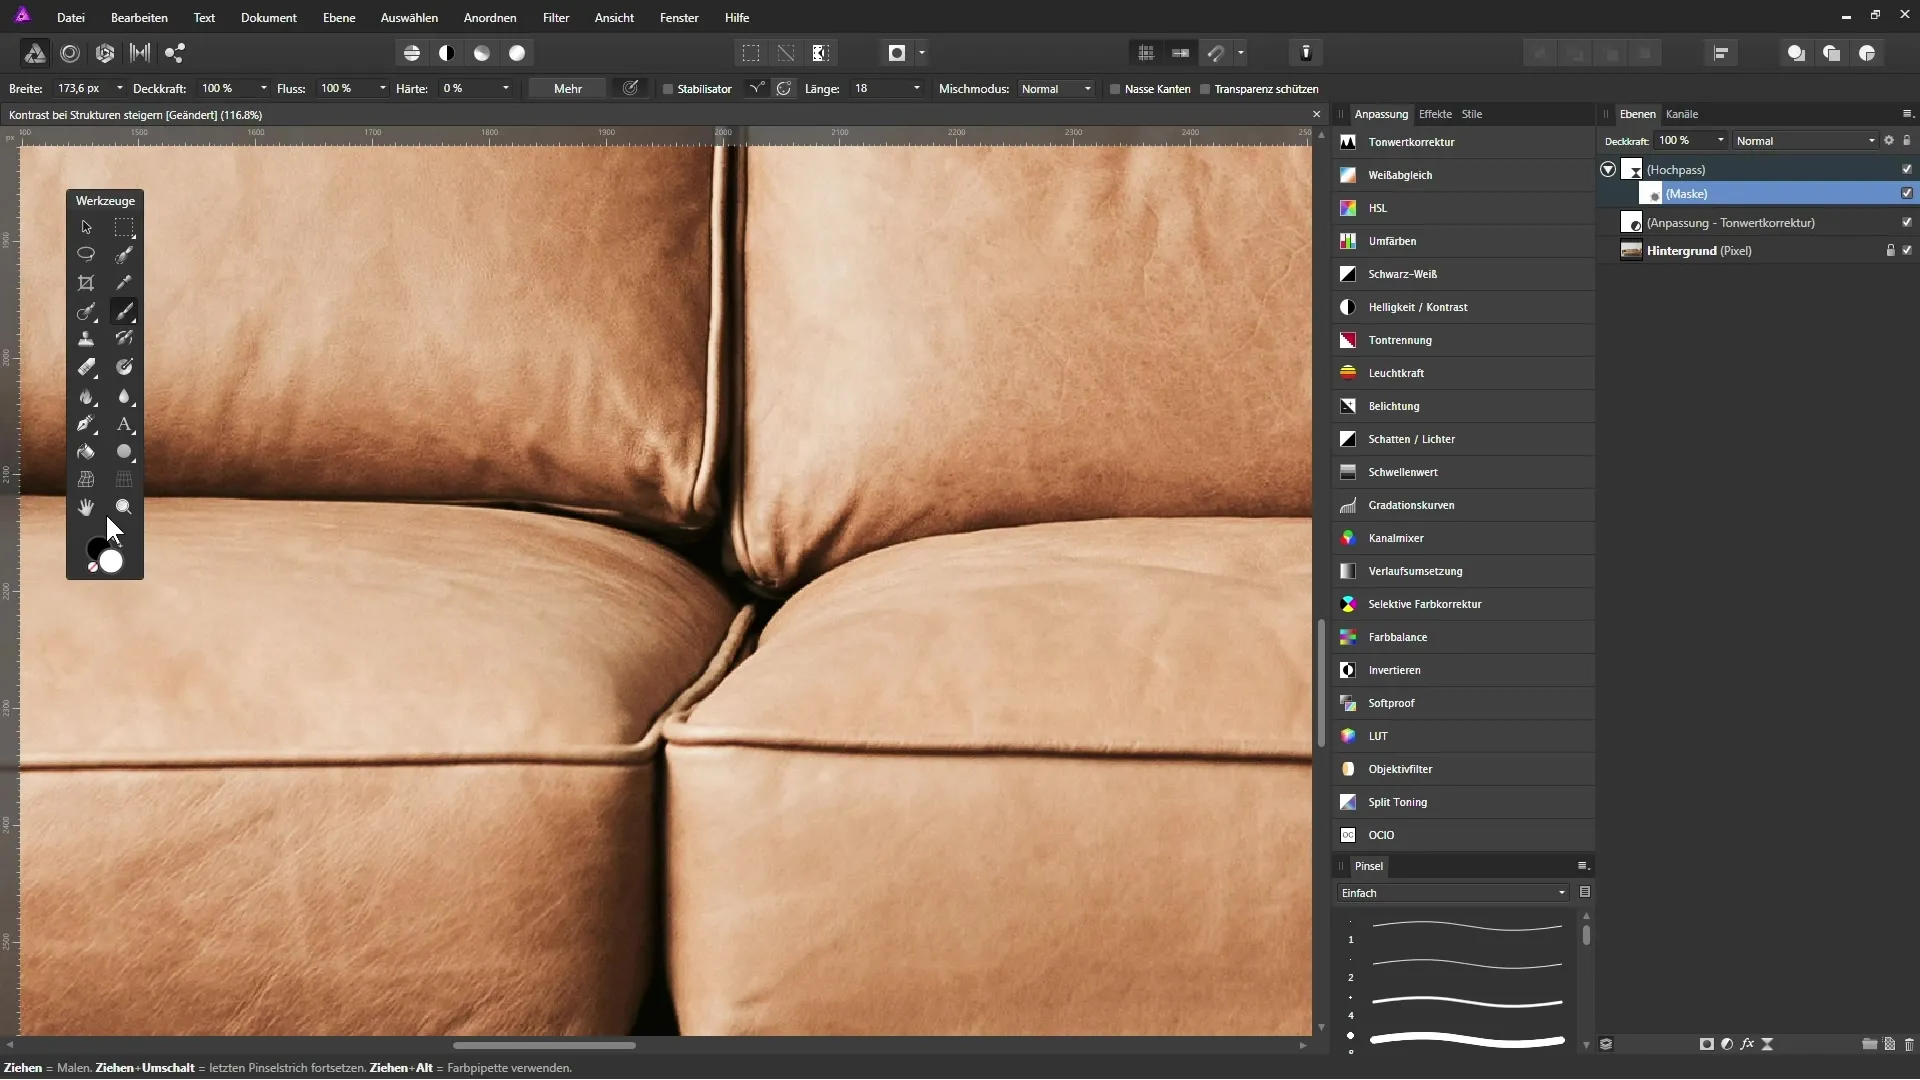
Now it's time to create a mask. Select the mask icon, and with a brush set to black, you can gently paint over the areas you want to exclude from the high-pass adjustment. Be sure to mask areas like between different leather parts to avoid an exaggerated result.
8. Make fine adjustments
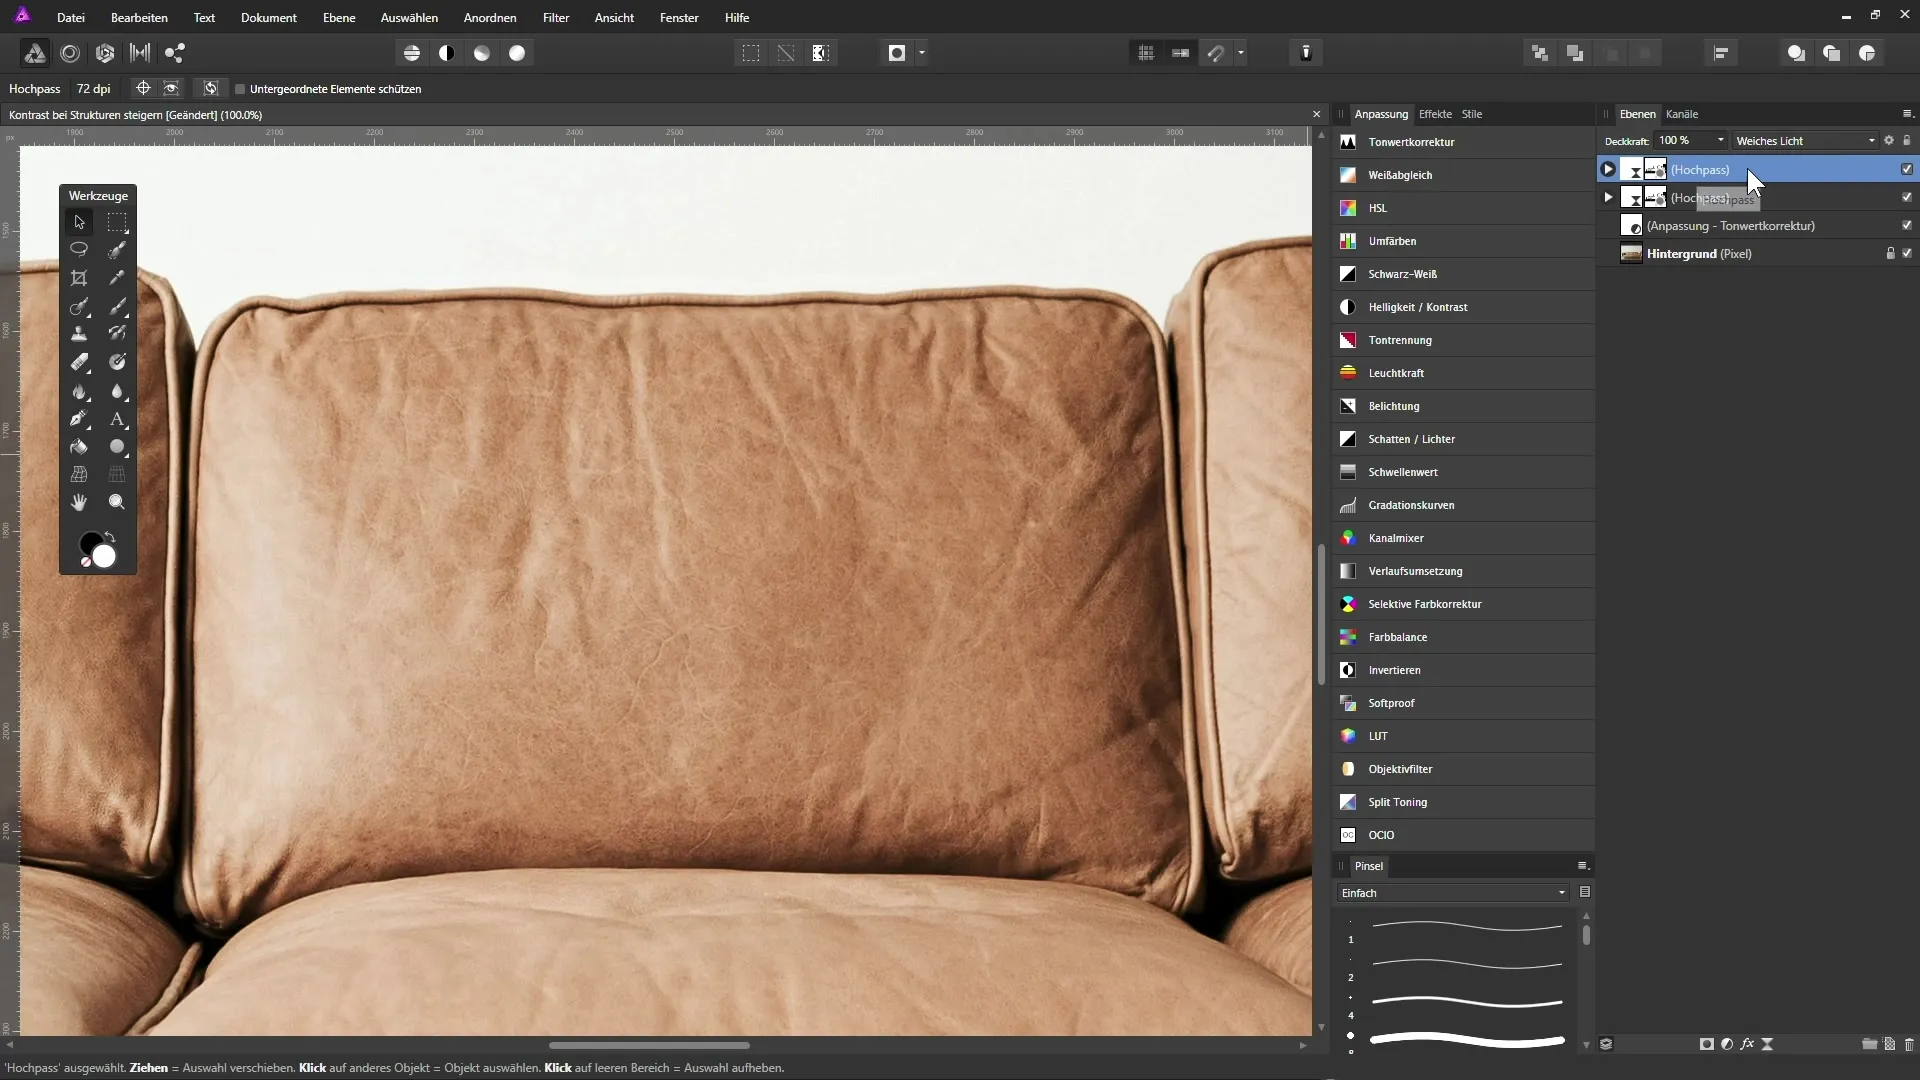
After completing the masking, you should check the result. Depending on the image, you can continue to experiment with various settings to achieve the desired visual effect. Simply duplicating the high-pass filter layer can also help to enhance the desired result.
Summary - Increasing contrast and enhancing detail in Affinity Photo
In this tutorial you have learned how to increase the basic contrast of an image in AffinityPhoto. You have also learned how to highlight fine details and structures using the high-pass filter. Through skillful adjustments and masked areas, your image will gain improved visual impact.
FAQ
What steps are necessary to improve the contrast of an image?Create an adjustment layer for tonal correction and adjust the black and white levels.
How can I control saturation after a tonal correction?Change the layer mode of the tonal correction to "Luminosity" to avoid affecting the colors.
How do I properly use the high-pass filter?Create a live filter layer for high-pass, set the radius, and change the layer mode to highlight the desired details.
What should I consider when masking areas in the image?Make sure to mask the areas that should not be affected by the high-pass filter to avoid an exaggerated result.
How often can I duplicate the high-pass filter layer?You can duplicate the high-pass filter layer as many times as needed to enhance the effect.


