Every photo tells a story, but sometimes that story needs a little polish. In this guide, you'll learn how to optimize your photos in Affinity Photo. Marco Kolditz will show you various techniques to bring out the best in your images. Let's start with the key takeaways.
Key Takeaways
- Sharpen your images specifically for different uses.
- Remove unwanted elements and distractions from your photos.
- Balance the colors between different objects to influence the mood of the image.
- Neutralize color casts and remove unwanted scratches or dust.
- Use noise reduction or noise as a creative tool.
- Fix distortions caused by wide-angle lenses.
Step-by-Step Guide
Step 1: Sharpen Photos
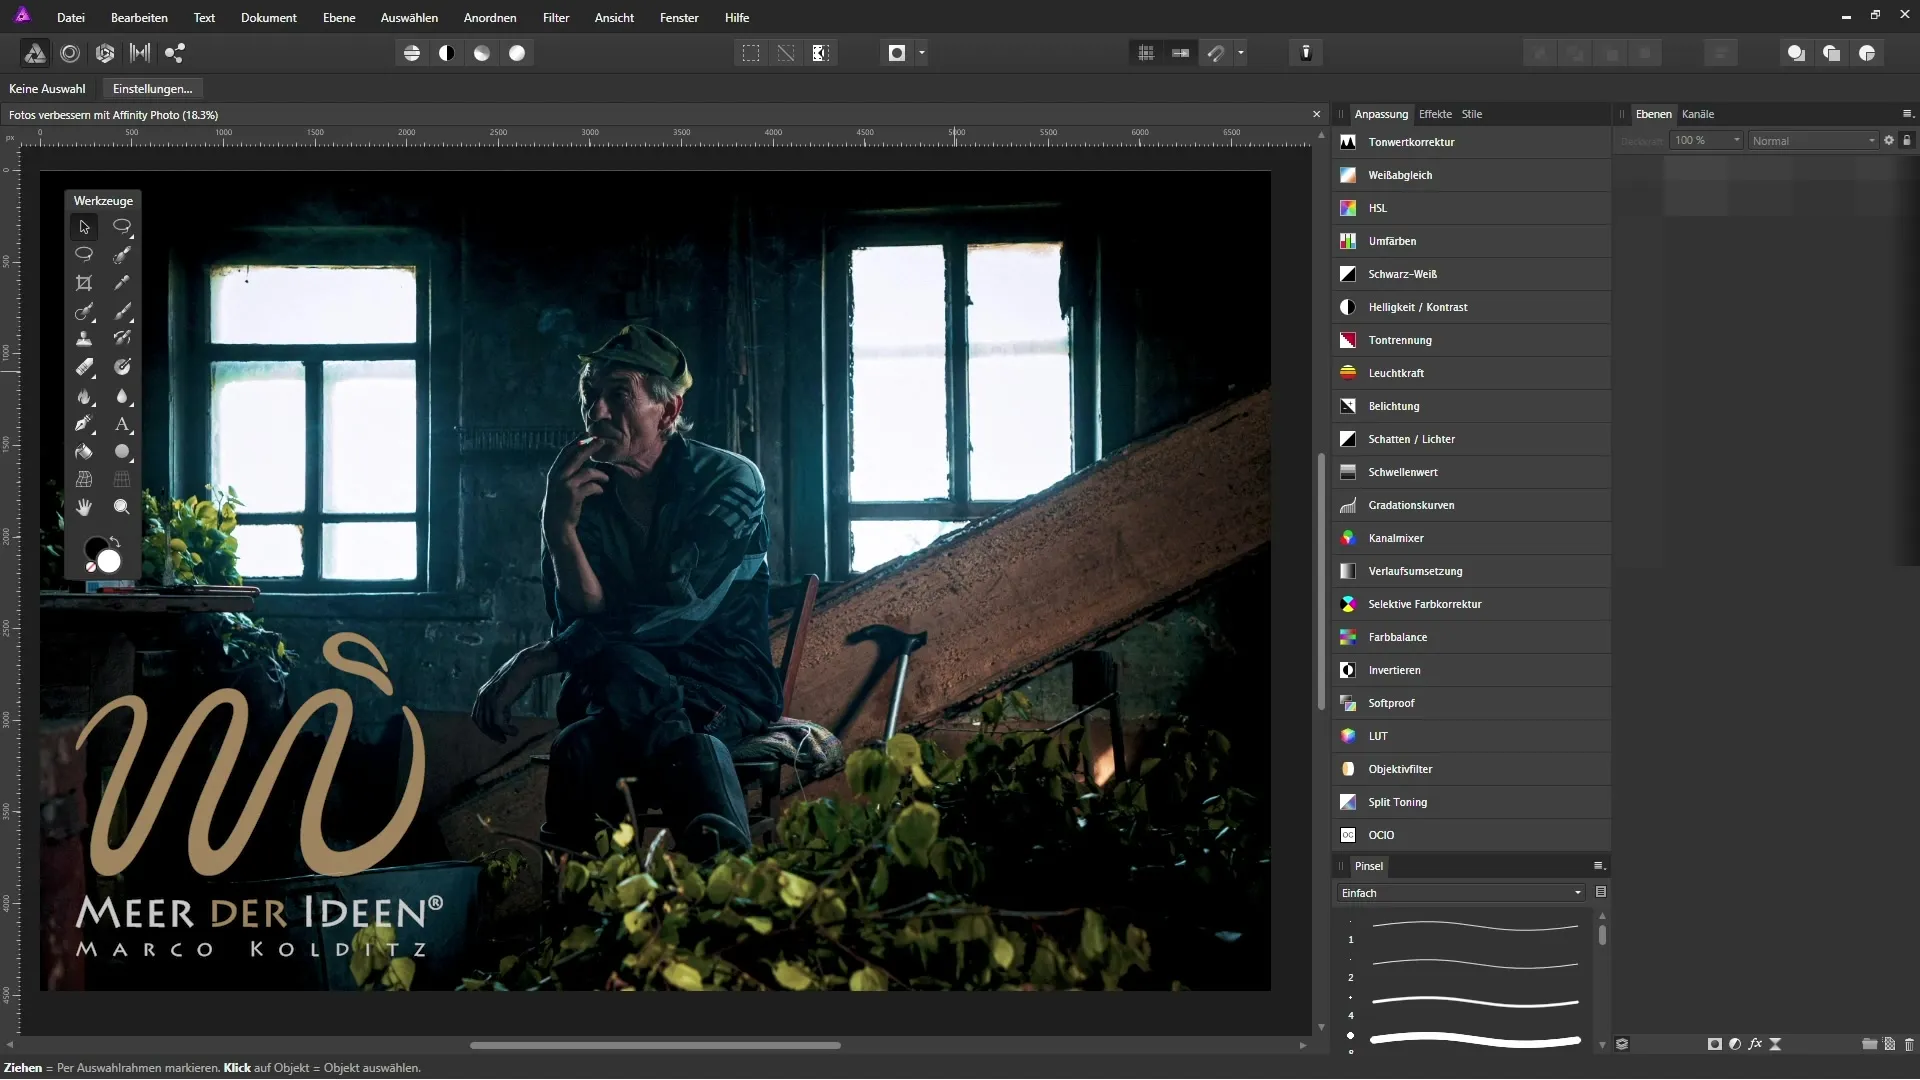
To optimize the sharpness of your images for different media, open your image in Affinity Photo. Use the “Sharpen” tool to highlight the details, which is particularly important for web applications or print. Make sure you adjust the sharpness to avoid over-sharpening.
Step 2: Remove Unwanted Elements
Sometimes unwanted objects disrupt the overall impression of an image. Use the “Healing Tool” in Affinity Photo to remove distracting elements. Simply hover over the object, and the software takes care of the rest. This technique helps you create clean and appealing photos.
Step 3: Match Colors
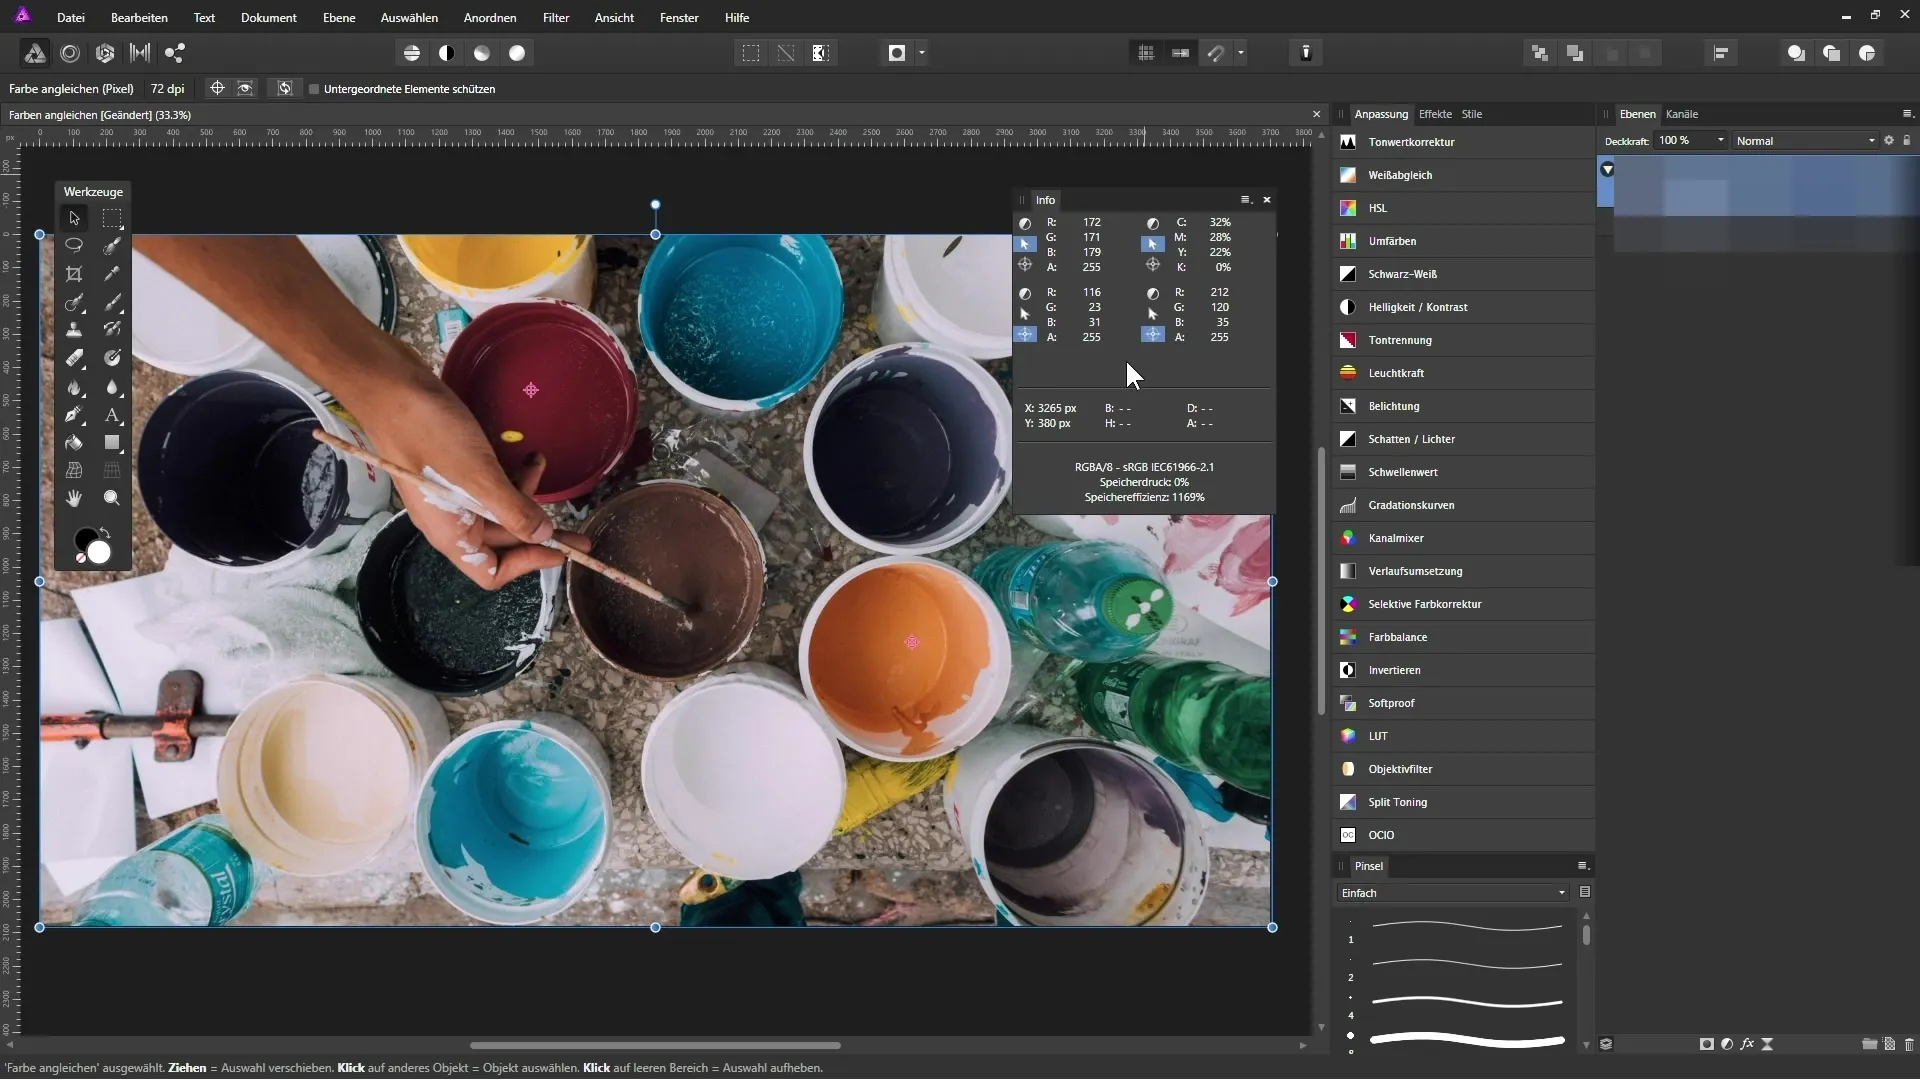
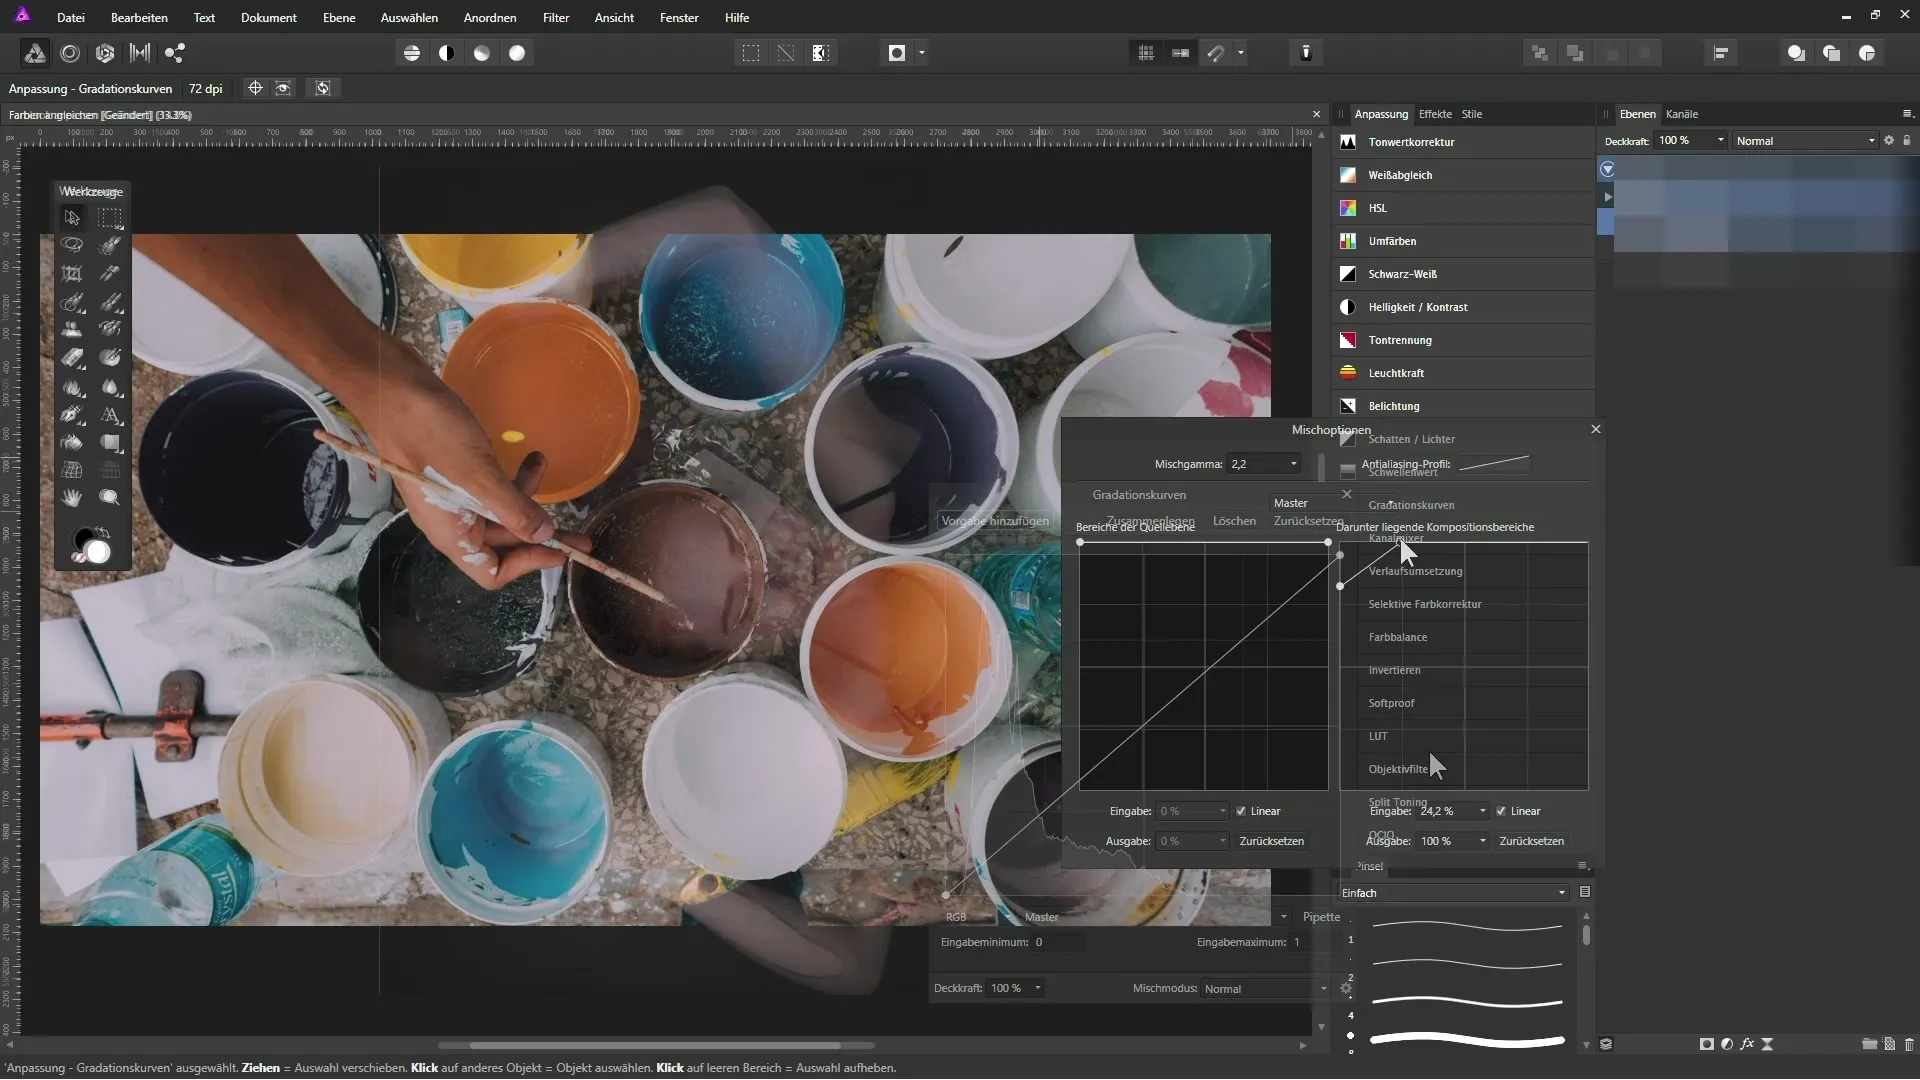
Colors between different objects in an image should harmonize. With the “Hue/Saturation” tool, you can adjust the colors to create a unified mood. This not only impacts the aesthetic of the image but also enhances its visual appeal.
Step 4: Neutralize Color Casts
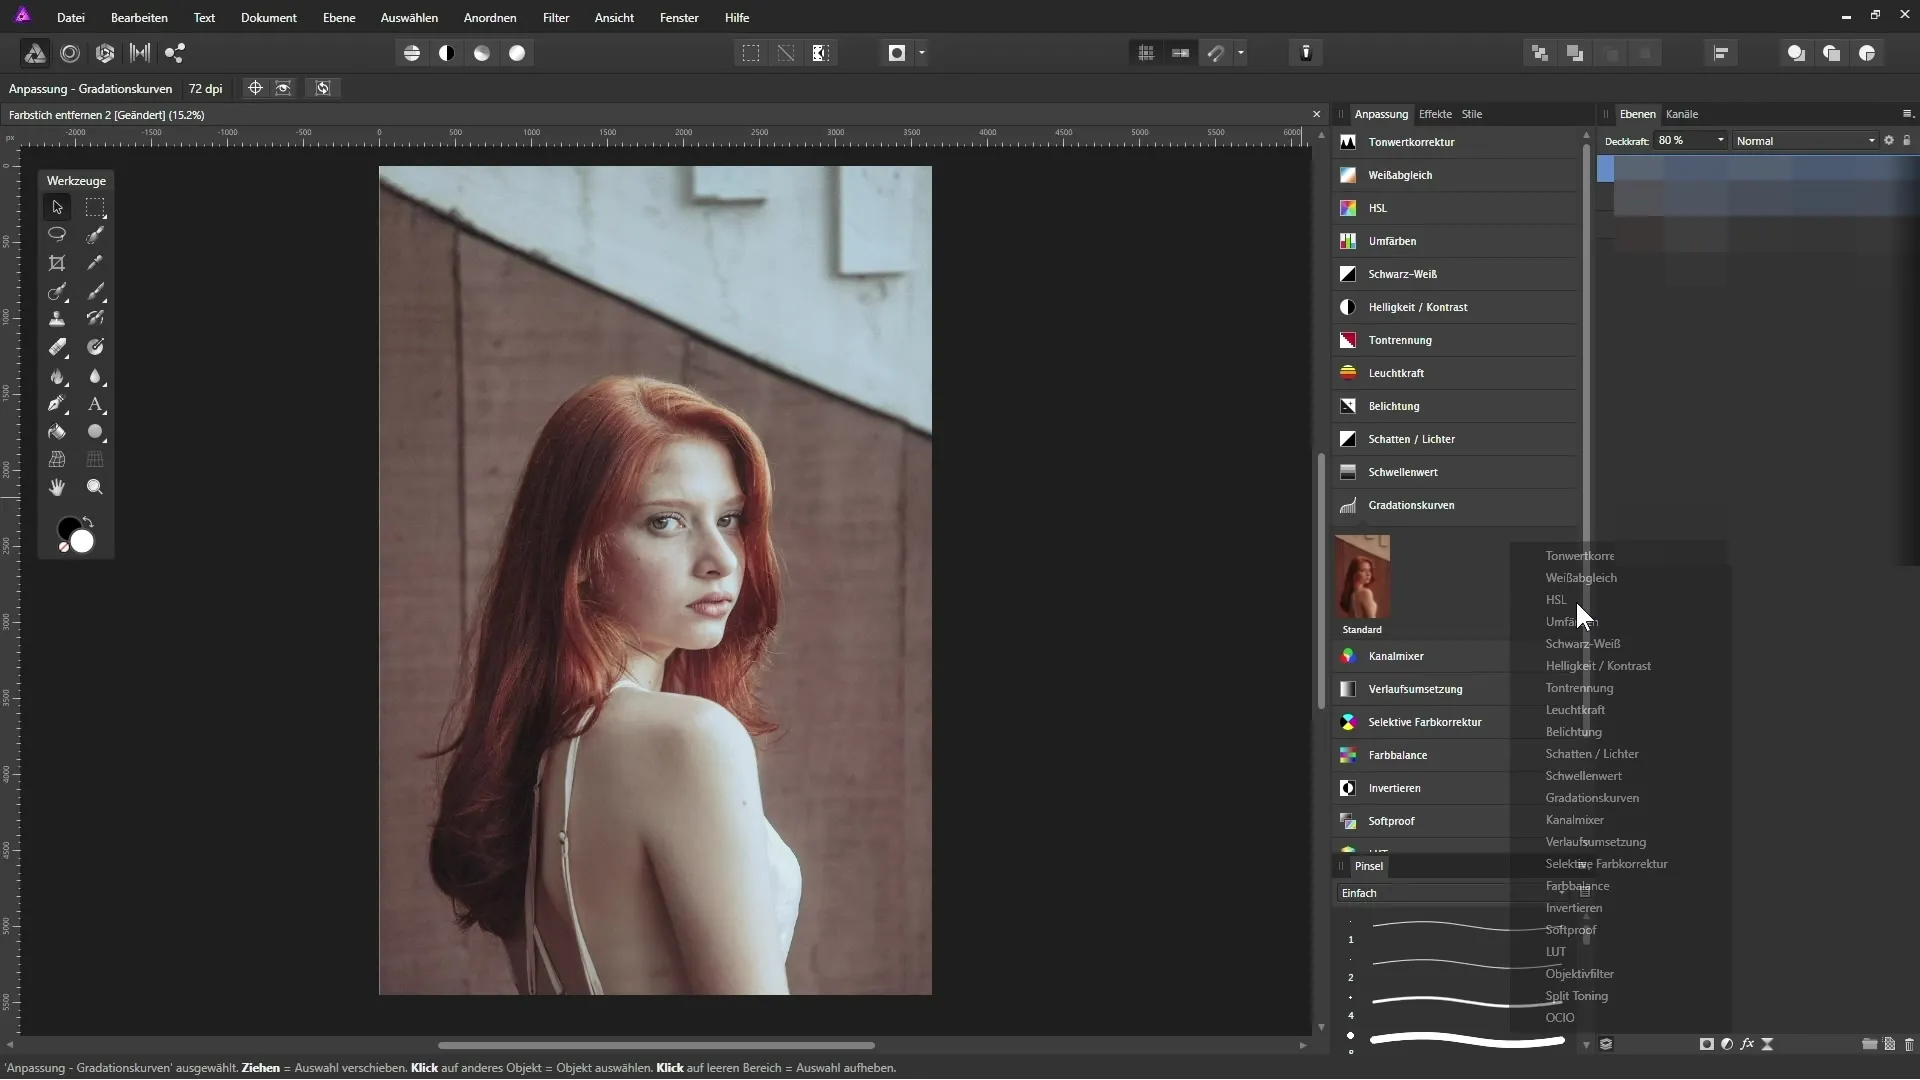
To avoid unsightly color casts, use the “Color Correction” filter. This allows you to specifically remove excessive color shifts from your images, making them visually fresher and more attractive.
Step 5: Remove Scratches and Dust
Images affected by scratches or dust spots can also be edited with the “Healing Tool.” This tool helps analyze the area around the spot and seamlessly adjust the textures.
Step 6: Reduce Noise
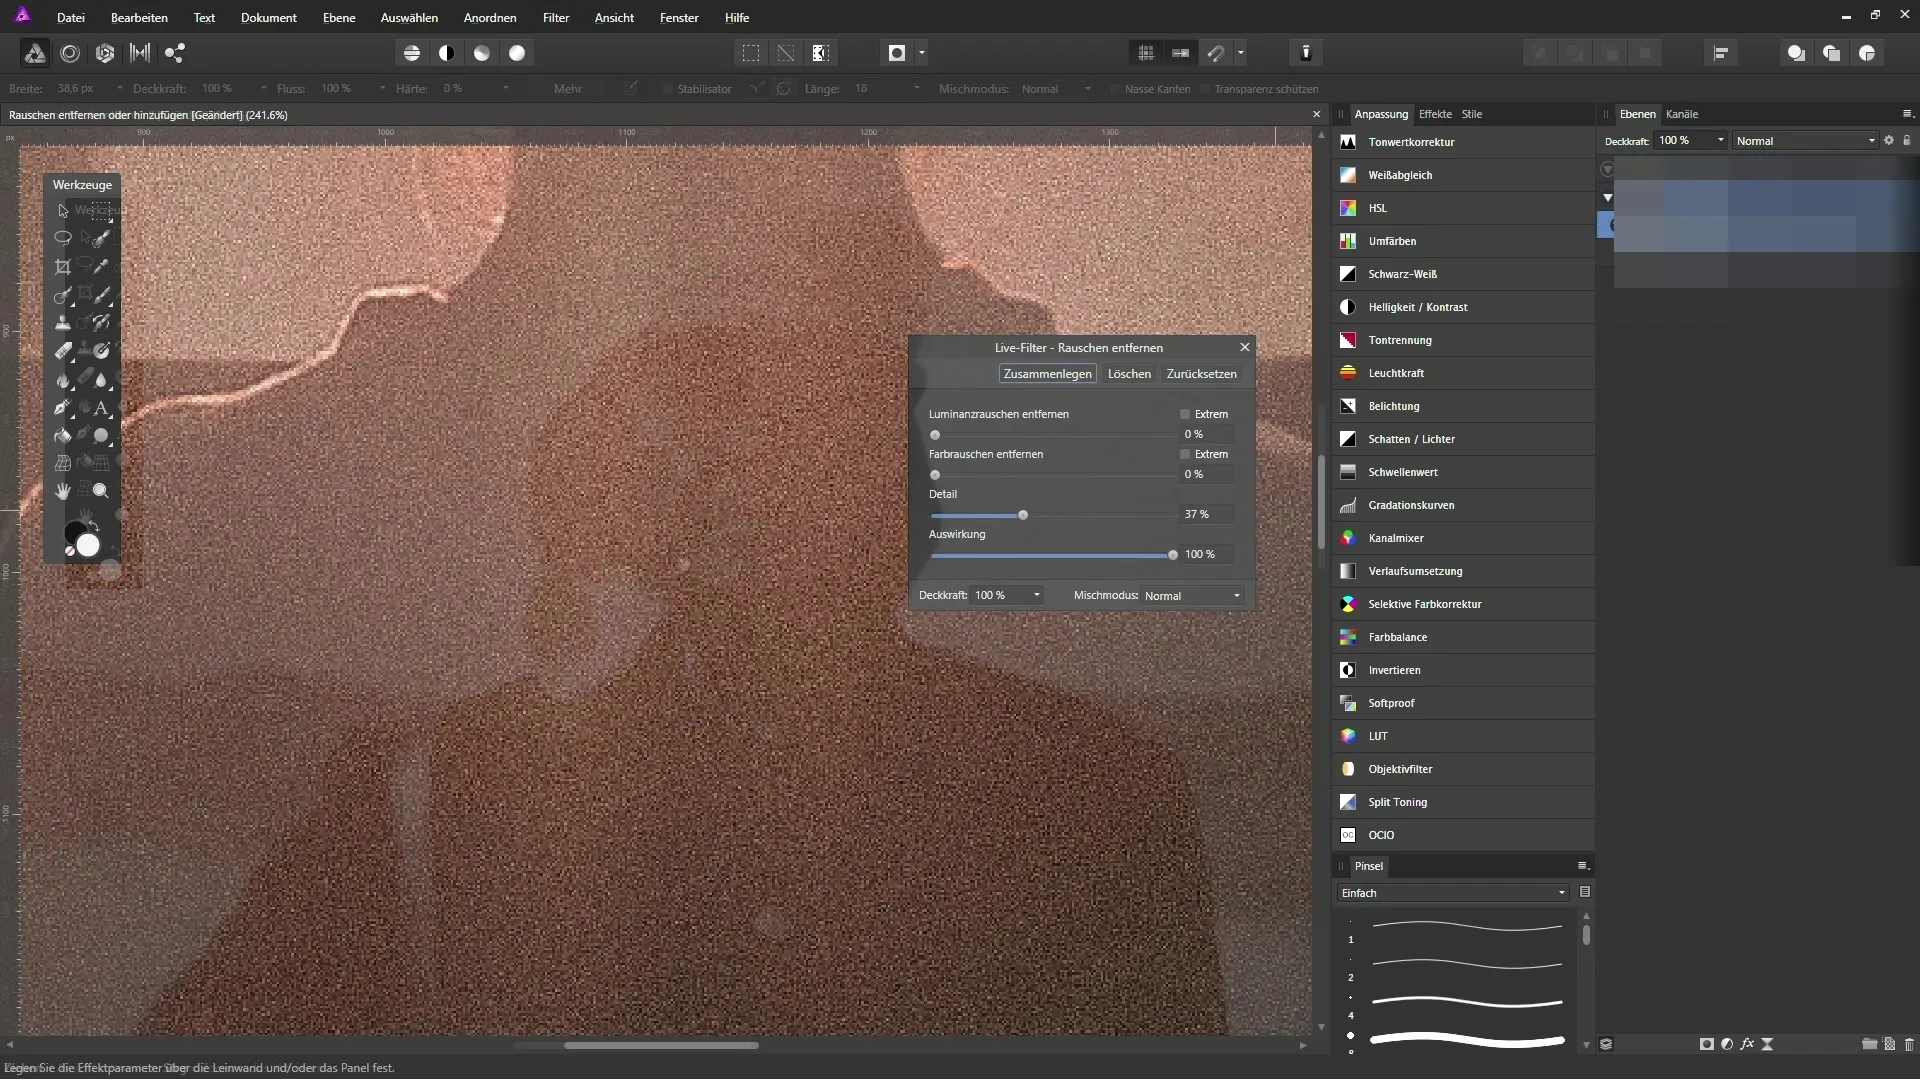
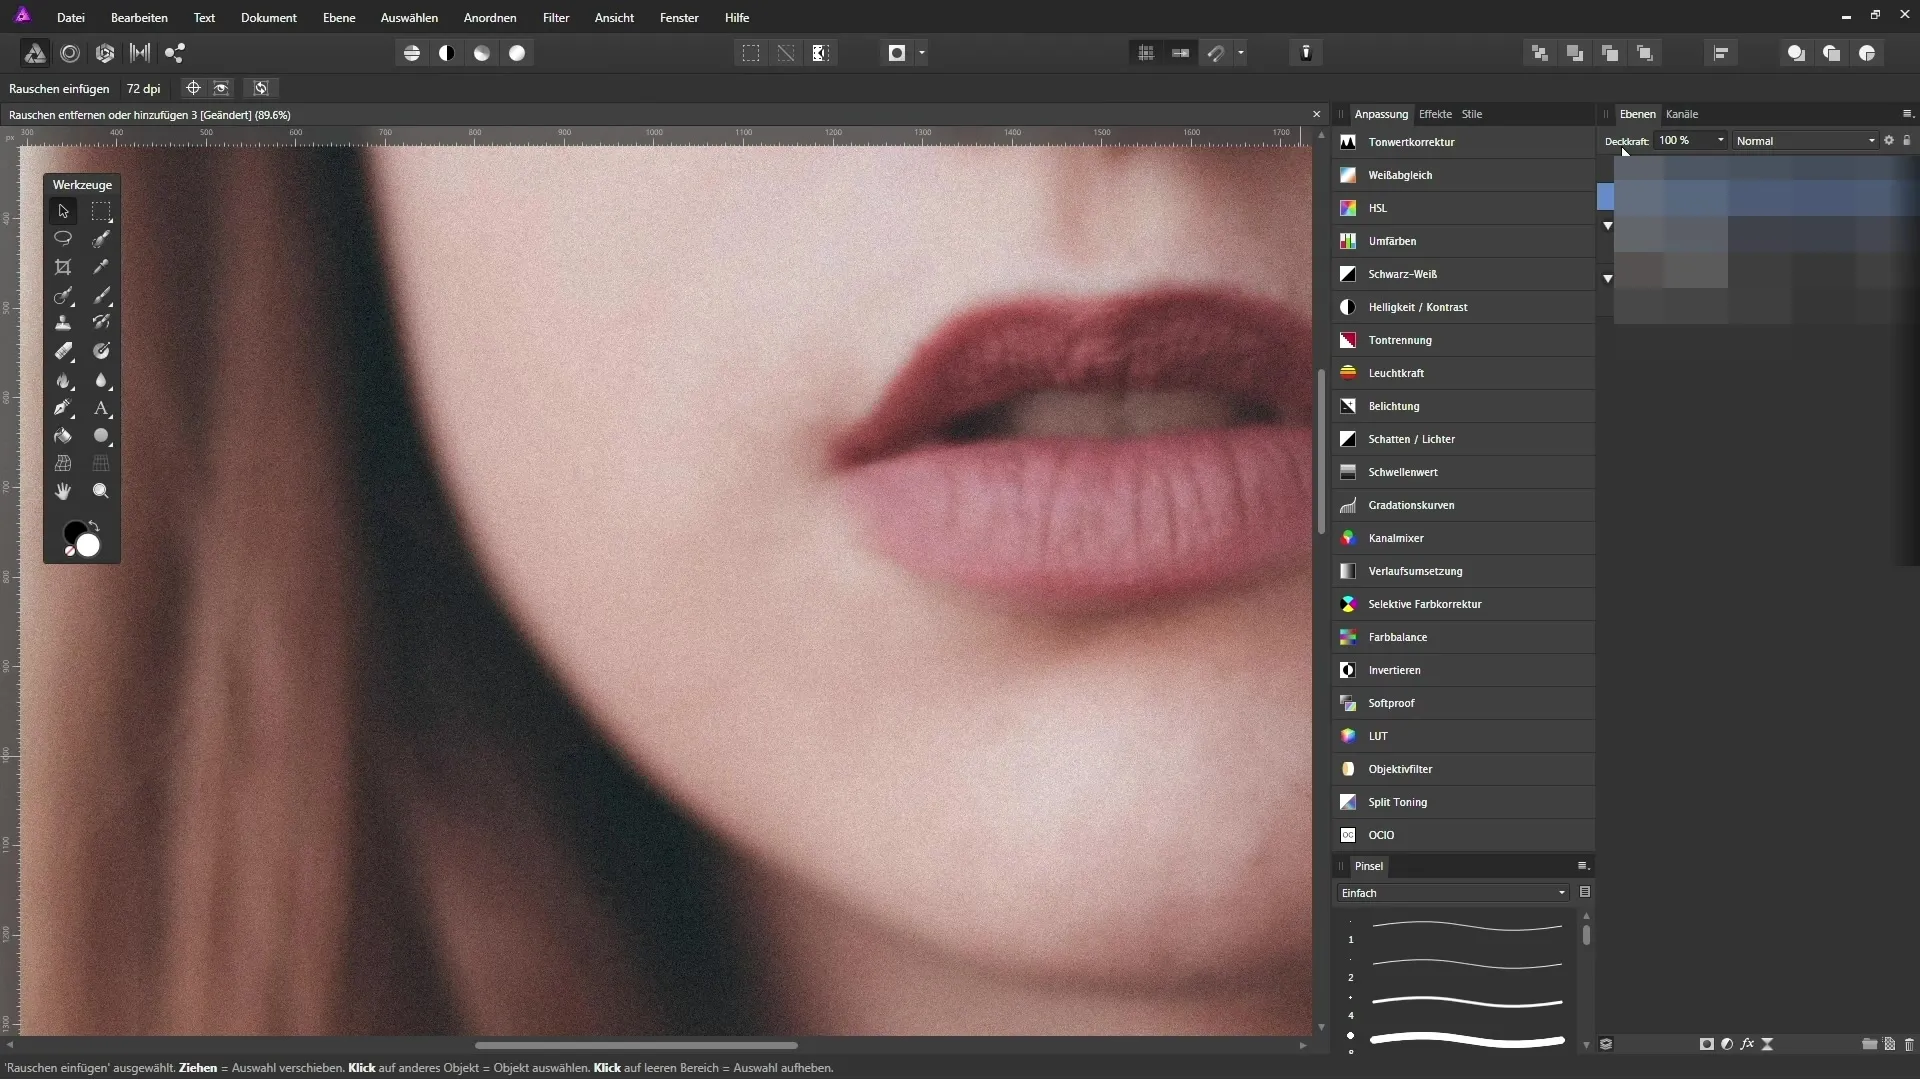
Digital noise can significantly affect the image. With the “Noise Reduction” filter in Affinity Photo, you can specifically remove unwanted noise. Alternatively, you can also use noise creatively to give your image a unique style.
Step 7: Correct Distortions
Especially with wide-angle lenses, distortions can occur that make the image seem less professional. With the adjustment tools in Affinity Photo, you can correct such distortions and restore the proportions of your images.
Summary – Effectively Improve Photos in Affinity Photo
This guide has shown you how to optimize your photos in Affinity Photo with various techniques. From sharpening corrections to removing unwanted elements and color adjustments, you have valuable tools to elevate your image creation to the next level.
Frequently Asked Questions
What is Affinity Photo?Affinity Photo is a professional image editing program that offers versatile tools for photographers.
How can I sharpen my images?Use the “Sharpen” tool to specifically highlight the details of your images.
How do I remove unwanted objects?Use the “Healing Tool” to remove distracting elements from your image.
Can I correct color casts in my images?Yes, you can achieve this with the “Color Correction” filter in Affinity Photo.
How do I deal with noise in my images?Use the “Noise Reduction” filter or apply noise creatively as a stylistic device.

