Affinity Photo has an outstanding functionality that gives you the ability to optimize images using the so-called Develop Persona. This environment is not limited to RAW images but can also be effectively used for JPEG or other formats. If you want to further adjust and optimize your image, this guide will show you how to effectively use the various tools in the Develop Persona.
Key Insights
The Develop Persona offers a variety of adjustment options, including exposure, contrast, white balance, as well as shadow and highlight adjustments. Working in this environment is destructive, so it is advisable to use a copy of the background layer. Using sliders allows you to fine-tune your images to bring hidden details to light and enhance image quality.
Step-by-Step Guide
To optimize your image in the Develop Persona of Affinity Photo, start by creating a copy of the background layer. To do this, press Ctrl and J to duplicate the layer and name it appropriately, like "Develop Persona".
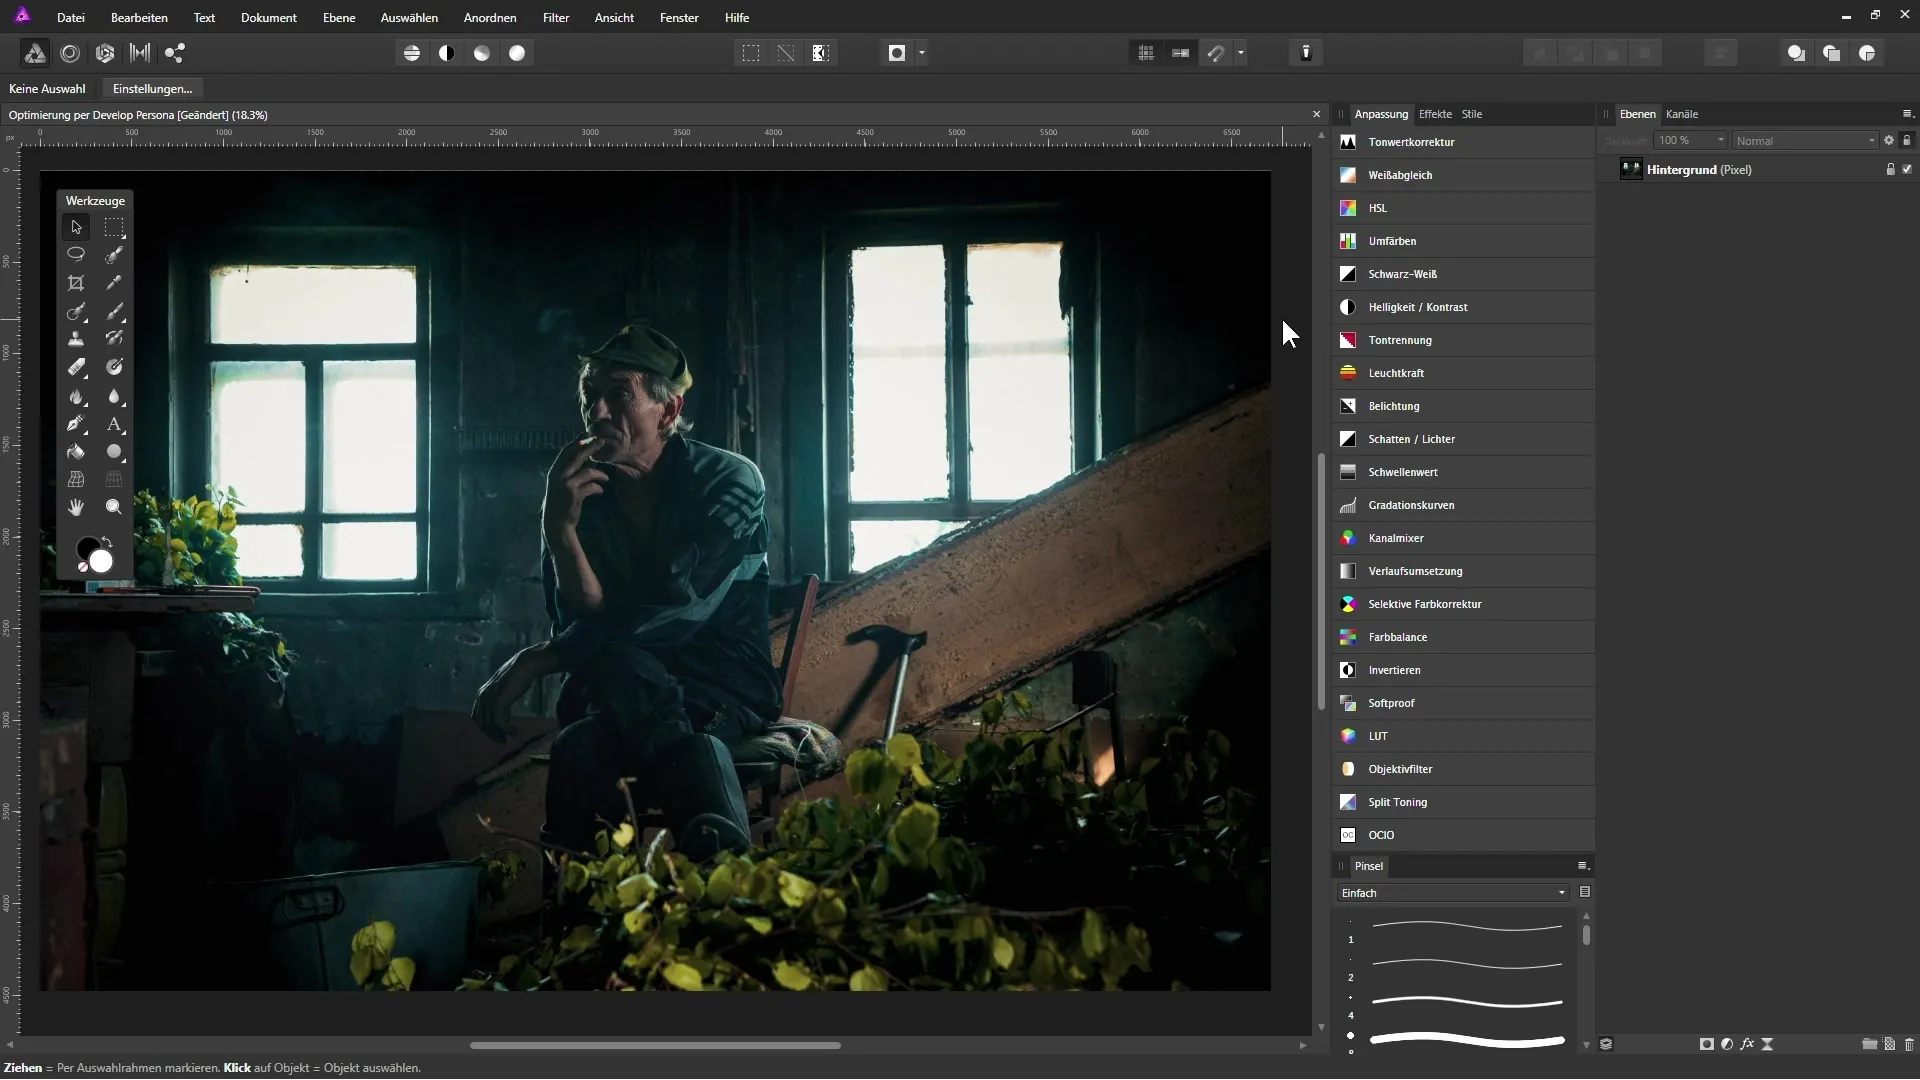
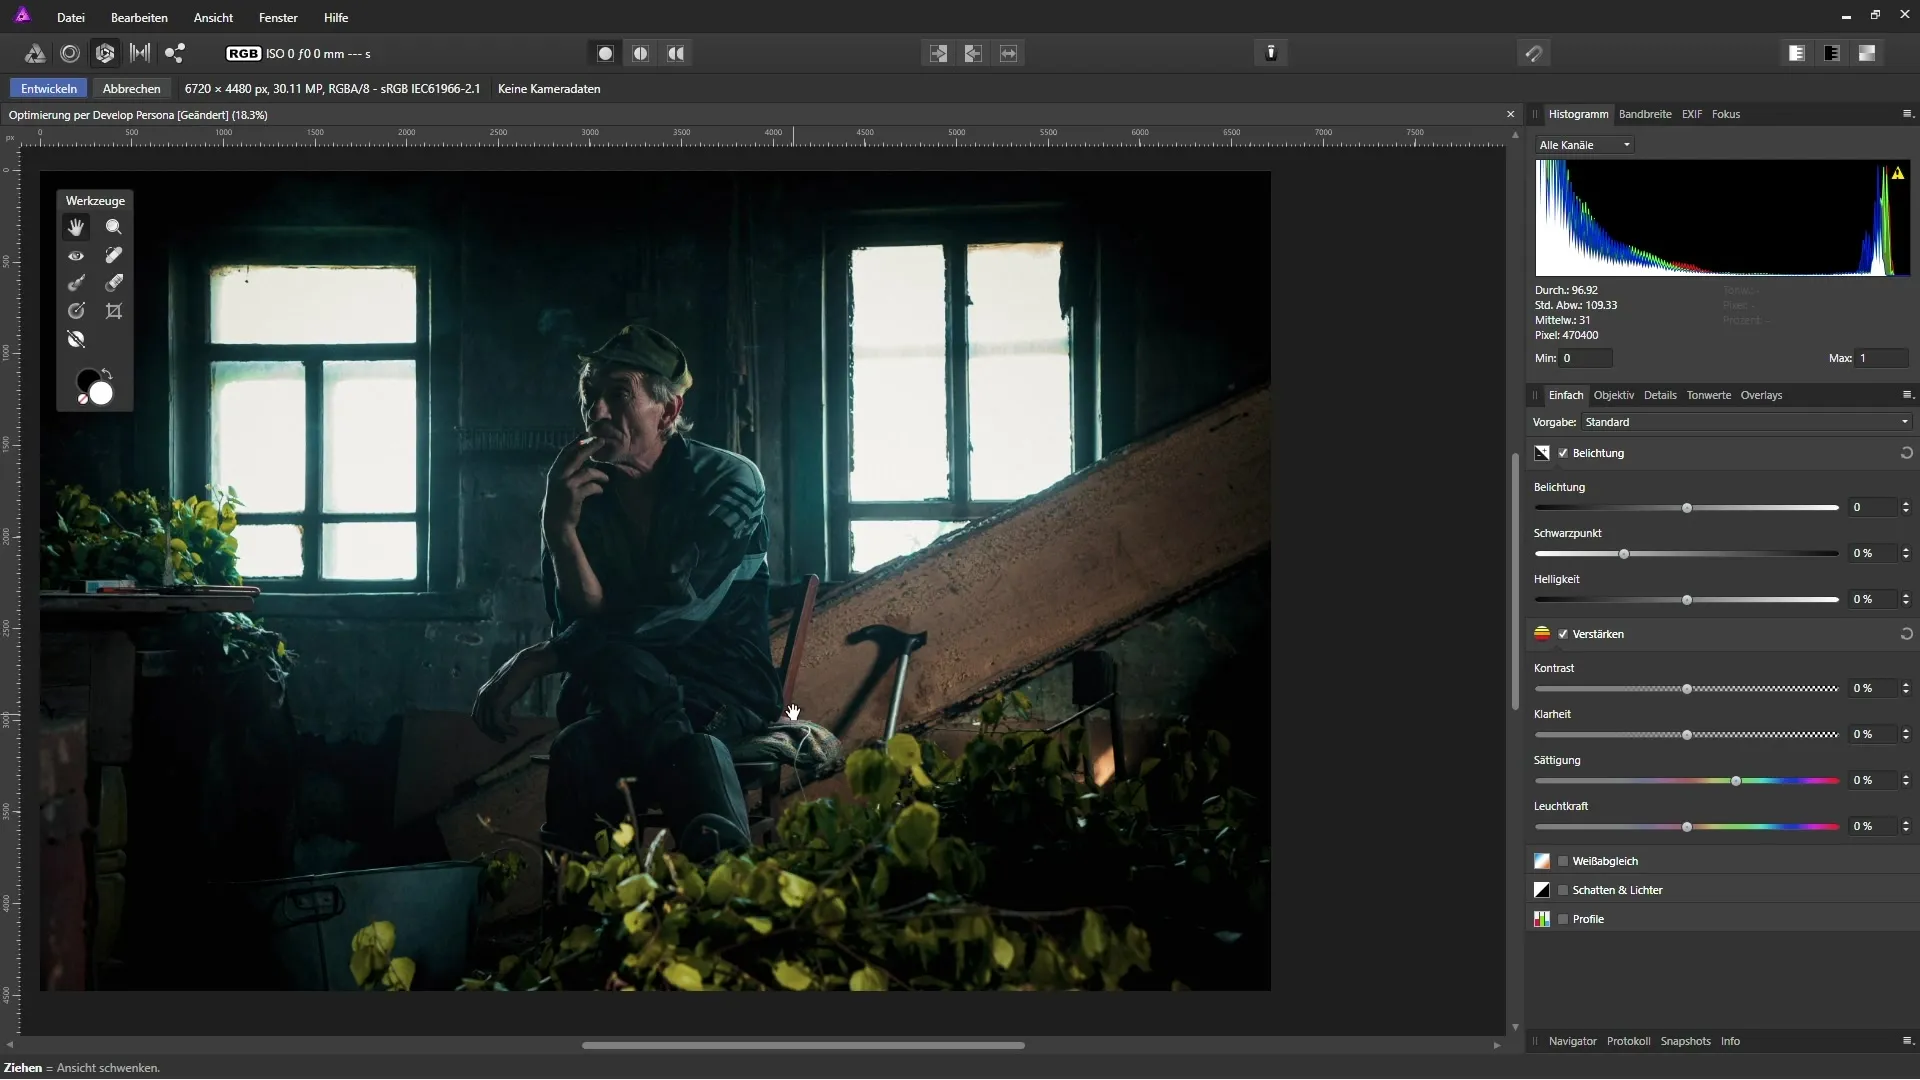
Once you are in the workspace of the Develop Persona, you will notice that the user interface has completely changed. On the right side, you will find various settings to adjust your image.
To start, you can adjust the exposure. Experiment with the exposure slider to shape the brightness of the image according to your preferences. It is important to proceed cautiously here, for instance, by increasing contrast or clarity.
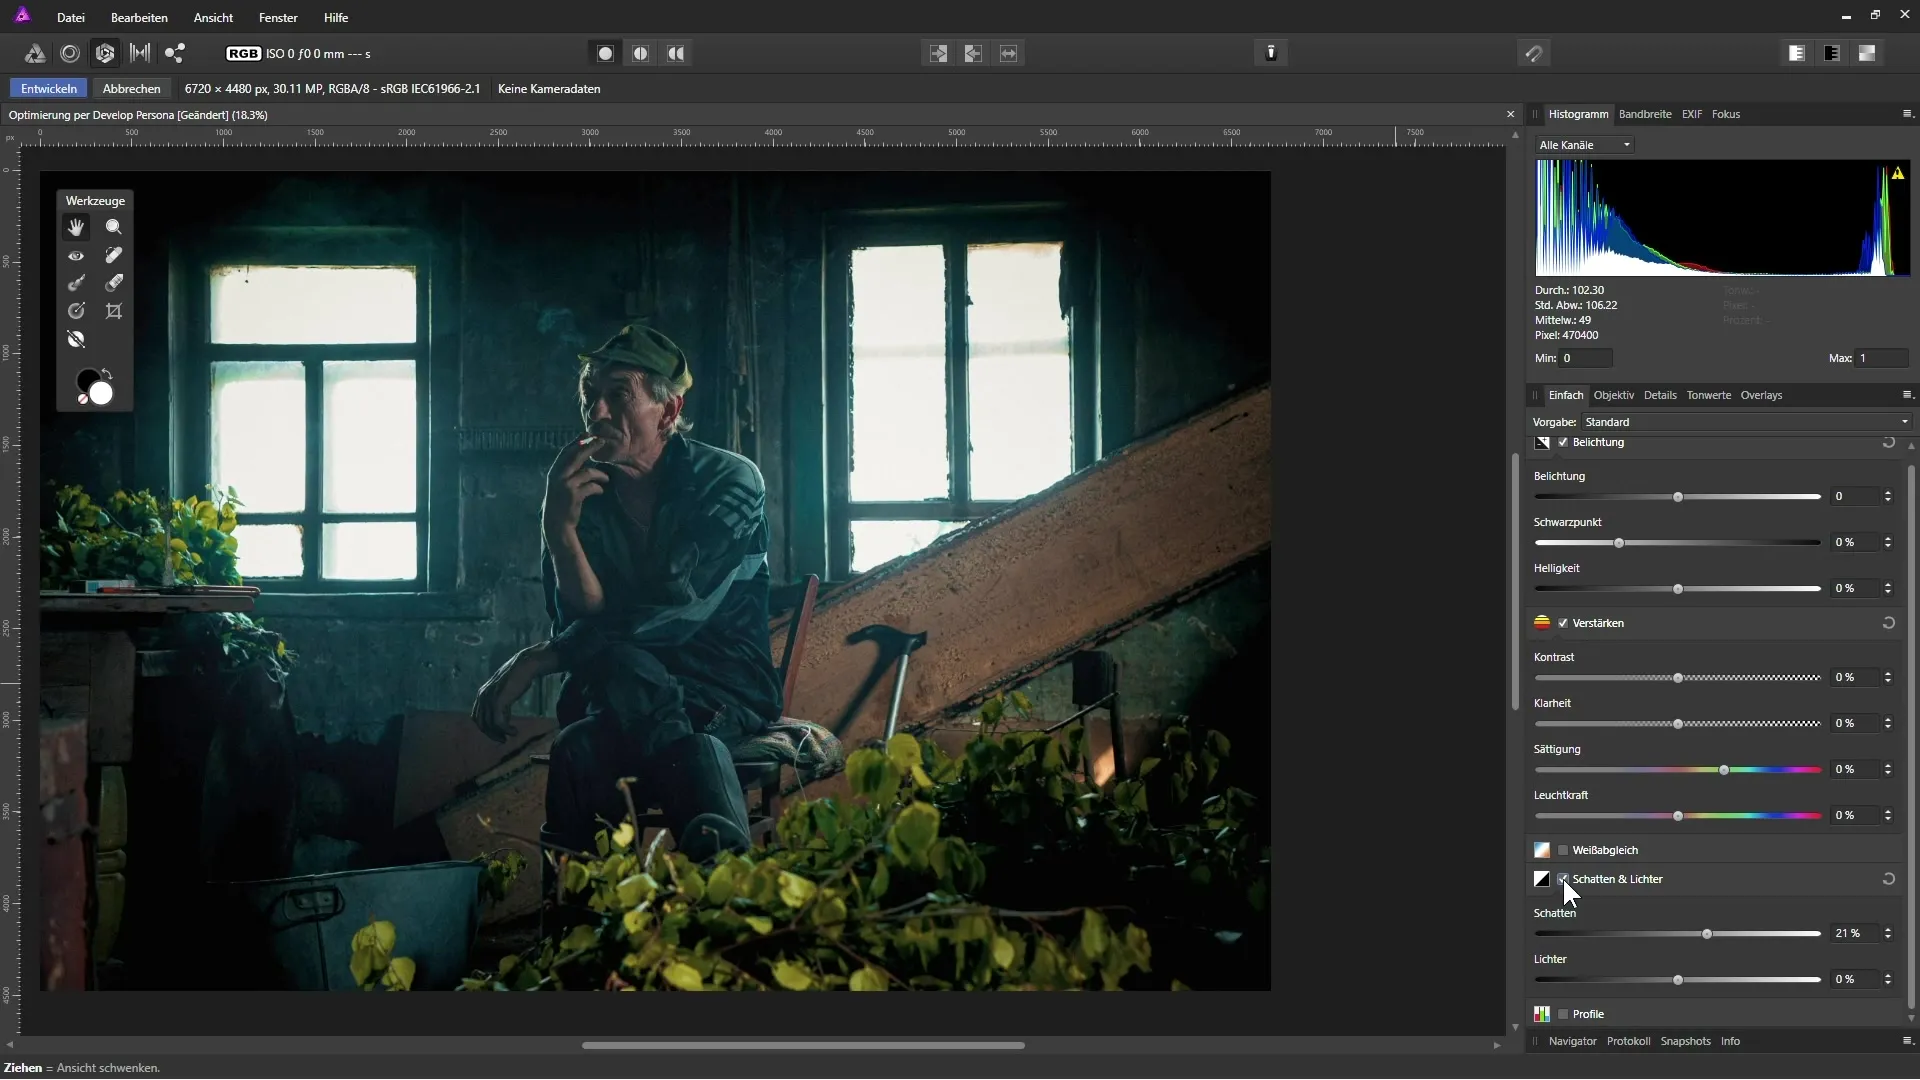
A particularly useful aspect of the Develop Persona is the ability to modify shadows and highlights. To do this, select the "Shadows and Highlights" option. By moving the slider to the right, you can brighten the dark areas to reveal hidden details.
Be aware that excessive adjustments can lead to unrealistic results. A moderate increase of about 20% could create an excellent effect without making the image look unnatural.
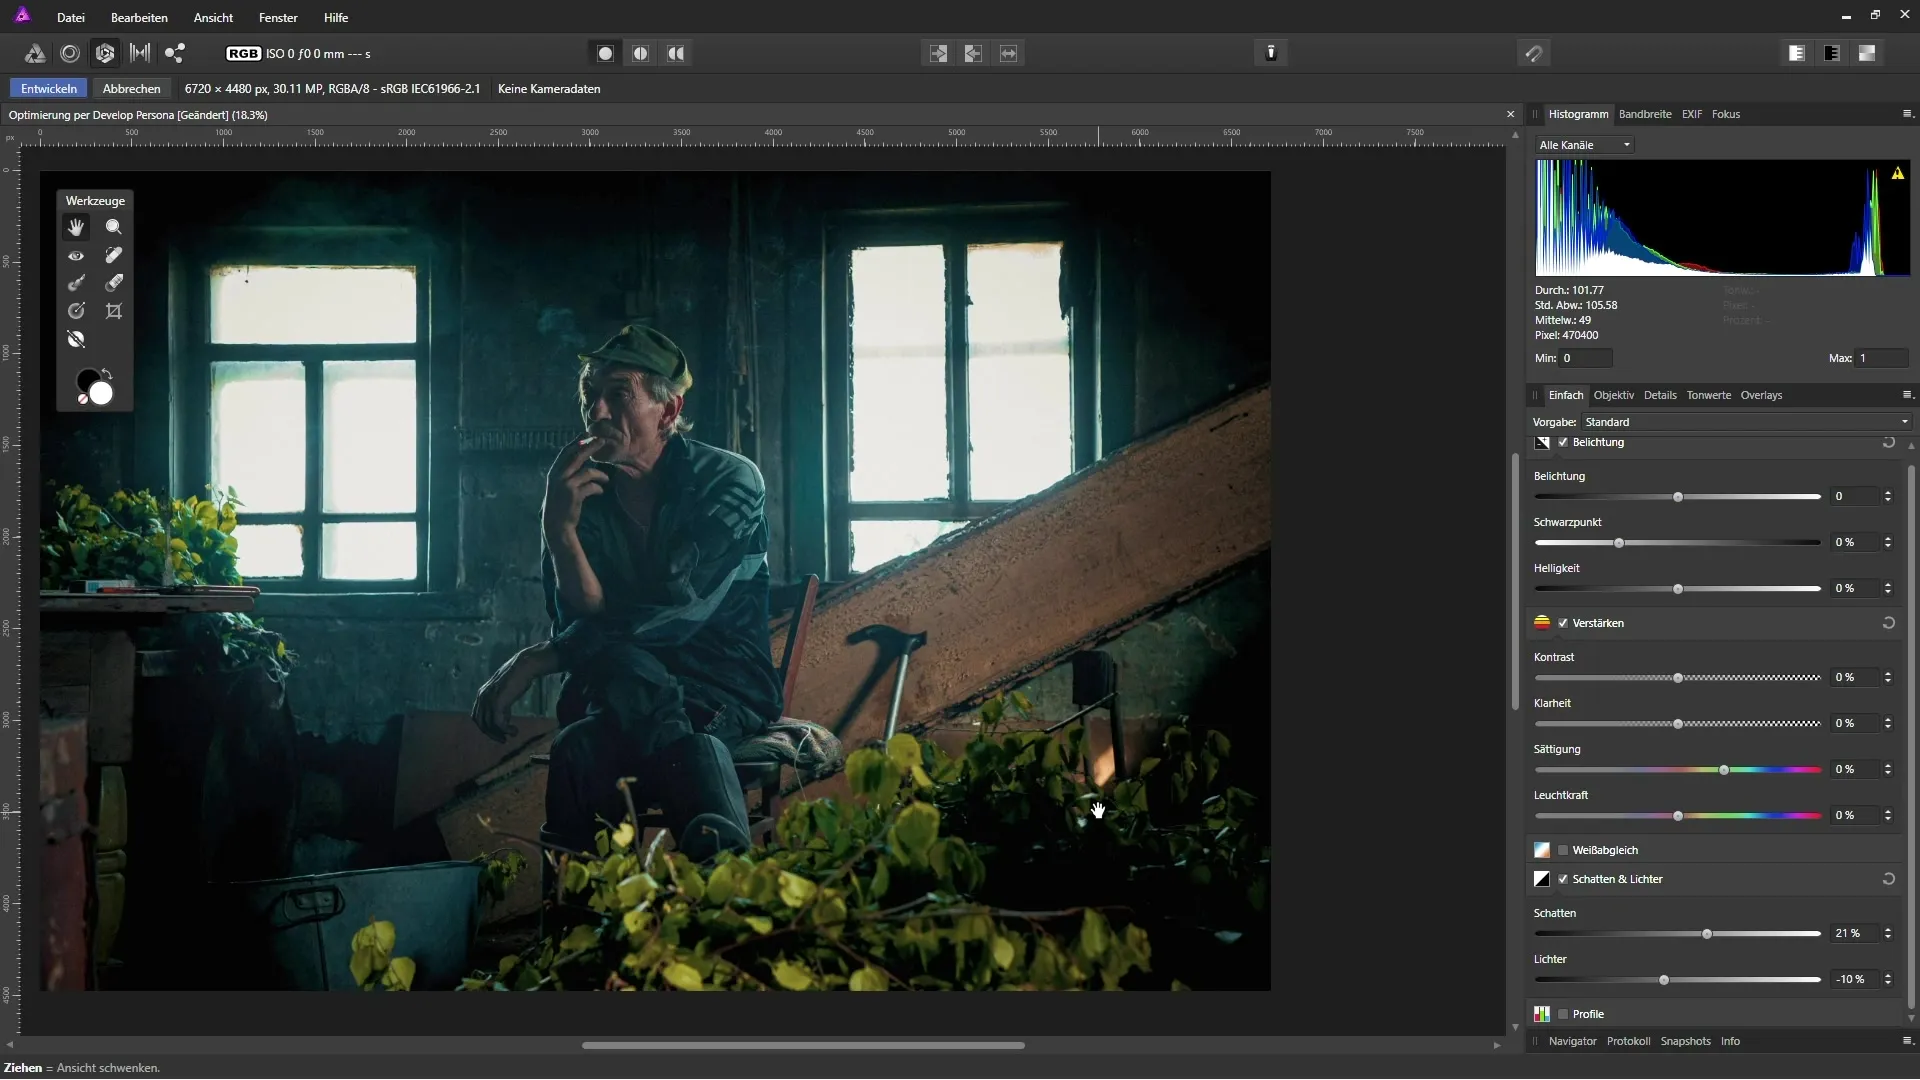
Adjusting the highlights can also be important. Here you can soften the light effect to avoid greater contrasts. A value of about 10% could be ideal.
Now it's time to experiment with the white balance. This step allows you to change the color temperature and tint of the image. If you want to cool the image down, slide the temperature slider to the left and find the ideal value. Values around 18-20% might fit well.
To further refine the details in the image, use the options for contrast and clarity adjustments. Here you can raise the clarity to bring out the structures more. A value of about 33% can be very beneficial here.
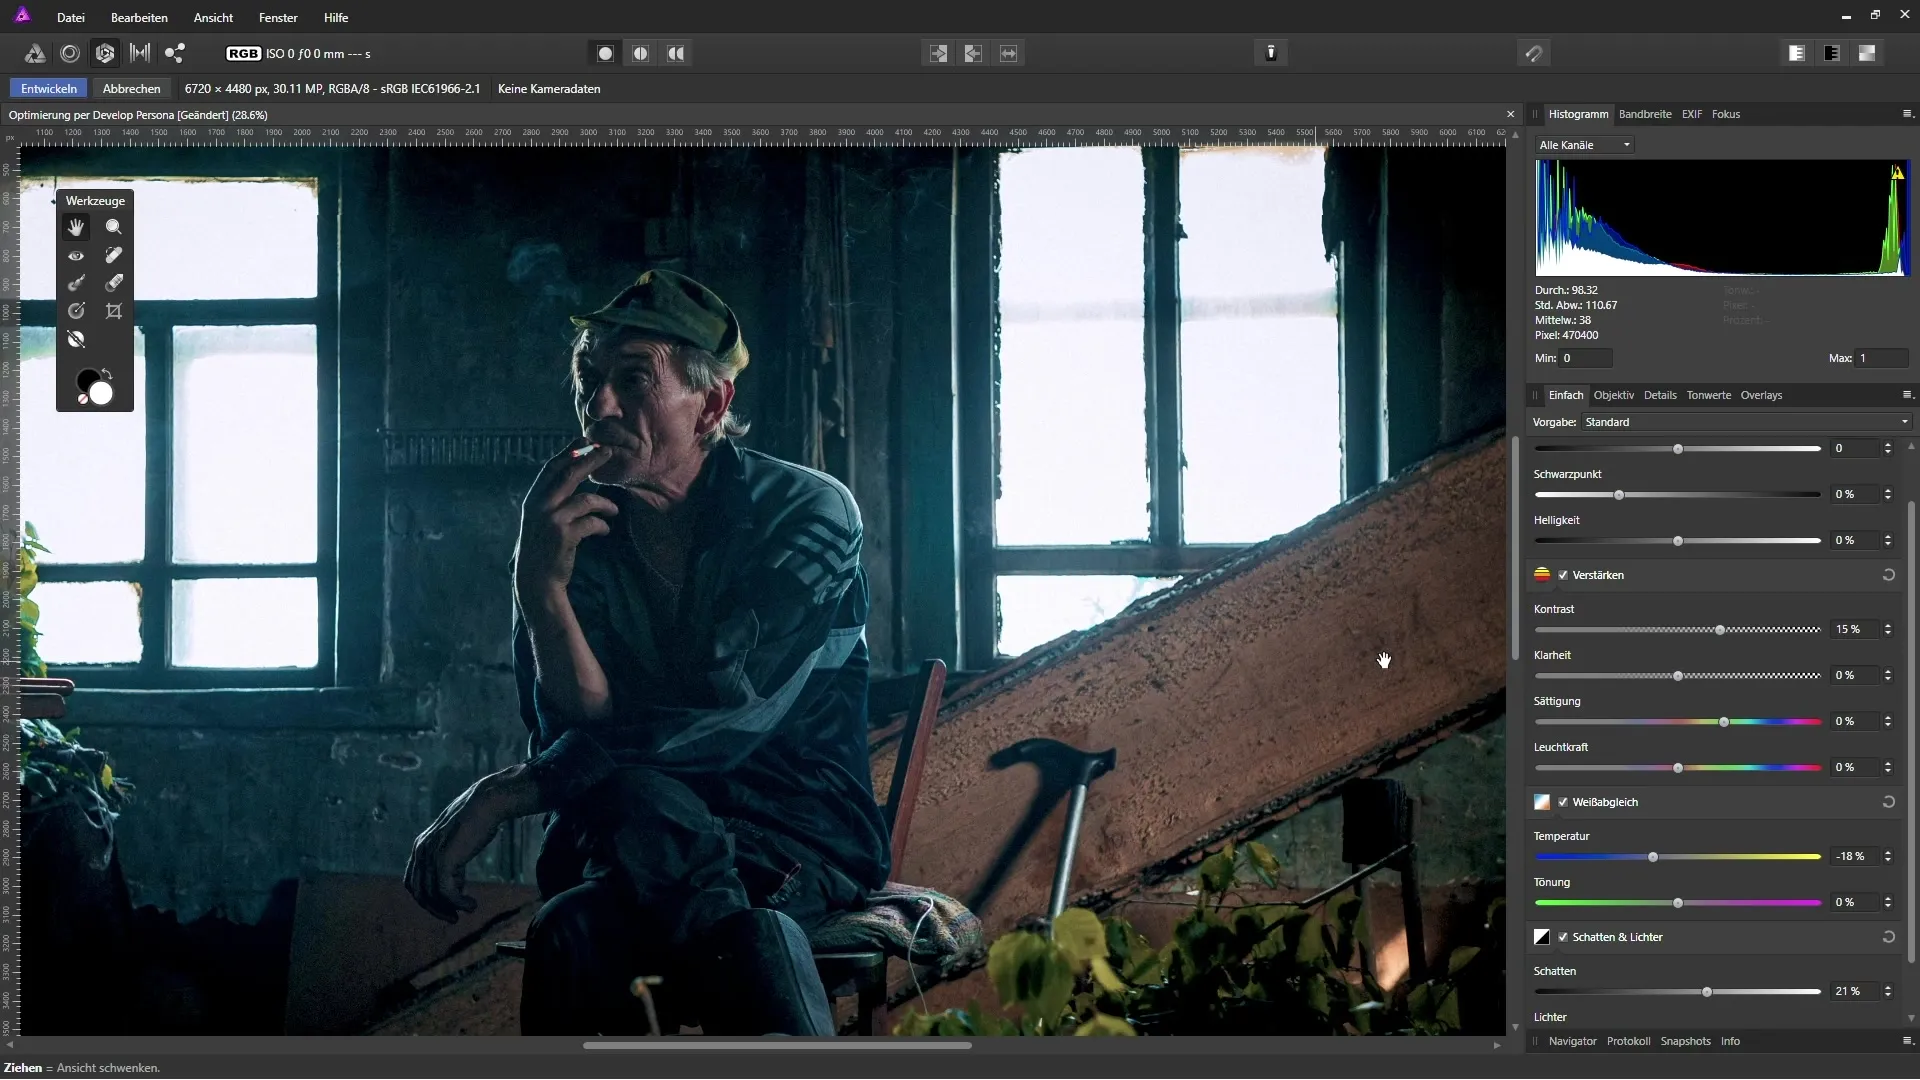
Finally, you can make a slight increase in saturation to make the image more vibrant. A value of around 3% is often sufficient to enhance the image without making it look overly colorful.
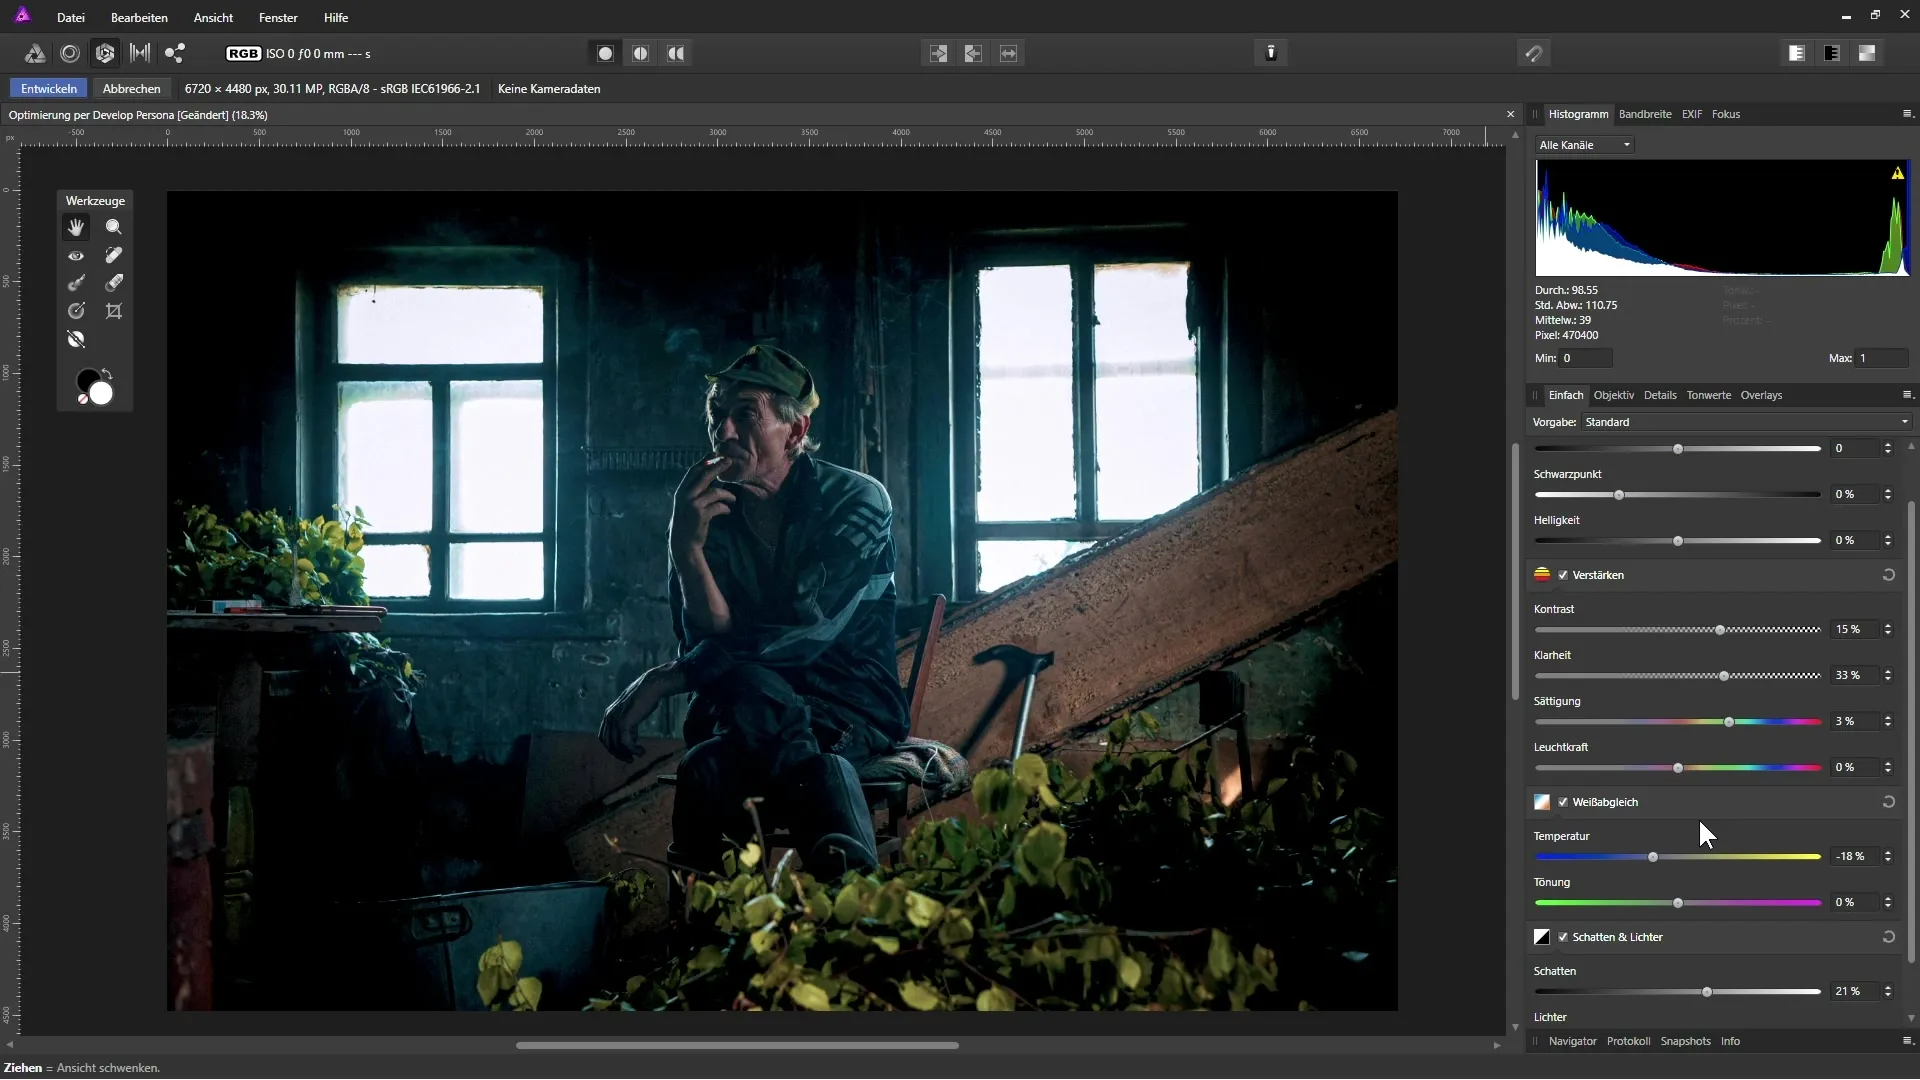
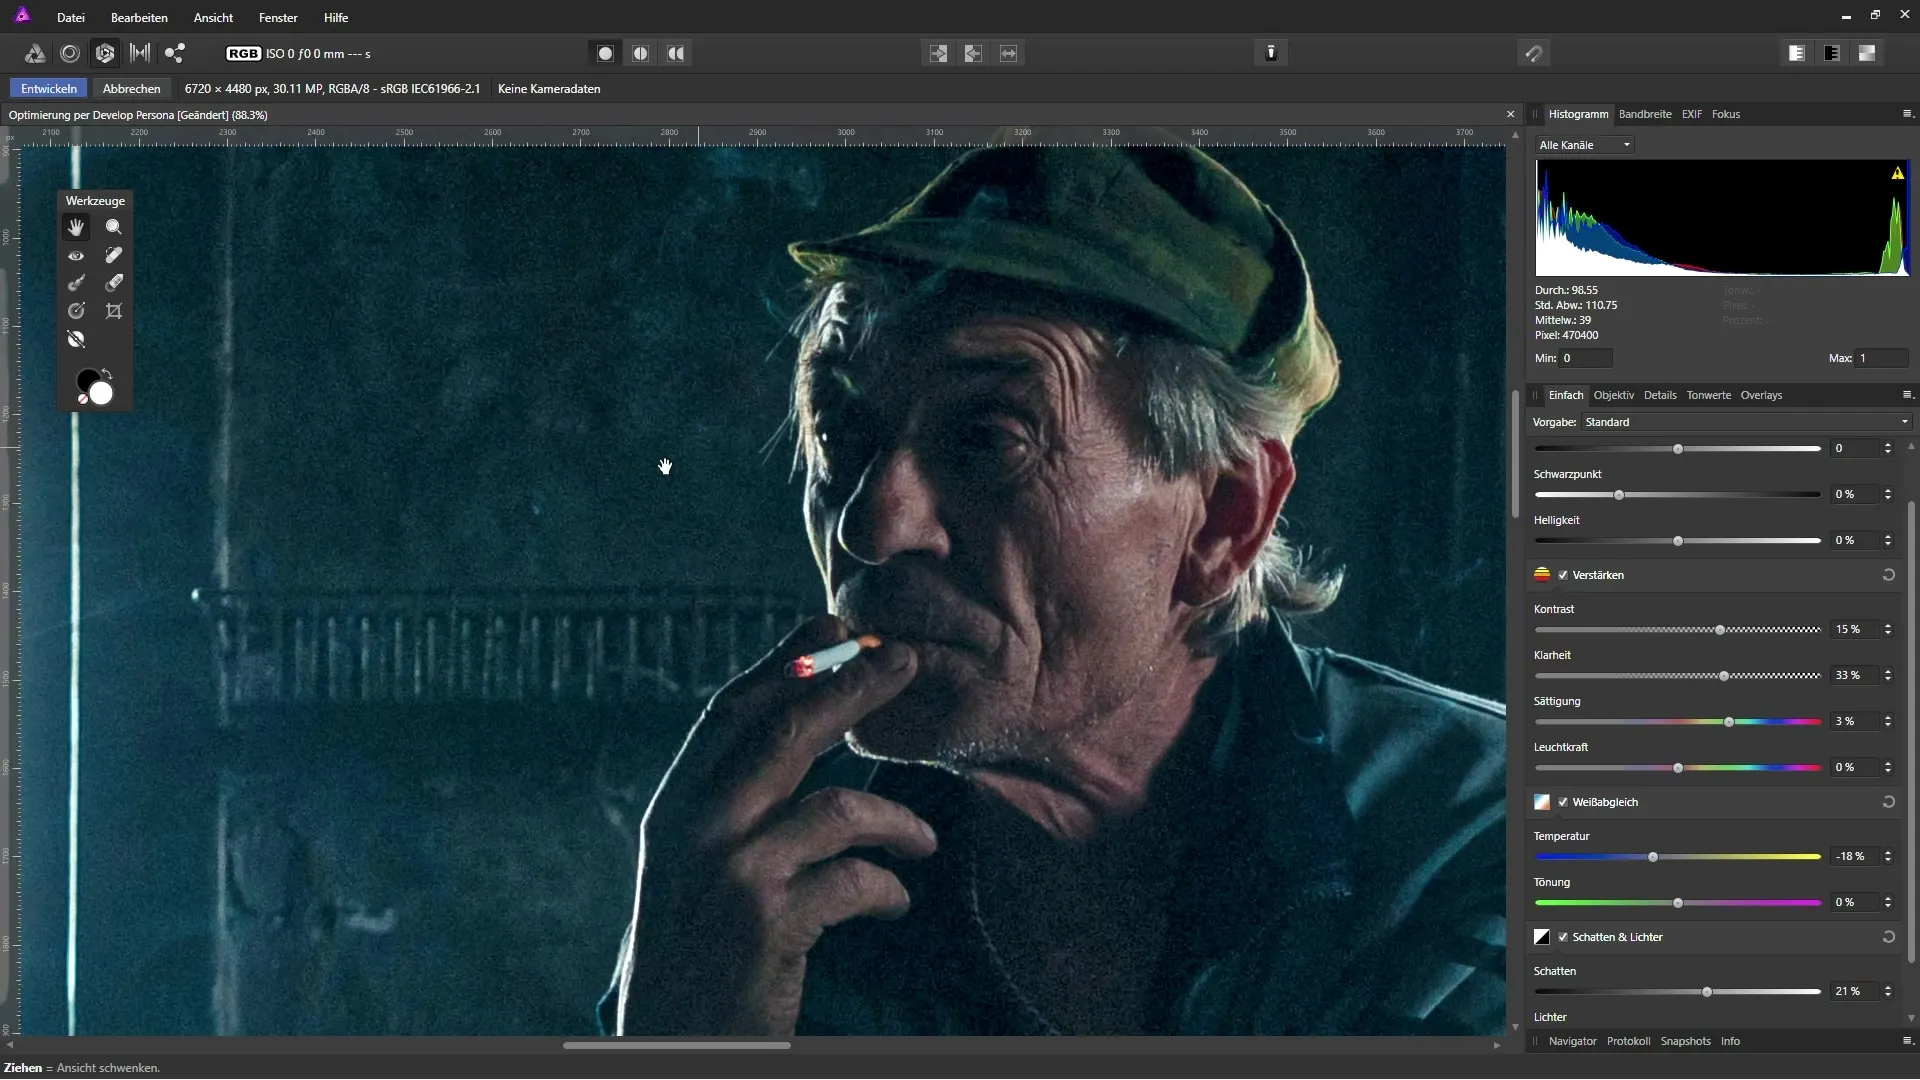
It is important to note that the image may appear noisy when viewed up close. Therefore, it is advisable to reduce noise in a separate step to preserve details.
If you are satisfied with the result, click on "Develop". Note that this is a destructive edit, so using a copy of the background layer is advantageous.
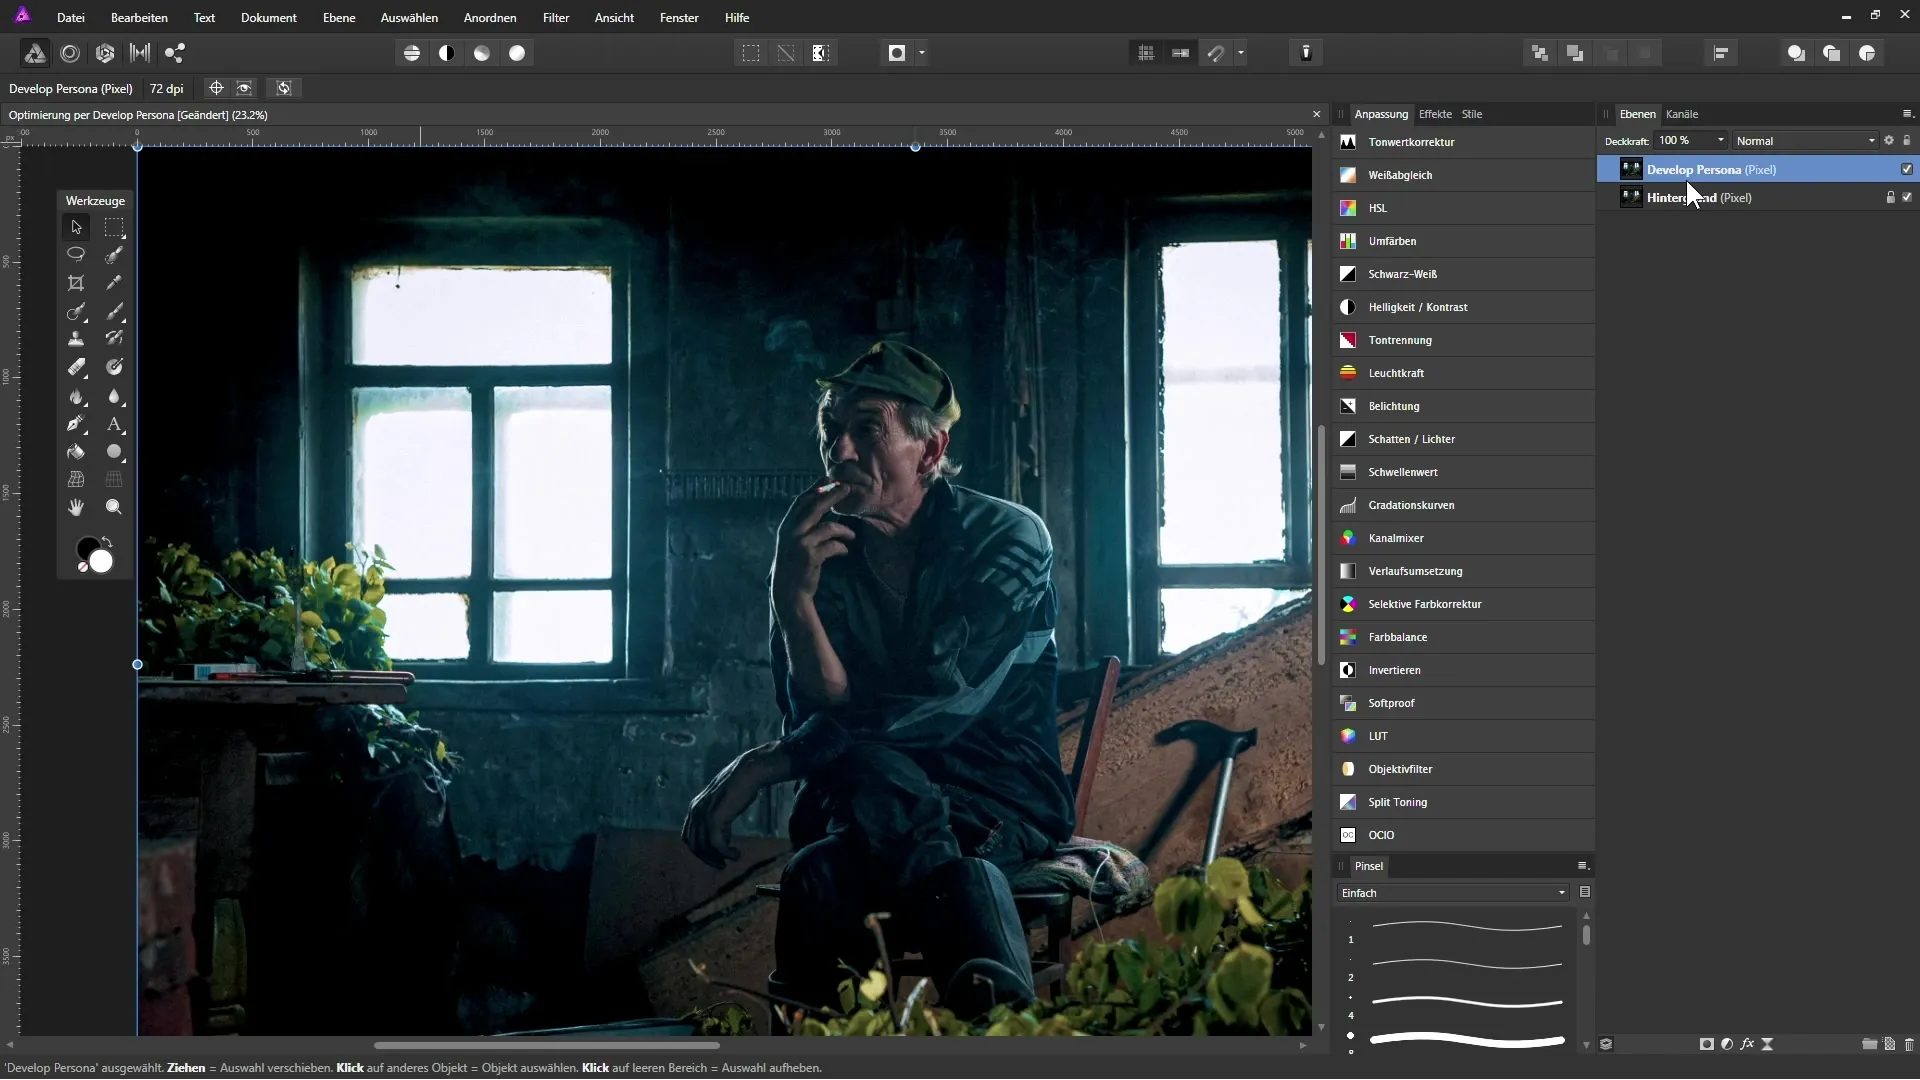
Now you can see your changes. You can reduce the opacity of the edited layer if you want to adjust the result.
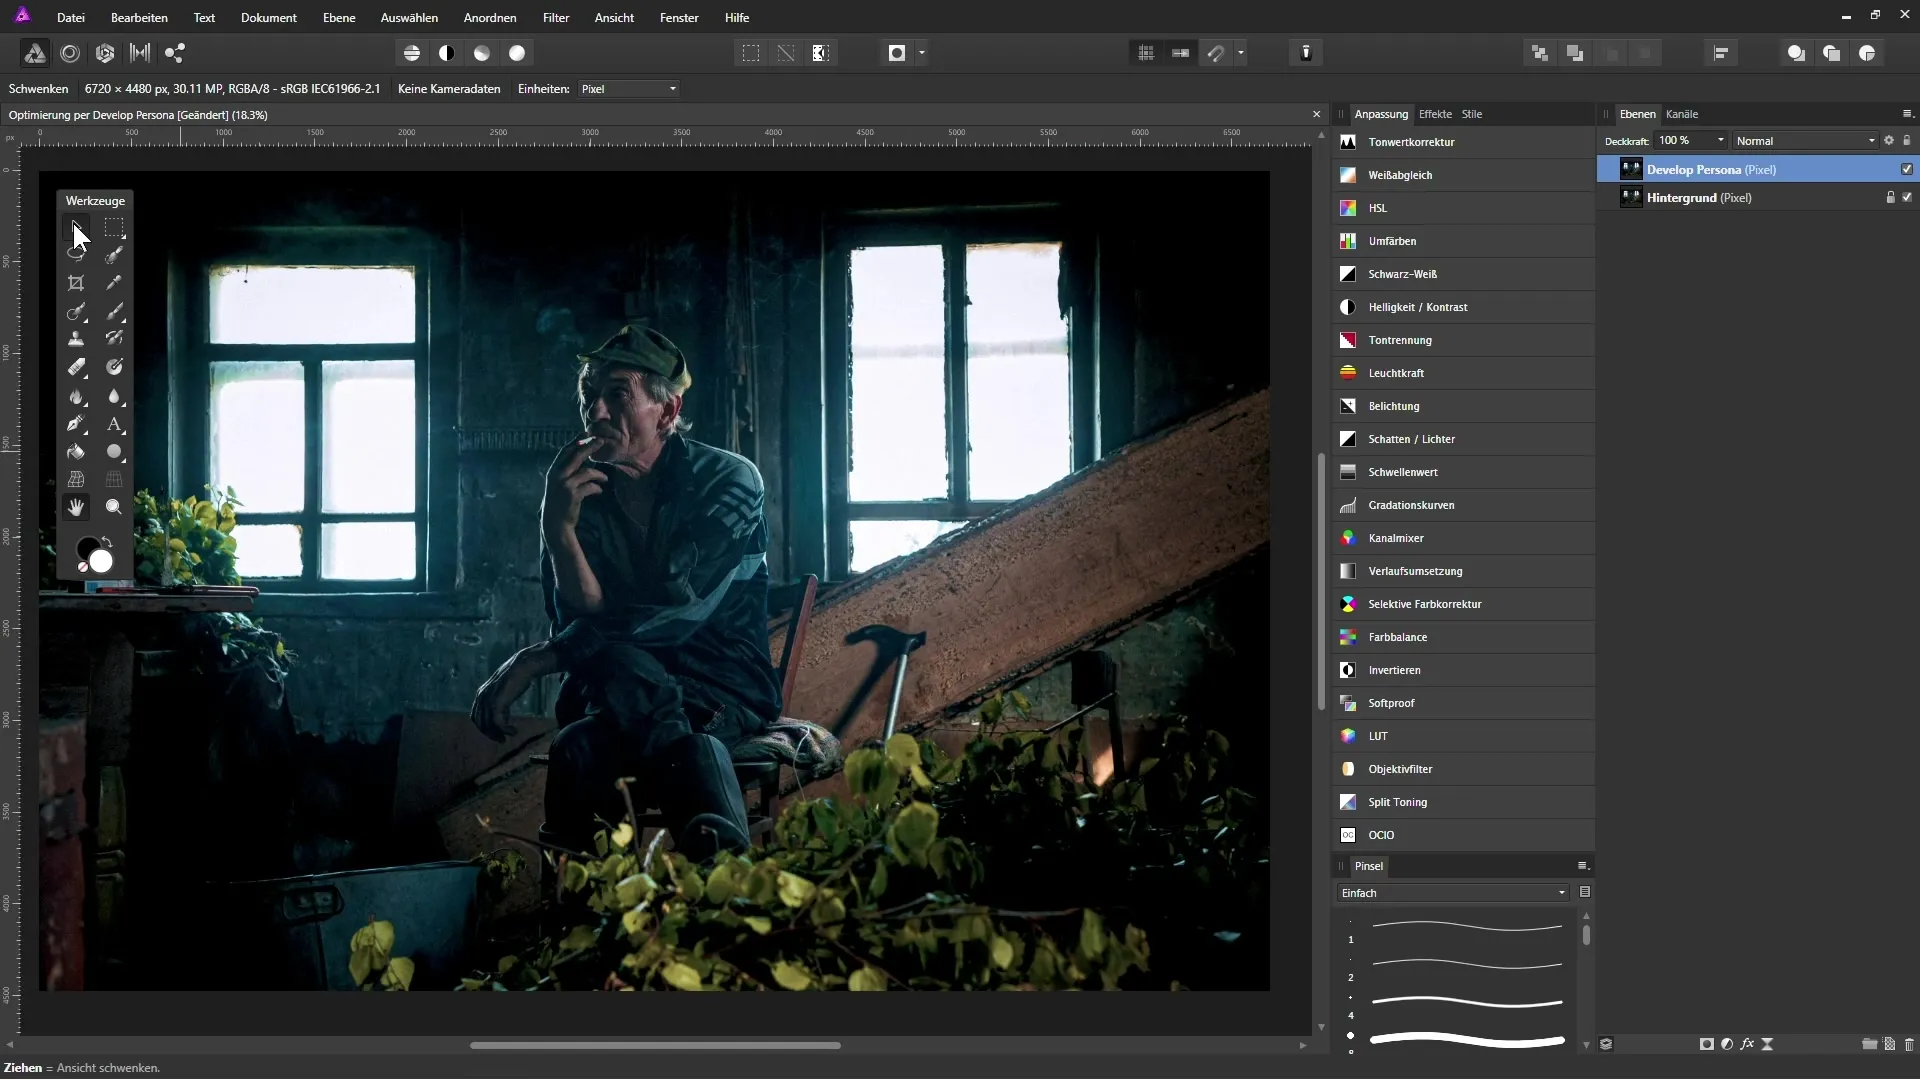
Summary – Enhancing Photos in Affinity Photo: Step-by-Step Guide to Optimization via Develop Persona
With this guide, you have learned the basic steps for optimizing your images in the Develop Persona of Affinity Photo. Utilizing the different adjustment options – from shadows and highlights to white balance to increasing contrast and clarity – will help you significantly enhance the quality of your images.
Frequently Asked Questions
How can I activate the Develop Persona in Affinity Photo?You can activate the Develop Persona by clicking on the corresponding workspace in the top menu.
What does destructive editing mean in the Develop Persona?It means that all changes are applied directly to the selected layer and cannot be easily undone.
How can I reduce noise in my images?To reduce noise, it is better to do this in the normal workspace of Affinity Photo using layers.
In what format can I use the Develop Persona?The Develop Persona can be used for both RAW and JPEG images.
Why should I create a copy of the background layer?Using a copy of the background layer means you can keep the original images intact to revert to an unaltered version at any time.


