Vignettesare a common problem that occurs when using certain lenses. These unwanted shading effects at the edges of the image can significantly impact the aesthetics of a photo. The good news? There are simple ways to removethese vignettes in AffinityPhoto. In this guide, you will learn step by step how to optimize your images by effectively reducing or completely removing vignette effects.
Key takeaways
- Vignettes often occur due to the lens construction and can appear muted at the corners of the image.
- Affinity Photo allows you to remove vignettes both destructively and non-destructively.
- There are various techniques to adjust the colors and brightness after correction.
Step-by-Step Guide
Step 1: Select Image and Duplicate Layer
First, select the image you want to enhance. In Affinity Photo, you will notice that your image is displayed in the layers palette as a background layer. To edit, duplicate the layer by using the shortcut “Control + J” (Windows) or “Cmd + J” (Mac). Name the new layer “Remove Vignette” for clarity.
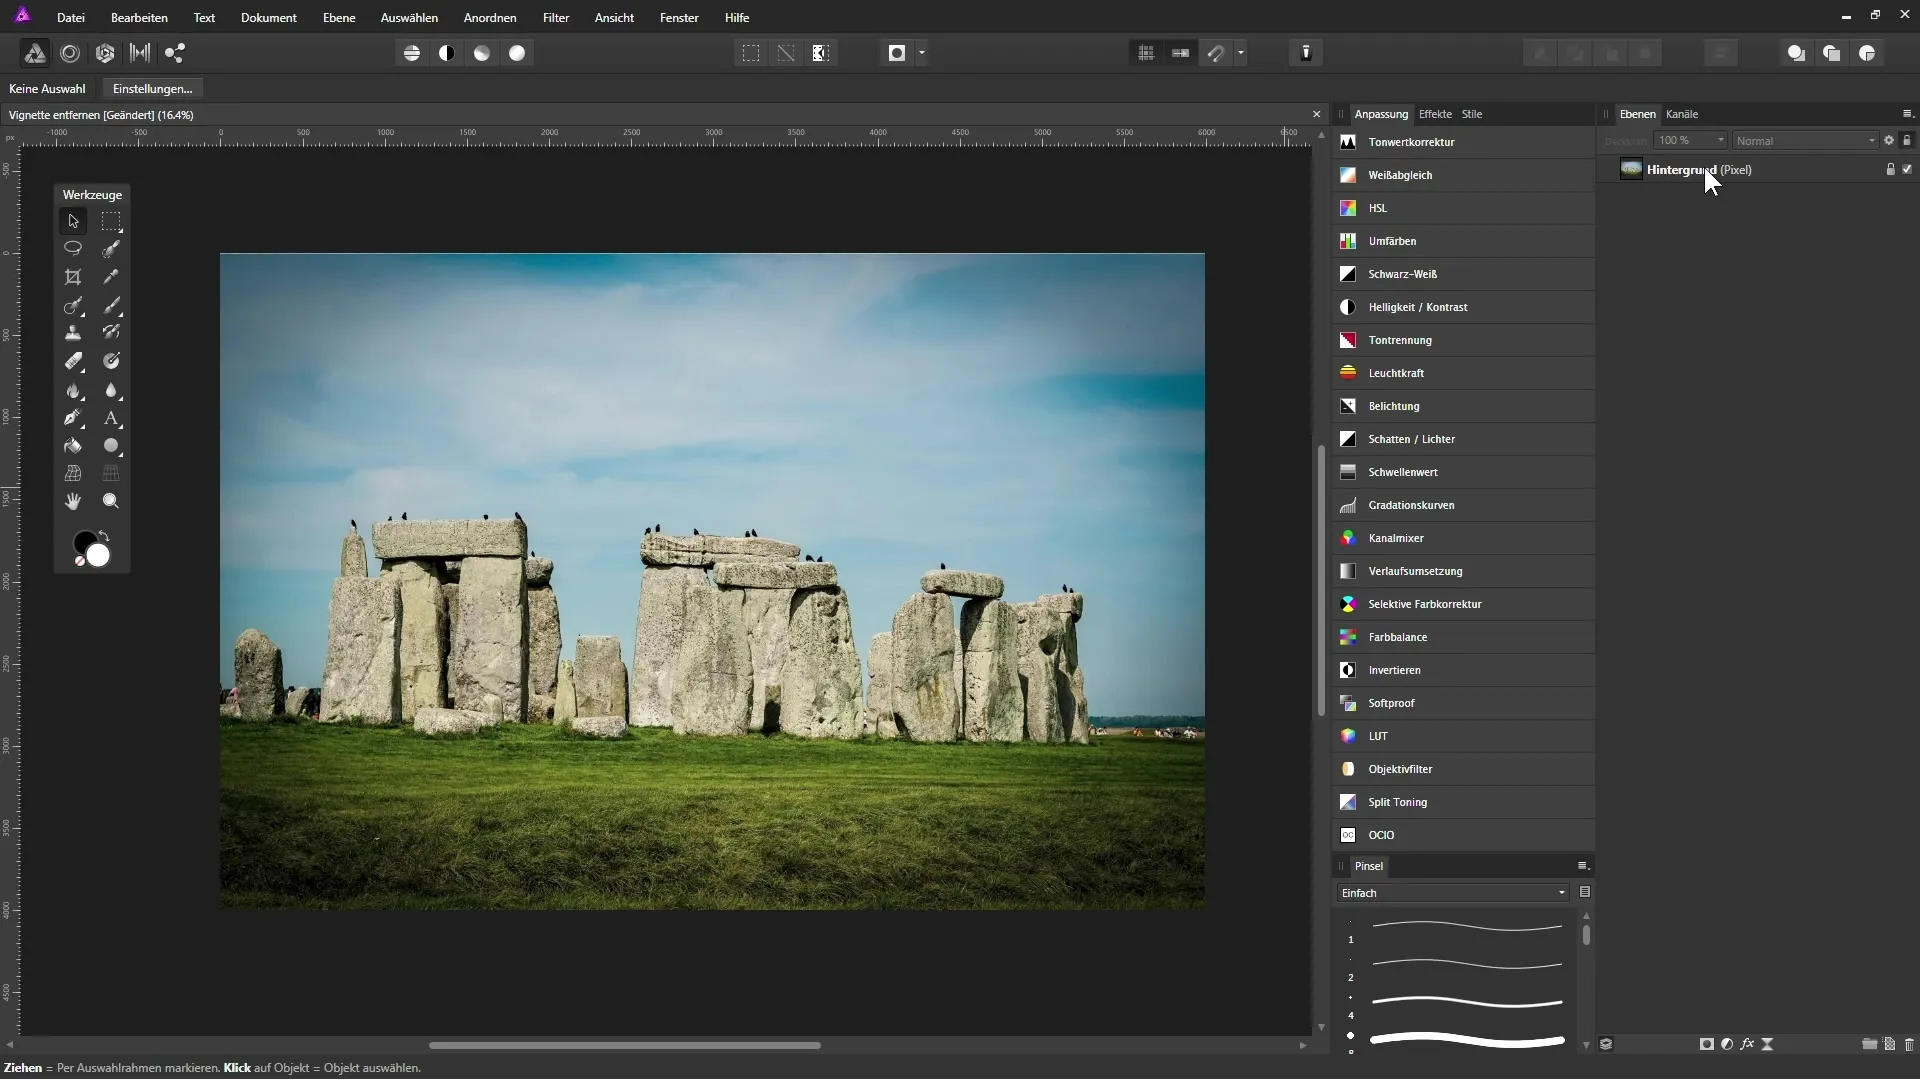
Step 2: Apply Vignette Filter
Now that you have duplicated the layer, apply the vignette filter. Go to the “Filter” menu and select the “Colors” submenu. Here you will find the option “Remove Vignette.” This filter has only one slider, and when you move this slider to the left, you see the original image with the shadings. Move the slider to the right to reduce the vignette.
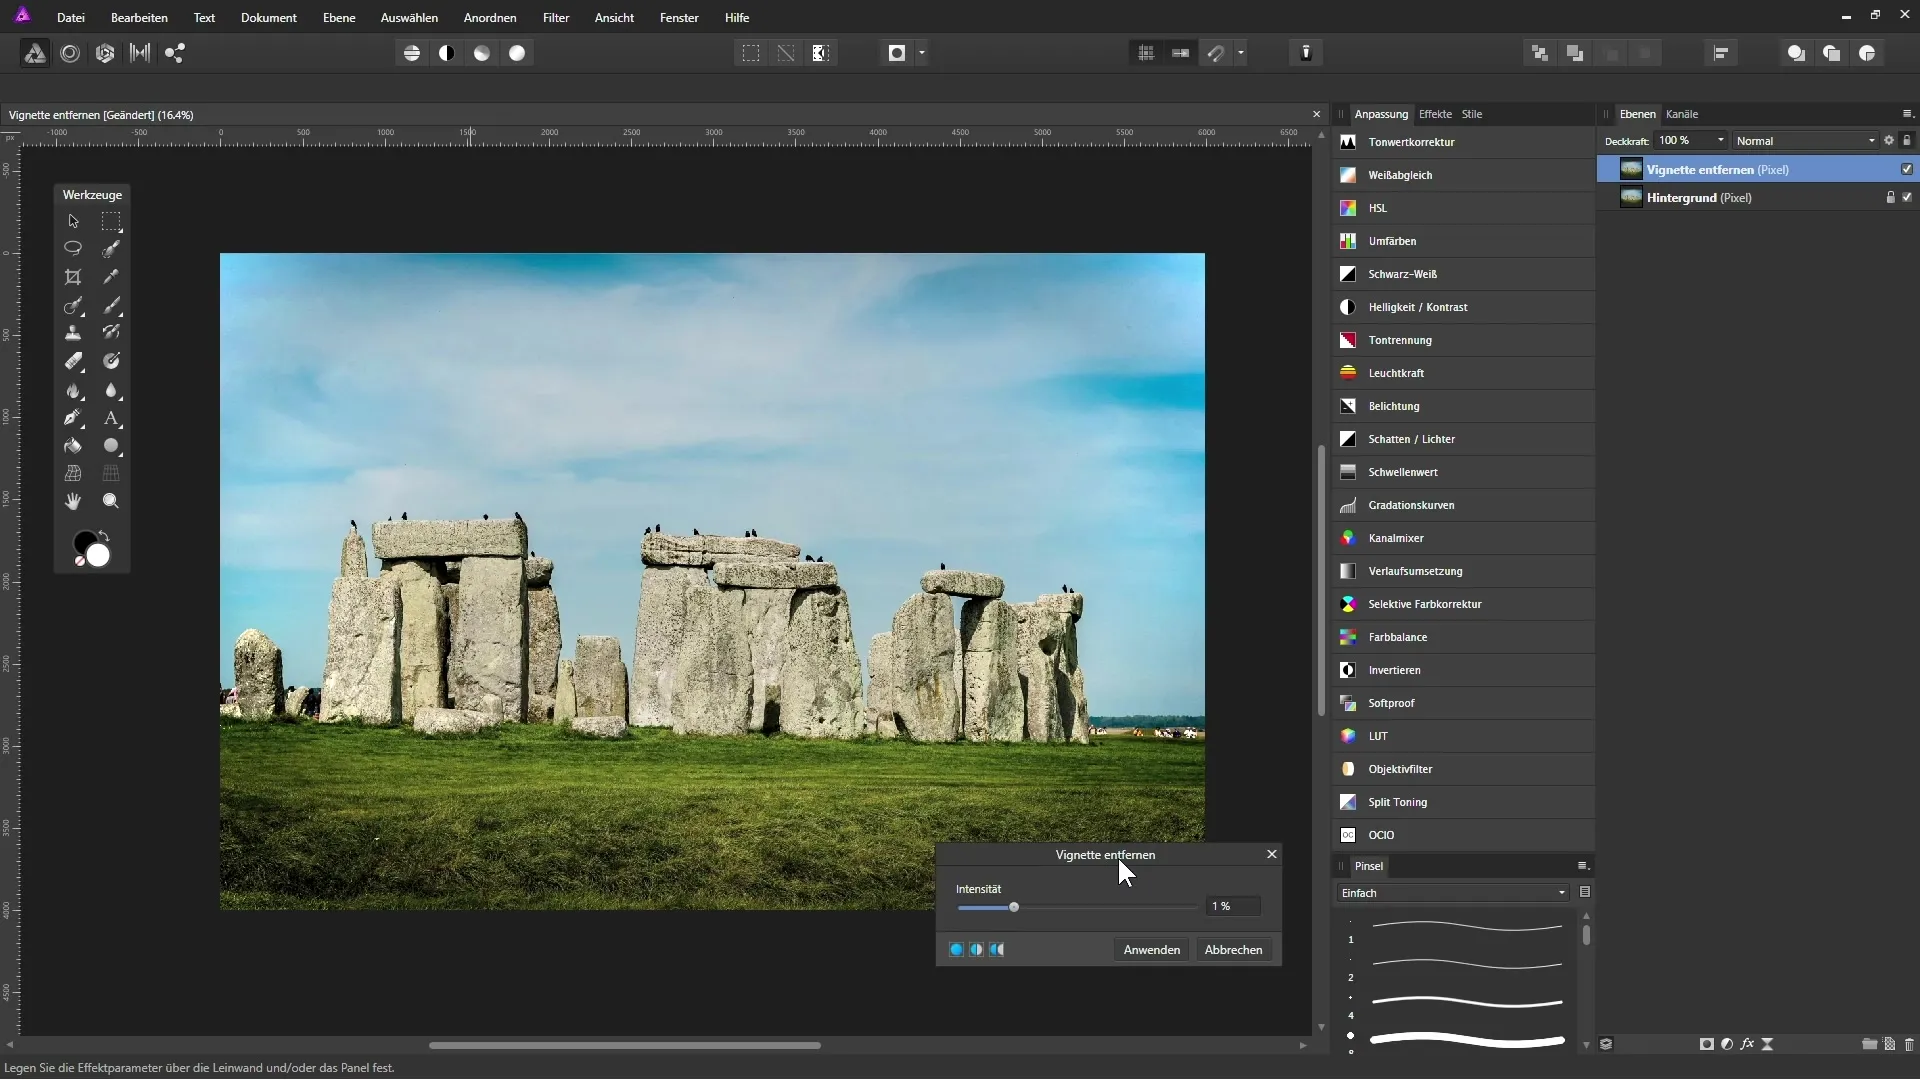
Step 3: Adjust the Slider
It is important to find the right setting. Set the vignette slider to about 2% for a natural result. Make sure the effect is not exaggerated, as this can lead to an unnaturally bright image.
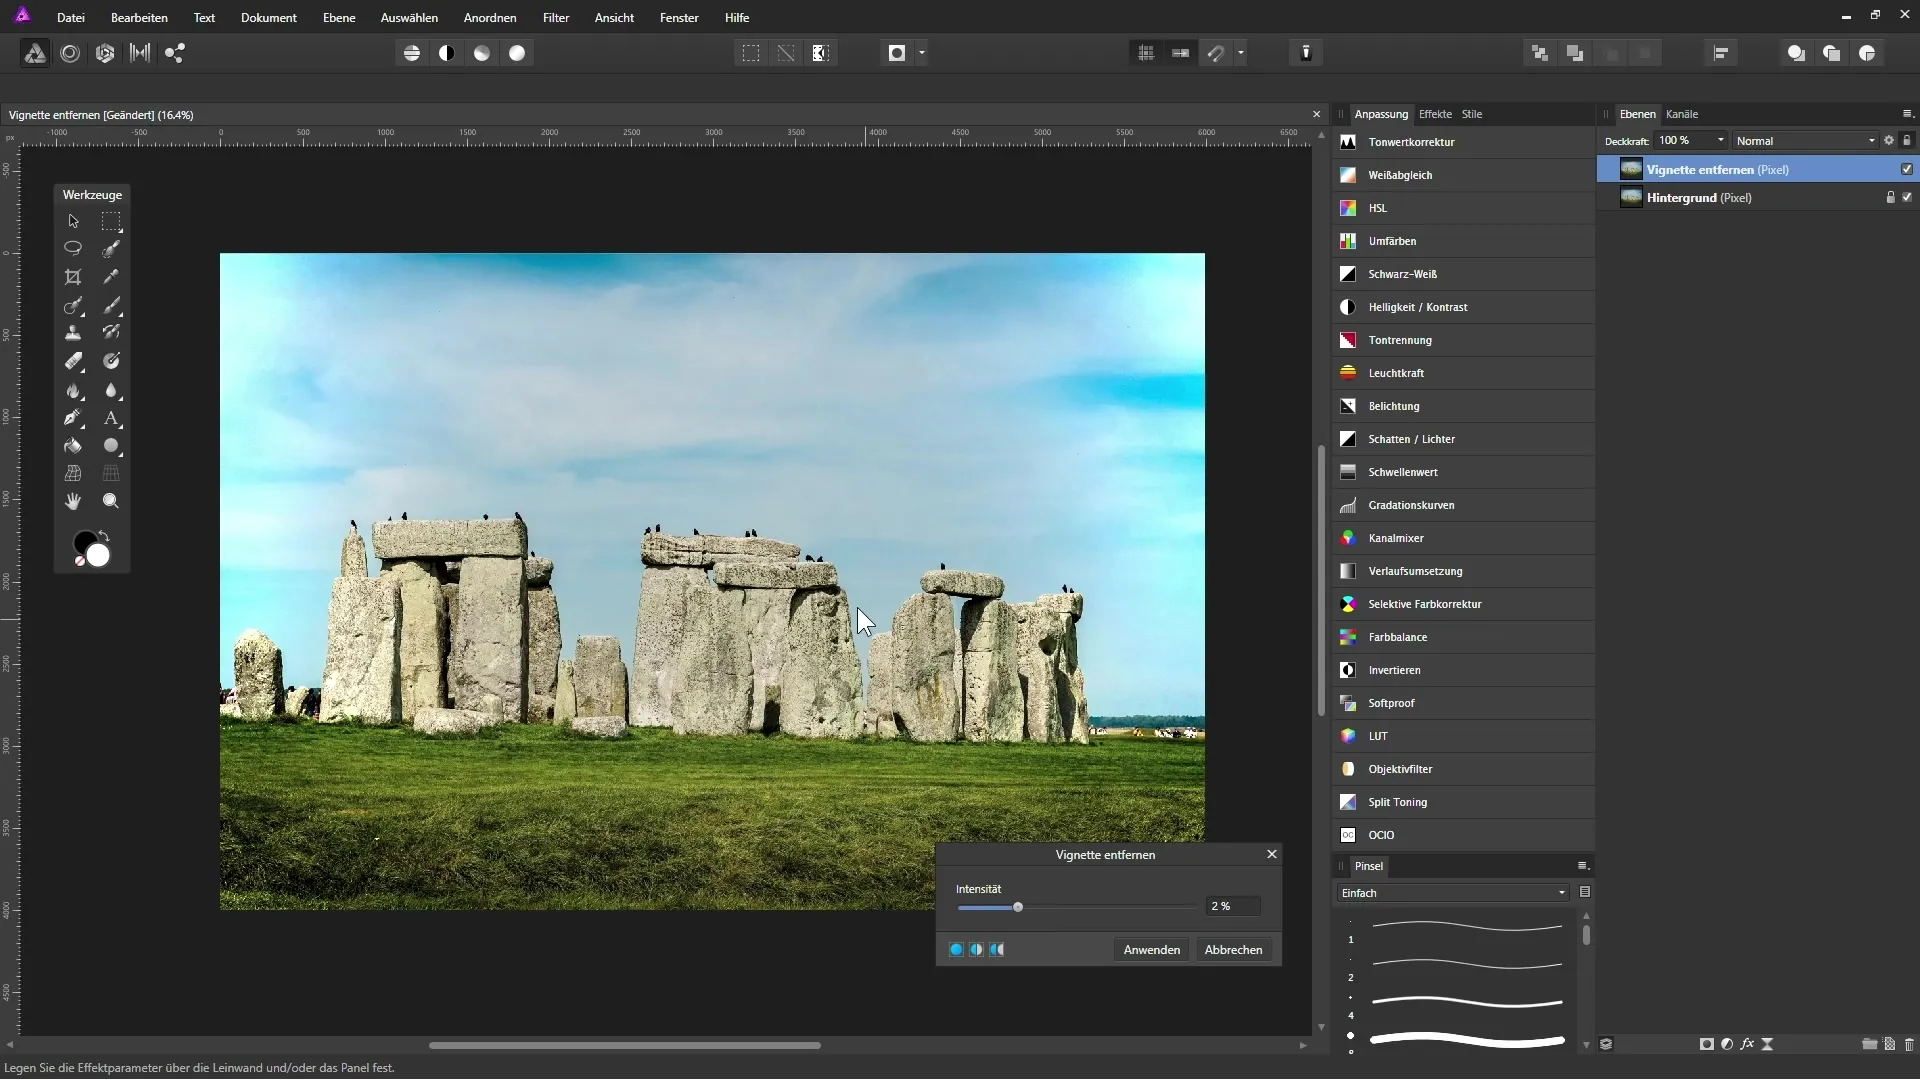
Step 4: Adjust Opacity
The next stepis to adjust the opacity of the edited layer. The colors may appear overly strong due to the vignette filter. Reduce the opacity of this layer to about 93% to optimize the brightness adjustment without affecting the intensity of the colors.
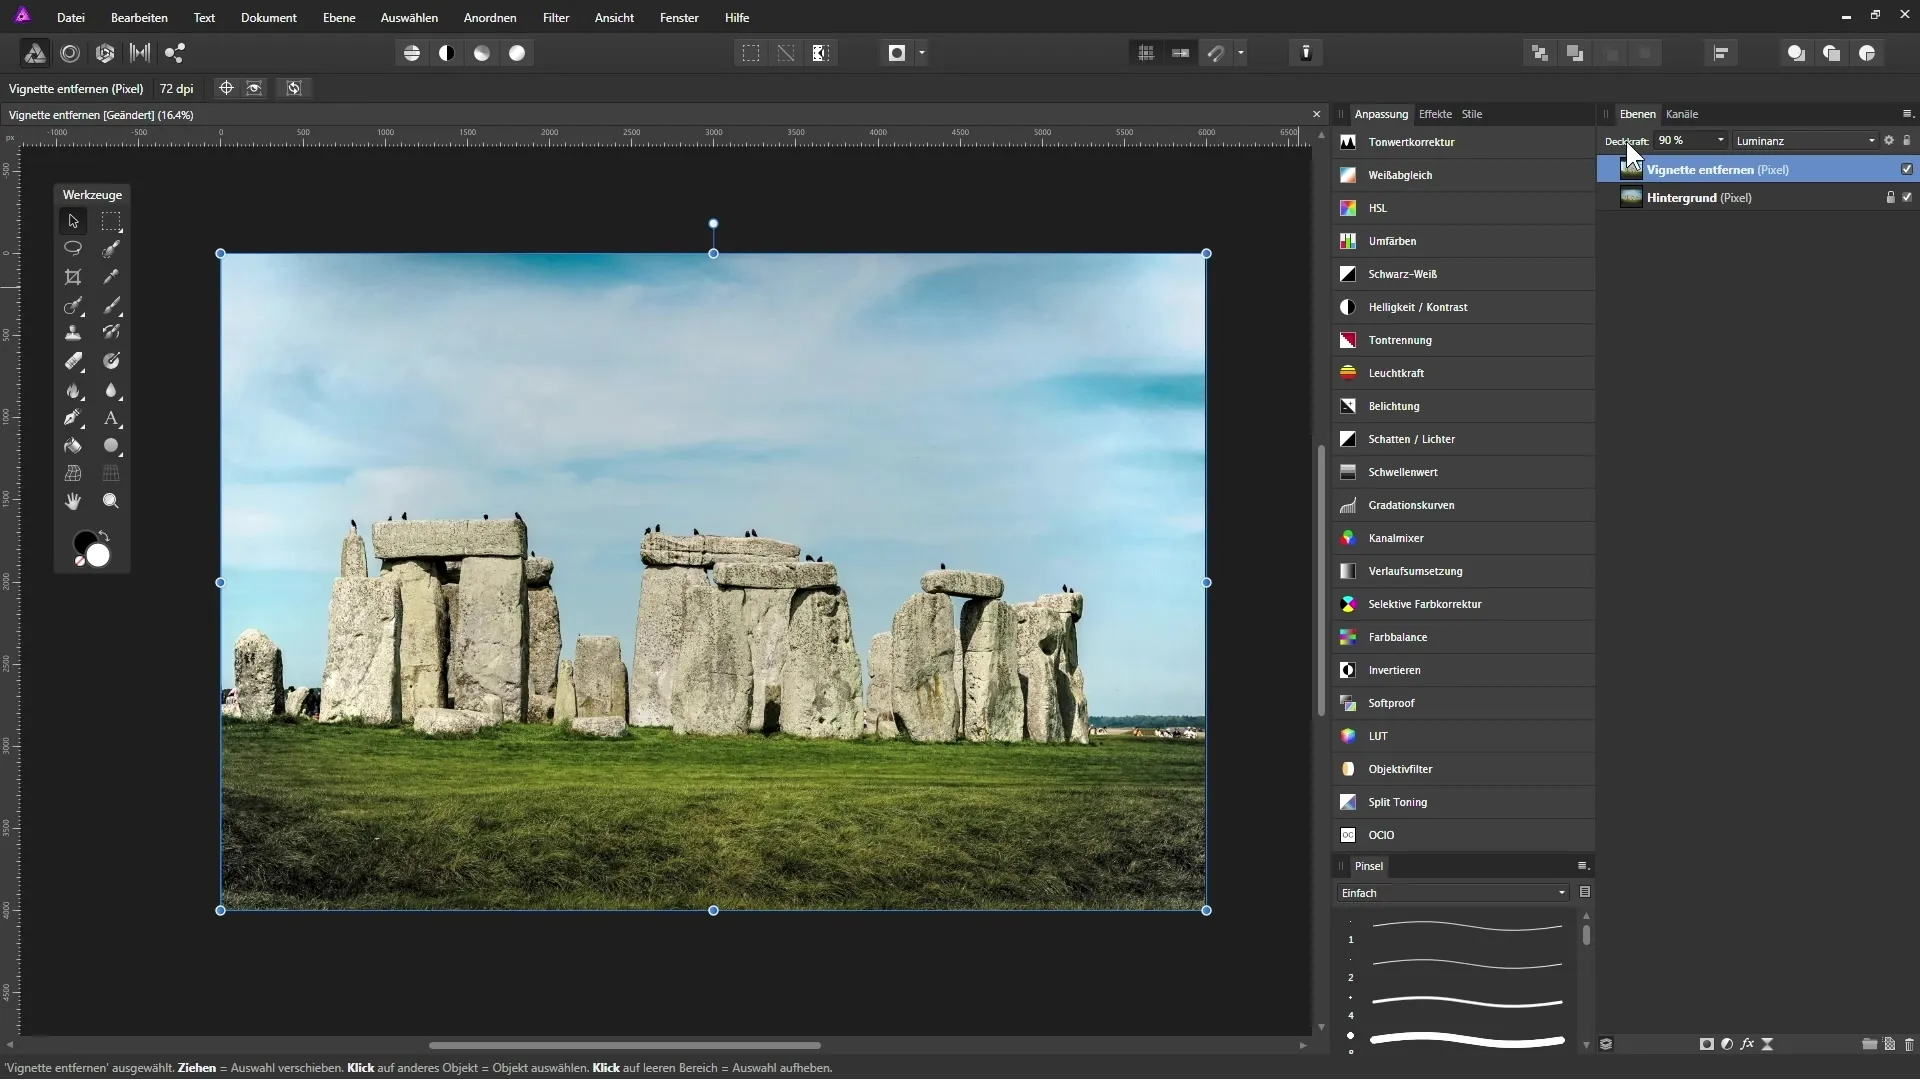
Step 5: Create Color Correction
To correct any color shifts, create a new empty pixel layer. Name this layer “Grass Correction” and set the layer mode to “Color.” This way you can selectively adjust the colors in the edge areas without affecting the brightness information.
Step 6: Work with the Brush
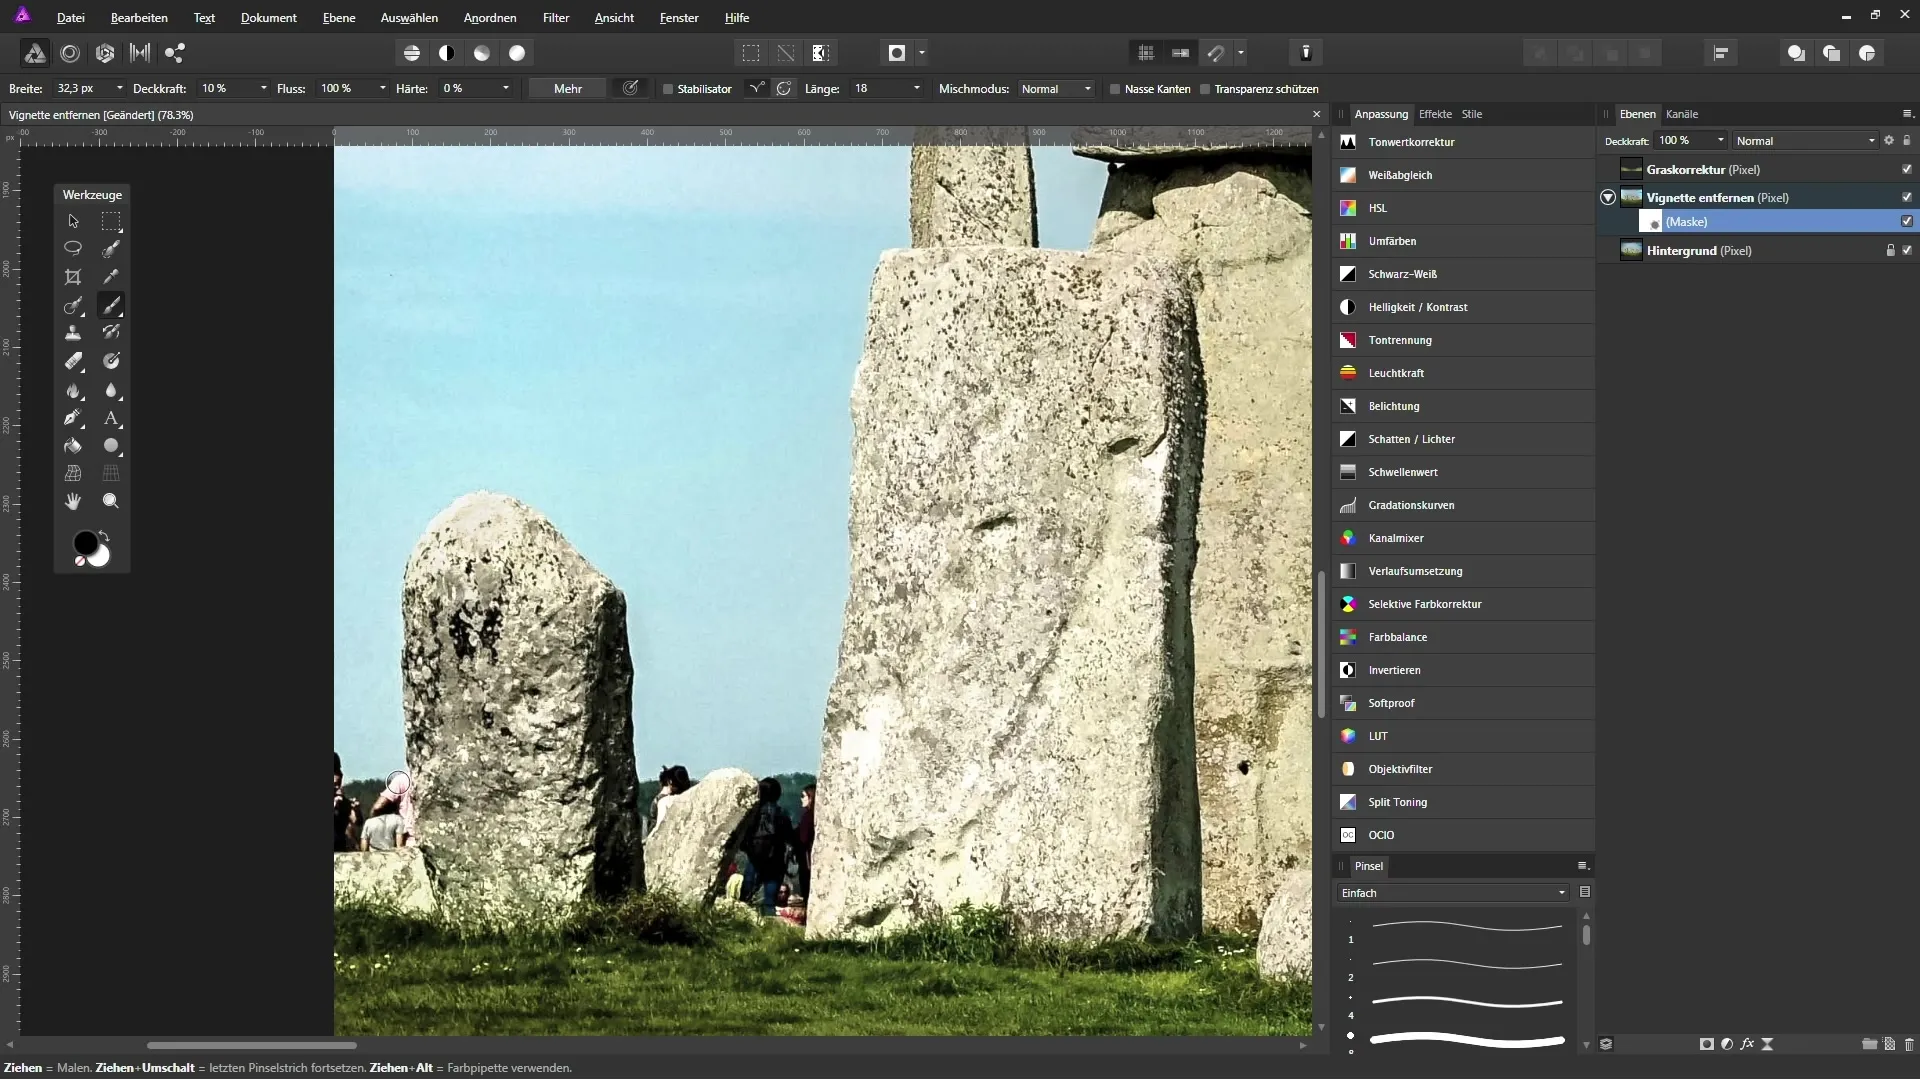
Select the paintbrush and set the opacity to high values, around 100%. Holding the Alt key, you can sample a color from the photo. Paint into the affected areas to correct the colors. This method allows you to create smooth transitions by adjusting the brush size and hardness.
Step 7: Make Final Adjustments
Before finalizing, check your image. Look for any areas that may need further adjustments, such as brightness in the rocks. If necessary, create a mask on the Remove Vignette layer to selectively restore details.
Step 8: Final Review
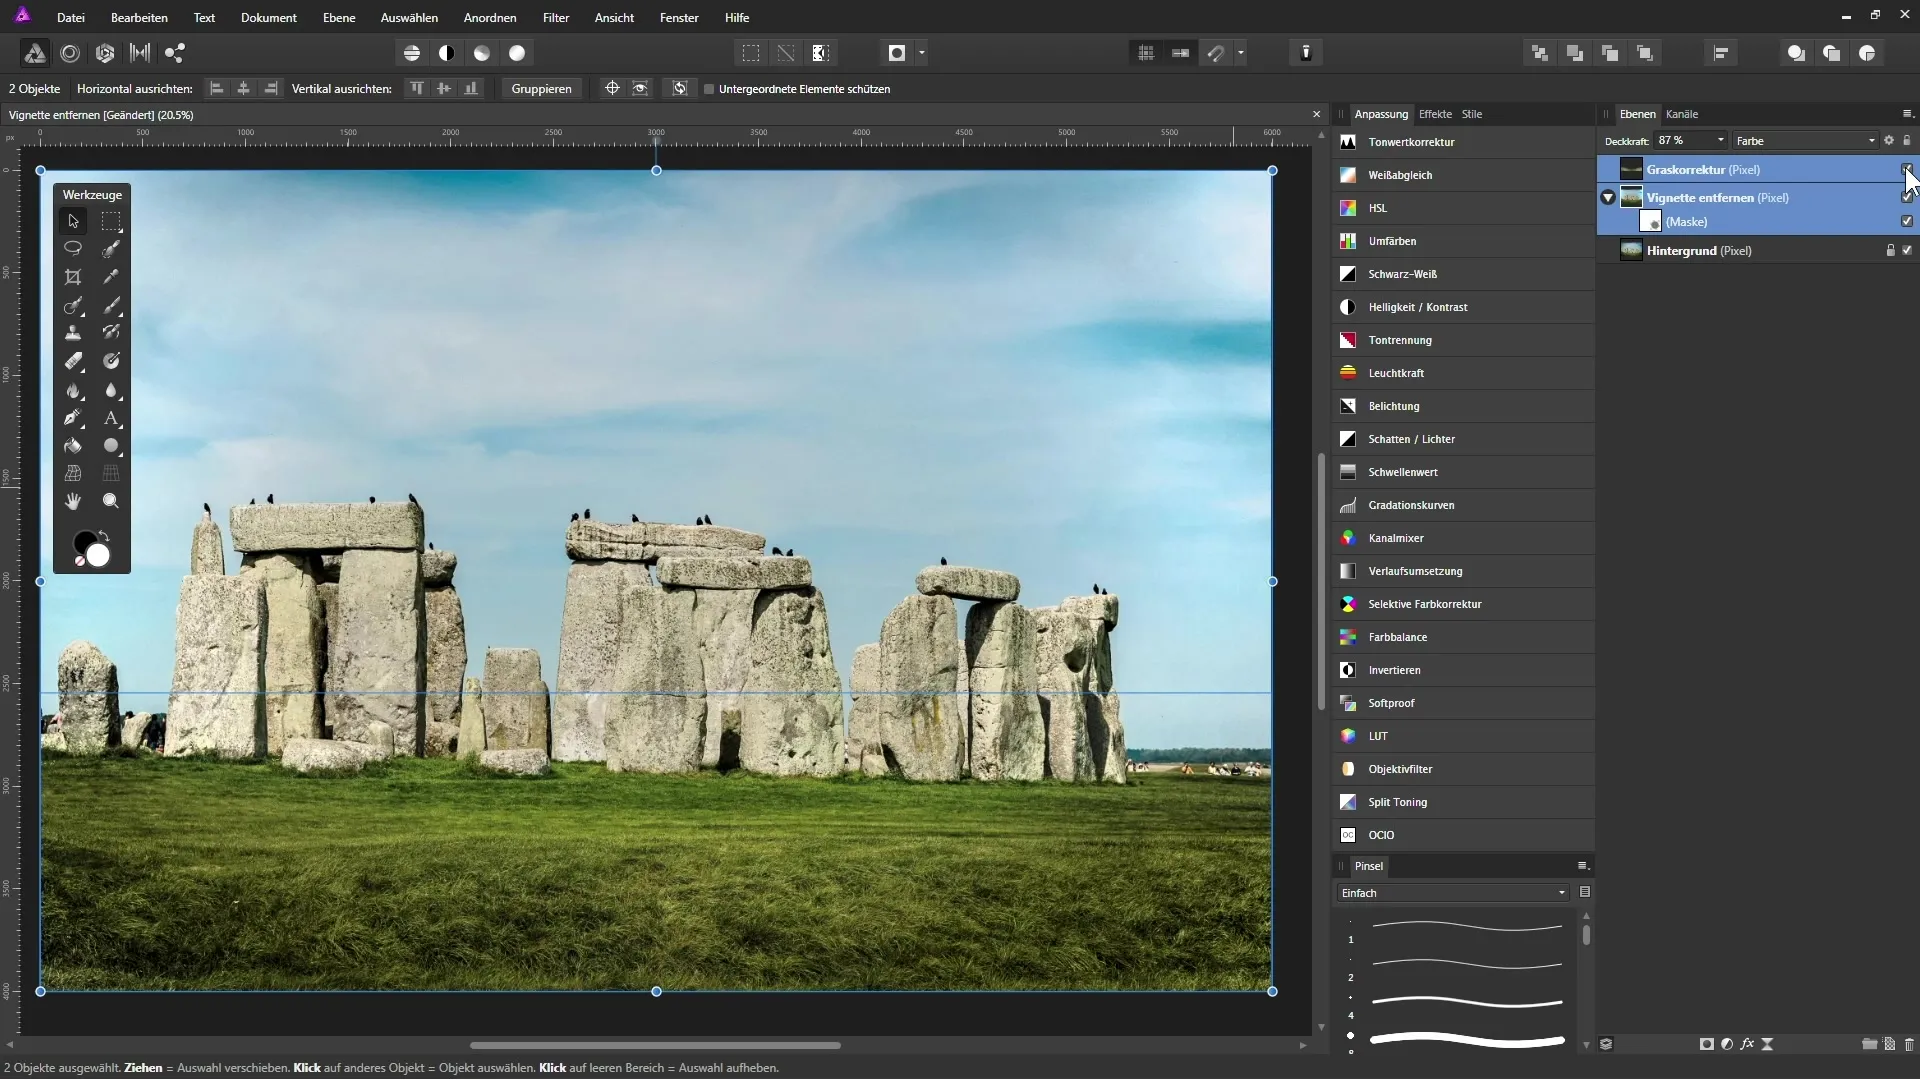
After all these adjustments, it’s time to review your work. Zoom out and view the image as a whole. You should see how the removed vignettes enhance your image. Click the checkmark to confirm all your changes and save the final image.
Summary – Removing Vignettes in Affinity Photo: A Guide to Improving Your Photos
By following these steps, you can effectively remove vignettes from your images and significantly enhance the visual quality of your photos.
FAQ
How do vignettes occur and how can I avoid them?Vignettes occur due to the properties of the lens. They can be reduced by various photography techniques or lens filters.
Can I remove a vignette with another program?Yes, many photo editing programs offer similar functions for correcting vignettes.
What is the difference between destructive and non-destructive editing?Destructive editing alters the original image, while non-destructive edits make adjustments that can be reverted at any time.

