Working with selections in Corel PaintShop Pro may initially seem challenging, but it provides the foundation for many creative projects, such as creating collages or selectively editing image elements. In the second part of this tutorial, we will look at various techniques and tools to make precise selections and shape your images according to your ideas. Let's dive straight into the world of selections!
Key Insights
- Selecting image areas is crucial for editing and coloring images.
- Tools like the magic wand and brushes for intelligent selections can be used for different scenarios.
- A certain amount of post-processing is required to achieve perfect results.
Step-by-Step Guide
Step 1: Choose an Image Subject
First, open Corel PaintShop Pro and load a suitable image that you want to edit. In this example, we will use a flower motif. You decide to select the white areas of the flower to recolor them later. Make sure to choose an image with a clear contrast between the colors.
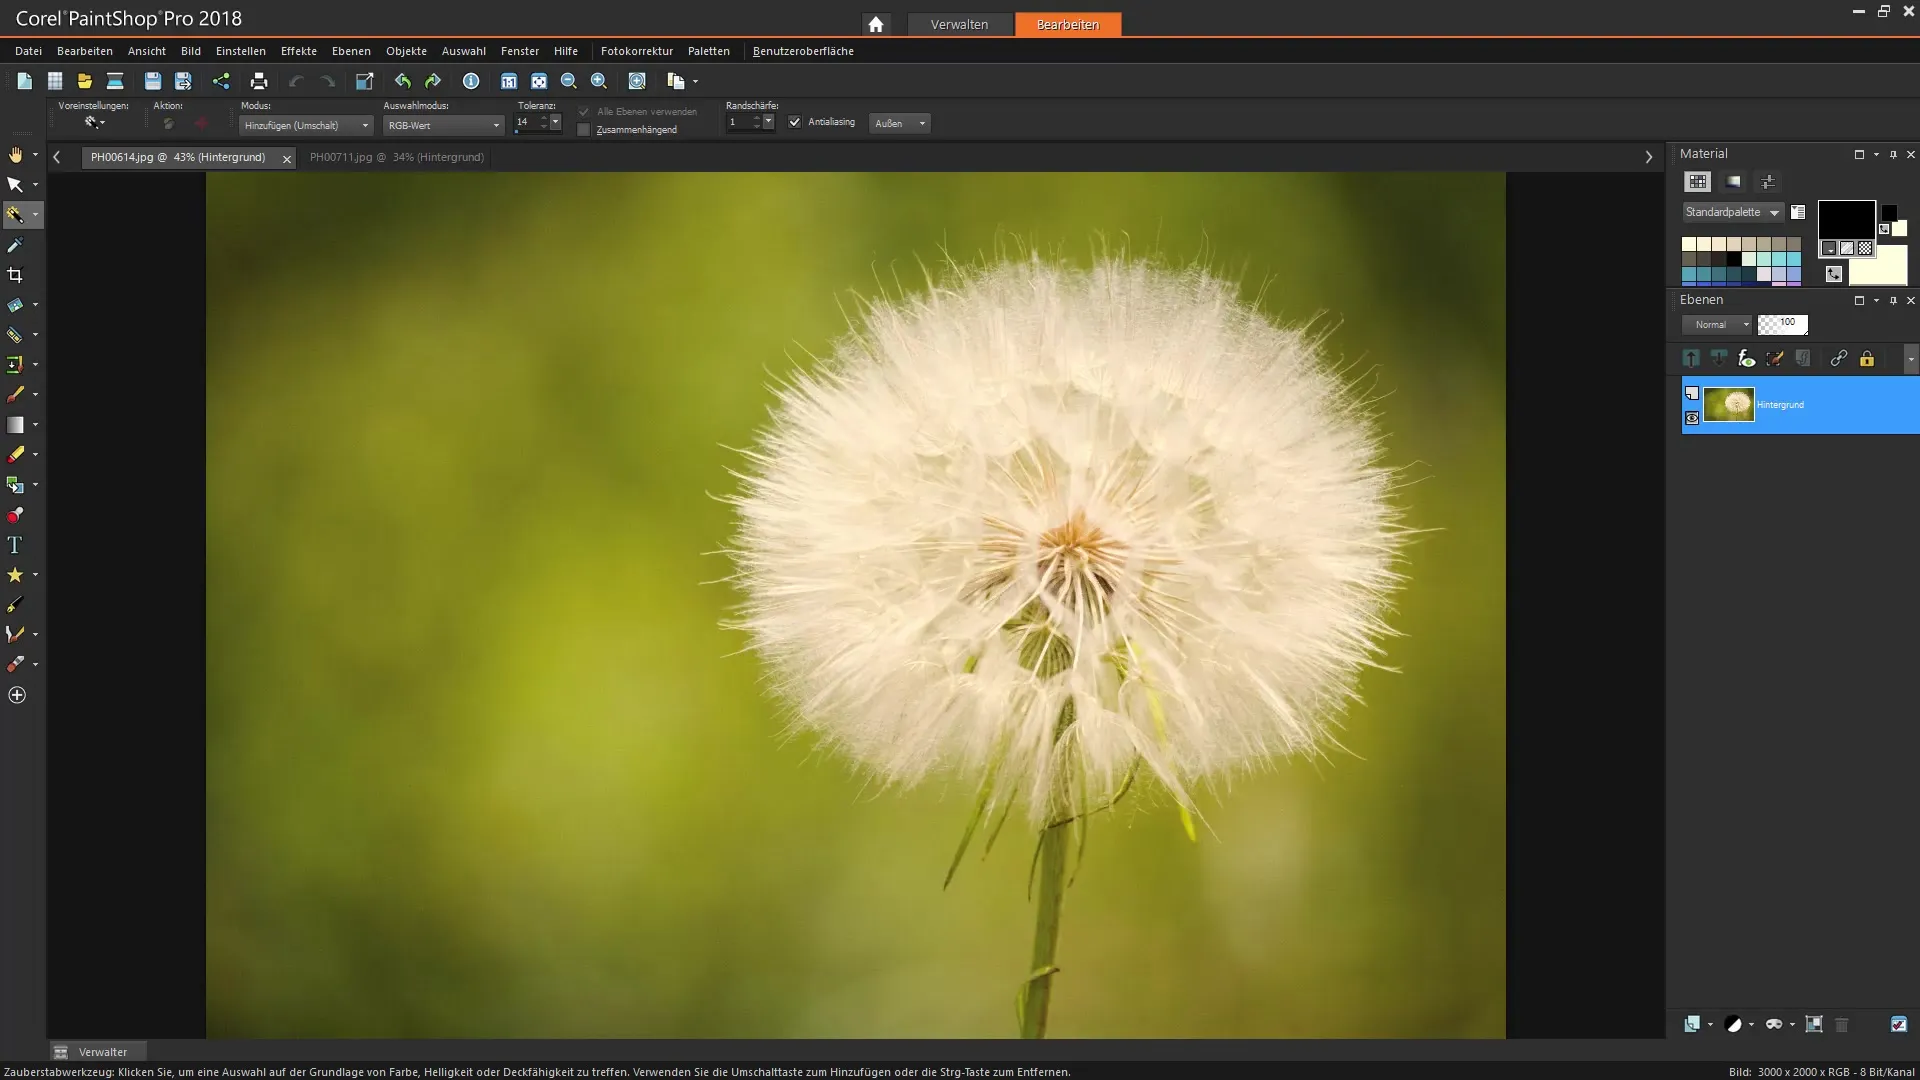
Step 2: Use the Intelligent Selection Brush
To select the desired areas, choose the intelligent selection brush. Set the tolerance value to a low value first, such as six, to optimize the selection results. Now click on the lighter, white areas of the flower.
Step 3: Increase Tolerance for Improved Selection
If the selection is not optimal, you can increase the tolerance. Set the value to, for example, 20, to include more detailed areas. This helps you to capture finer shades better.
Step 4: Use the Magic Wand as an Alternative
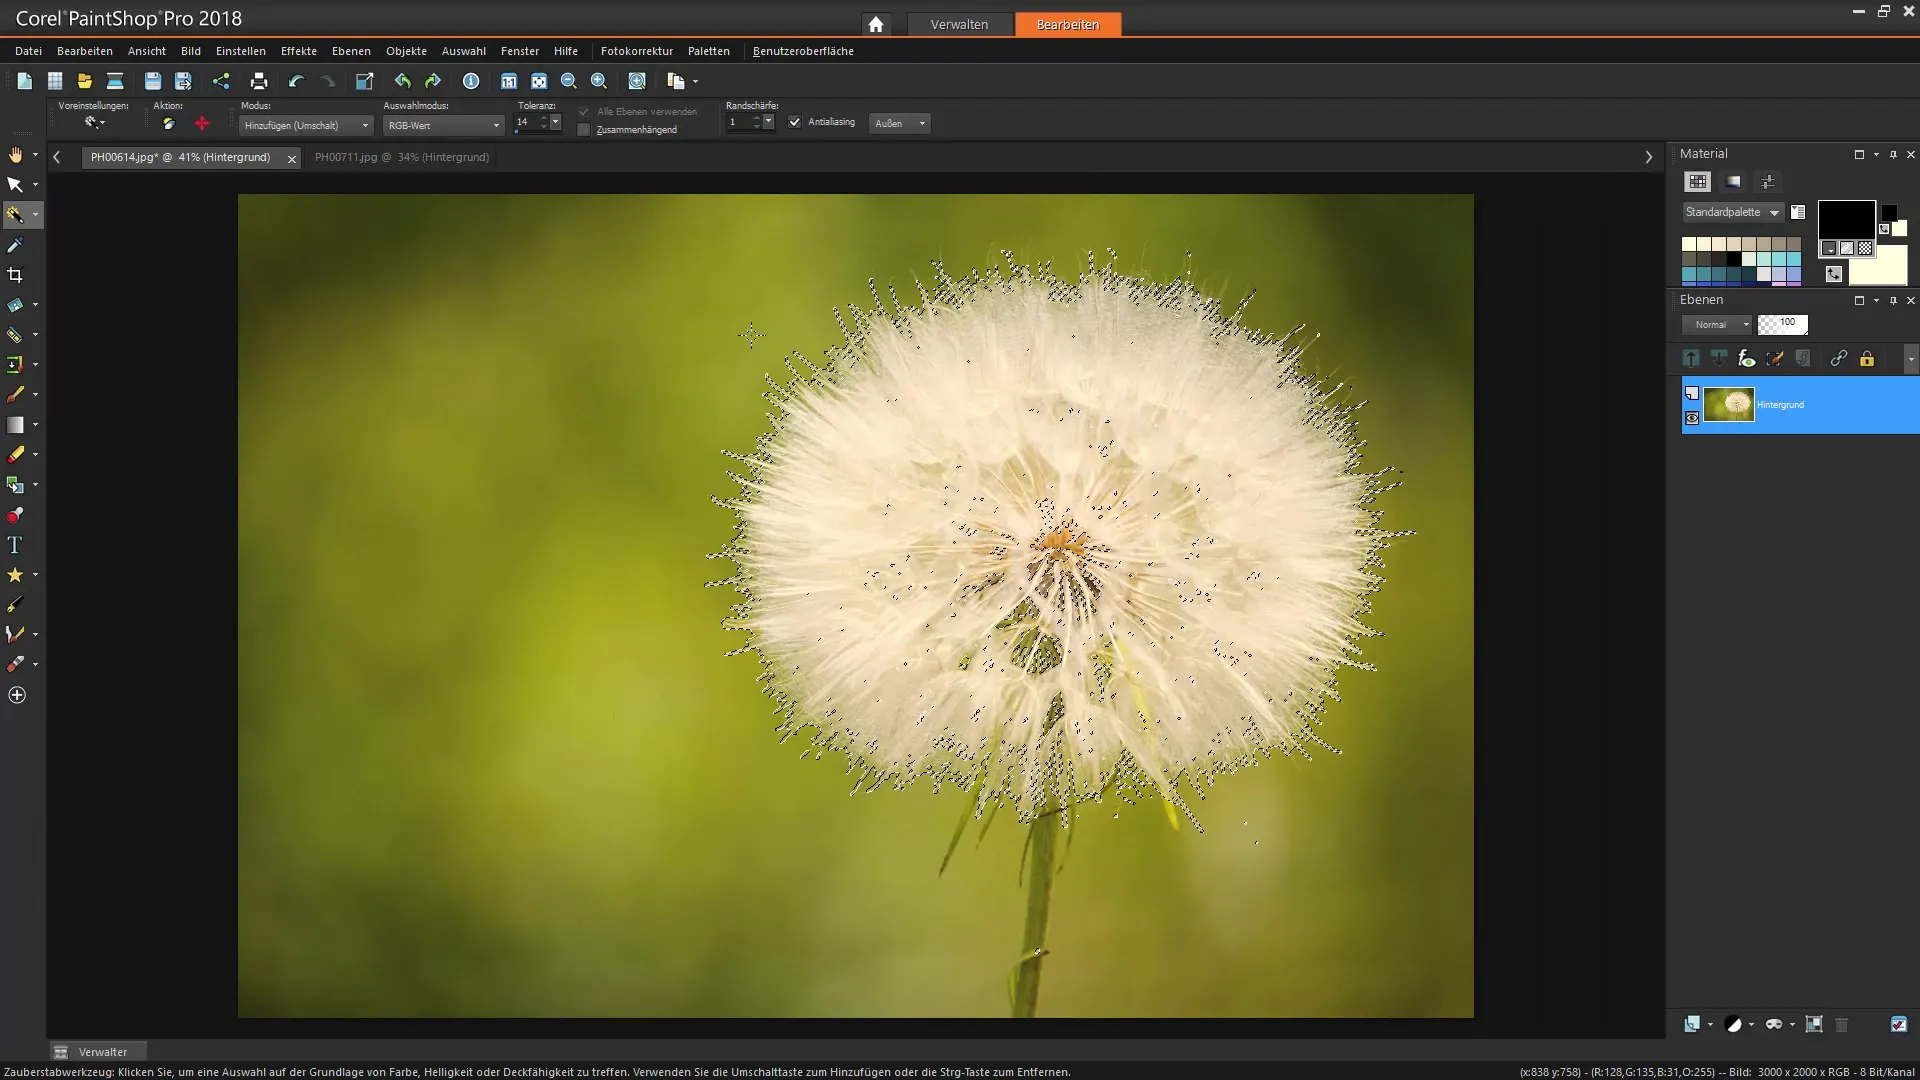
If the brush does not yield the desired results, switch to the magic wand as an alternative selection tool. Select the appropriate RGB value from the areas of the image that you want to capture under the settings. Make sure that the "contiguous" option is not active unless you only want to select contiguous color areas.
Step 5: Make Fine Adjustments
Now click specifically on the different white areas and gradually expand your selection. You can also add additional color tones to get a more comprehensive picture of the manifestation. However, be careful and regularly check the current selection to ensure that no unwanted areas are captured. Too much selection could lead to green areas, such as the stem, being colored as well.
Step 6: Adjust Brightness and Contrast
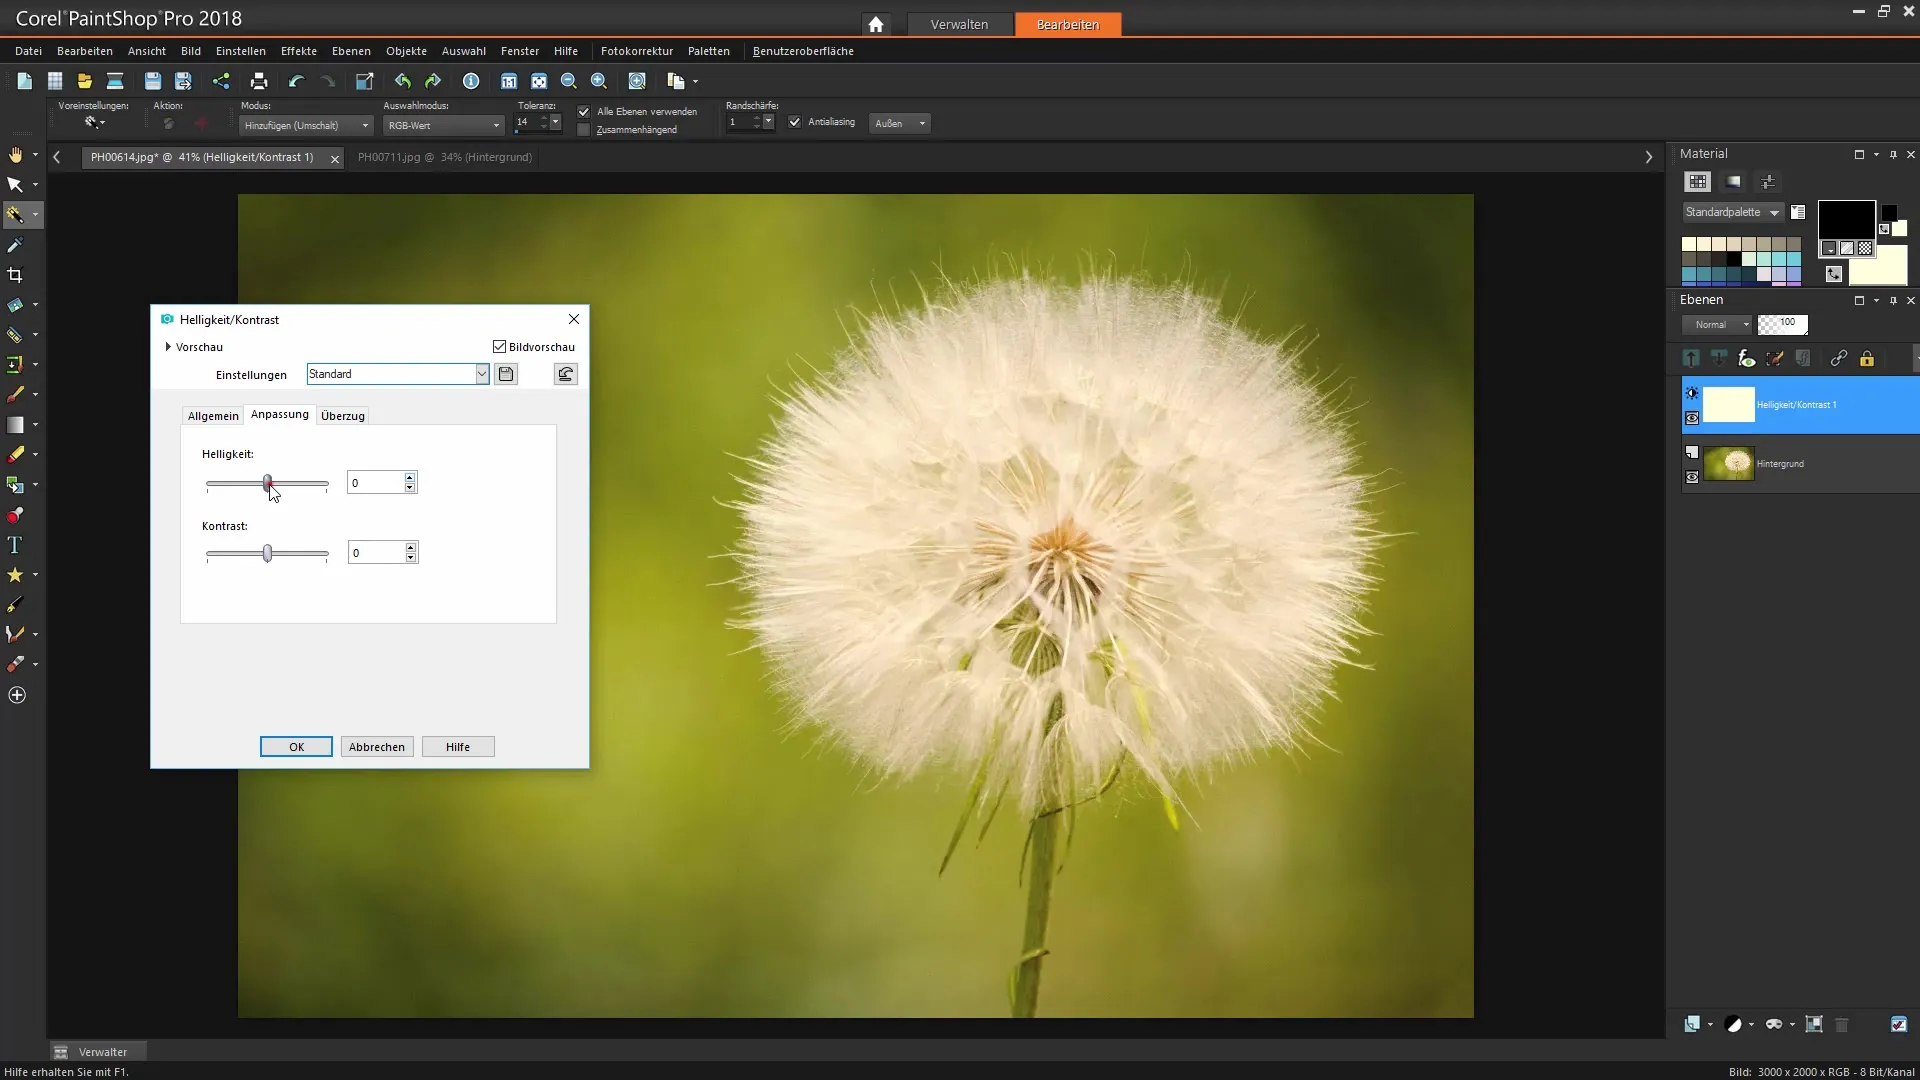
To improve the basic information of the image and enhance the separation of the white tones, go to the adjustment layers and adjust the brightness and contrast. Experiment with the sliders to ensure the best visibility of your selection.
Step 7: Merge Selection for Better Overview
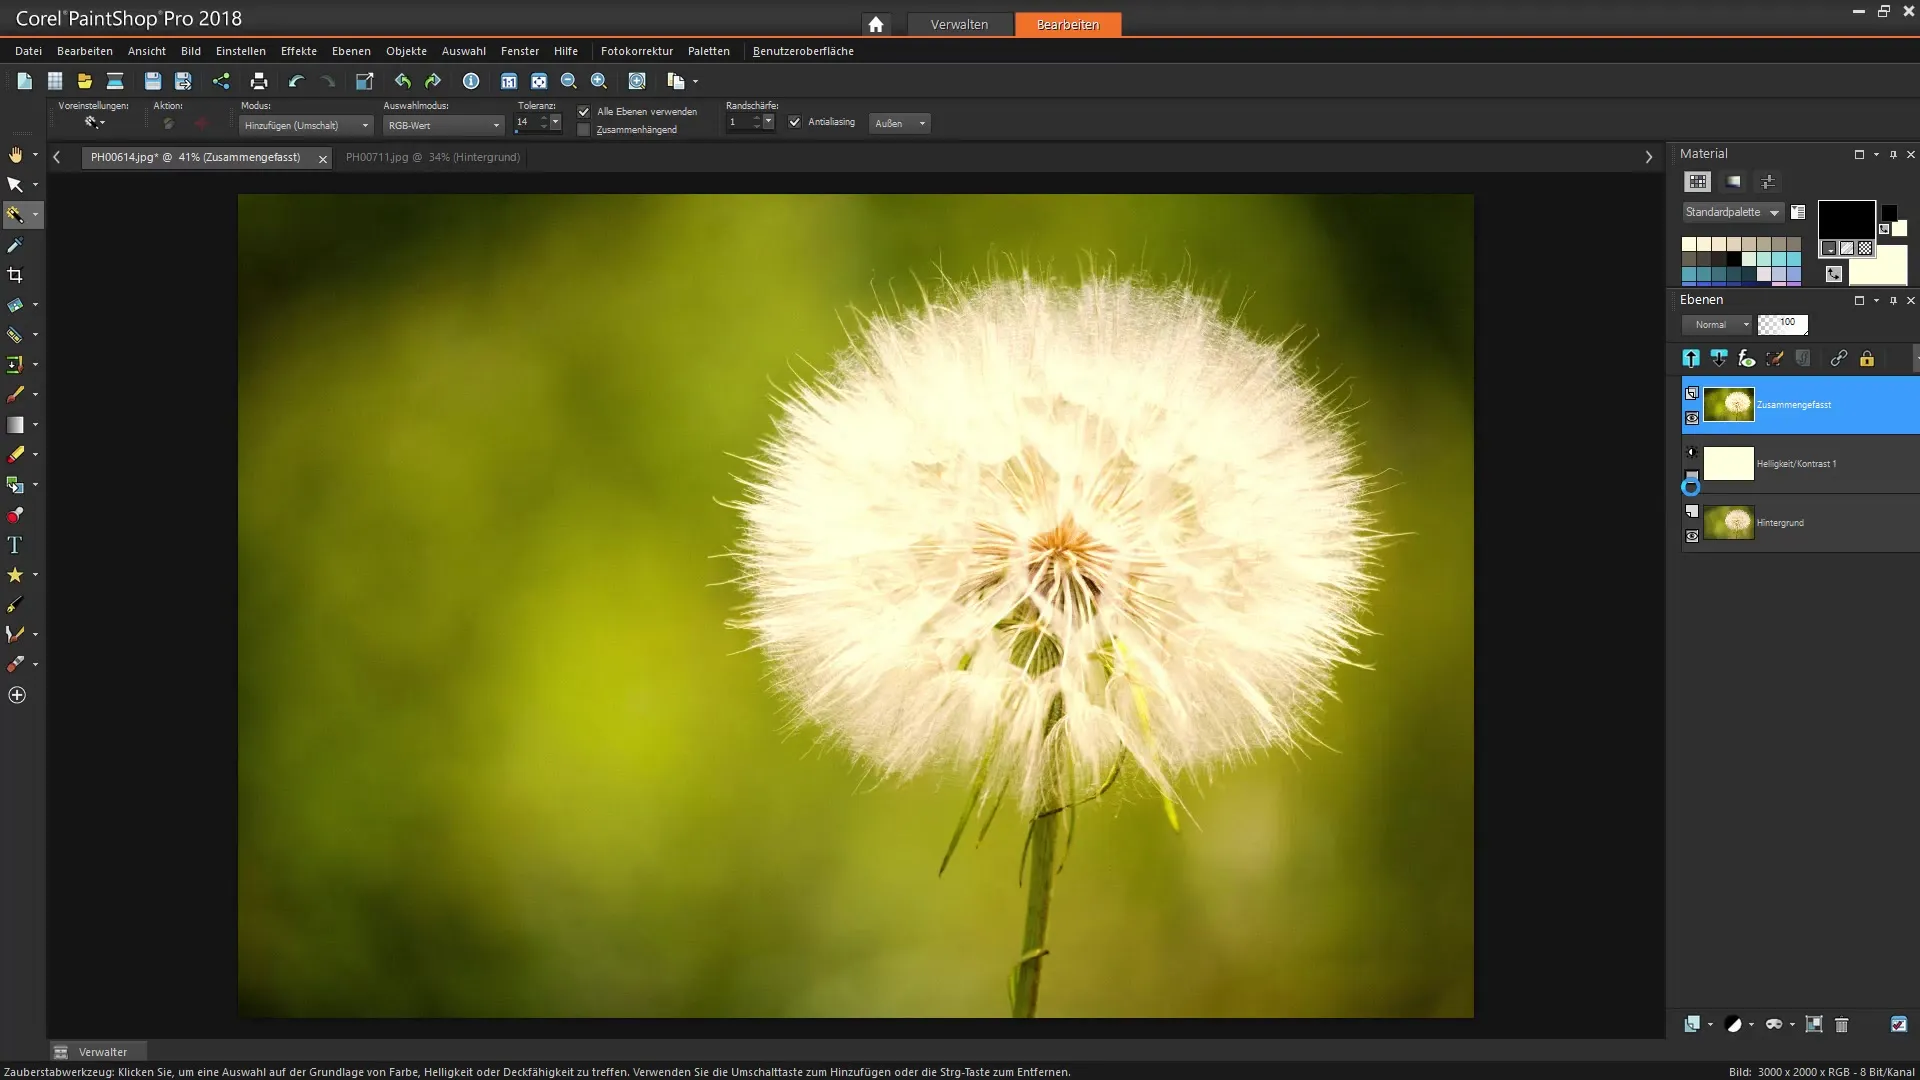
Once you are satisfied with the brightness and contrast settings, you can merge the selection into a new layer. This method makes it easier for you to edit later, as you are working with a consolidated selection.
Step 8: Detailed Post-Processing
Now that your selection is better defined, continue refining it by using the brush and a mask to soften transitions and edges. Draw with reduced opacity to achieve softer edges. This is especially important when working with complex motifs such as hair or flower petals to avoid unsightly edges.
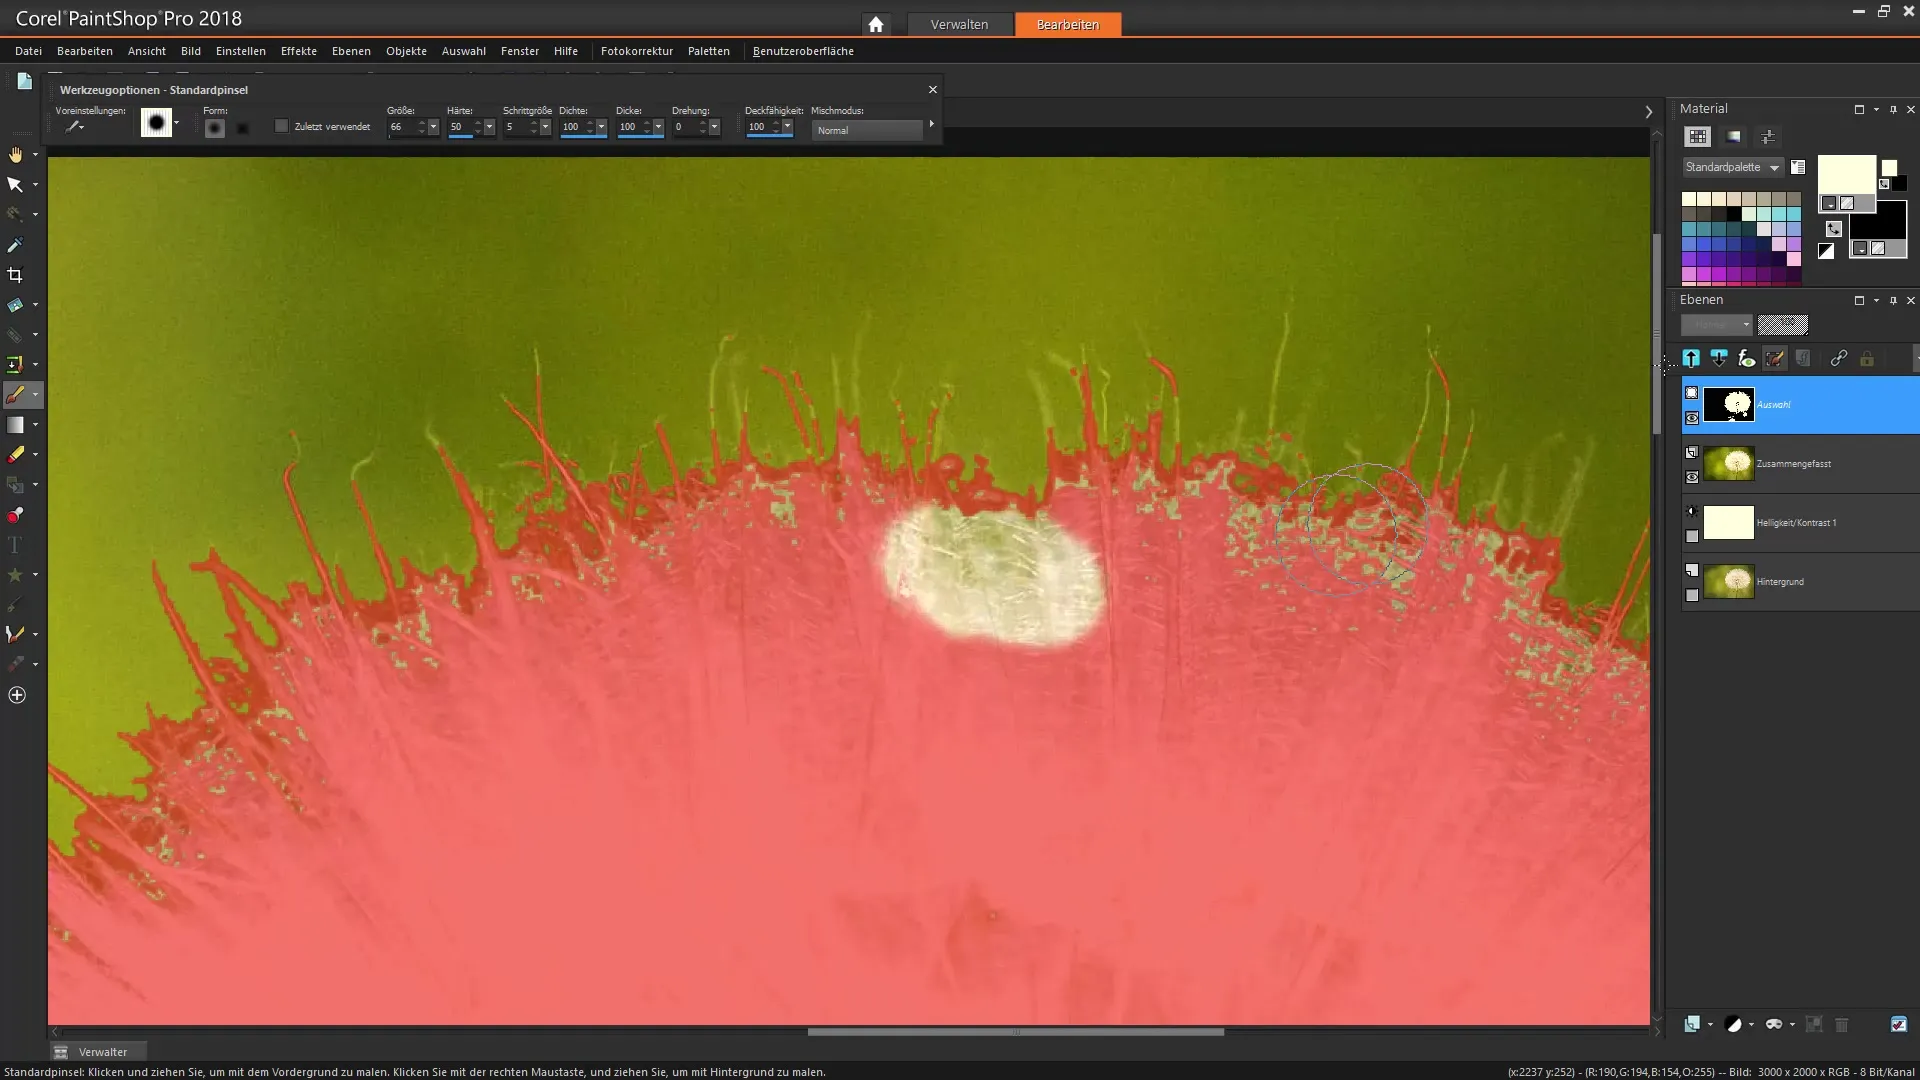
Step 9: Coloring the Selection
Once you have finished fine-tuning the selection, you can move on to coloring it. Use an adjustment layer for hue/saturation to color the selected areas in your desired color. Here, you have the freedom to adjust the hue and saturation to your liking.
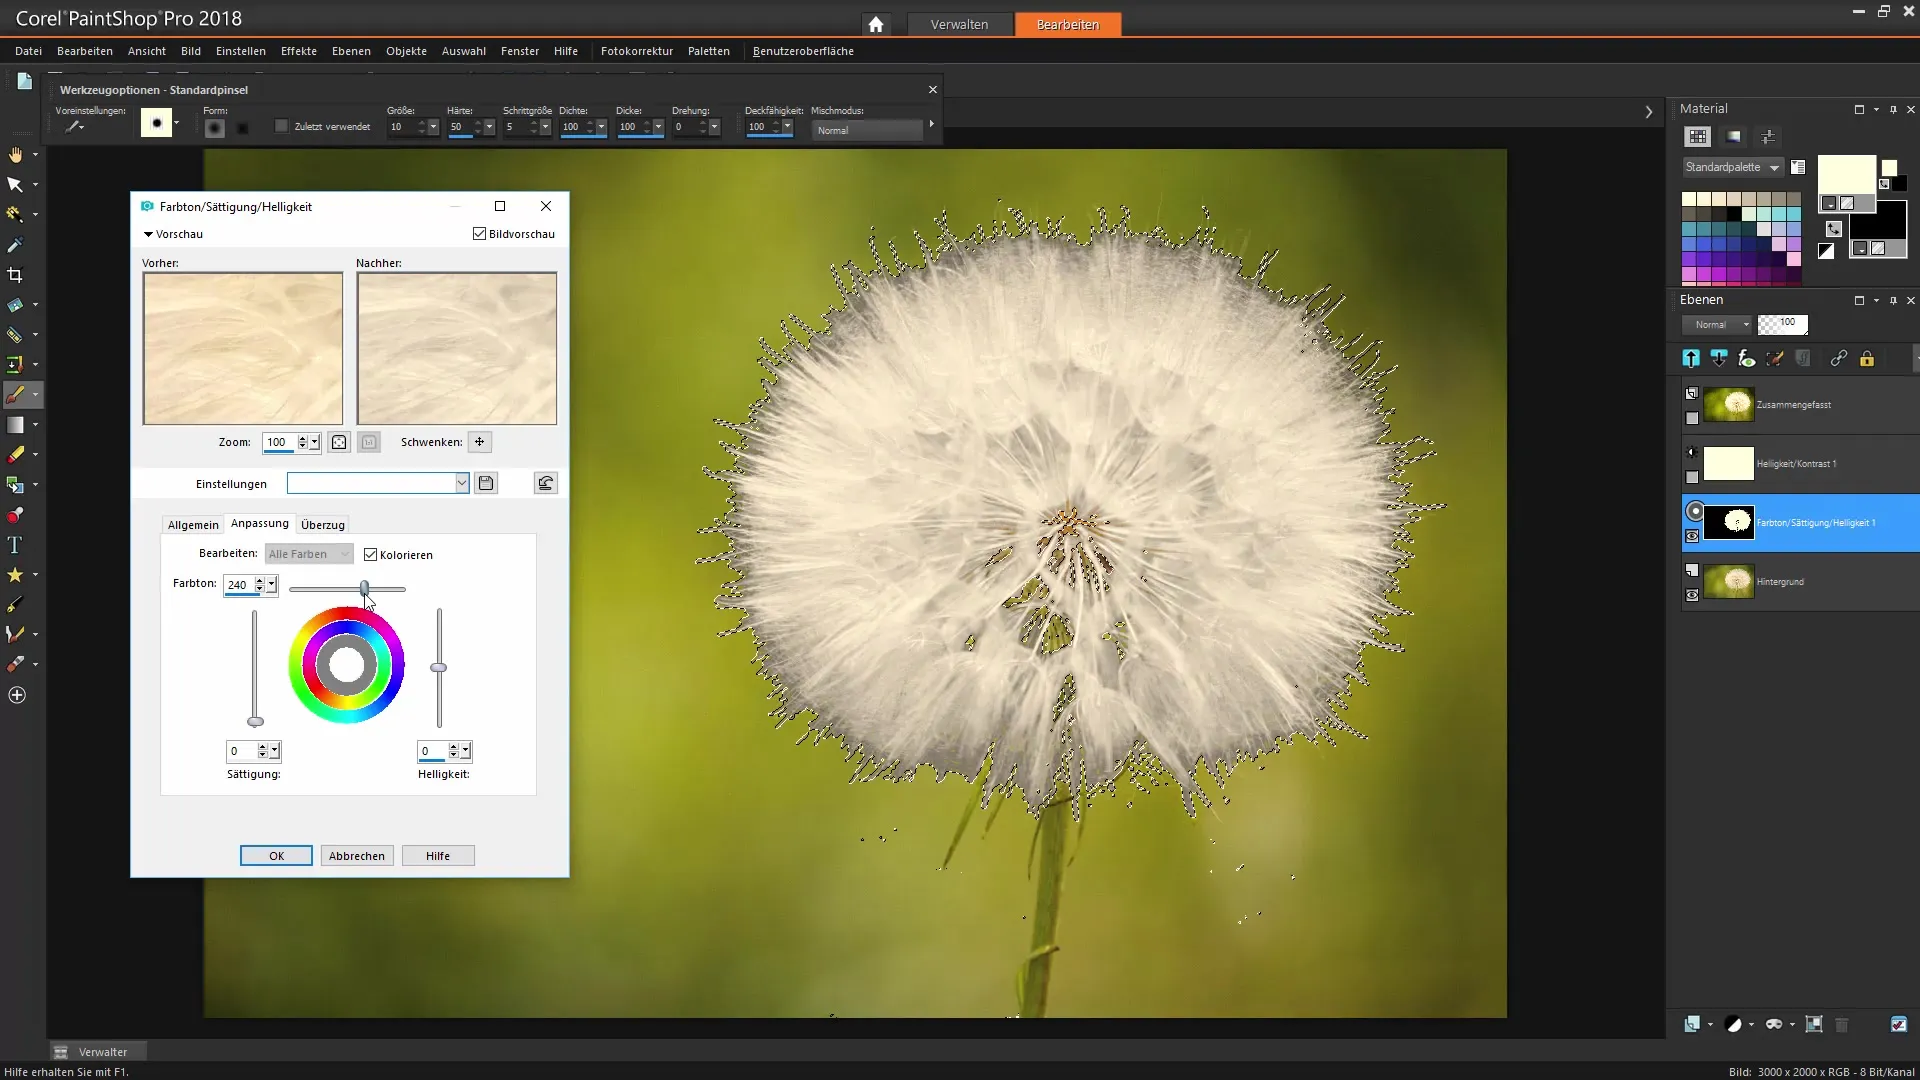
Step 10: Final Review and Completion
After making all adjustments, it's time to deselect and check if you like the image. Consider the overall composition and make any additional minor adjustments to the layers or opacity if necessary to perfect the final result.
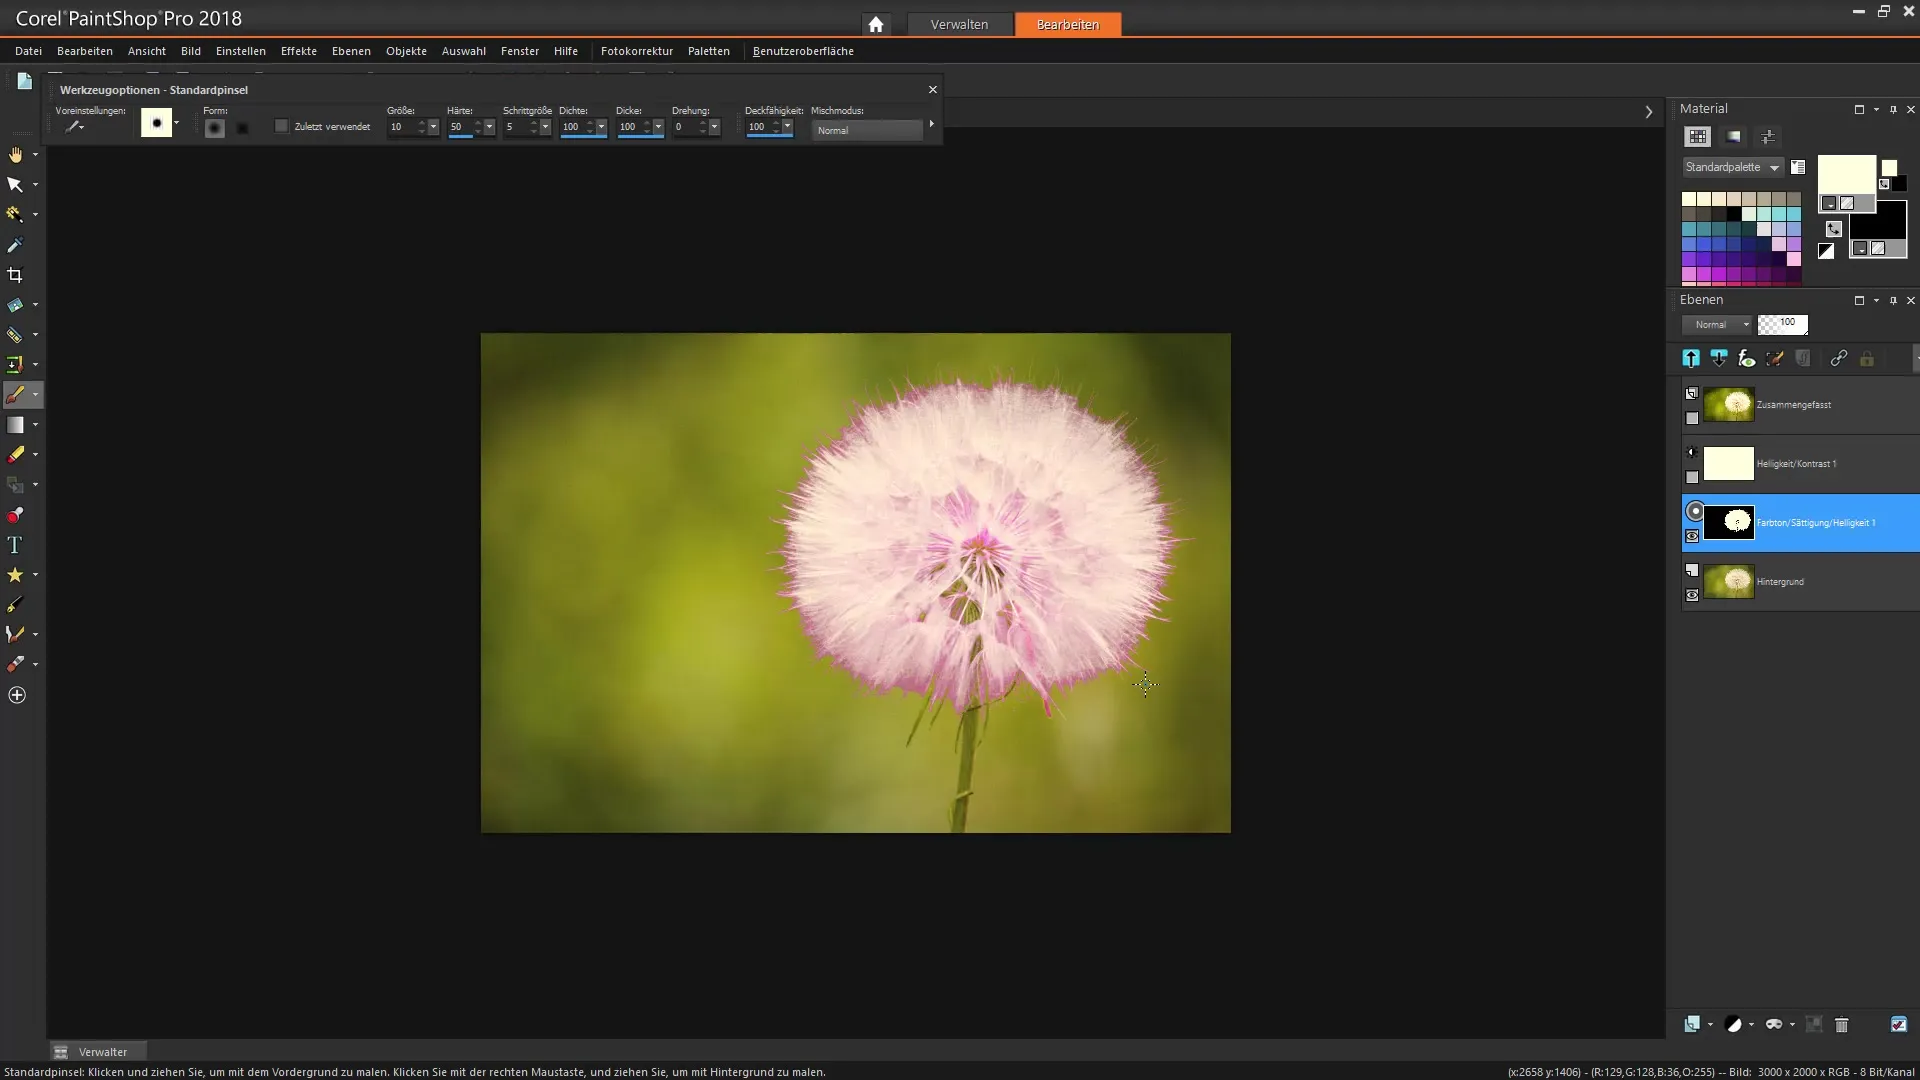
Summary – Corel PaintShop Pro: Mastering Selections – Techniques in Detail
In this tutorial, you learned how to make accurate selections in Corel PaintShop Pro using various techniques and tools. Strategies were presented to adjust brightness and contrast as well as to apply coloring in a targeted manner. Apply these methods to creatively shape your images!
Frequently Asked Questions
How can I adjust the tolerance with the magic wand?You can increase the tolerance to include more detailed areas in your selection.
What do I do if the intelligent selection brush doesn't work?Switch to the magic wand and use the RGB value for targeted selection.
How do I ensure that the stem doesn’t get recolored?Make sure to select only the white areas and regularly check your selection.
Can I edit the selection again later?Yes, you can edit the selection and make adjustments at any time.
Is a mask necessary for fine edges?Yes, a mask helps you soften transitions and hide unwanted edges.


