The precision of handling selections is essential, especially when it comes to editing images optimally or creating graphics. Corel PaintShop Pro gives you the opportunity to achieve highly dramatic results by mastering object-specific selection processes through paths. In this tutorial, you will be guided step by step on how to effectively utilize the path tool and deepen your skills in extracting objects.
Key Insights
- Paths allow for precise and detailed selections.
- Automatic tools are useful but can be inaccurate.
- Adjusting node types is crucial for the selection process.
Step-by-Step Guide
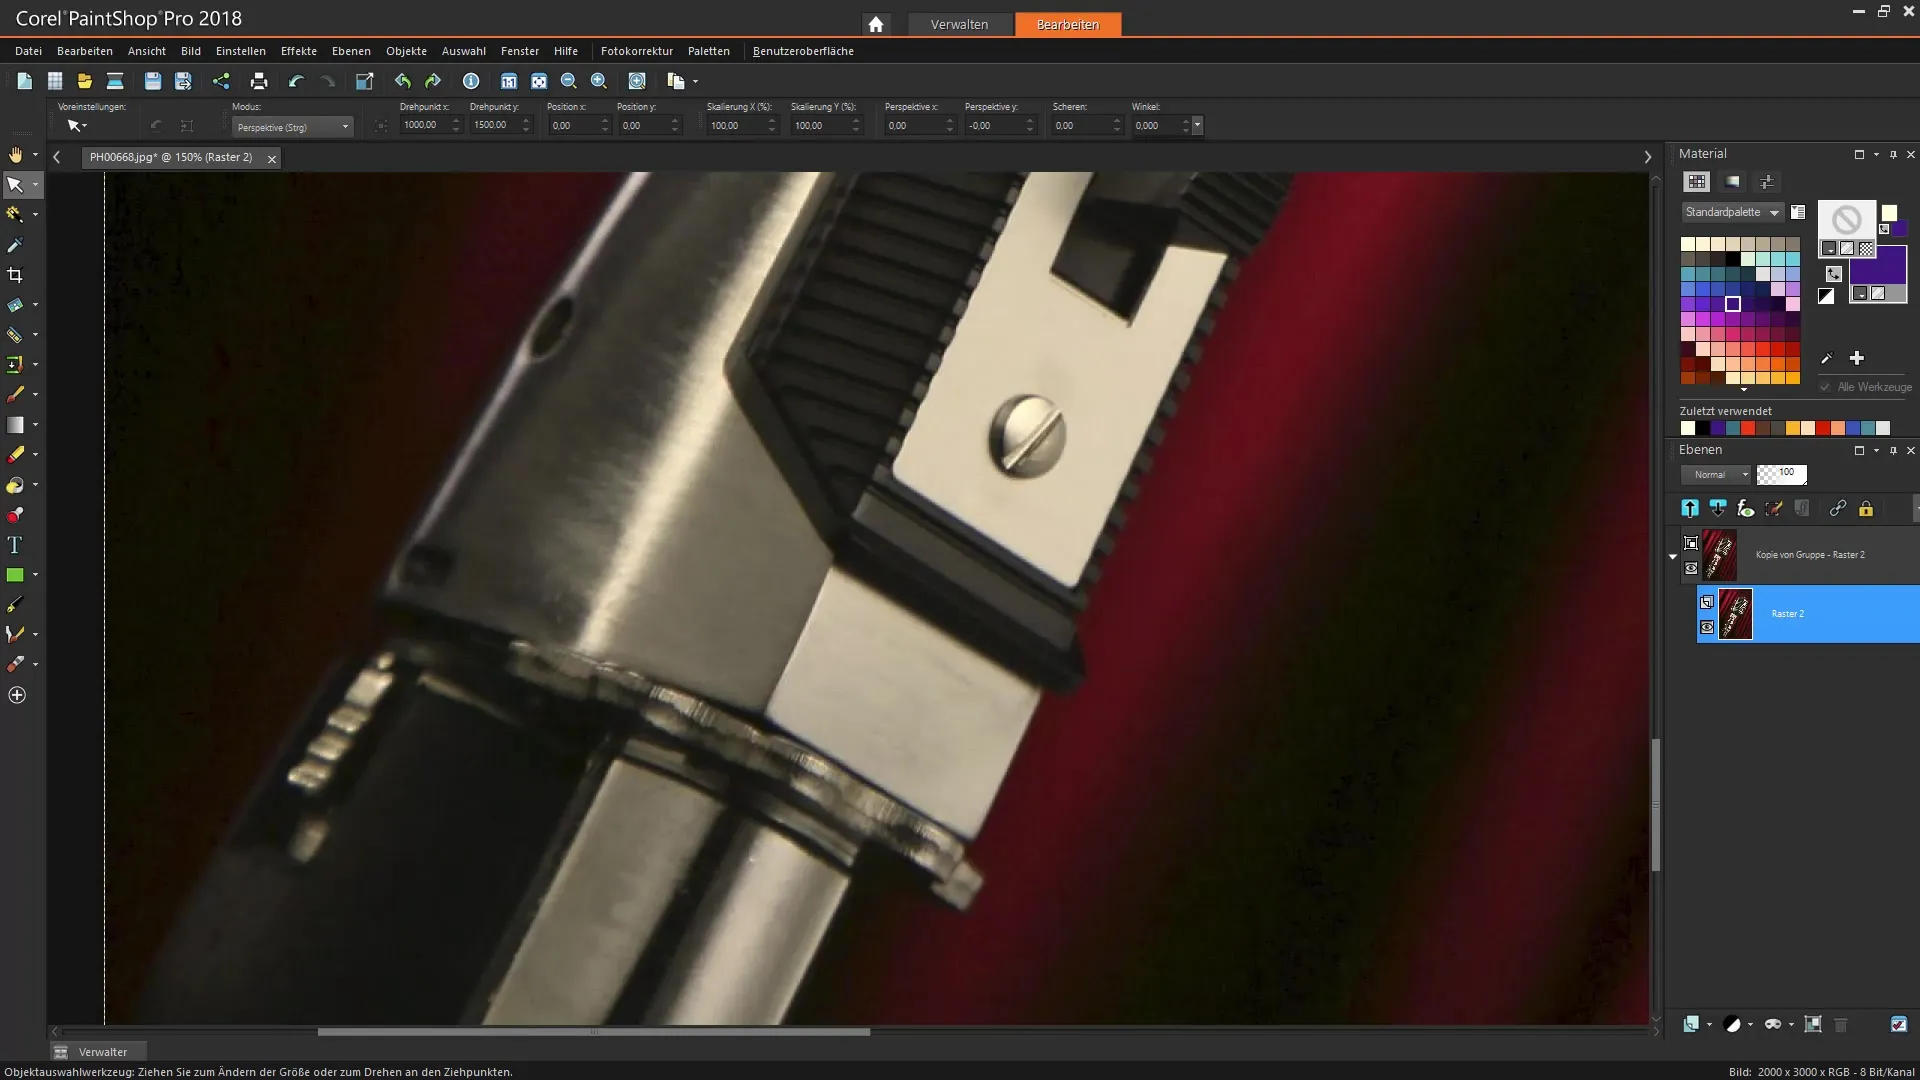
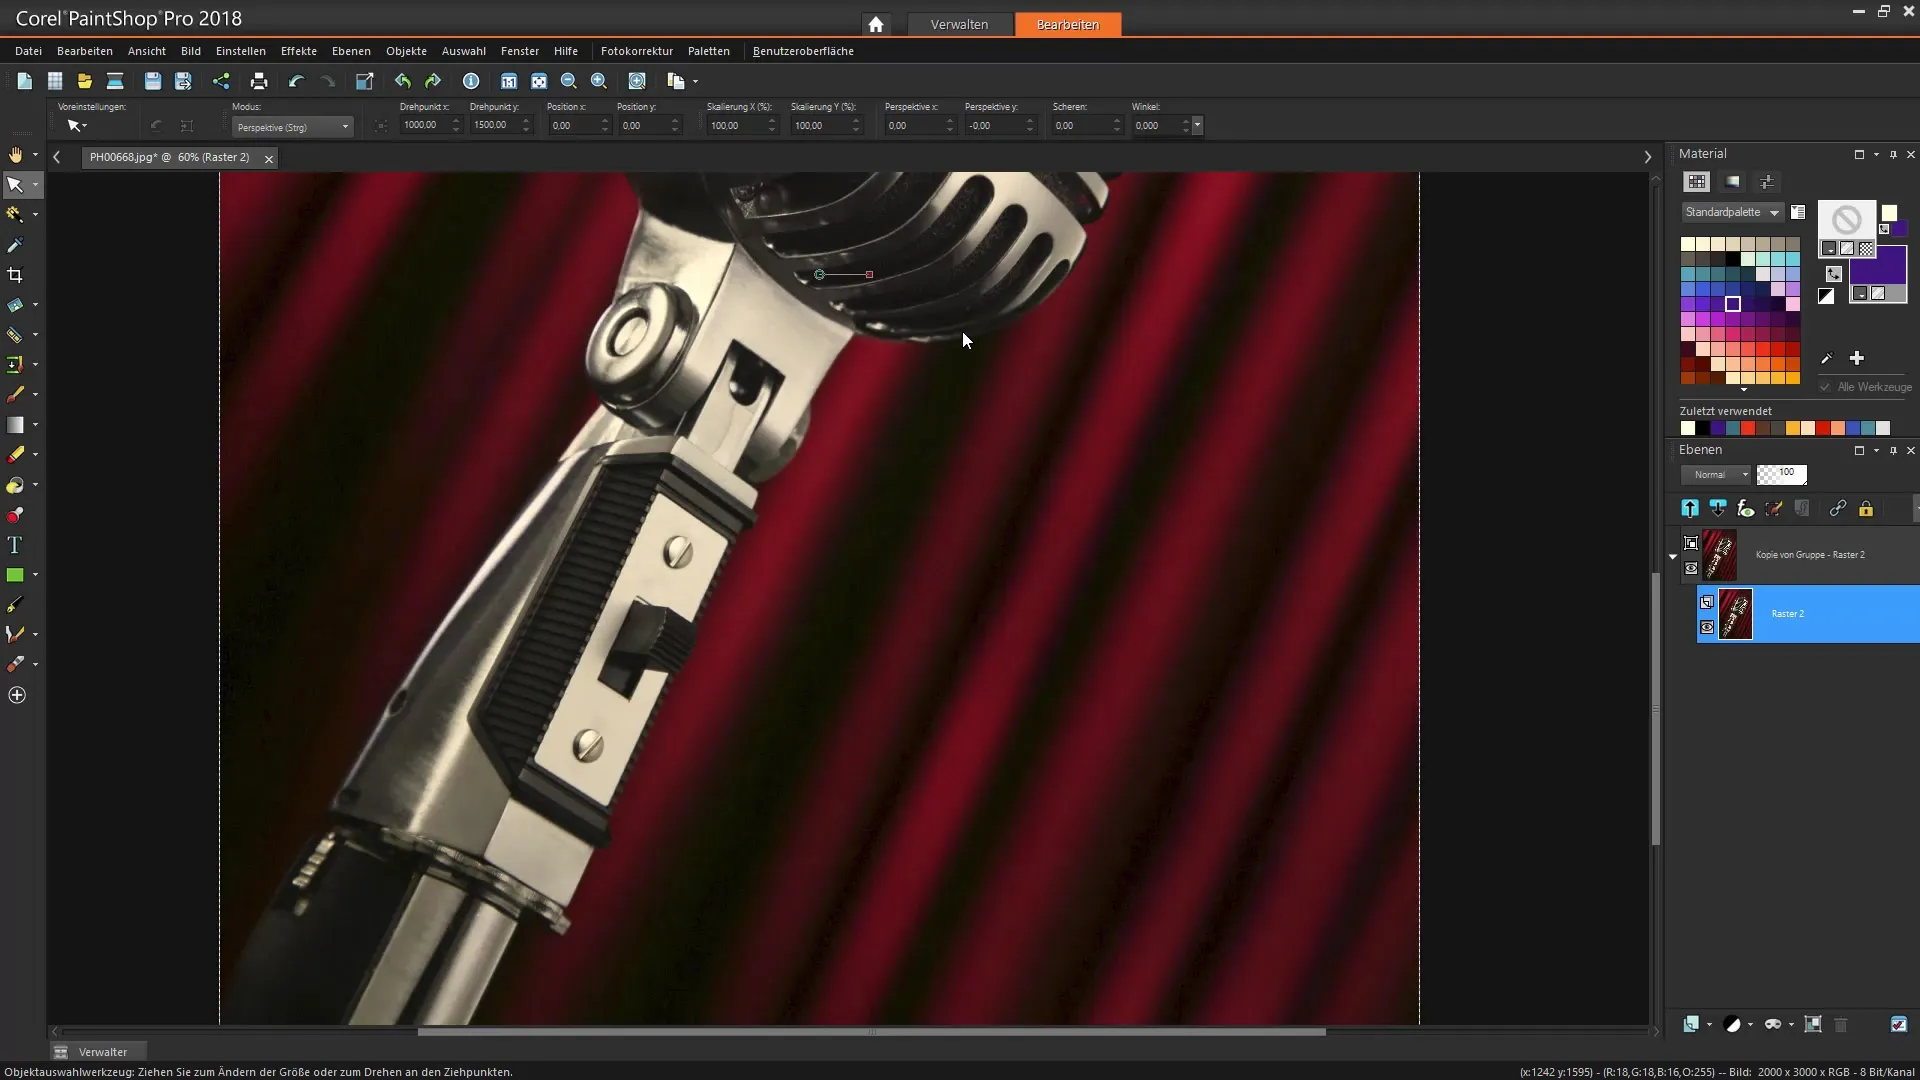
First, secure the foundation for your selections. Ensure your image is visible in the layers palette and that you have selected the pen tool.

1. Create Path
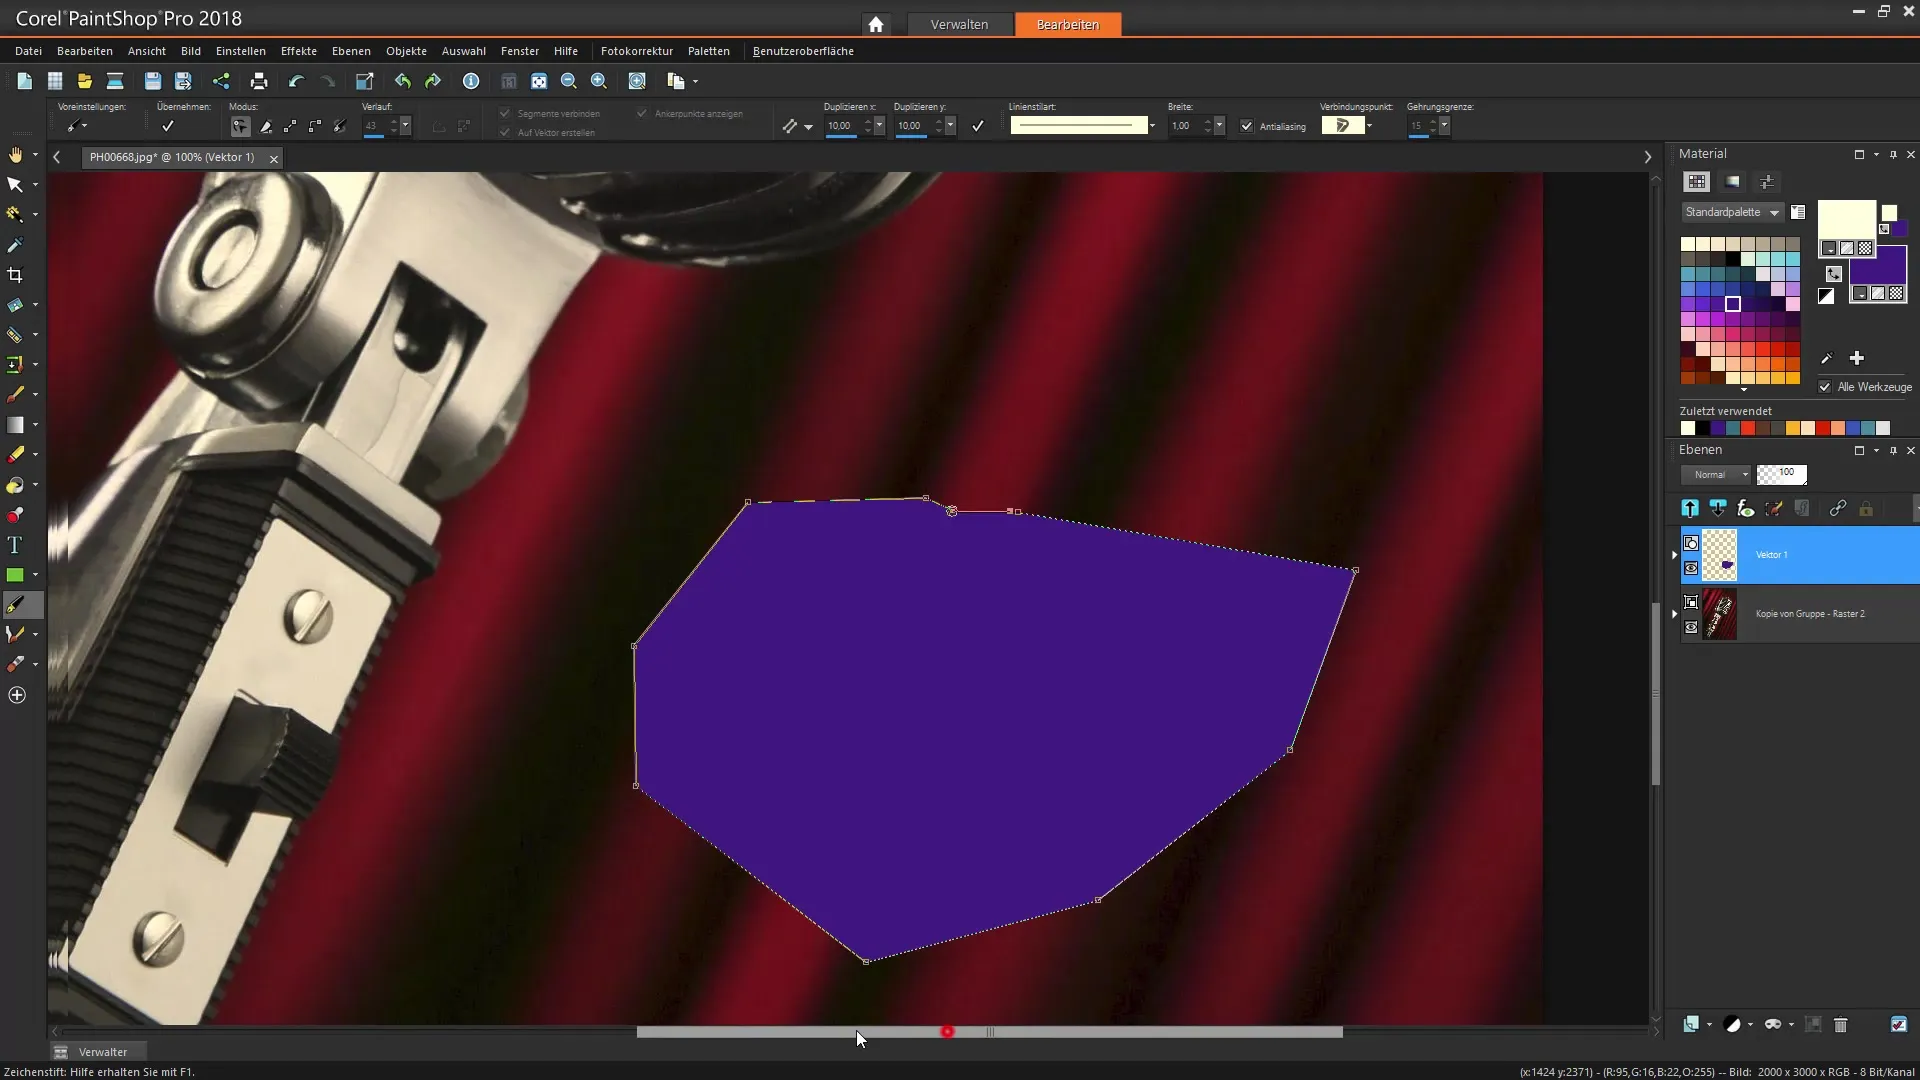
Select the pen tool from the toolbar. To utilize the path tool optimally, it is important to set a color for your path drawing. This should be contrasting enough to be visible on your image. Now you can start drawing your path.
2. Add and Edit Nodes
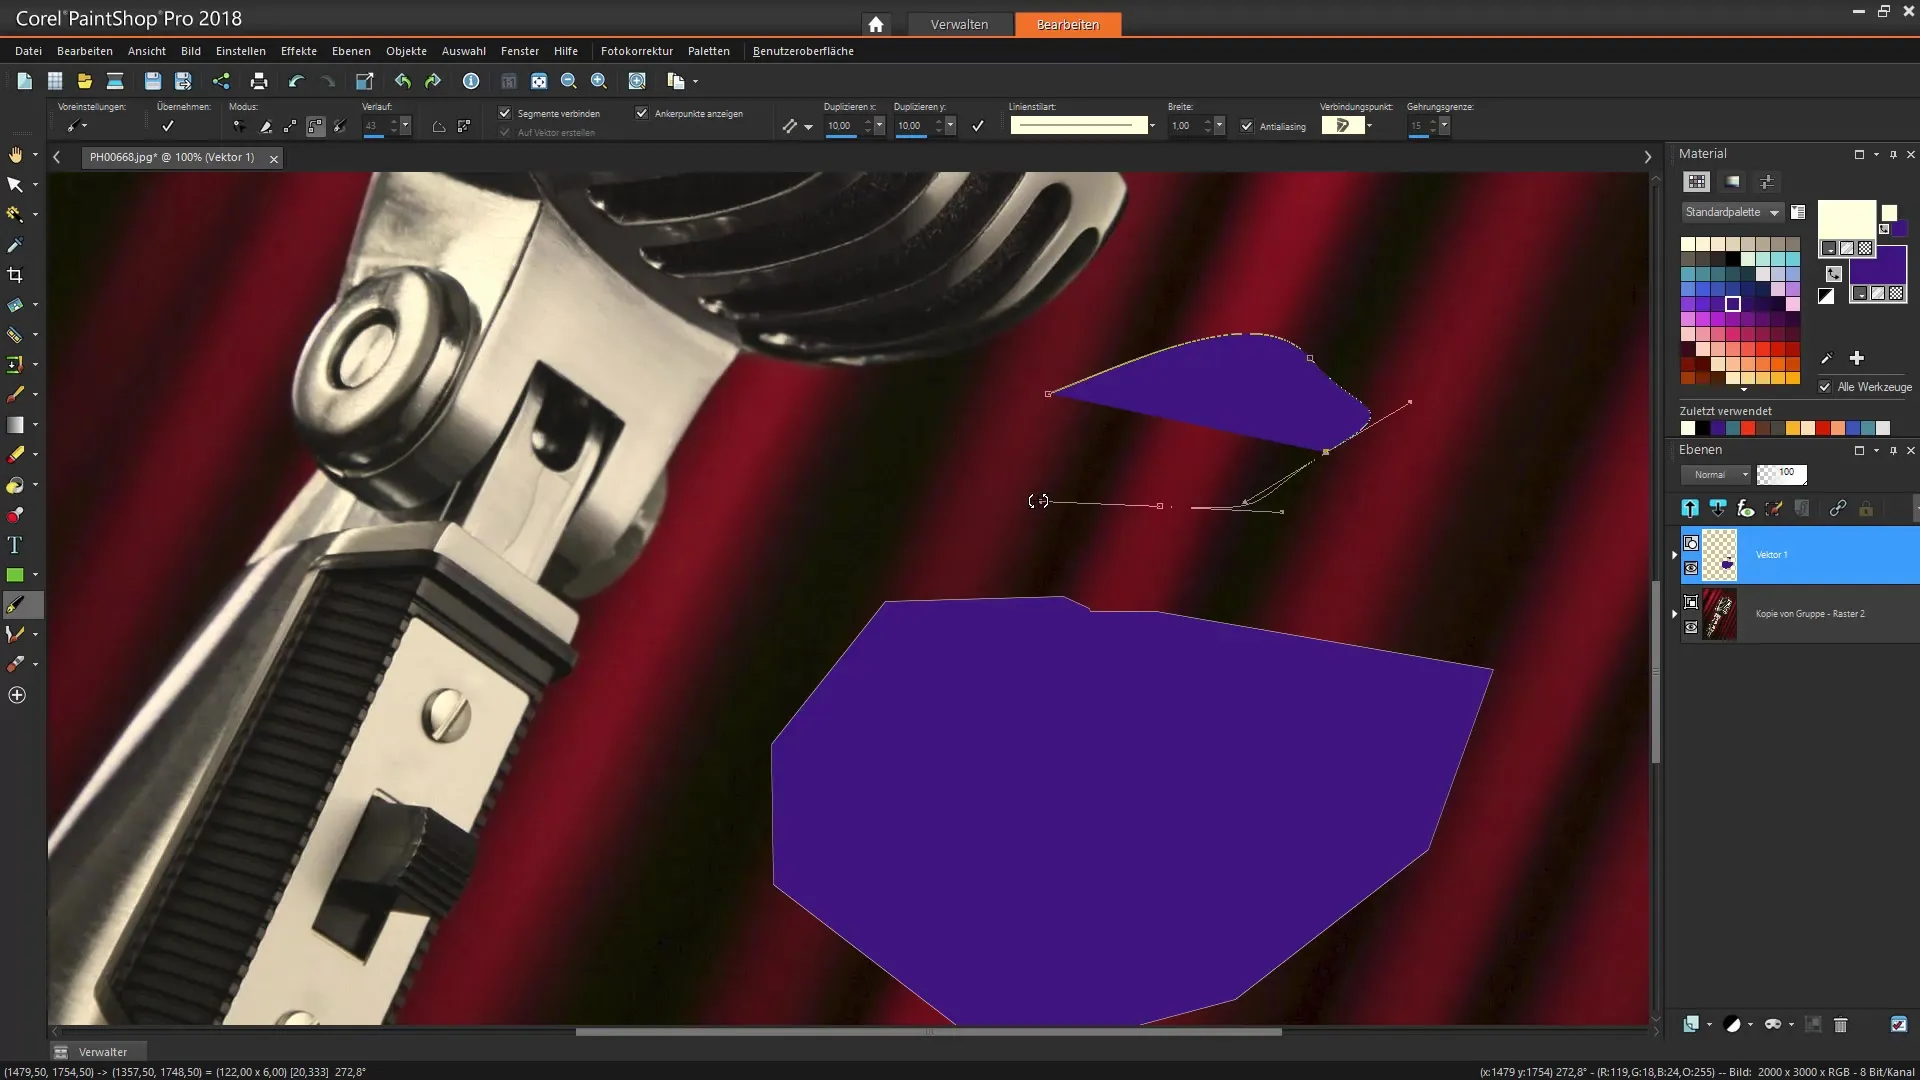
Once you have started the path, you can add nodes. Hold down the mouse button to extend your path. Be sure to slightly pull out the first handle point to give the curve an overall shape before proceeding with the next point.

3. Edit Curves and Corners
If you want to close a curve, it may be necessary to switch to edit mode to modify knot points. Here, you can adjust the shape and flow of your path to draw precisely around the curves and corners of your object. Choose a node type that best fits your desired shape, allowing you to easily manipulate sharp corners or smooth curves.
4. Adjust Selection
With the "Edit Nodes" function, you can move the nodes and adjust handles. To create a thorough selection, you should ensure that the flow of your curve aligns precisely with the object. It can be helpful to change the view options to get a better look at your progress.
5. Close Paths
Once you have completed your selection, go into edit mode and ensure that all nodes lead cleanly to each other. To close the path, select the option in the toolbar to generate a complete selection. Be sure to connect all nodes and handles correctly so that the menu options for the selection are activated.
6. Convert Selection to Layers
In the next step, you can convert the path into a selection. Use the "Selection from Vector Object" function to activate your carefully crafted selection. This allows you to fully select the object and move or mask it within the image.

7. Optional: Mask for Further Editing
If you want to utilize the selection optimally, you can adjust the mask in the layer. You have the option to mask different areas of the image depending on preference. These can either affect the inner object or the surrounding area.

8. Make Final Adjustments
With the final adjustments, you can refine the masking or make further corrections to your image. Test different tools to achieve the best results and ensure that your selection looks optimal.
Summary – Corel PaintShop Pro: Detailed Guide to Path Selections
Mastering the path tool in Corel PaintShop Pro is multifaceted but very rewarding. Through this detailed step-by-step guide, you understand how important precision is when creating selections to optimize your graphic design.
Frequently Asked Questions
How do I create a path in Corel PaintShop Pro?Select the pen tool, place nodes, and drag handles to define the path shape.
Can I edit the nodes later?Yes, you can edit and adjust any node to refine the selection.
How can I ensure that my path is closed?Highlight the end nodes and use the "Close Path" function in edit mode.
Could I also use the path tool for freehand drawings?Yes, the path tool can also be used for freehand drawings, especially with a graphic tablet.
How do I deal with corners and sharp edges?Use sharp nodes or convert nodes into asymmetric shapes to create sharp edges precisely.


