Corel PaintShop Pro is a powerful image editing program, and the welcome window is your first step in discovering its features. In this tutorial, I will explain how you can make the most of the welcome window to work efficiently, quickly start designing, and explore the many possibilities available to you.
Key Insights
- The welcome window provides quick access to templates and new projects.
- There are numerous purchase options for templates and plugins.
- With various workspaces, you can customize your working style.
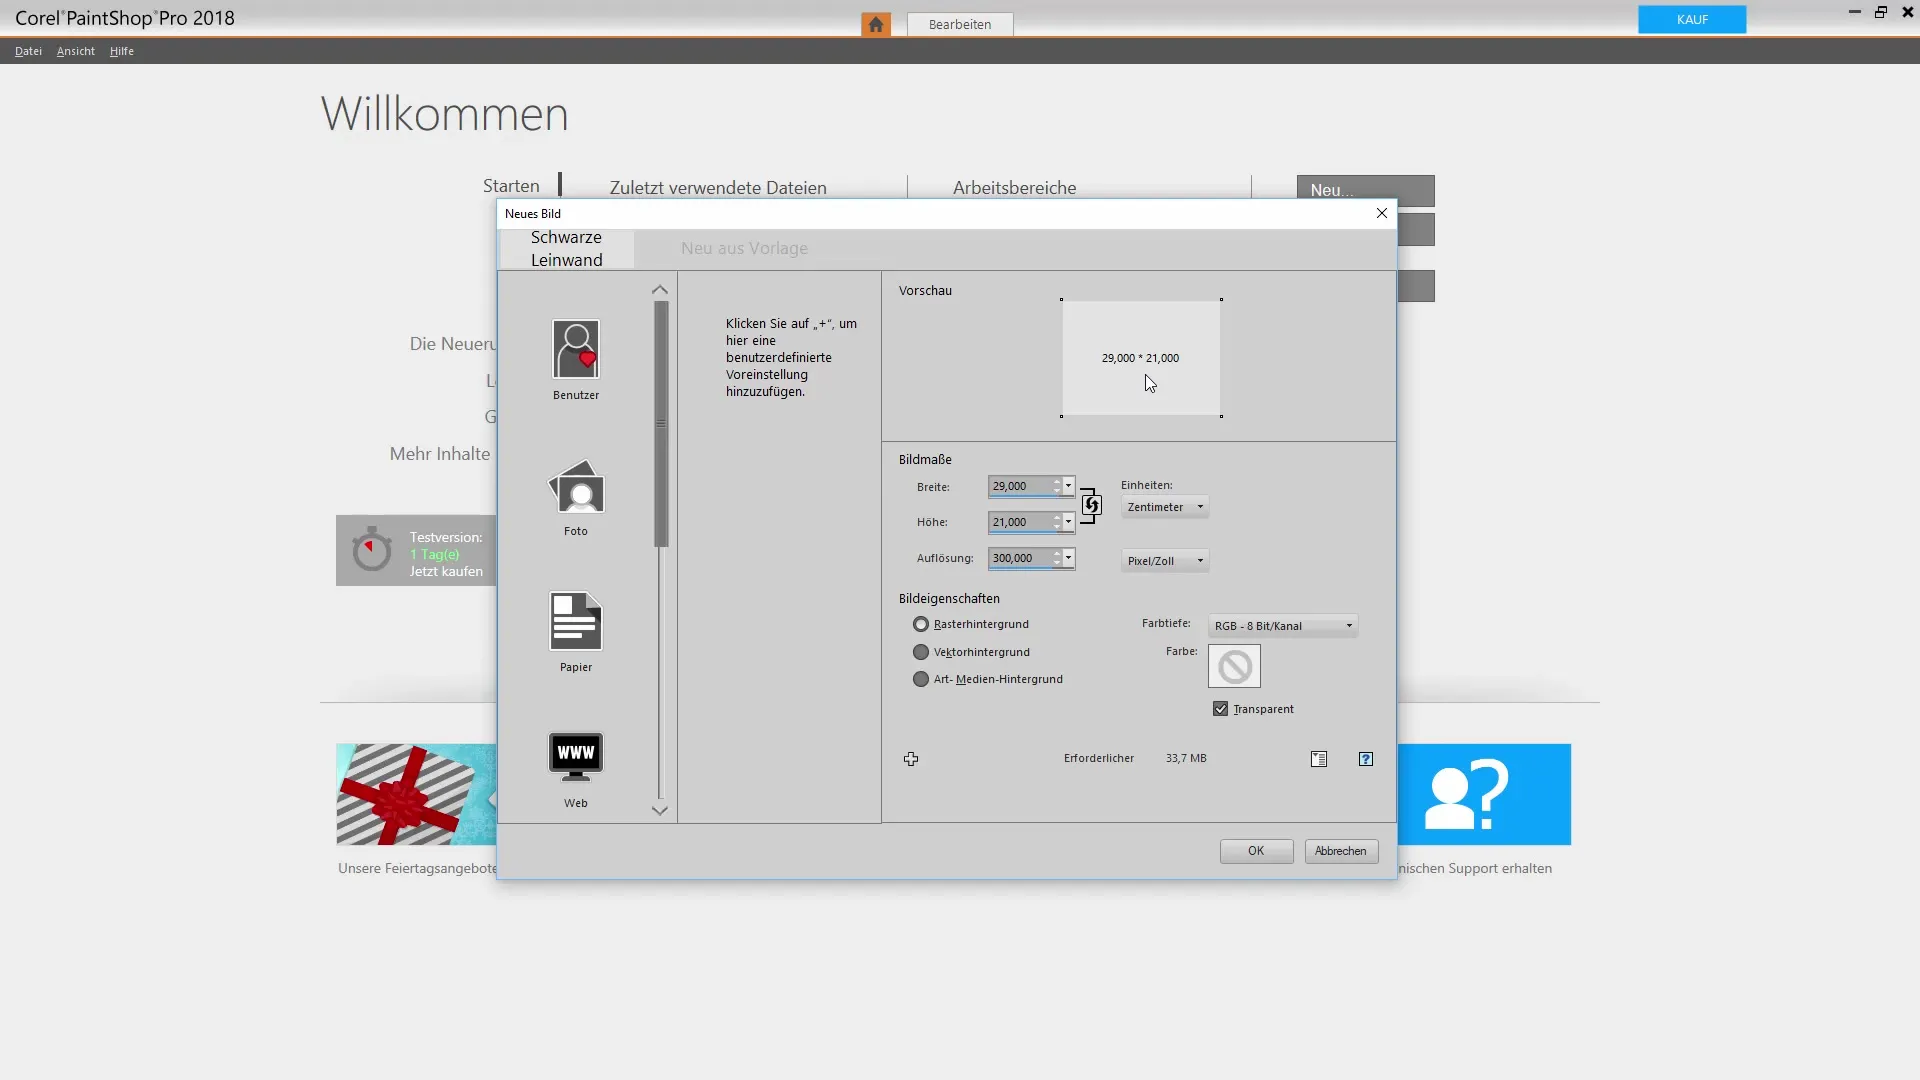
- You should understand the differences between raster, vector, and media backgrounds.
Step-by-Step Guide
Exploring the PaintShop Pro Start Screen
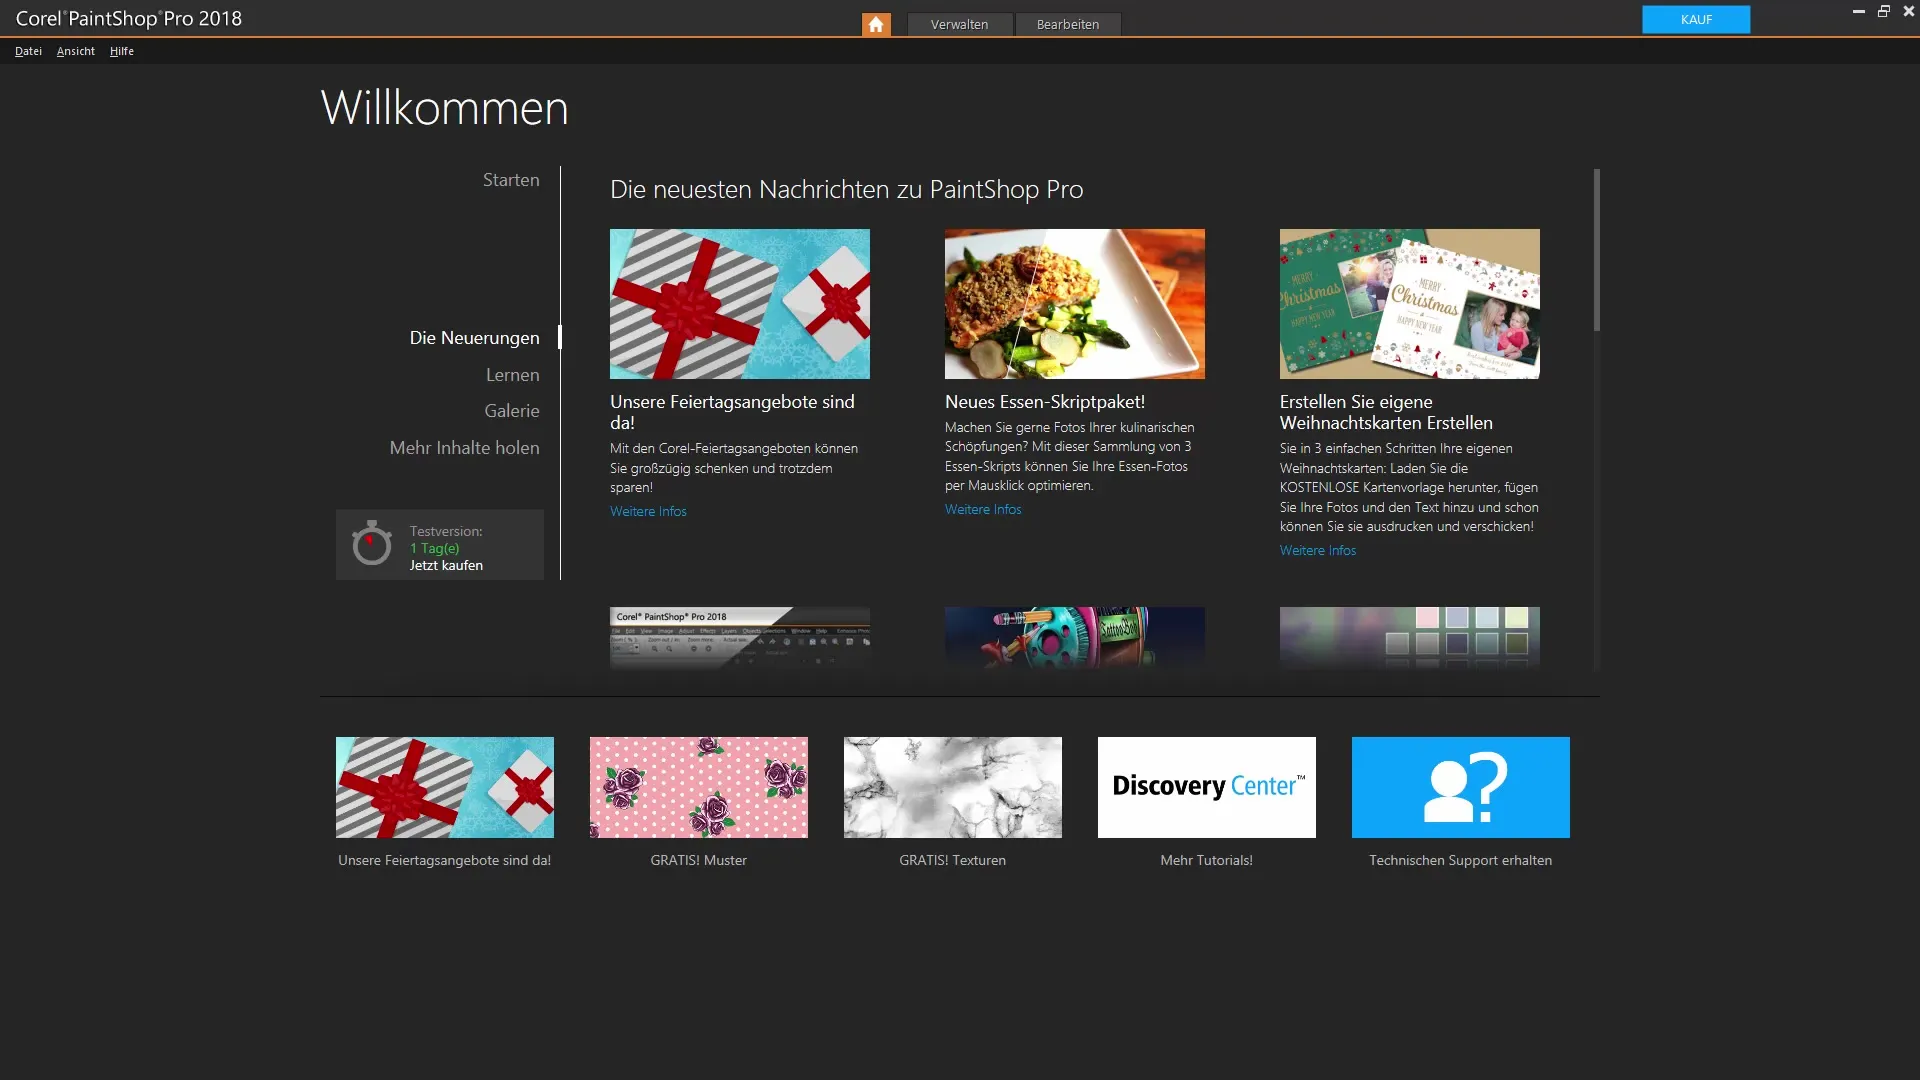
After you open Corel PaintShop Pro, the welcome window appears. Here you will see various areas that help you get started right away. If you are using the trial version, for example, the 15-day trial version, you will see a timer in the top left that shows how much time you have left.
Templates and Purchase Options
In the welcome window, there are numerous prompts for purchases that can help you further customize the program. You can also use a few templates that are included in the program. Some additional ones, such as photography packages and design templates, can be purchased. This is useful if you want to quickly implement a specific type of project.
Tips for Using the Home Screen
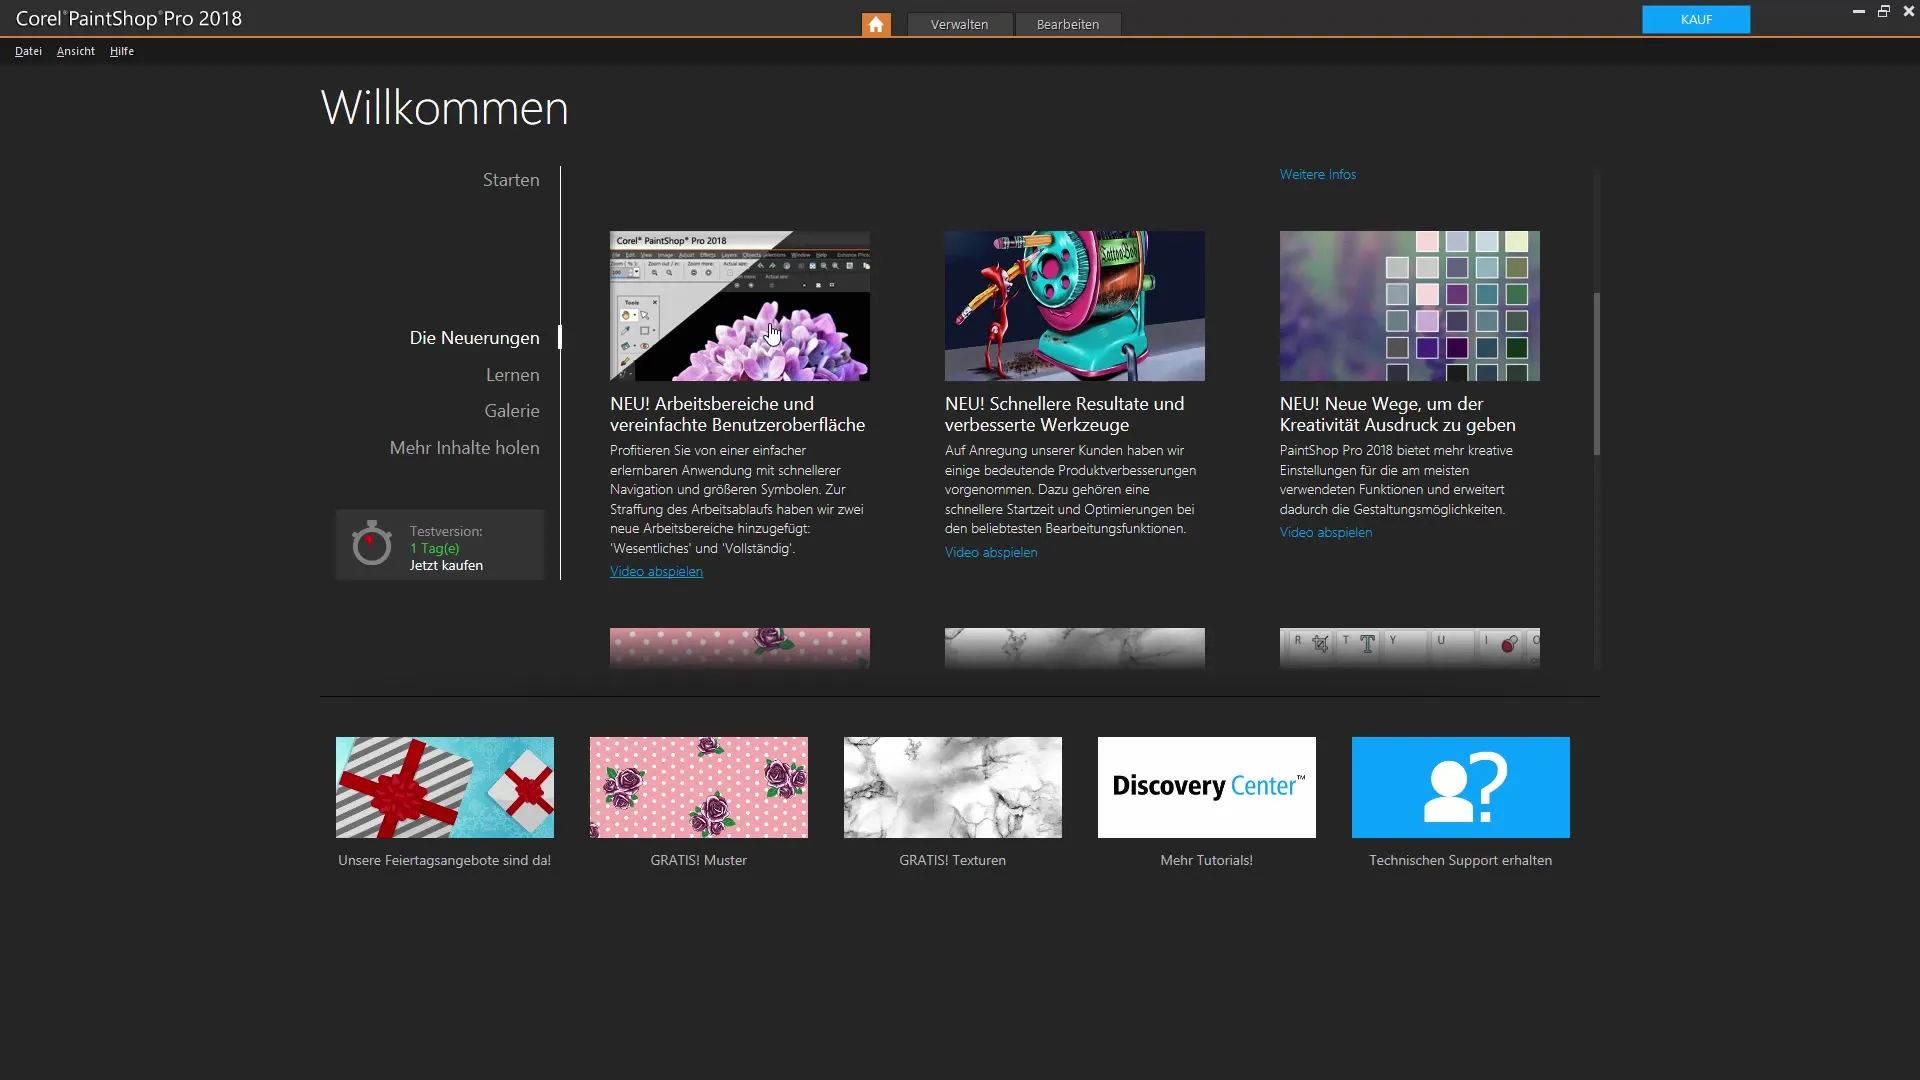
As you scroll further down, you will find useful tips regarding the new features in this version of the program. There is also the option to customize your own user interface, which can effectively support you while you work. If you are interested in the various galleries, you will find a comprehensive library of user works that can provide you with inspiration.
Getting Started with Workspaces
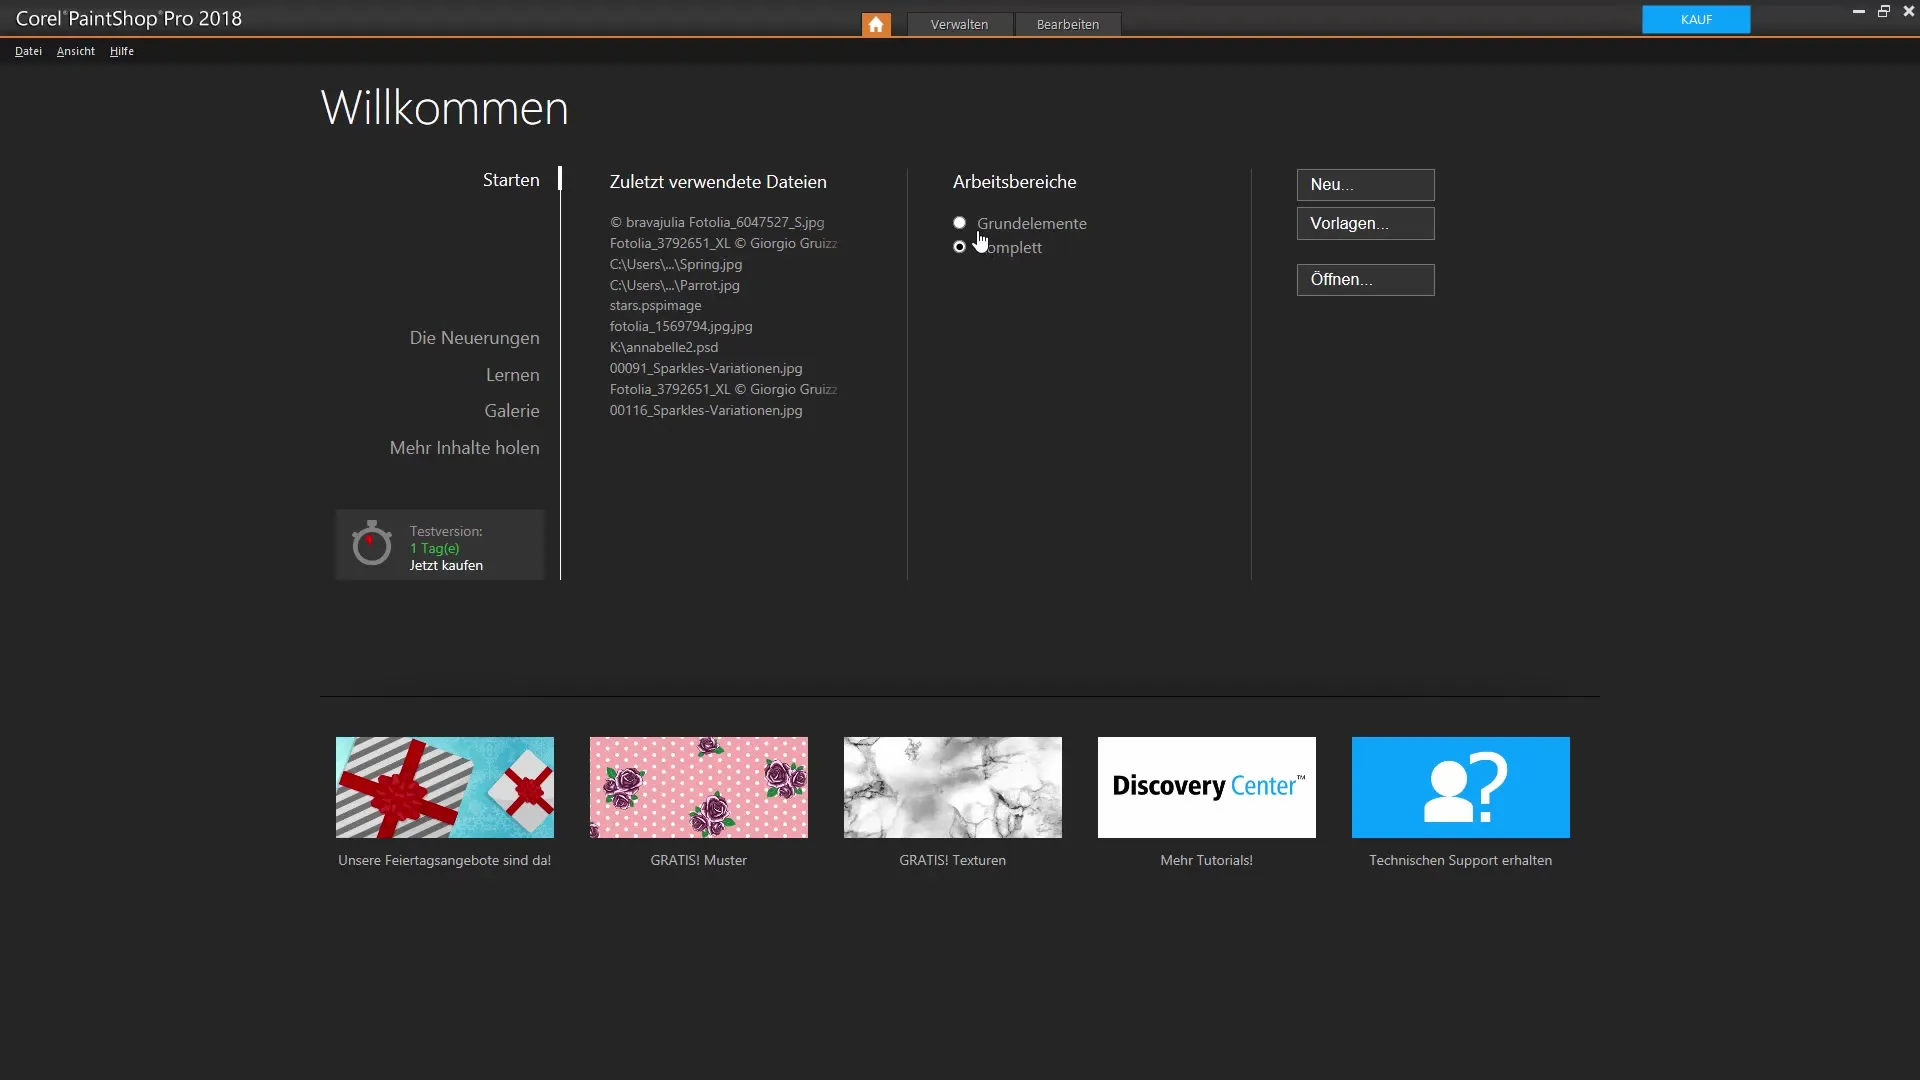
Now click on "Start." You will then be able to choose between two main workspaces: the basic elements workspace, which is a bit more colorful, or the more professional workspace. Choose the workspace that suits you best to start your projects.
Using Templates
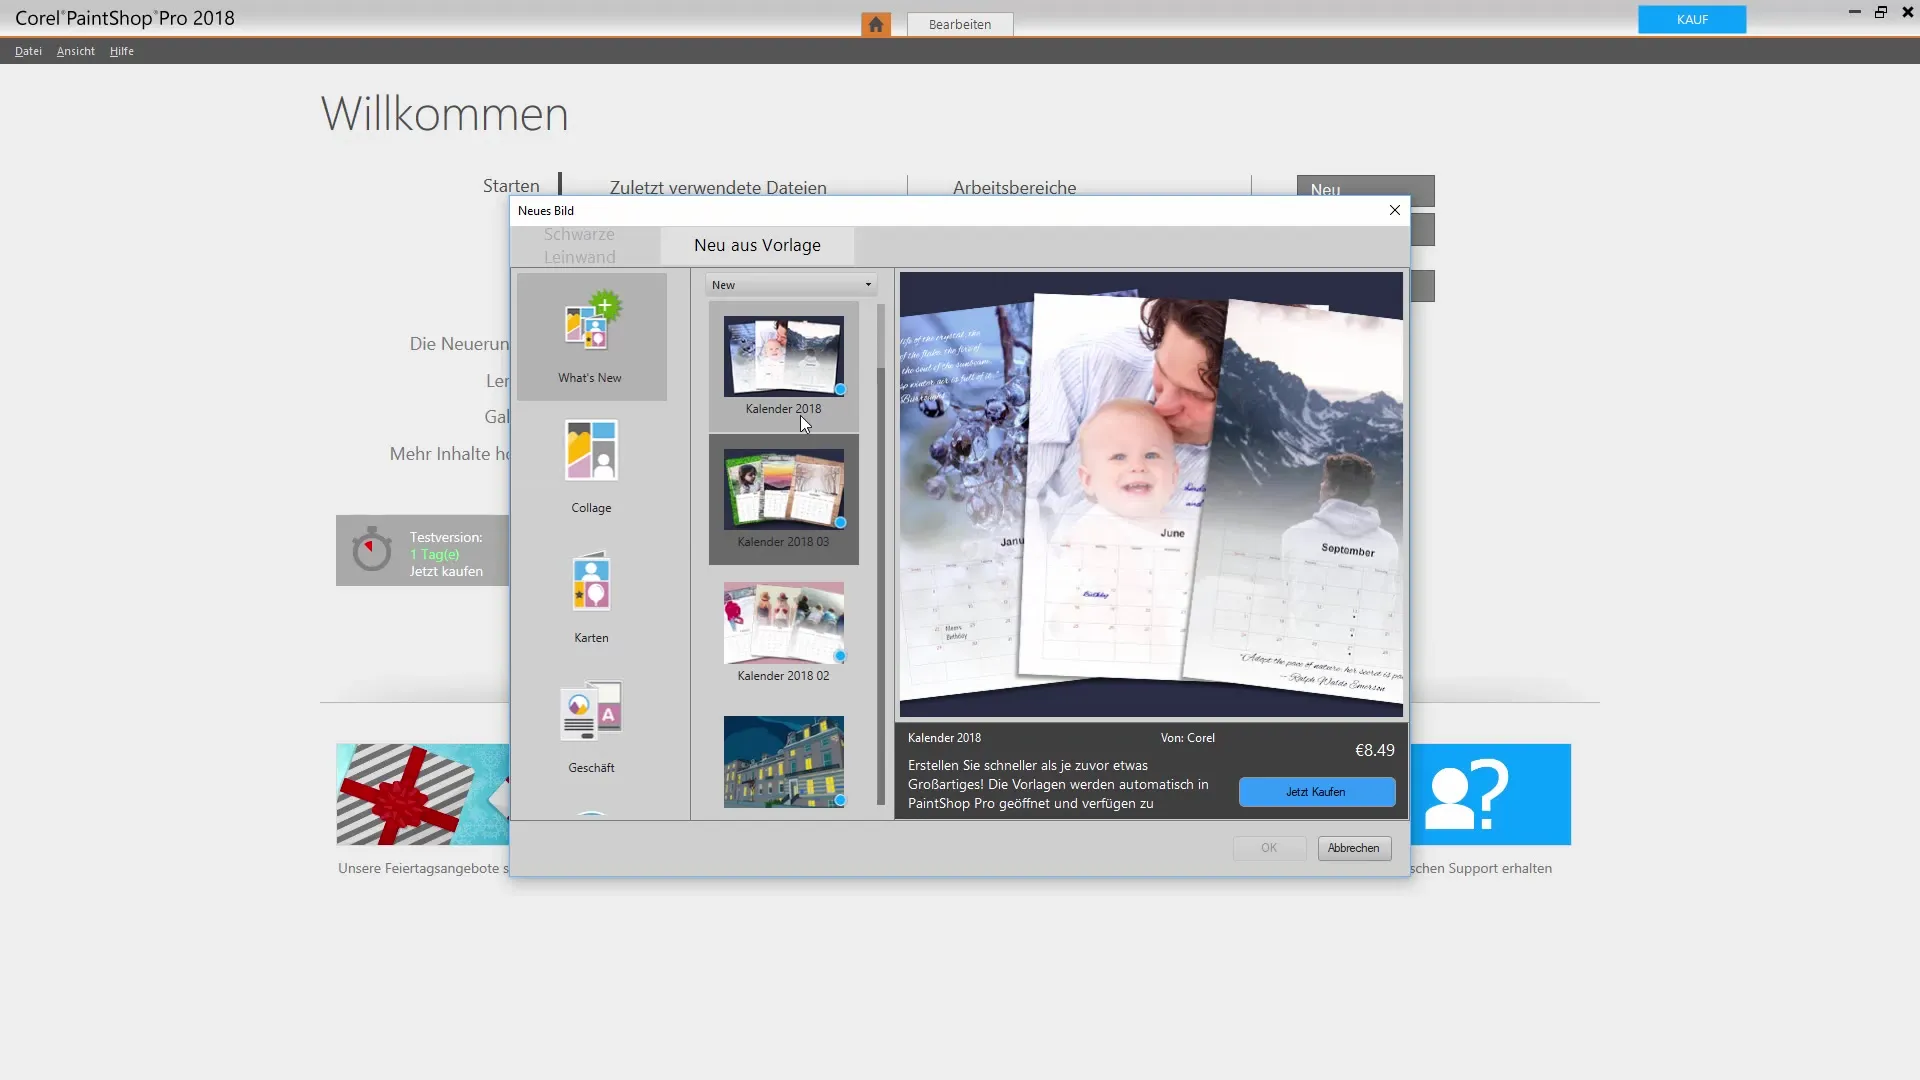
If you want to access templates, you can open the templates gallery. There you will find a variety of templates specifically tailored to different themes, such as for Facebook or calendar elements. Using these templates can be very time-saving, especially when you want to publish your designs quickly.
Starting Projects
To begin a new project, you have the option to create a blank canvas or open an existing image. When you choose a new project, you will have the opportunity to select different document formats and resolutions. Pay attention to the type of background you choose: raster, vector, or media, as this can influence the nature of your editing.
Customizing Tool Palettes
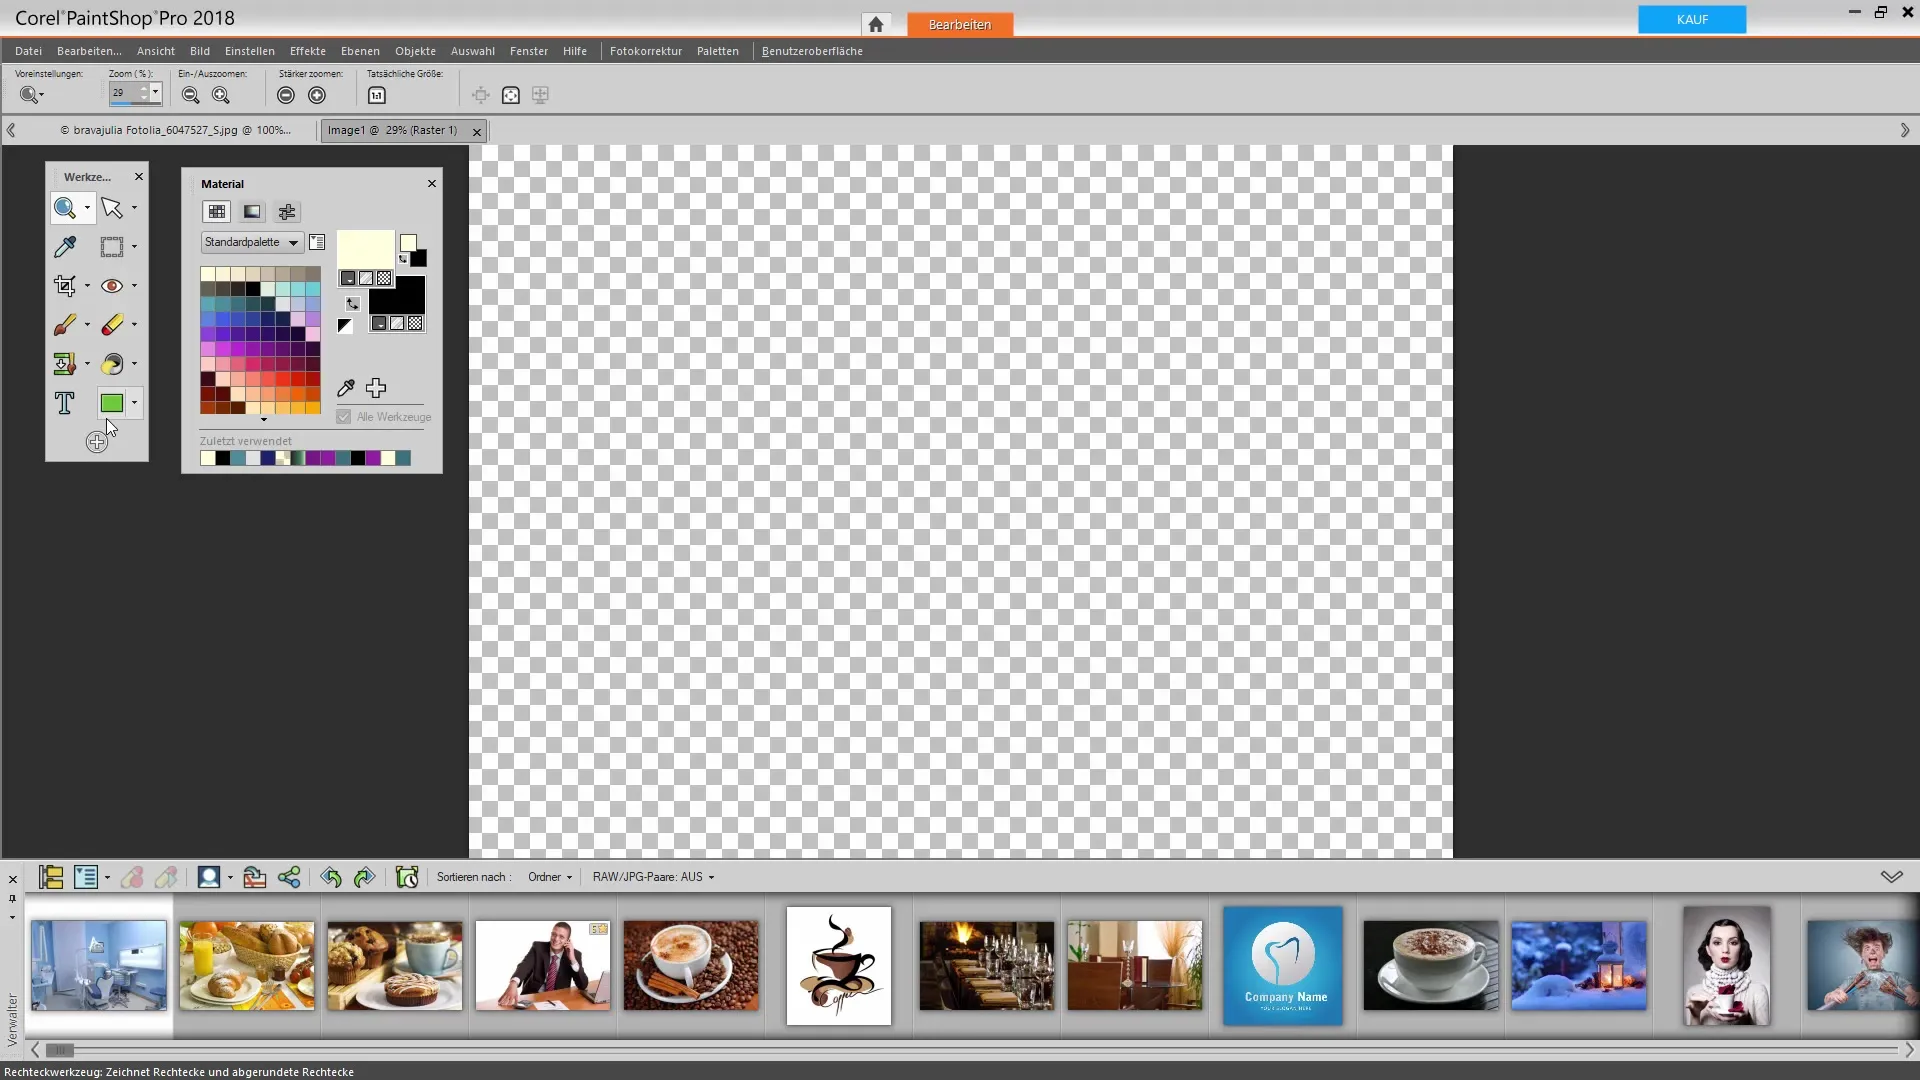
While you work in the program, you can also customize your tool palettes. You have the freedom to add or remove tools as you like. This helps you develop your own working style and increase productivity.
Conclusion of the Software Interface
Corel PaintShop Pro offers you a variety of features that are useful for both beginners and experienced users. The welcome window serves as a central hub to explore all available options. By staying organized and utilizing the various areas, you will be able to edit your projects effectively.
Summary - Corel PaintShop Pro: Understanding and Utilizing the Welcome Window
This tutorial has thoroughly covered the welcome window of Corel PaintShop Pro. From selecting the right workspace to using templates and tool palettes: With these steps, you can successfully implement your first projects.
Frequently Asked Questions
How long is the trial version of Corel PaintShop Pro valid?The trial version of Corel PaintShop Pro is valid for 15 days.
Are the templates in the welcome window free?Some templates are free, but most are available for purchase.
What types of backgrounds can I choose from?You can choose between raster, vector, and media backgrounds.
How can I customize the user interface?You can add or customize tool palettes to optimize workspaces.


