The Photo-Palette in Corel PaintShop Pro offers you a variety of options for image editing to enhance your photos and optimize them according to your ideas. With intuitive tools, you can perform common corrective actions that make your image more vivid and appealing. Let's go through the different functions of this palette together and see how you can use them for your needs.
Key insights
- Corel PaintShop Pro allows for effective image editing.
- The Photo Palette offers numerous options for image correction.
- With masking, you can make targeted adjustments without altering the entire image.
Step-by-Step Guide
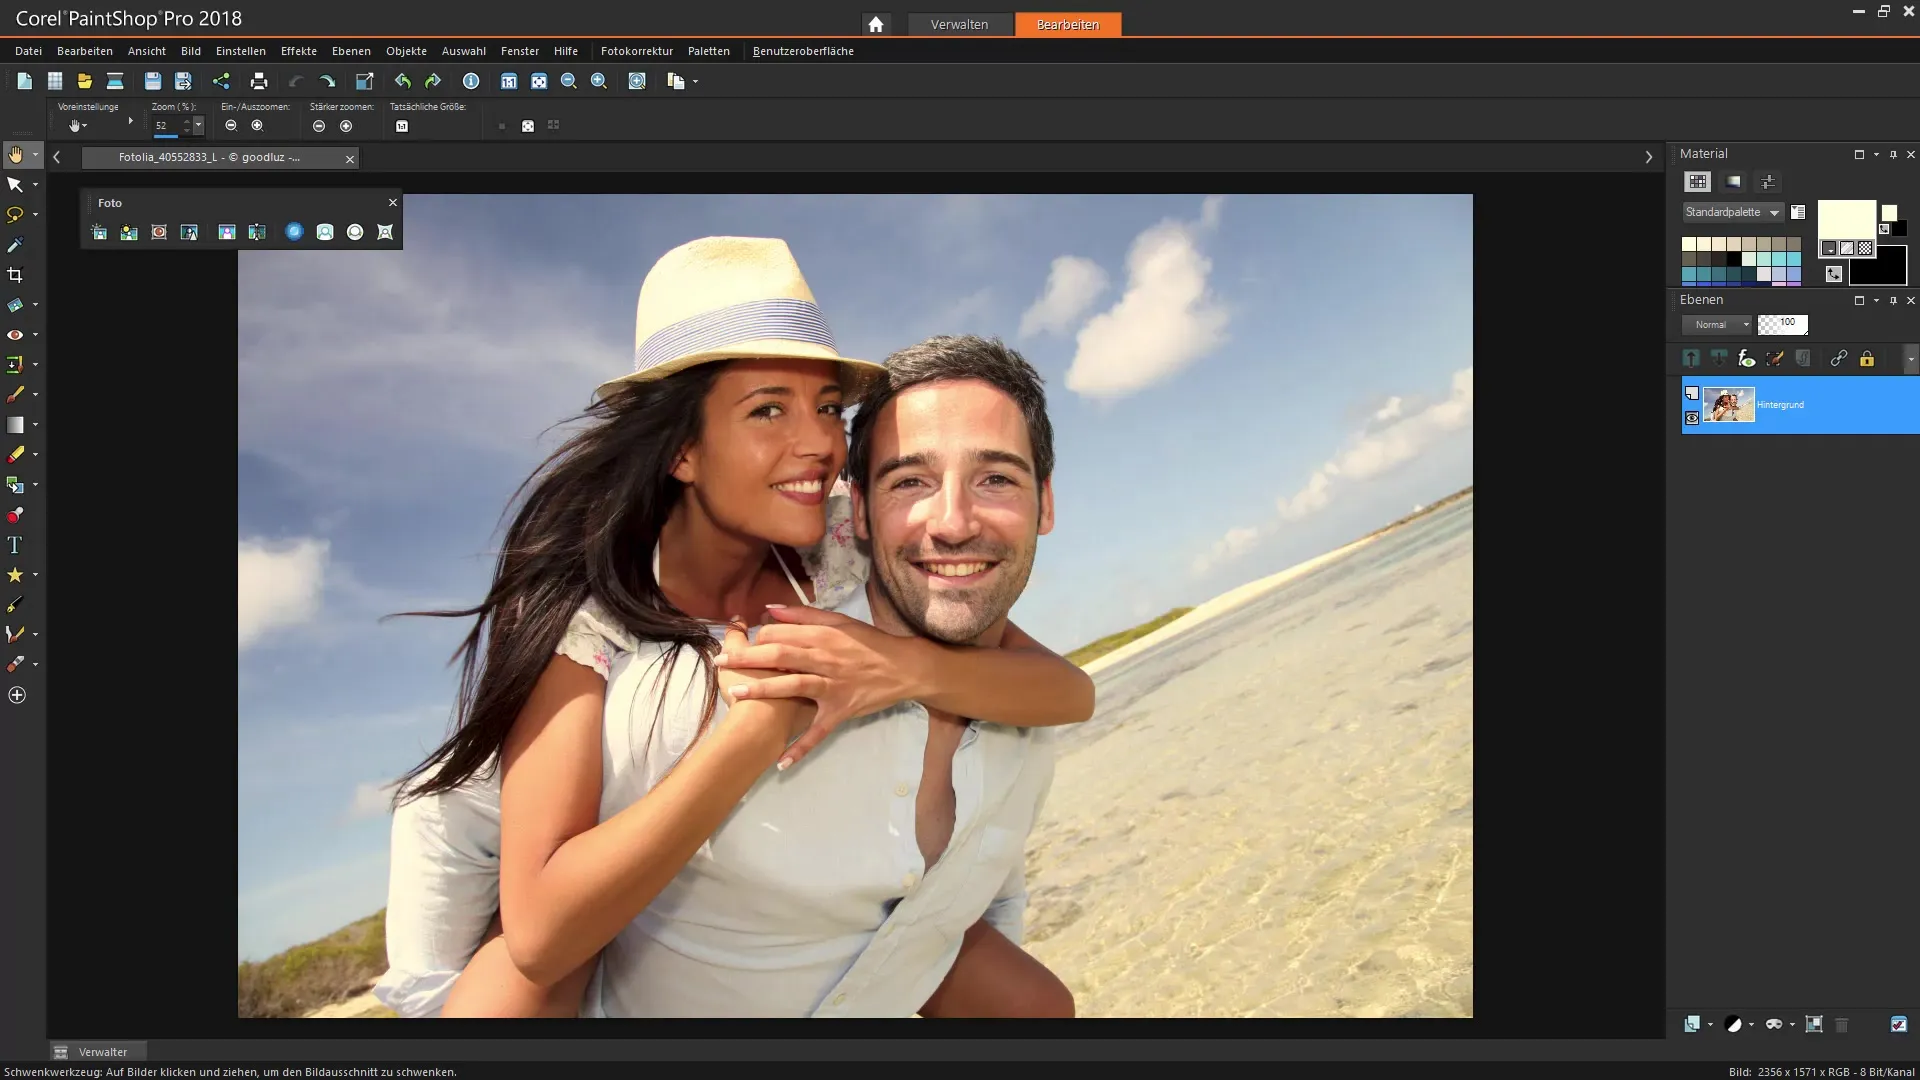
First, you start by selecting an image that you want to optimize. I recommend creating a copy of your image so you can always revert to the original. Make sure the Photo Palette is open so you can use the different tools.
Duplicating an Image
To prepare for editing your image, first duplicate the layer. Right-click on the layer in the layers palette and select "Duplicate". This will give you a copy of the original that you can edit without endangering the original.
Adding Backlight
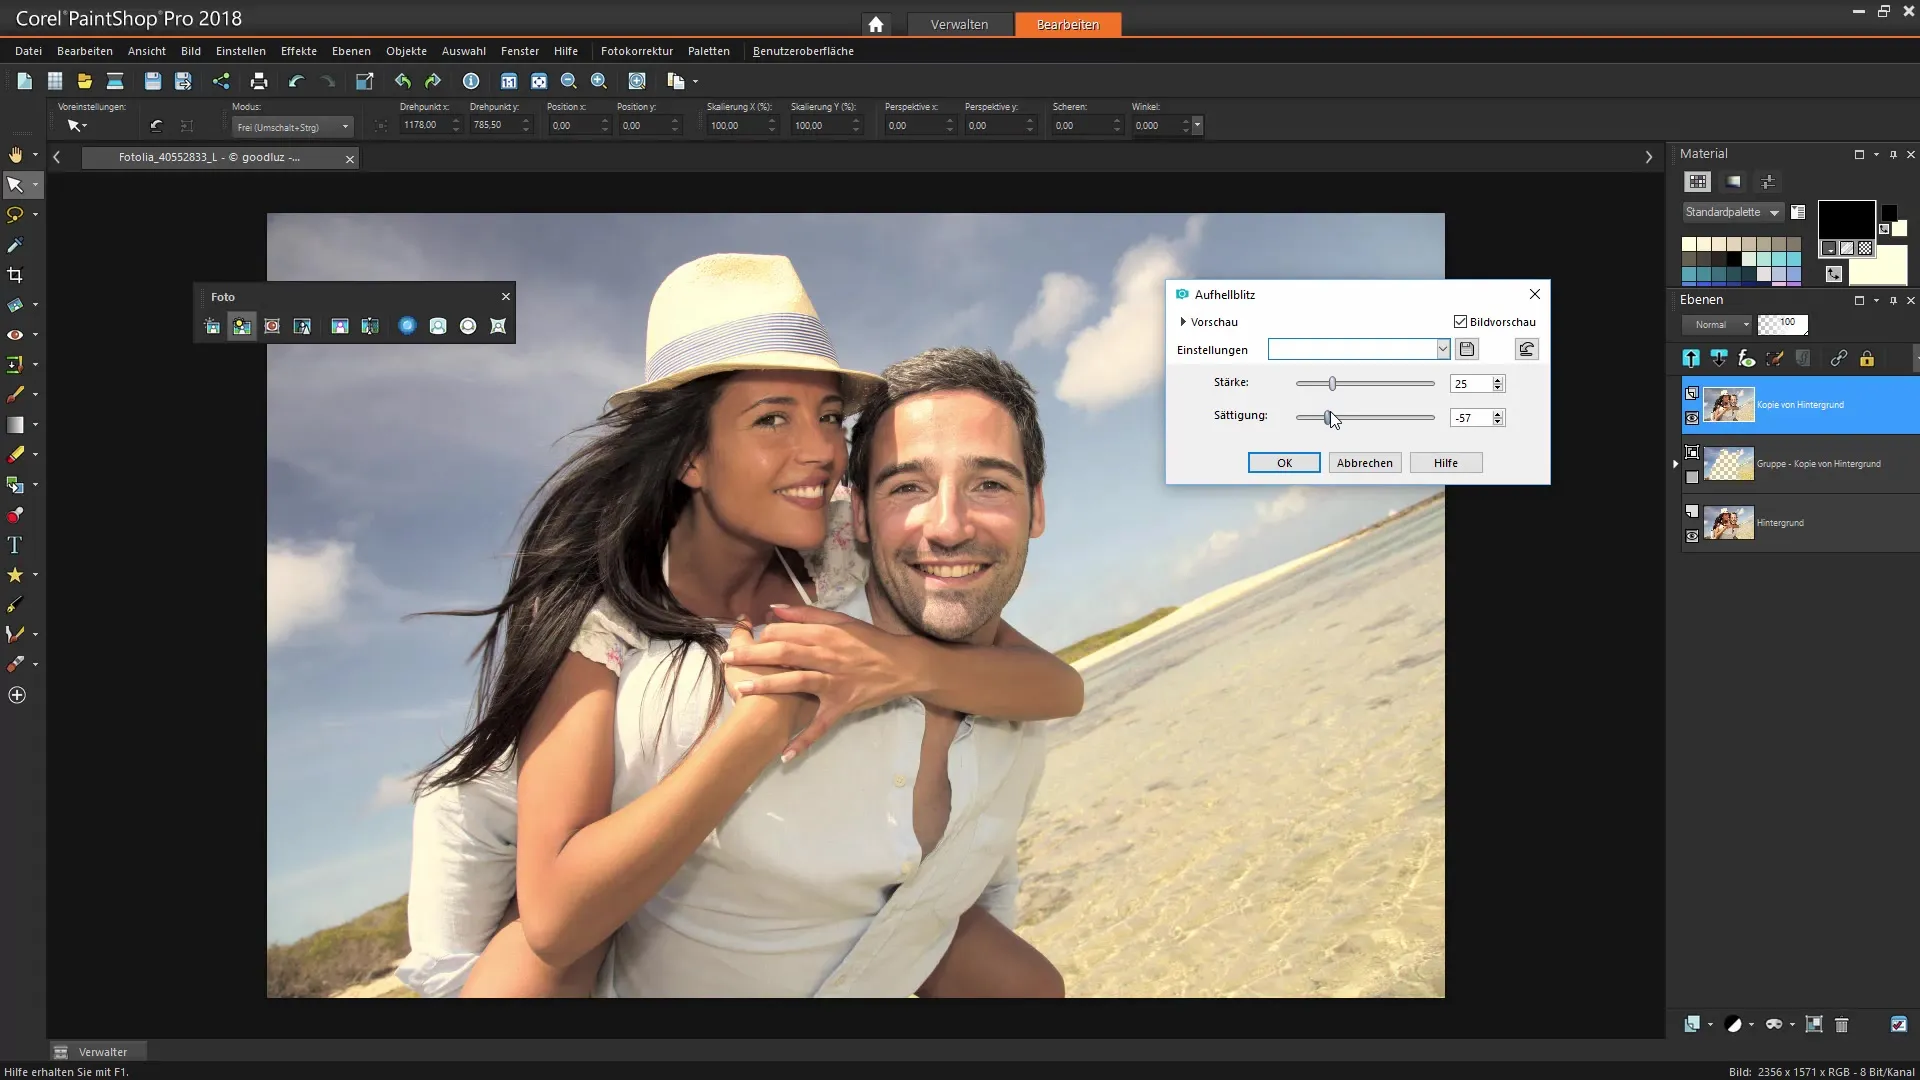
A very useful tool is the backlight feature. Click on the corresponding option in the Photo Palette. A window will appear where you can adjust the brightness and saturation of your image with sliders. Increase the saturation for more vibrant colors – perhaps for the blue tones of the water in your case.
Making Color Corrections
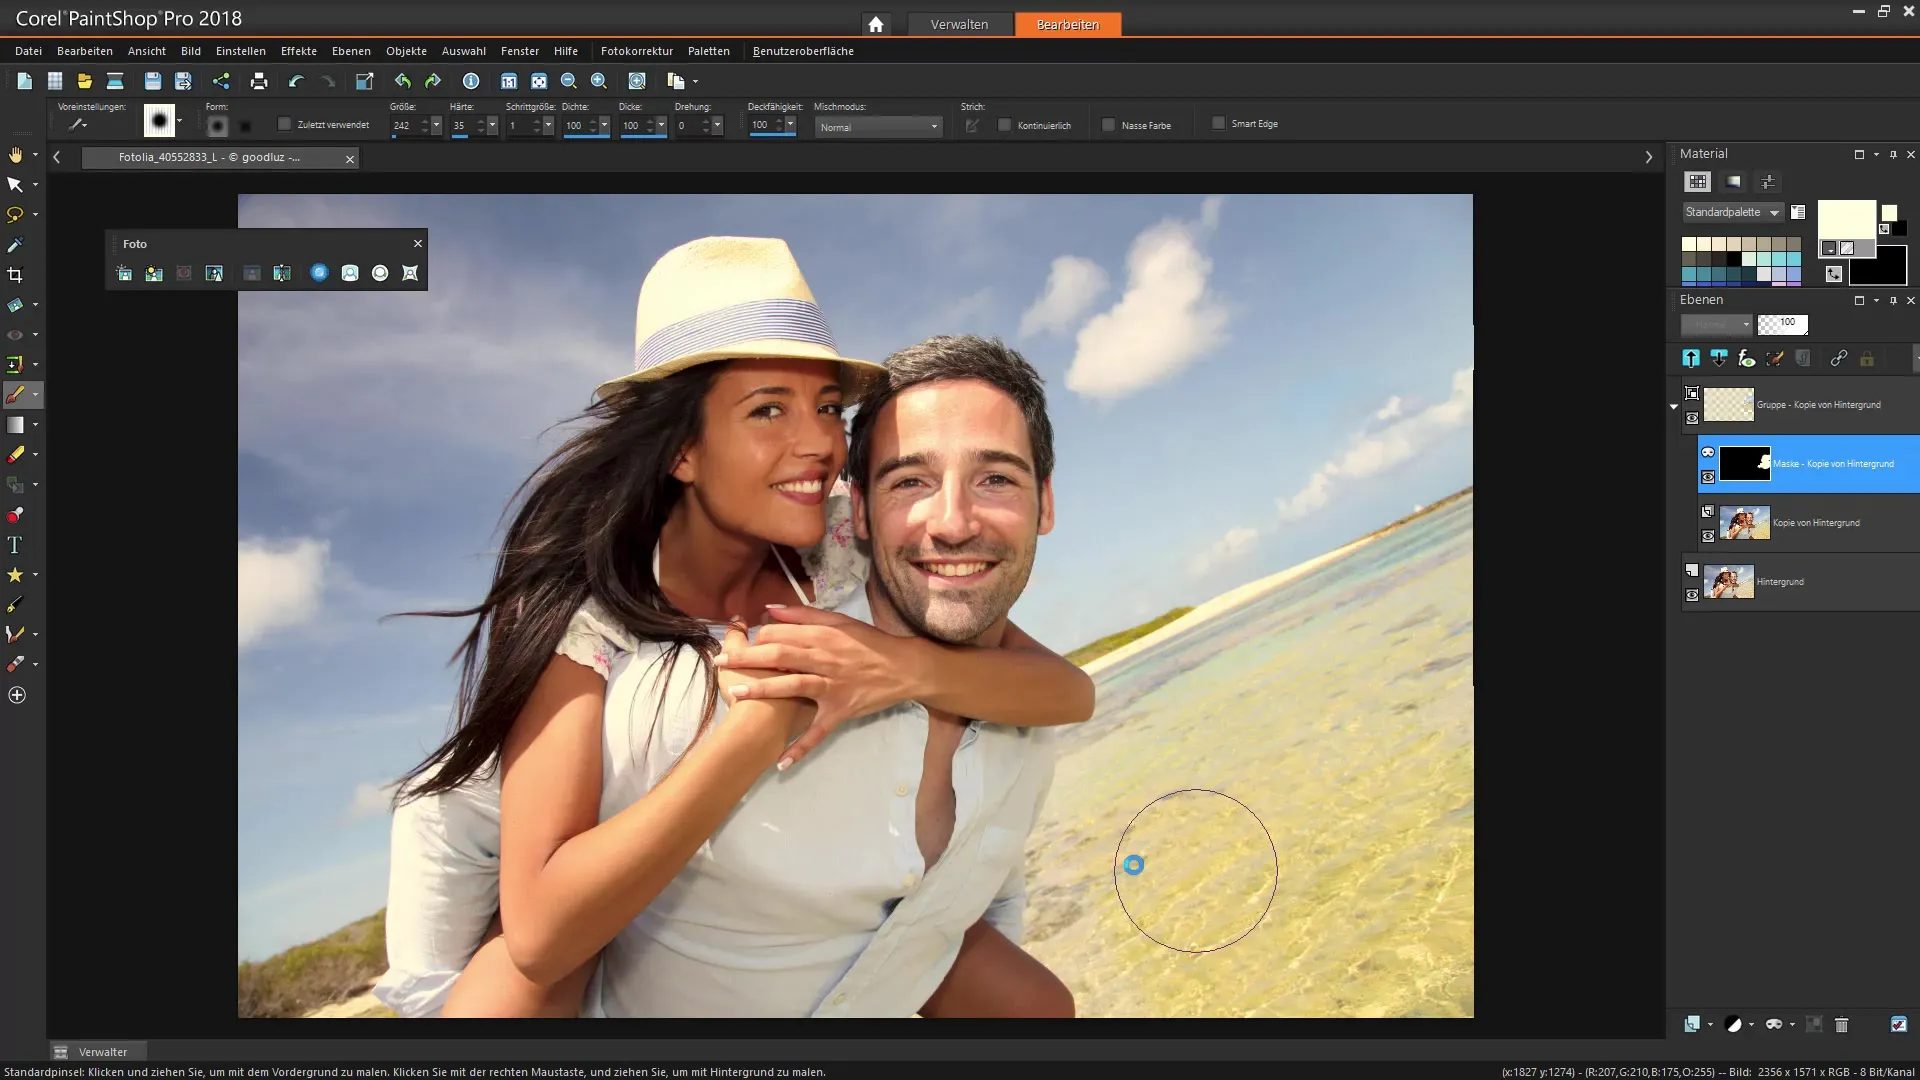
After making the appropriate adjustments, you may notice that certain areas of the image, such as faces, are affected by the change. If these appear over-saturated, you can manually mask them.
Applying Masking
Apply a mask over your edited layer to hide specific areas of the image. Start with a black mask that covers all areas, then paint in white over the areas that should remain visible. This ensures that the edits are only visible in the desired spots.
Fine-tuning with the Brush
The brush is a valuable tool for masking. Be sure to select a brush with soft edges to achieve smooth transitions. You may want to reduce the opacity of the brush to make the adjustments appear harmonious.
Using the Brightening Flash
To bring additional brightness into dark areas of your image, you can use the brightening flash feature. Select the option from the Photo Palette and work with the sliders to adjust the intensity. Be careful not to oversaturate, to avoid over-sharpened areas.
Sharpening the Image
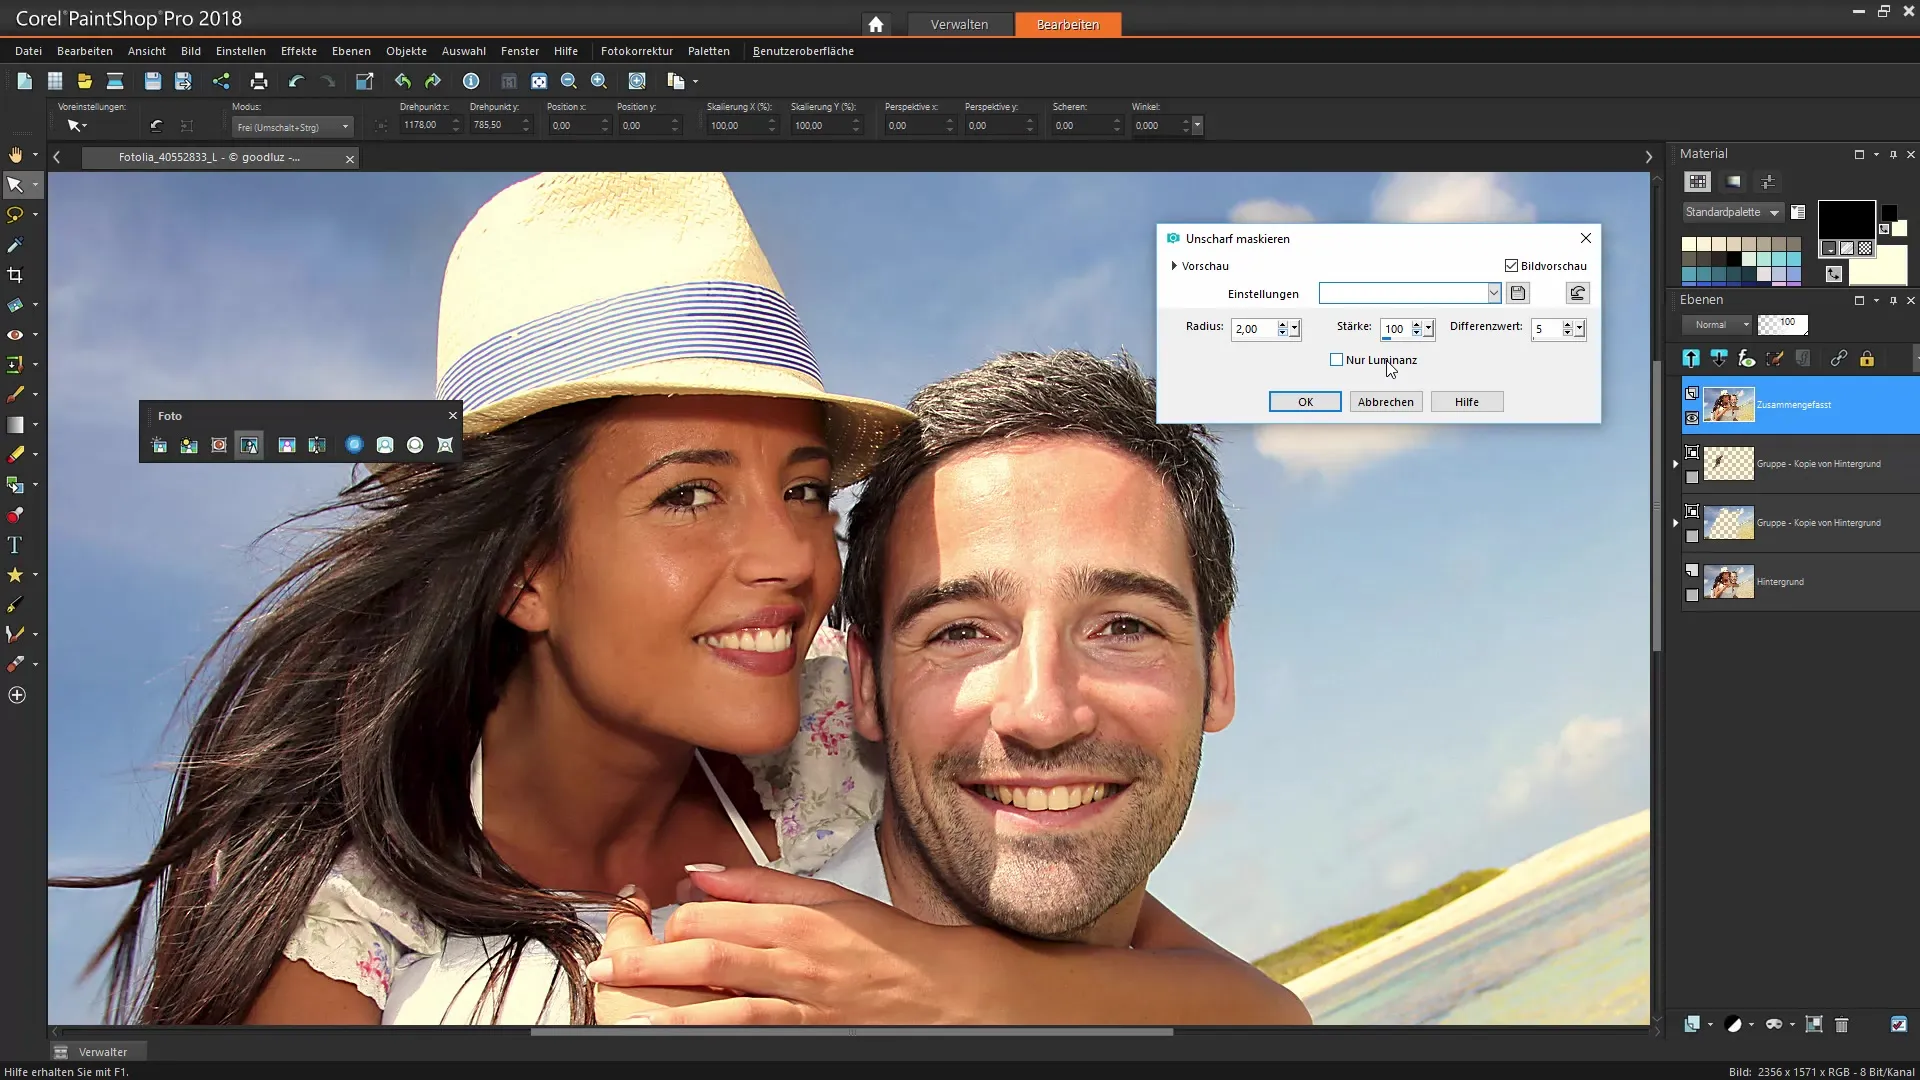
An important feature that you should not overlook is the unsharp mask. This technique helps you to highlight image details more clearly. Be sure to view the image at 100% to prevent the image from becoming overly sharp and to avoid unwanted artifacts.
Checking the Image Preview
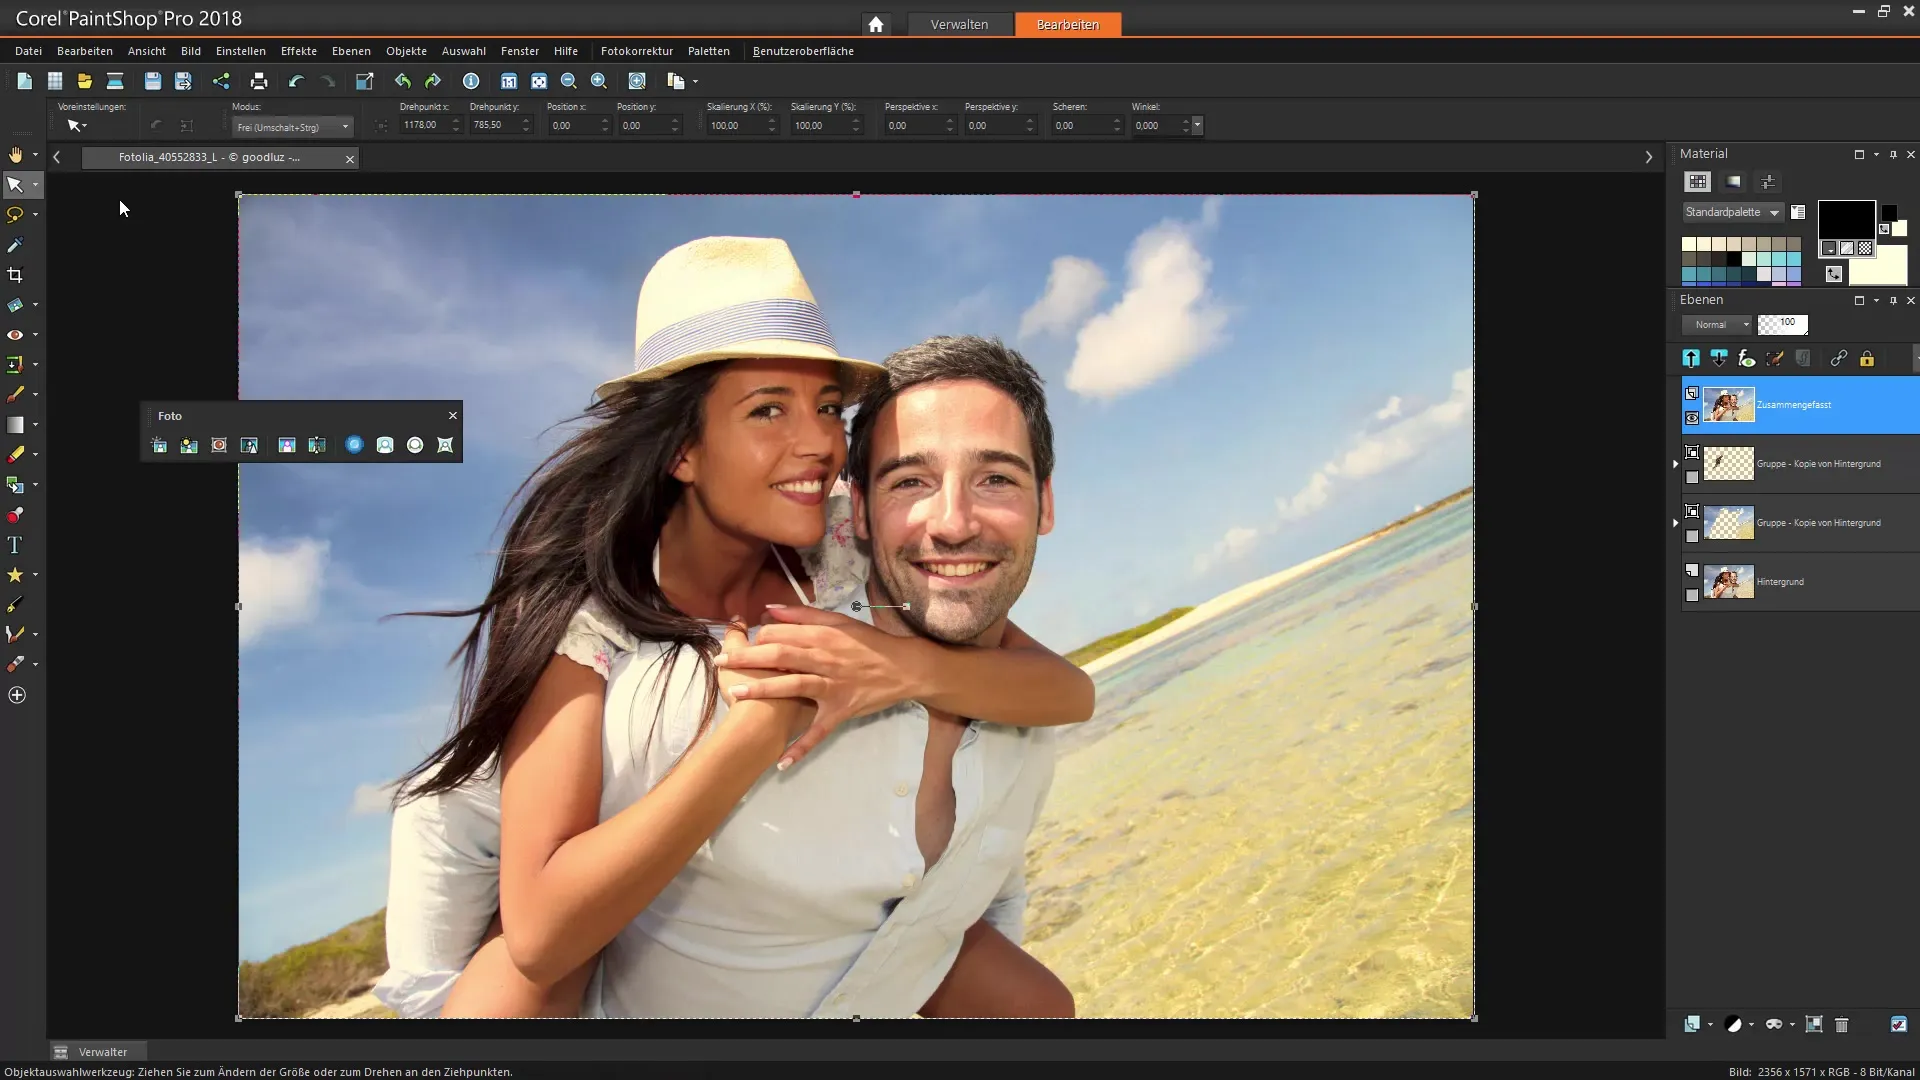
Use the image preview to see the differences between the original image and the edited versions. Be sure to consider the sharpening and other adjustments in the preview to get a sense of how the final result will look.
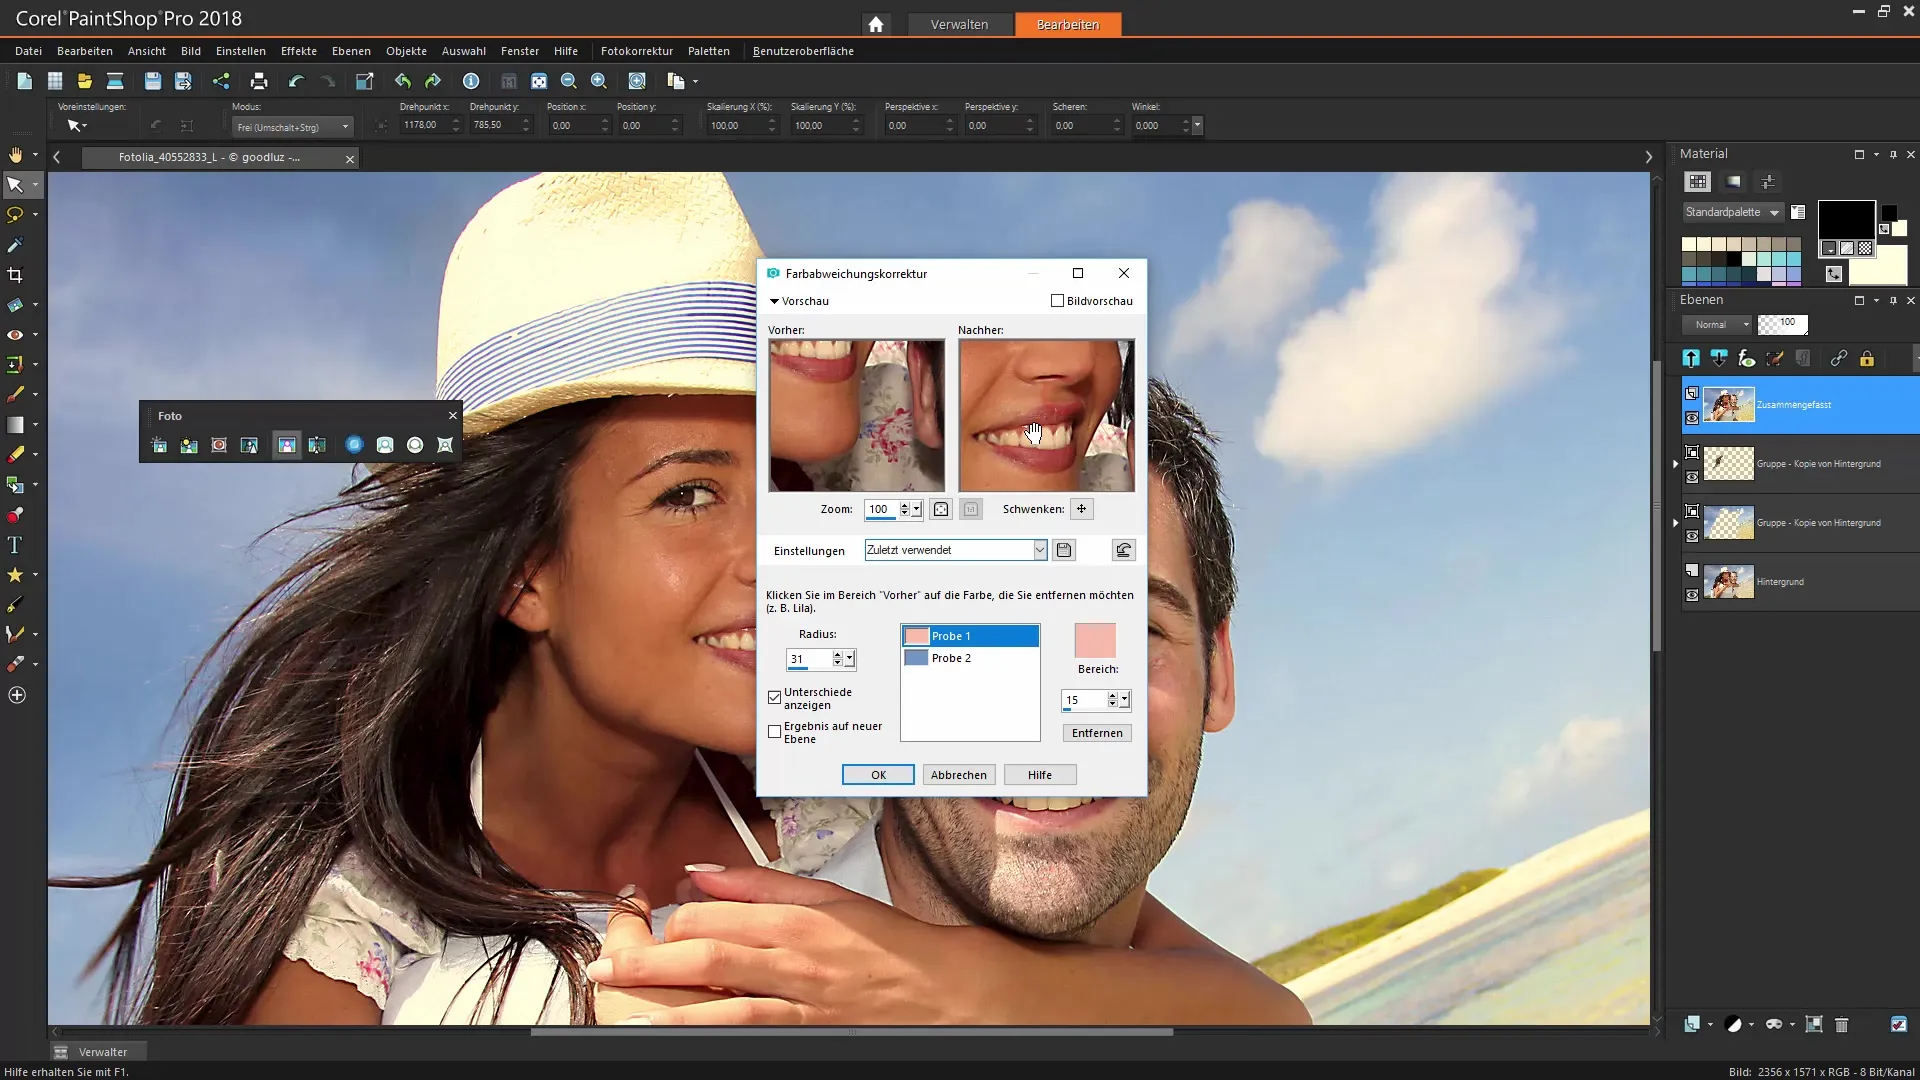
Color Deviation Correction
If you notice color deviations in your image, you can use the color deviation correction feature. Select specific hues and adjust them to achieve a harmonious image.
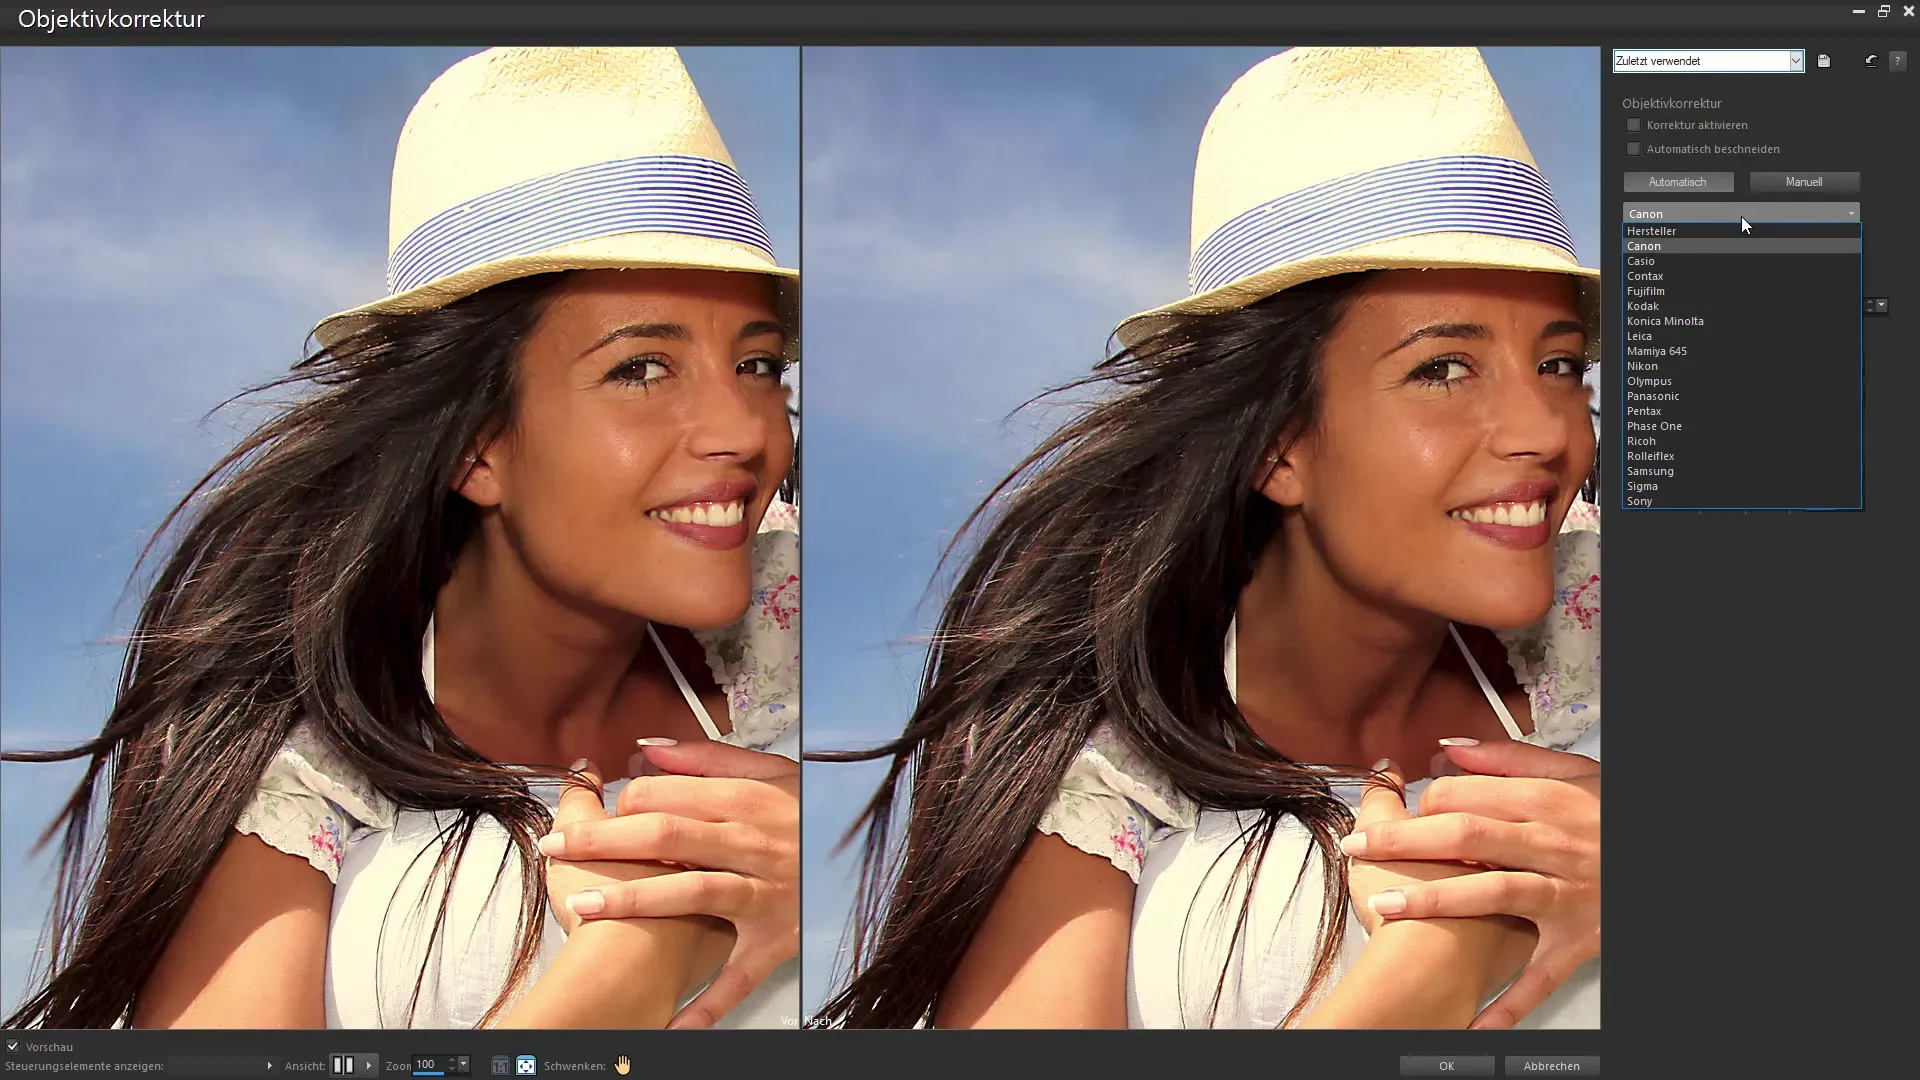
Lens Corrections
If you notice distortions when capturing your image, you can use the lens correction feature. Select the camera type you used to take the picture to correct specific distortions.
Summary – Corel PaintShop Pro: Corrections with the Photo Palette
When working with the Photo Palette of Corel PaintShop Pro, always keep in mind the functions for color correction, masking, and sharpening. With these tools, you can elevate your images to a new level and achieve impressive results. Experiment with different settings to find your individual style.
Frequently Asked Questions
How do I duplicate an image in Corel PaintShop Pro?Right-click on the layer in the layers palette and select "Duplicate".
What is the "Backlight" feature?This feature helps increase the brightness and color intensity of an image.
How can I exclude faces from adjustments?Use masking to hide specific areas of the image and make adjustments only where necessary.
Can I increase the saturation of an image?Yes, use the sliders in the backlighting feature to increase the saturation.
What is the difference between "merge all" and "merge visible"?"Merge all" combines all layers, while "merge visible" combines only the visible layers and leaves others uncombined.


