Are you ready to take your skills in Corel PaintShop Pro to the next level and create your own image compositions? In this tutorial, I will show you how easy and effective it is to design an impressive composition. You will learn how to combine various elements such as images, shapes, and texts to achieve the desired result. Let’s get started!
Main Insights
In this tutorial, you will learn how to:
- Crop images and effectively use layers.
- Apply masking techniques to isolate objects.
- Integrate textures and other graphic elements into your composition.
- Deepen your understanding of image editing and composition.
Step-by-Step Guide
When you start the composition, follow these steps:
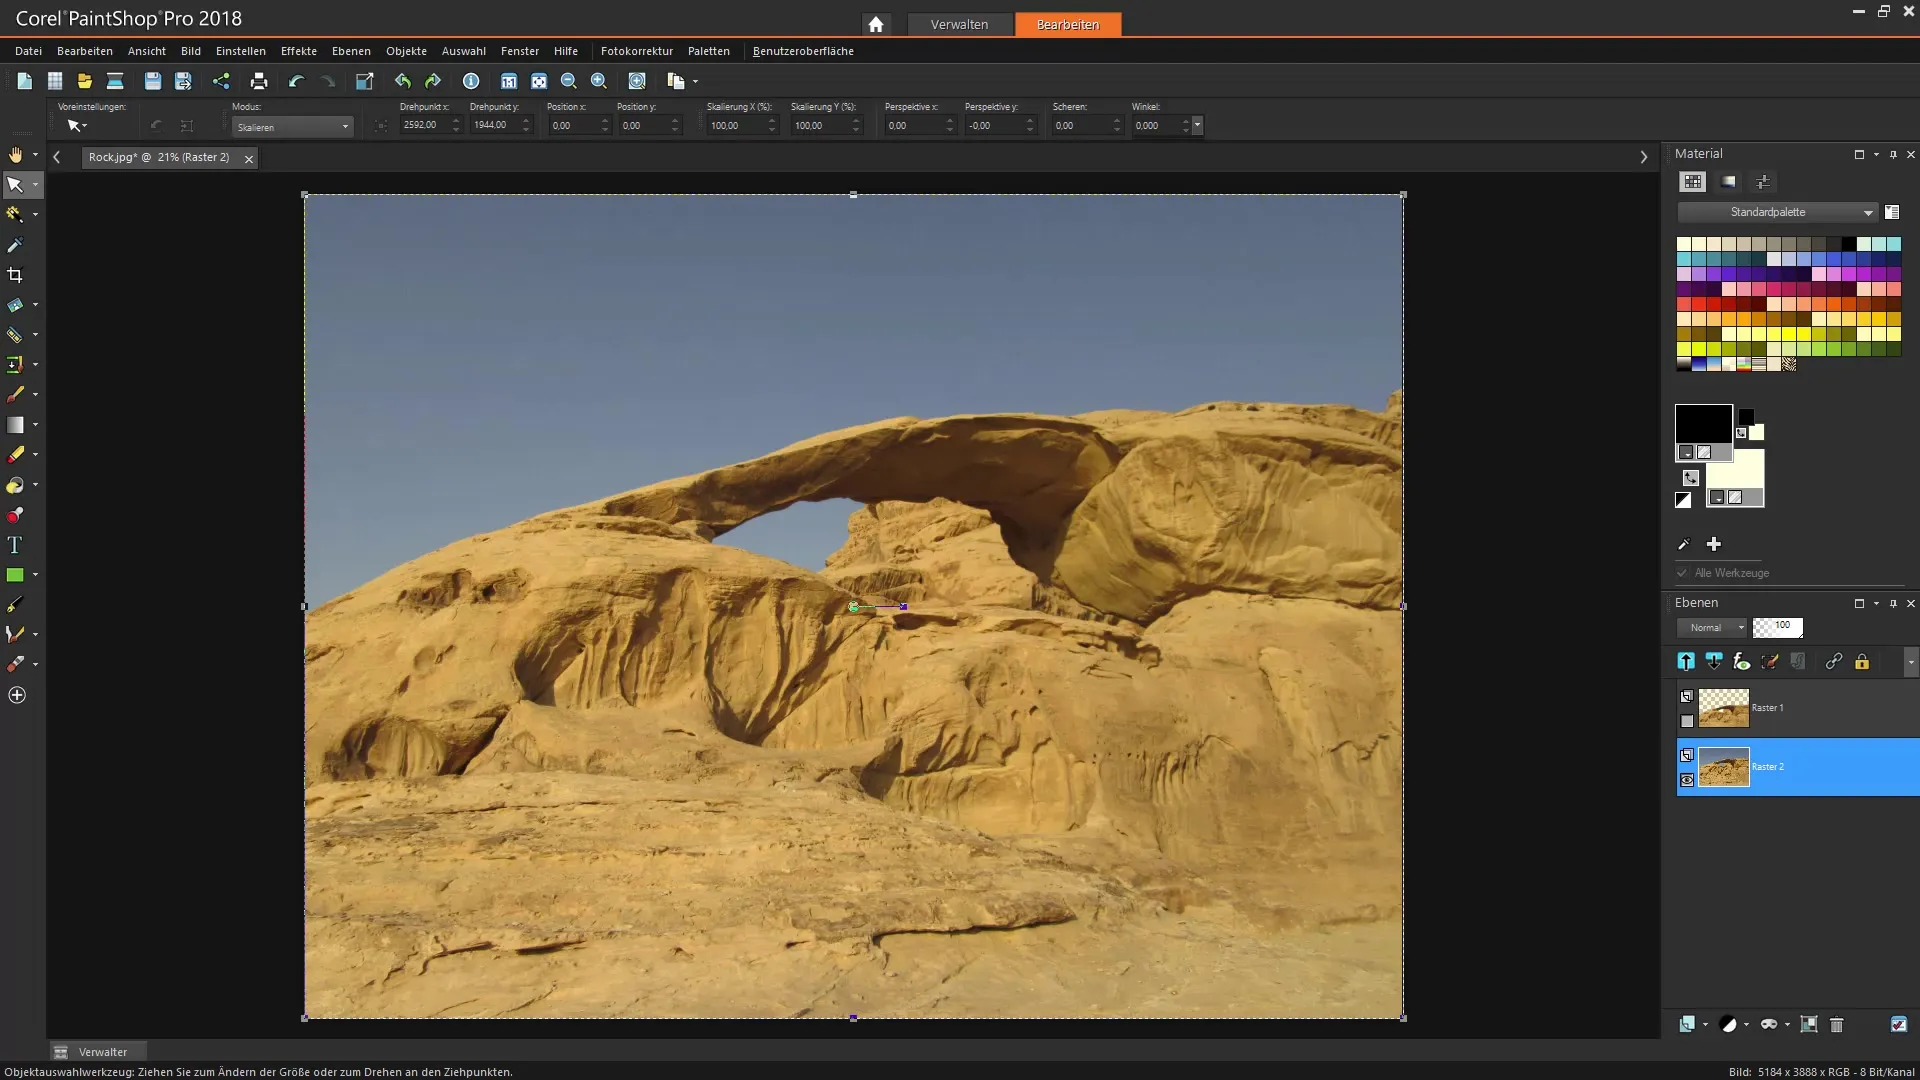
First, choose an appropriate background for your composition. I recommend using a landscape shot. This image will serve as the backdrop. You can simply open it and use it for your design.

Once you have your background image, isolate the area you want to use for your composition. To do this, select the areas you do not want to see anymore. An effective method for this is to use layer masks or to crop the object completely. While both are possible, it is generally advisable to work with masks, as you can make adjustments at any time.
Now start by selecting the sky, which may be distracting in your composition. The Magic Wand tool is great for this task, as the sky has uniform color tones. Set the tolerance accordingly to get a precise selection. Remember not to activate contiguous selection to also select nuances in the blue sky.
Once the sky selection is active, go to the “Invert Selection” function. This ensures that only the desired areas are marked. Now you can adjust the selection if areas were not correctly selected – use the selection change options for this. Here, you can expand or contract the selection to get clean edges.
If the selection is satisfactory, bring the image onto a new layer. You can select the “Paste into New Layer” function from the “Edit” menu for this. This is crucial so that the object in the composition does not collide with the background.
To add more depth to your composition, now add another background. I recommend using a starry sky or similar textures that you can download from the internet or image databases. Open the image and also add it as a new layer to the composition. Experiment with the size of this layer to achieve the best visual effect.
Now it's time to add your isolated subject that is in your image. Choose a suitable image that fits well with your composition and import it into your project. Make sure the image is of the right size so that it doesn’t appear pixelated. If you have a smaller version, use the “Delete” selection to remove it and insert a better image.
Once all elements are placed, you can start fine-tuning. Position the layers so they work together harmoniously. You can adjust the opacity or reorder the layers to achieve different effects. Use the masking functions to highlight or make certain areas invisible.
Also, remember to adjust colors and lighting accordingly. With Corel PaintShop Pro's color correction functions, you can influence the mood of your composition. It might be helpful to apply some filters, as this enhances the overall image and allows the individual elements to blend better.
In the end, make sure your composition is balanced and all details are correct. Save your project regularly and export it in the desired format as soon as you are completely satisfied.
Summary – Corel PaintShop Pro: Create an Image Composition Yourself
In this tutorial, you have learned how to create an engaging image composition in Corel PaintShop Pro. From selecting and isolating images to fine-tuning and positioning layers, you have gone through all the basic steps necessary for effective design.
Frequently Asked Questions
How can I isolate an image?You can select the image with the Magic Wand and then either mask it or paste it into a new layer.
What formats can I export?Corel PaintShop Pro allows exporting in various formats such as JPG, PNG, or TIFF.
How do I select colors?Use the color correction functions to adjust shades or contrasts of your composition.
What is a layer mask?A layer mask allows you to make parts of an image invisible without deleting them.
Can I add text to my composition?Yes, you can add text as additional design elements and adjust their properties.


