Corel PaintShop Pro offers a variety of creative options for image editing, including fascinating drawing and painting techniques. In this guide, we will apply a drawing effect to a photo to give your image an artistic touch. Let’s get started right away.
Key Insights
- Corel PaintShop Pro allows you to apply various drawing styles such as pencil drawings.
- Using layers and masks, you can customize and optimize your composition.
- There are numerous adjustment options for customizing effects, with some being non-destructive.
Step 1: Access Effects Library
Start by opening the effects library in Corel PaintShop Pro. Here you will find a wide selection of creative options to enhance your image. This library is an excellent starting point for inspiration and exploring various effects.
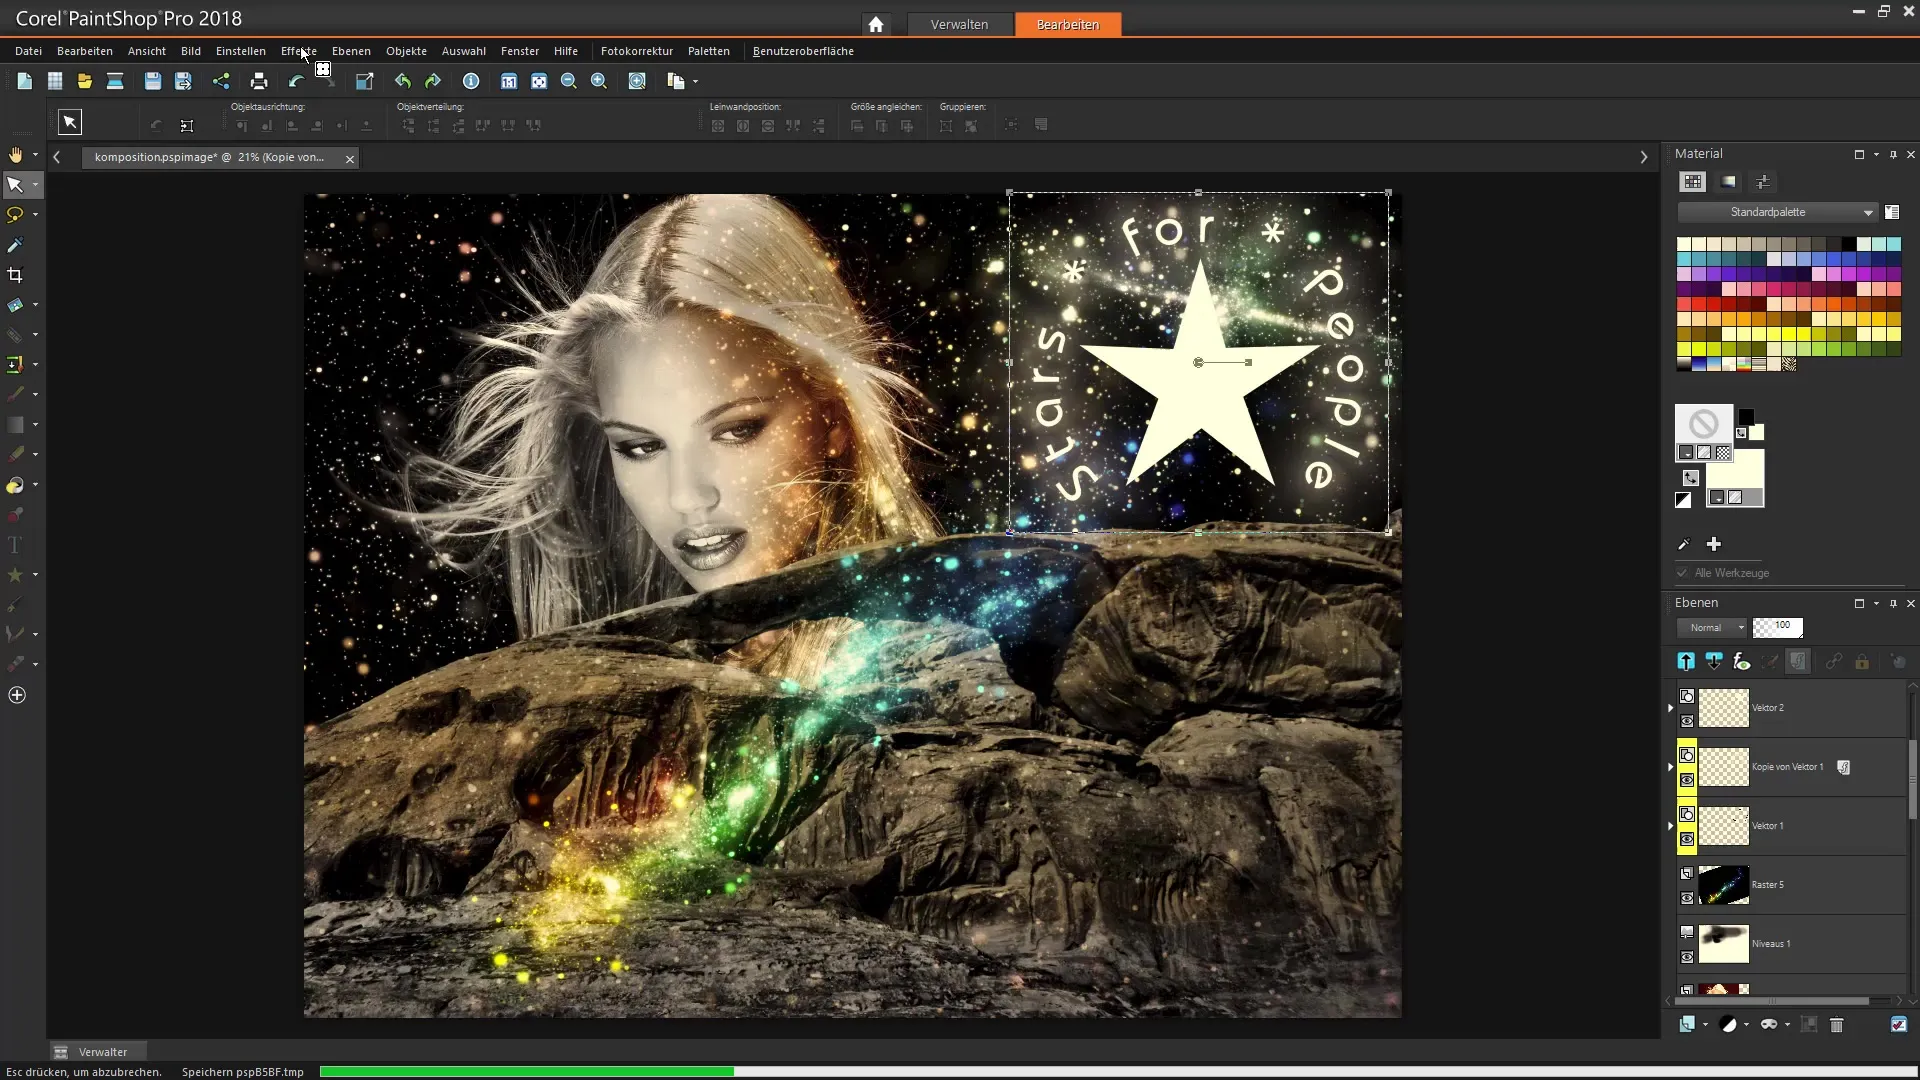
Step 2: Select and Open Image
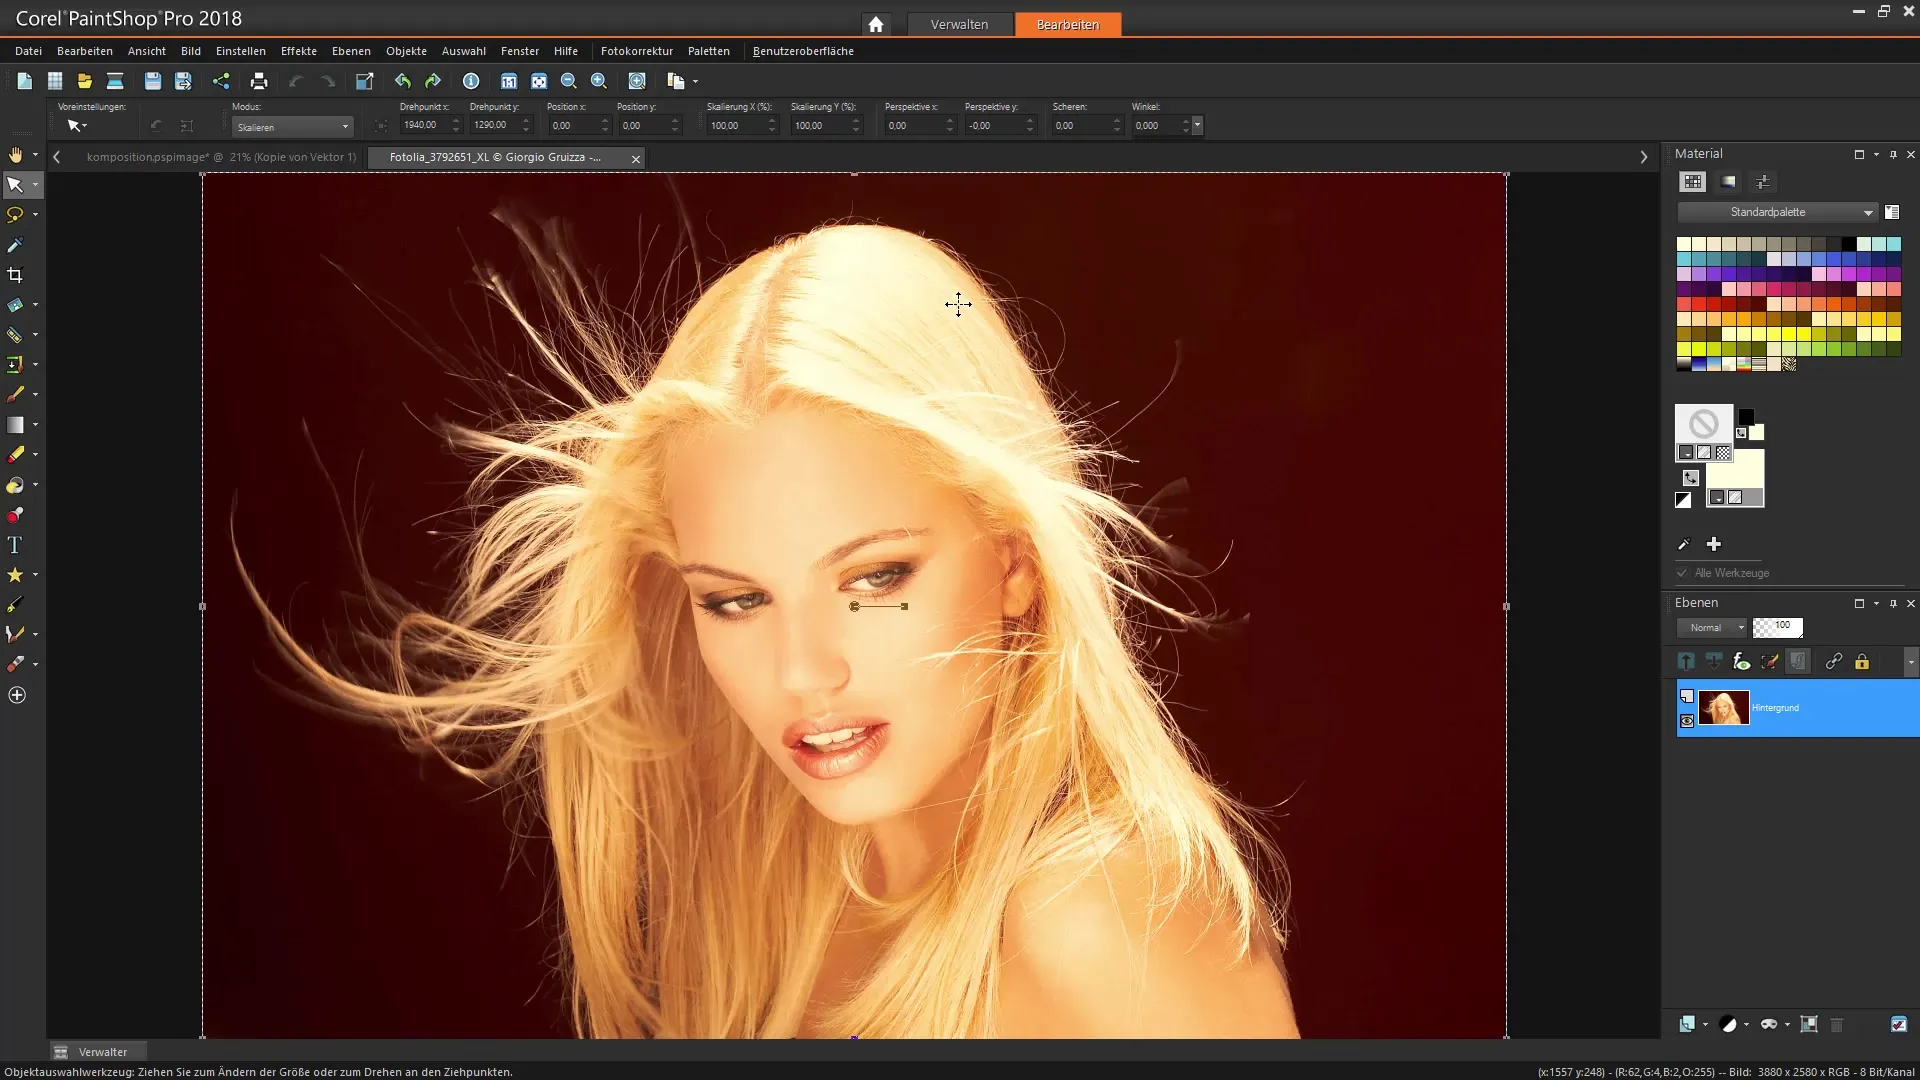
Select the image you want to edit. In this example, we will open an image of a lady that is located in the project files. You can simply navigate to the appropriate folder and select the desired image.
Step 3: Create Duplicate Layer
To ensure that you do not alter your original image, create a duplicate layer. This duplicate layer will be used to apply the drawing effect while keeping the original layer for any adjustments.
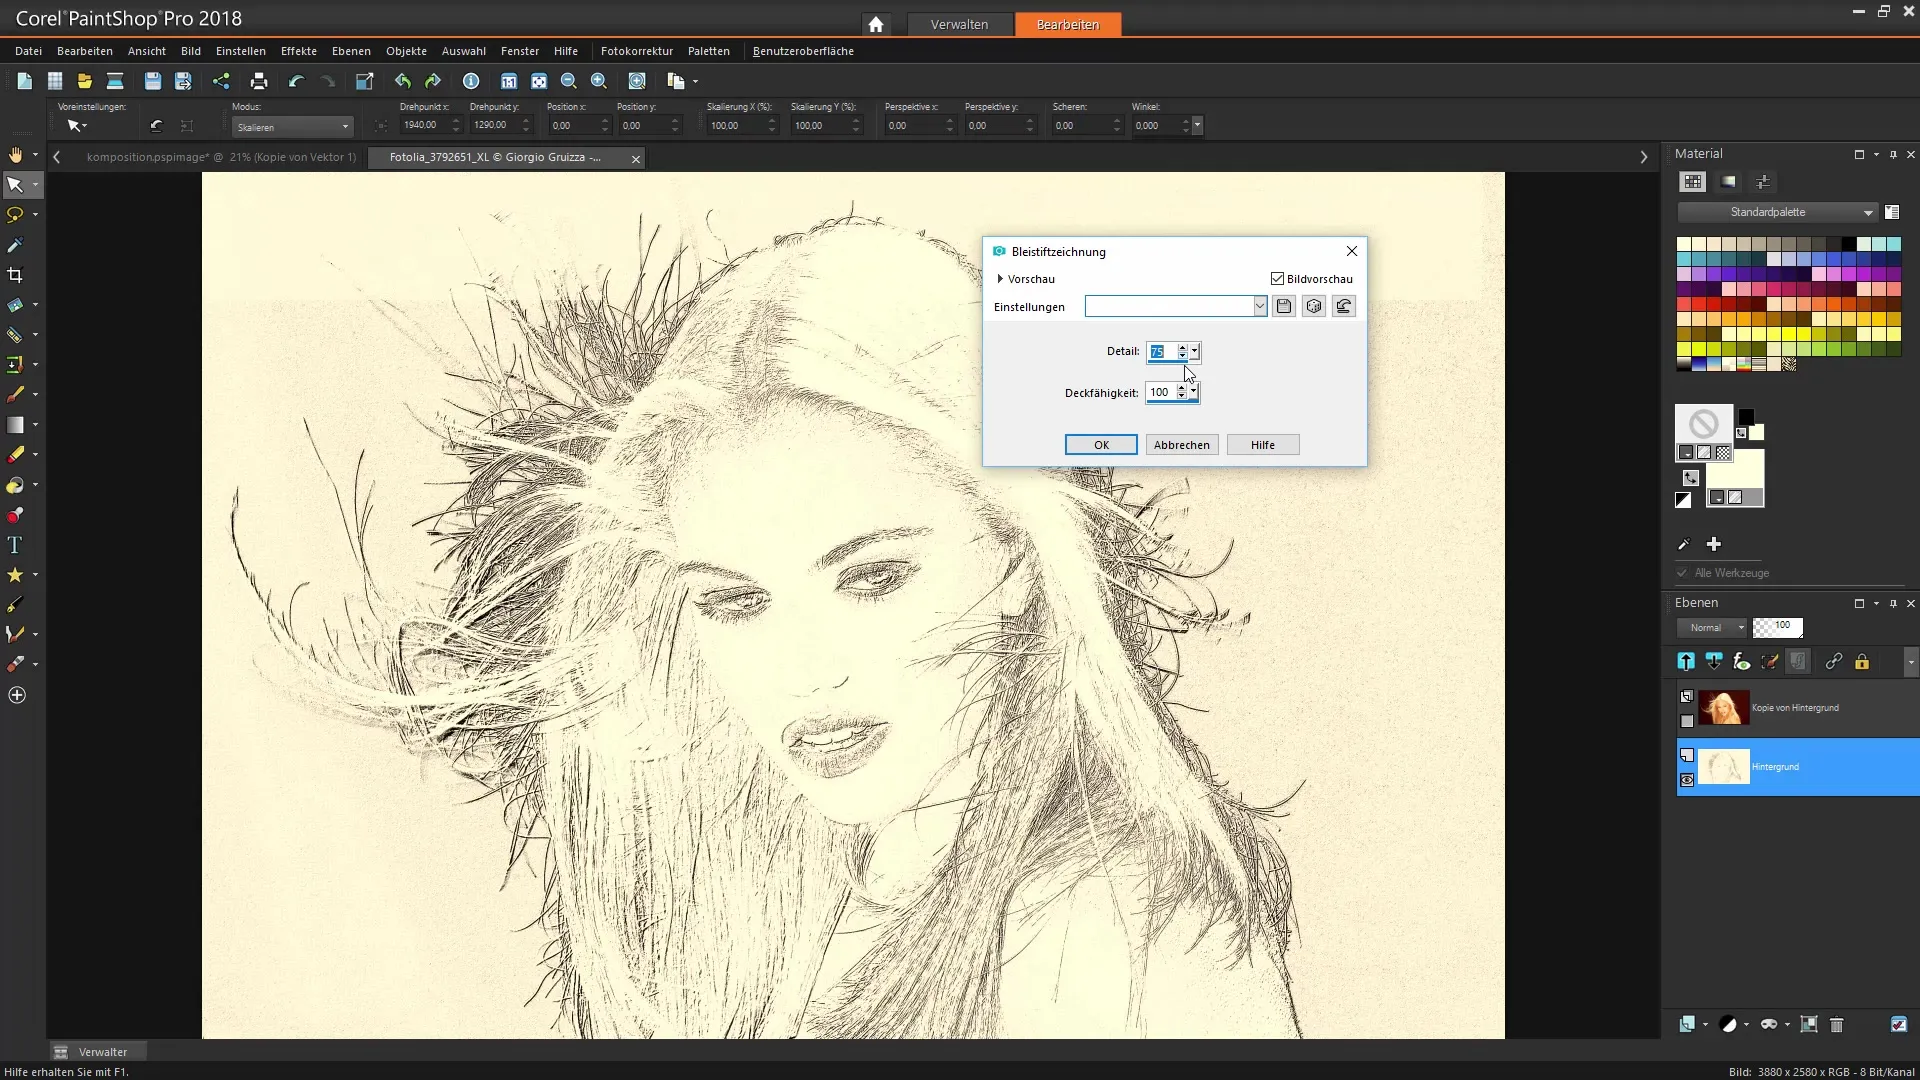
Step 4: Select Pencil Drawing Effect
Now you can apply the pencil drawing effect to the duplicate layer. To do this, go to the effects library and select the pencil drawing effect. You will immediately see the artistic transformation of your image.
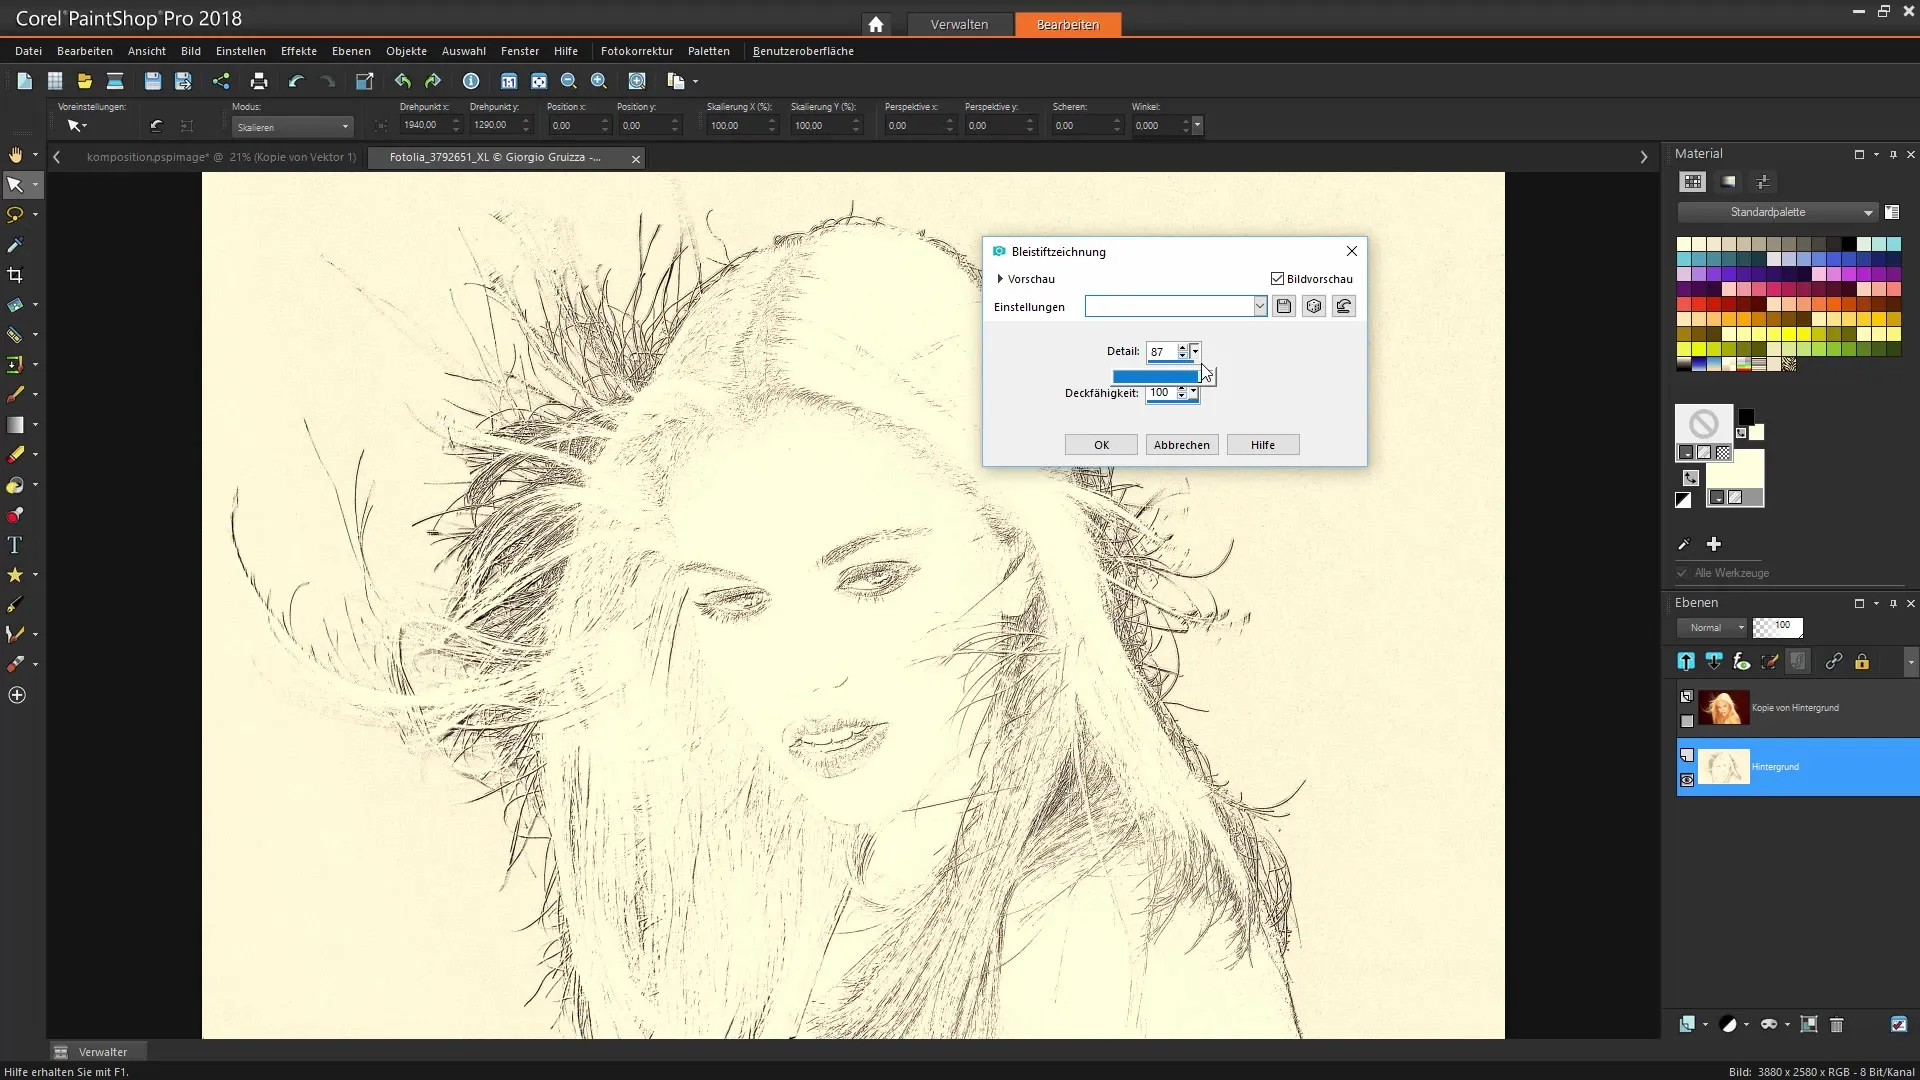
Step 5: Adjust Effect
In the next step, you can make adjustments to the effect. Set the opacity to 100% to see the full effect. Depending on your preference, you can adjust the opacity later to make subtle changes.
Step 6: Add Layer Mask
To make targeted adjustments, add a layer mask. This mask helps you to mask out or reveal specific areas of your image. This allows you to create creative accents that add more dimension to the editing.
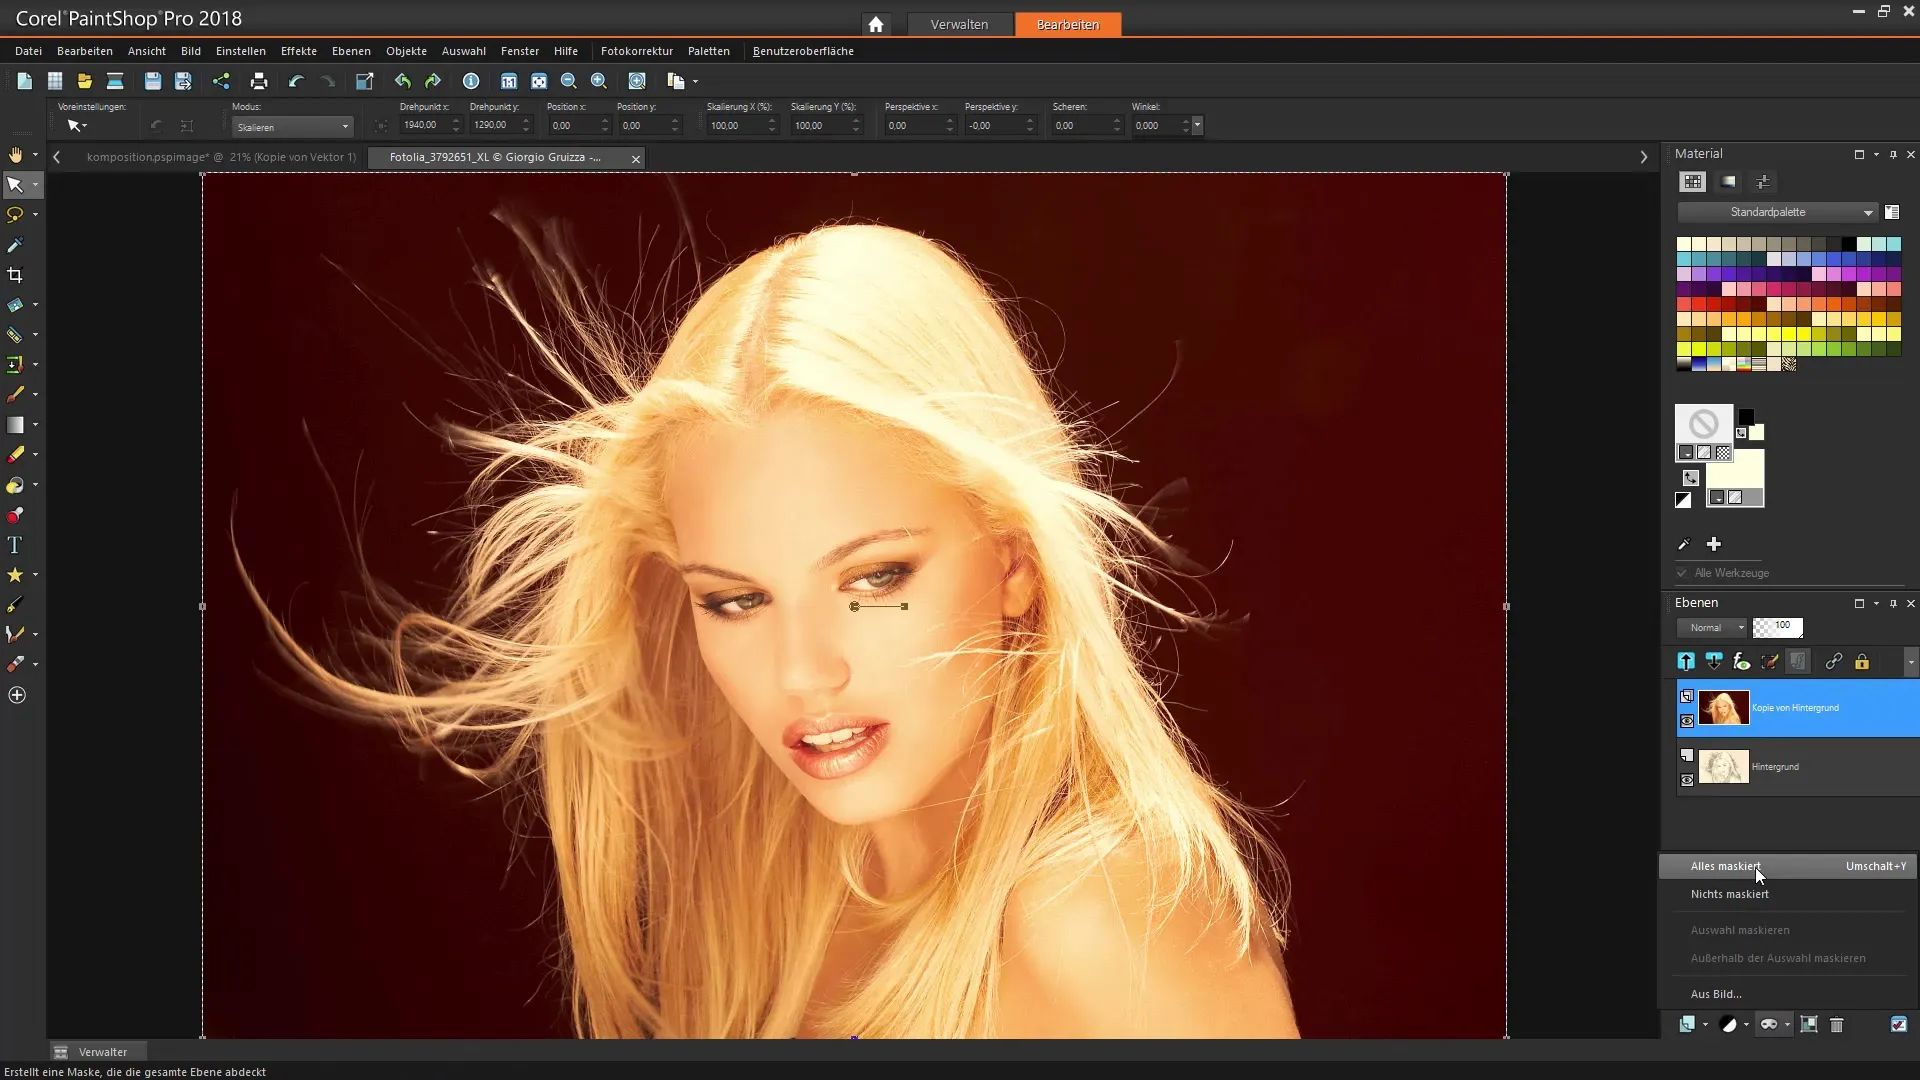
Step 7: Drawing with Brush Tip
Select a soft brush and start freely drawing on the masked layer. With white paint, you can reveal specific parts of the image to achieve a blending effect. This allows for artistic design tailored to your taste.
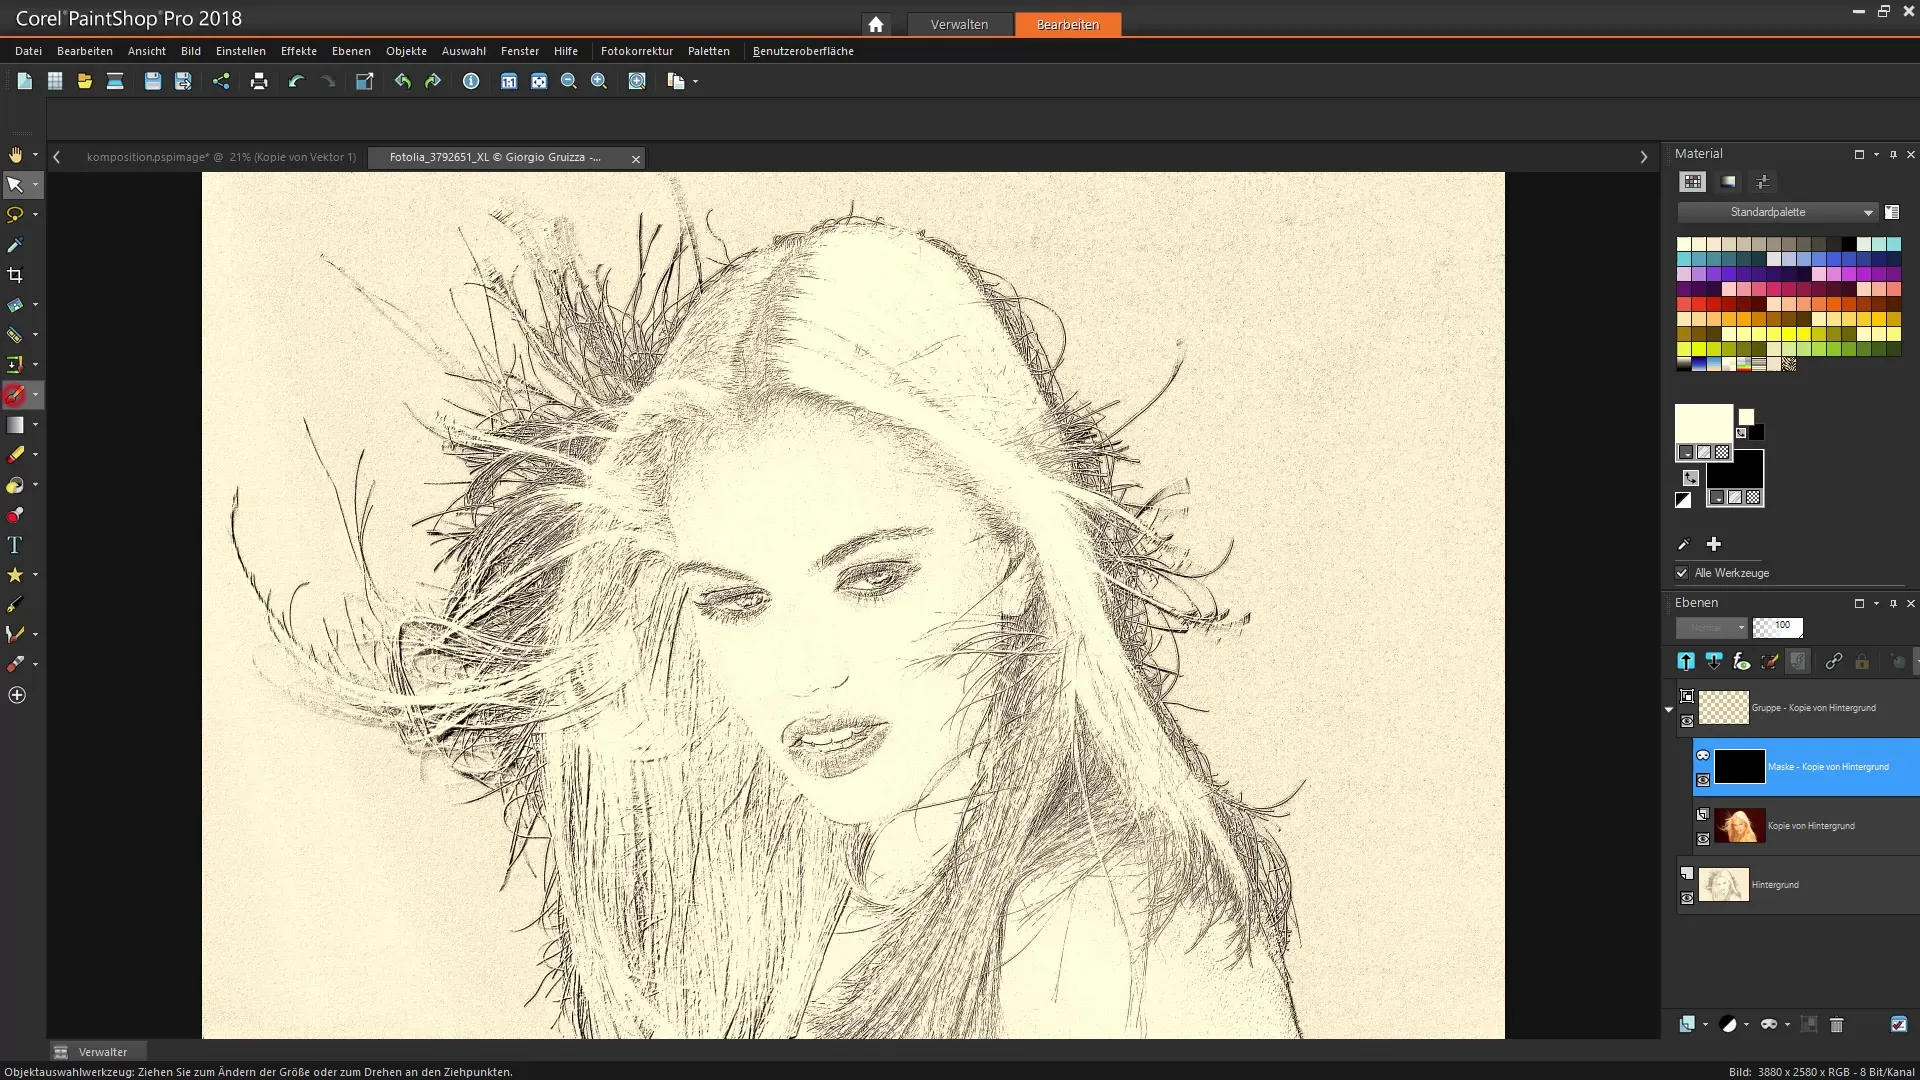
Step 8: Make Further Adjustments
Here, you can add more artistic details by varying the brush tip size and opacity. Try different brush tips to achieve different textures and give your image even more expression.
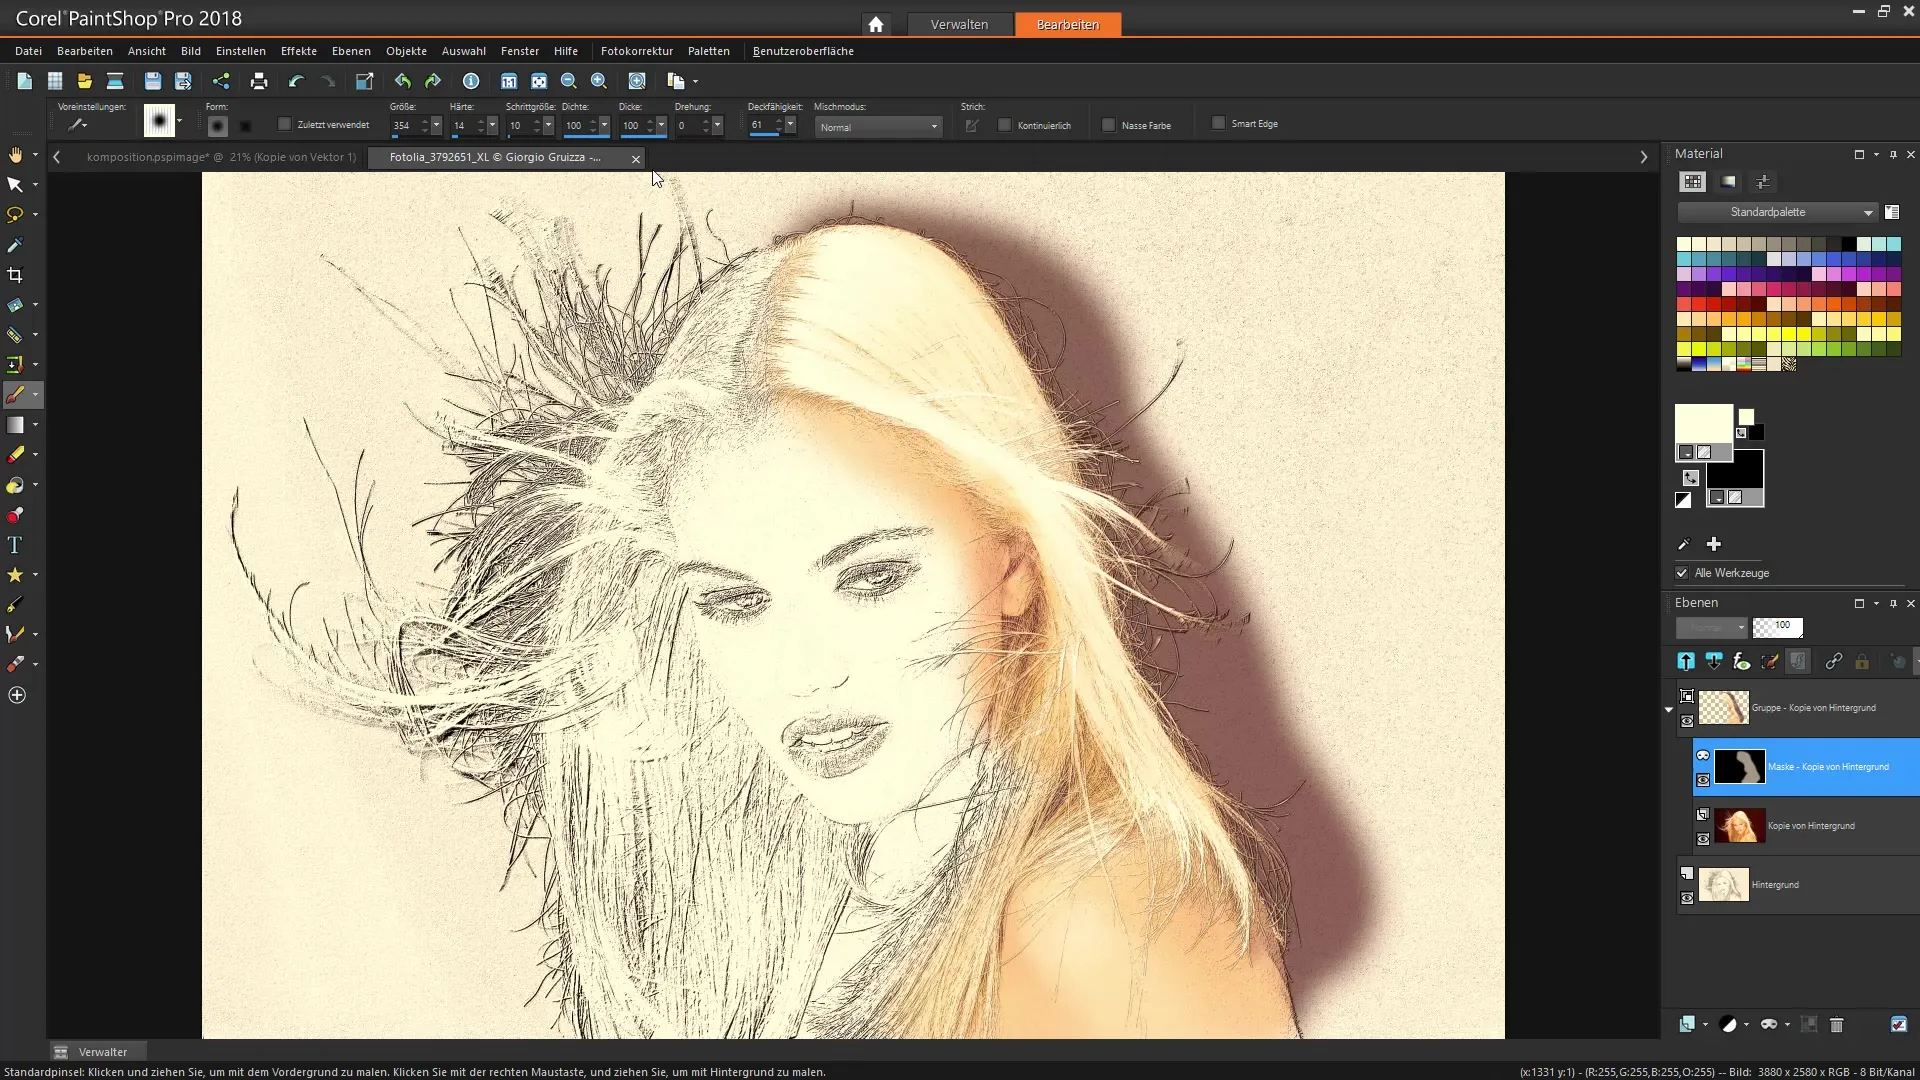
Step 9: Refine Drawing
Go over the areas that have been over-revealed, adjusting the brush tip size to create softer transitions. This is a great opportunity to express your creative ideas and further optimize the composition.
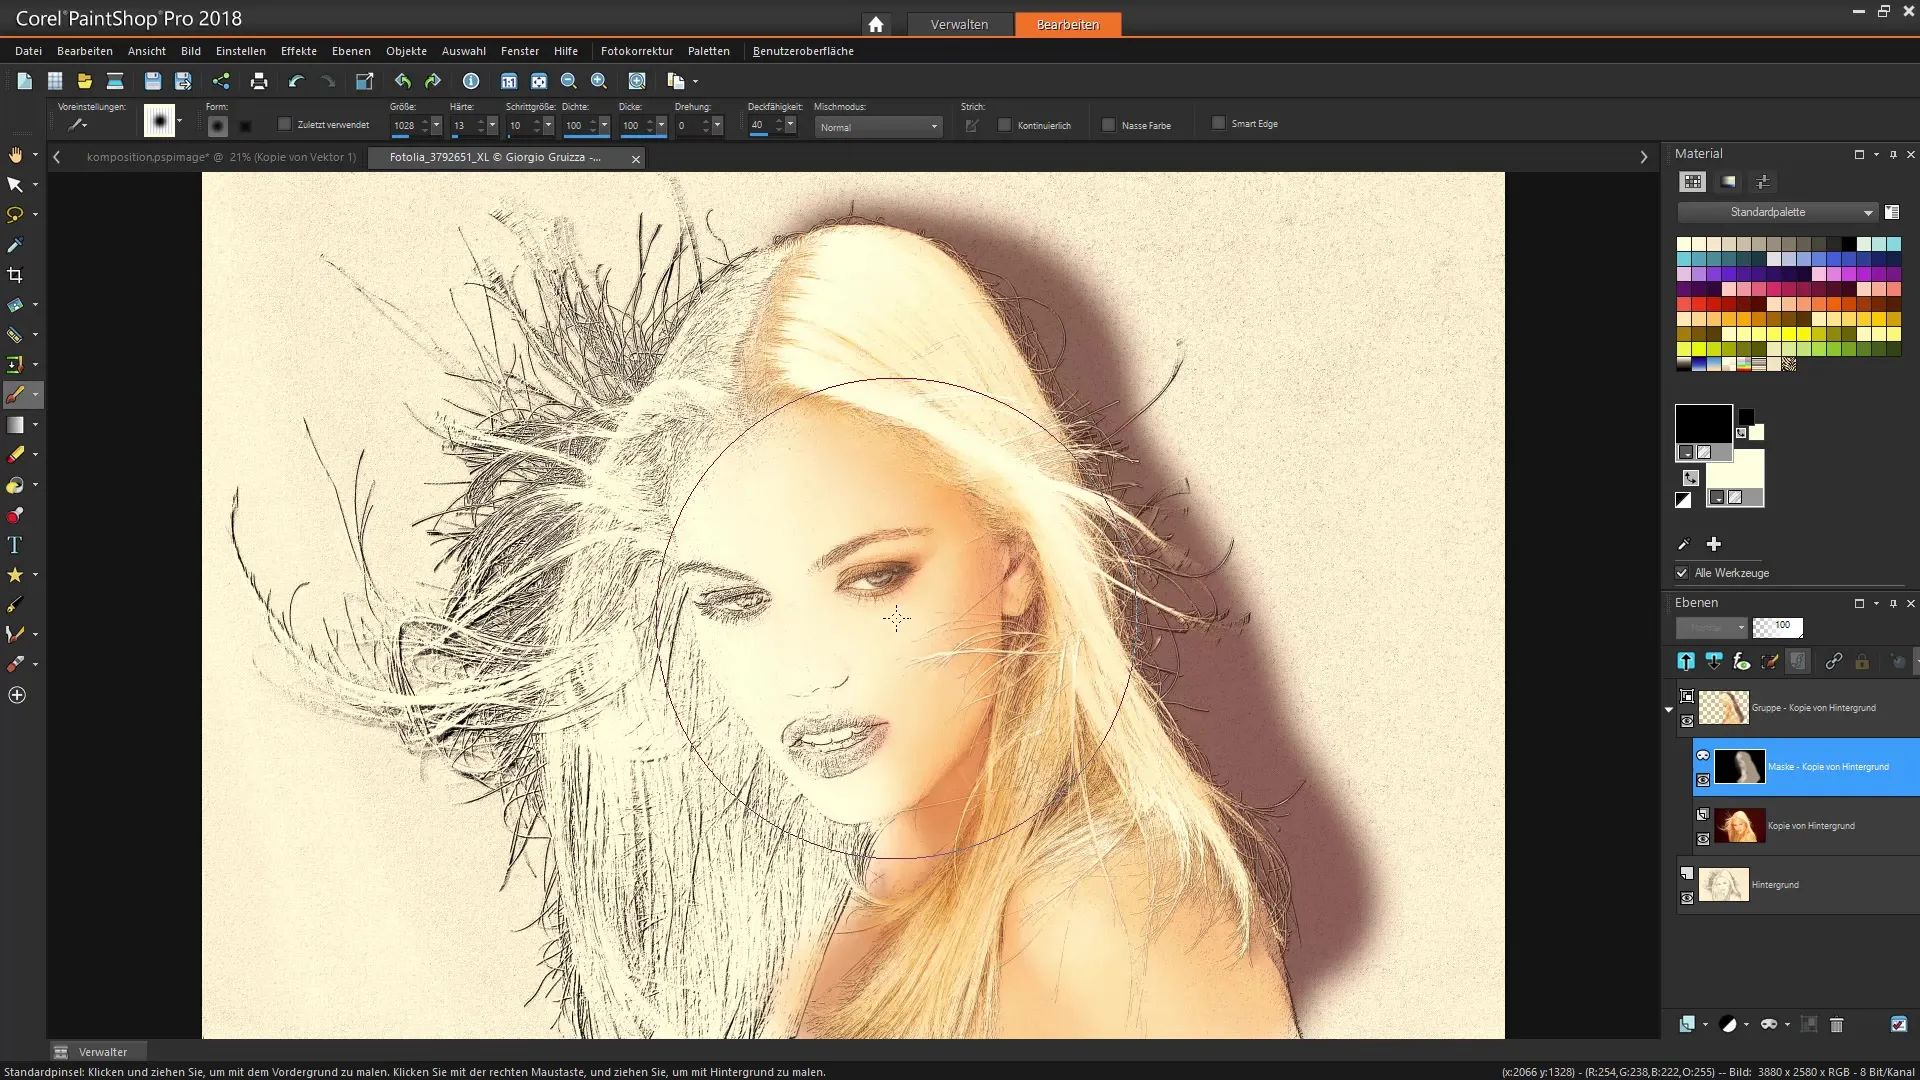
Step 10: Final Editing
Finally, you have the opportunity to review the image and make final tweaks. You can hide or show layers at any time to maximize the effect and make further adjustments as needed.
Summary - Drawing Effect in Corel PaintShop Pro
In this guide, you learned how to apply an impressive drawing effect to a photo using the effects library in Corel PaintShop Pro. You went through the steps to select your image, apply the effect, and customize and adjust your composition. Utilize the possibilities that Corel PaintShop Pro offers to unleash your creativity.
Frequently Asked Questions
What is Corel PaintShop Pro?Corel PaintShop Pro is an image editing program that offers numerous tools and functions for creative design.
How can I apply a different drawing style?In the effects library, you will find different drawing styles that you can apply to your image, such as charcoal drawings or brush strokes.
Are the effects non-destructive?Some effects in Corel PaintShop Pro are non-destructive, allowing you to make adjustments without altering the original image.
How can I change the opacity of an effect?The opacity can be adjusted in the effect options to achieve the desired level of visibility.
Can I save my project and continue later?Yes, you can save your project at any time and reopen it later to continue working on it.

