Photographs can often be compromised by unflattering details. A common problem is red eyes, which can occur especially in snapshots taken with flash. Corel PaintShop Pro offers several effective methods to remove these unwanted red reflections. In this guide, I will show you how to do this step by step, both manually with the brush tool and using the special red-eye removal function.
Key Takeaways
- You can remove red eyes in Corel PaintShop Pro in two different ways: manually with the brush tool or using the special red-eye feature.
- It's recommended to work on a copy of the original layer to ensure you can always restore the original image.
- Be careful when using the tools to achieve a natural result.
Step-by-Step Guide
1. Preparing the Image
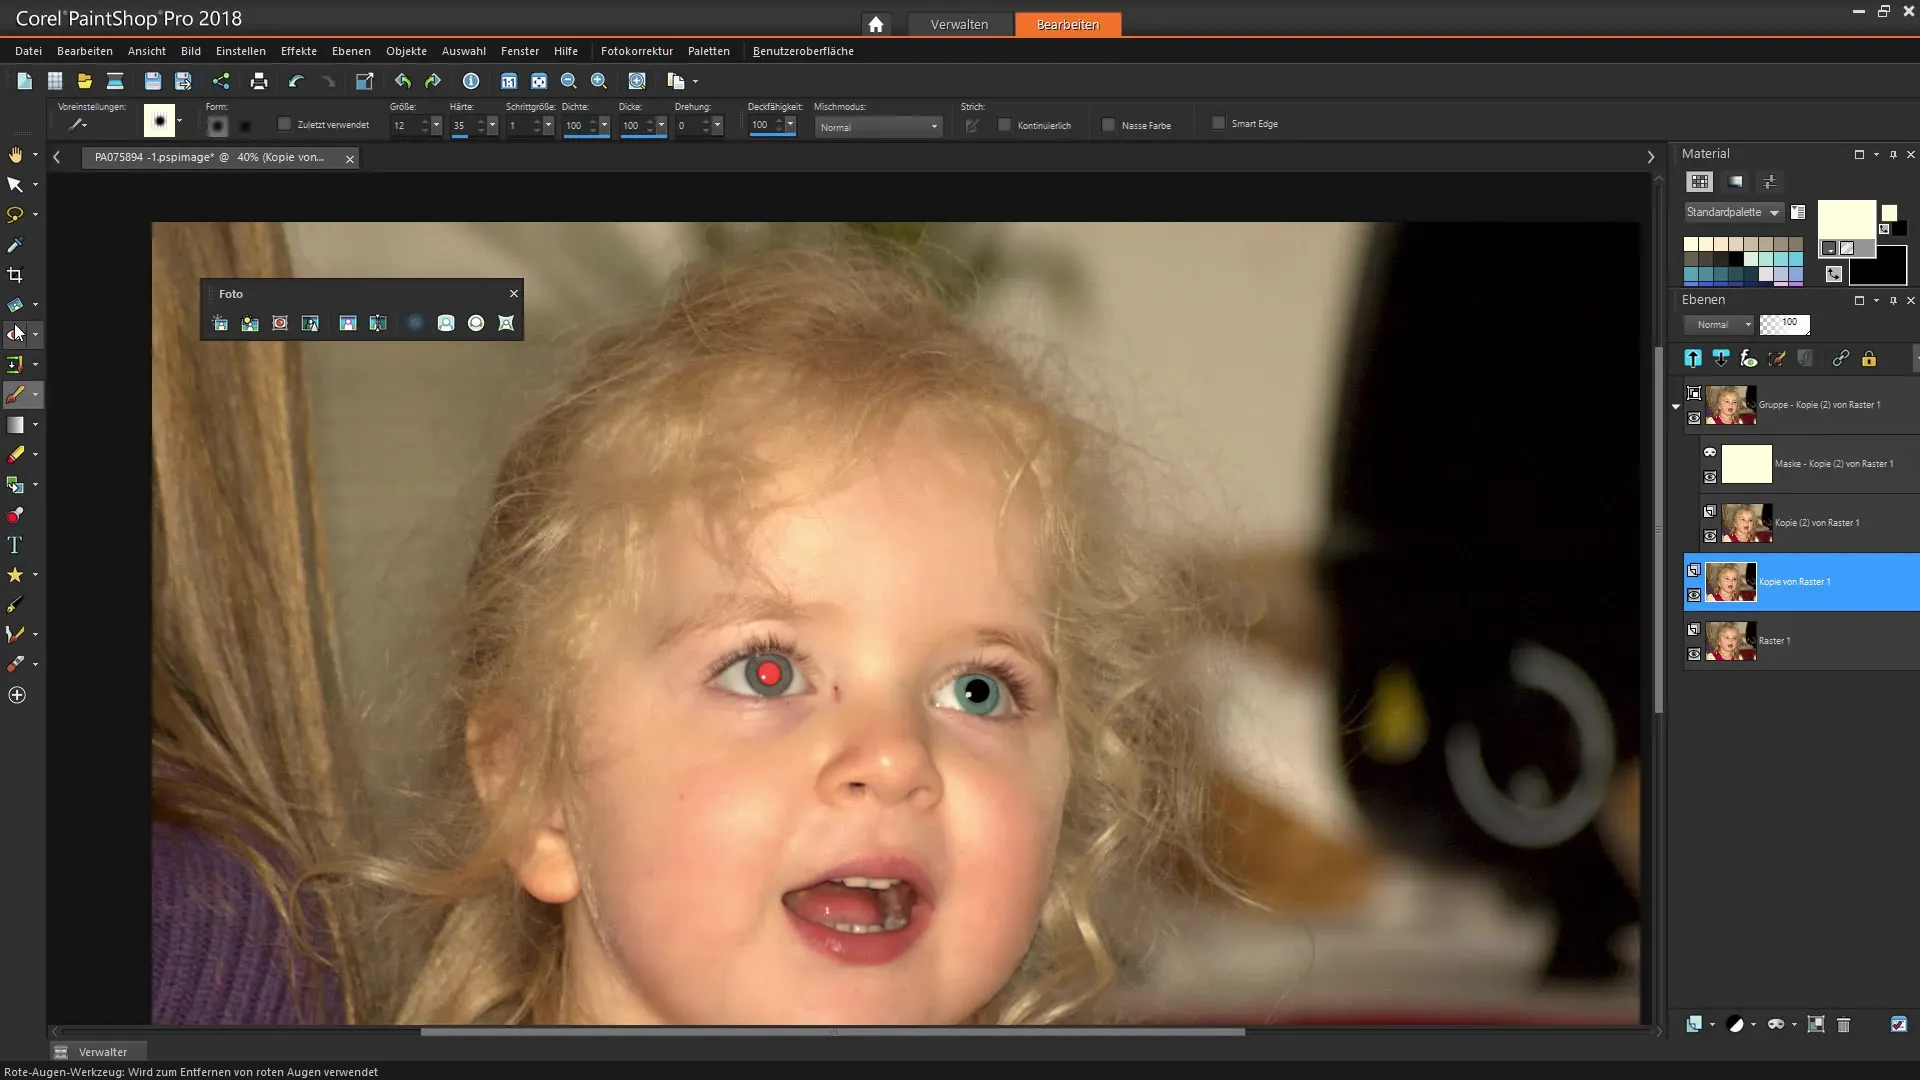
First, you need to open your image in Corel PaintShop Pro and create a copy of the layer to work safely. To do this, go to the layers palette, right-click on the layer, and select "Duplicate". Now you have a safe copy to work on.
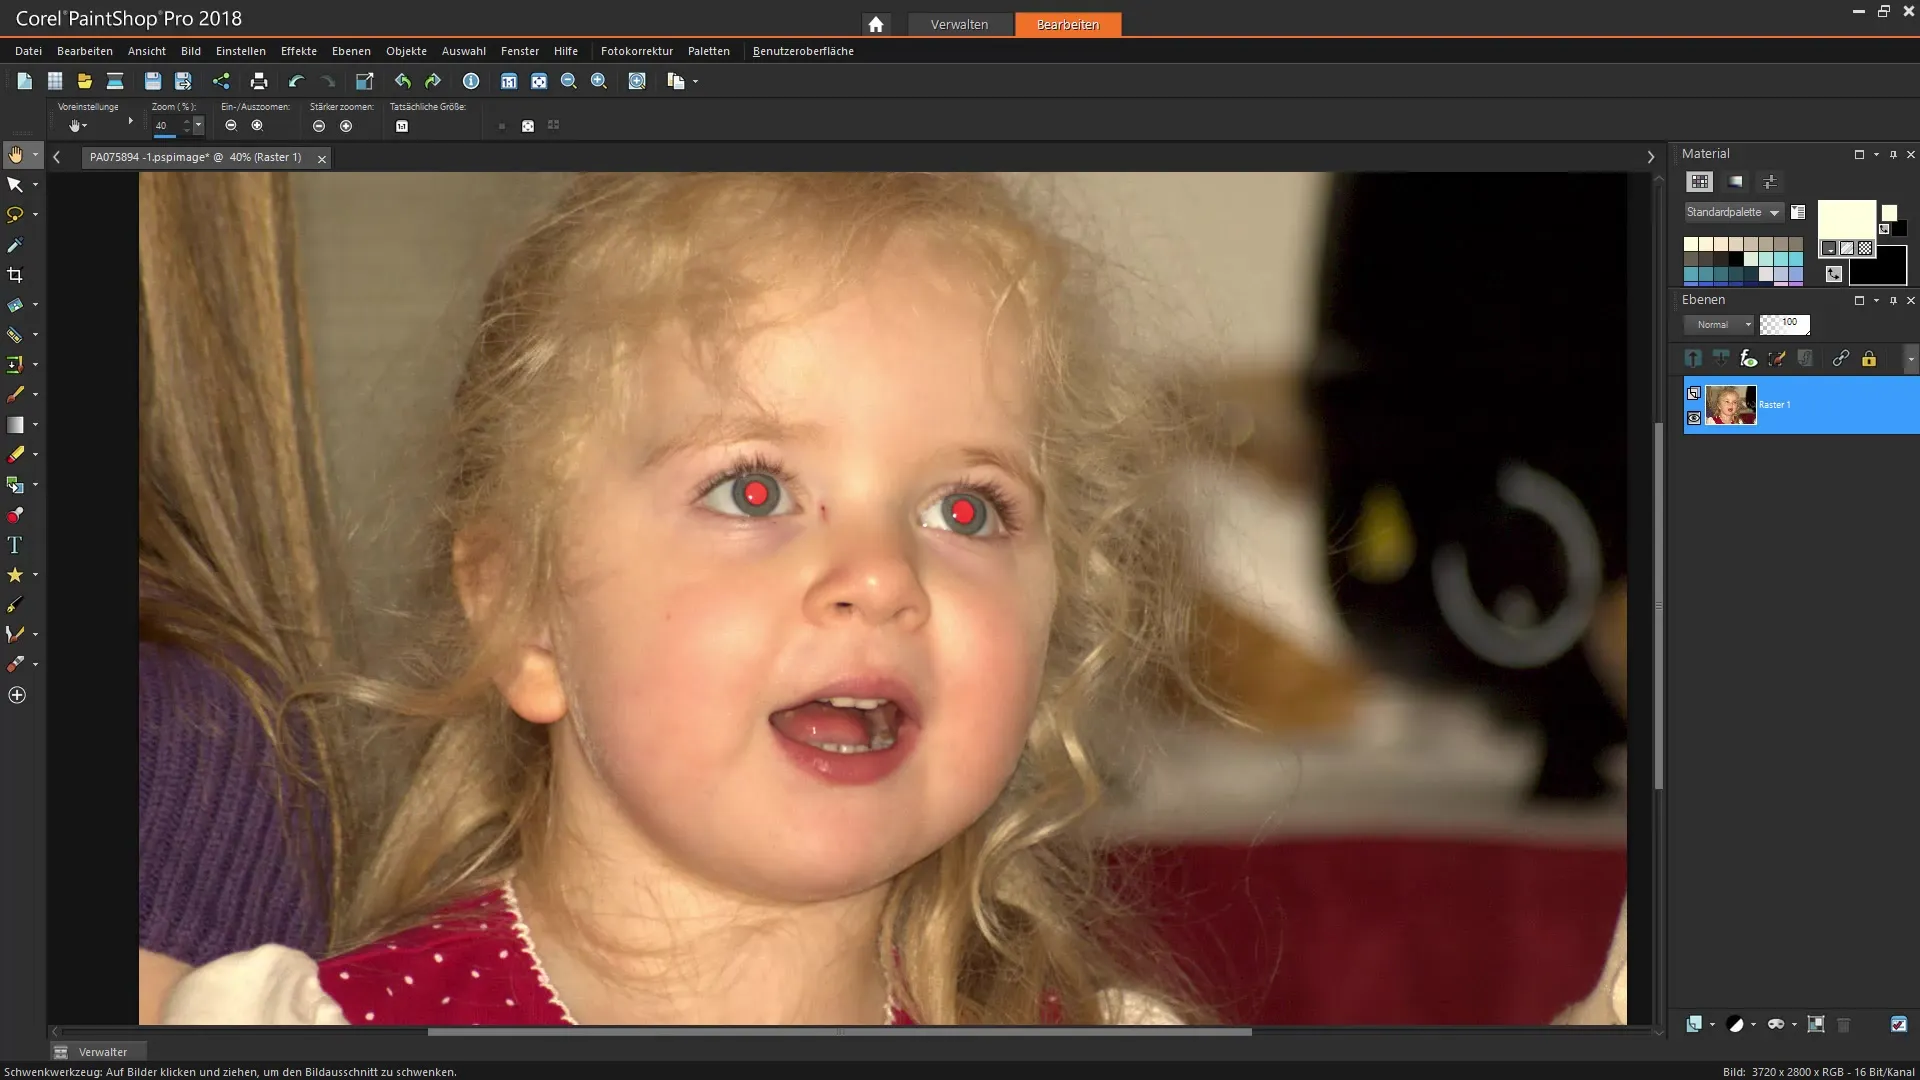
2. Manually Removing Red Eyes
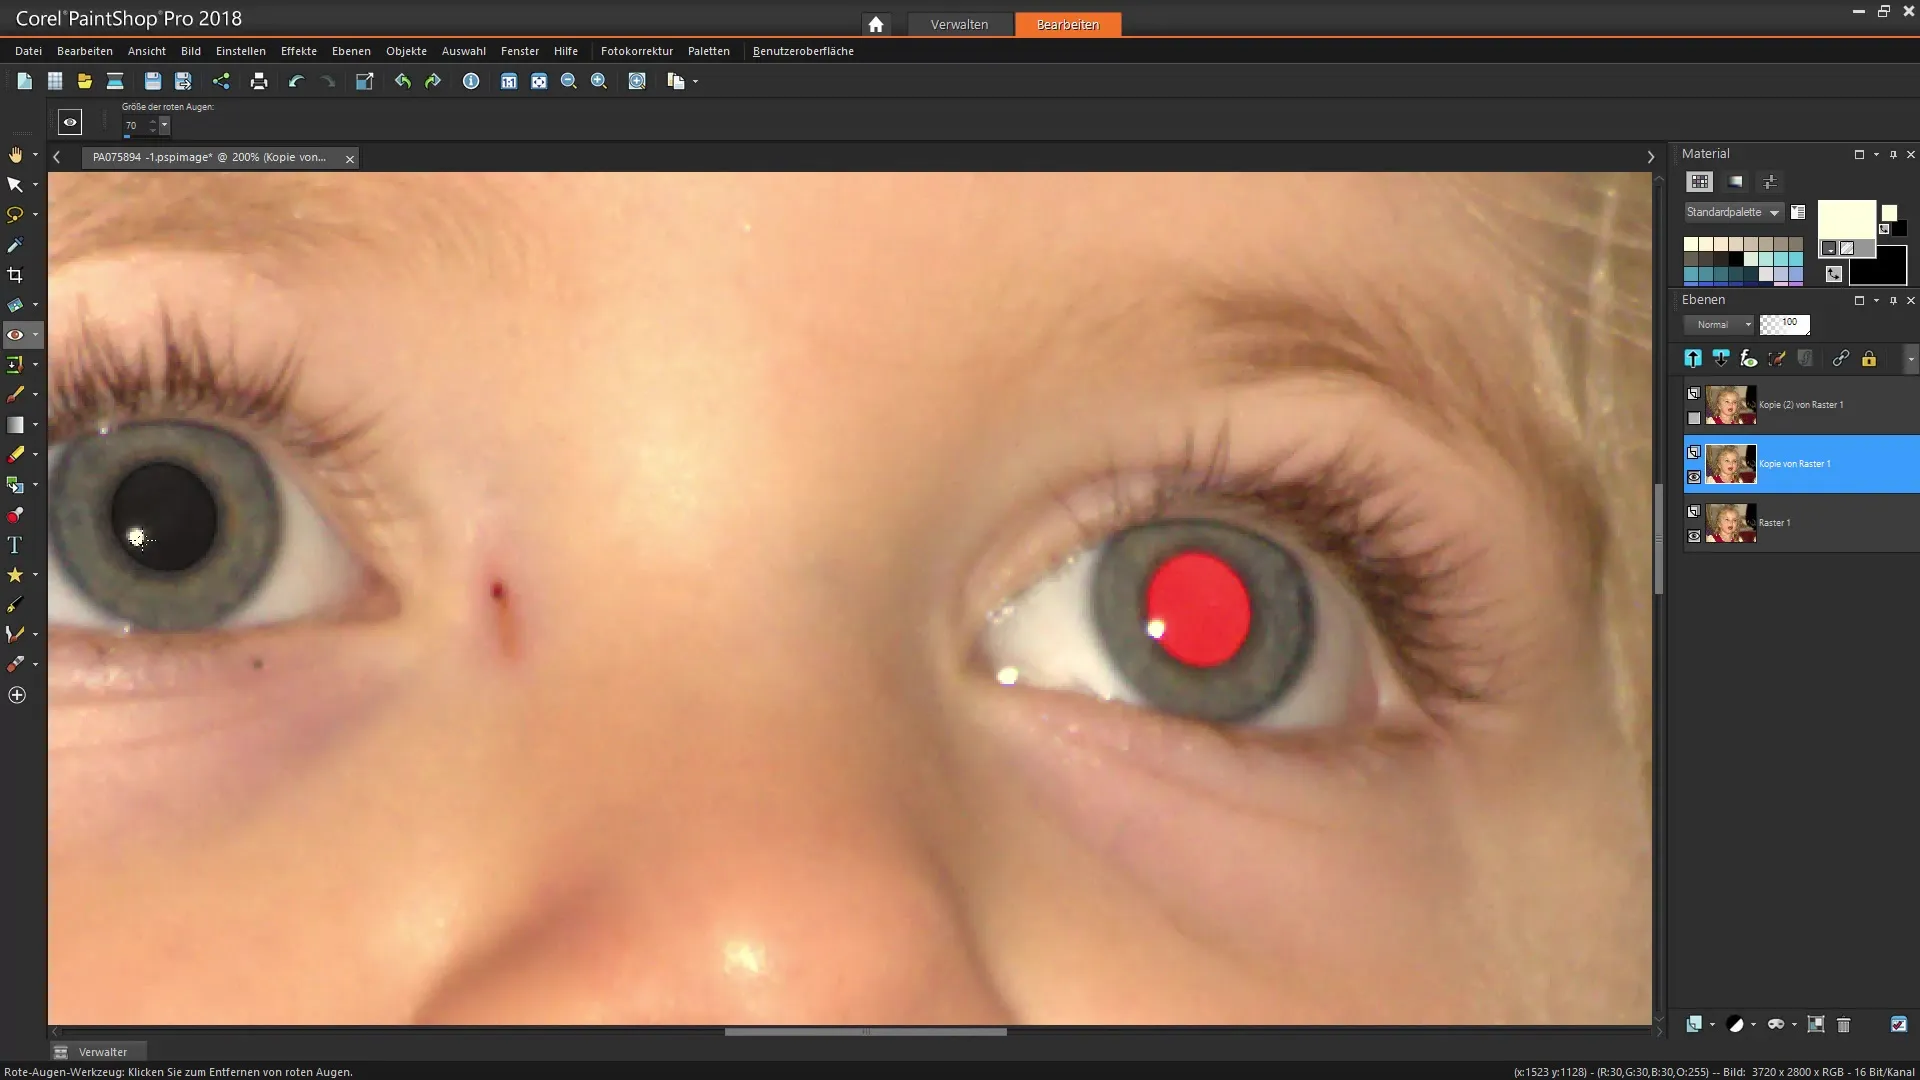
Activate the red-eye removal tool located in the tool palette. It may be near the makeup tool or displayed directly as a red eye symbol. Once you’ve activated the tool, an option to adjust the brush size will appear at the top of the property bar.
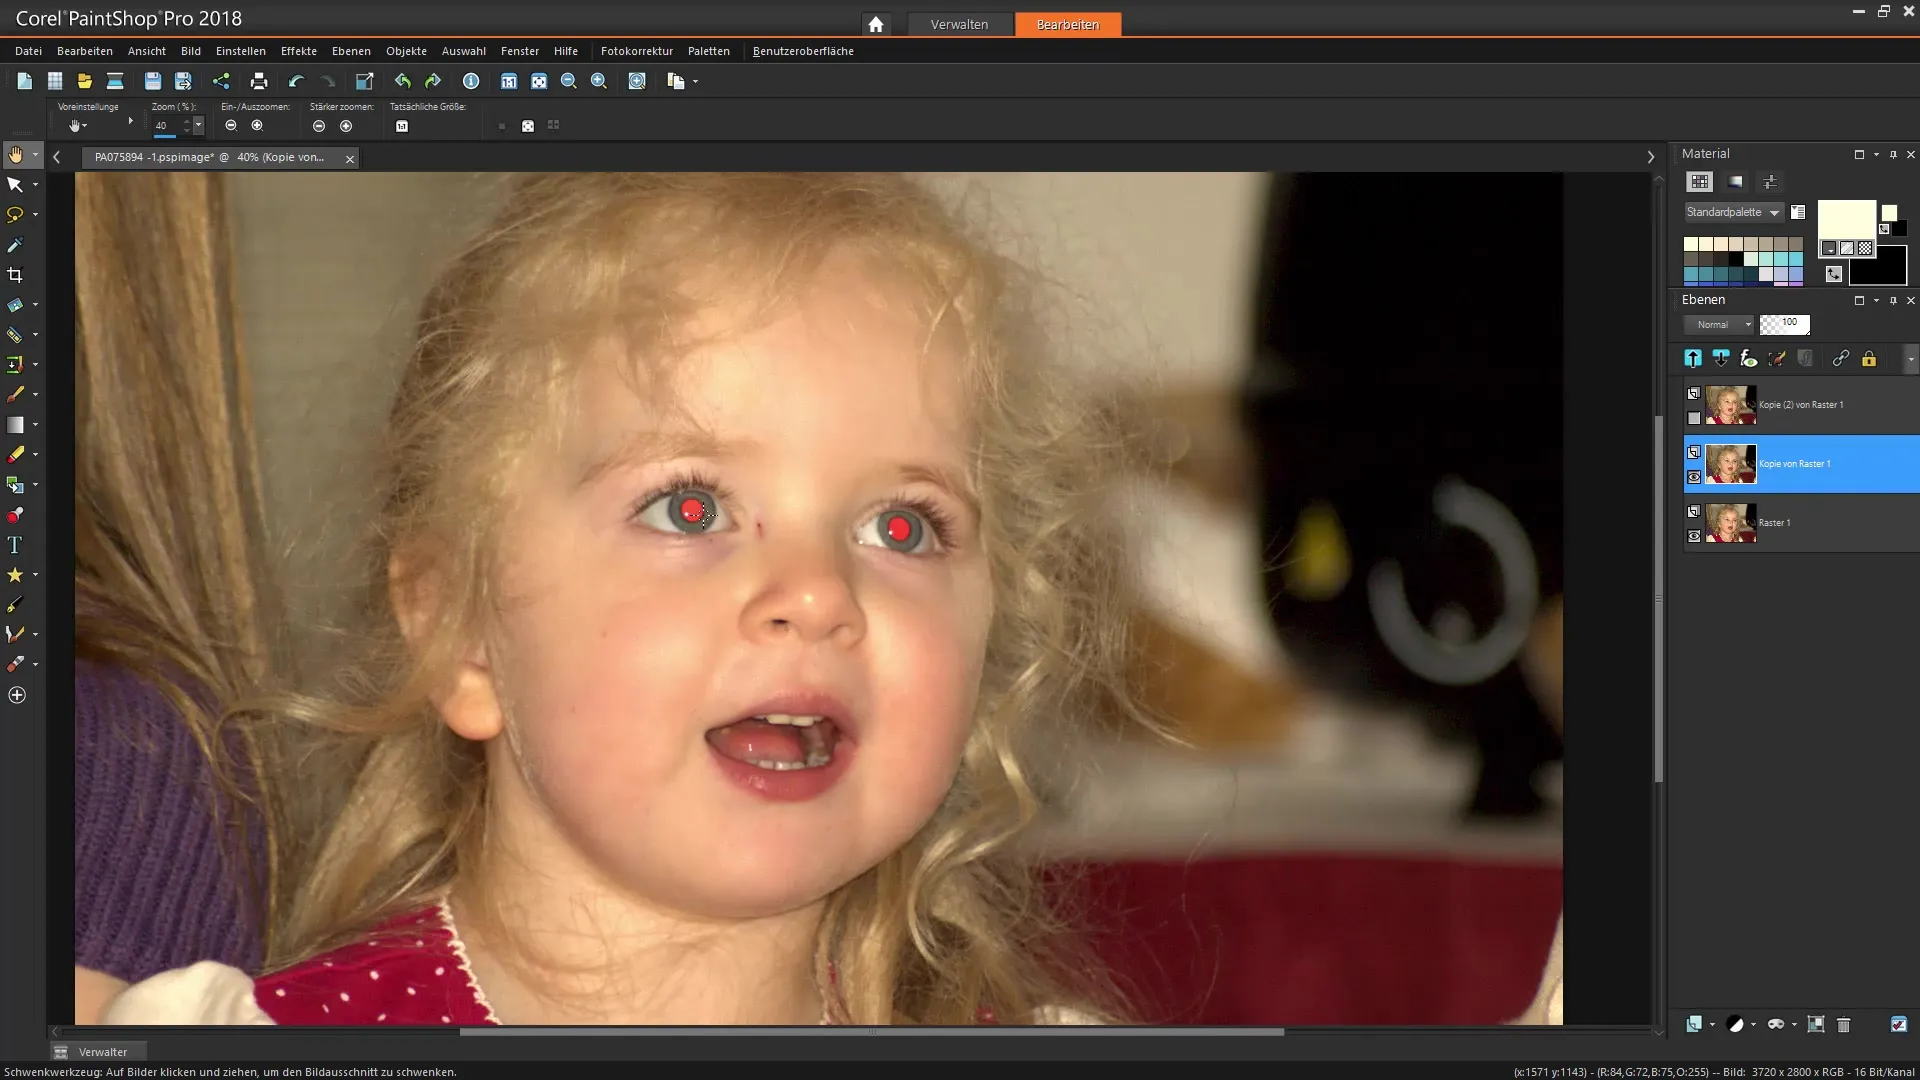
3. Adjusting Brush Size
Set the brush size according to the size of the pupil. You can adjust the size to generously cover the pupil, but also be ready to edit the surrounding areas. Make sure you have enough zoom to work accurately.
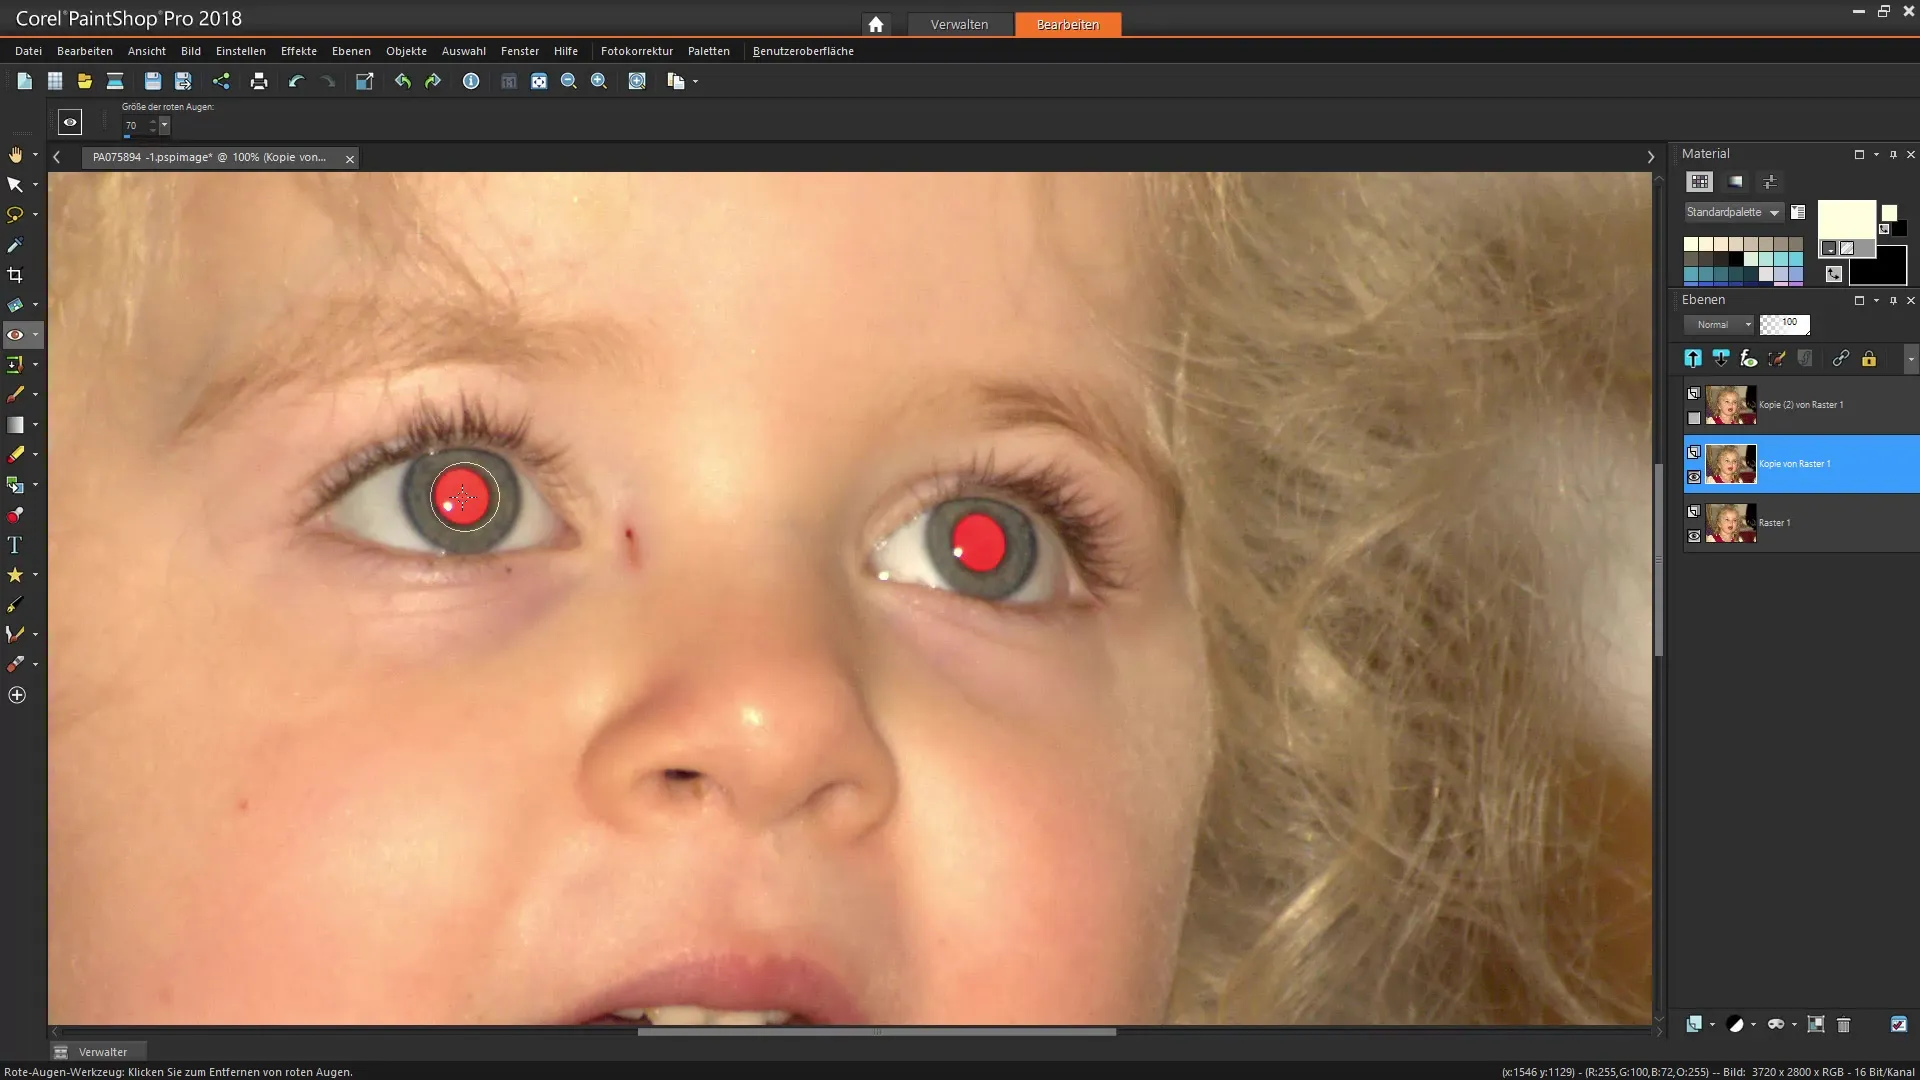
4. Clicking and Removing the Red Eyes
Move the brush tip over the red spots in the eyes. These should turn black immediately, indicating that the red eye color has been removed. Often multiple clicks are needed to completely eliminate the red borders. Be careful not to click too often to avoid darkening the contours too much.
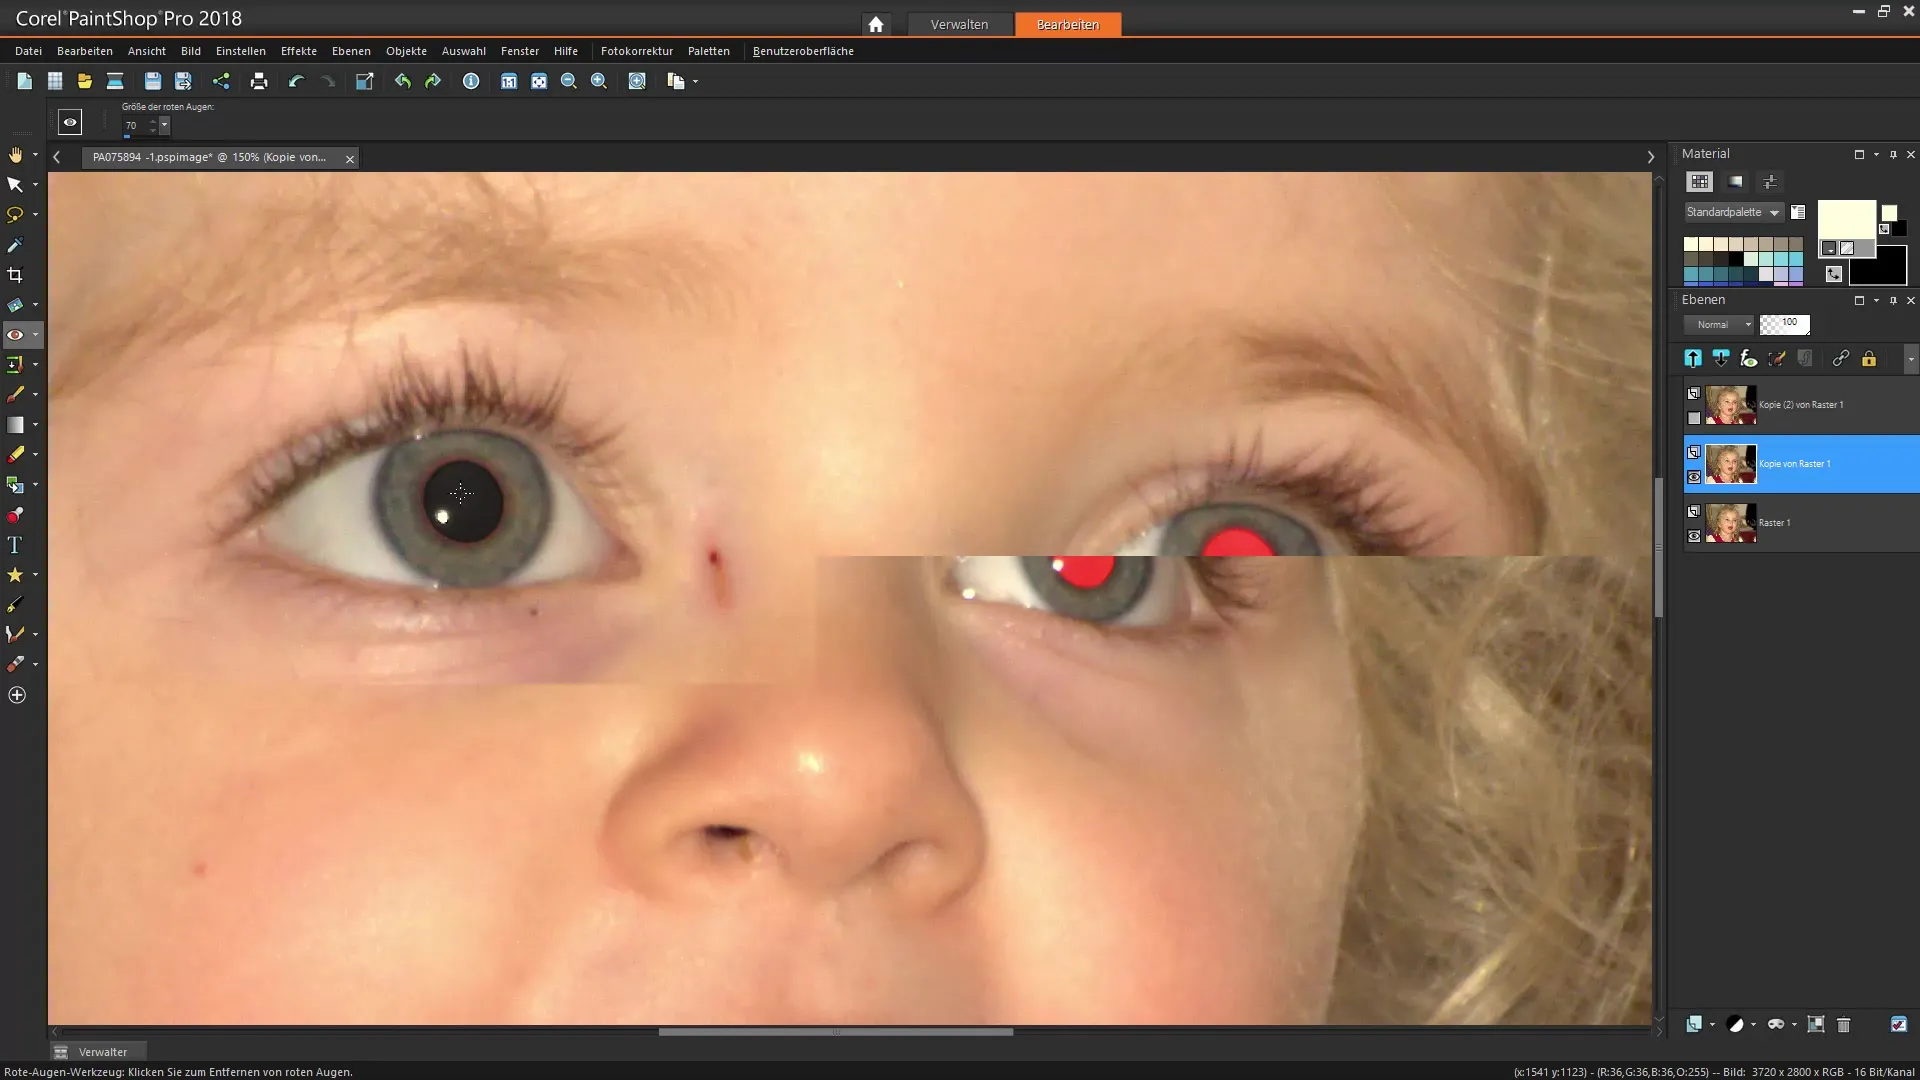
5. Checking for Edge Areas
Carefully check if there are still color issues around the pupil. If the areas appear too dark, you can undo the last clicks or refine with a smaller brush size.
6. Using the Special Red Eye Removal Function
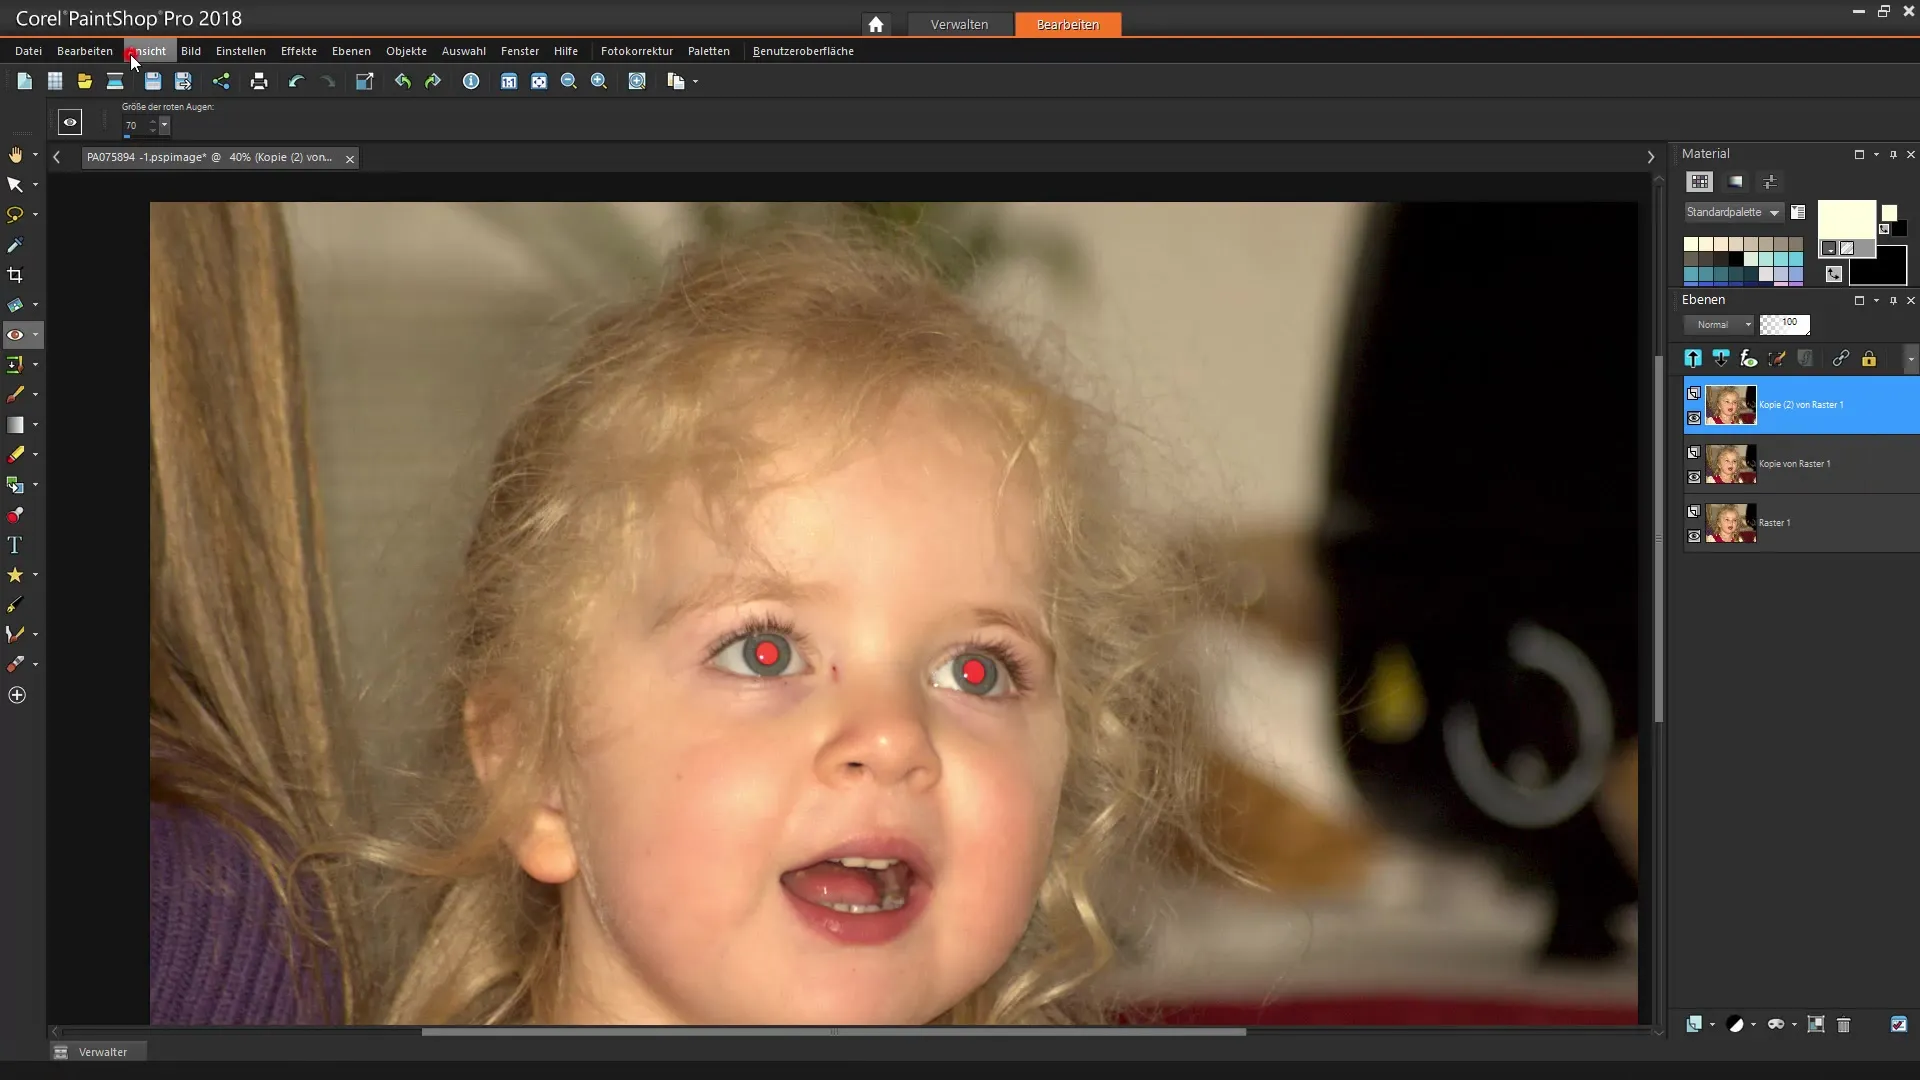
An alternative method for removing red eyes is to use the special function in the photo editing toolbar. You can find this function in the palette under the "Effects" menu. A new interface will appear, allowing you to automatically detect red eyes.
7. Selecting the Pupil and Adjusting Color
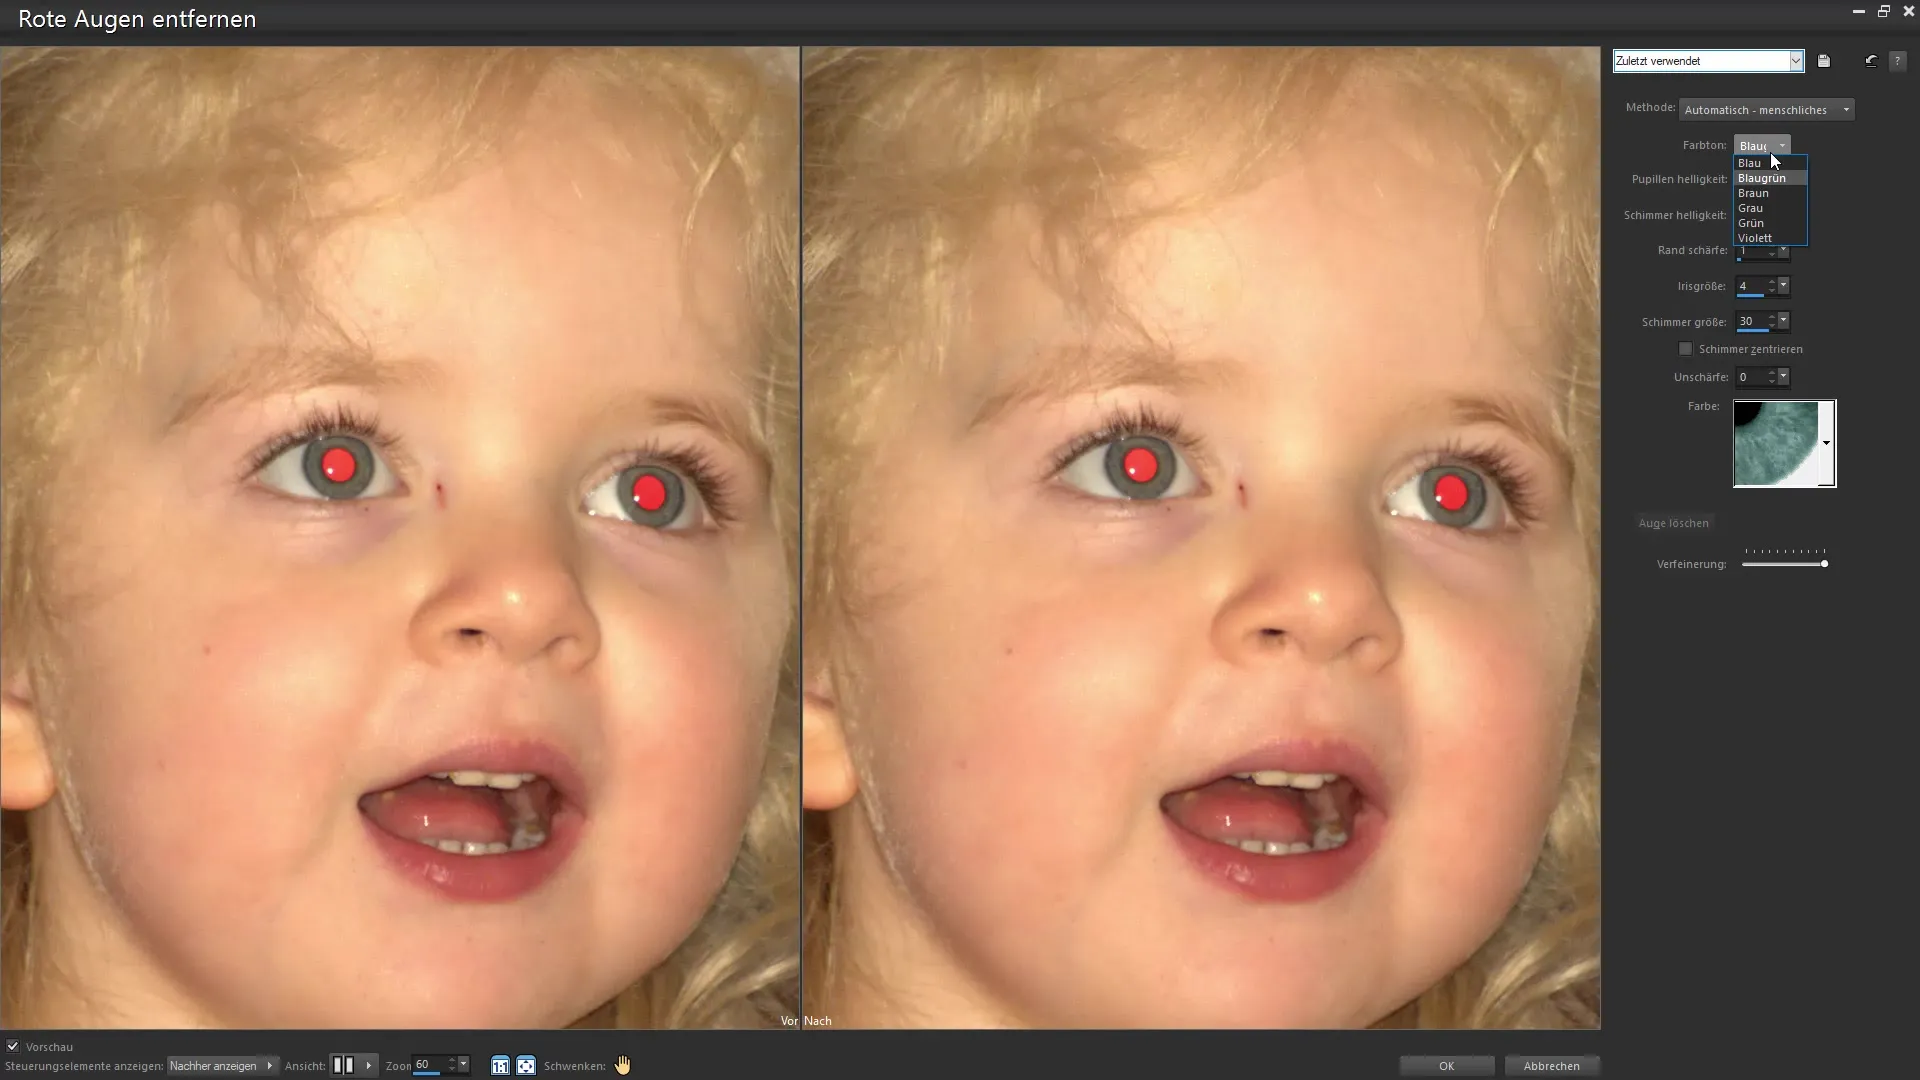
In the new window, you can select which pupil area you are dealing with. You have the option to adjust the hue – whether blue, green, or brown. Make the color selection that matches the actual tone of the eye.
8. Applying the Settings
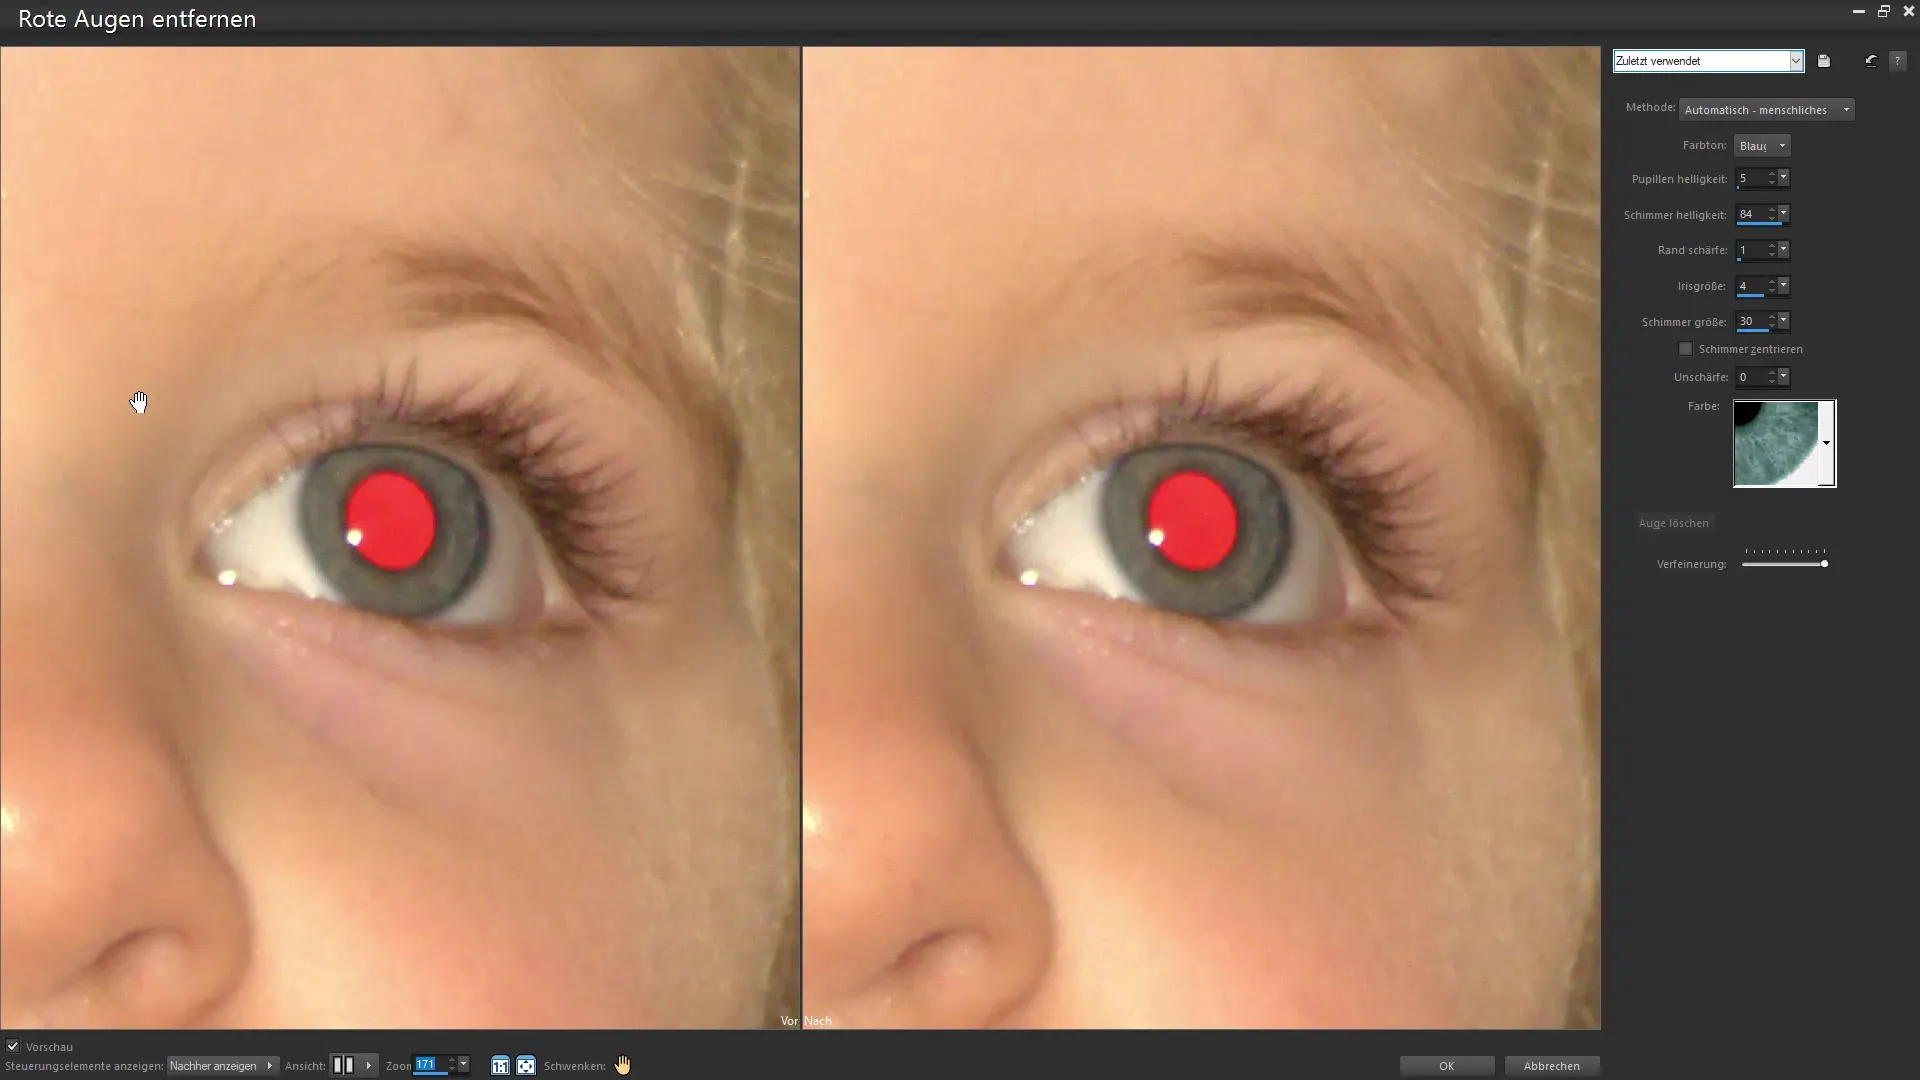
After you make the color adjustments, click "OK" to apply the desired changes. Often you'll also need to work with the sliders for brightness and contrast to adjust the appearance of the pupil. Again, careful handling is important.
9. Fine-tuning with Masks
If you feel that the eye color doesn’t look quite natural, you can use a mask to undo changes or cover certain areas. Select the mask from the layers palette and use a brush tool with a soft edge to tone down any noticeable exaggerations.
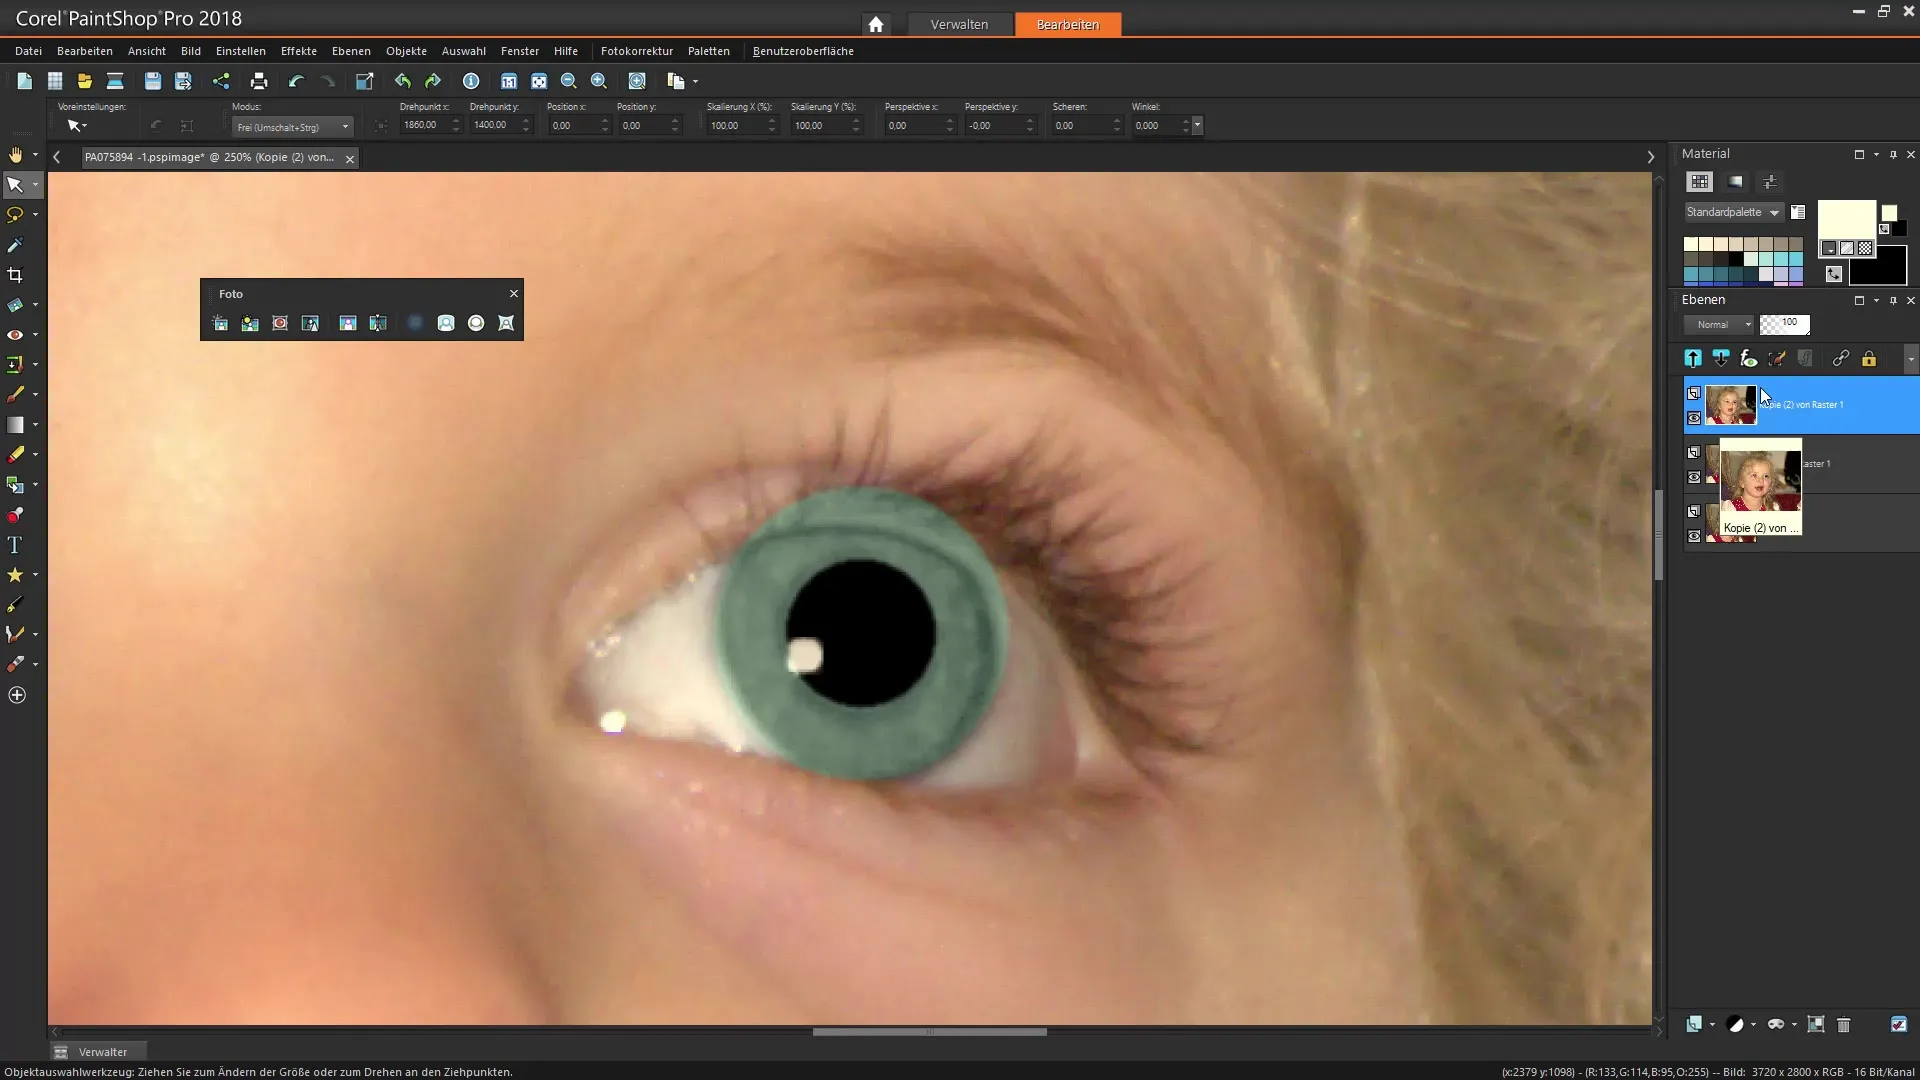
10. Final Checks and Touch-Ups
Carefully review your image and check if it needs any further corrections. Make sure everything looks good and that the corrections are subtle. Save your settings and consider the result.
Summary – Effectively Removing Red Eyes in Corel PaintShop Pro
Red eyes don’t have to mean the end of a great photo. With Corel PaintShop Pro, you can quickly and easily fix these problematic reflections. Whether manually or with automated features: You have all the tools to optimize your images and achieve the desired look. Don't be afraid to experiment a little with program settings to get the best results.
Frequently Asked Questions
How do I remove red eyes in Corel PaintShop Pro?Use either the special red-eye tool or the manual method with the brush tool.
Do I need experience to remove red eyes?No, the tools in Corel PaintShop Pro are user-friendly and allow even beginners to use them easily.
What can I do if the colors around the eye do not look natural?Use the masking function for targeted adjustments, or go through the color adjustments in the corresponding palette.
Can I undo the changes?Yes, you can adjust the last steps at any time using the undo function.
Why should I work with a copy of the layer?This protects your original file and allows you to revert to the original version at any time.


