Editing images often requires precise adjustments, especially when it comes to brightness and contrast. One of the most effective methods for making these adjustments is the use of filters. In this tutorial, I will show you how to use the Graduated Neutral Density filter in Color Efex Pro 4 to achieve the desired lighting ratio in your images. Whether you have bright backgrounds like the sky or dark objects in the foreground – with this filter, you can effectively control the brightness and elevate your photos to a new level.
Key Insights
- The Graduated Neutral Density filter allows for targeted brightness adjustments by drawing a gradient into the image.
- The filter provides the option to insert gradients from both the top and bottom to achieve the desired brightness.
- Blending options allow for smooth transitions, while rotating the horizon is useful for adapting the gradient to the image composition.
Step-by-Step Guide
Step 1: Select Filter
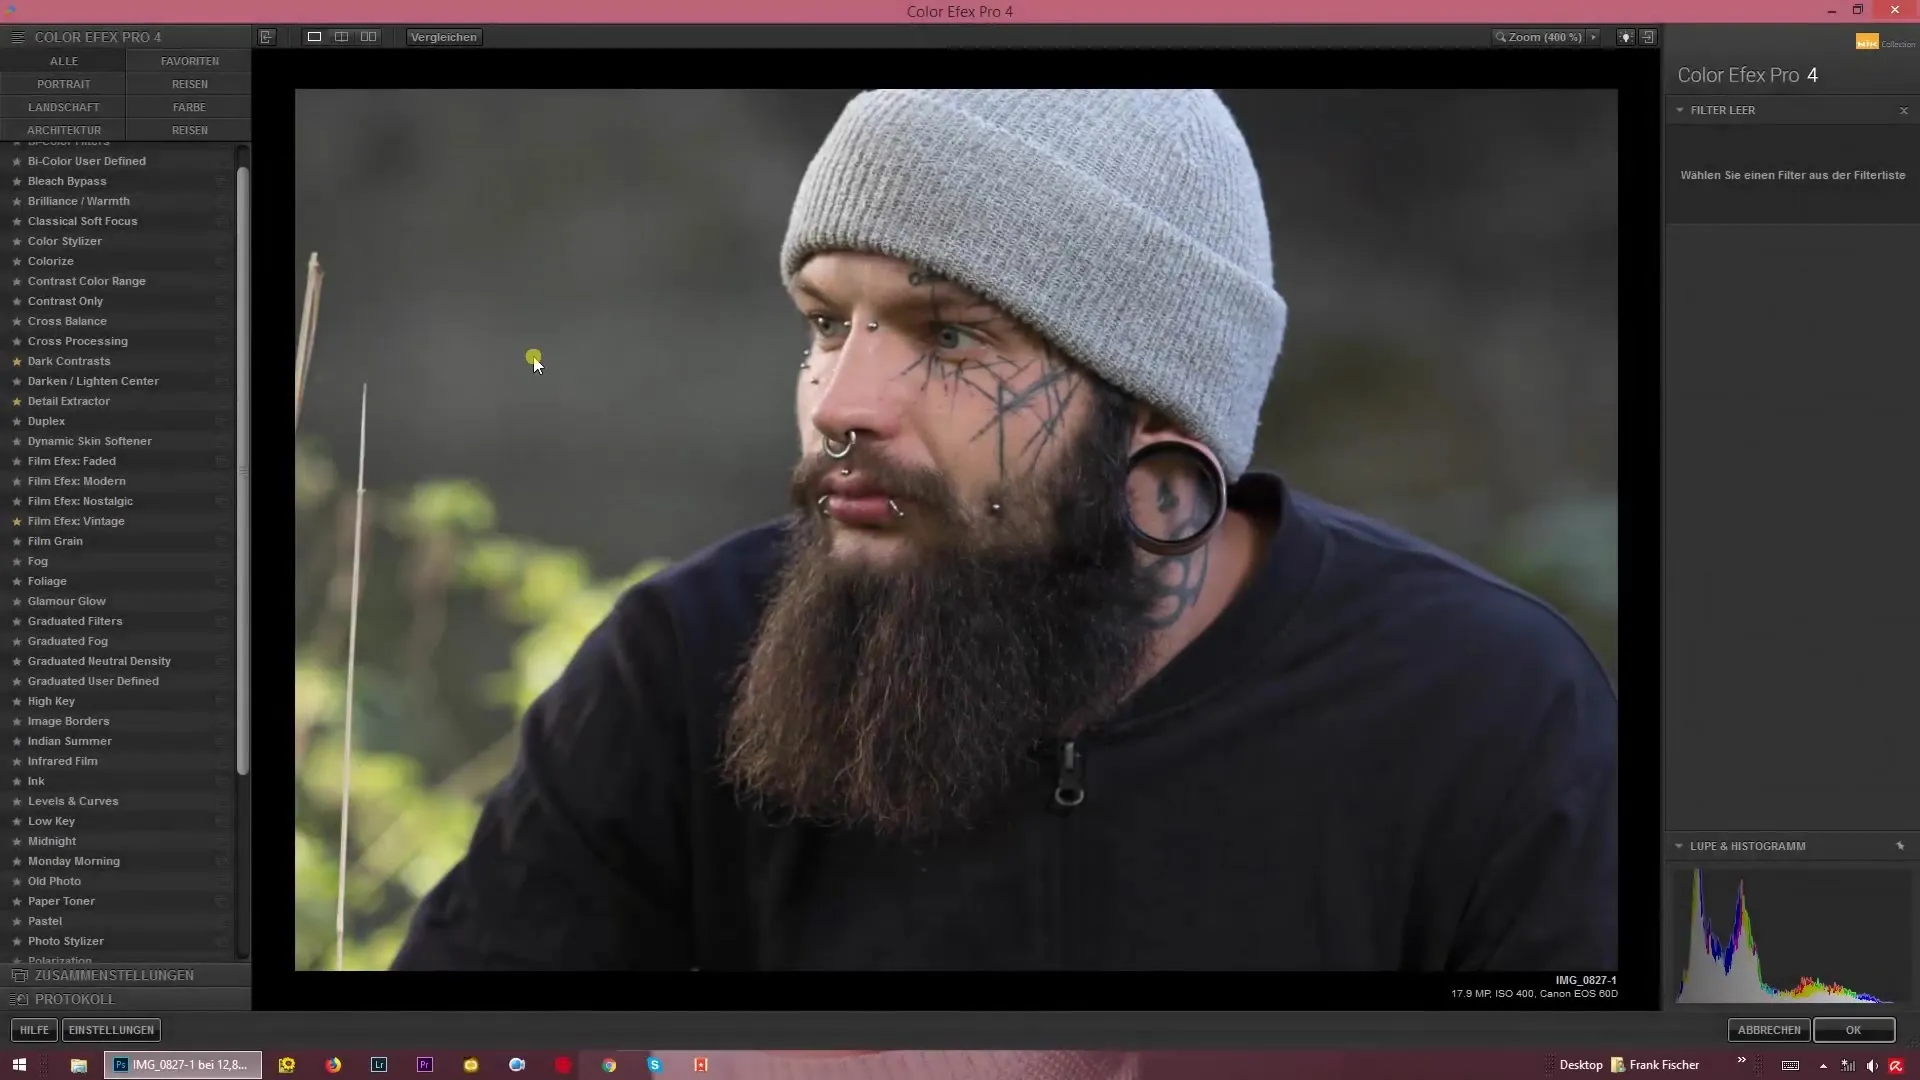
Start Color Efex Pro 4 and select the "Graduated Neutral Density" filter from the list of available filters. This filter is specifically designed to allow you to change the brightness in certain areas of the image without disturbing the overall image dynamics.
Step 2: Adjust Background
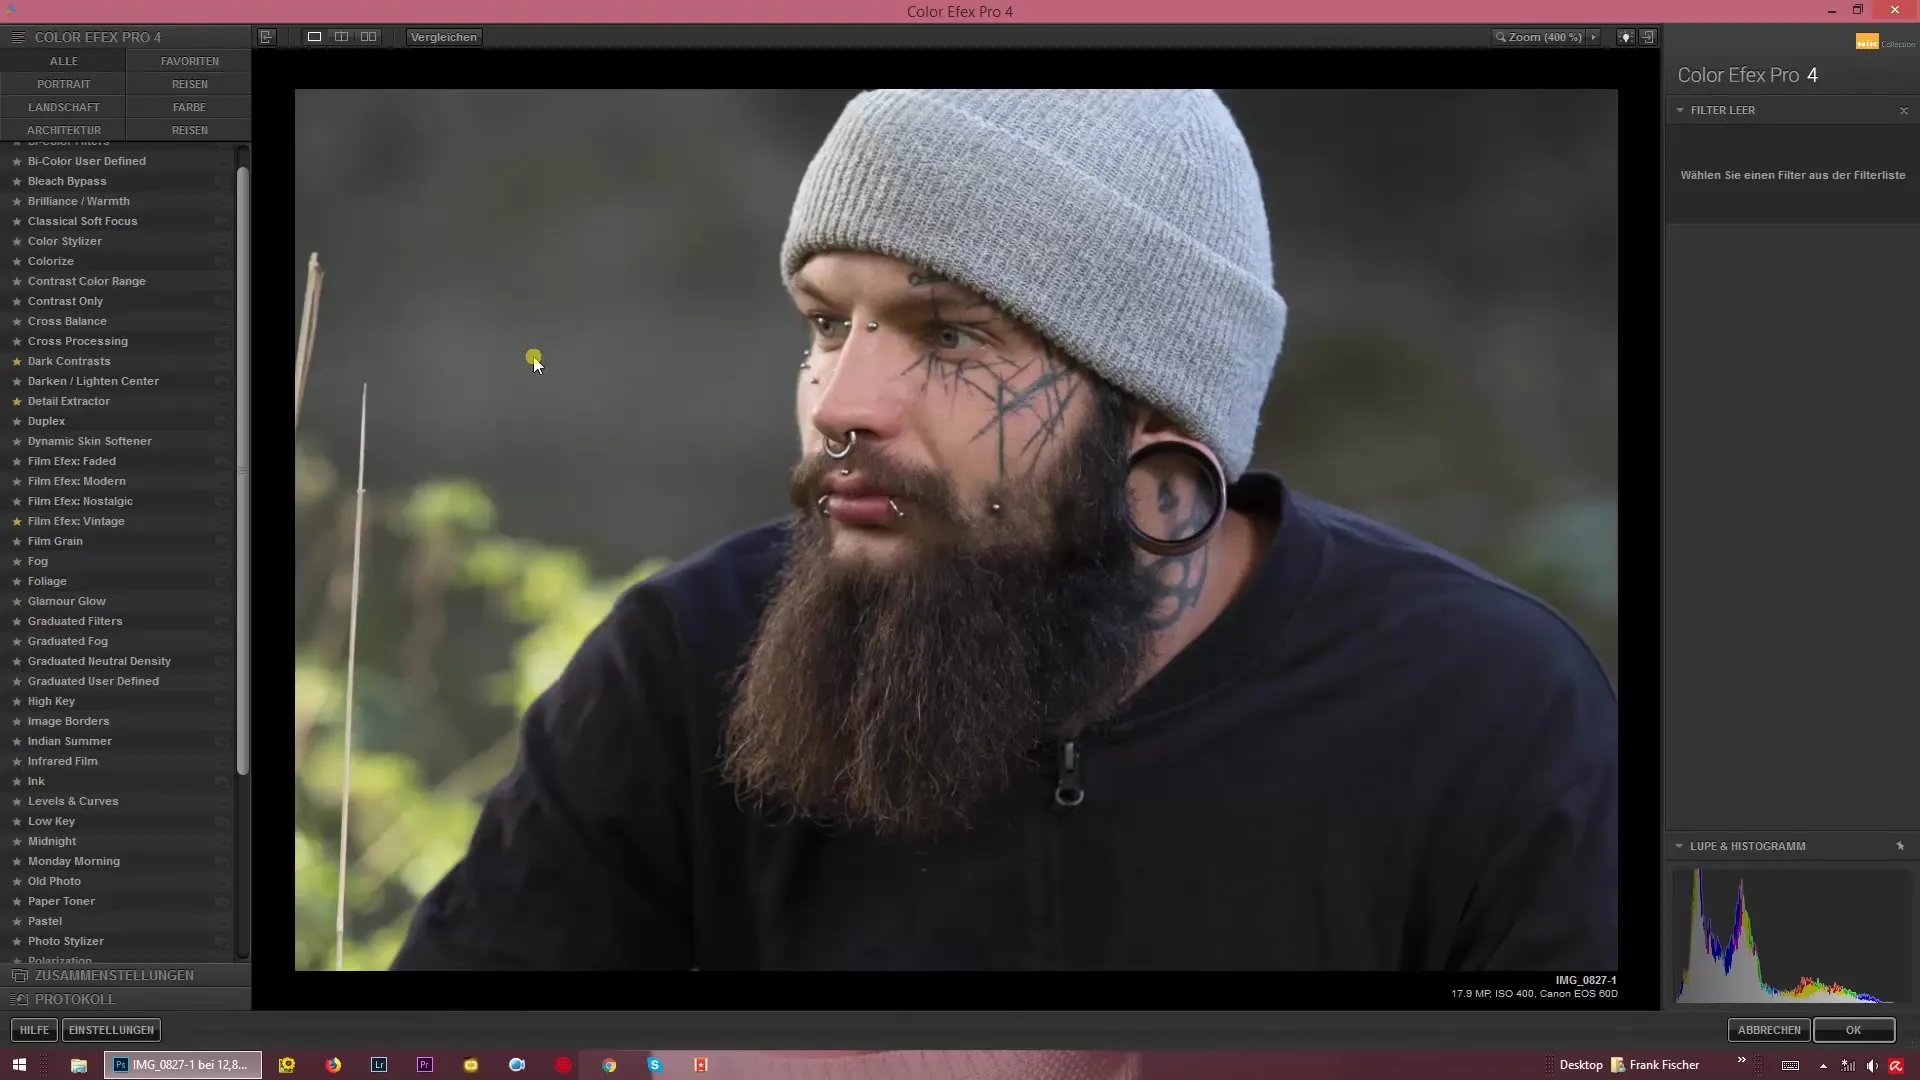
After selecting the filter, you can draw the desired gradients into the image using the slider. Start with the setting that affects the brightness from above. You have the option to further lighten or darken the background, depending on the needs of your image composition.
Step 3: Adjust Lower Brightness
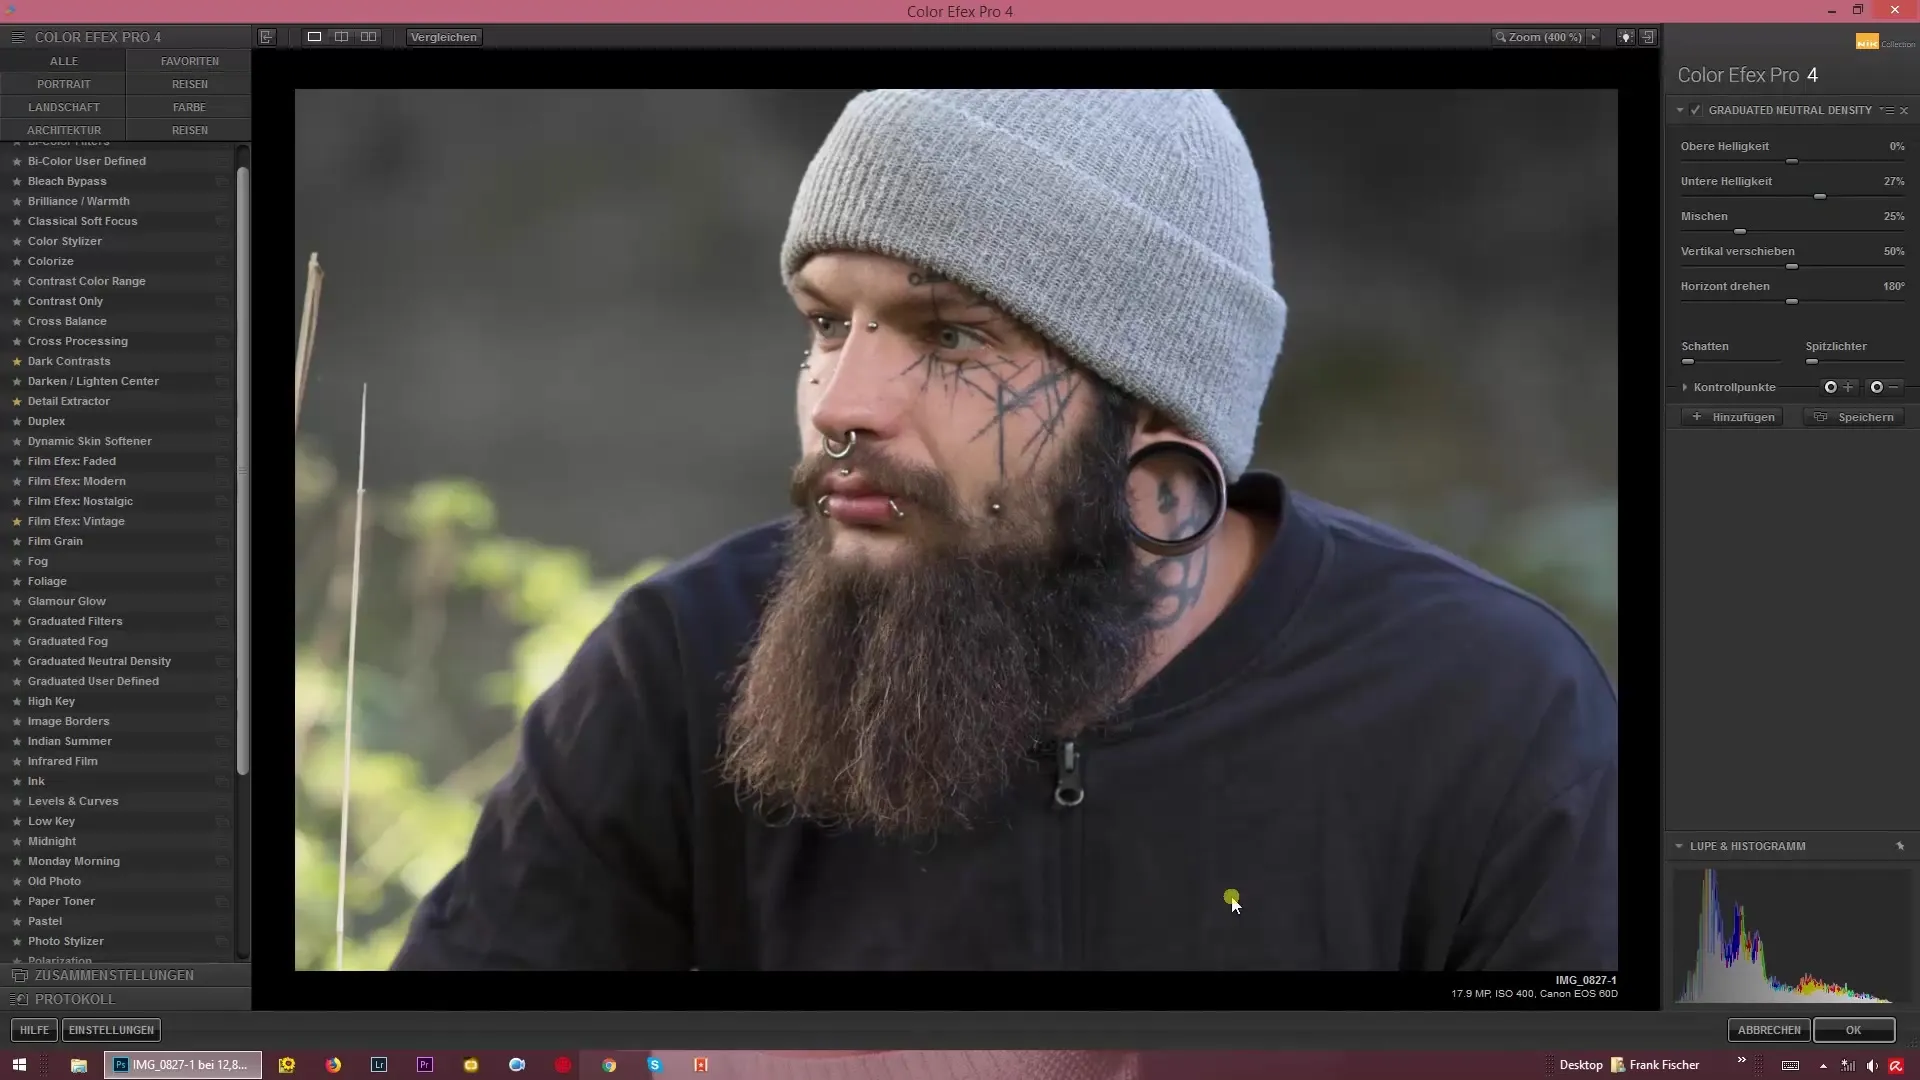
Set the lower brightness by dragging the corresponding slider downwards. This helps you to highlight elements in the foreground more clearly without negatively affecting the upper brightness.
Step 4: Mix Brightnesses
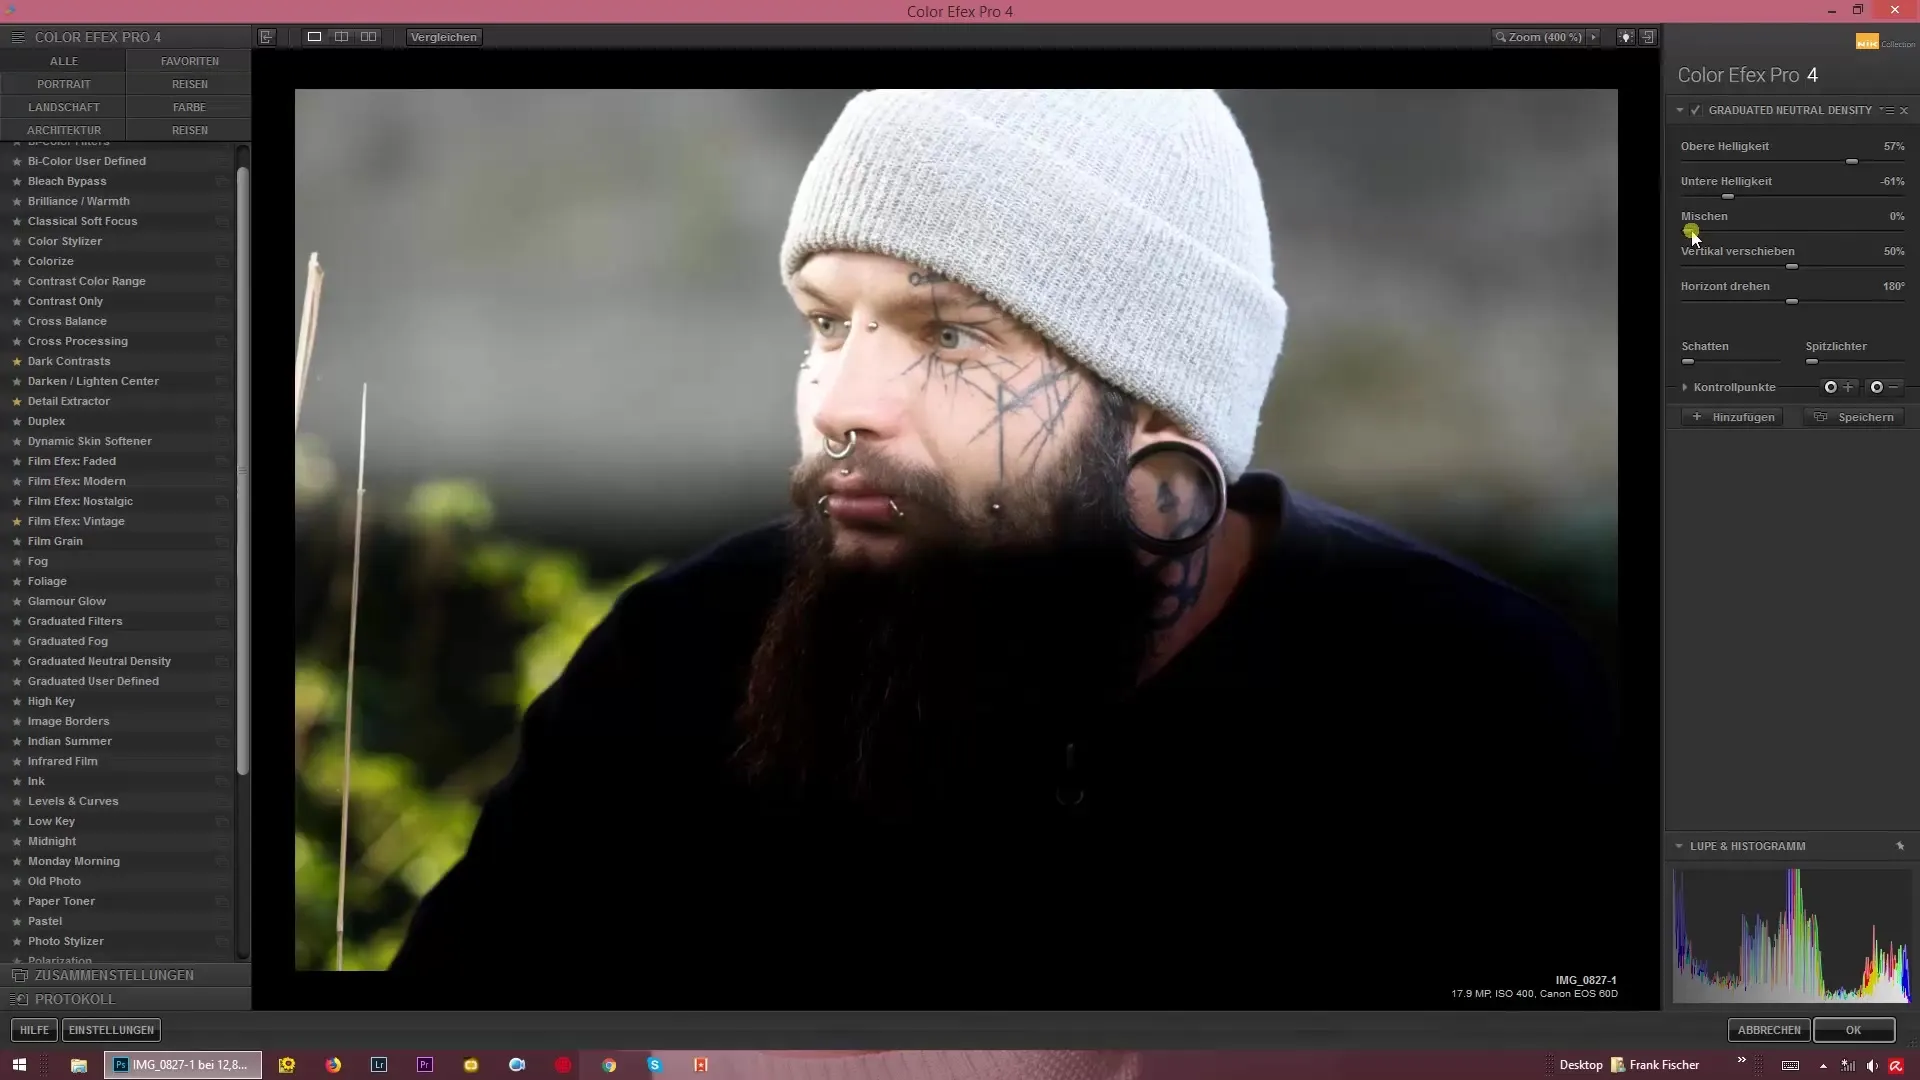
To achieve a harmonious overall image, you can mix the brightnesses from above and below. You can choose to set a soft edge or select a hard edge. Ensure that the transitions are smooth so that the editing looks natural.
Step 5: Individually Adjust Gradients
You can further refine the image by adjusting the brightness and moving the gradients. It is also possible to reverse the image editing so that the upper brightness becomes darker while the lower brightness remains bright.
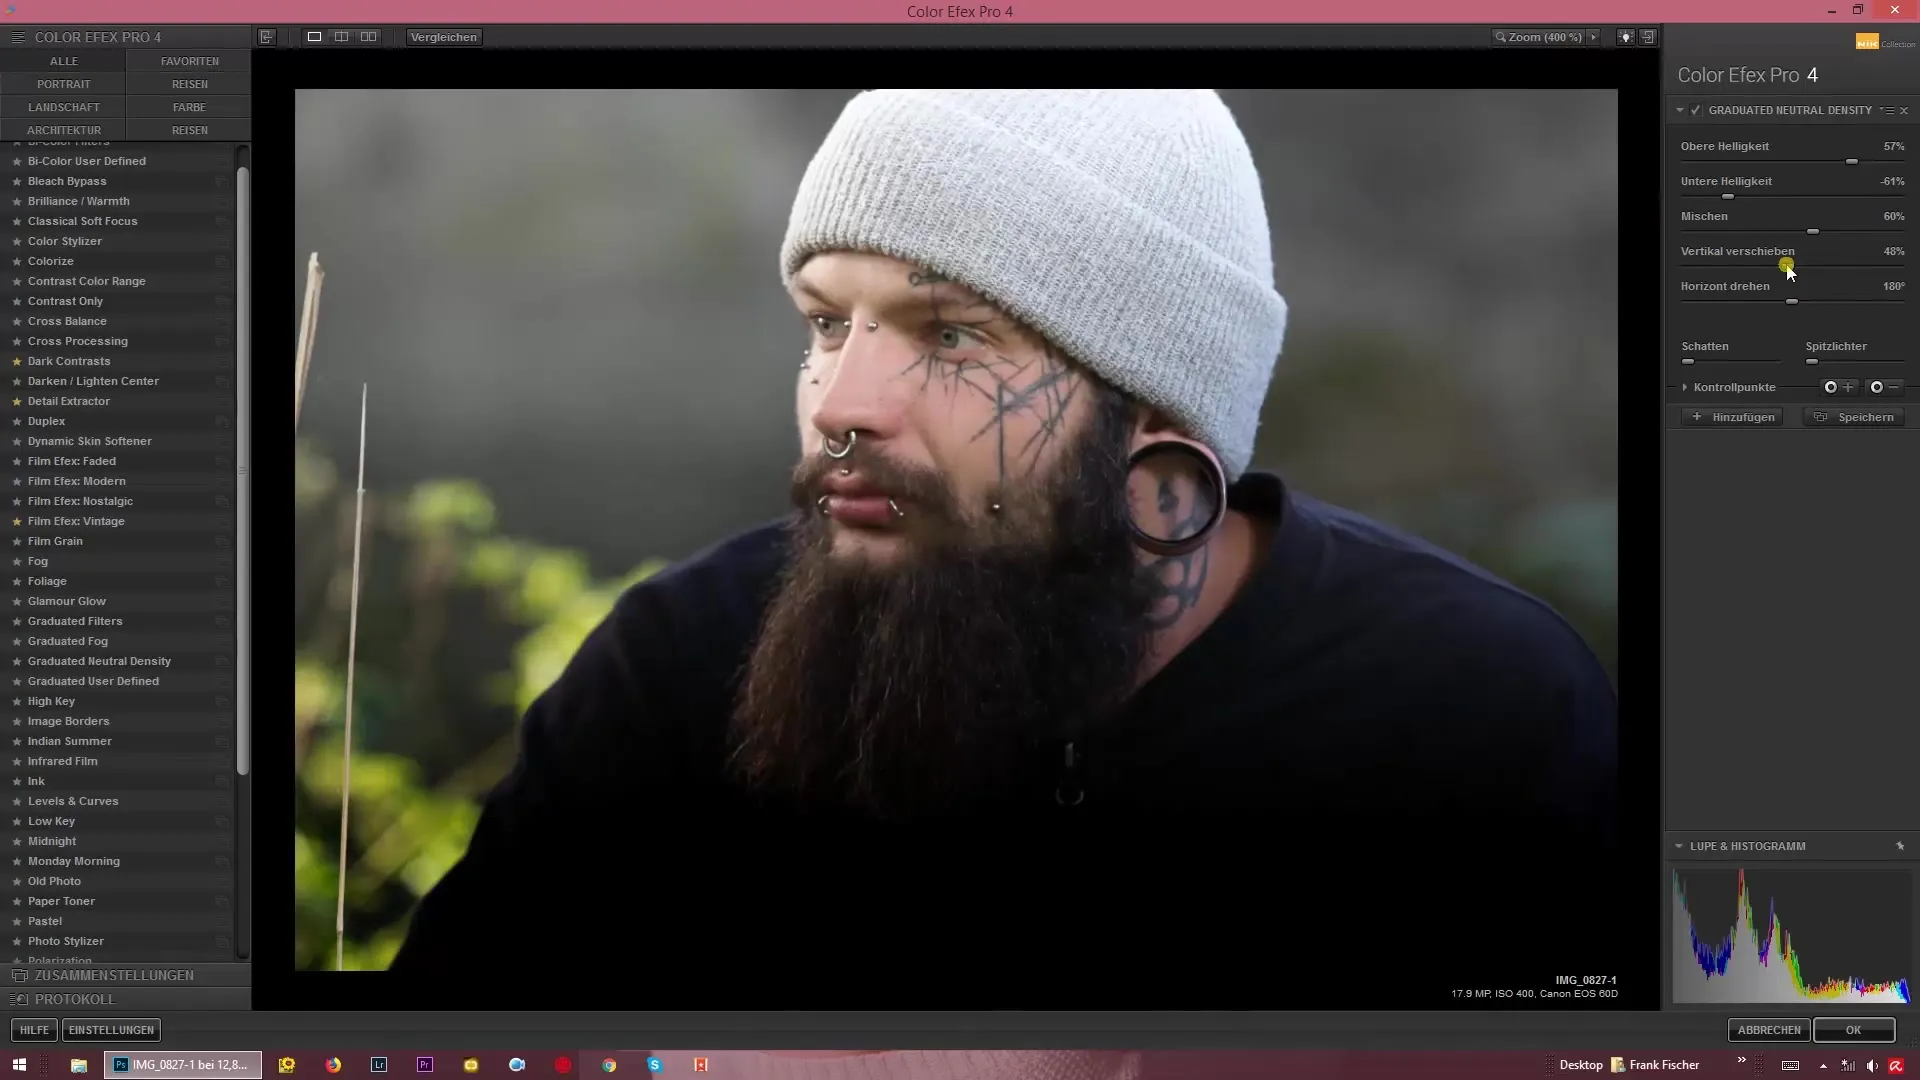
Step 6: Rotate Horizon
If you have an image with an angled orientation, you can adjust the horizon of the gradient effect. Rotate the horizon to correctly match the gradient to the image composition. This ensures that the effect looks good even with angled lines.
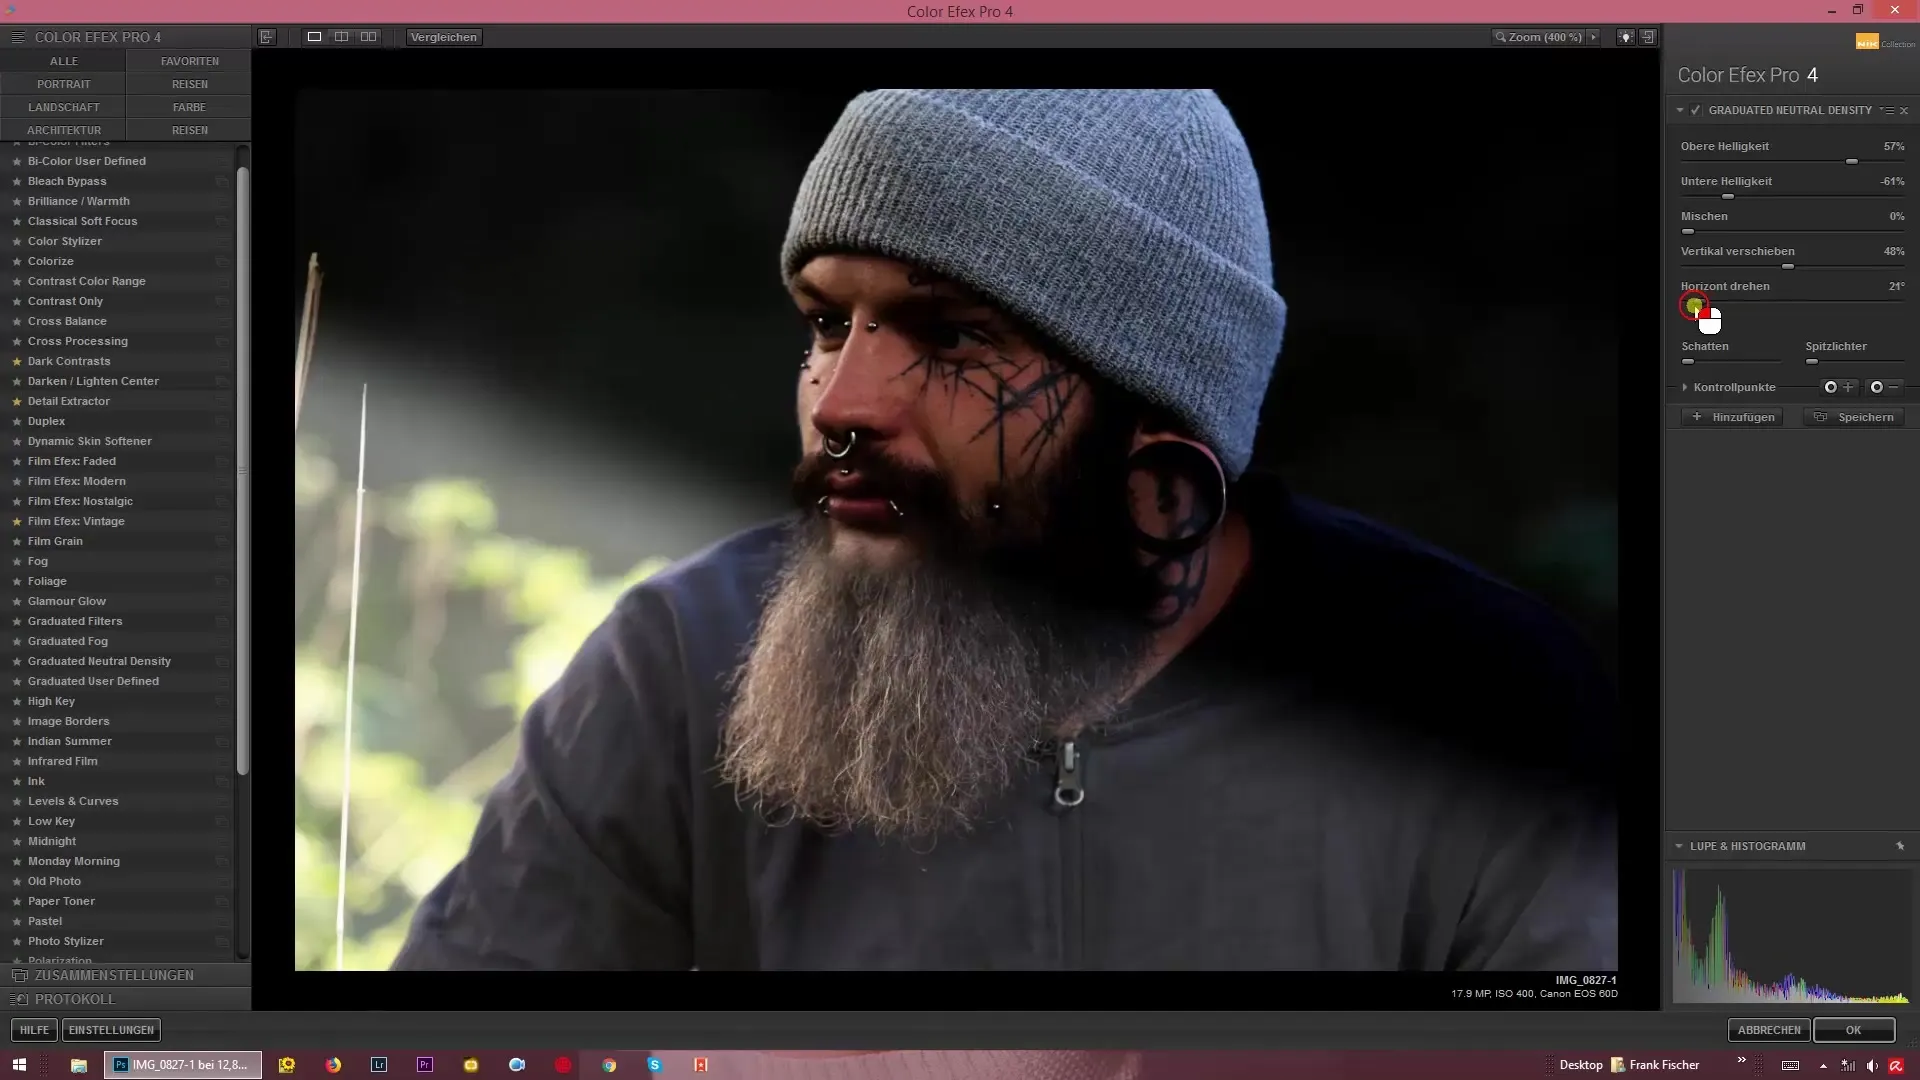
Step 7: Tuning Shadows and Highlights
Use the options to lighten the shadows or darken the highlights. This feature helps you gain even more control over the luminosity in your image, enhancing the three-dimensional effect.
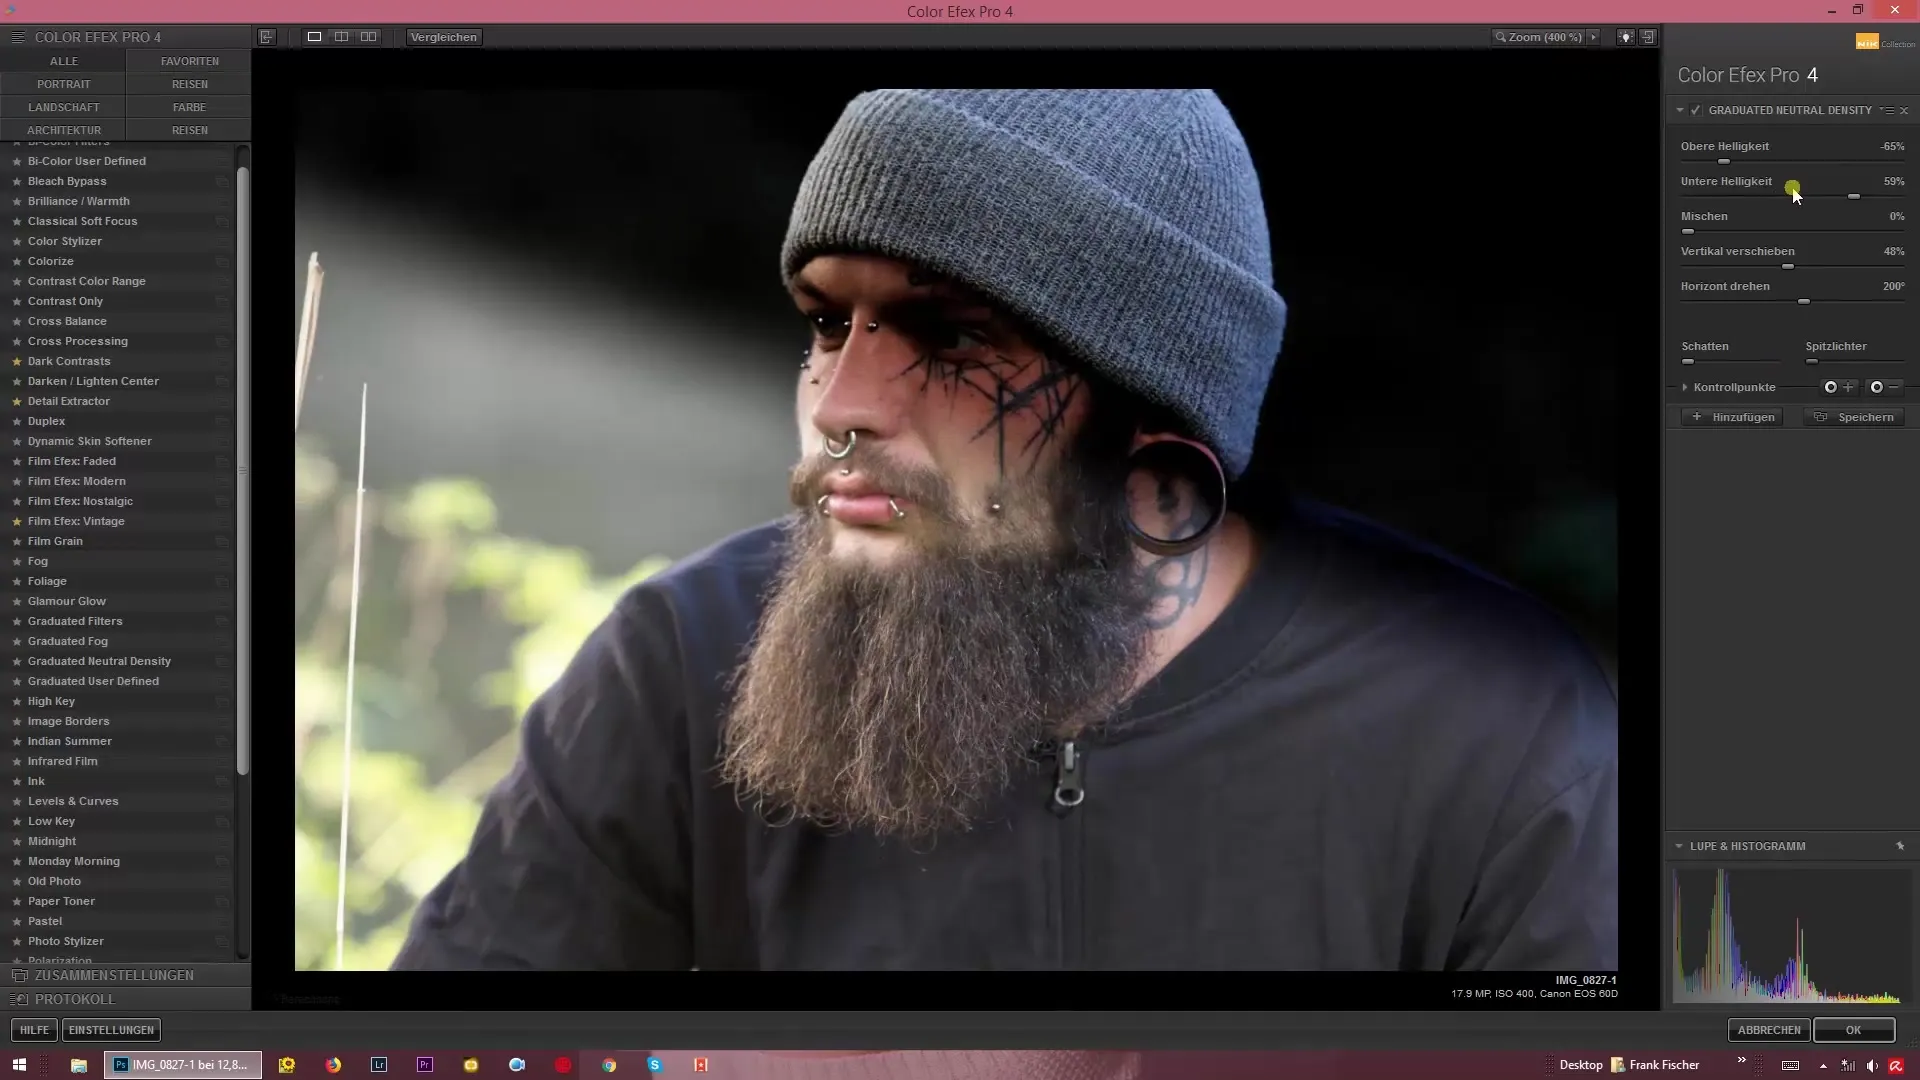
Step 8: Final Adjustments and Export
If you are satisfied with the results, make sure to adjust the blend so that no hard edges remain. A natural and soft appearance should be the goal. Export the image once everything is set to your liking.
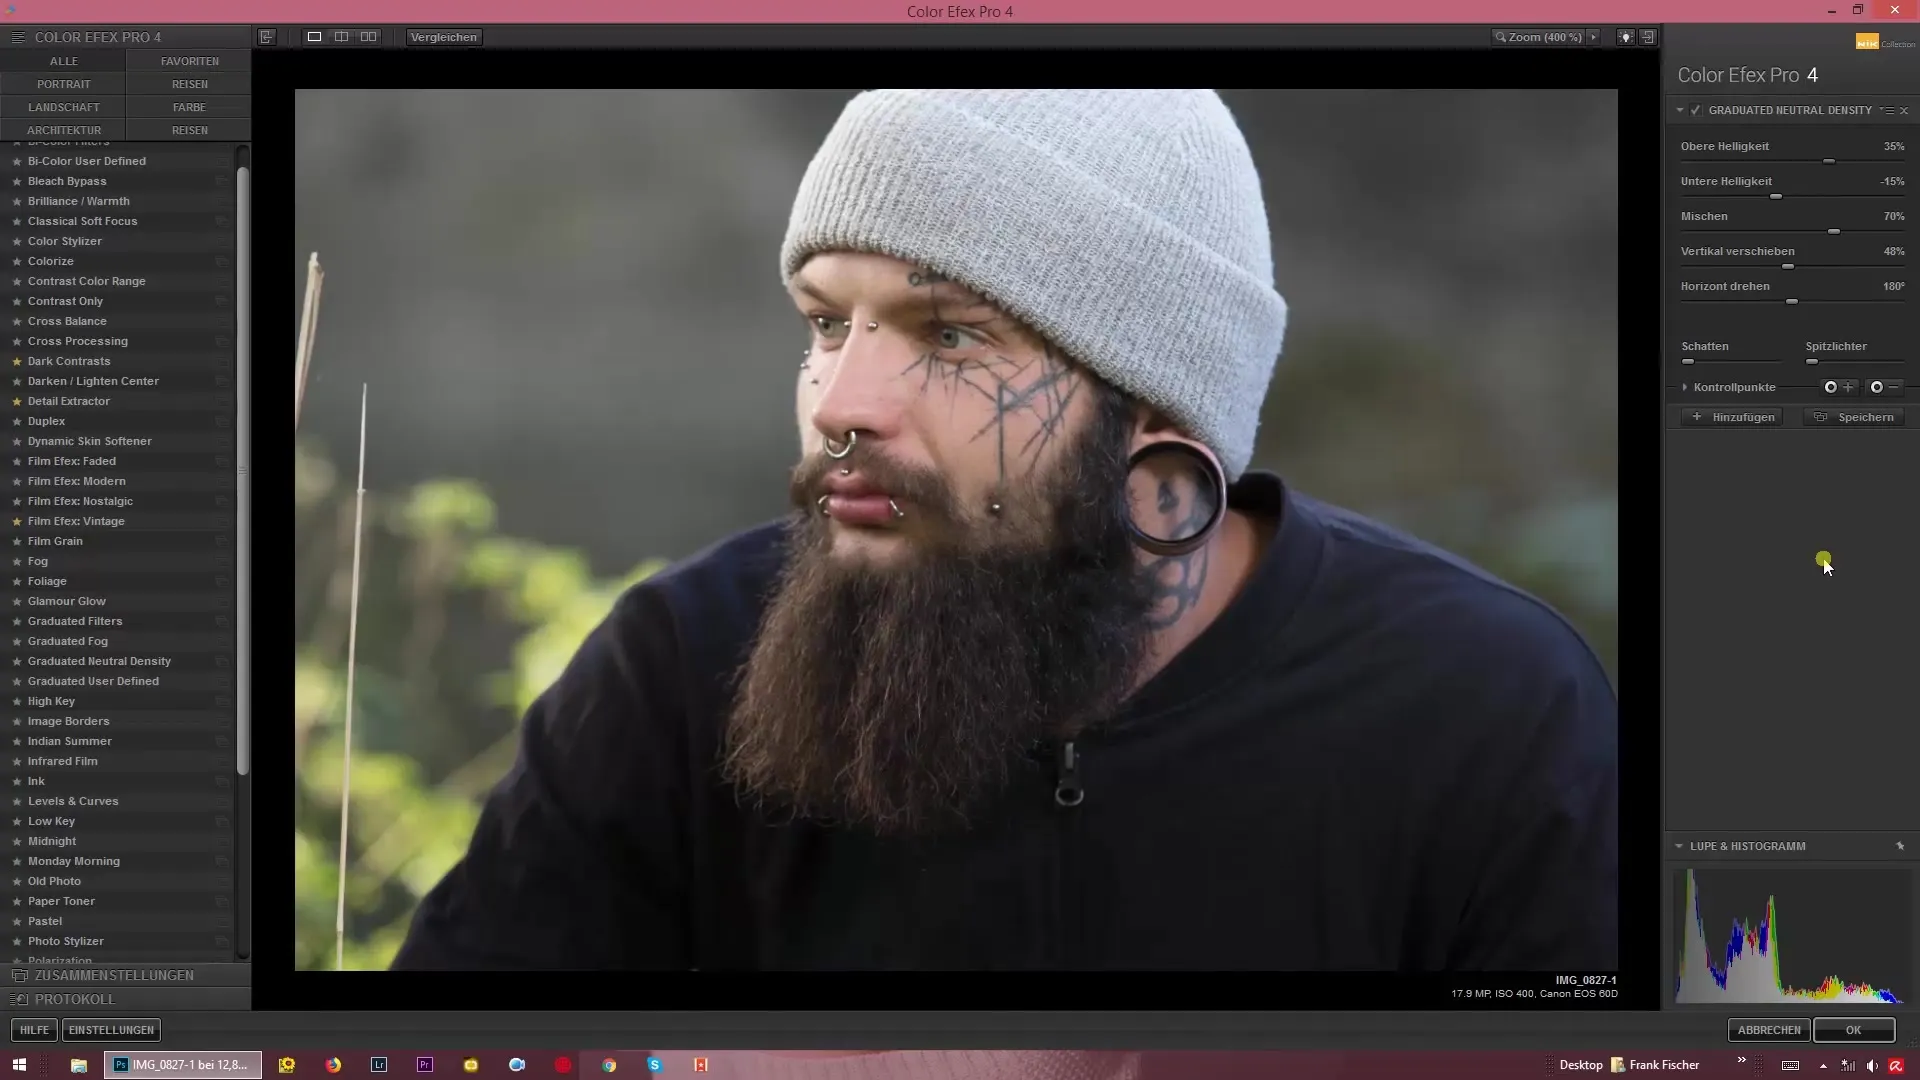
Summary – Guide to Using the Graduated Neutral Density Filter in Color Efex Pro 4
Learning to use the Graduated Neutral Density filter can make a significant difference in image editing. With this guide, you can make targeted brightness adjustments and professionally optimize your photos.
Frequently Asked Questions
How does the Graduated Neutral Density filter work?The filter allows targeted adjustments of brightness in certain areas of the image through gradients.
Can I adjust the effect if I have already edited the image?Yes, the filter can be added or adjusted at any time to refine existing edits.
How can I avoid hard edges when applying the filter?Make sure to set the blending options so that the transitions are smooth.
How can I rotate the horizon?Use the rotation function to bring the horizon into the desired position.
Does the filter also affect colors?Yes, brightness adjustments can also influence the hues in the image, depending on the depth of the adjustments.


