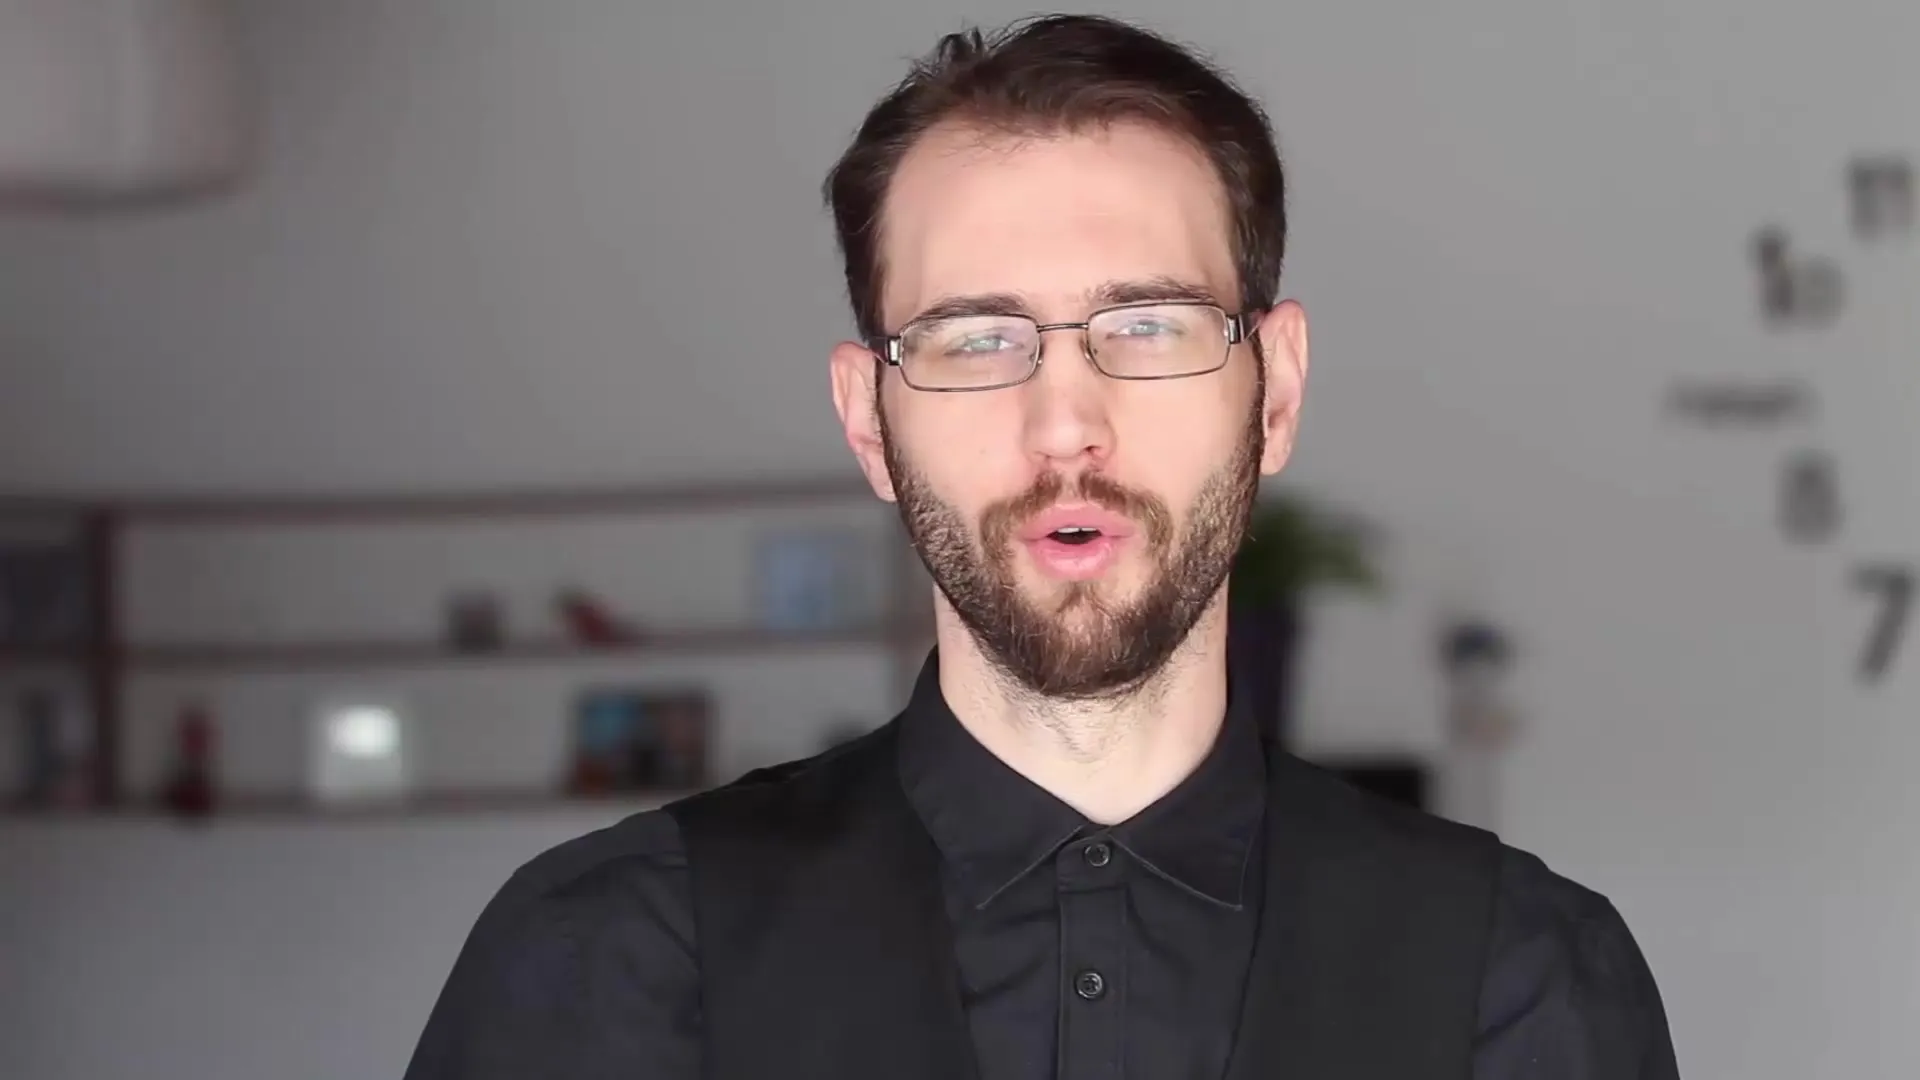
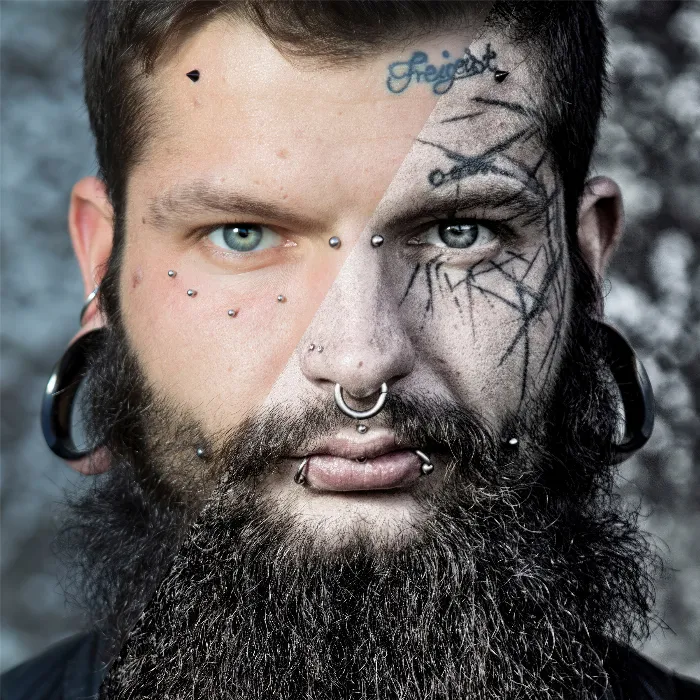
Photography is an art that can be enhanced through effective editing. With Color Efex Pro 4, you will experience how to get the best out of your images. In this video tutorial, Frank, an experienced portrait photographer, guides you through the key features of the program. You will learn how to achieve the desired finish using different techniques.
Main insights
- Color Efex Pro 4 allows for a variety of adjustments to your images.
- Apply viewer-friendly techniques to make editing efficient and fast.
- Special techniques such as control points are crucial for precision in image editing.
Step-by-Step Guide
1. Introduction to Color Efex Pro 4
Before you start editing, Frank gives you a brief overview of what Color Efex Pro 4 has to offer. Here you will learn how many different styles and looks you can create with this tool. It is worth taking the time to explore the user interface and its individual features.

2. Applying Looks to Your Images
The editing begins with selecting the right look for your image. Frank explains how you can adjust this specifically for men's portraits and other photography styles. Learn how to instantly give your images a new expression through various presets.
3. Old-Style and Contrast Correction
In this step, Frank shows you how to immerse your images in a nostalgic, old-looking style by adjusting hue and contrast. Technical details will be explained to help you achieve the desired effect.
4. Color Changes and Saturation
The targeted adjustment of colors is a central part of image editing. Frank demonstrates how you can increase or decrease saturation to make the colors pop or tone them down. This is especially helpful when working with portraits.
5. Creating Vignettes
Vignettes can make your image appear more focused by drawing attention to the main subject. Frank explains how to create different vignette styles – from effect-reduced variants to colored vignettes.
6. Colored Vignettes
In the next step, Frank goes into detail about the techniques for creating colored vignettes. Here you will learn how to give your image composition more depth and dynamism by playing with colors. This technique can significantly change the expression of a portrait.
7. Understanding Control Points
Control points are one of the most powerful features of Color Efex Pro 4. In this special video, you will learn how to use them to make targeted adjustments that make your edits more precise and individualized. Details that are often overlooked will be addressed here.
8. Conclusion and Outlook
Finally, Frank summarizes the key lessons and offers you advice to take with you. He encourages you to apply your newfound knowledge directly and make creative decisions. This concludes your journey through the features of Color Efex Pro 4.
Summary – Color Efex Pro 4 in Detail
In this tutorial, you learned how Color Efex Pro 4 works and which essential techniques will help you optimize your images. You are now able to create effective looks and enrich your photographic portfolio with exciting edits.
Frequently Asked Questions
How does color change work in Color Efex Pro 4?You can increase or decrease saturation to achieve the desired color intensity.
How do I create a vignette in my image?By selecting vignette styles in the settings, you can draw attention to the main subject.
What are control points and how do they work?Control points allow you to target specific areas of your image for adjustment, making editing more precise.
How can I apply the old style to my portraits?By adjusting hue and contrast, you can give your image a nostalgic look.
Can I use the techniques for other image styles as well?Yes, all techniques can be applied to different photography styles, not just portraits.

