You have arrived at a point where a detailedexamination of your image editing seems crucial. ColorEfexPro 4provides you with powerful tools in this context, such as the zoom and the loupe, that allow you to effectively examine and edit image details. This will not only help you enhance the quality of your work but also provide a more comprehensive perspective on the entire image.
Key Insights
- With the zoom tool, you can magnify images up to 400%.
- Through the navigator, you can move around the image and focus on specific areas.
- The loupe allows a 100% view and gives you the opportunity for precise fine-tuning.
- By locking the loupe position, you can work more efficiently without losing focus.
Step-by-Step Guide
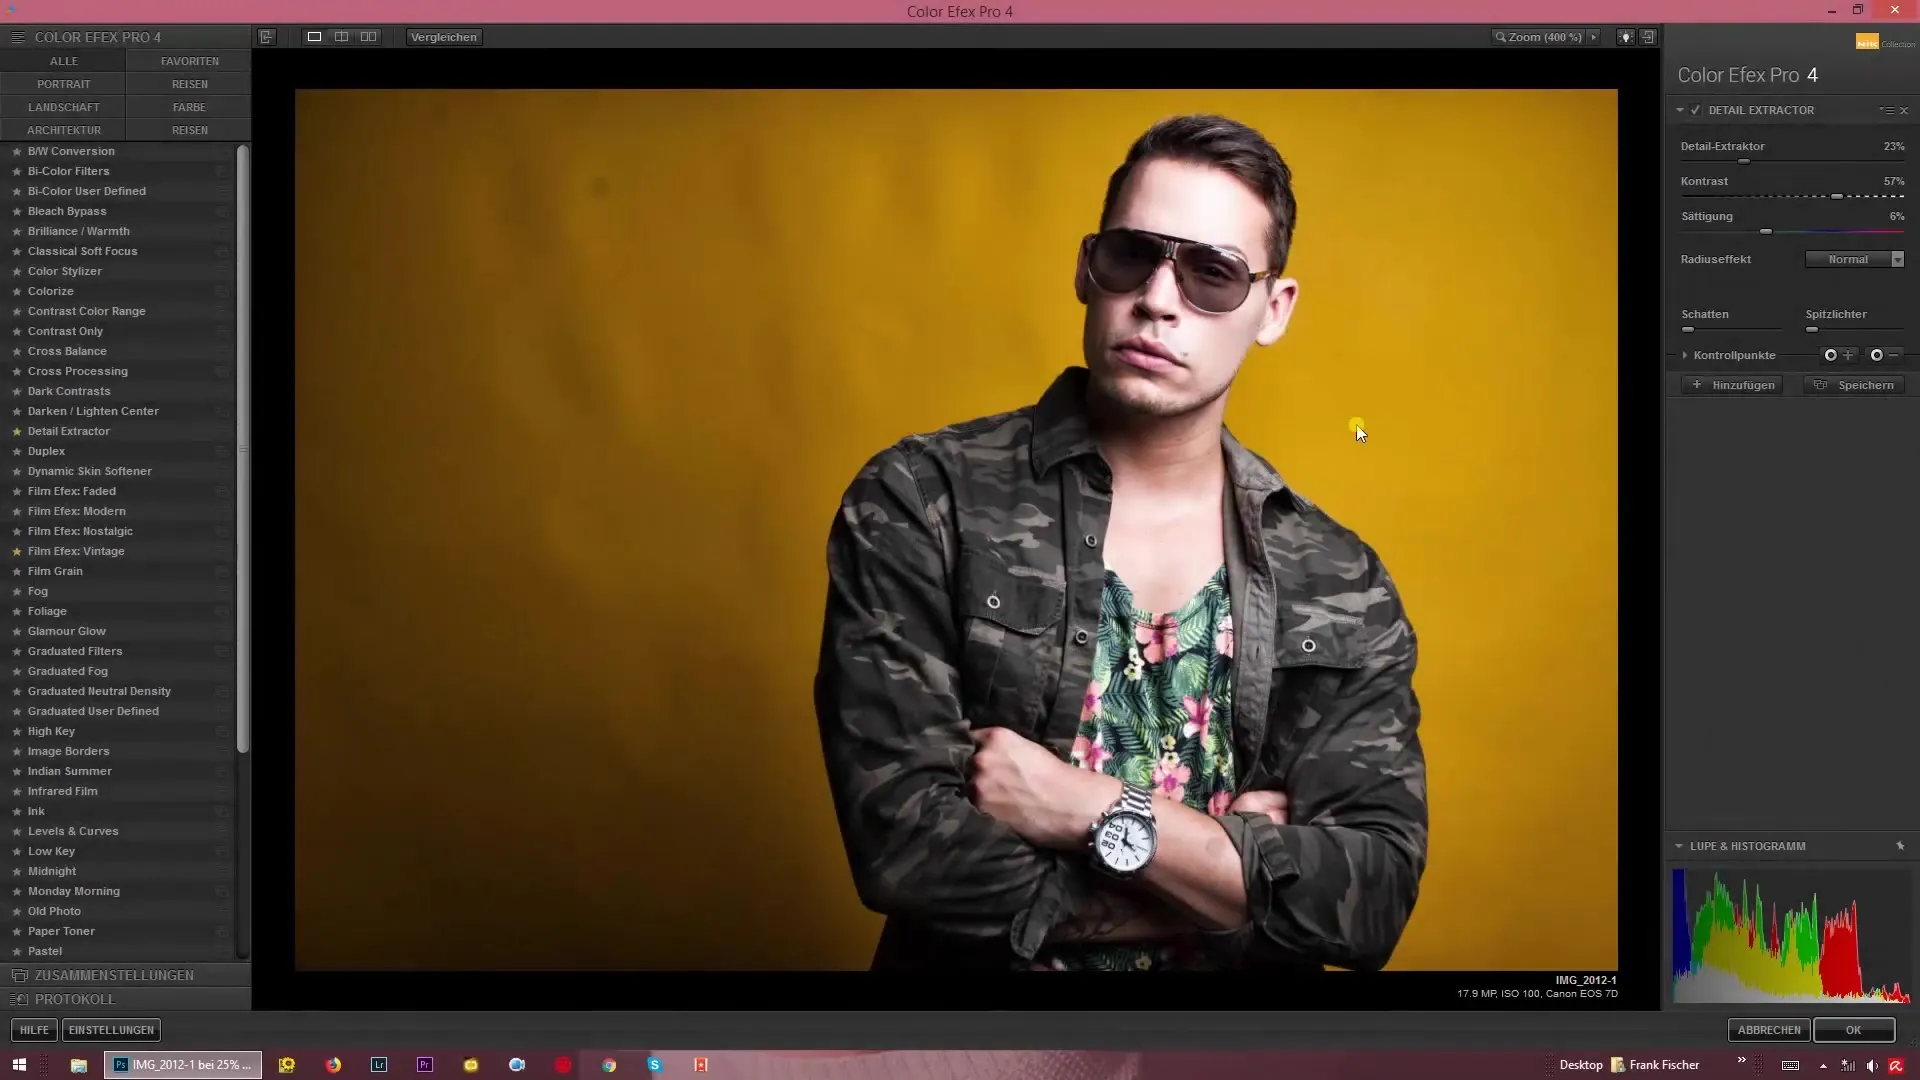
To use the zoom function in Color Efex Pro 4, click on "Zoom" in the top menu bar. You'll notice that your image is zoomed in to 400%, allowing for a more detailed examination of individual image parts. To adjust the zoom level, you can use the dropdown arrow next to the zoom button and select a different zoom level, such as 100%.
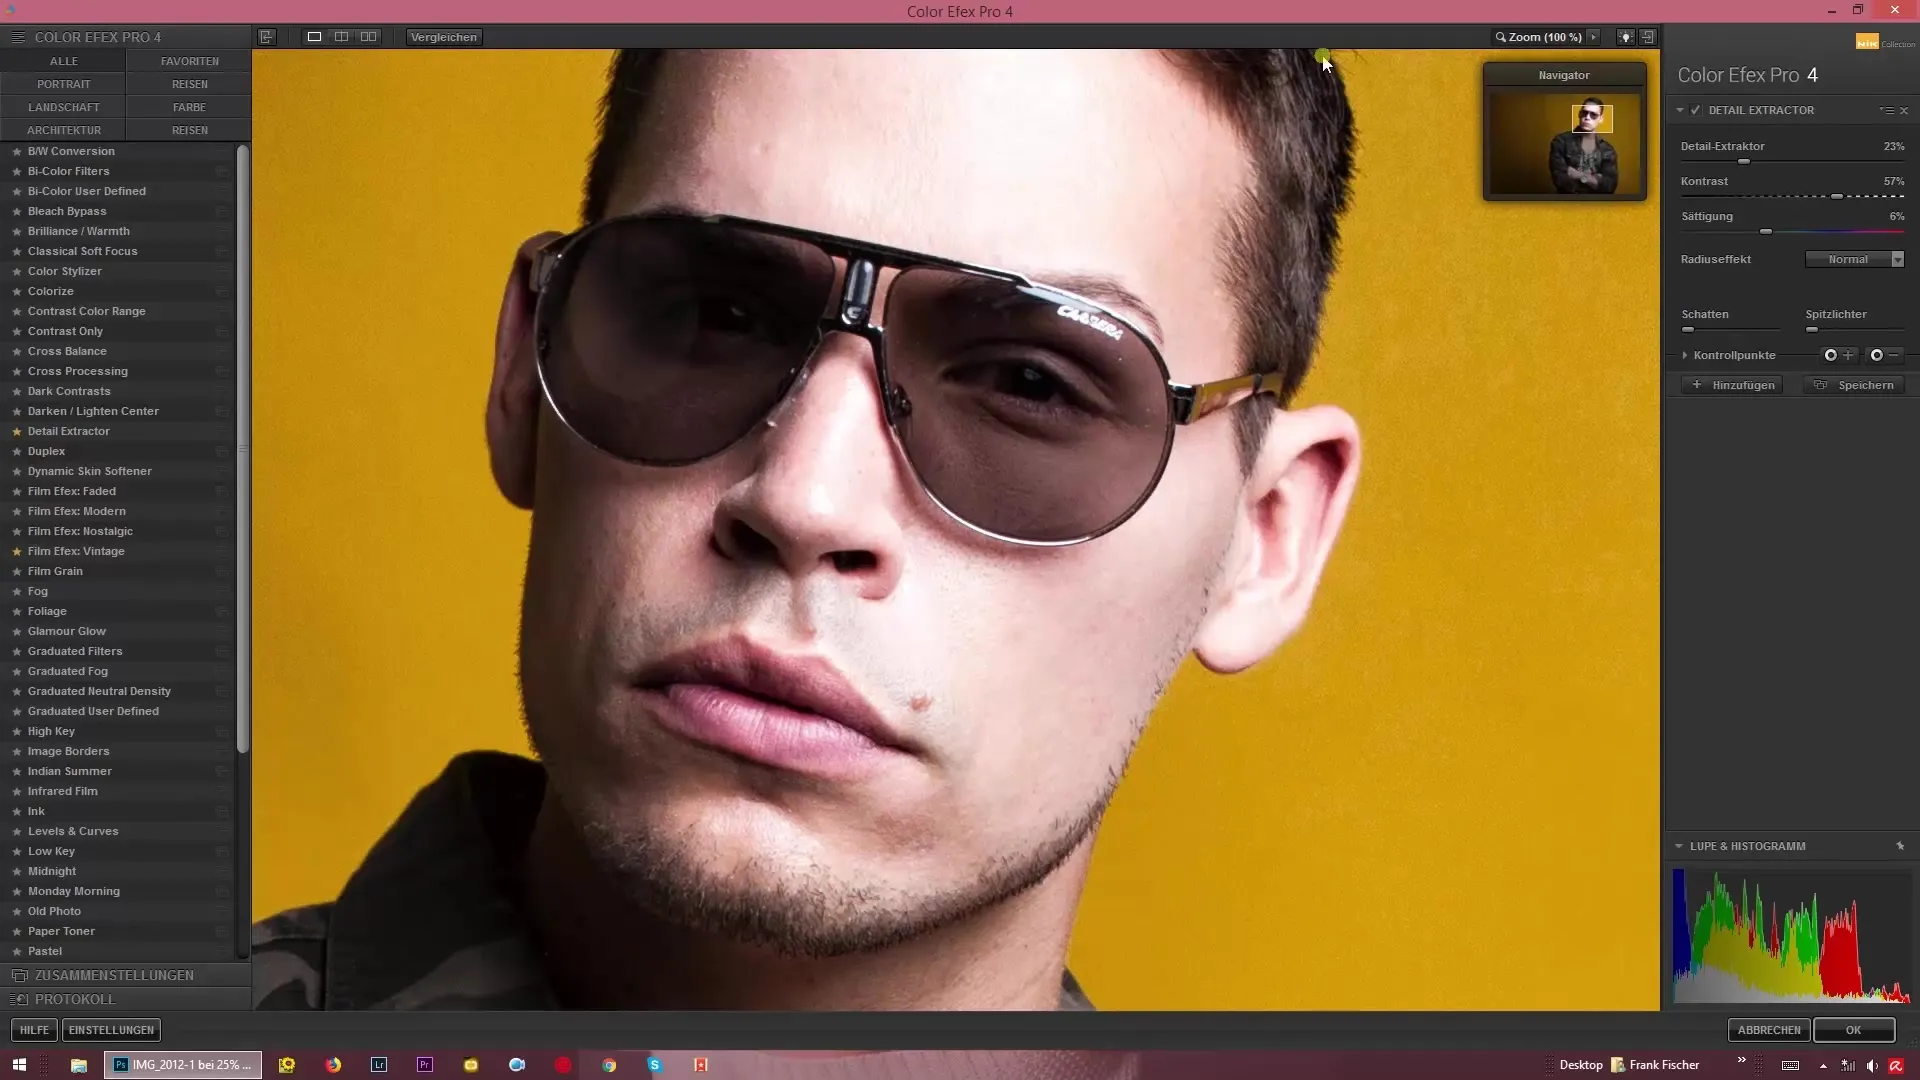
Now you can freely move around the image using the navigator. This is usually located in the upper right corner of your screen. If you are familiar with Photoshop, you will find the navigator on the left side useful. Position the window so it is ideally placed for your workflow.
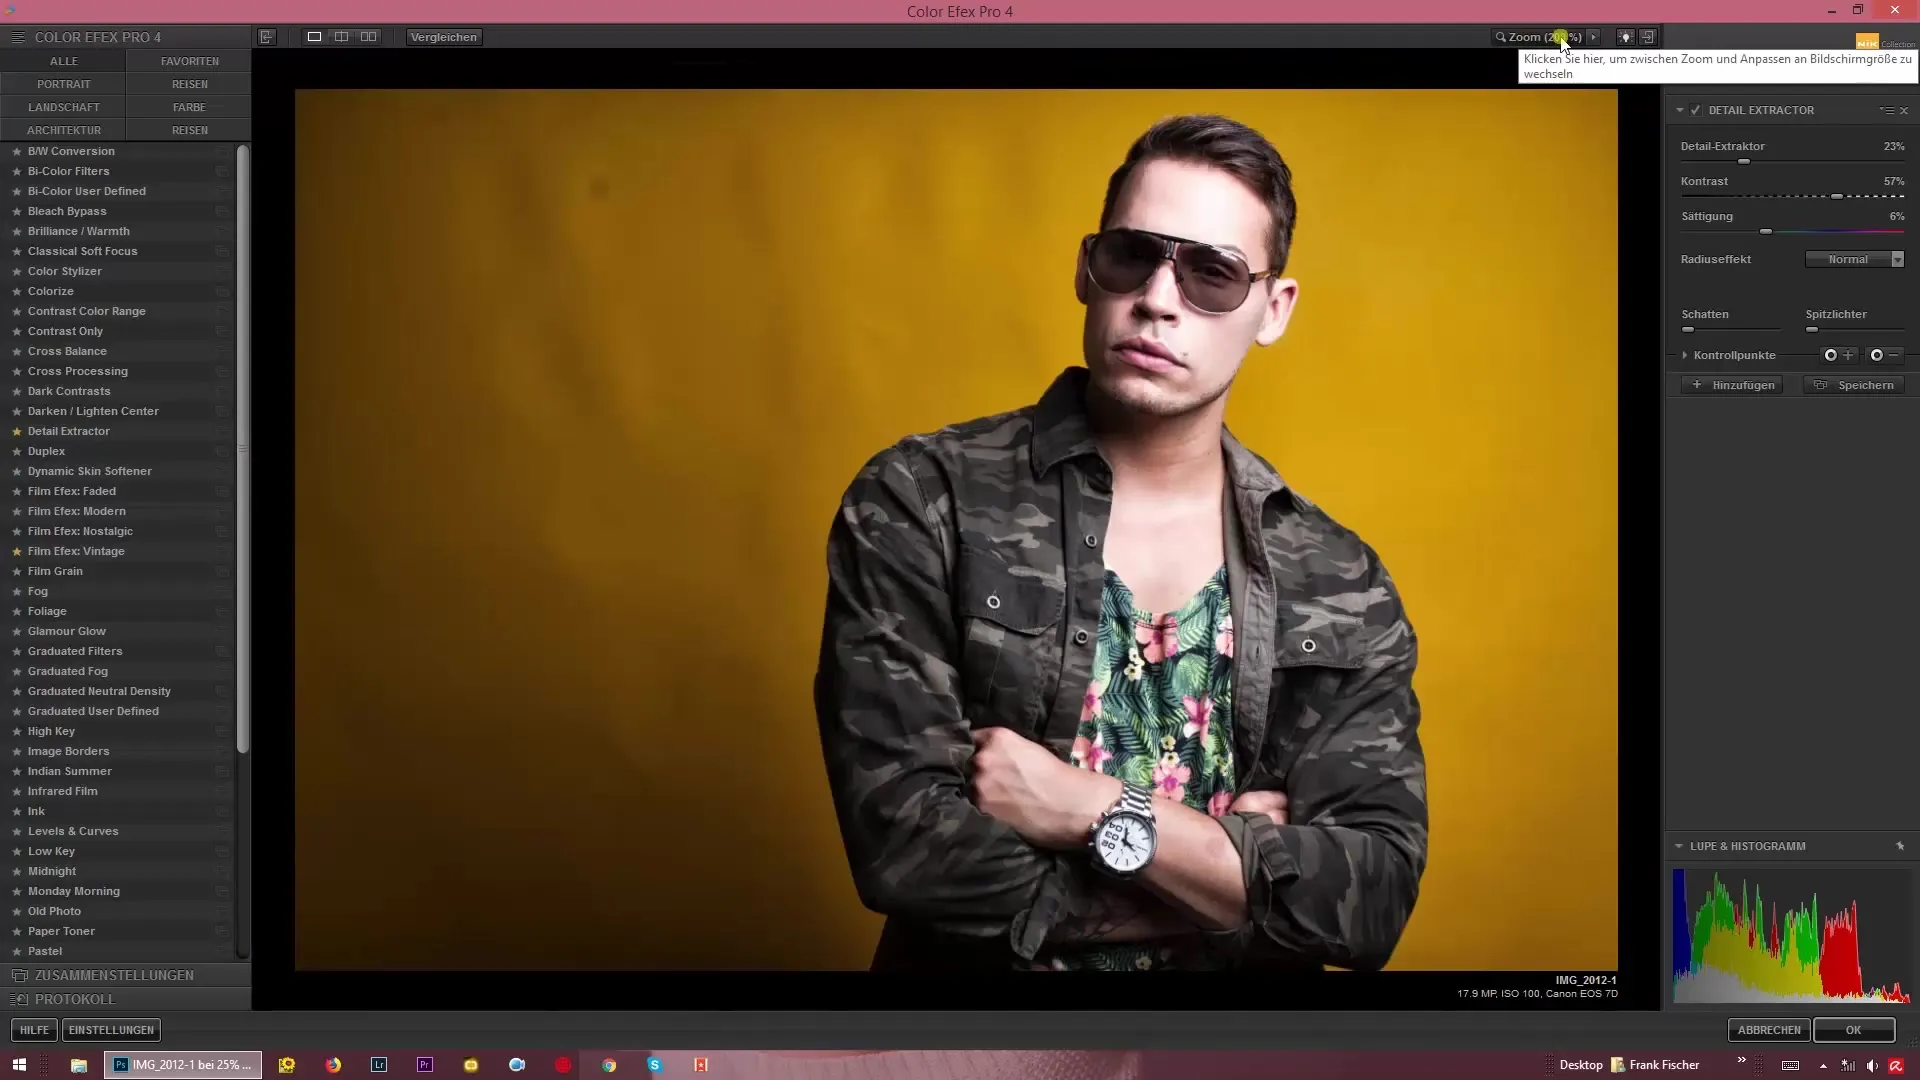
Once you are working on a specific area of the image, it is helpful to utilize the window settings. You can resize the preview window to optimize the view of your edits. If you want to adjust the view back to 100% or to another size, simply click on the zoom button again, and the view will be adjusted to the image window.
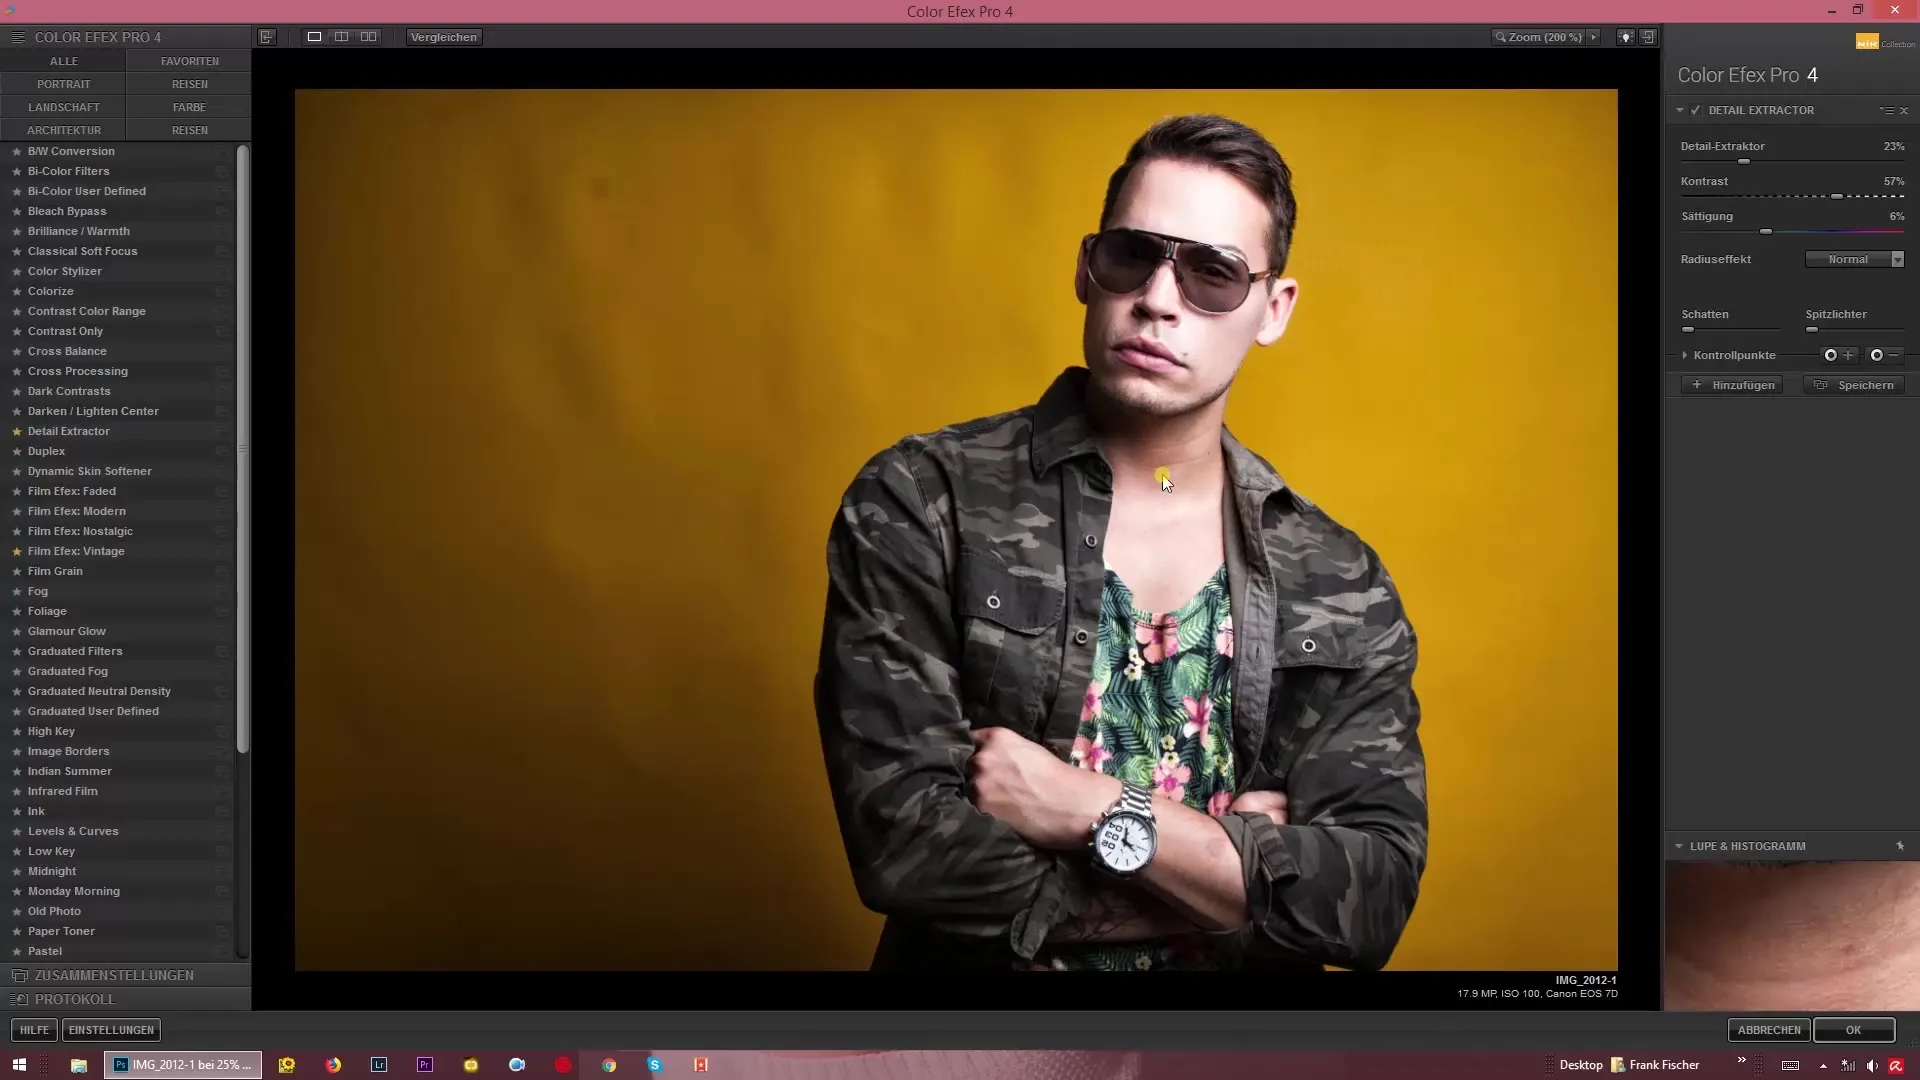
To obtain a 100% view of your image, you can activate the loupe tool. Place the cursor over the image to see what you are editing. You can also use the loupe to keep fine details visible. However, if you move away from the image, the loupe will stay in one position.
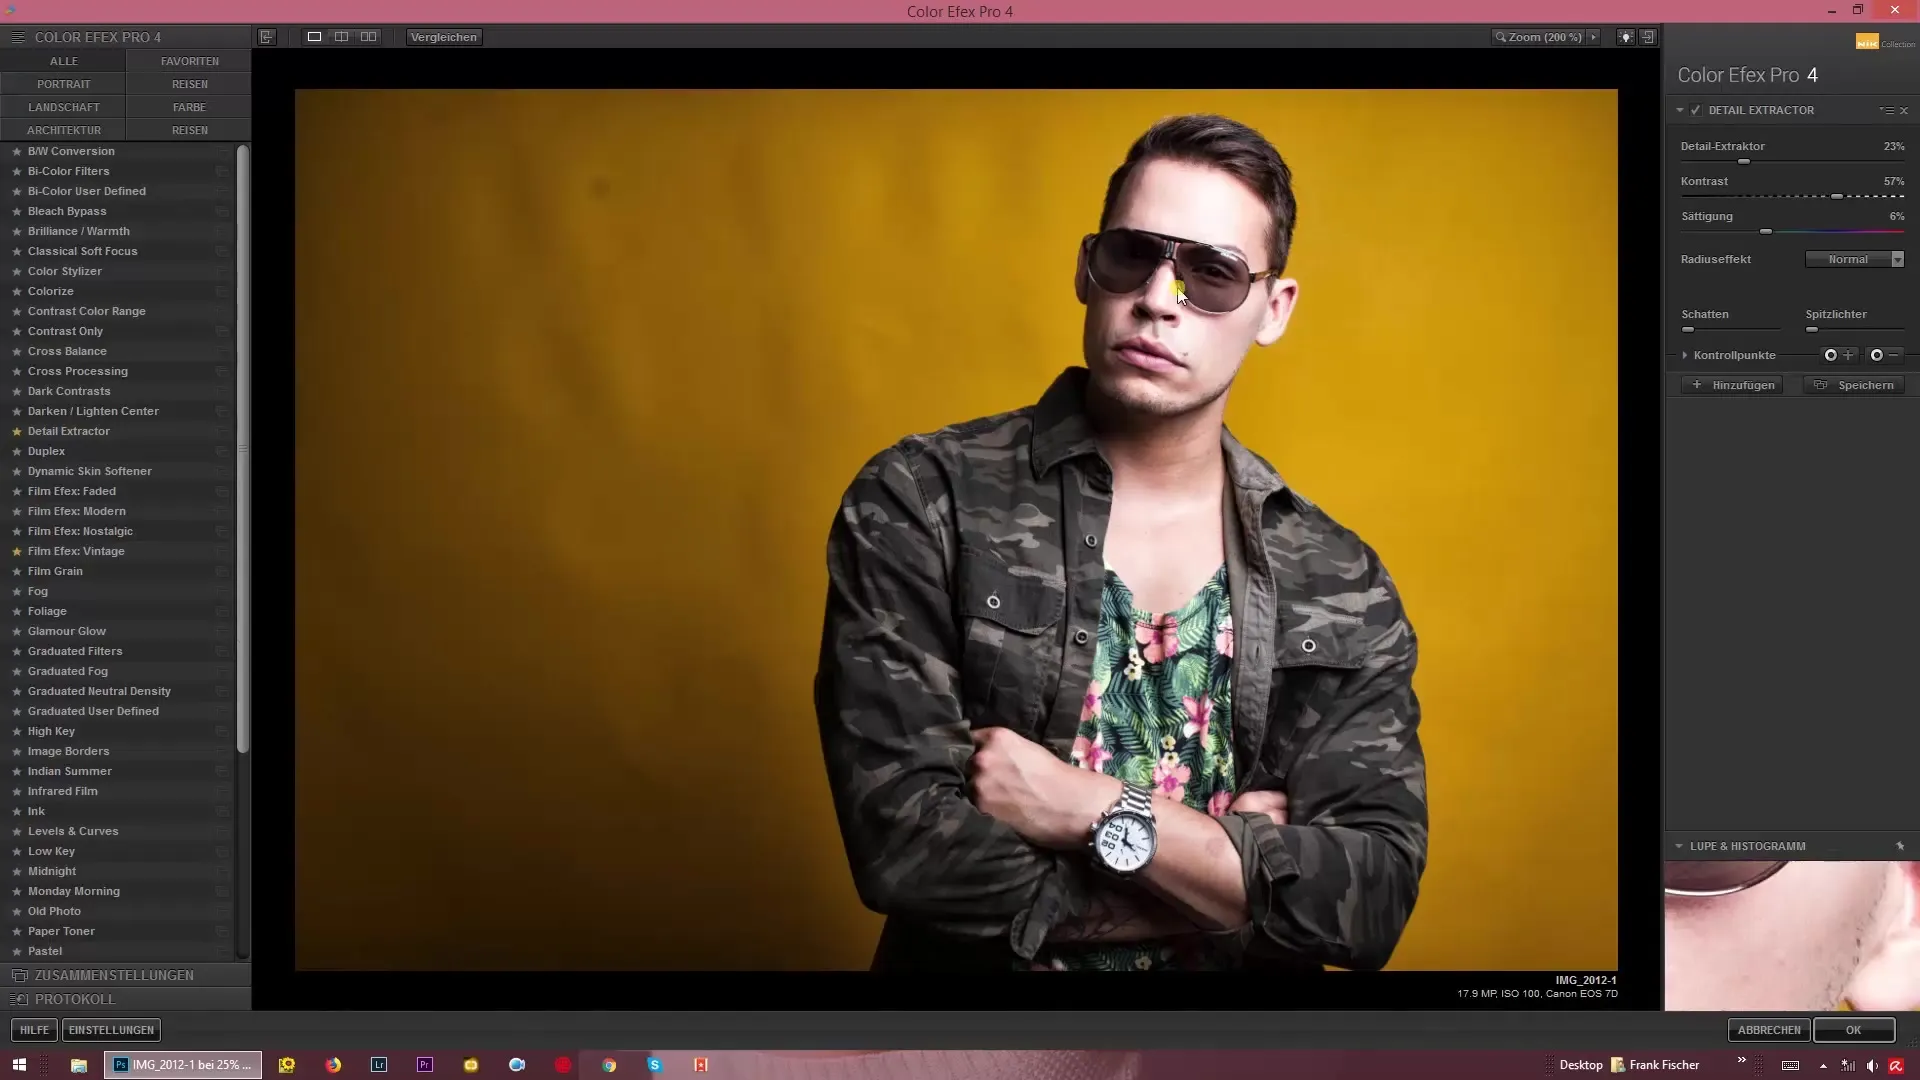
This is where the "lock loupe position" function comes into play. Click on this icon to fix the position of the loupe. You can then adjust the loupe so that it gives you a clear view of the selected areas of the image.
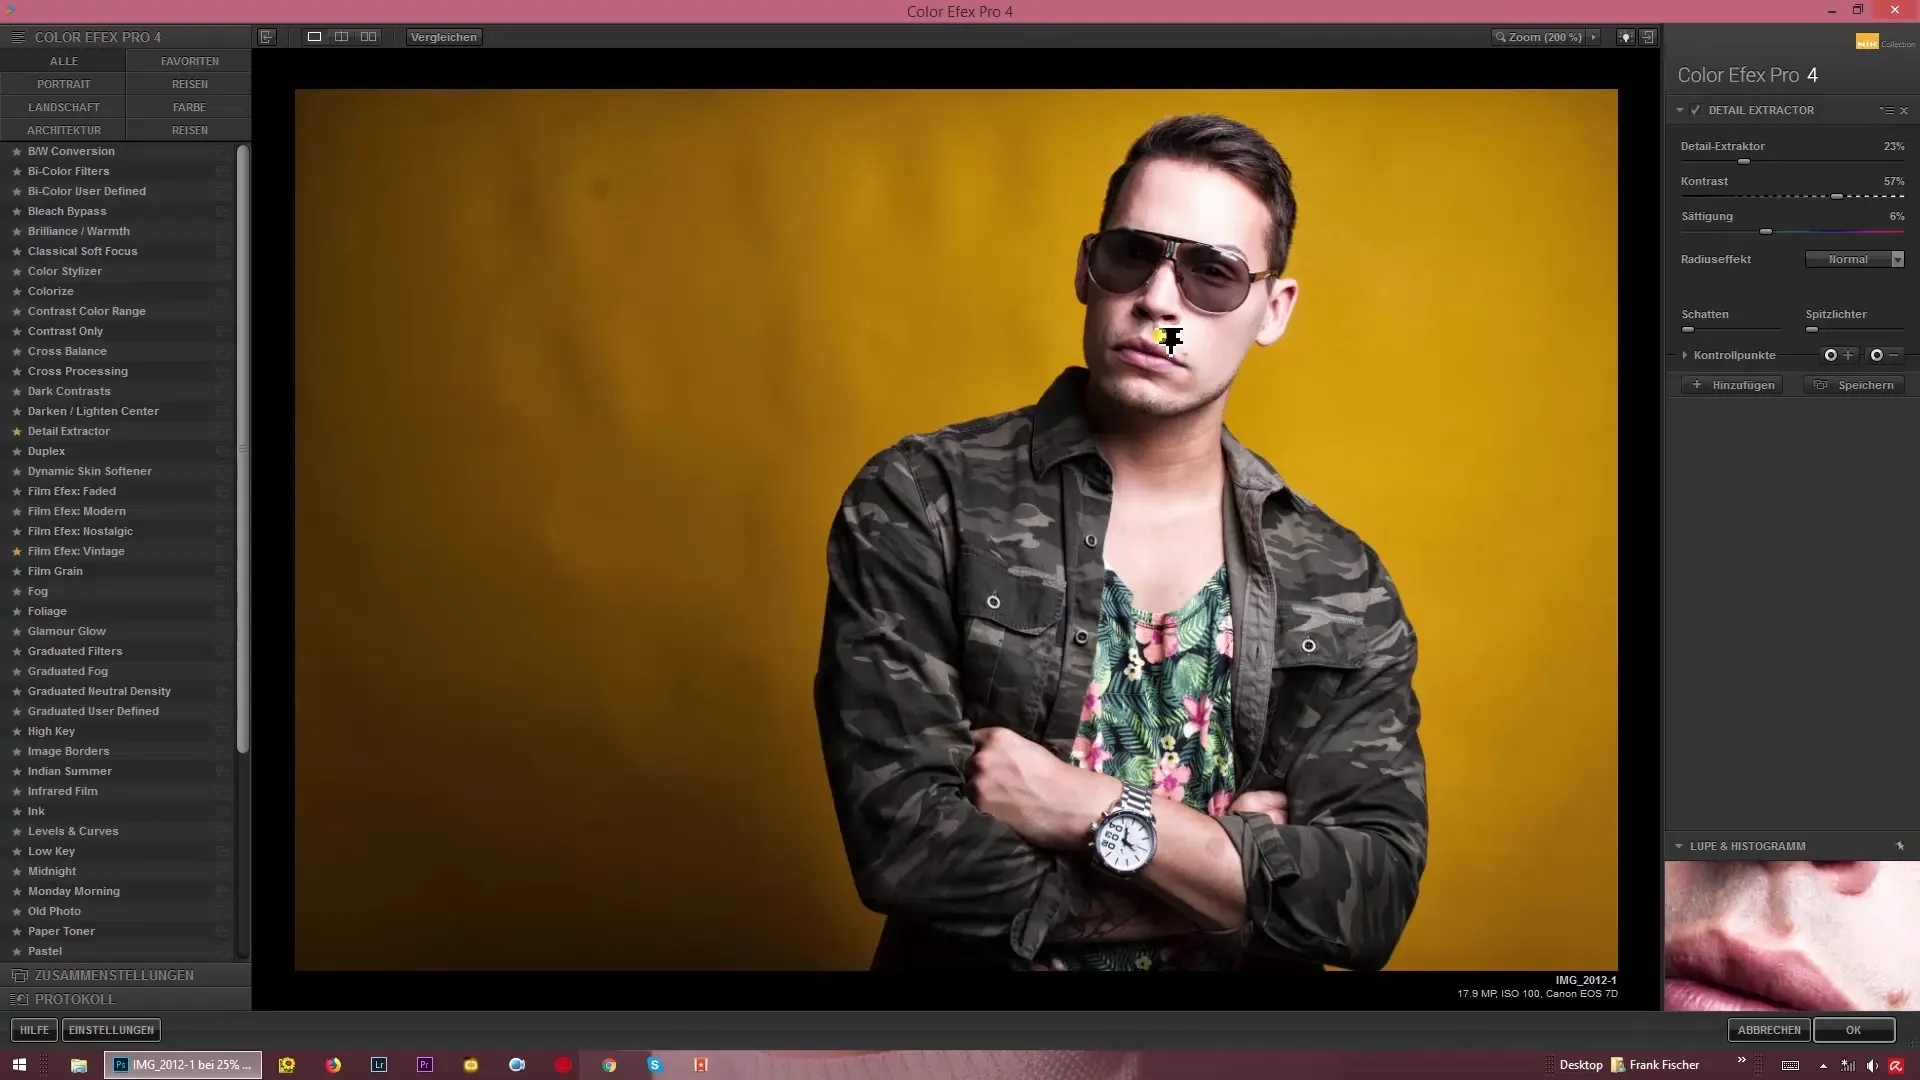
Another effective way to change the loupe position is to simply move the mouse to the desired spot and right-click. This will lock the loupe in that spot so you can work precisely there. To unlock the loupe position, just perform another right-click, and the loupe can be moved freely again.
Summary – Using Zoom and Loupe in Color Efex Pro 4
In this guide, you have learned how to properly use the zoom and loupe tools in Color Efex Pro 4 to optimize your image editing. These features help you make detailed adjustments and maintain an overview of your overall image without losing sight of the important elements.
FAQ
How can I zoom the image in Color Efex Pro 4?Click on the "Zoom" button in the top menu bar and select the desired zoom level.
What can I do if I lose my position while working with the loupe?Lock the loupe position using the corresponding icon to fix the view.
Can I set the loupe to a specific spot in the image?Yes, move your mouse over the desired spot and right-click to fix the loupe there.
Why can't I see the image at 100% anymore?Make sure to select the correct zoom level from the dropdown menu or click on the loupe icon to return to the 100% view.
