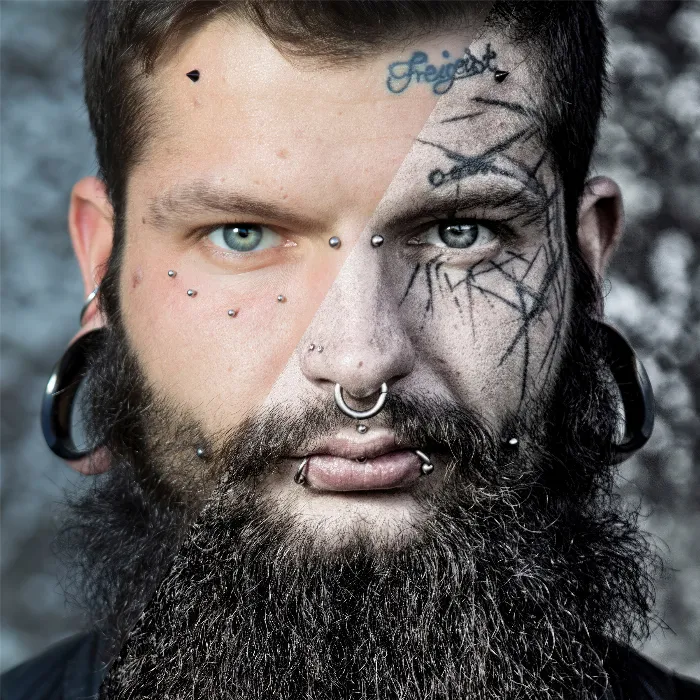
An image can gain a completely new dimension of impact and atmosphere through the right post-processing. Especially nighttime shots can be transformed using special filters to reflect the magic and mystique of moonlight. With ColorEfexPro 4, you can apply this effect to your images and create a true “Midnight” look. In this tutorial, I will show you step by step how to create this effect and make your images shine.
Key Insights
- The “Midnight” filter allows you to give images a soft, mystical glow without needing to shoot at night.
- You can adjust the image according to your wishes using sliders like blur, contrast, and color, enhancing the effect.
- The ability to preview adjustments makes decision-making during editing easier.
Step-by-Step Guide
To apply the “Midnight” effect to your images, follow the steps below and make sure to add screenshots to illustrate the processes.
Step 1: Image Selection and Filter Application
Start with an image you have taken in the past, perhaps even in daylight. To apply the filter, first open Color Efex Pro 4 and load the desired image. Look for the “Midnight” filter in the filter list.
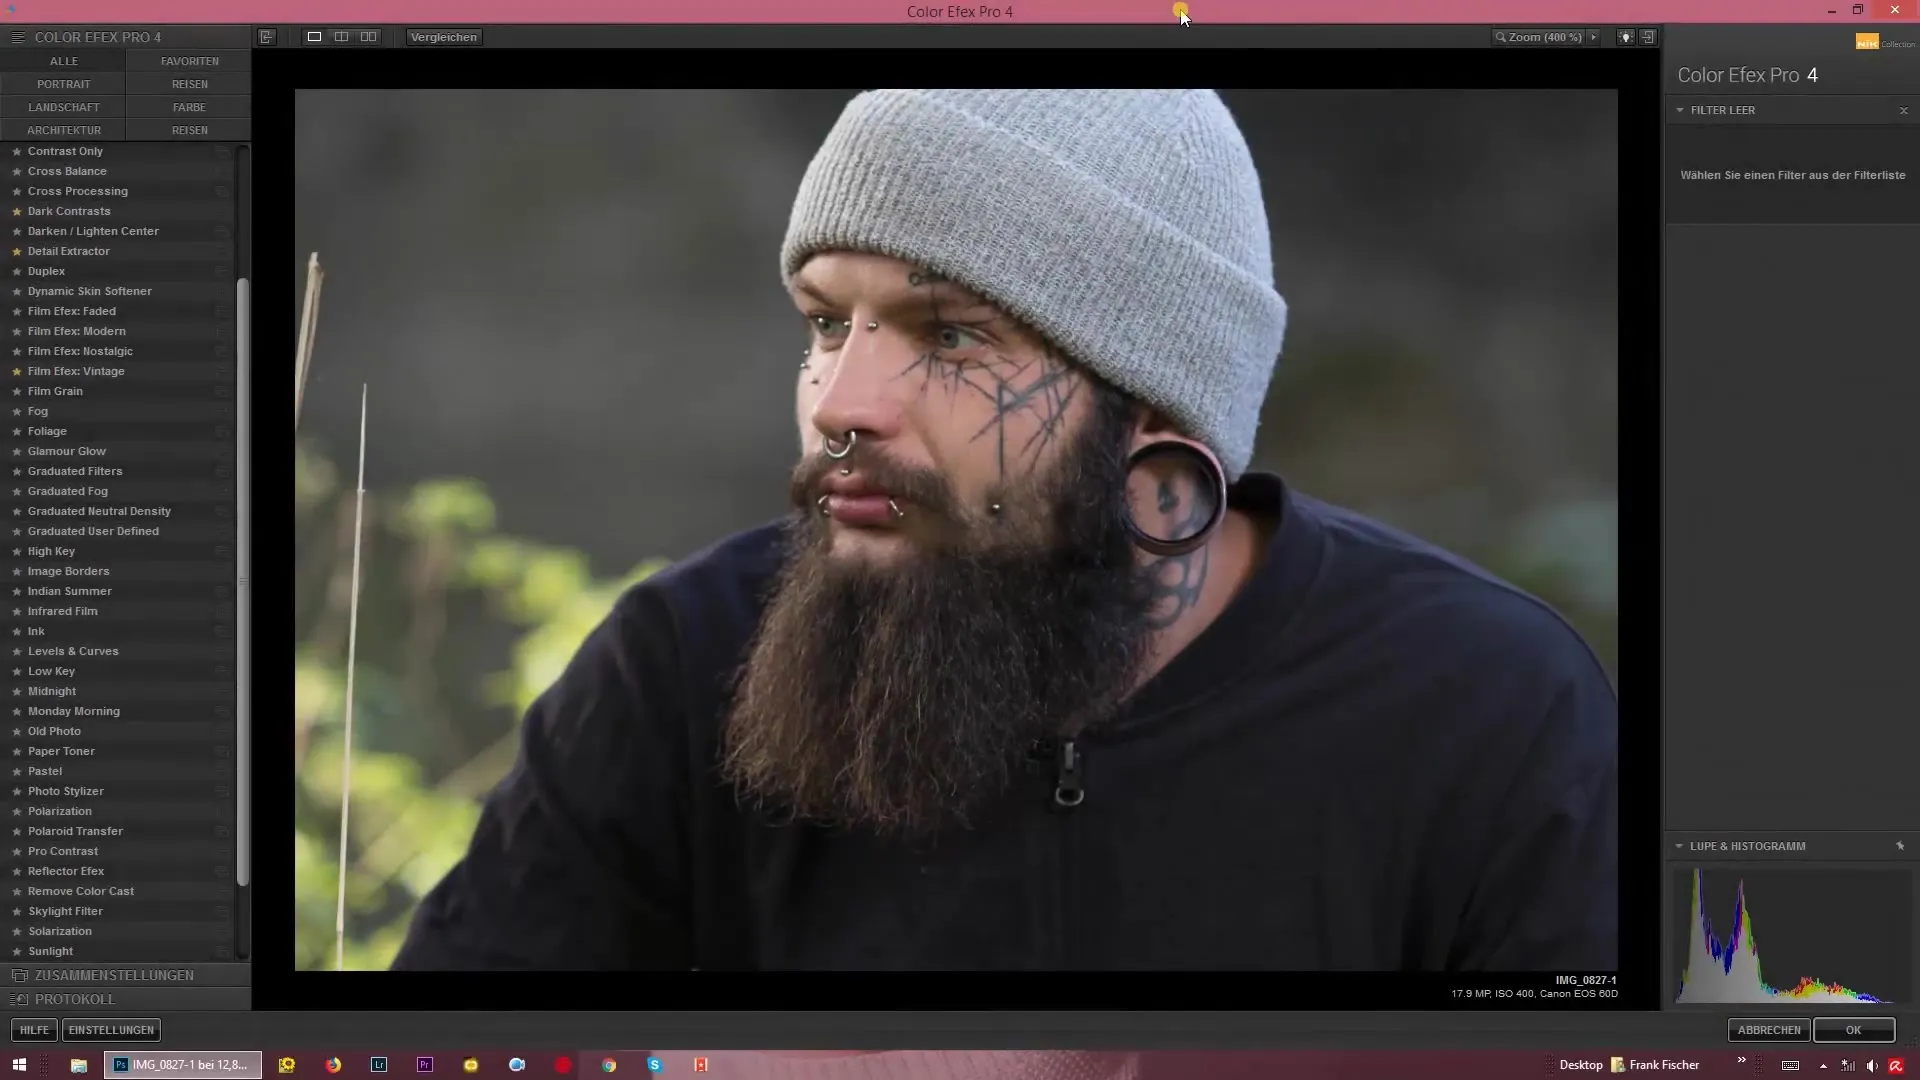
Step 2: Adjusting the Blur
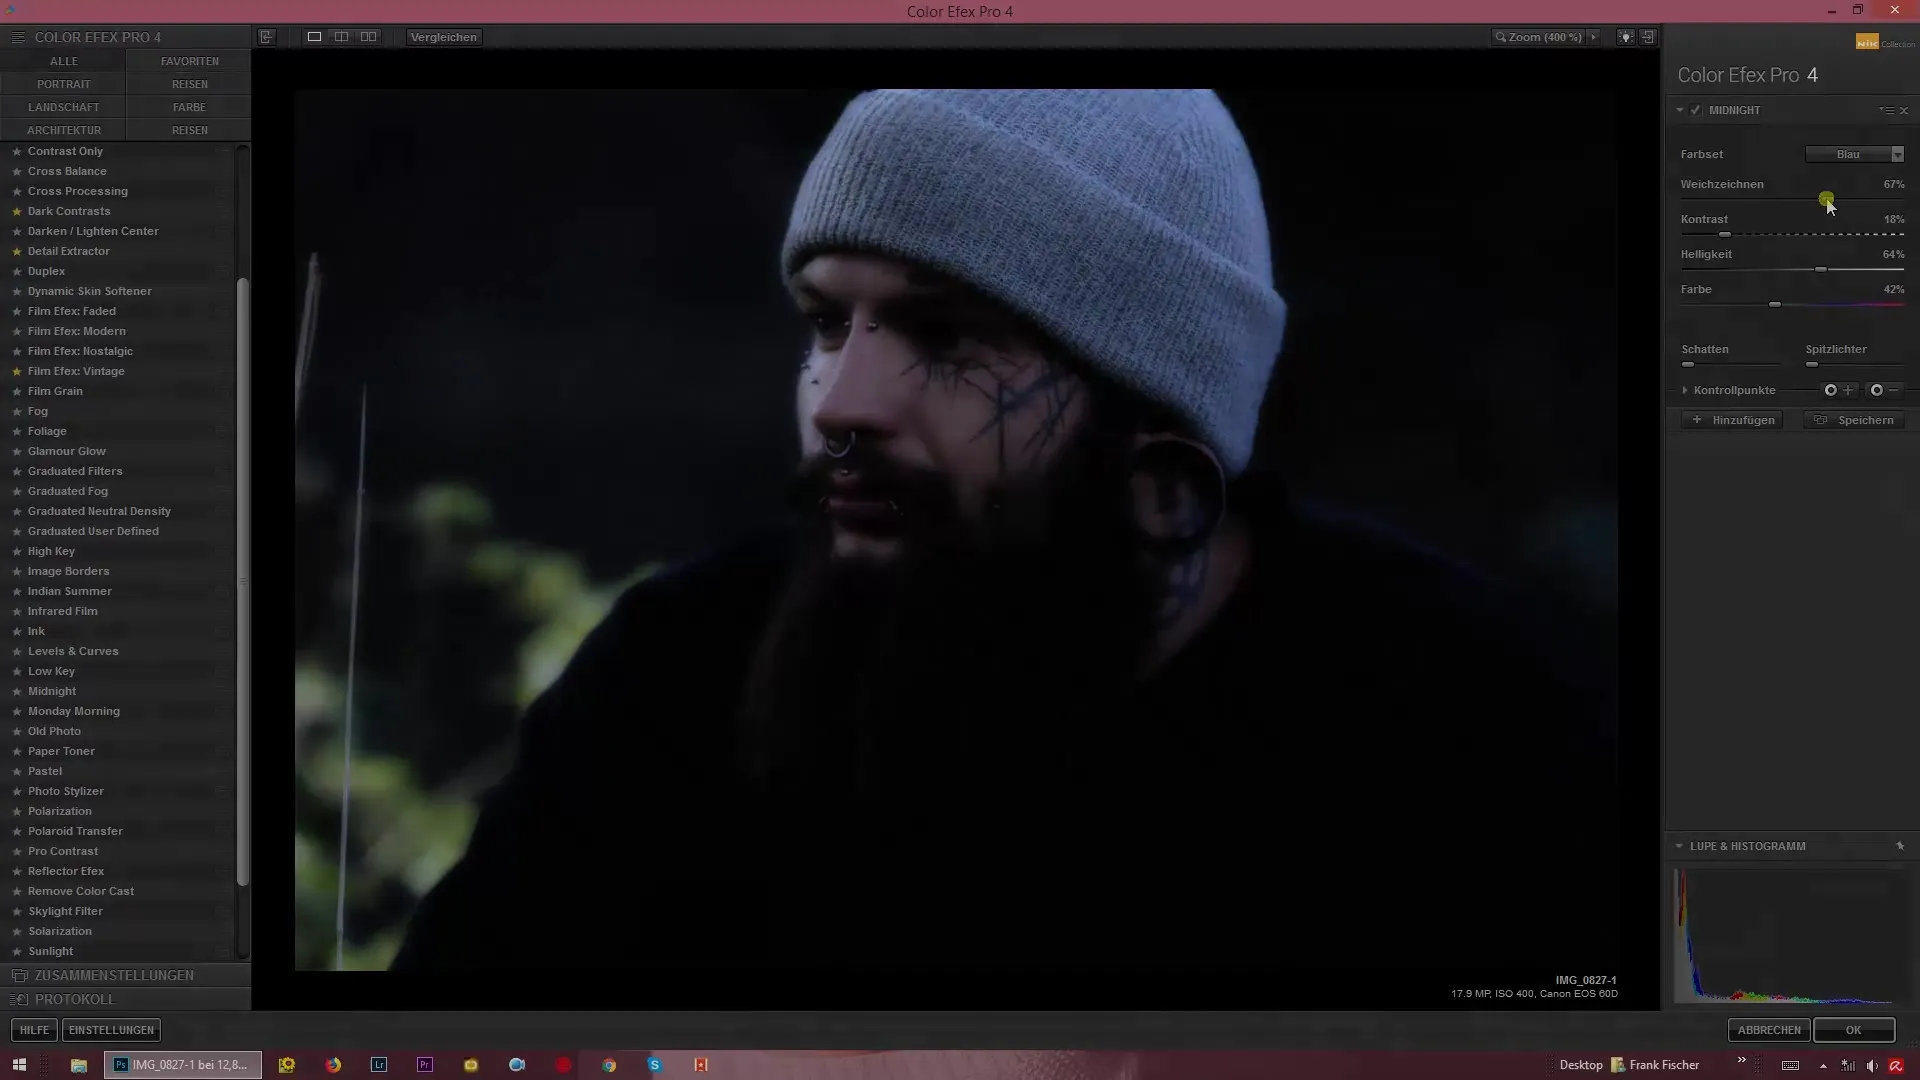
The next step is to find the blur slider. This slider is crucial for creating the desired soft glow. You can either blur the image heavily or adjust the blur slightly, depending on the effect you wish to achieve.
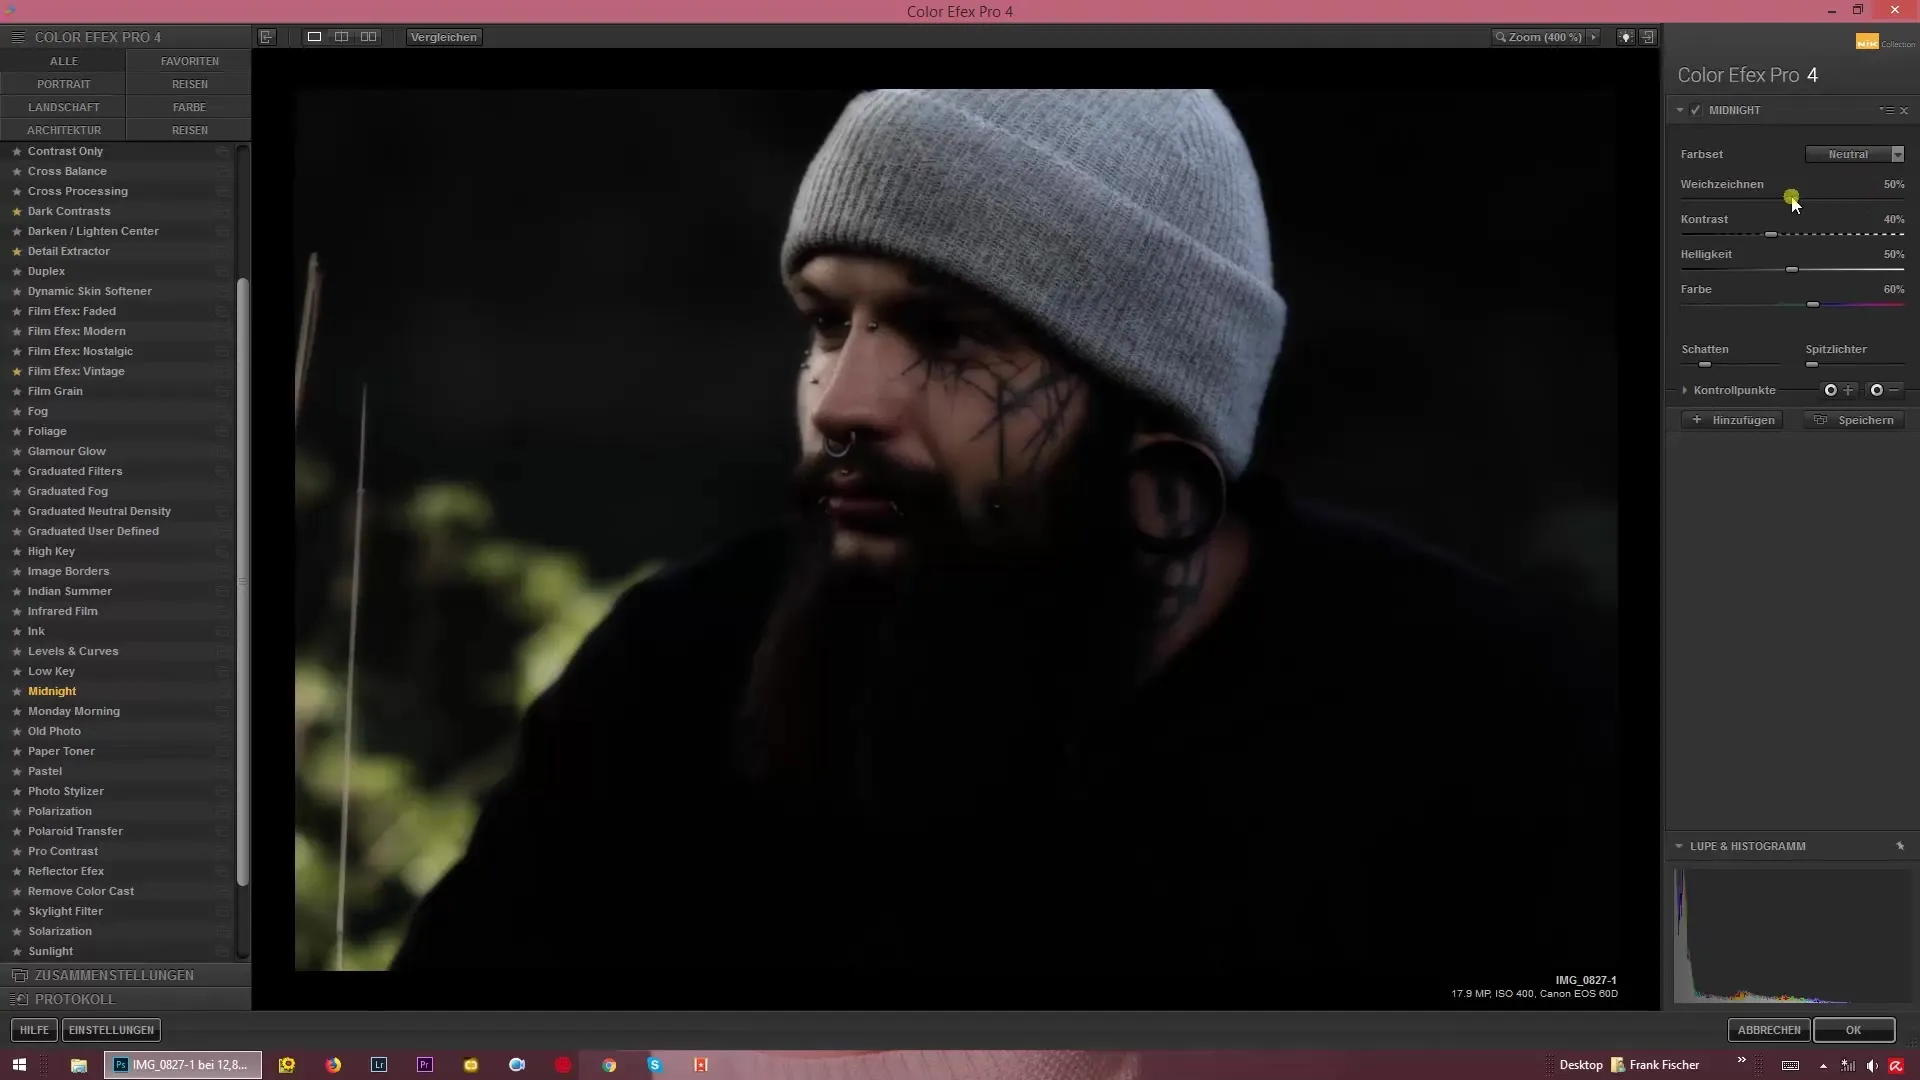
Step 3: Adjusting the Contrast
To bring more depth to your image, it's advisable to experiment with the contrast slider. By increasing the shadows and lowering the highlights, you can create dramatic differences. Do not make the image too bright, as it is meant to convey a midnight effect.
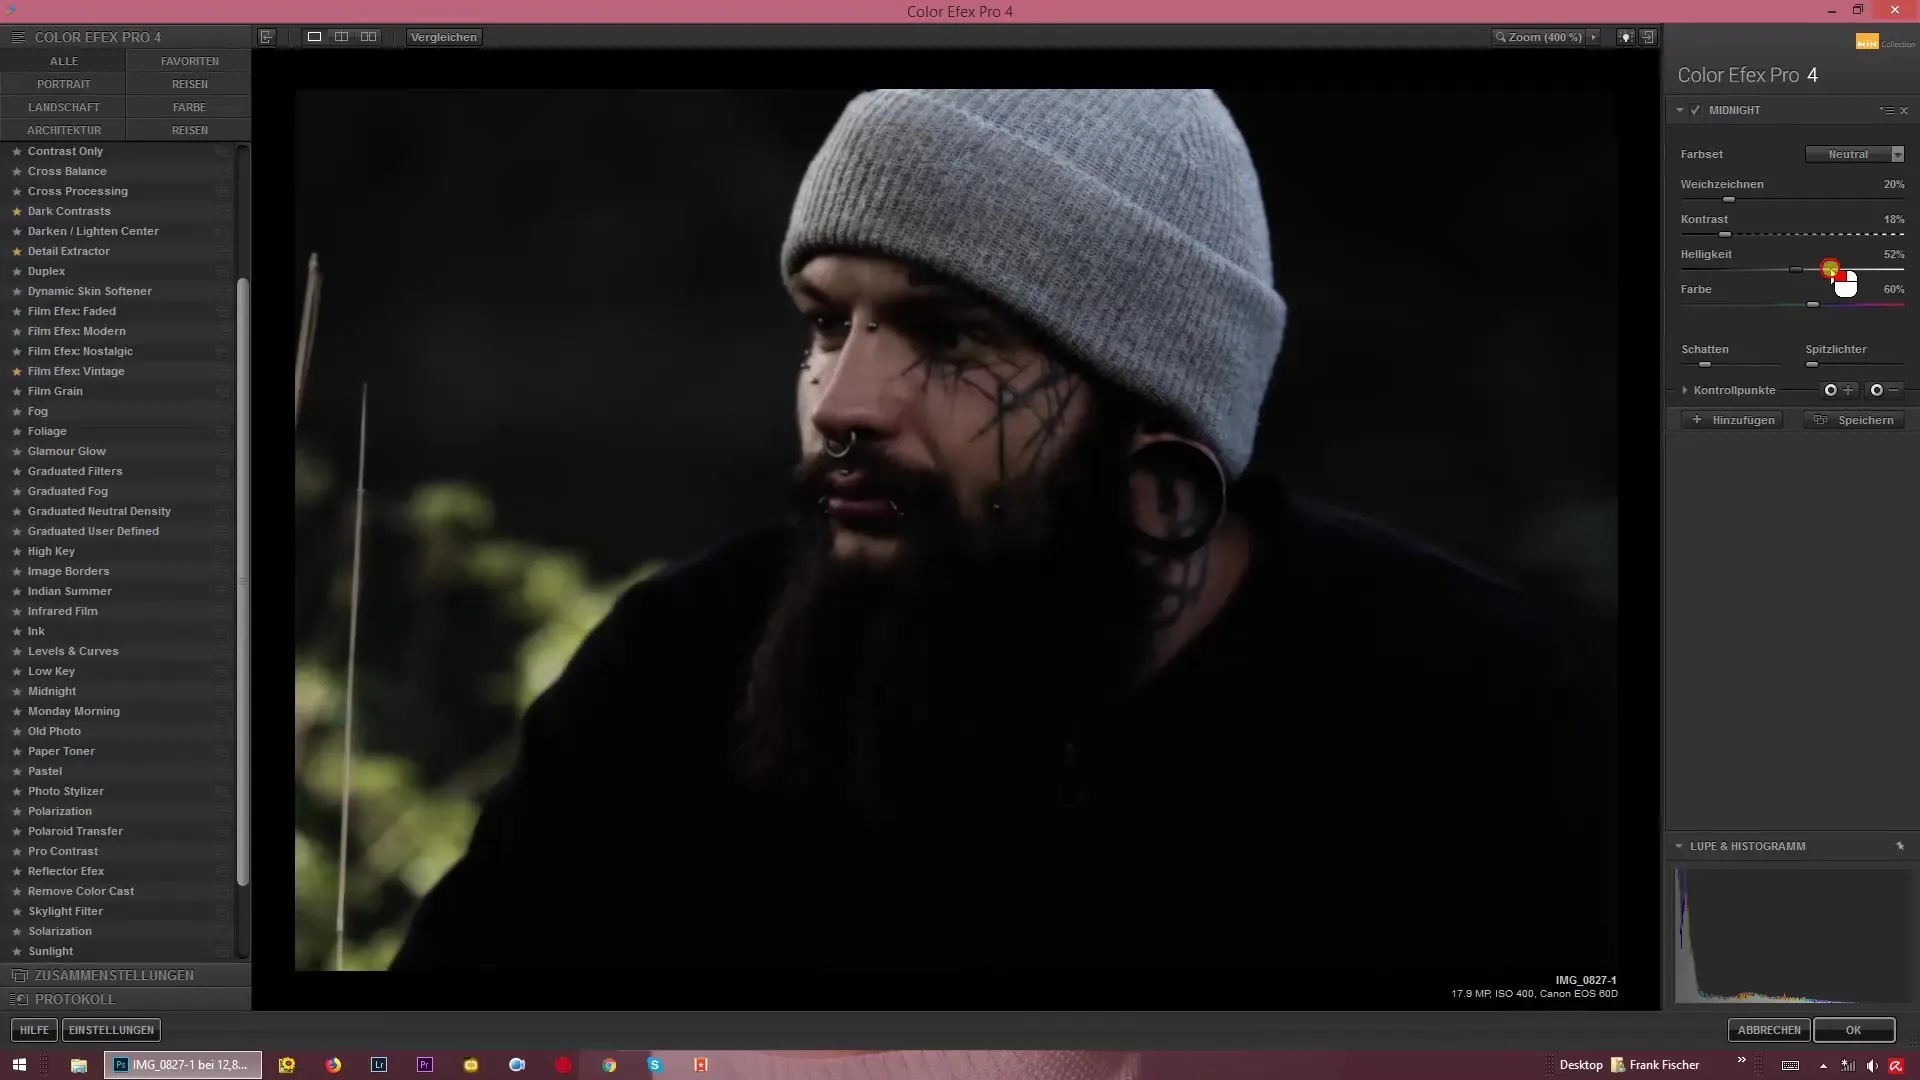
Step 4: Adjusting Brightness
Now you have the option to control the overall brightness of your image. Play with the sliders to adjust the brightness to match a nighttime scenario. Ensure that the adjustments remain subtle to preserve the authentic moonlight impression.
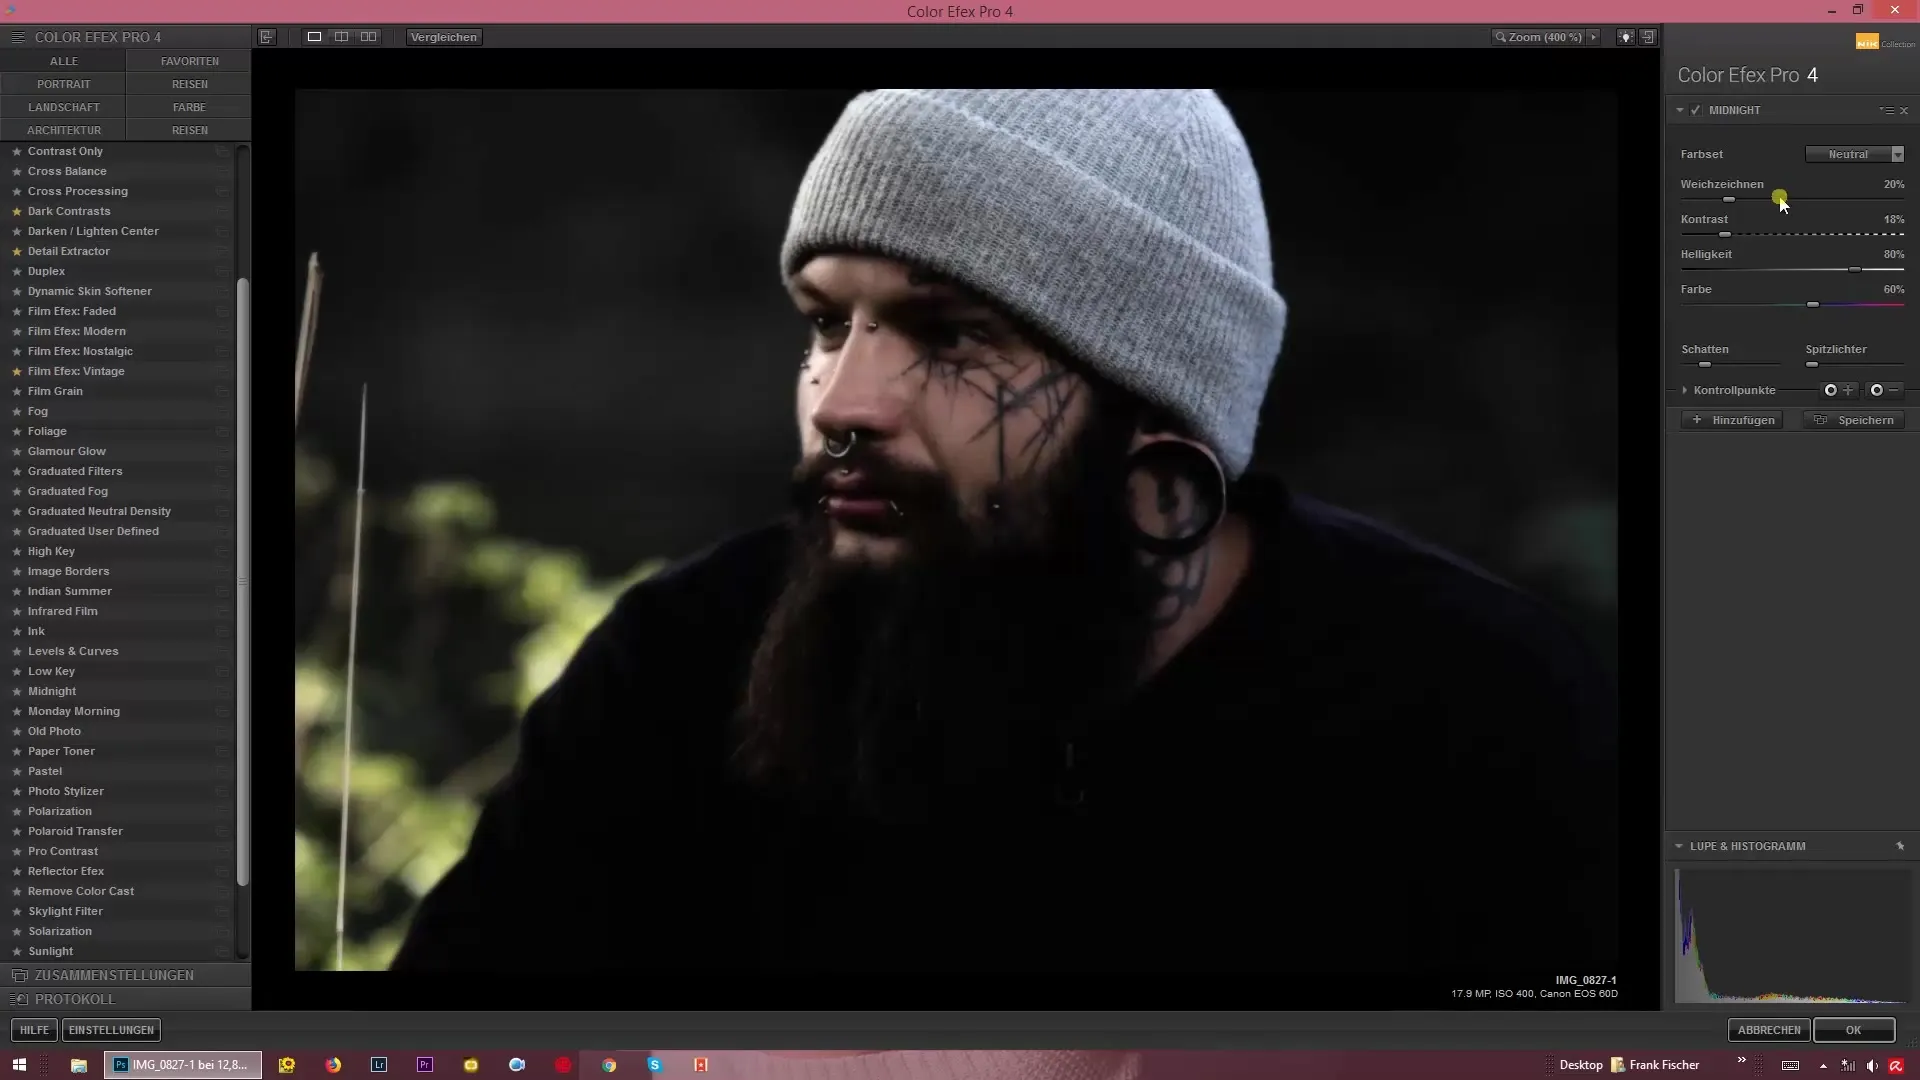
Step 5: Adjusting Colors and Saturation
To further enhance the look, go to the color slider. Here, you can adjust the color saturation to either intensify or soften the colors. This is particularly useful for maintaining a cooler, more mystical tone.
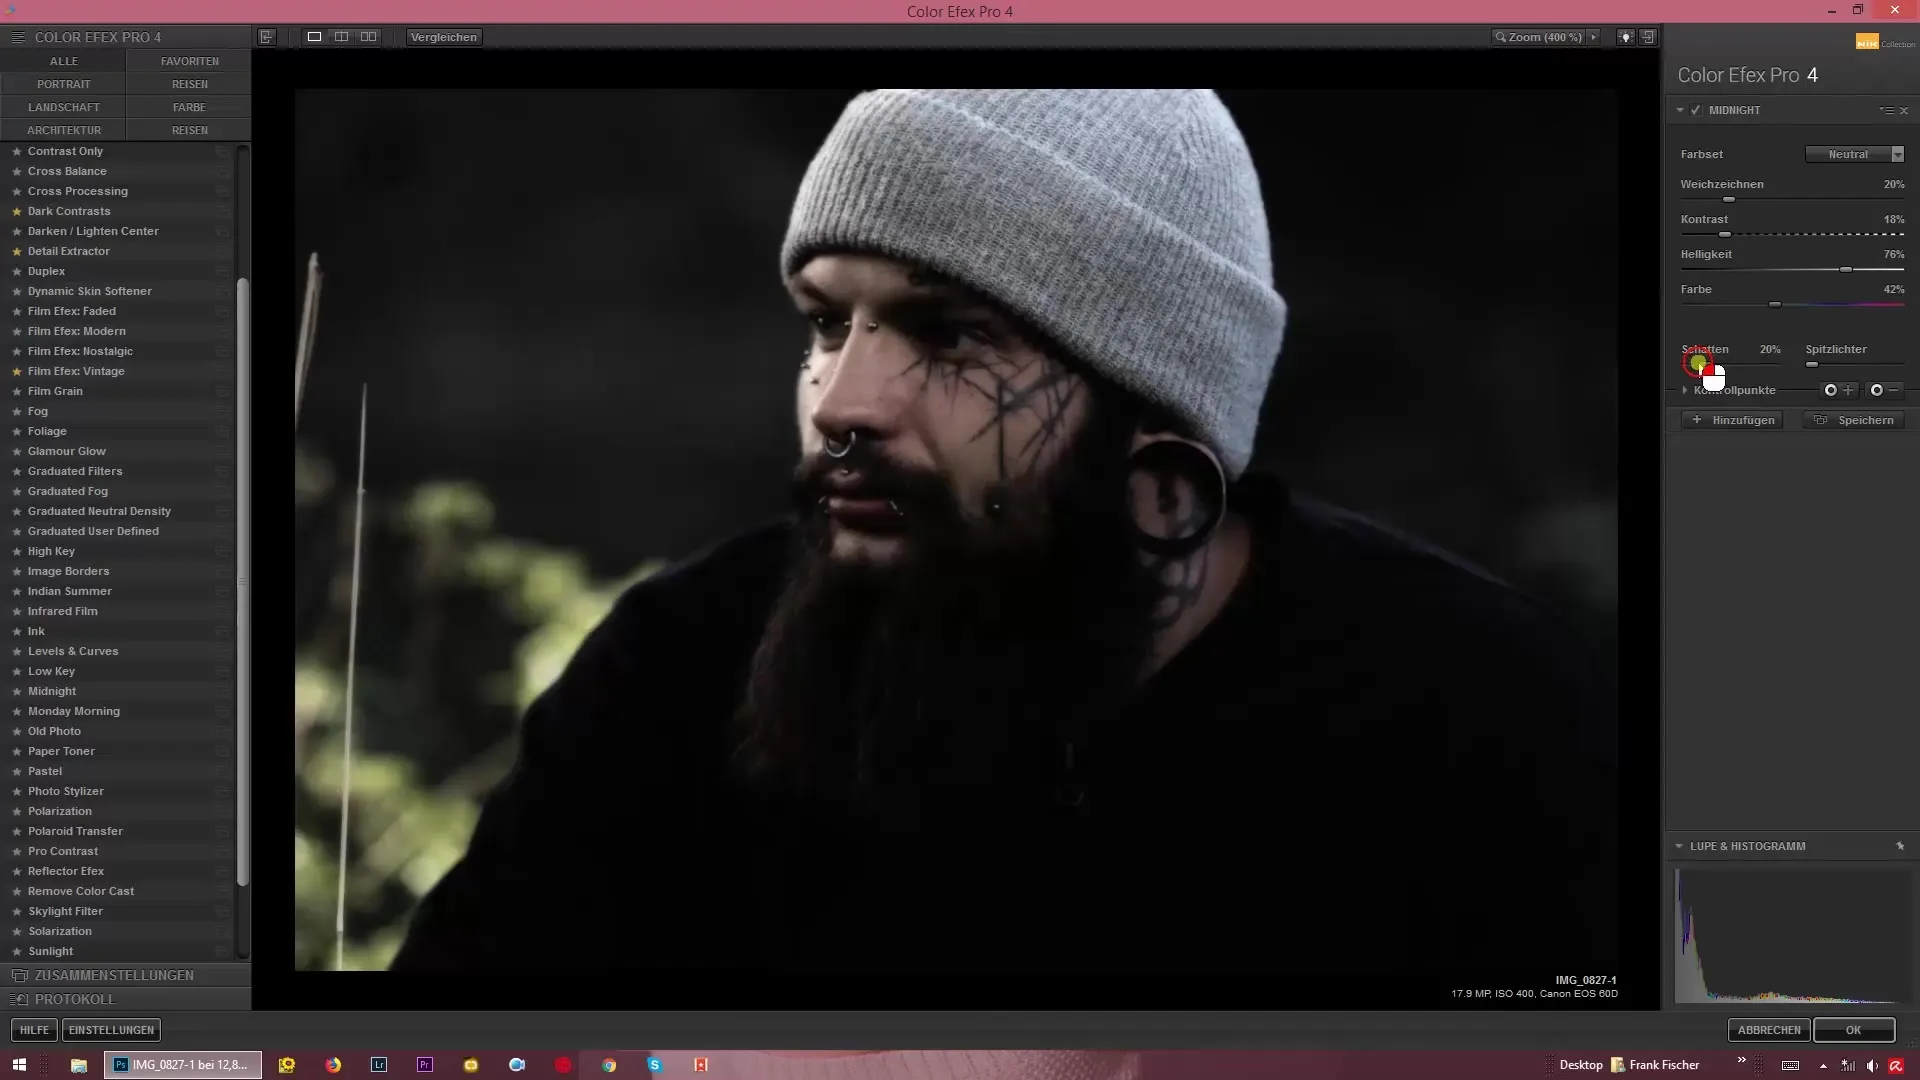
Step 6: Optimizing Shadows and Highlights
Another important aspect is the treatment of shadows and highlights. Here too, you can use the sliders to lighten shadows and adjust highlights. Be careful not to lose too much detail here.
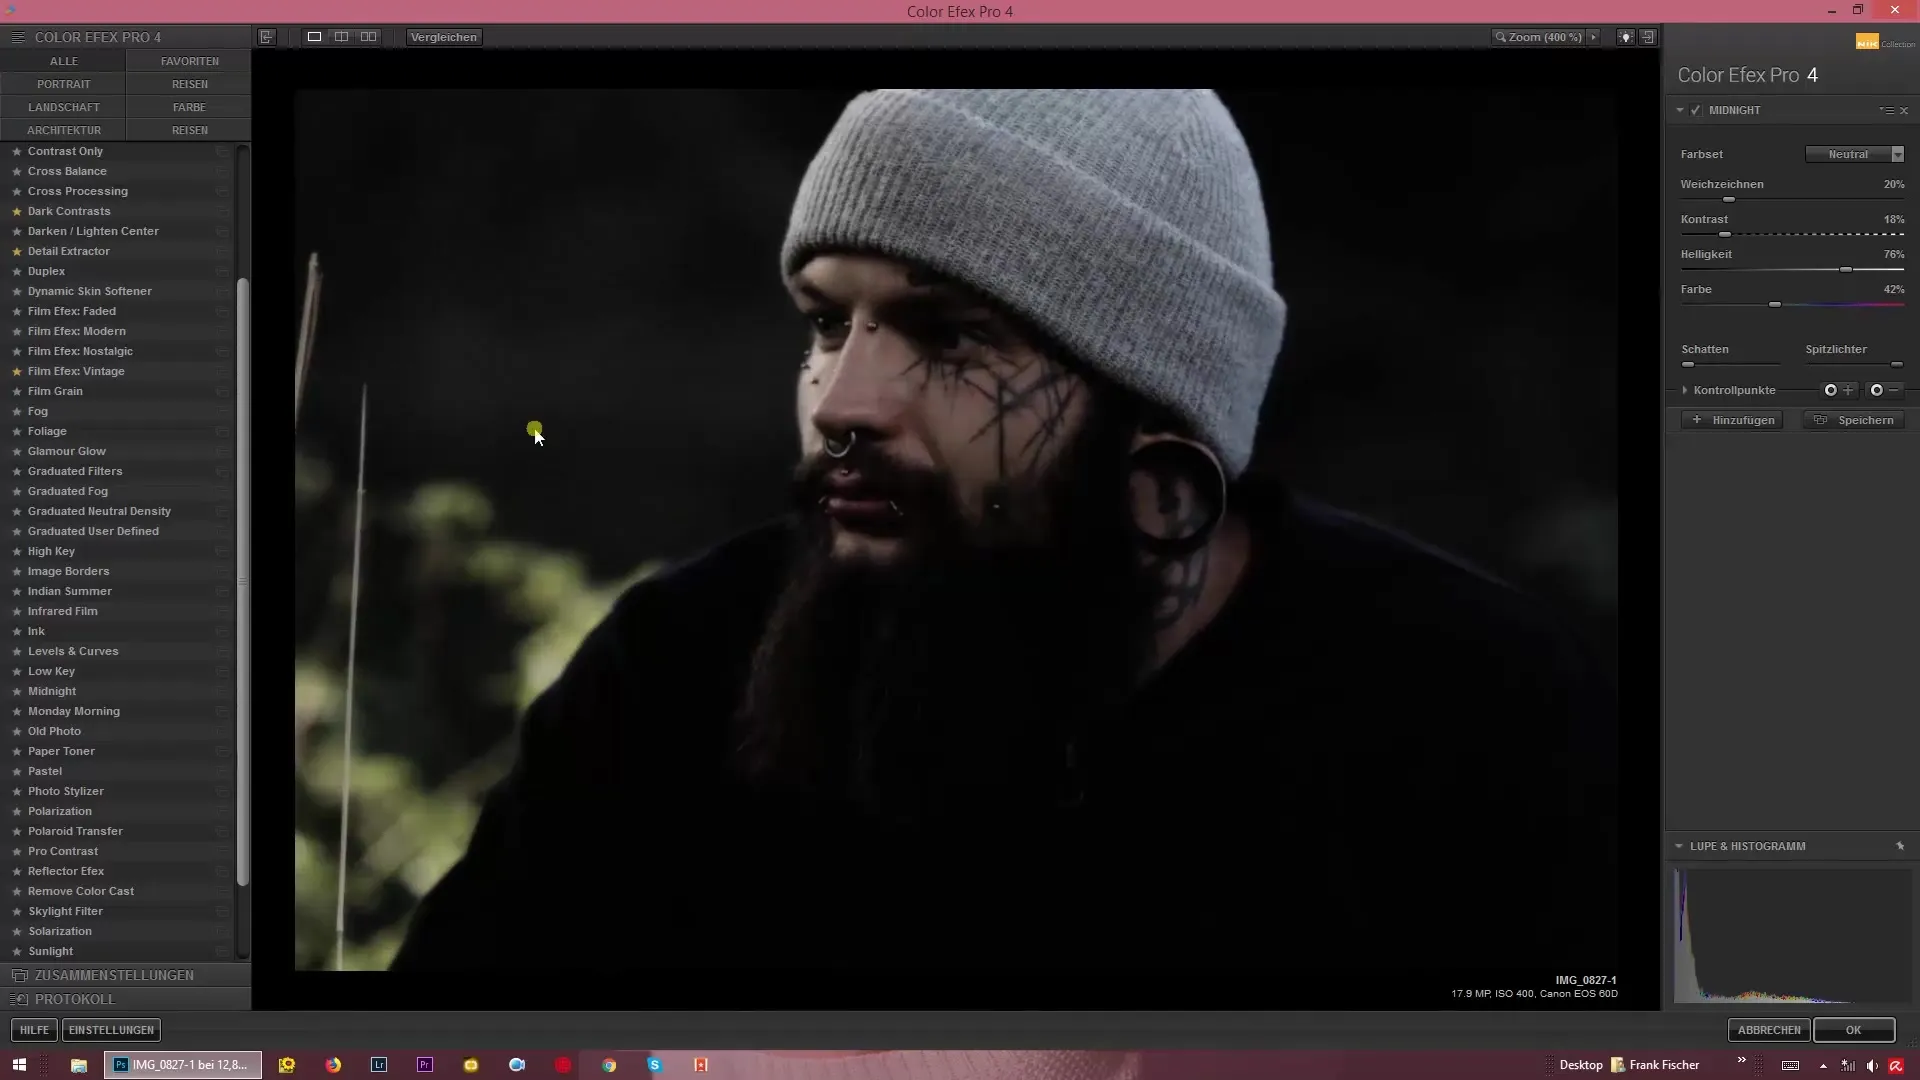
Step 7: Adjusting Glow and Hue
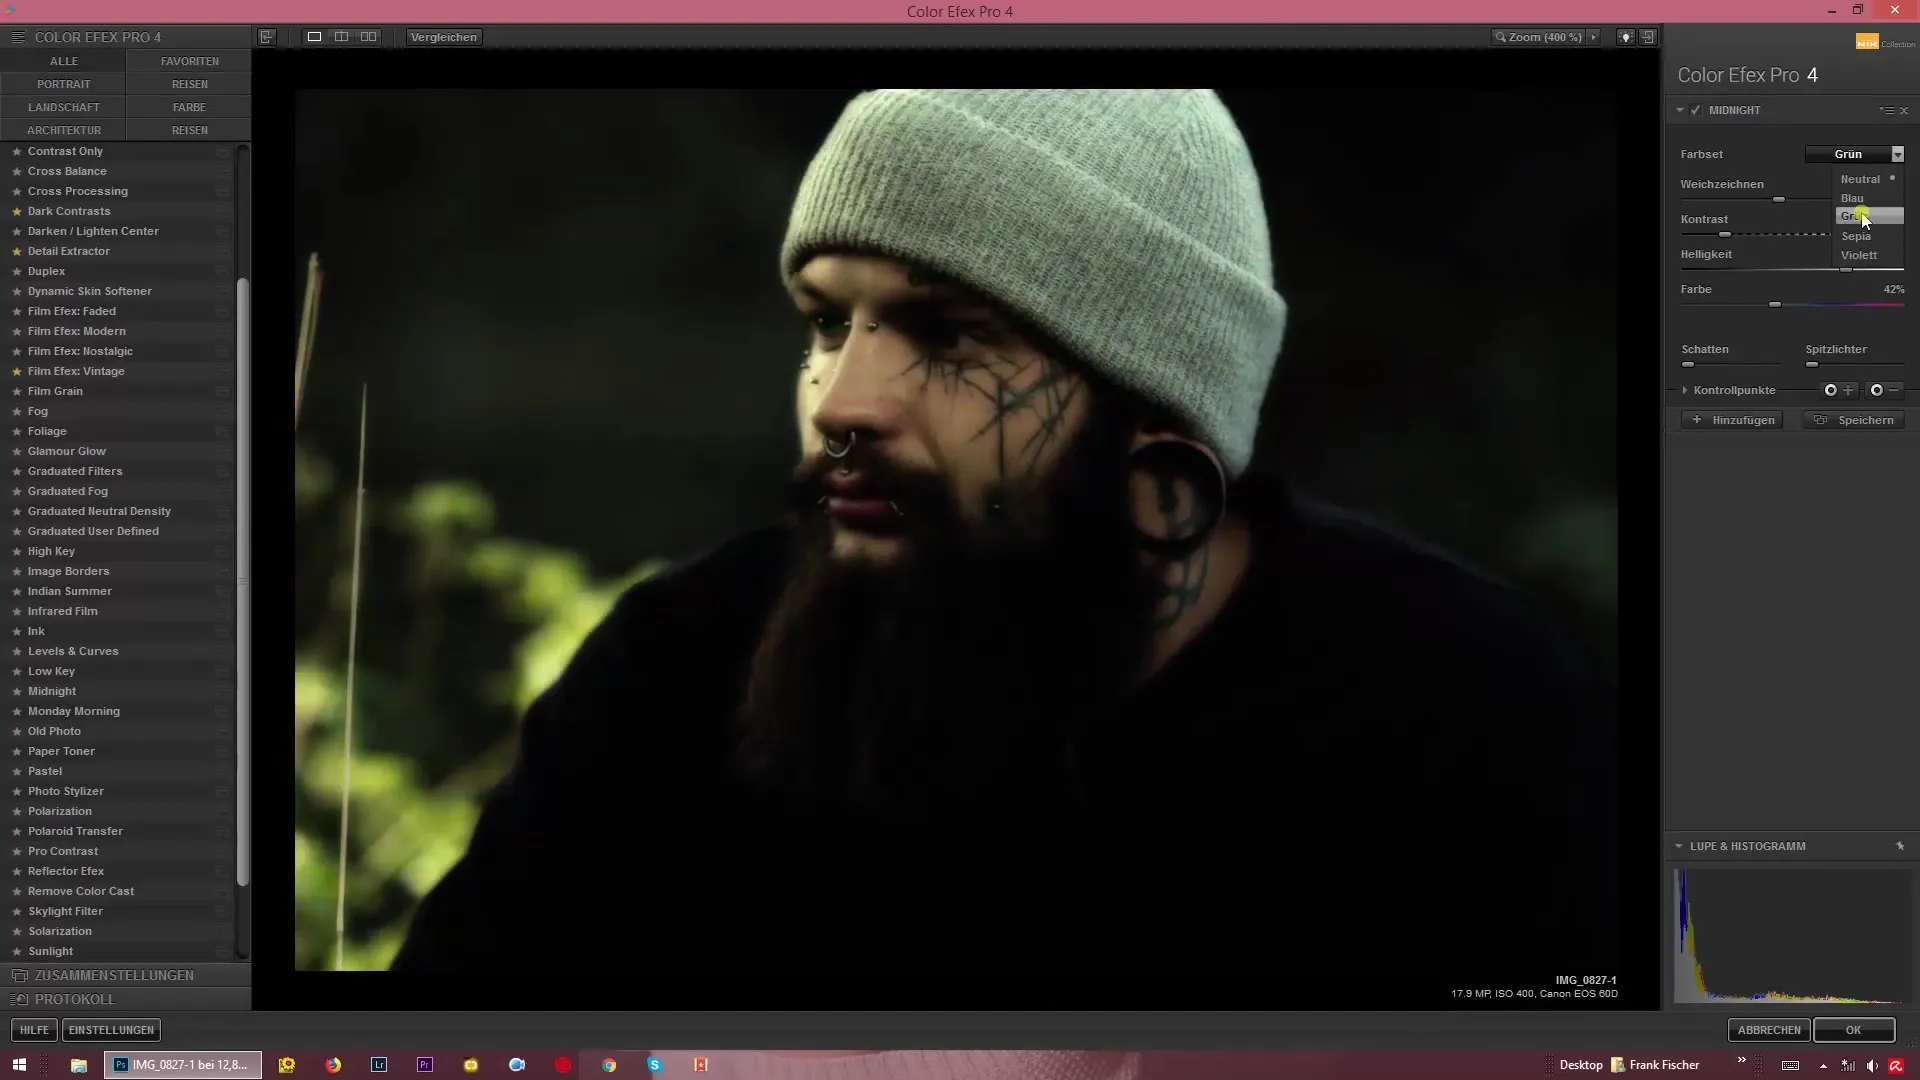
You have the option, like a painter, to change the color nuances of your image. Experiment with different hues such as blue, green, or violet to tailor the mood accordingly. This gives your image the special “Midnight” character.
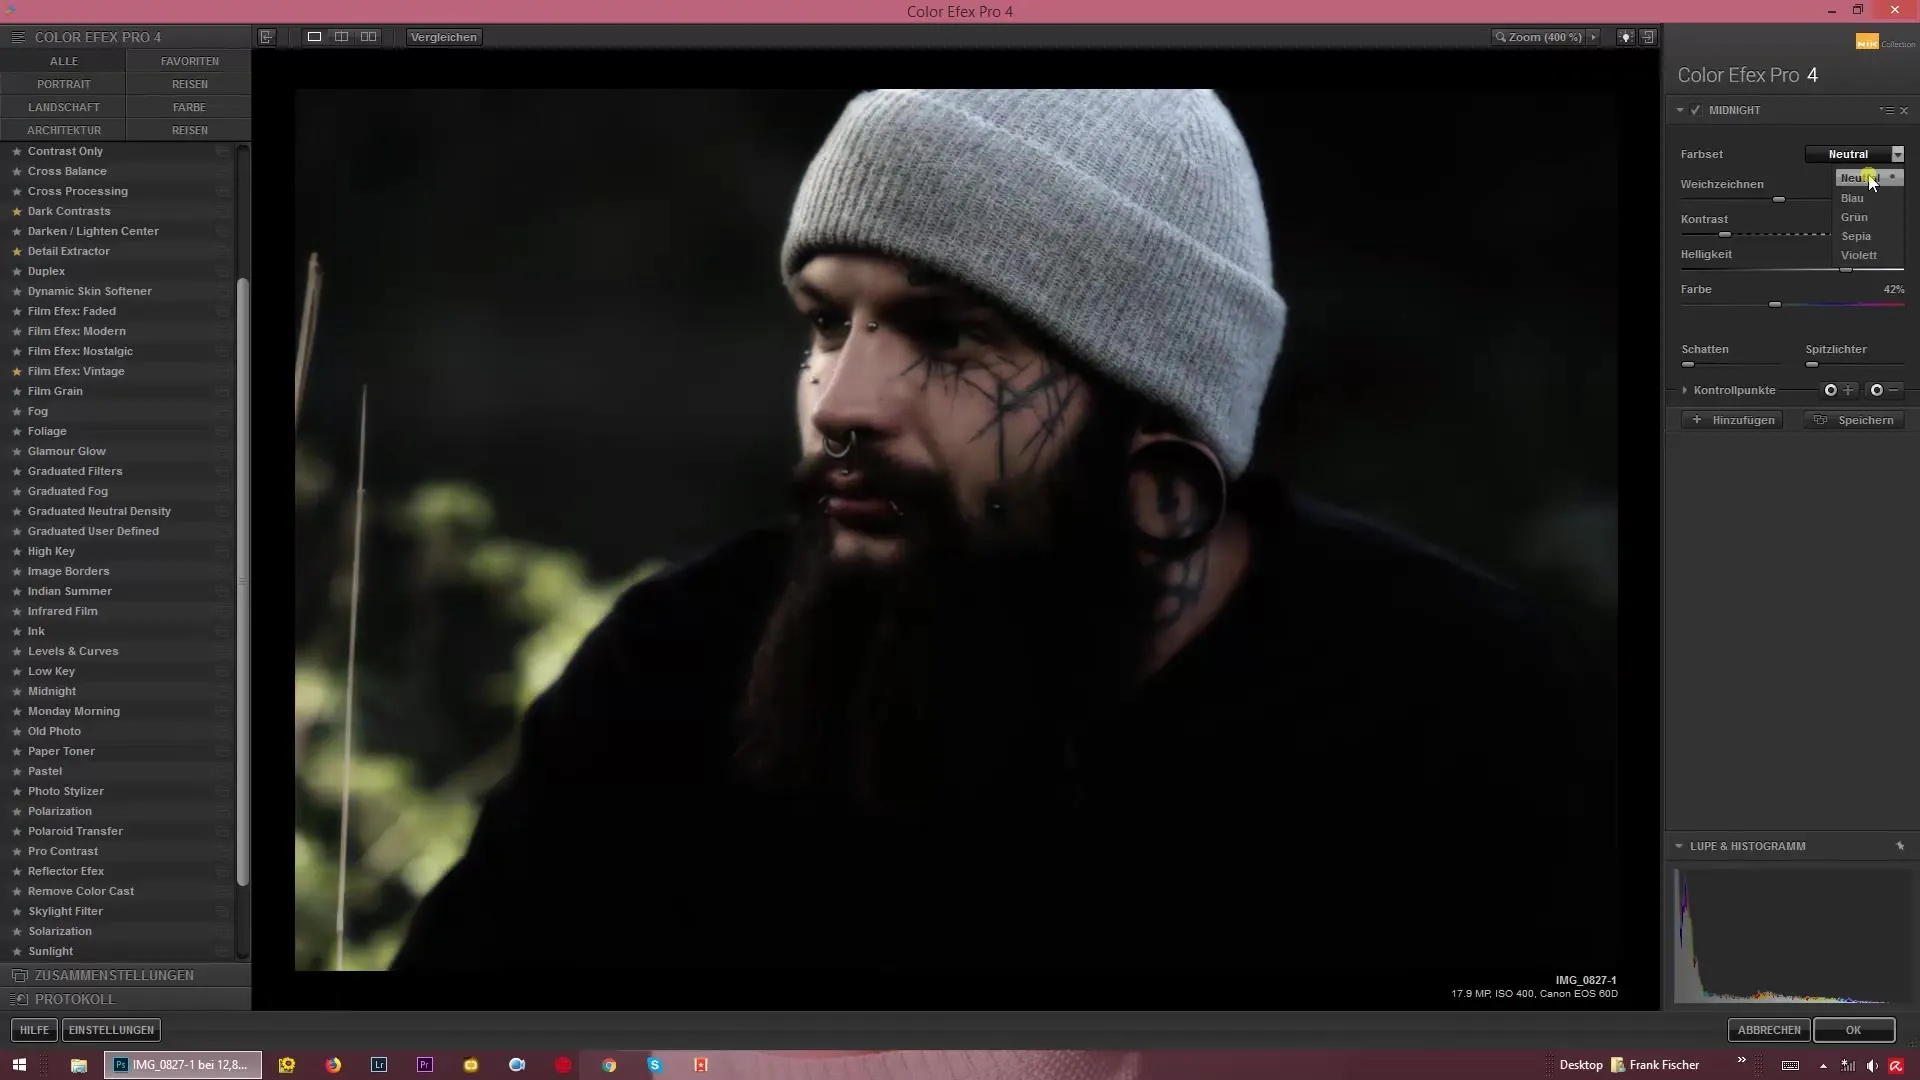
Step 8: Previewing Changes
Use the preview feature of Color Efex Pro 4 to see the changes instantly. This allows you to try out various color and brightness settings without applying them permanently.
Step 9: Saving the Final Look
Once you are satisfied with the adjustments and have achieved the desired “Midnight” look, you should save your image. Be sure to keep the original file in case you want to make changes later.
Summary – Moonlight Effects with Color Efex Pro 4 – How to Create the “Midnight” Look
The creationof a “Midnight” look with Color Efex Pro 4 is a creative process that allows you to significantly change the atmosphere of your images. With targeted adjustments of blur, contrast, and color saturation, you can create mystical, nighttime landscapes – all without nights filled with moonlight.
FAQ
How do I load my image into Color Efex Pro 4?Open Color Efex Pro 4, and load your image via the menu.
What effect does the blur slider have?It gives the image a soft, almost dreamy glow.
Can I see a preview of the filter adjustments?Yes, the preview feature shows you the changes instantly without applying them.
Do I need to reset the settings for each image?Not necessarily, you can use similar settings for similar images and then make slight adjustments.
Can I also use the filter for daylight images?Yes, the filter can also be applied to daylight images if you want to create a special mood.
