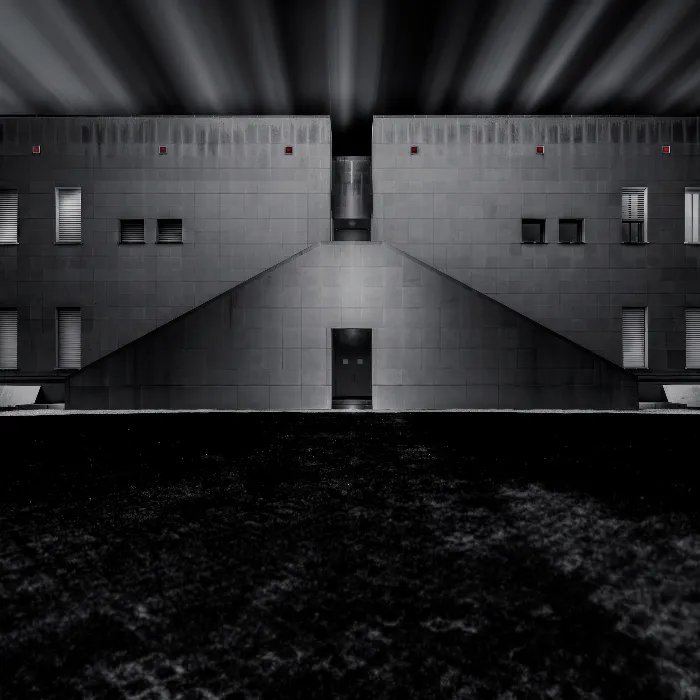
In this chapter, you will deal with correcting image flaws that you may have encountered during editing. Especially important are the halos that occur due to strong light-dark contrasts. You will also learn how to refine light and shadow effects in your images using the dodge & burn technique. Consider these guidelines as tools to significantly improve the quality of your architectural photographs.
Key Insights
- Halos are image flaws that occur at strong light-dark transitions and should be removed in image editing.
- The dodge & burn technique can be used to subtly brighten or darken specific areas of the photo to optimize the overall impression of the image.
- Precision is crucial in image editing. Correcting halos and applying the dodge & burn technique requires a good eye for detail.
Step-by-Step Guide
1. Identify Halos and Prepare the Image
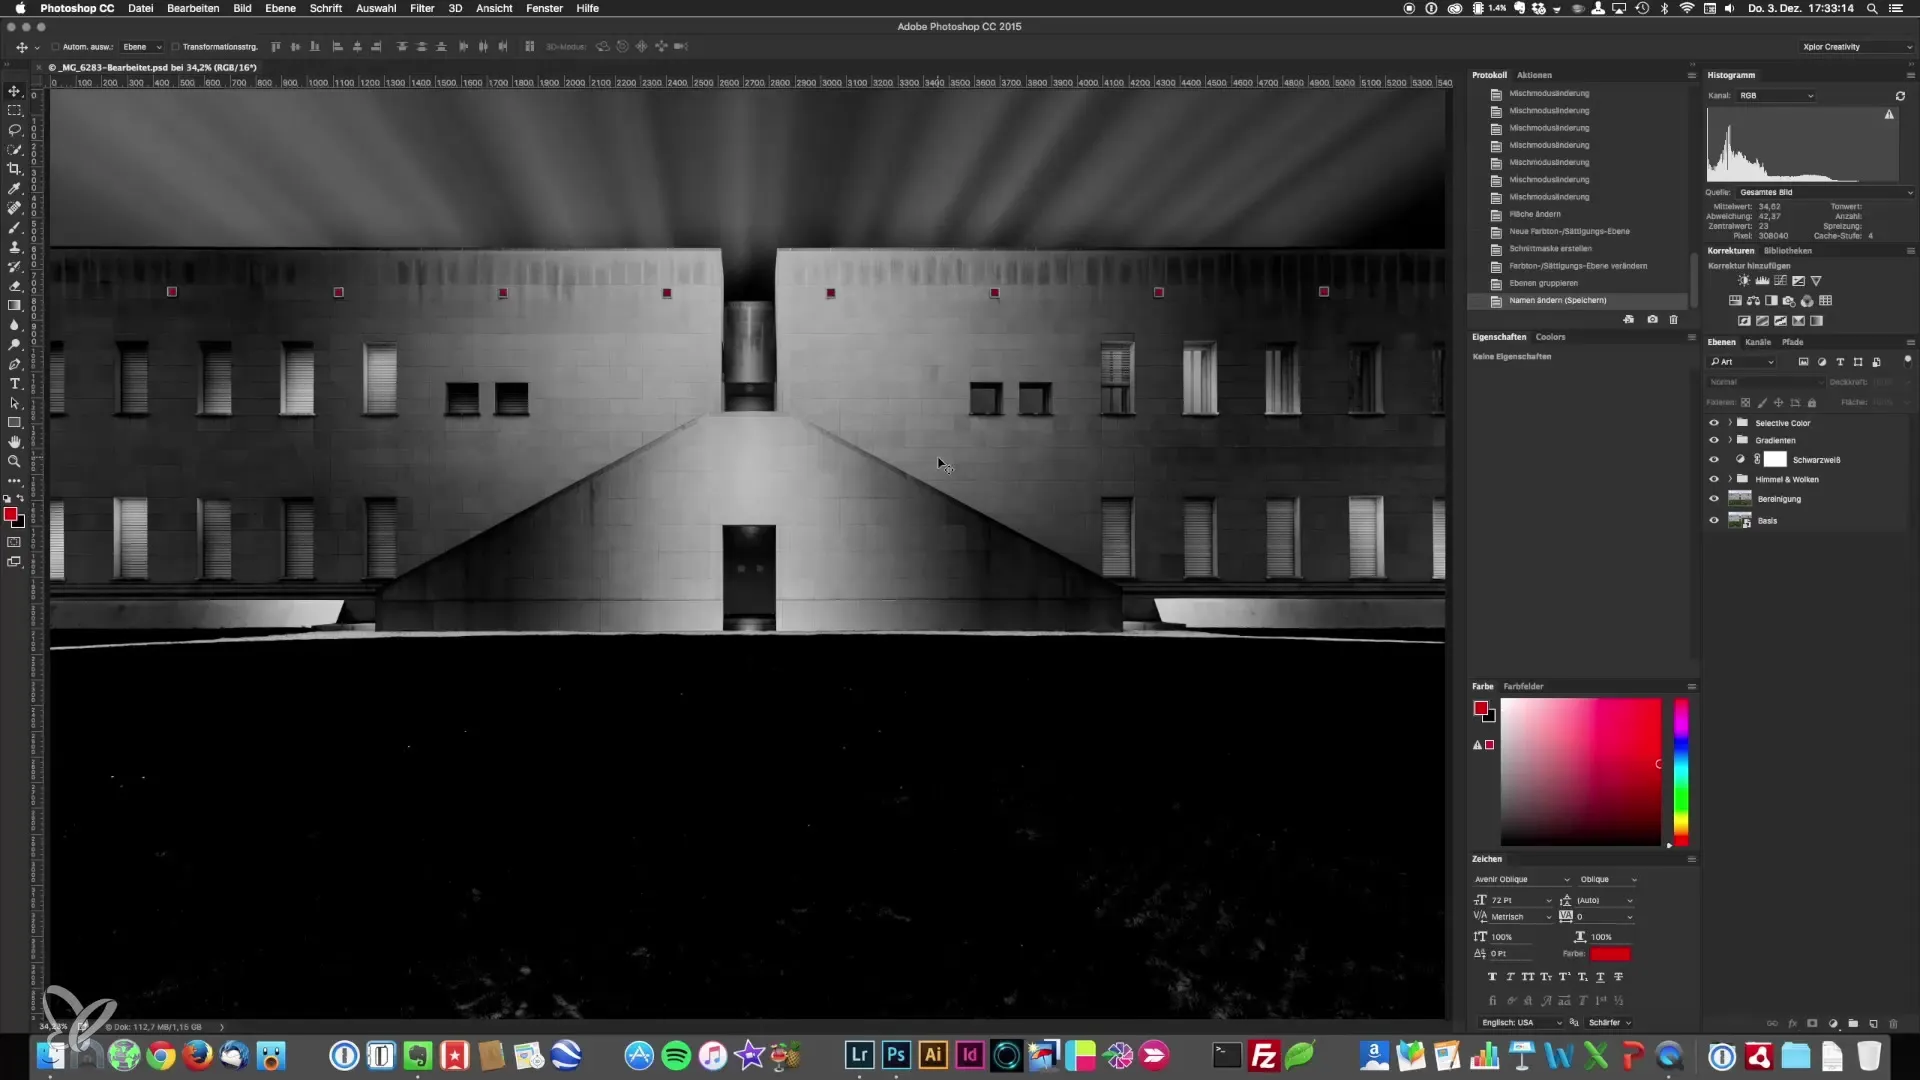
Start by checking your image for any halos. These are often visible at edges where strong light-dark contrast exists. In zoom view, you may not see all the problems, so you should also look at the image in a larger view. Before you begin correcting, make sure that all previous edits are satisfactory and that no existing layers need to be modified, as you will need a new image layer to remove the halos.
2. Create a New Image Layer
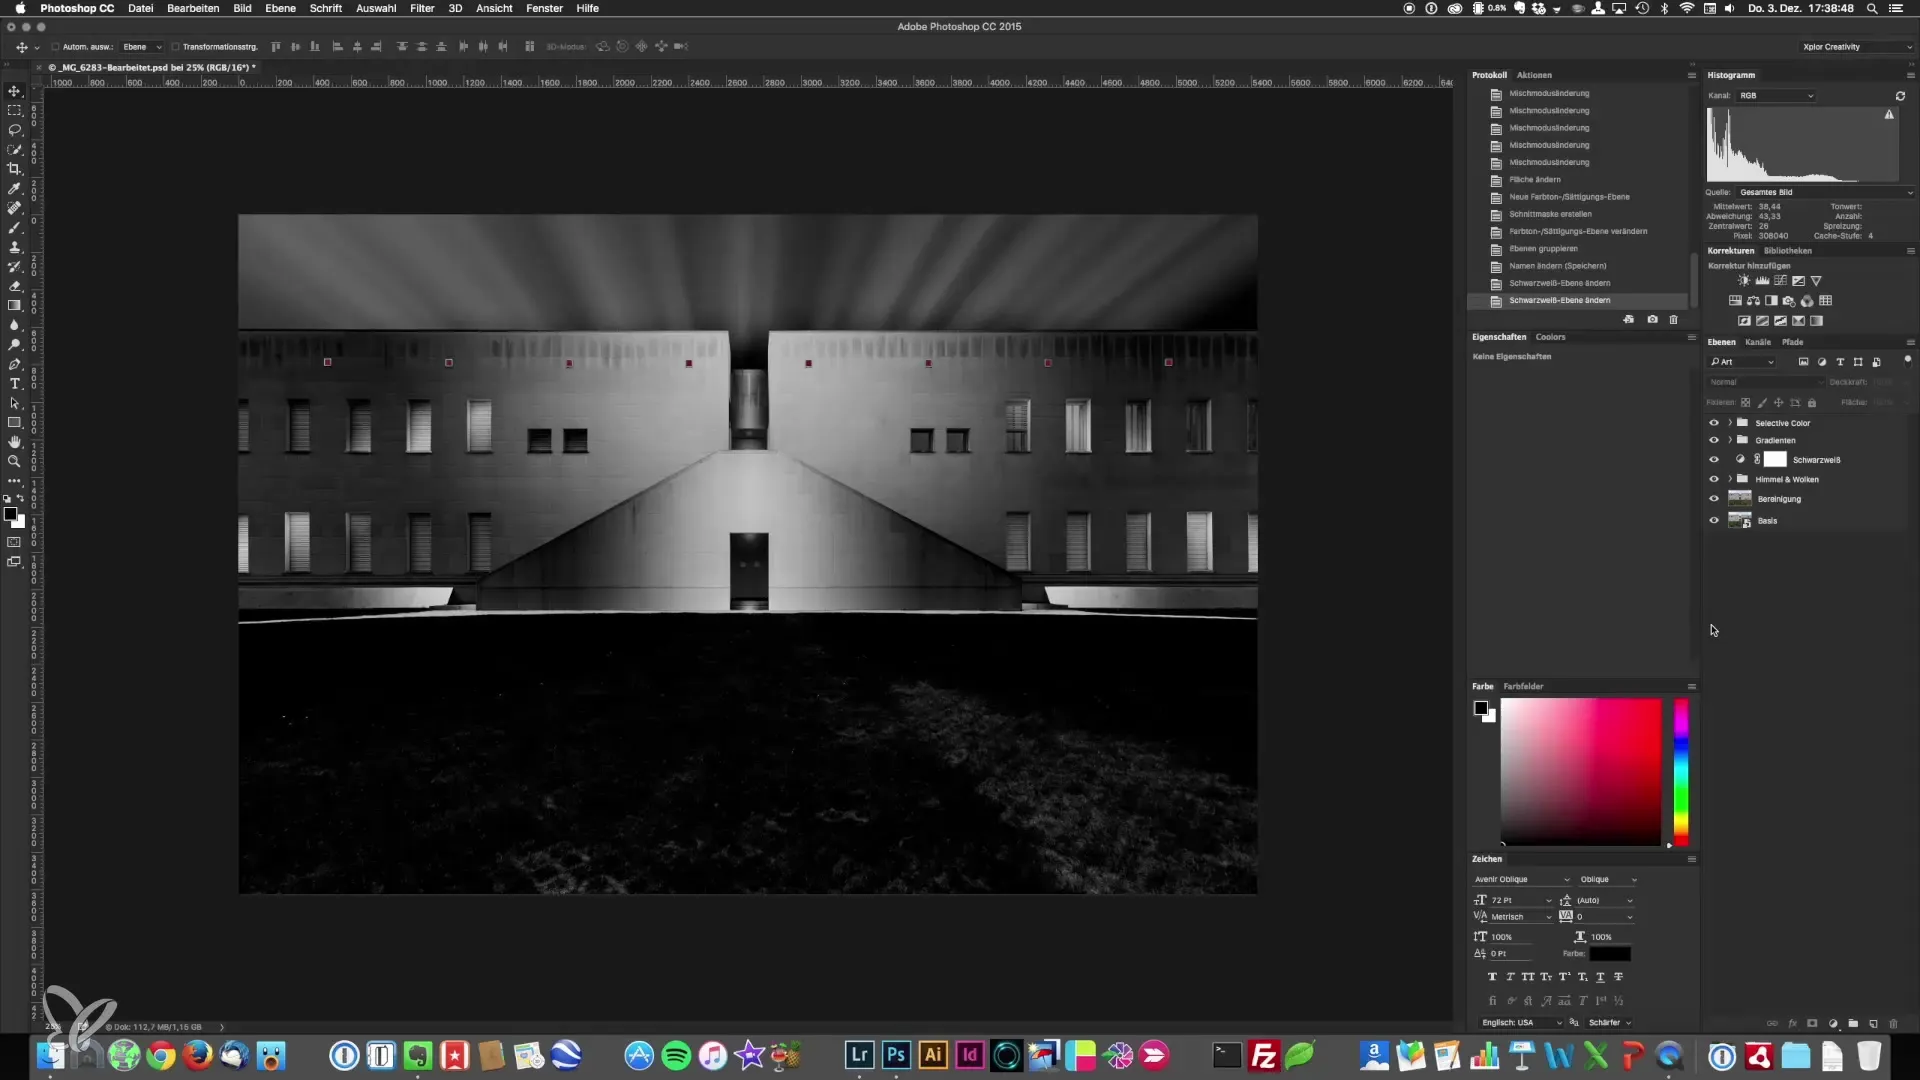
To correct the halos, press the keyboard shortcut Command + Alt + Shift + E. This merges all information from the current layers into a new layer. Name this new layer in a way that you can easily identify it, for example, "Final Cleanup".
3. Correct Halos with the Clone Stamp
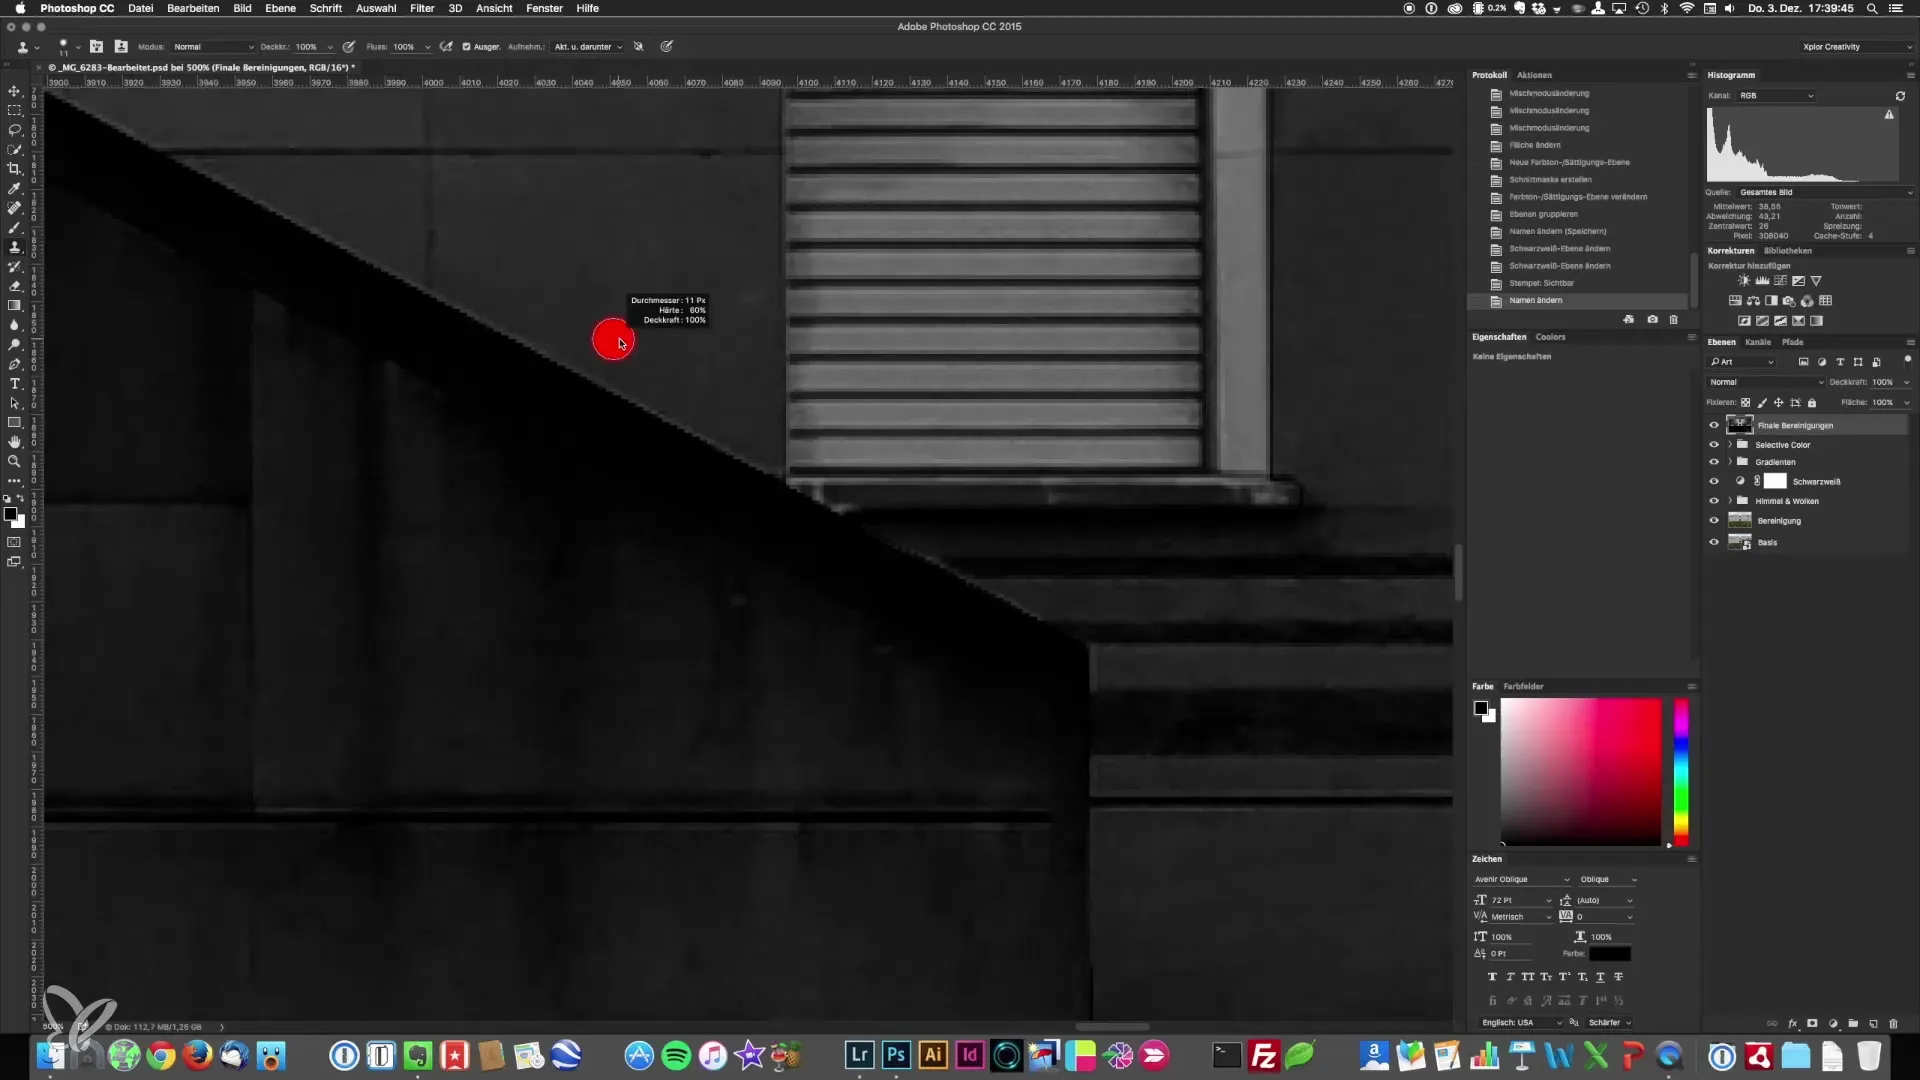
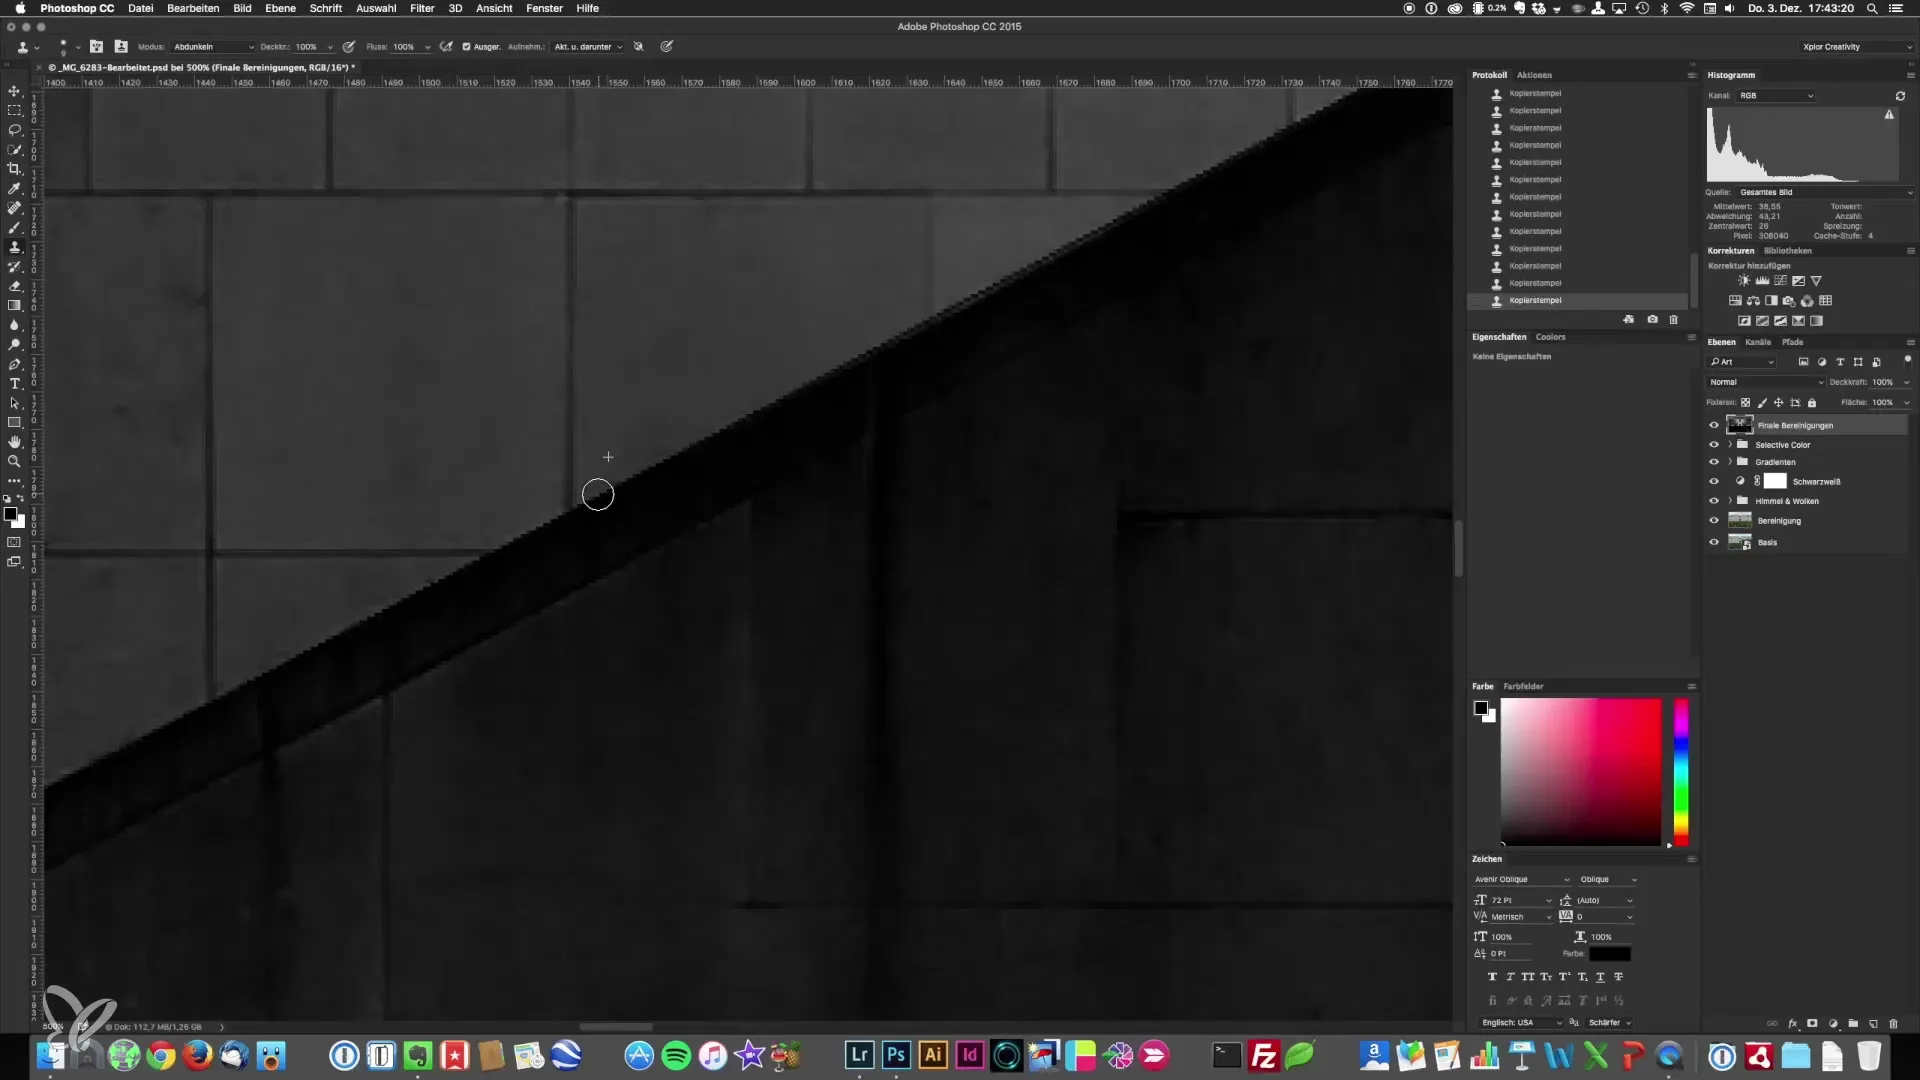
Select the clone tool and make sure you have the blending mode set to "Darken". This allows you to specifically soften the bright edges without affecting darker areas. Simply set the reference point over the bright spot and paint over the halos. It is important to do this in small movements to achieve a natural result.
4. Adjust Halos in Various Areas
Be patient and proceed step by step. Make sure not to cover all edges; focus only on the halos that are actually bothersome. It is not necessary to make everything perfect – use your eye to decide what can be removed and what should remain.
5. Review the Results
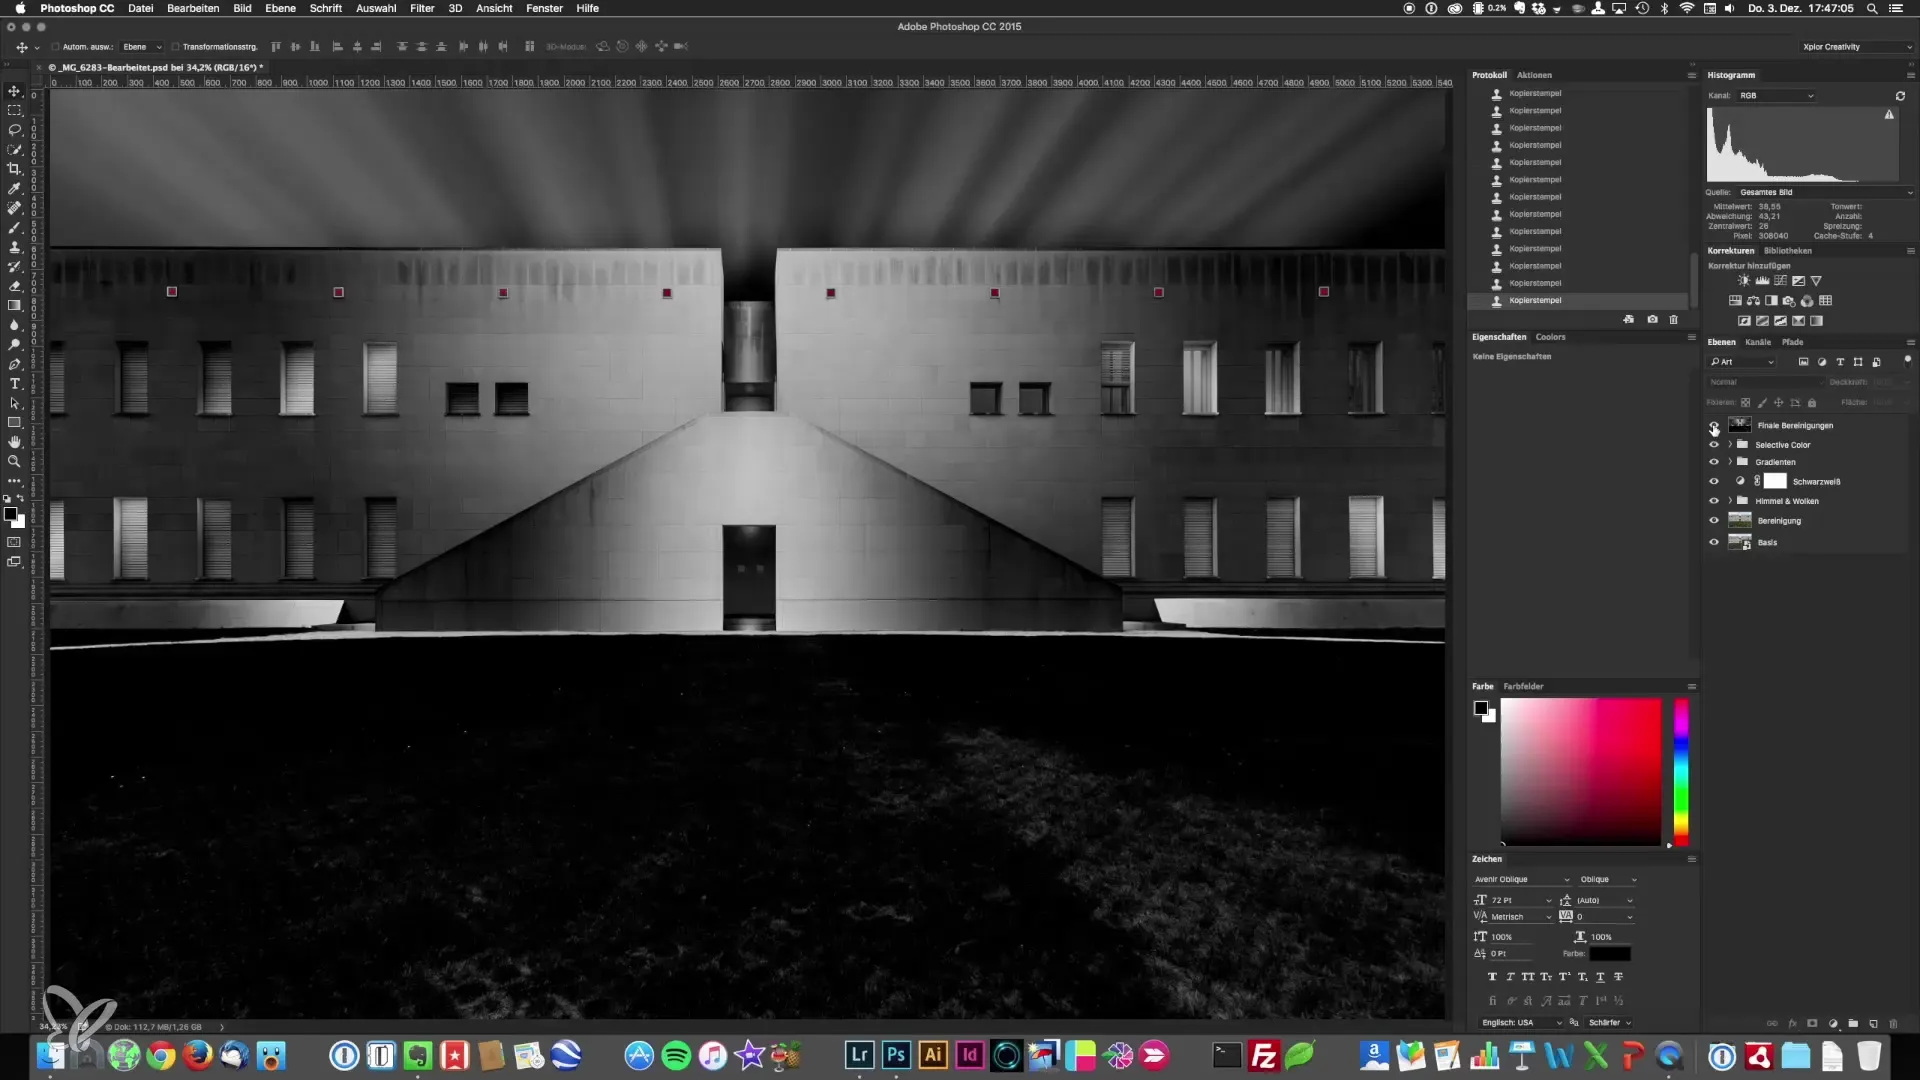
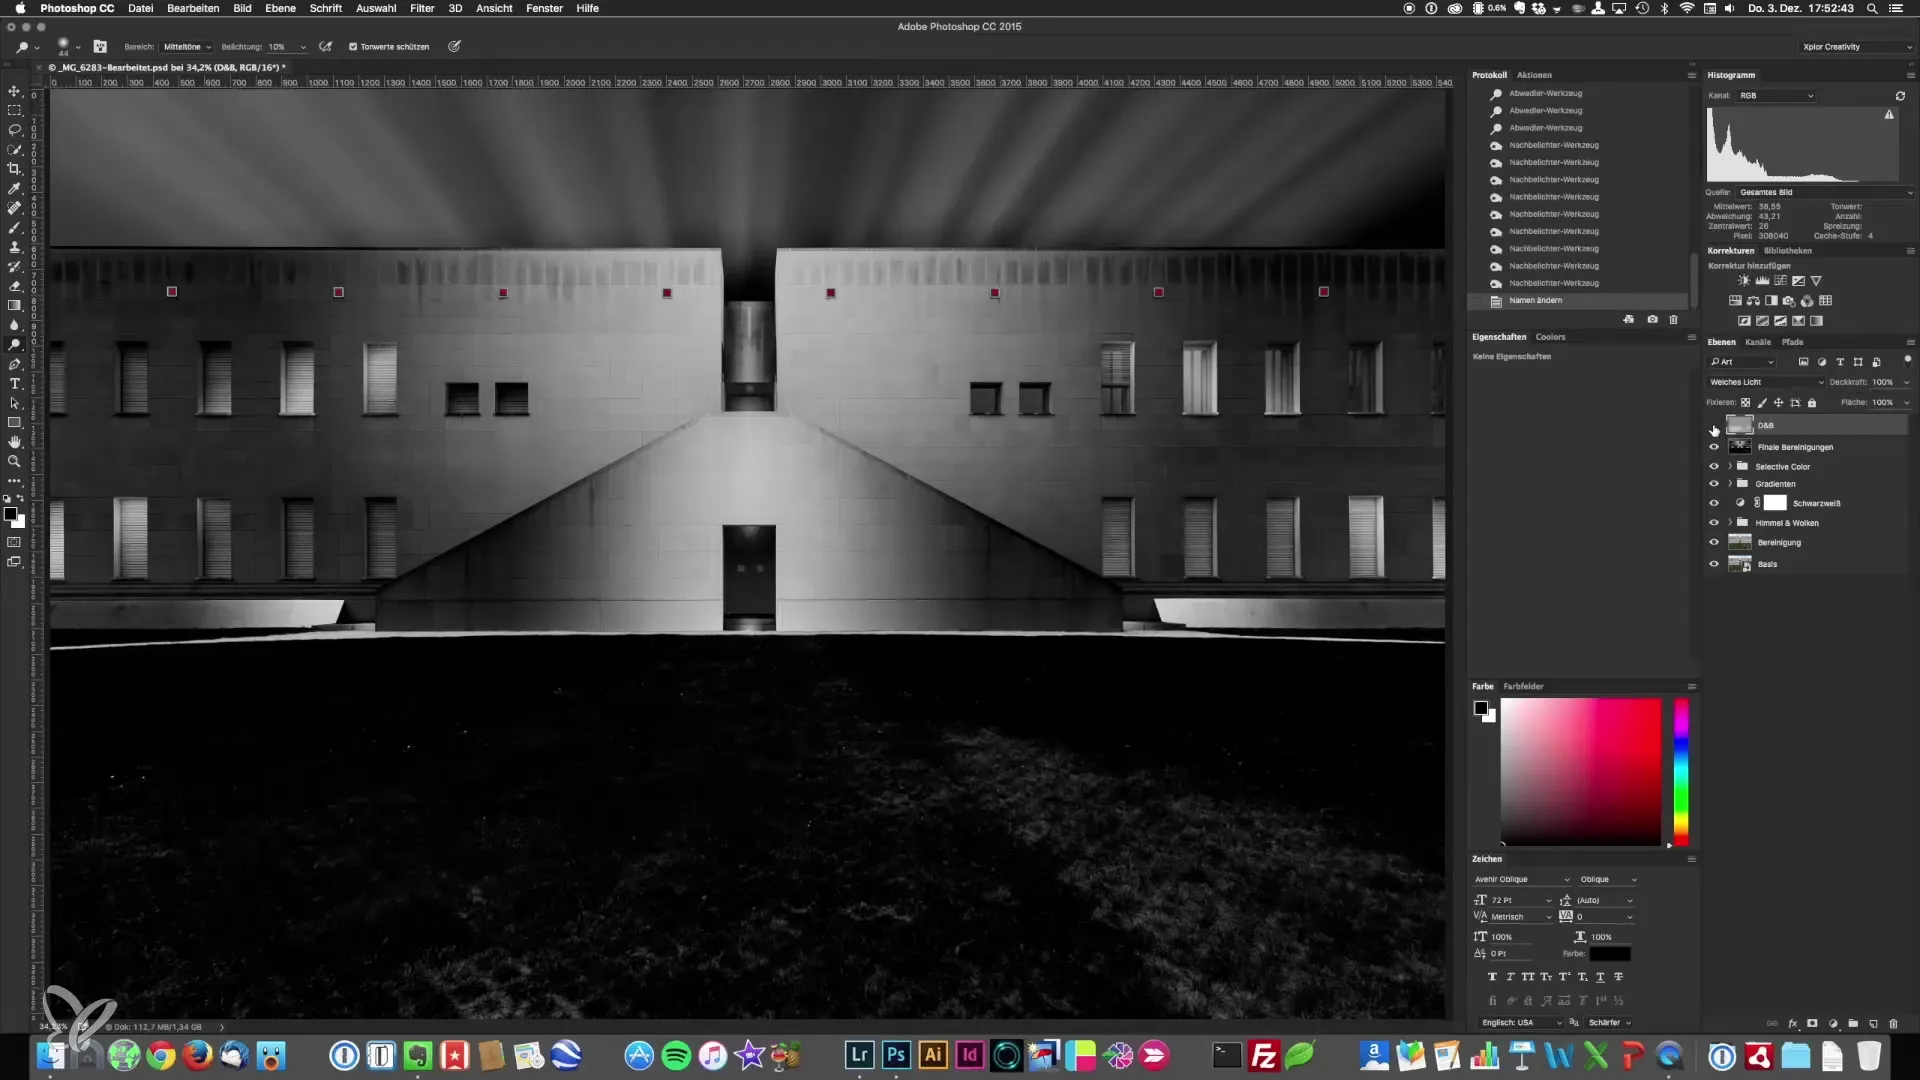
Toggle the layers on and off to see how the correction has changed your image. Pay attention to whether the image quality has actually improved by removing the halos. Scroll through the image to ensure that all bothersome areas have been edited.
6. Introduction to the Dodge & Burn Technique
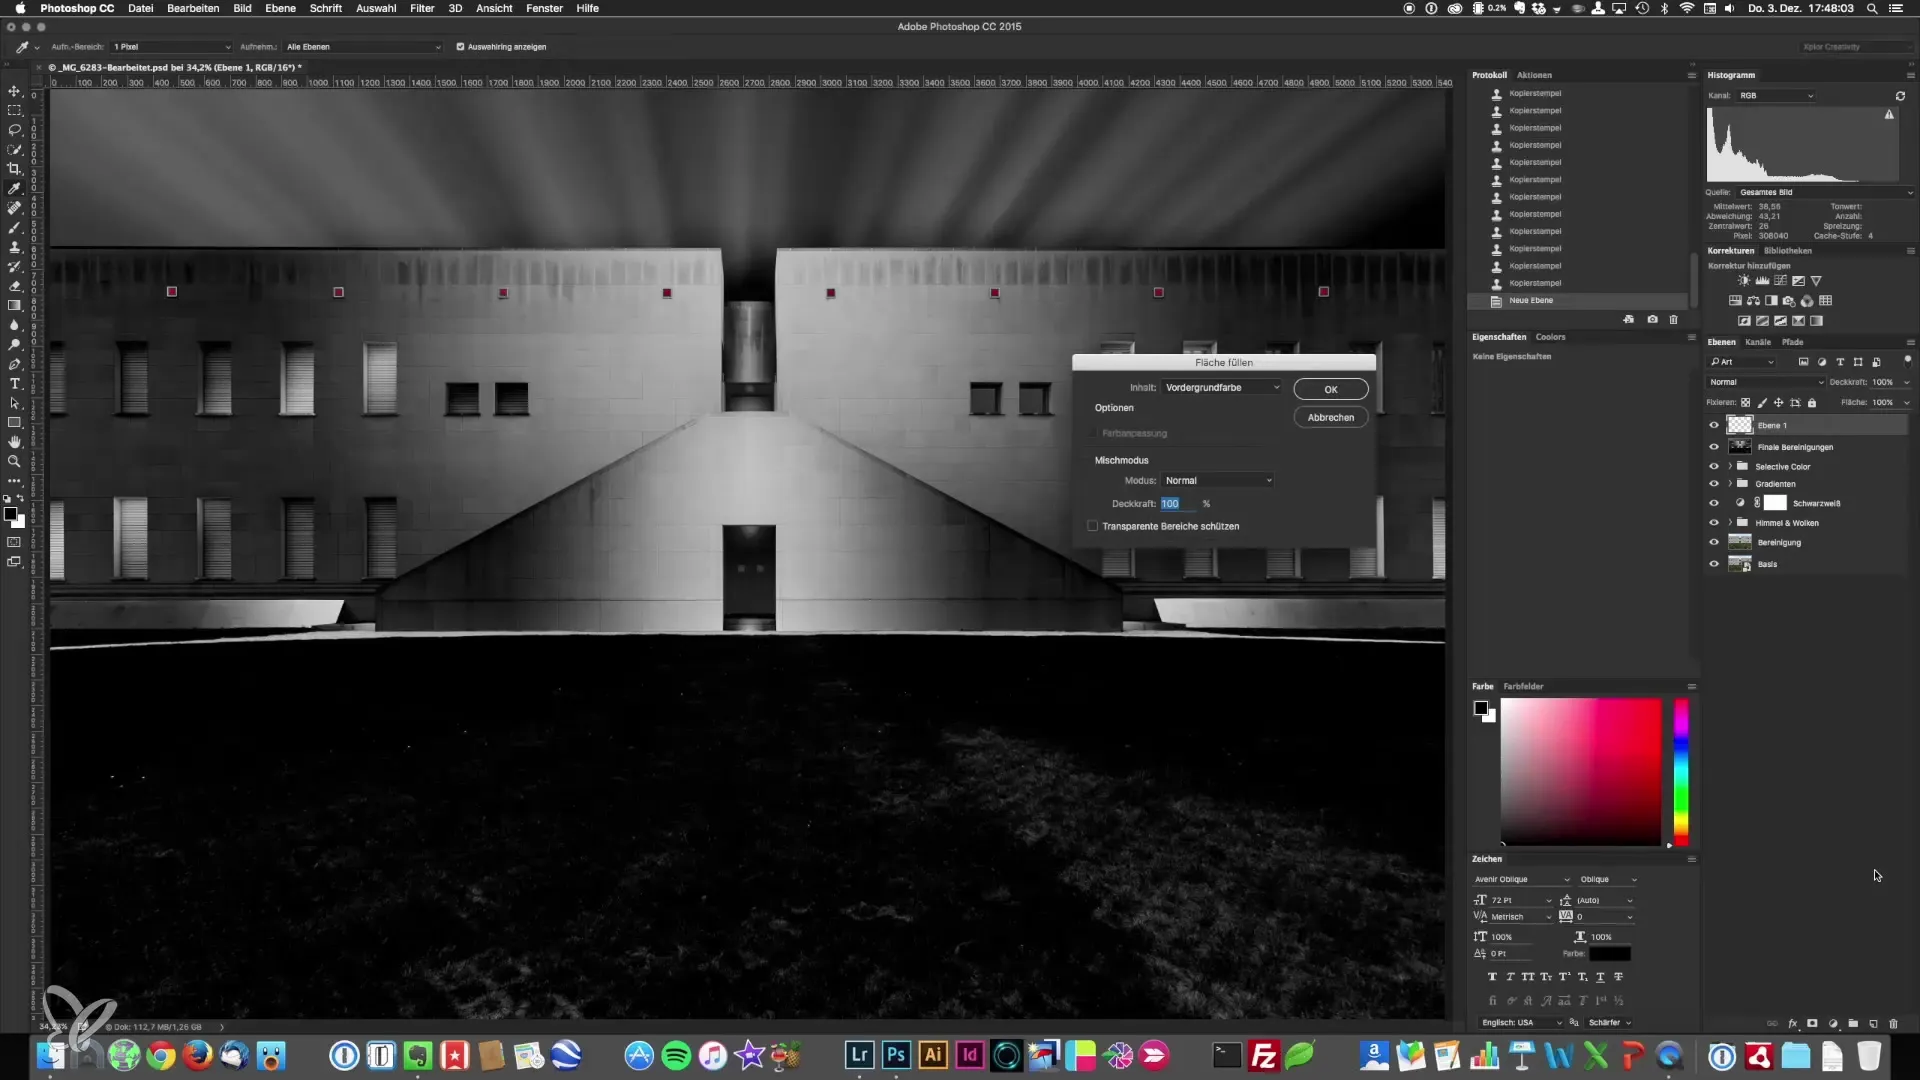
Once you have eliminated the halos, it’s time to apply the dodge & burn technique. This technique allows you to specifically lighten or darken certain areas of the image to emphasize depth and structure. Again, create a new layer by pressing Shift + F5 and select 50% gray for this layer with the blending mode "Soft Light".
7. Using the Burn and Dodge Tools
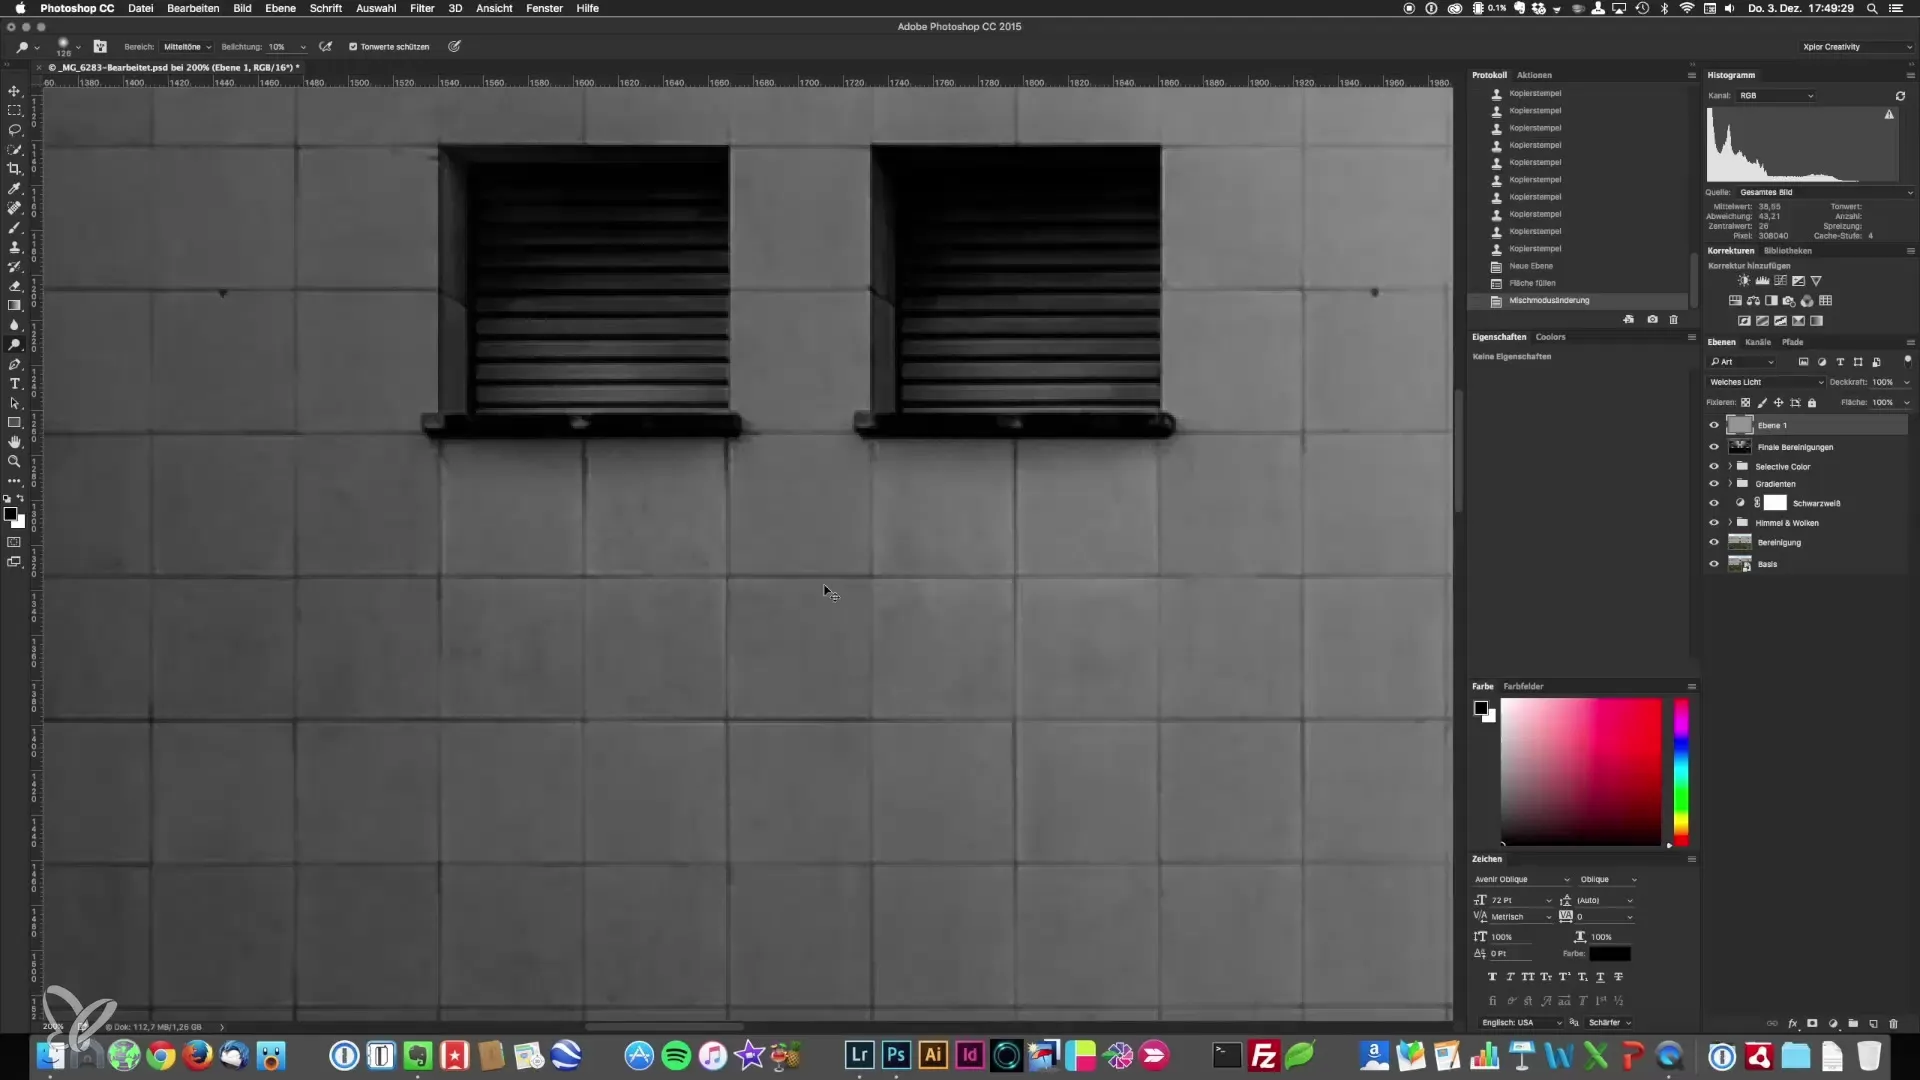
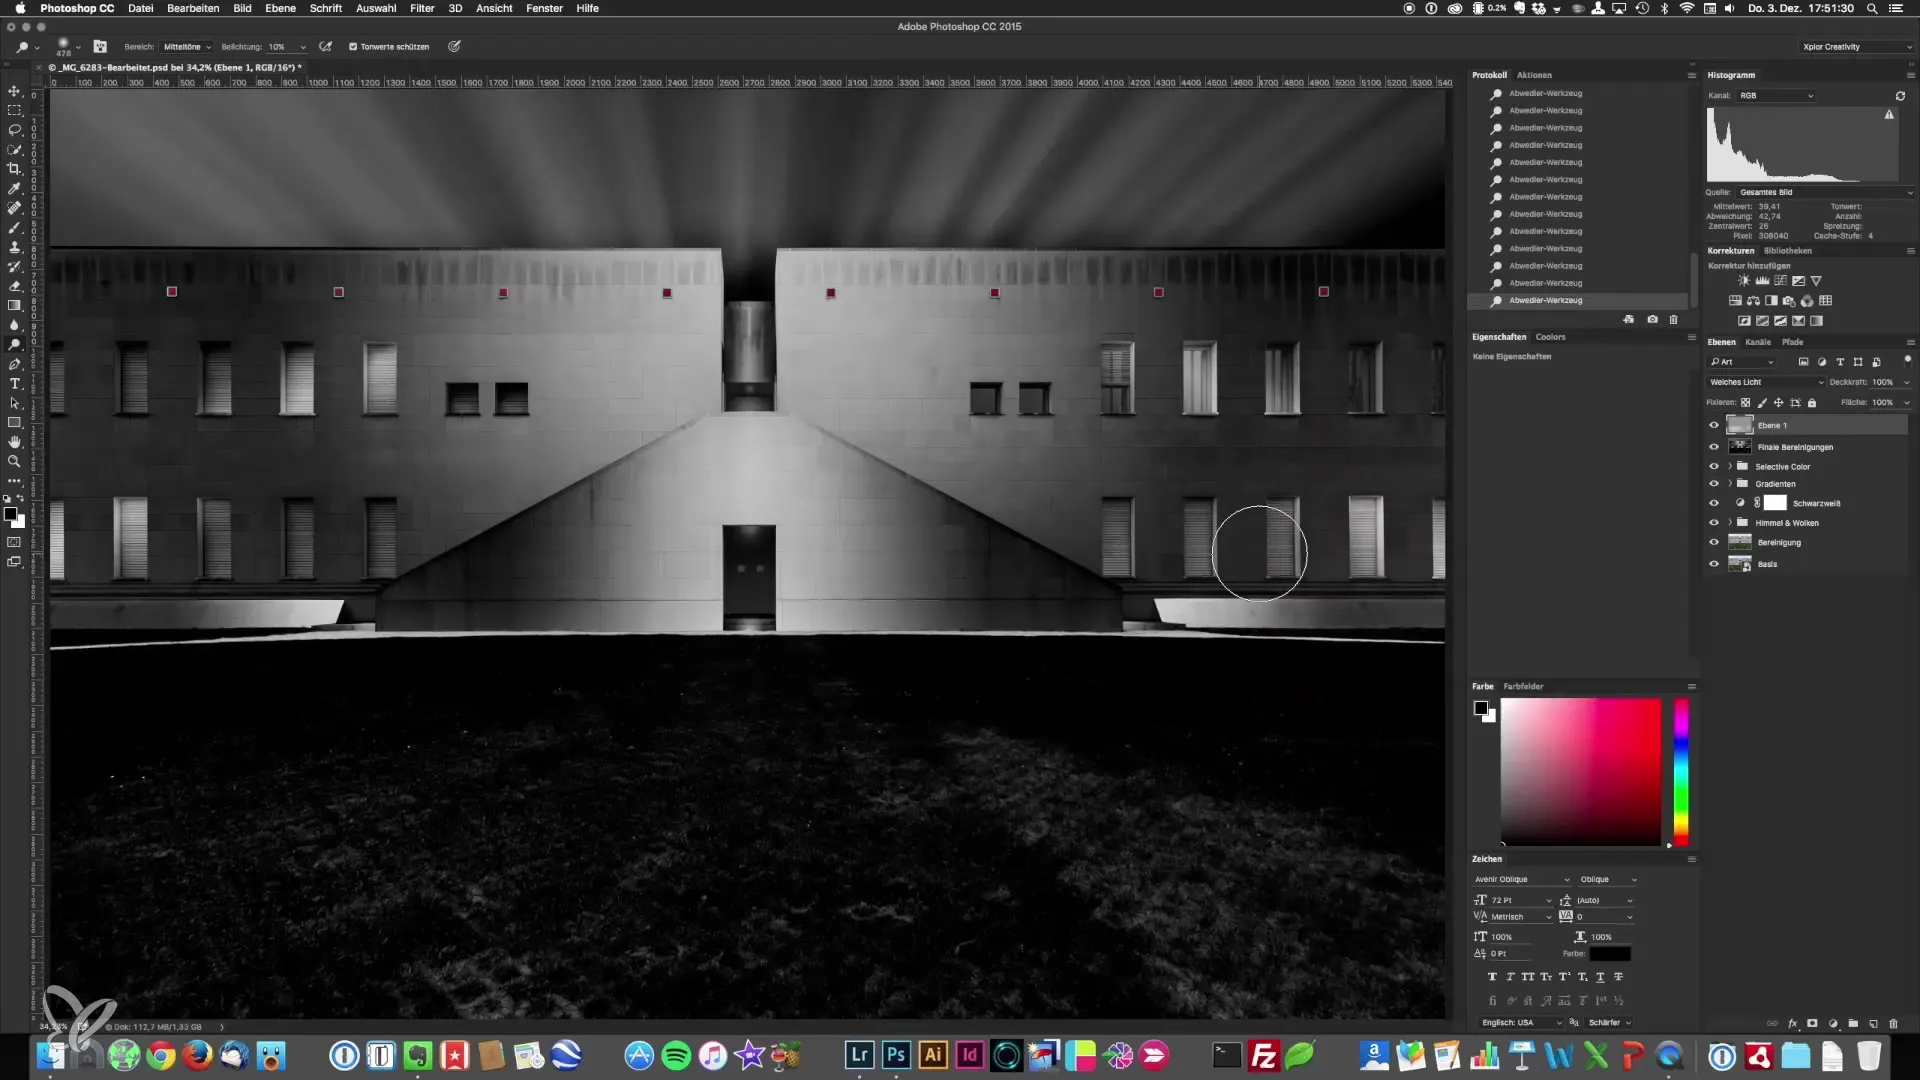
Now, select the burn tool. Remember to hold down the Alt key to quickly switch between burn and dodge. Work with low exposure values (a maximum of 10-15%) to maintain control over smaller adjustments. You can paint over the areas you want to enhance or darken to emphasize highlights or deepen shadows.
8. Fine-Tuning and Detail Cleaning
Go through the various areas of the image and refine your adjustments. Continuously check the current status by toggling the changes on and off. Pay particular attention to areas where the contrast is not clear enough or where certain details need more brightness or darkness.
9. Final Check and Export of the Image
When you are completely satisfied with your editing, do a final review of the entire image and check the details. Export the image in the desired quality, perfect for print or digital presentation.
Summary – Architectural Photography: Correcting Halos and Dodge & Burn
By using precise image editing techniques such as correcting halos and applying dodge & burn, you can significantly enhance the quality of your architectural photographs. With some practice, you will recognize which changes enhance the image's impact and which details need to be brought out.
Frequently Asked Questions
How do I recognize halos in my image?Halos often occur at edges where strong light-dark contrasts exist.
How can I best correct halos?Use the clone stamp tool in combination with the darken blending mode to close bothersome light edges.
What is the dodge & burn technique?Dodge & burn is a technique that allows you to target specific areas of the image to make them lighter or darker.
How long does it take to correct halos in an image?The duration depends on the image, but on average, you should plan for a few minutes for the correction.
Can I use these techniques on other types of images?Yes, the techniques are universally applicable and can also be used in other photography genres.
