
Black and white image editing in Photoshop: Architectural photo

- 14 lessons in 4.5 hours of video training on fine art image editing of architectural photos
- With Lightroom and Photoshop from a color architectural photo to a fine art work in black and white
- Get to know the complete workflow of a professional and follow his train of thought
- For practical learning and understanding of the content: including raw and Photoshop files
Art down to the very last pixel: What you need and how to go about it - master retouching at a fine-like level of excellence!
14 Videos, 271 minutes
Introduction
Architectural photography: Fine art image processing - Introduction
4 minThe introduction to the video training "Architectural Photography: Fine Art Image Editing" and some tips & hints on how to work more comfortably with Photoshop using a graphics tablet.
Raw development
Architectural photography: Fine art image editing - 1 Lens correction & basic settings
20 minIn this chapter, you will learn about basic editing with Lightroom. You will use lens correction and straighten the image before carrying out basic raw development, which will serve as the basis for editing in Photoshop.
Preparation work in Photoshop
Architectural photography: Fine art image editing - 2.1 Adjustments & corrections
29 minIn this chapter, you will learn various techniques that allow you to remove distracting image elements from your image. You will also receive tips on the basic working methods with Photoshop.
Architectural photography: Fine art image processing - 2.2 Clouds & sky
43 minIn this chapter, you will learn how to replace the sky in your image and simulate a long exposure. You will also learn how to use the drawing pencil to create precise selections in the image.
Architectural photography: Fine art image processing - 2.3 Black and white conversion
6 minIn this chapter, you will learn two different techniques to turn your color image into a black and white image. We will use black and white correction and gradient conversion to create strong contrasts.
Architectural photography: Fine art image editing - 2.4 Create & save selections
47 minIn this chapter, you will learn the important techniques for creating precise selections in your image. You will also learn how to save and combine multiple selections and how to create completely new selections from them.
Selective contrasts
Architectural photography: Fine art image editing - 3 B&W gradients & selective contrast corrections
43 minIn this chapter, you will learn how to create completely new light and shadow effects on your picture. You will also learn what influence light and shadow have on the plasticity of a surface and how you can give a surface a different look just by using different black and white gradients.
Selective Color
Architectural photography: Fine art image editing - 4 Create lighting effects
12 minIn this chapter, you will learn about the ideas behind the use of selective color (color key) as a design element. You will learn how you can use individual color elements to give your image a more dramatic look and how you can change these color elements afterwards.
Final adjustments
Architectural photography: Fine art image editing - 5.1 Correcting halos and dodge & burn
20 minThis chapter deals with the final correction of any image errors in the picture. You will also learn how to refine the light and shadow effects in the image using the dodge & burn technique.
Architectural photography: Fine art image processing - 5.2 Contrast control using a protocol brush
7 minIn this chapter, I will show you how to use the protocol brush and the options available for selective contrast control on just one layer.
Architectural photography: Fine art image editing - 5.3 Tonal value corrections & gradation curves
9 minHere you can find out how to apply tonal value corrections and gradation curves to individual selections in order to further refine the contrast of individual parts of the image.
Architectural photography: Fine art image processing - 5.4 Camera Raw
11 minTo finish off the image, we use the Camera Raw filter once again to apply global, final effects such as a vignette and partial toning of highlights and shadow areas to the image.
Architectural photography: Fine art image processing - 5.5 Sharpening & finalizing
16 minBefore the image is finished, it still needs to be sharpened. Here you will learn how to use the high-pass filter to sharpen the entire image and how to use the protocol brush to sharpen individual areas of the image.
Farewell
Architectural photography: Fine art image processing - Final words & farewell
3 minYou've done it! Your image is finished and you now know my entire workflow for creating fine art architectural photos!
You might also like
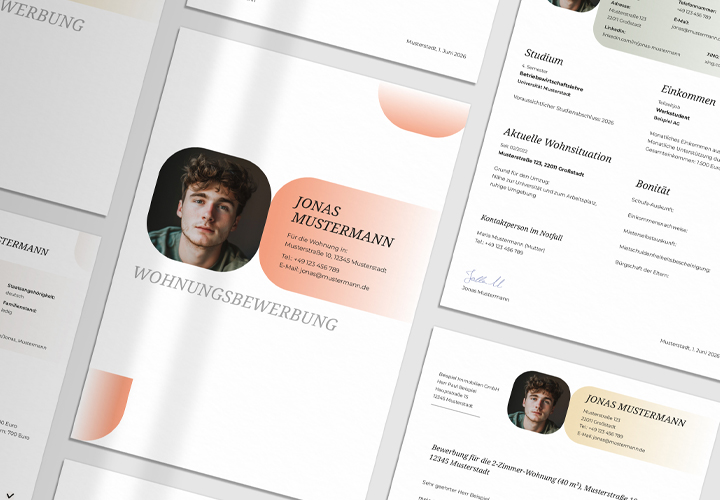
Easily customizable, quickly finished
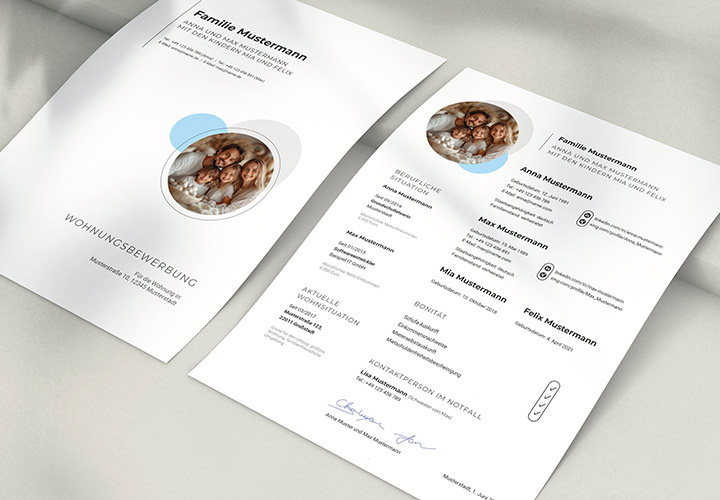
Quickly to the finished application folder
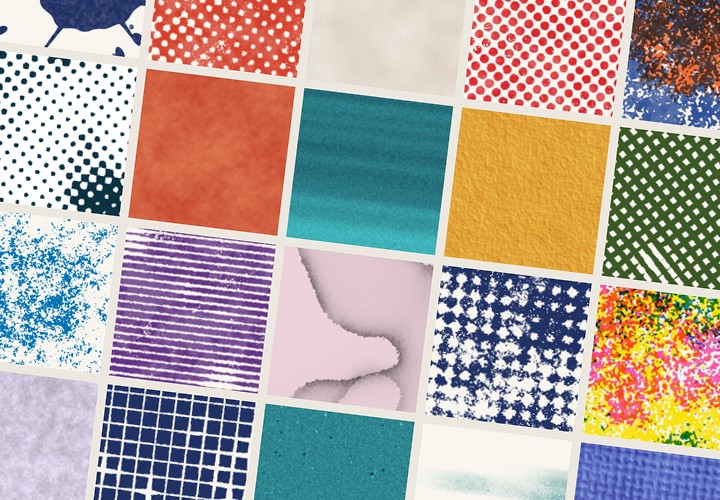
20 sets in 4K (4096 × 4096 px, 300 DPI) as JPG plus Photoshop patterns, calibrated to the fill method
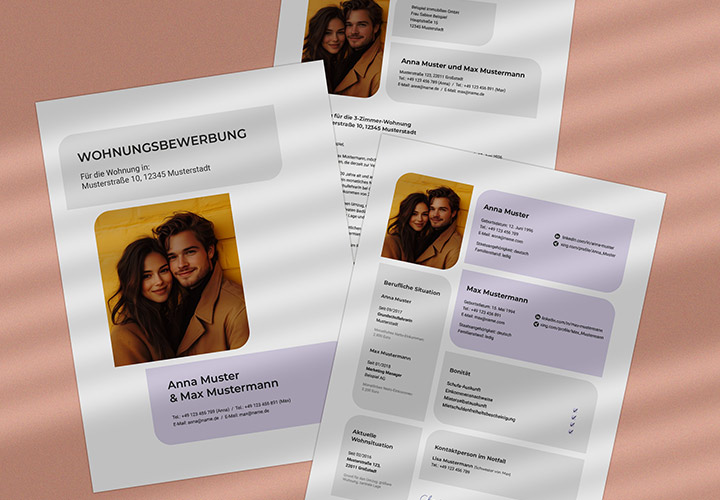
Apply today!
Comment now „Black and white image editing in Photoshop: Architectural photo“