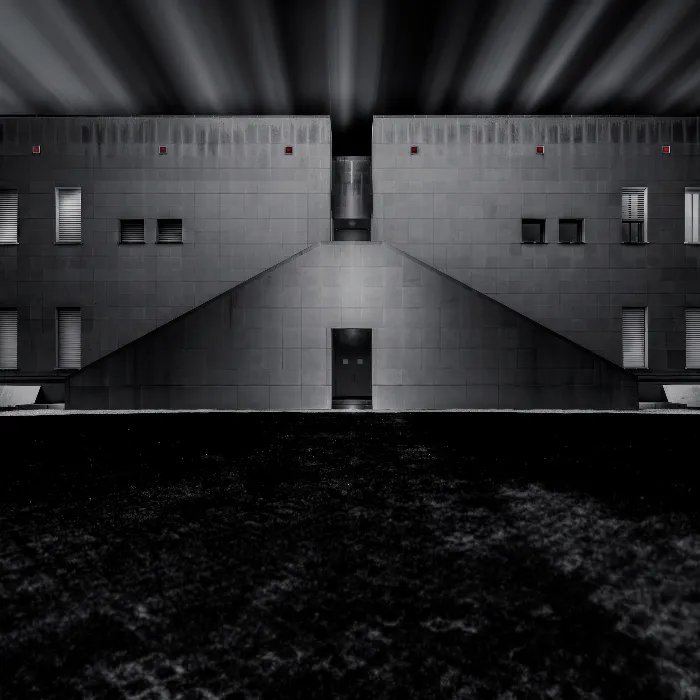
Editing skies and clouds in architectural photography is an art in itself. In this guide, you will learn step by step how to effectively replace the sky in your image and add realistic clouds. Have you ever been frustrated by a dull, gray sky that detracts from the beauty of your architectural photography? With a few targeted adjustments, you can clarify the image and give the photo a new, vibrant expression.
Key Insights
- Selections in the image are crucial for precise work.
- The use of the pen tool allows for very fine and clean edges.
- Creating clouds requires creativity, and there are several techniques for it.
- Adding noise can help avoid bending effects and unsightly transitions.
Step-by-Step Guide
Selecting and Editing the Sky
Start by opening your image in Photoshop. The sky often takes up a large part of the frame, so it's important to make your selection carefully. Use the Quick Selection Tool (Shortcut: “W”) and click and drag over the desired sky area. Photoshop will attempt to create the selection automatically. It can be helpful to zoom in on the image to check the selection.
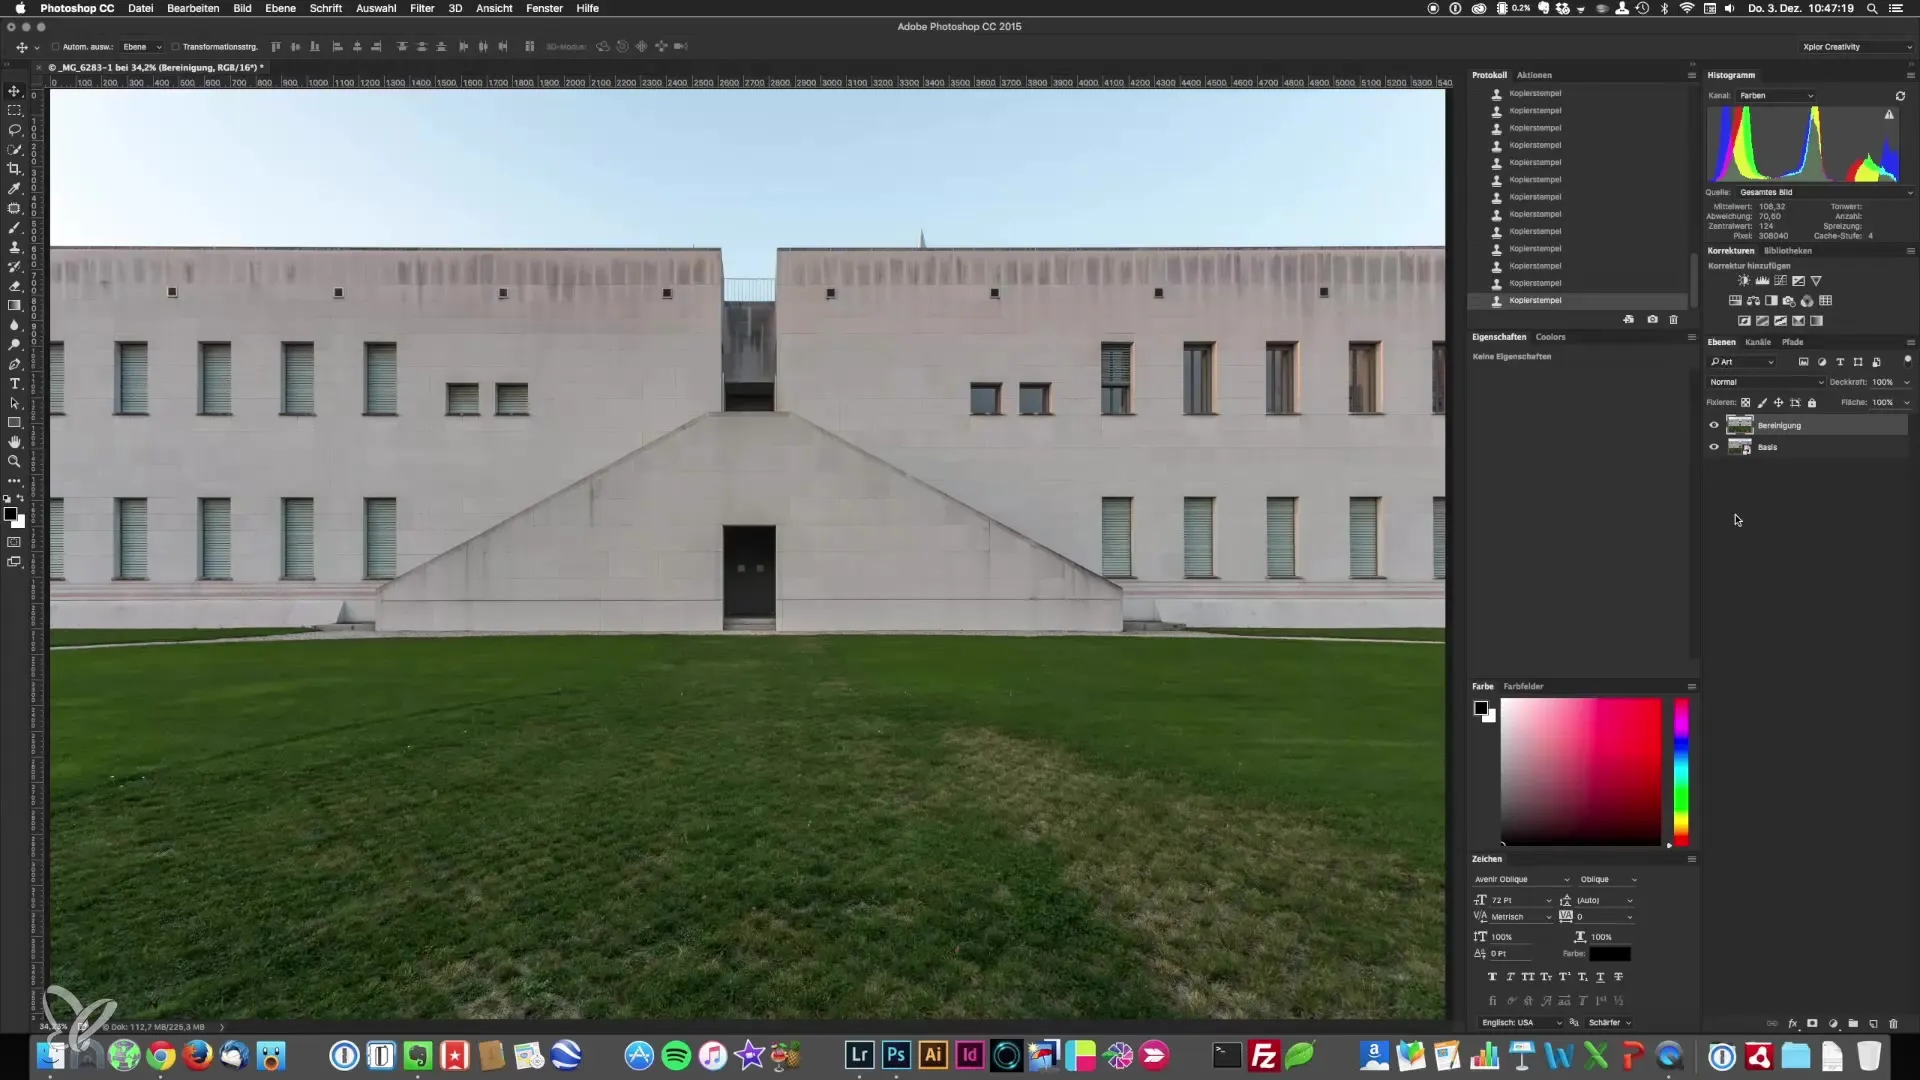
Once you have made a base selection, press “Q” to enter the Masking Mode. Your image will be overlaid in red, except for the selected areas. This is a helpful tool for identifying unwanted areas. Now, using the Brush Tool (Shortcut: “B”), you can refine the selection. Switch between black and white (Shortcut: “X”) and paint along the edges to improve the selection.
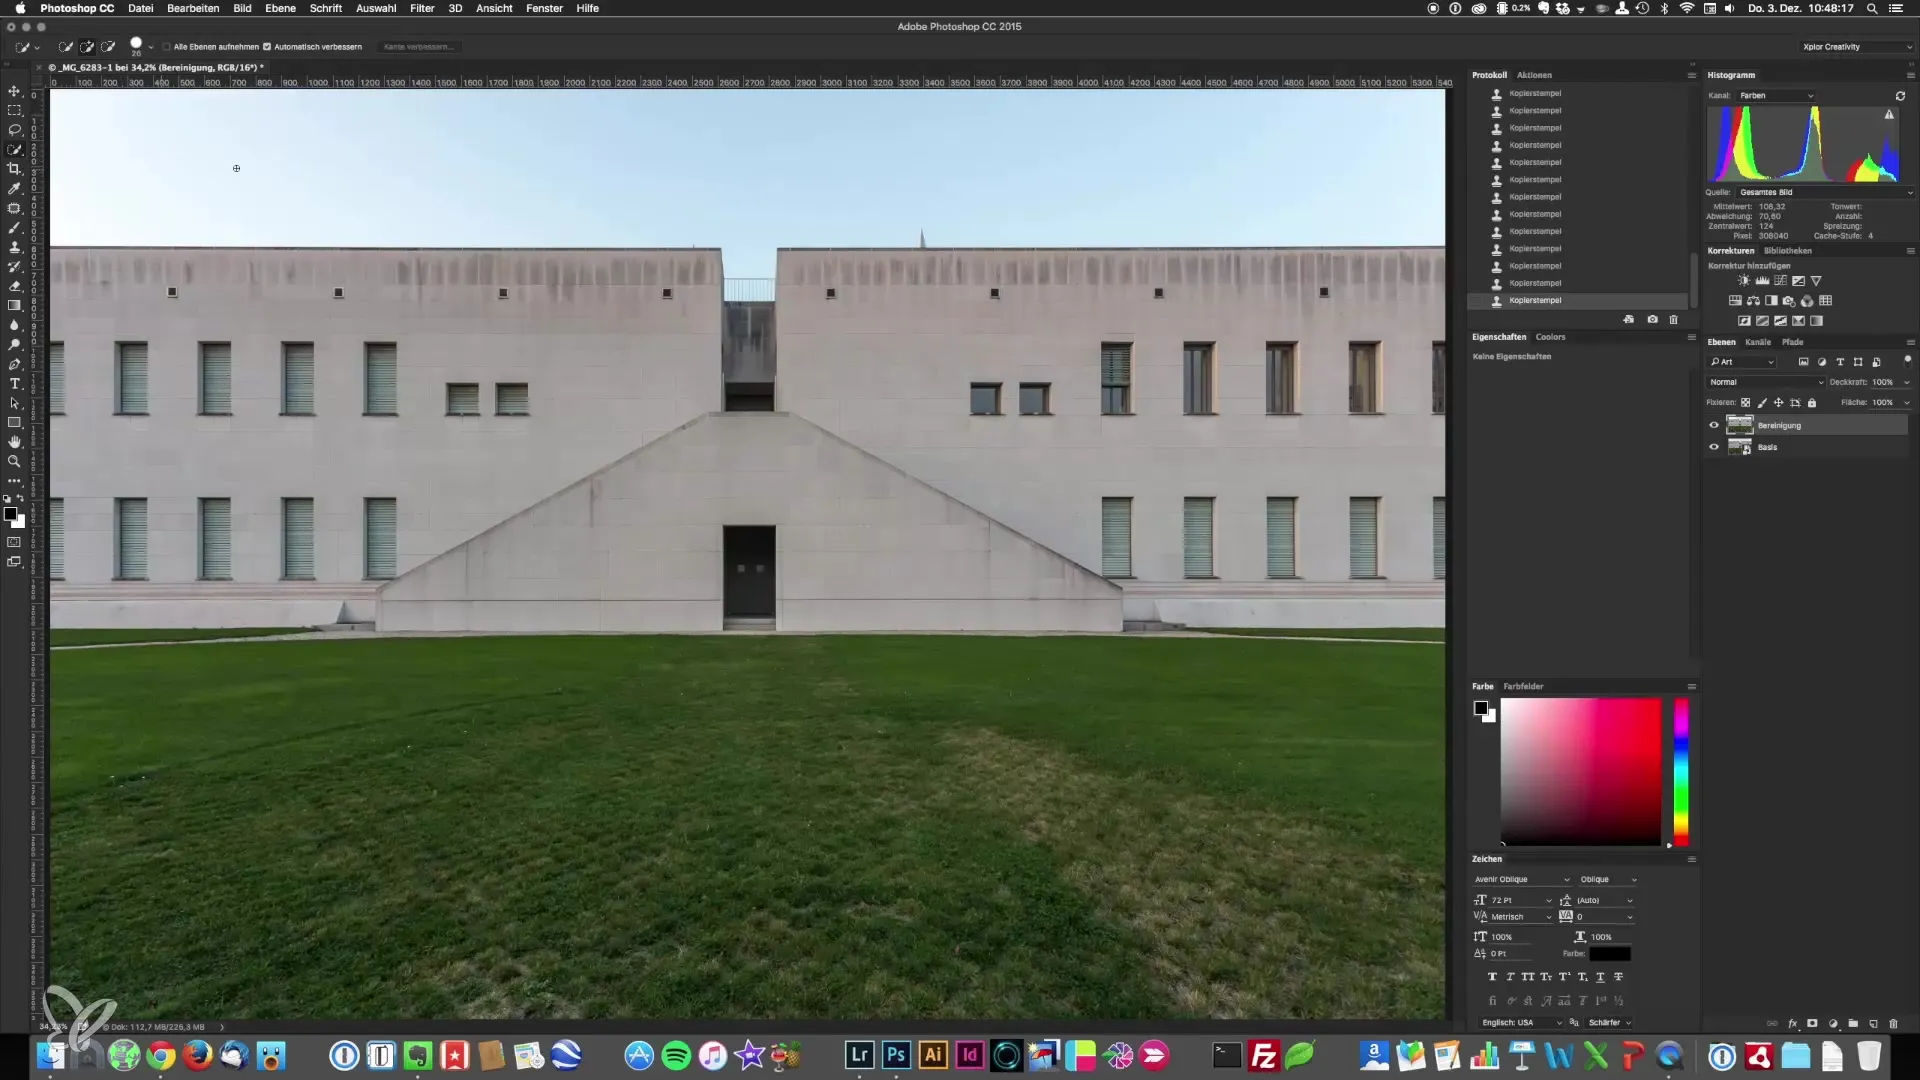
Precise Selections with the Pen Tool
If you want to create an even more precise selection, the Pen Tool (Shortcut: “P”) is ideal. This requires some practice, but you will quickly learn how to draw straight lines and curves. To practice using the Pen Tool, you can visit the website bz.method.ac. There, you will find interactive exercises that can help you improve your coordination skills.
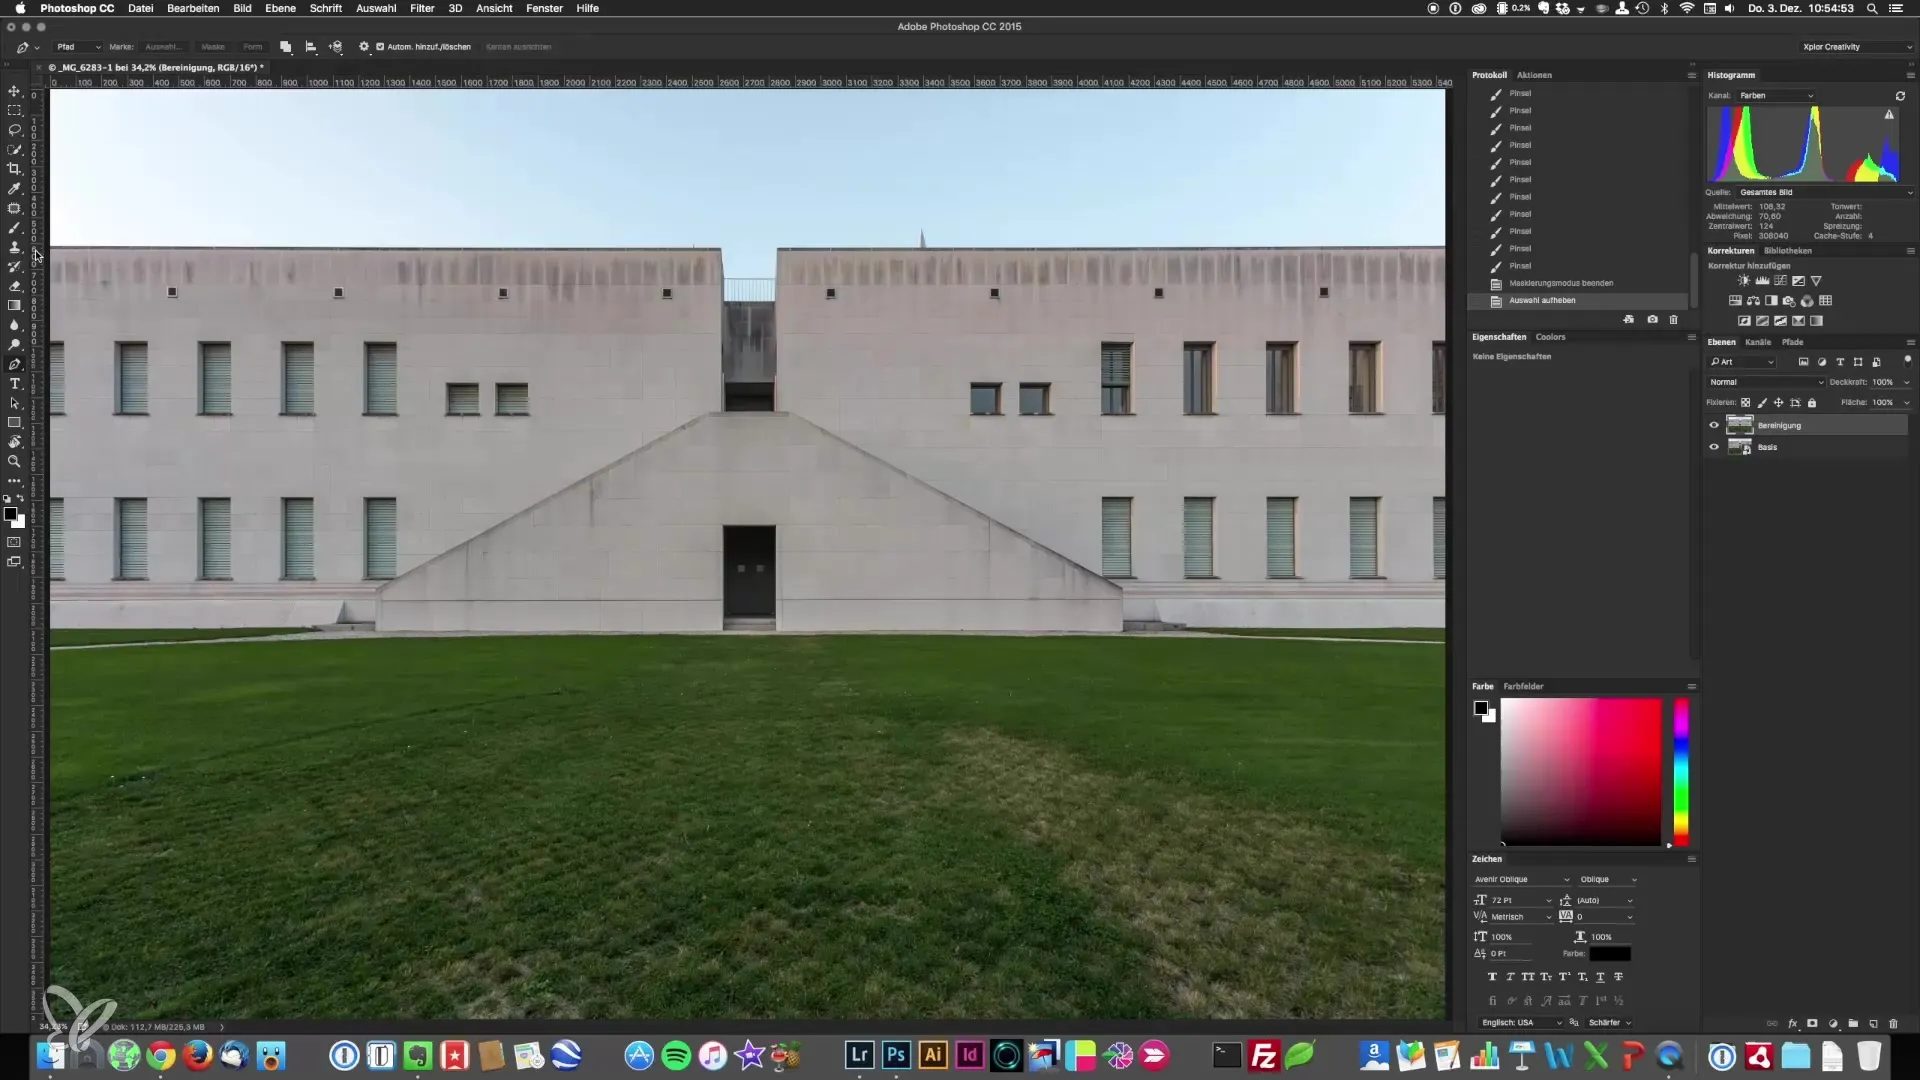
Start your work with the Pen Tool outside of the image to ensure you get a clean edge. Place your initial points and create a selection by tracing around the sky area. Take your time with this task, as precision is crucial for the final result.
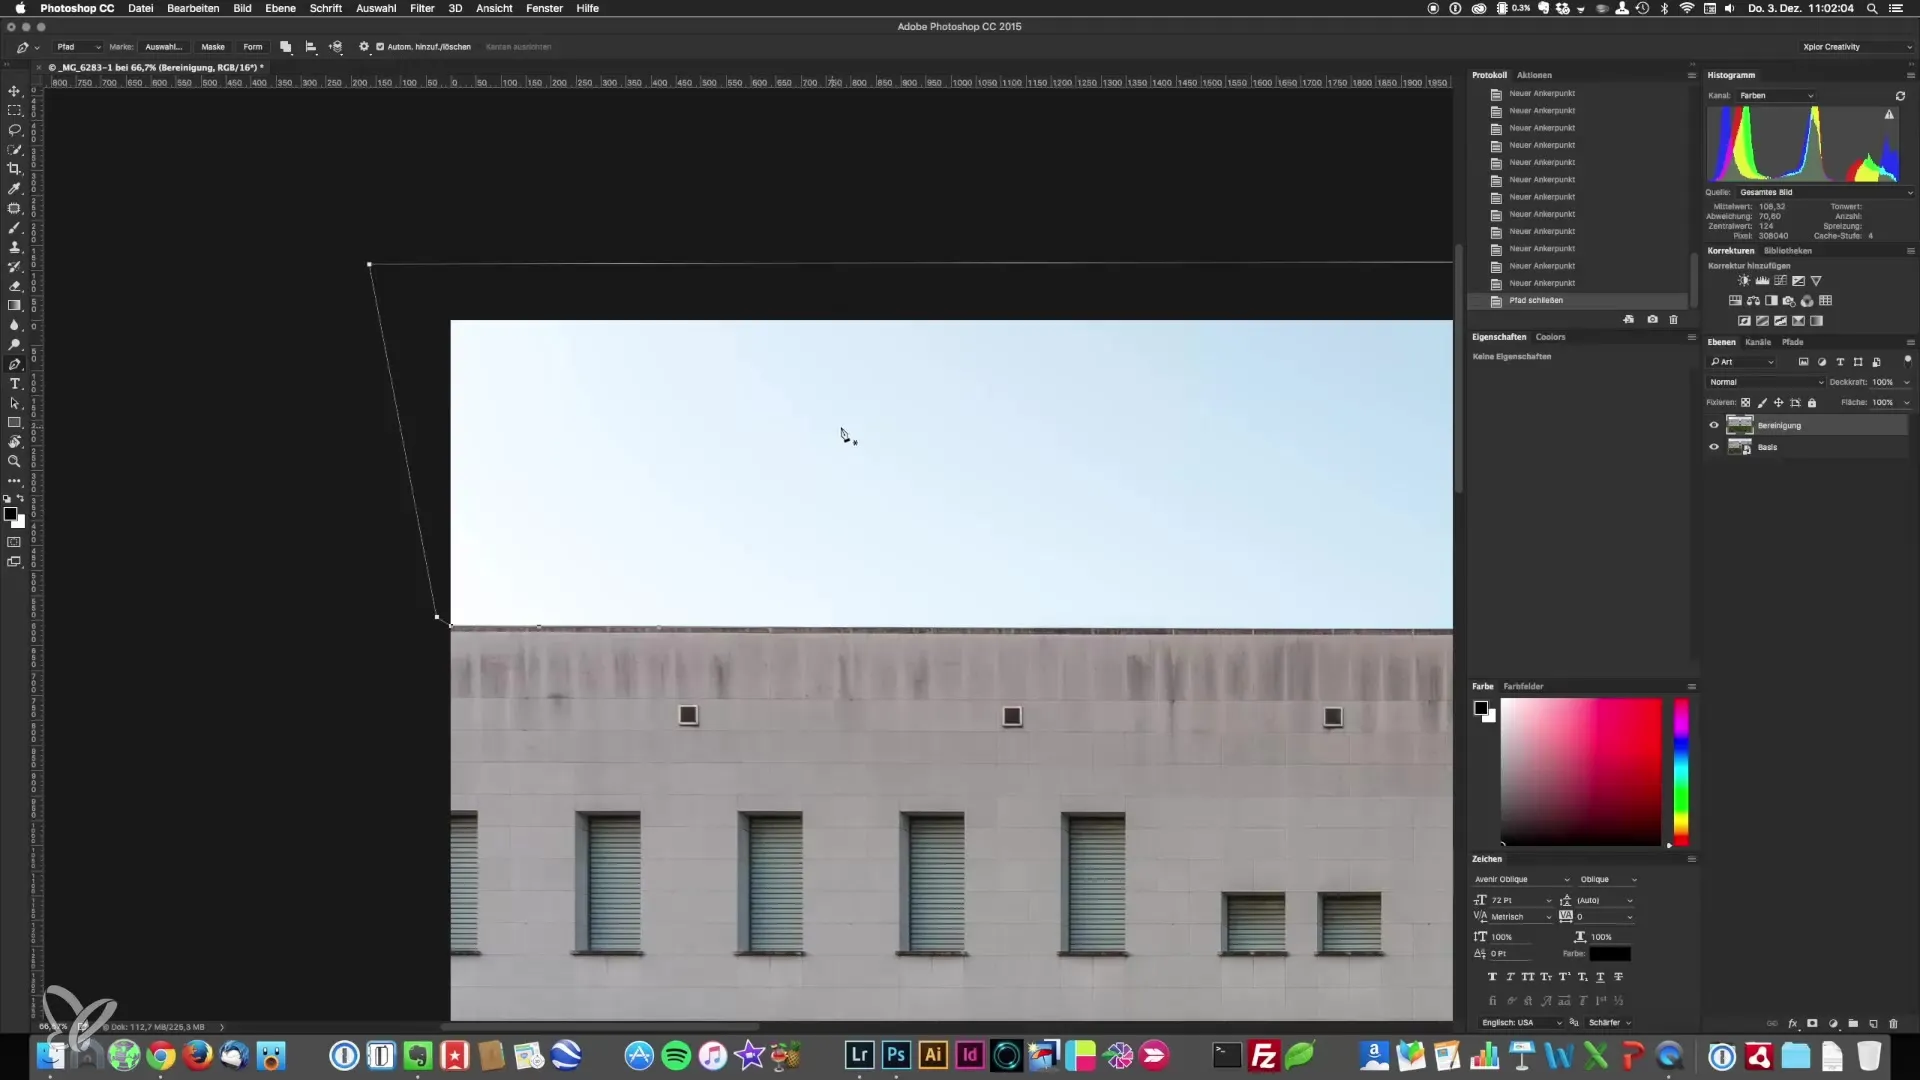
After you have placed all the points, right-click within the selection and choose “Create Selection.” It is important to keep the radius of the feathered edge minimal to ensure a sharp boundary. A value of 0.5 is often ideal. Then save the selection so you can easily recall it later.
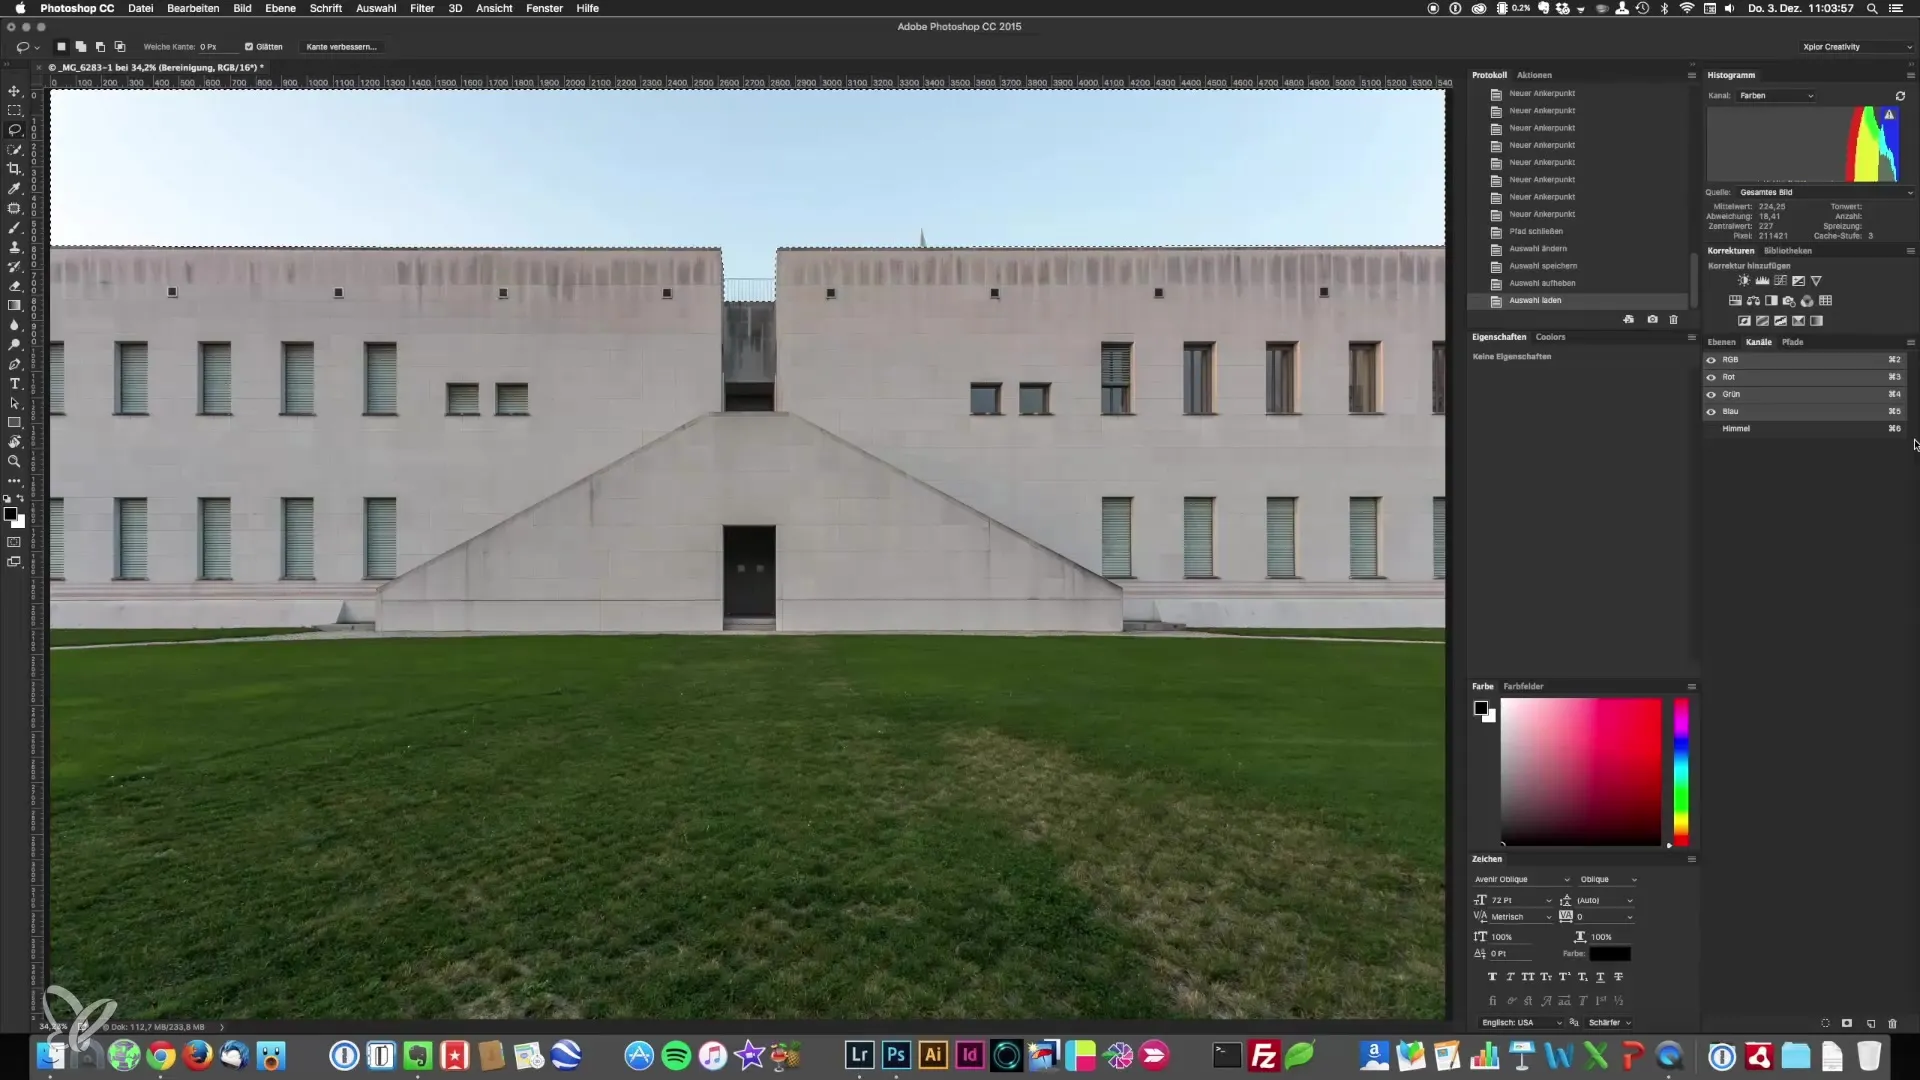
Creating Clouds – Two Methods
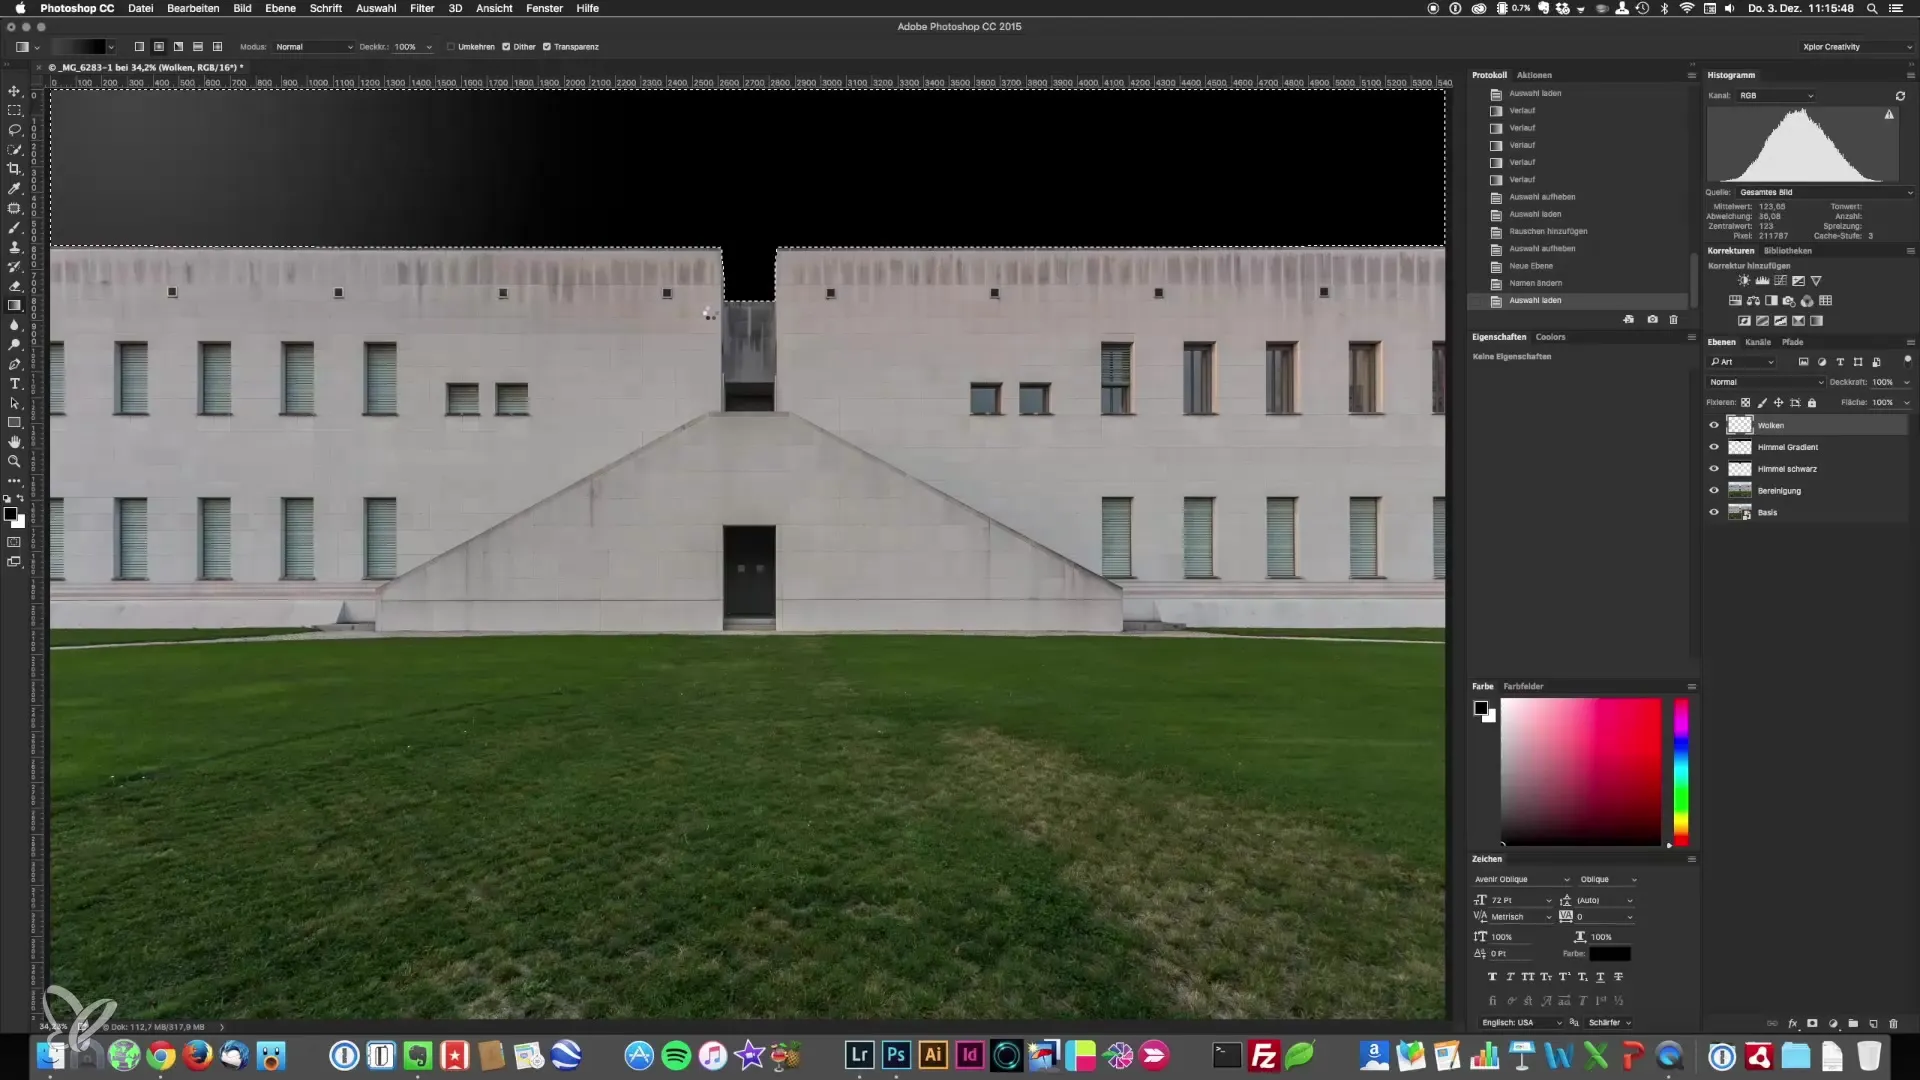
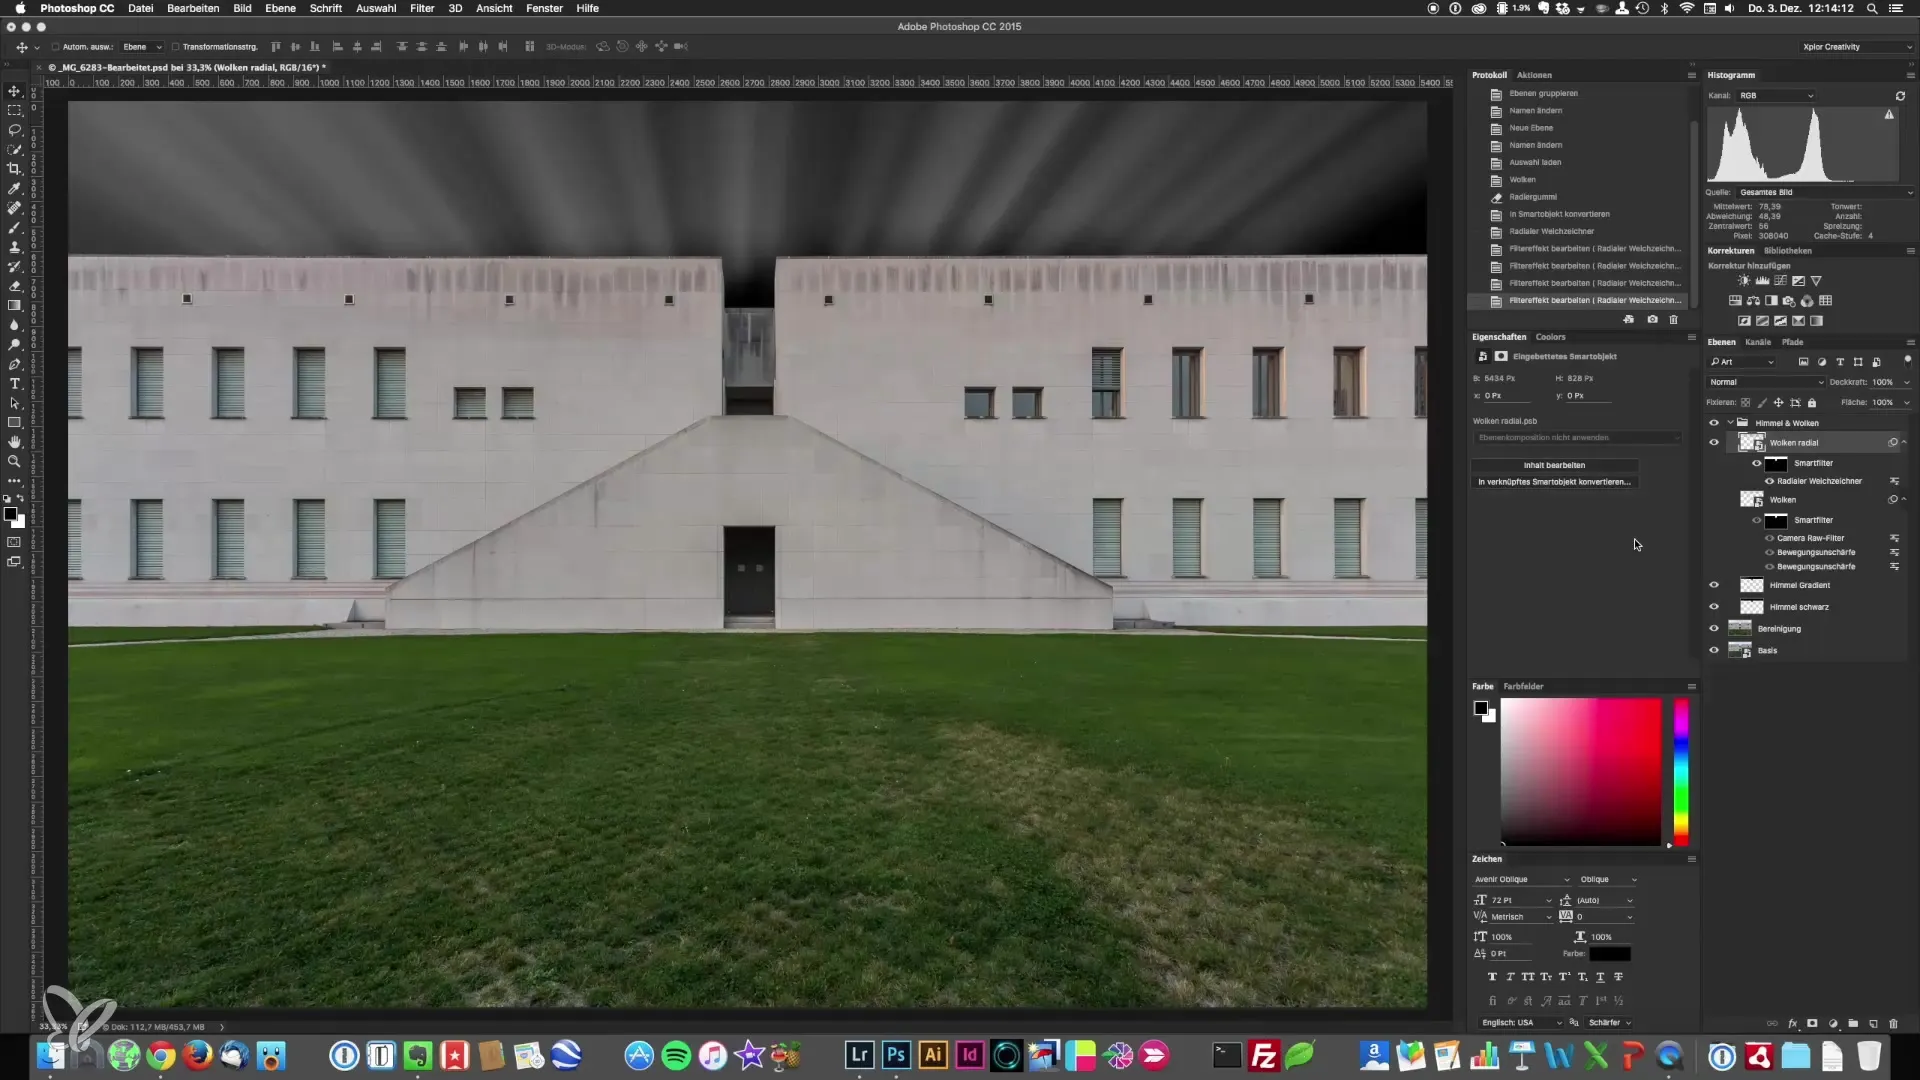
With your selection of the sky, you are ready to add clouds. There are different methods to achieve this. One simple way is to use the “Render Filter” in Photoshop. This generates clouds that you can then edit with the Eraser Tool (Shortcut: “E”). Be sure to clean the edges of the clouds to achieve a natural look. The softness of the edges is crucial for a good integration into the sky.
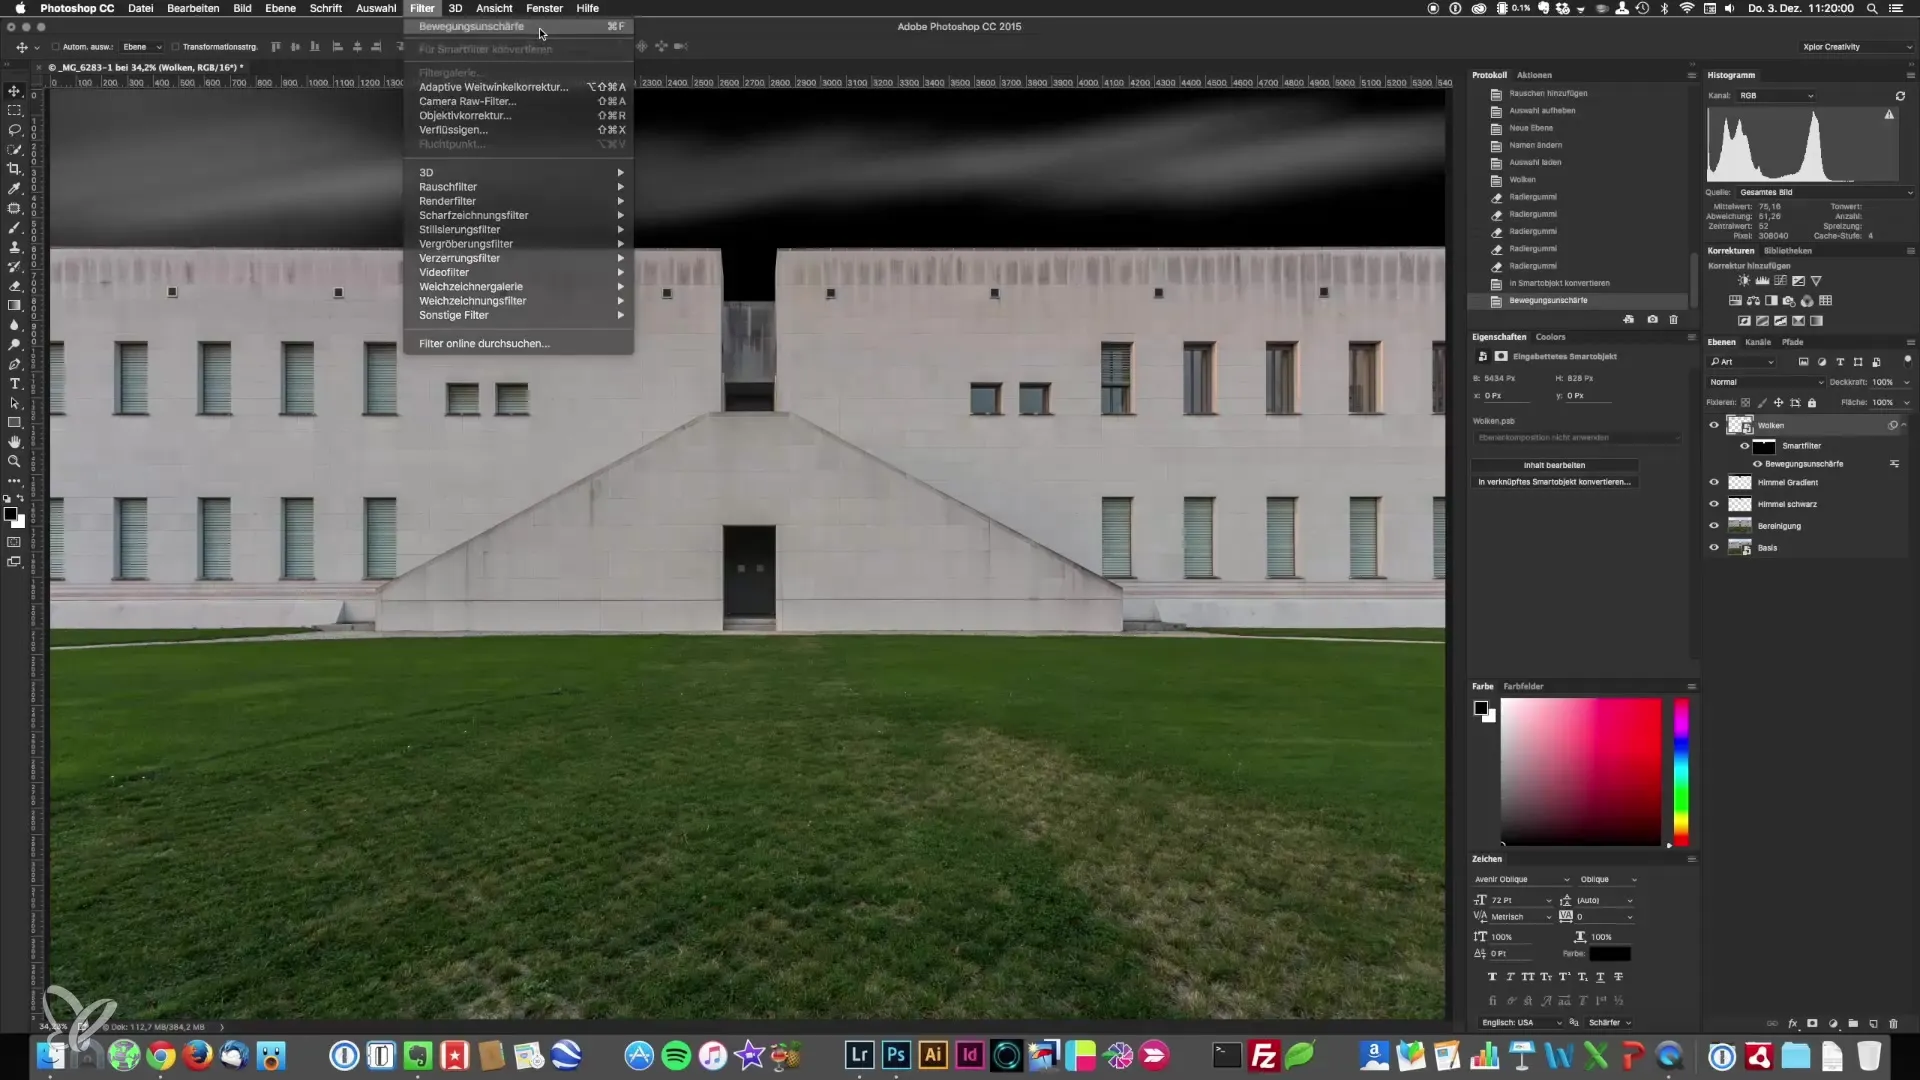
For the second method, you can use the "Motion Blur Filter." You can adjust the angle and distance to achieve the desired dynamic effect. This gives the clouds a sense of life through motion and creates an interesting contrast with the static architecture.
Avoiding Errors: Bending and Transitions
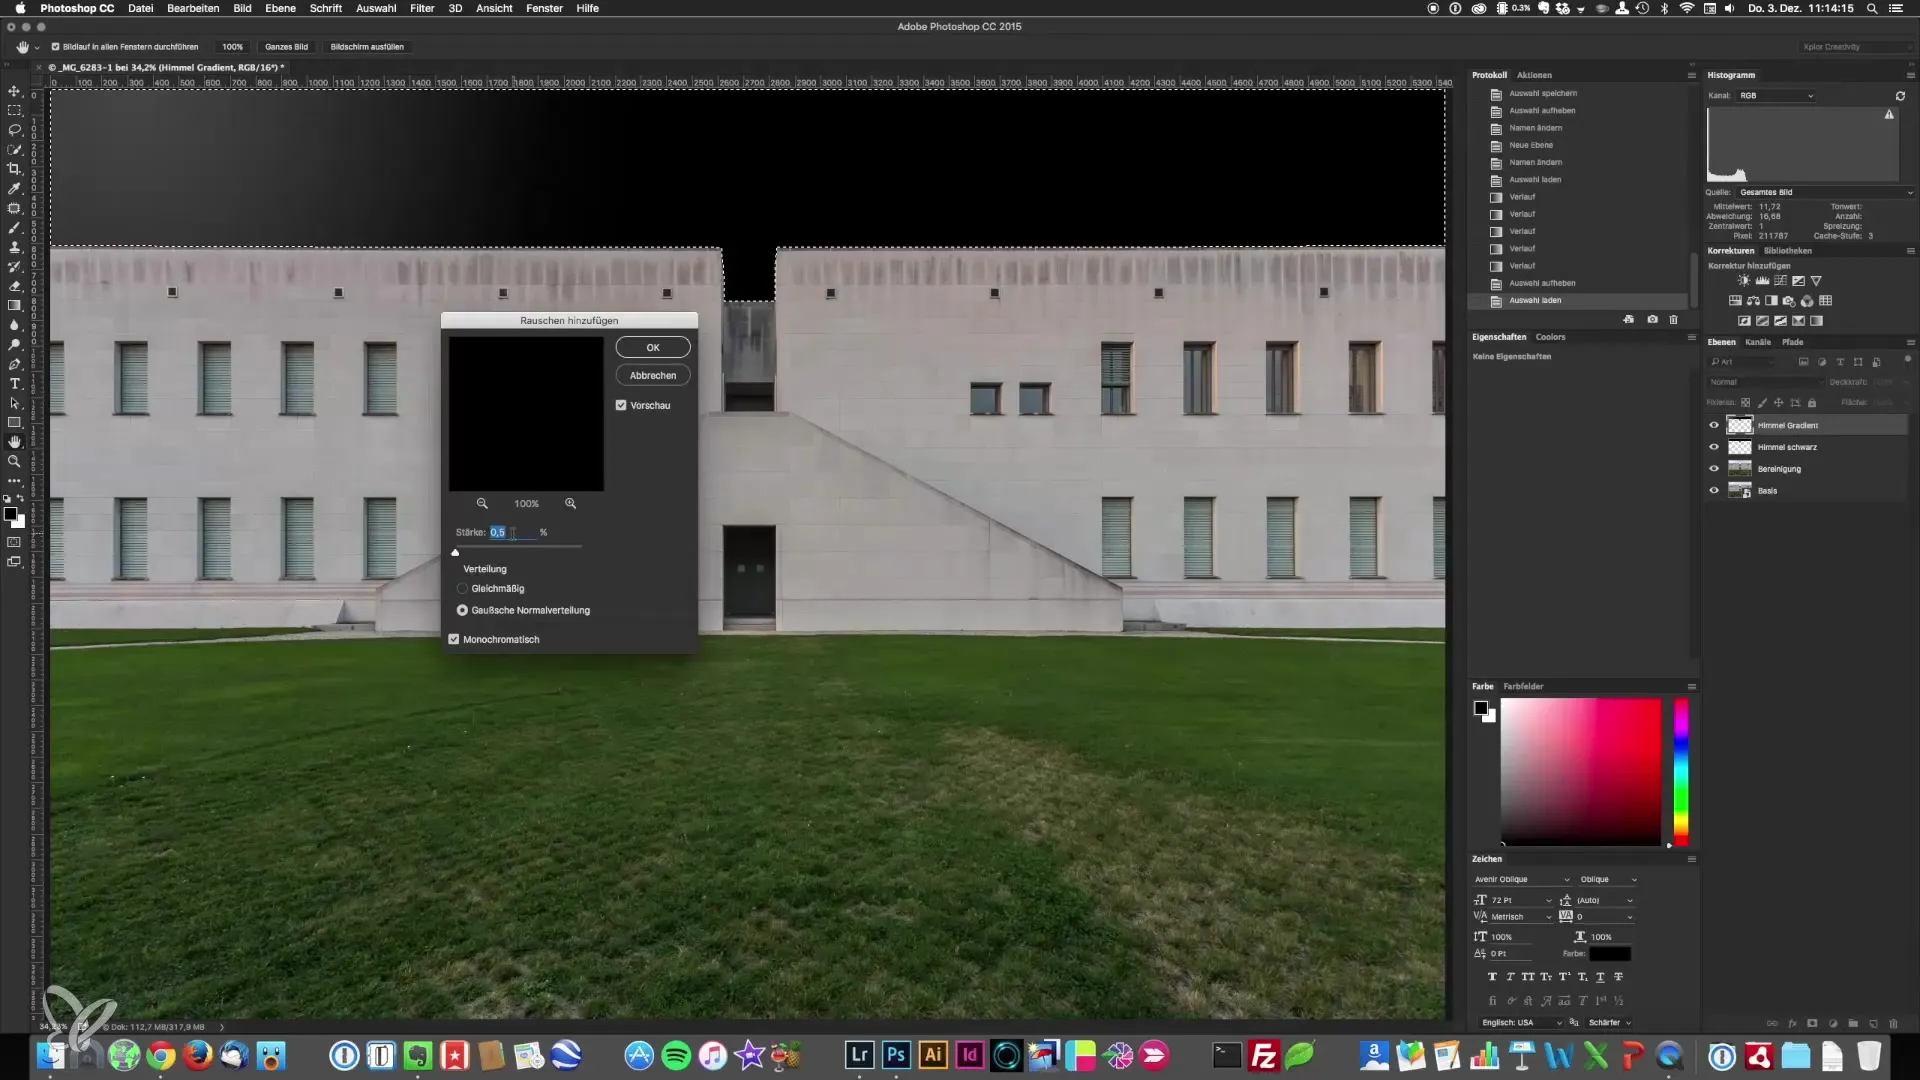
A common problem in editing is bending, which occurs due to harsh transitions between colors. To avoid this, it’s useful to apply a noise filter after adding clouds. This creates a smooth transition and keeps the view free from unwanted artifacts. Keep the noise value low to maintain the quality of your image.
Color Adjustment and Post-Processing
Once your sky and clouds are added, you should reconsider the entire scene. Sometimes a black and white conversion can help evaluate the image composition and give you a clear idea of how the final image should look. This will also ensure that the image has a harmonious composition.
Summary – Perfectly Crafting Skies and Clouds in Architectural Photography
With these steps, you now have the tools and techniques to edit the sky in your architectural images and to realistically integrate clouds. Create the perfect ambiance for your photographs and bring them to life.
Frequently Asked Questions
How do I effectively select the sky?Use the Quick Selection Tool, followed by refinements with the Brush Tool.
Do I need special software to create clouds?Photoshop provides all the necessary tools and filters to achieve this.
How do I avoid bending in my images?By applying a noise filter to the edited areas, you can prevent unwanted transitions.
Can I fix jagged lines with the Pen Tool?Yes, the Pen Tool allows for precise adjustments even at difficult edges.
How do I save selections in Photoshop?Right-click in the selection and choose “Save Selection.”
