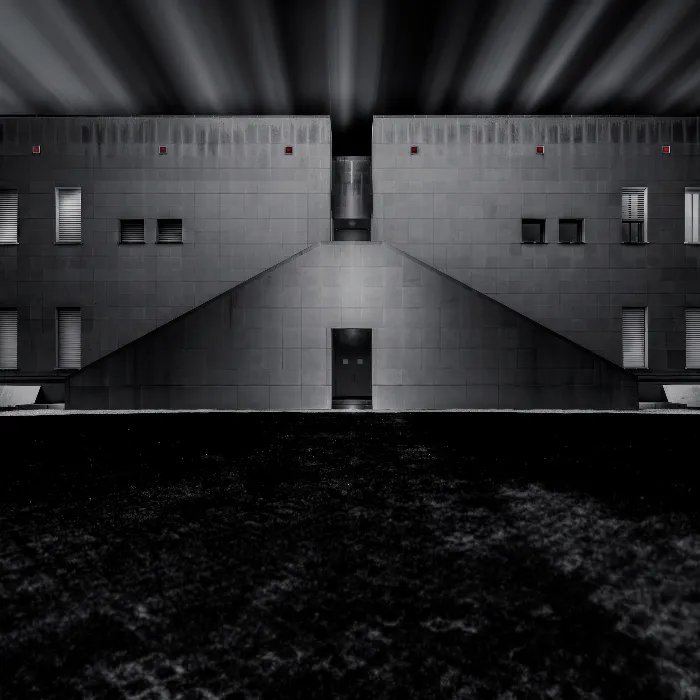
Architectural Photography requires not only the right eye for the subject but also technical skills in image editing. One of the most important abilities you can acquire is precise selections. In this tutorial, I will show you how to use different techniques for selecting and saving areas of an image to make your shots more effective. With the right methods, you can optimize your image editing and realize your creative ideas.
Main Insights
- Use the Pen Tool for precise selections.
- Save your selections thoroughly to save time in your workflow.
- Combine and subtract selections for new results; this leads to more creative possibilities.
Step-by-Step Guide
Step 1: Image Preparation and Selecting the Subject
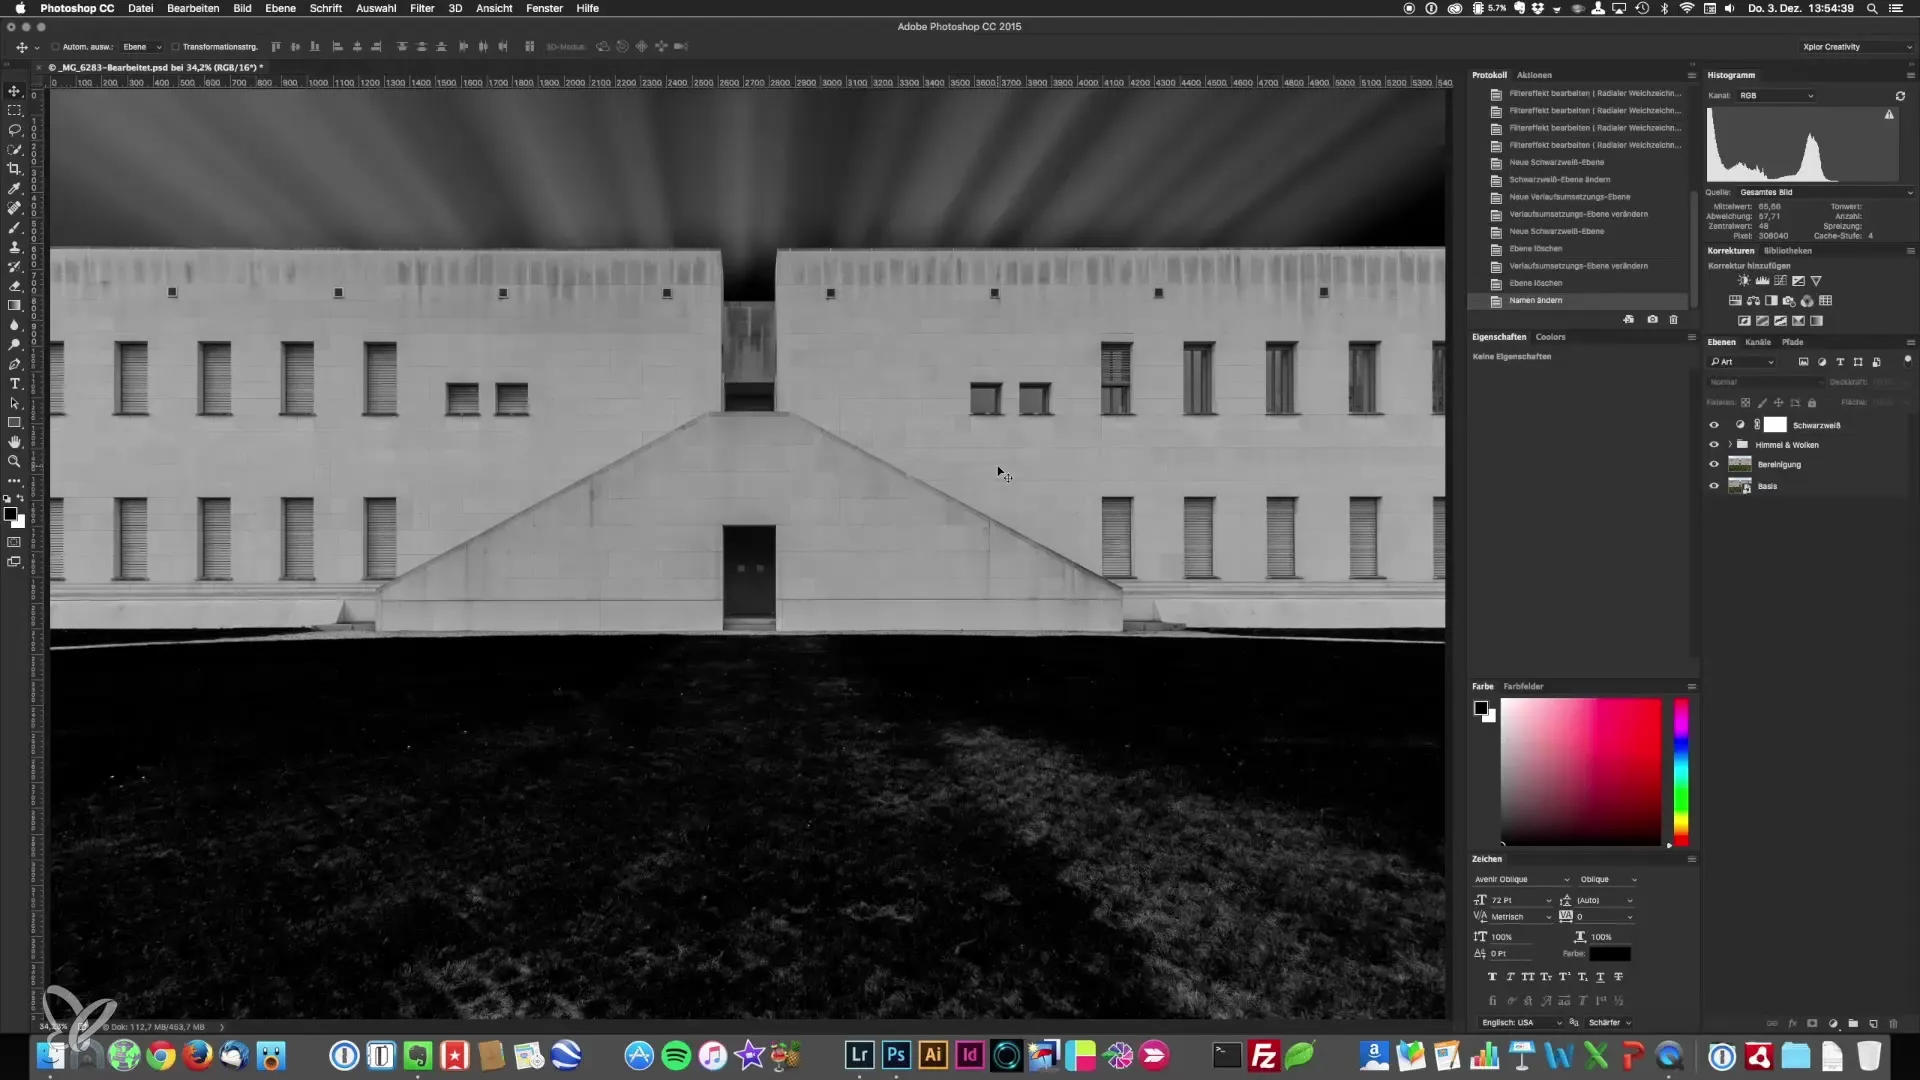
First, select the image you want to edit. When working on the facade of a building, it is crucial to clearly delineate the areas you want to edit later. Focus on the facade, the windows, and other architectural details. You also prepare your workspace in the image editing program by adding and cleaning up the background layer as necessary.
Step 2: Inverting the Sky Selection
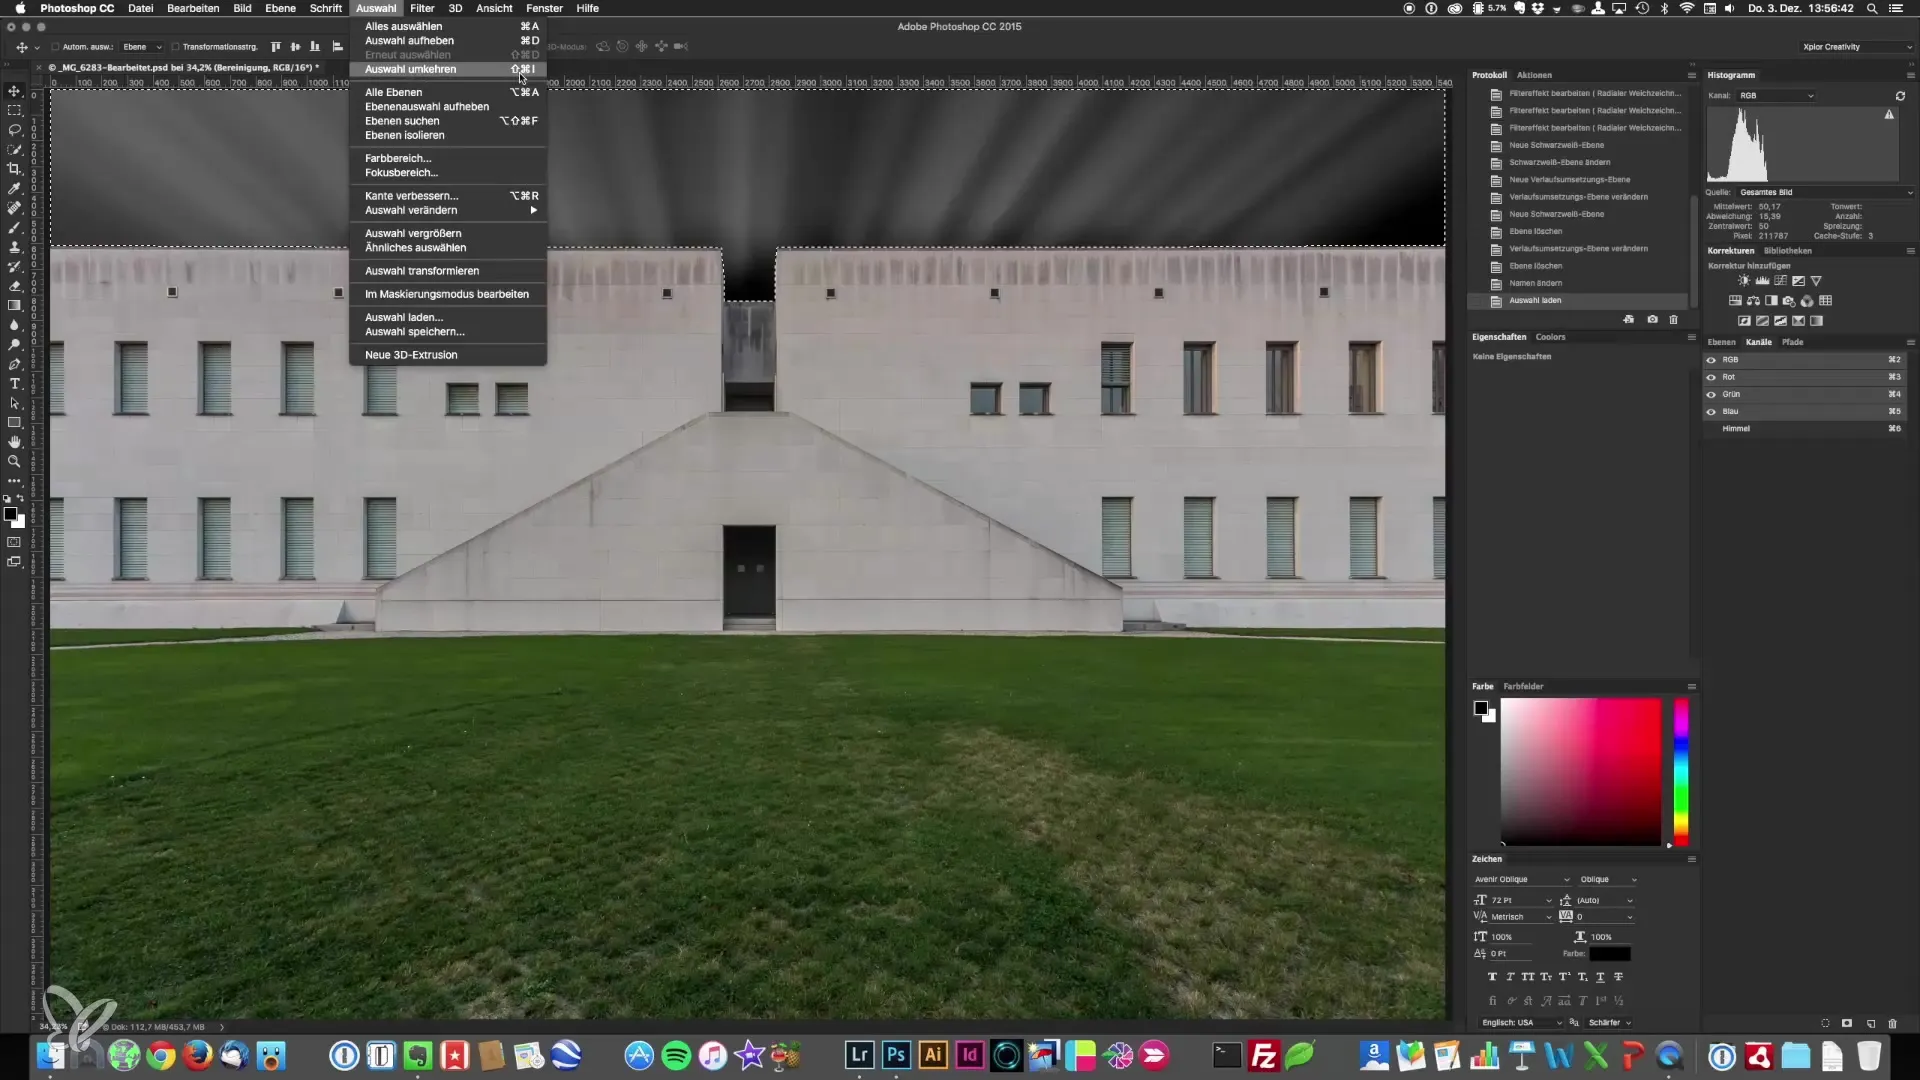
To make the selection for the facade and the surrounding area, first select the sky. Hold down the Command key and select the sky selection. To obtain a selection of the rest of the image, use the "Invert Selection" feature. This gives you immediate access to the entire building and the grass area you want to edit later.
Step 3: Selecting the Grass
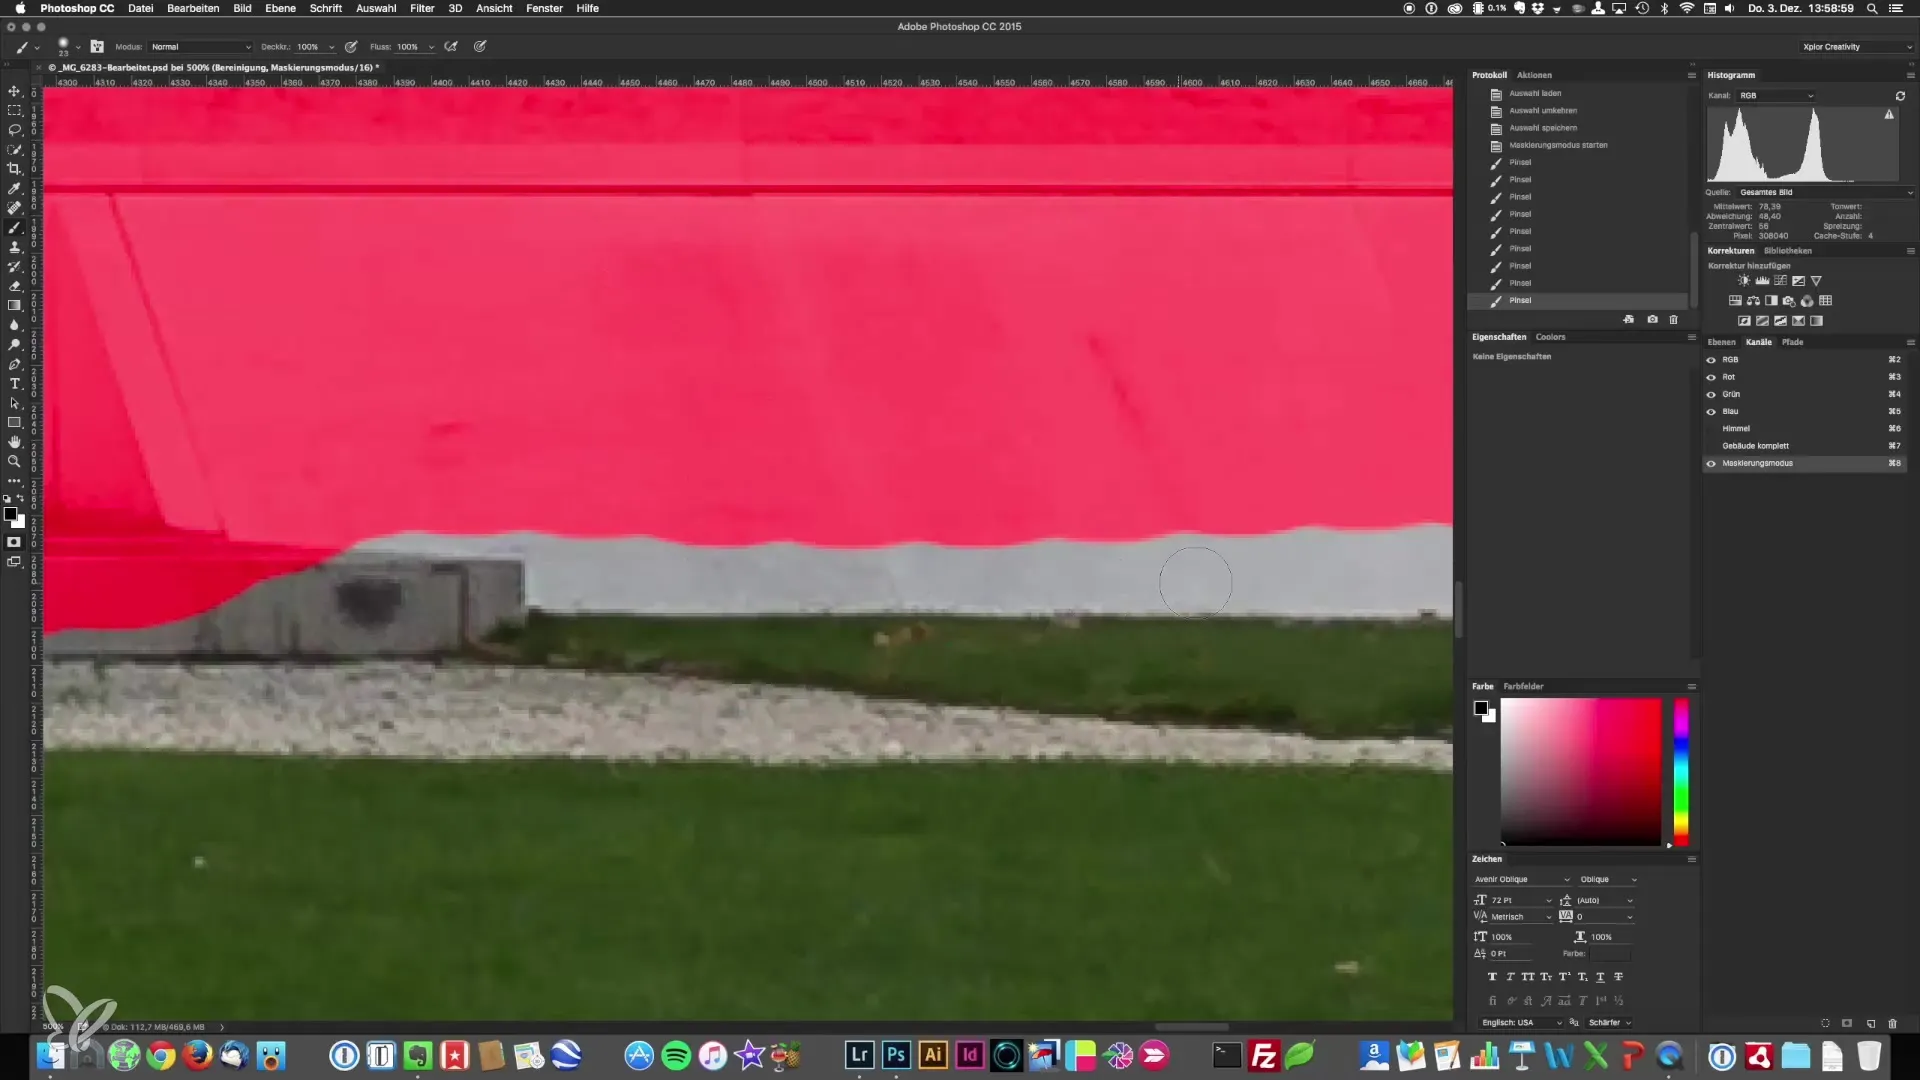
Work from the bottom up and create a selection for the grass, but not the paths. This requires special attention as the edges are not smooth. Use the Quickmask mode – press the Q key to activate the overlay. Paint with a black or white brush. Be sure to experiment with the softness of your brush to achieve a natural transition.
Step 4: Manual Adjustments
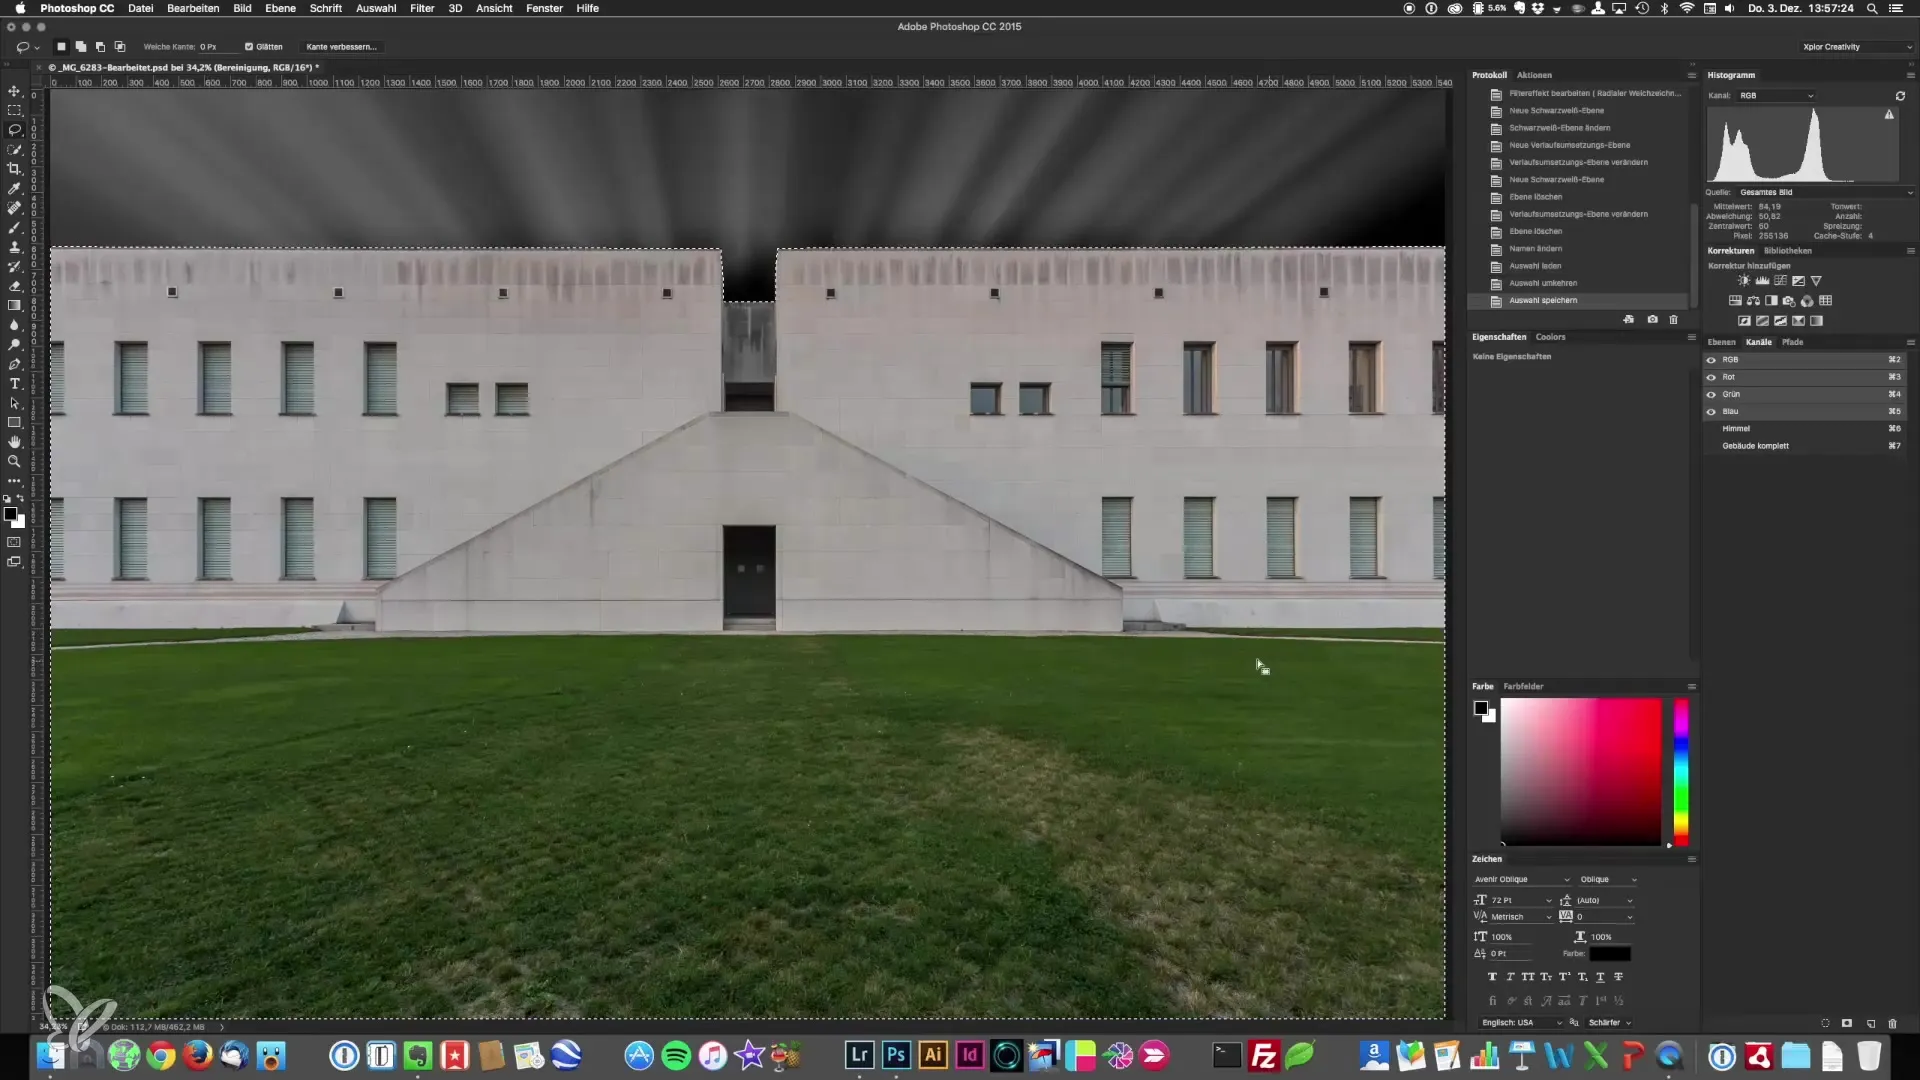
When the edge of the grass borders the lawn, proceed carefully. Reduce the brush size and work your way thoroughly to the edges. This is particularly important to create an organic feel. You want the edges of the selection to look realistic and well integrated into the image.
Step 5: Saving Selections
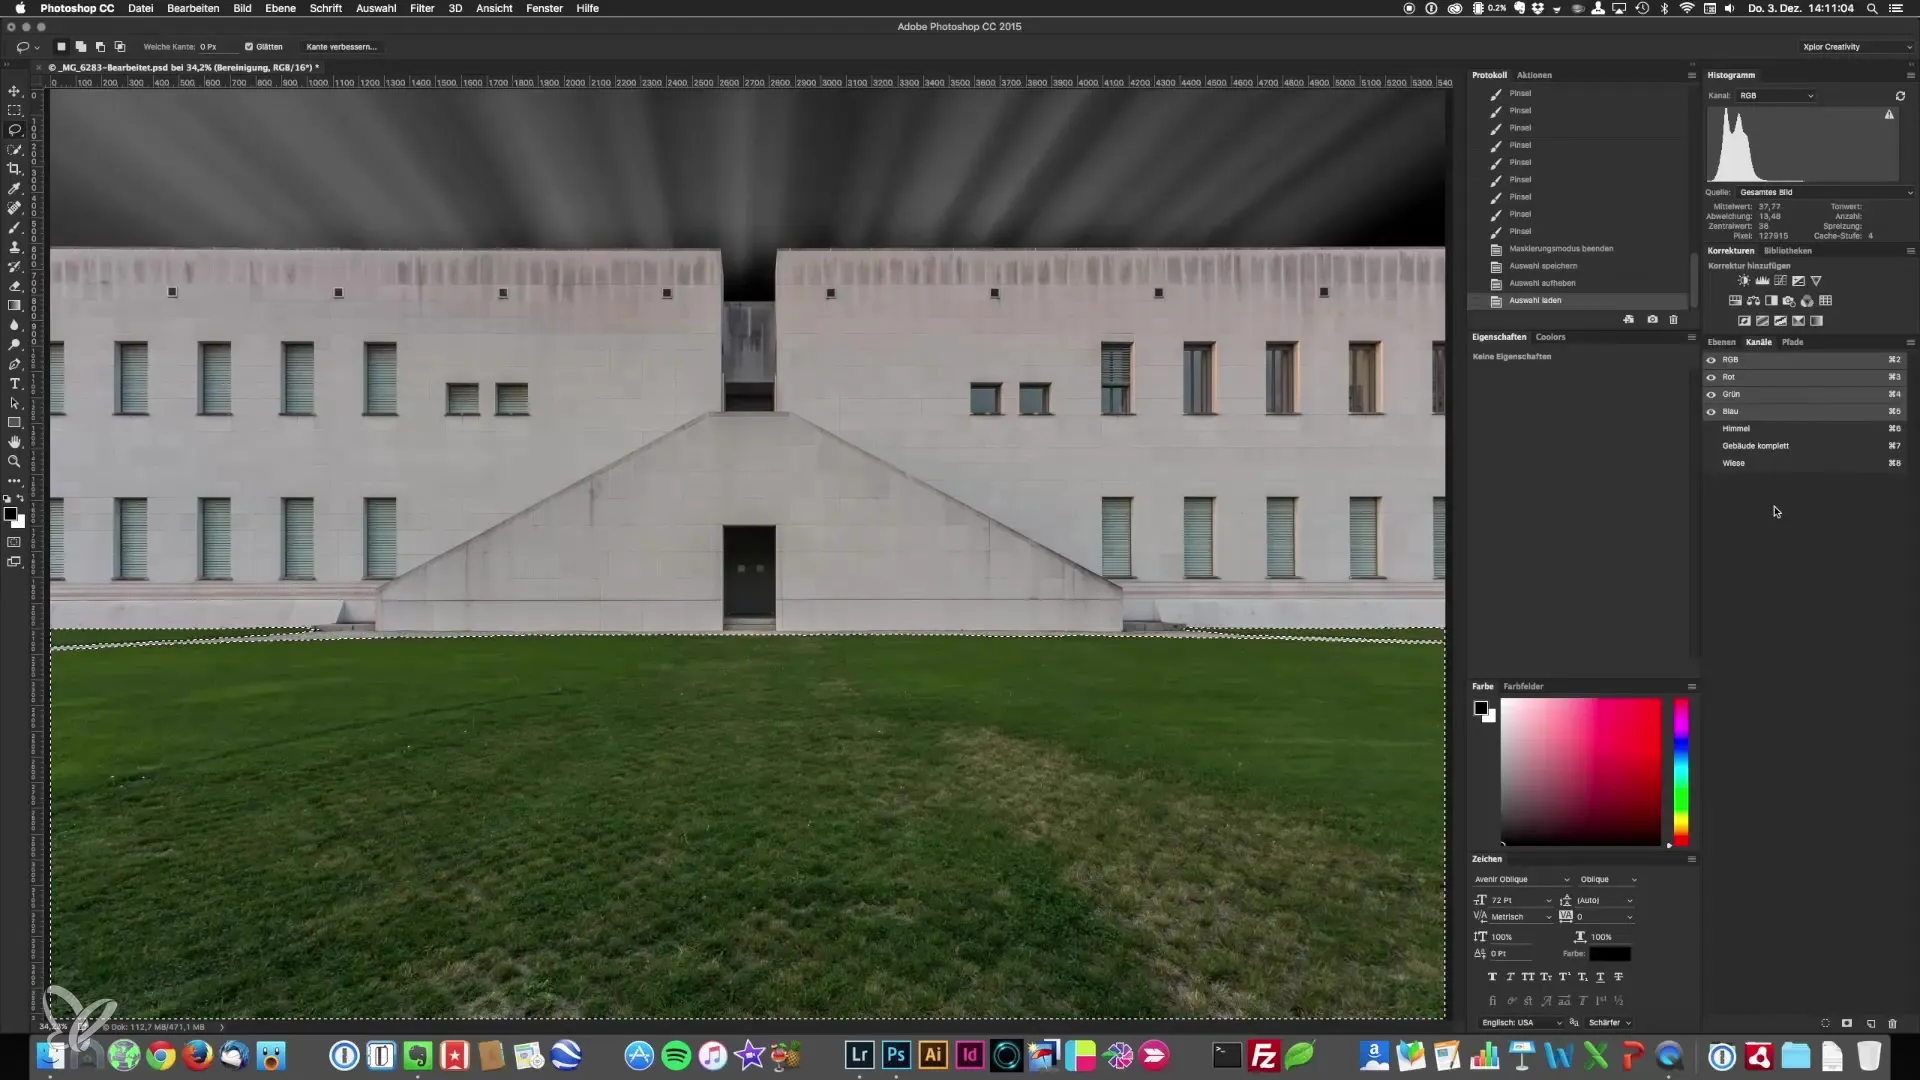
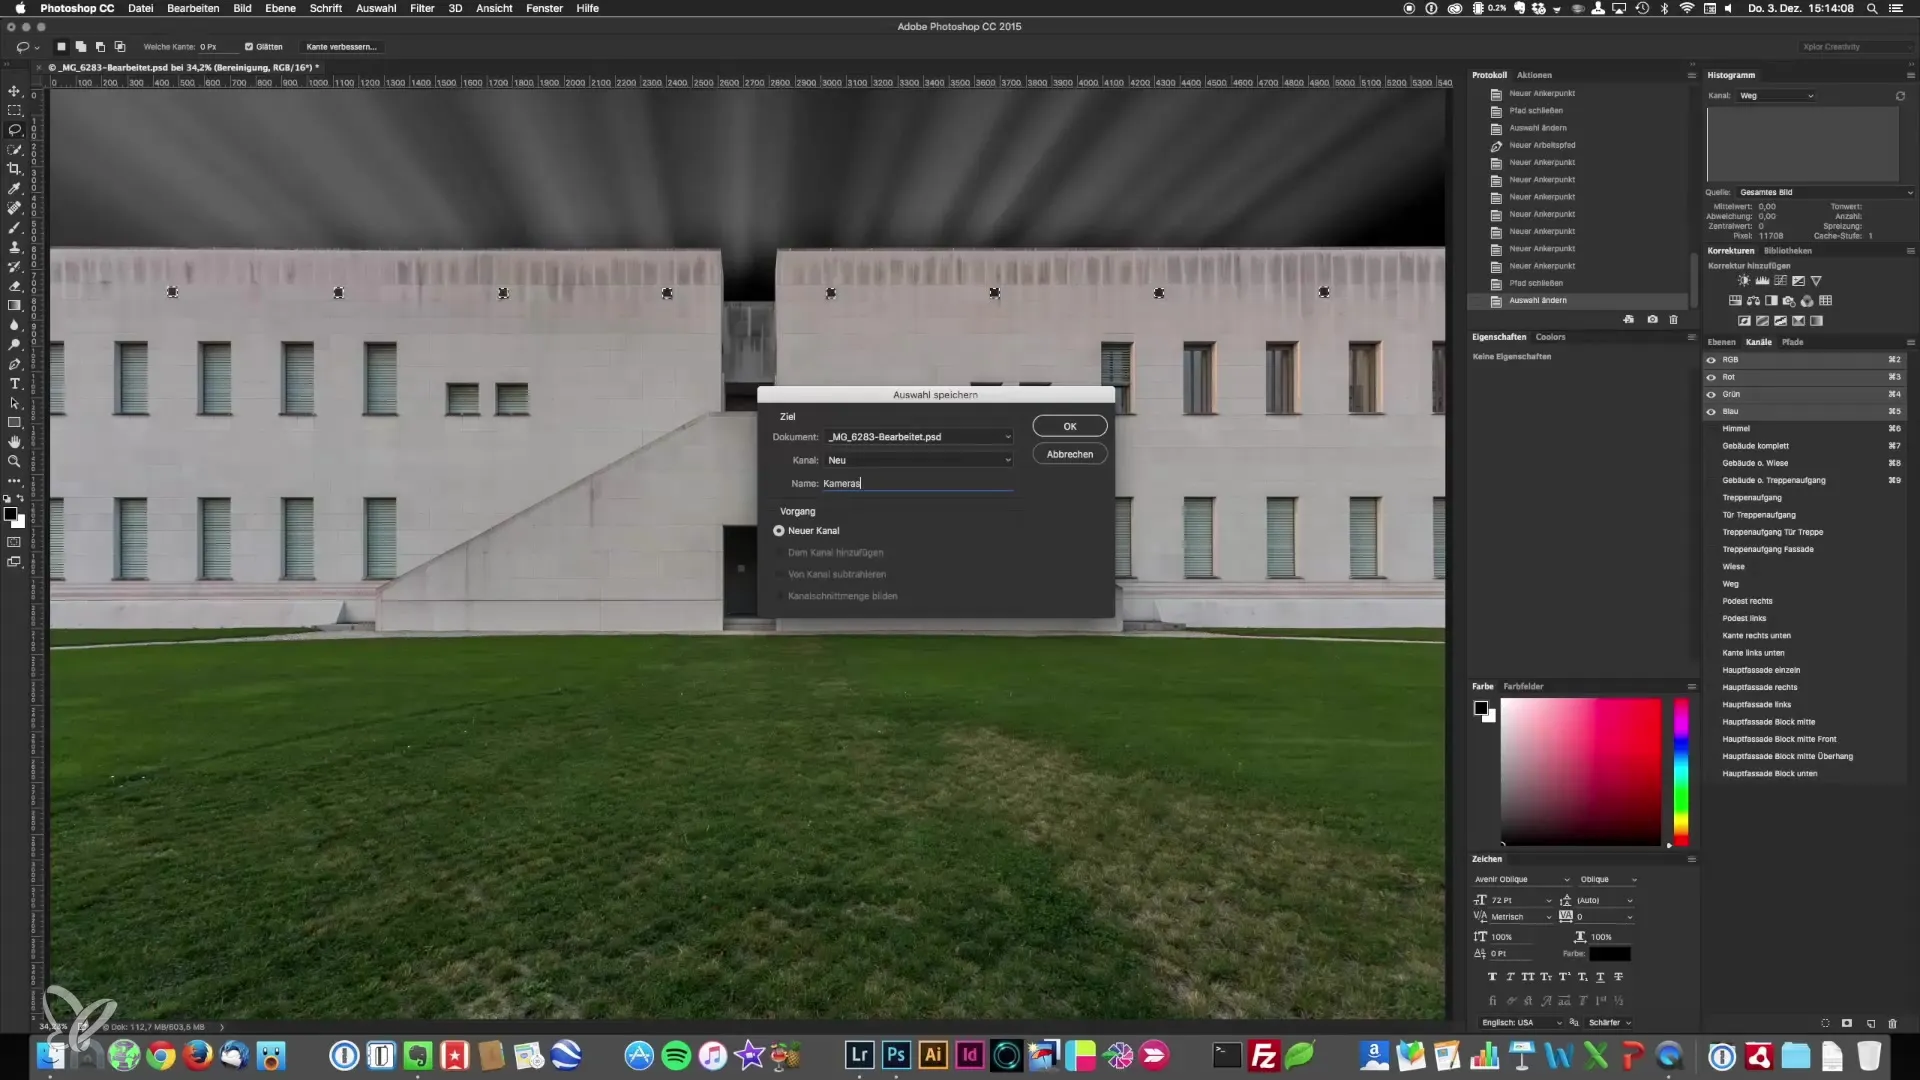
After creating the grass selection, choose "Save Selection" and name it accordingly, e.g., "Grass". This is important so you can return to this selection later without having to redo the work.
Step 6: Combining Selections
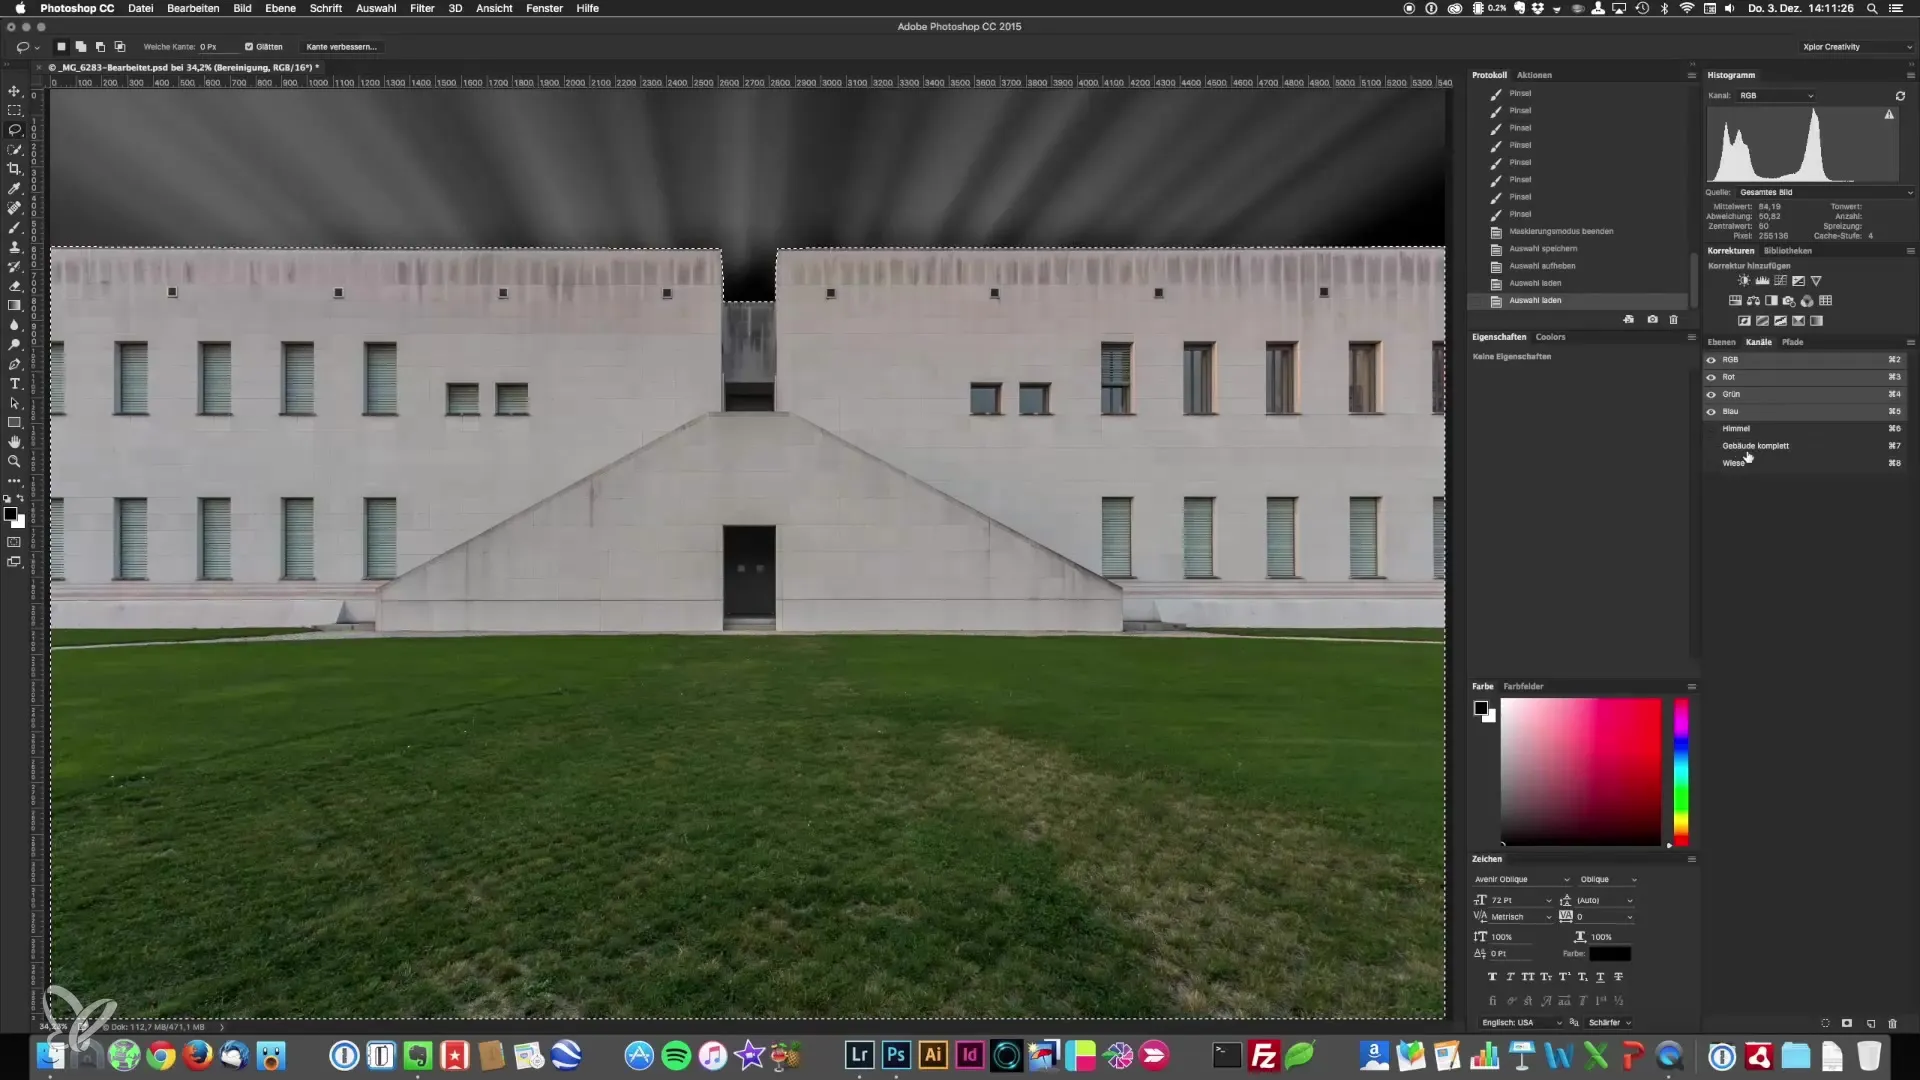
Now that you have the main selections, it's important to know how to combine them. Hold down the Command key and bring the selection of the building into the active selection. It will indicate that you are combining the selections and subtracting from one another. This allows for even more precise editing of the areas of the image.
Step 7: Using the Quickmask Mode for Manual Selections
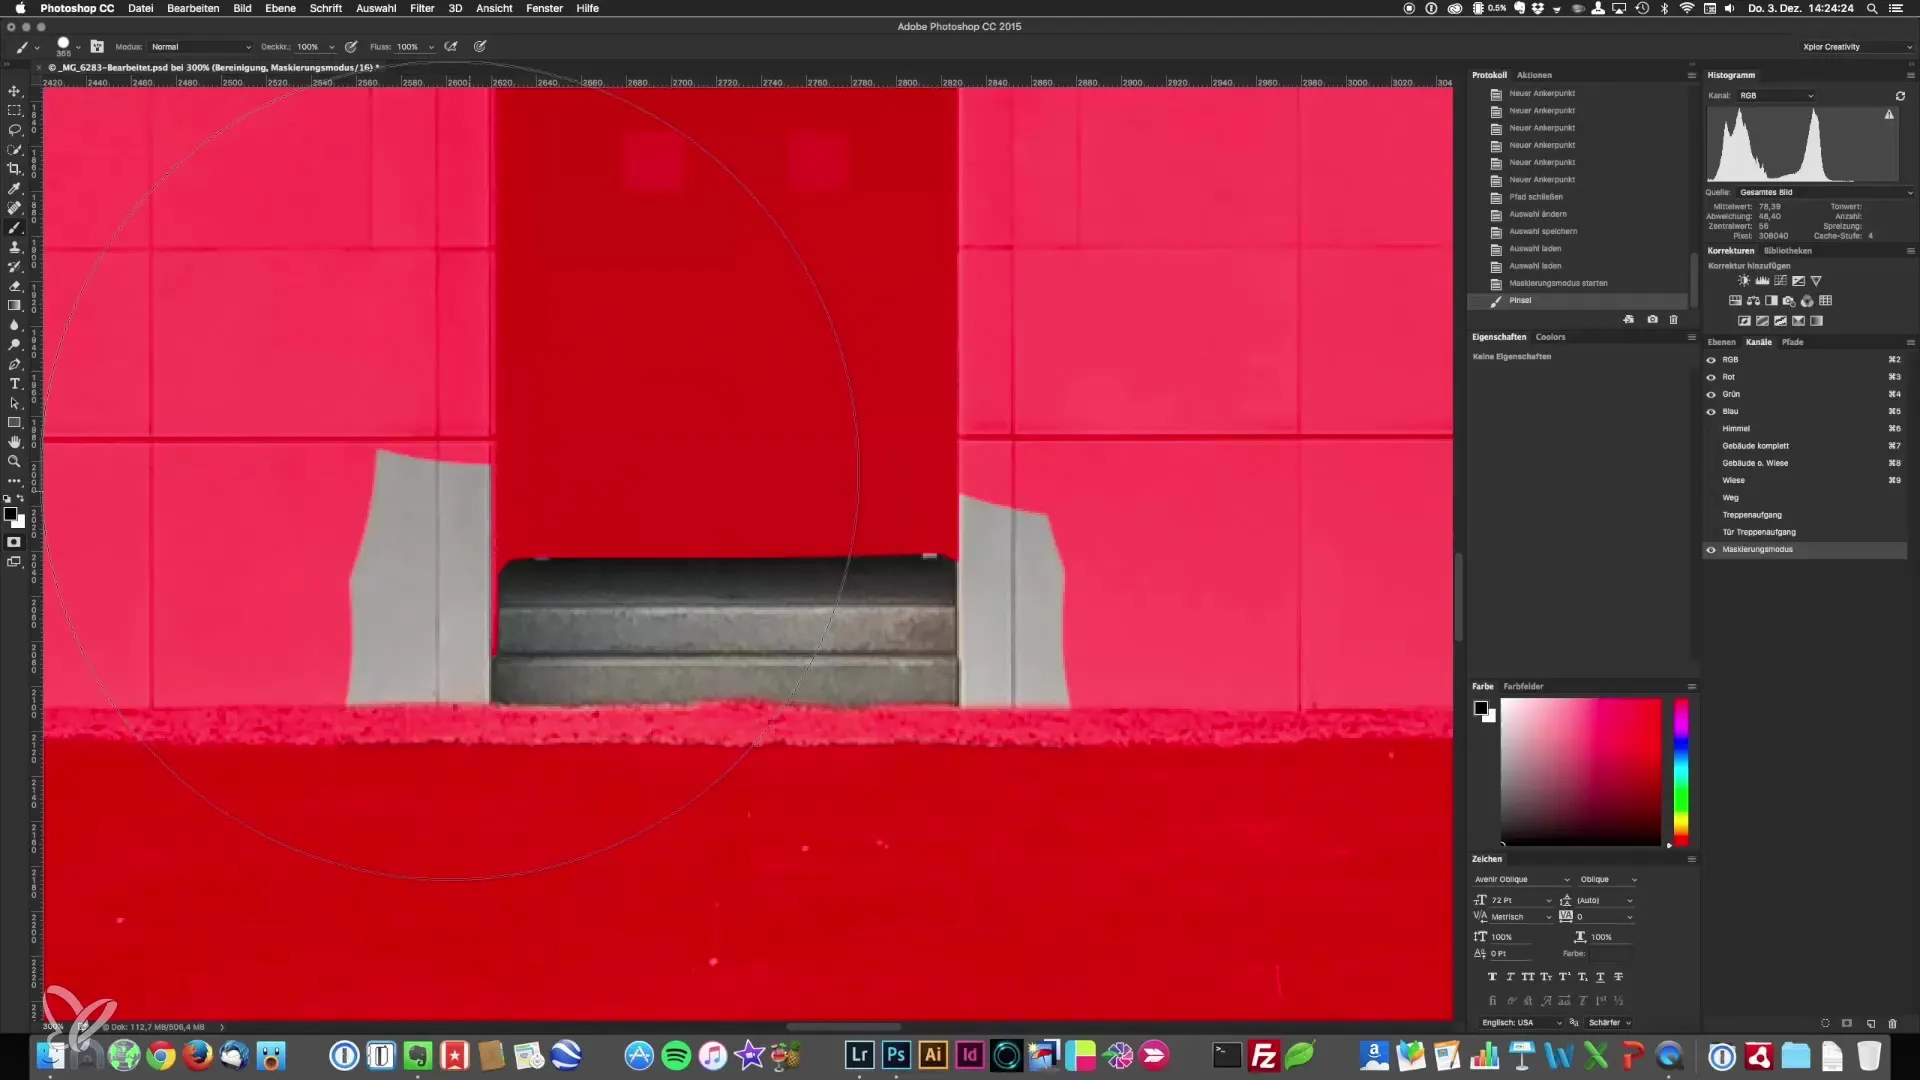
Switch back to Quickmask mode and make sure your brush and softness settings are appropriate. Continue working to select specific areas that are important for later adjustments, such as the curbs and other details.
Step 8: Creating and Combining Further Selections
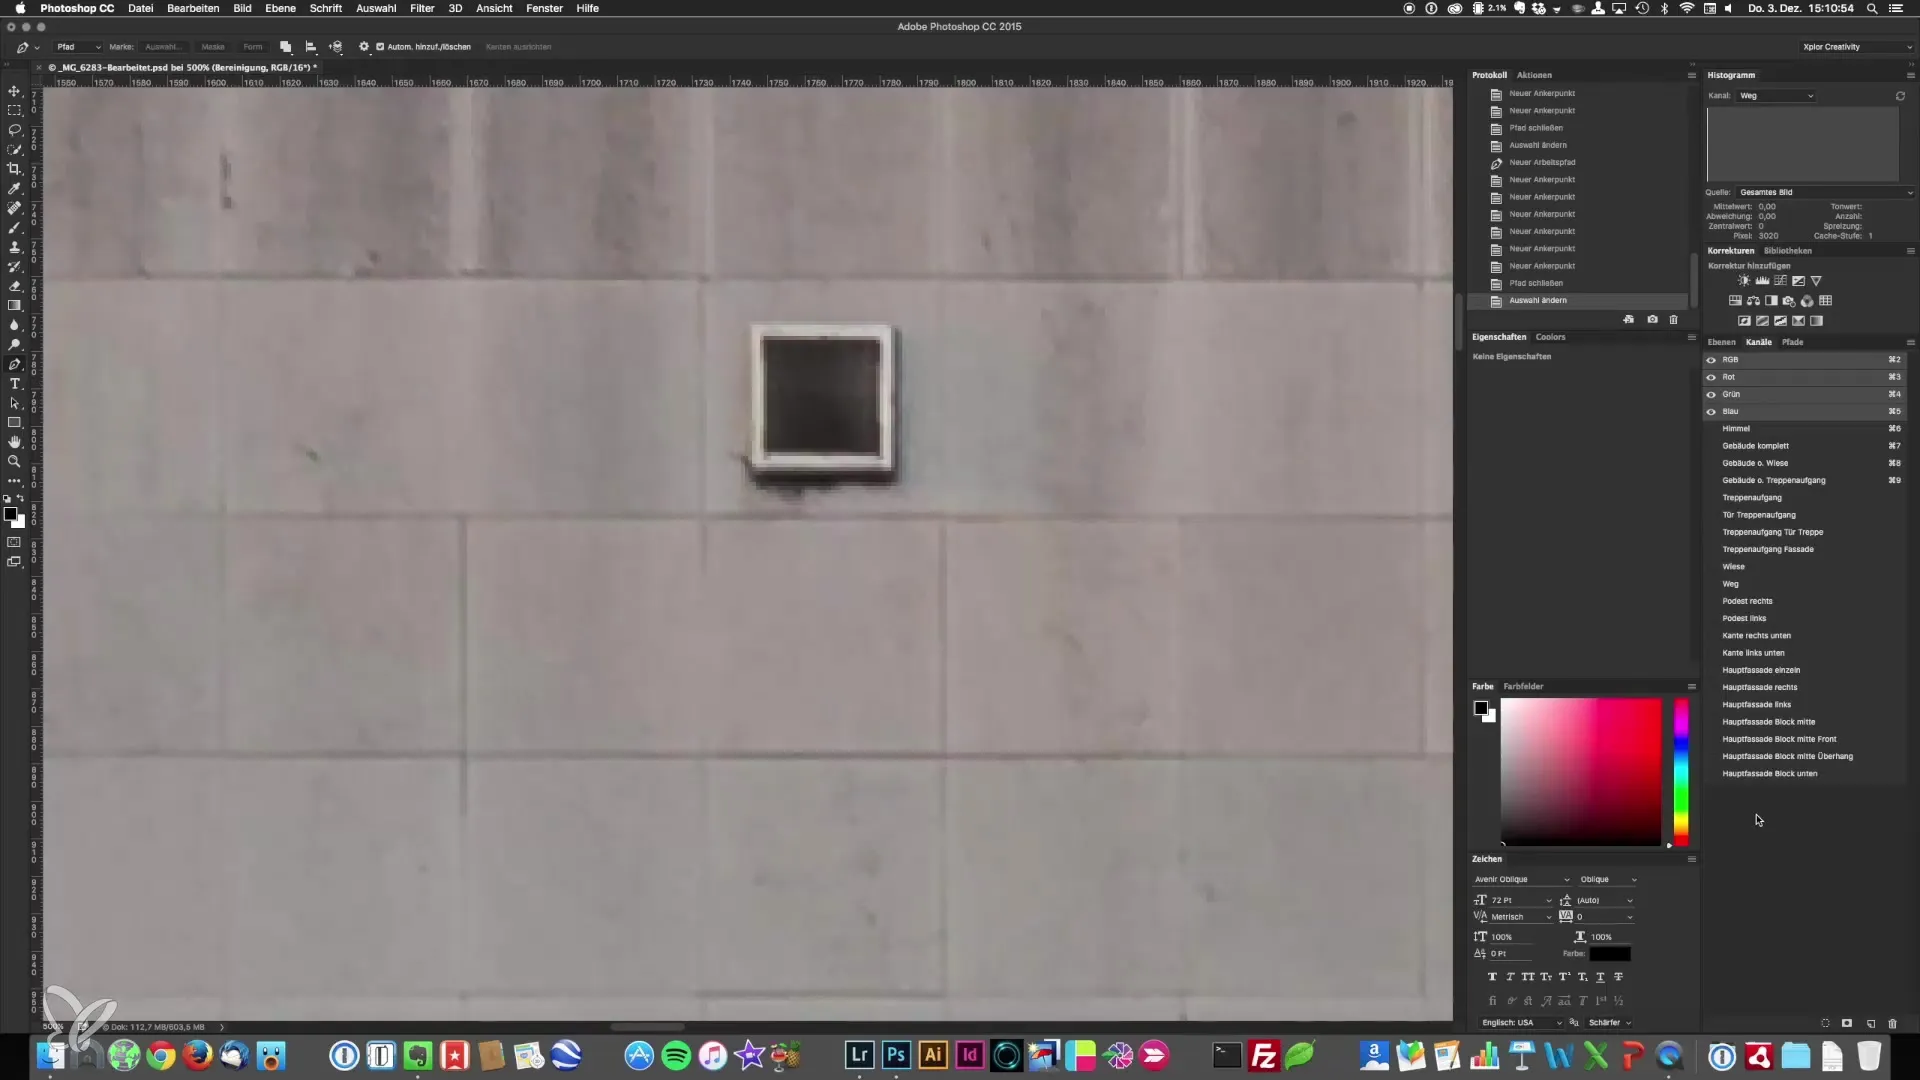
Create additional selections, for example for windows or specific architectural elements. Once you have completed all desired selections, it is advisable to save each one. Be sure to use the same name or a similar system to avoid confusion later.
Step 9: Finalizing and Preparing for the Next Step
Once all selections have been created, save your project regularly to avoid data loss due to unexpected crashes. This is particularly important after editing complex selection areas. Then prepare to further develop your image editing in the next step with contrast adjustments and gradients.
Summary - Architectural Photography: Guides for Precise Selection and Saving of Image Areas
In this guide, you have learned how important precise selections are in architectural photography. You have learned various techniques such as Quickmask mode, the Pen Tool, and the combination of selections. Each of these steps is crucial to creating high-quality and impressive architectural images.
Frequently Asked Questions
How inaccurate can I be with selections?- It is important to work as accurately as possible, as inaccuracies can lead to visible problems later.
Are selections necessary for every image?- Yes, they increase flexibility and effectiveness when editing your images.
How do I save my selections in Photoshop?- After making a selection, go to "Select" and choose "Save Selection".
How often should I save my work?- It is advisable to save after each significant selection step to avoid data loss.
What selection methods are most effective?- The Pen Tool is very precise, while Quickmask is useful for less defined edges.
