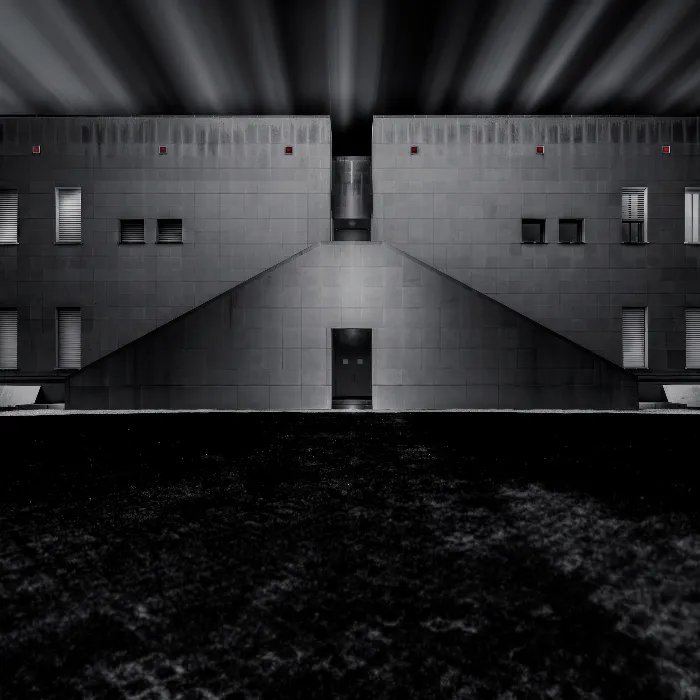
The protocol brush is a valuable tool in image editing, especially when it comes to selectively controlling contrasts in architectural photography. It allows you to make targeted adjustments by editing specific areas of the image without affecting the entire composition. In this guide, you will learn how to effectively use the protocol brush to improve your image quality and achieve the right interplay of light in your shots. Let’s dive into the technique and explore the possibilities.
Main insights
- The protocol brush allows for selective adjustments to contrasts and brightness.
- You can choose between the "Color Dodge" and "Color Burn" modes.
- Be sure to work on the correct layer to avoid color shifts.
- A final correction may be necessary to balance color changes.
Step-by-step guide
To use the protocol brush correctly, follow these steps.
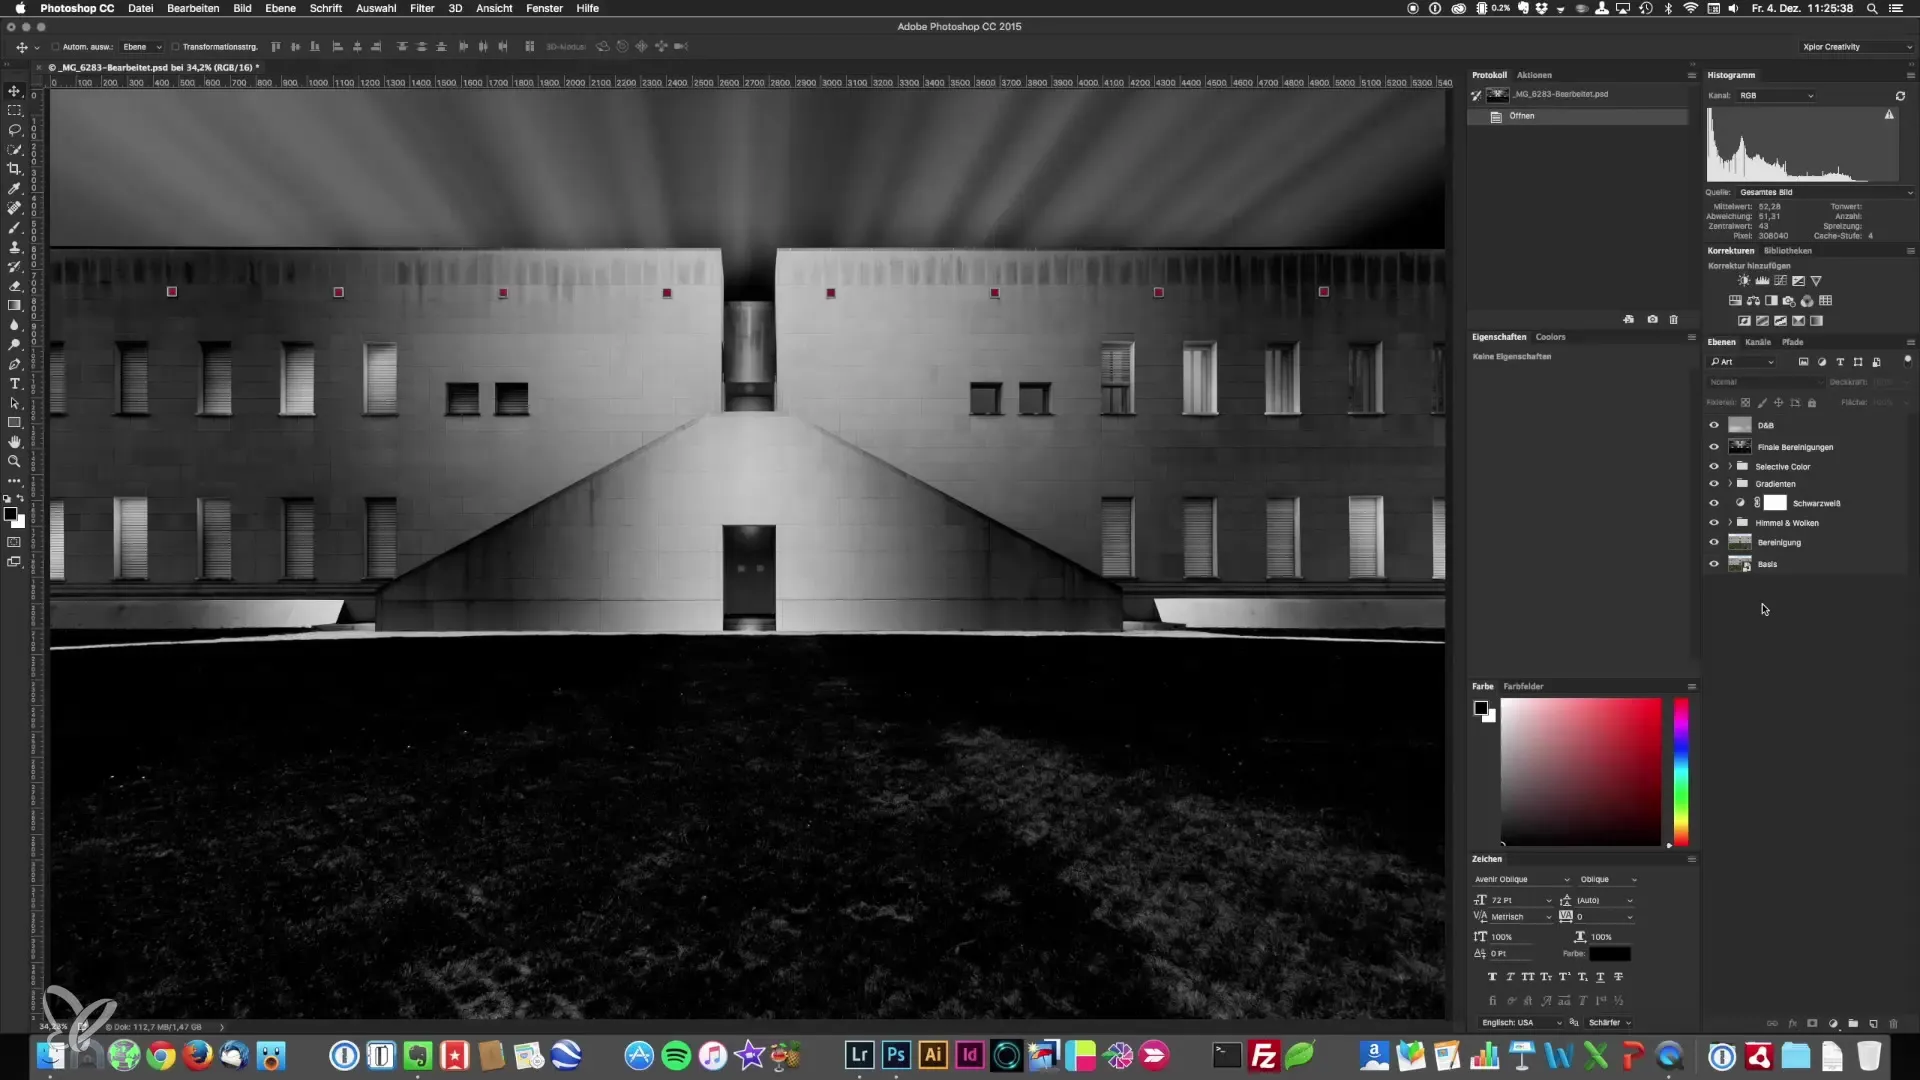
Step 1: Activate the protocol brush First, you need to select the protocol brush. Make sure you are on the layer you want to edit. Go to the History panel and create a "snapshot". Click on the "+" symbol and activate the snapshot. You can now select your protocol brush from the toolbar. Make sure you have chosen the appropriate layer for your work.
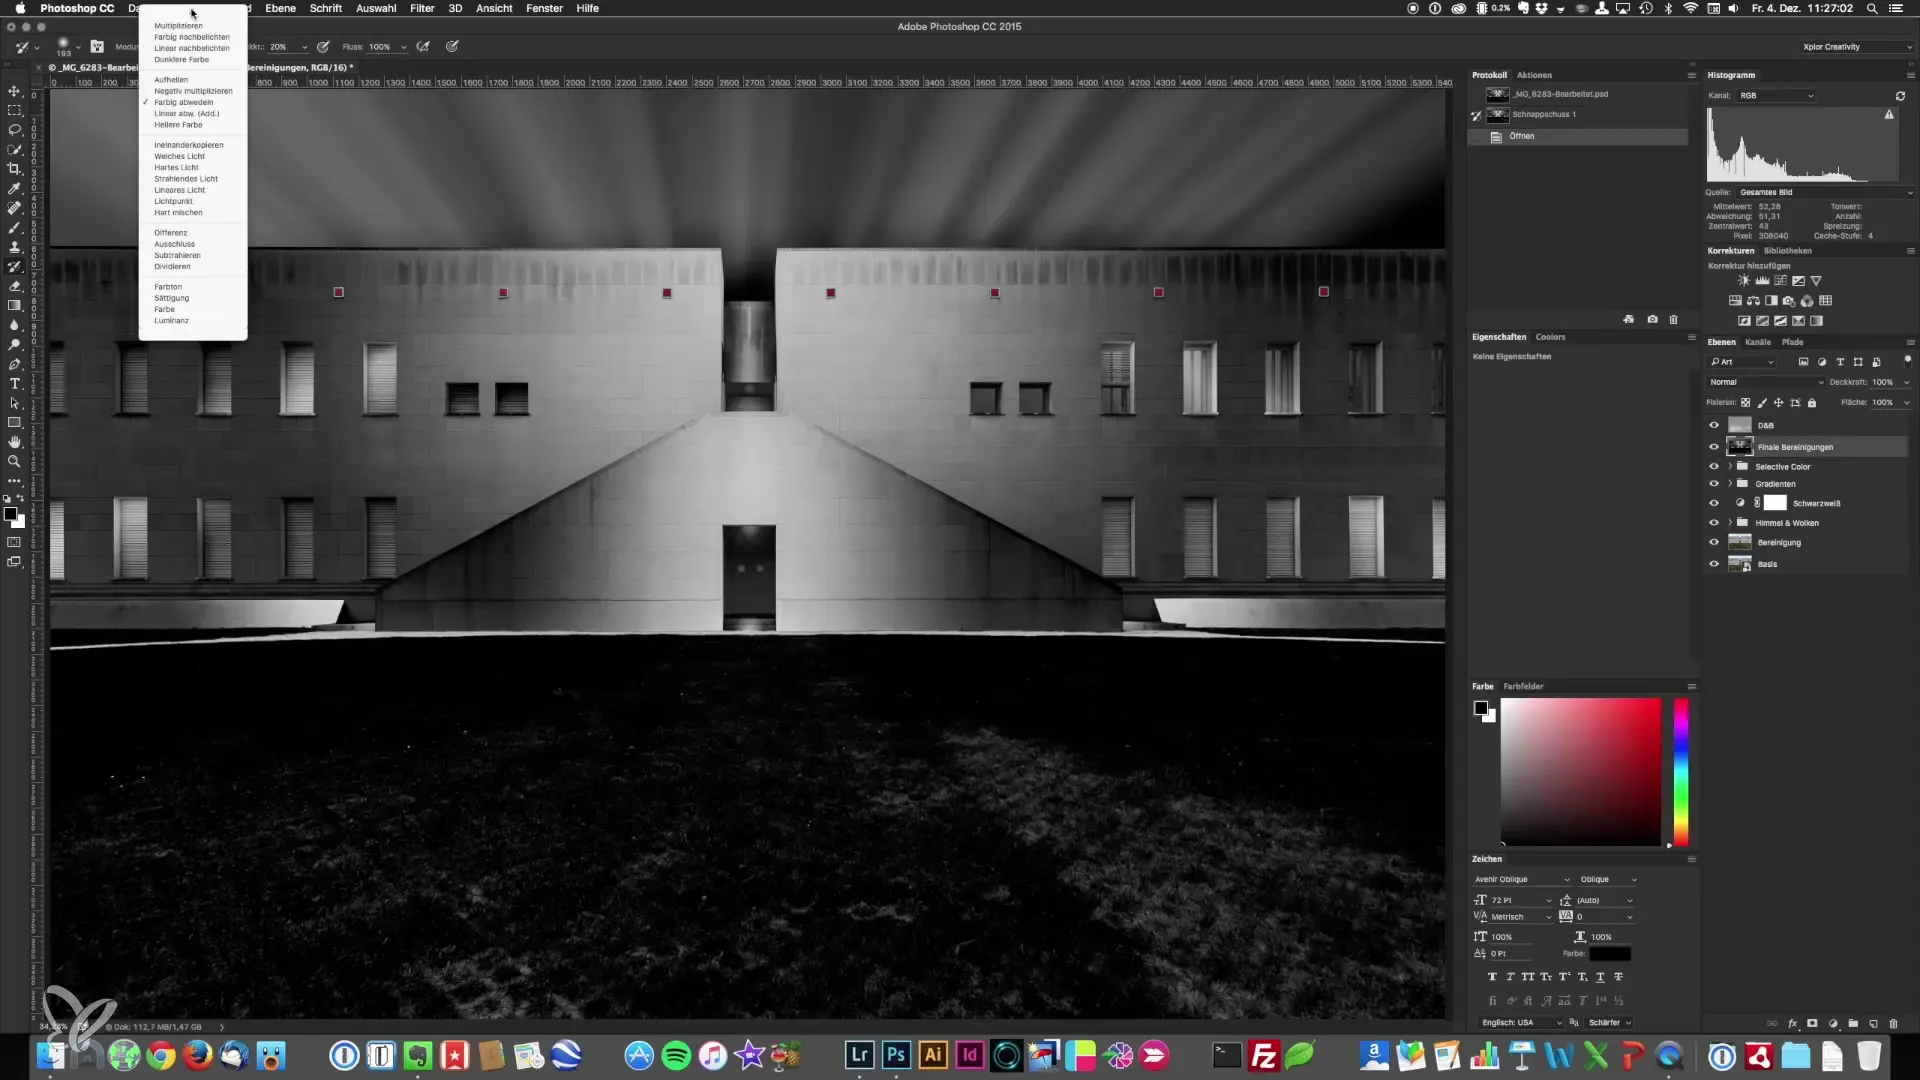
Step 2: Select the mode After selecting the brush, choose one of the modes: "Color Dodge" or "Color Burn". The "Color Dodge" mode is used to enhance dark areas and give them more depth. If you want to edit bright spots, you should choose "Color Burn". Keep the opacity low to make controlled adjustments.
Step 3: Edit dark areas Apply the protocol brush in "Color Dodge" mode to the dark spots of your image. Start with an opacity of about 20% and gradually work your way up. You will see the dark areas gaining depth. Be careful not to paint over areas you do not want to change. Gently go over the spots you want to brighten.
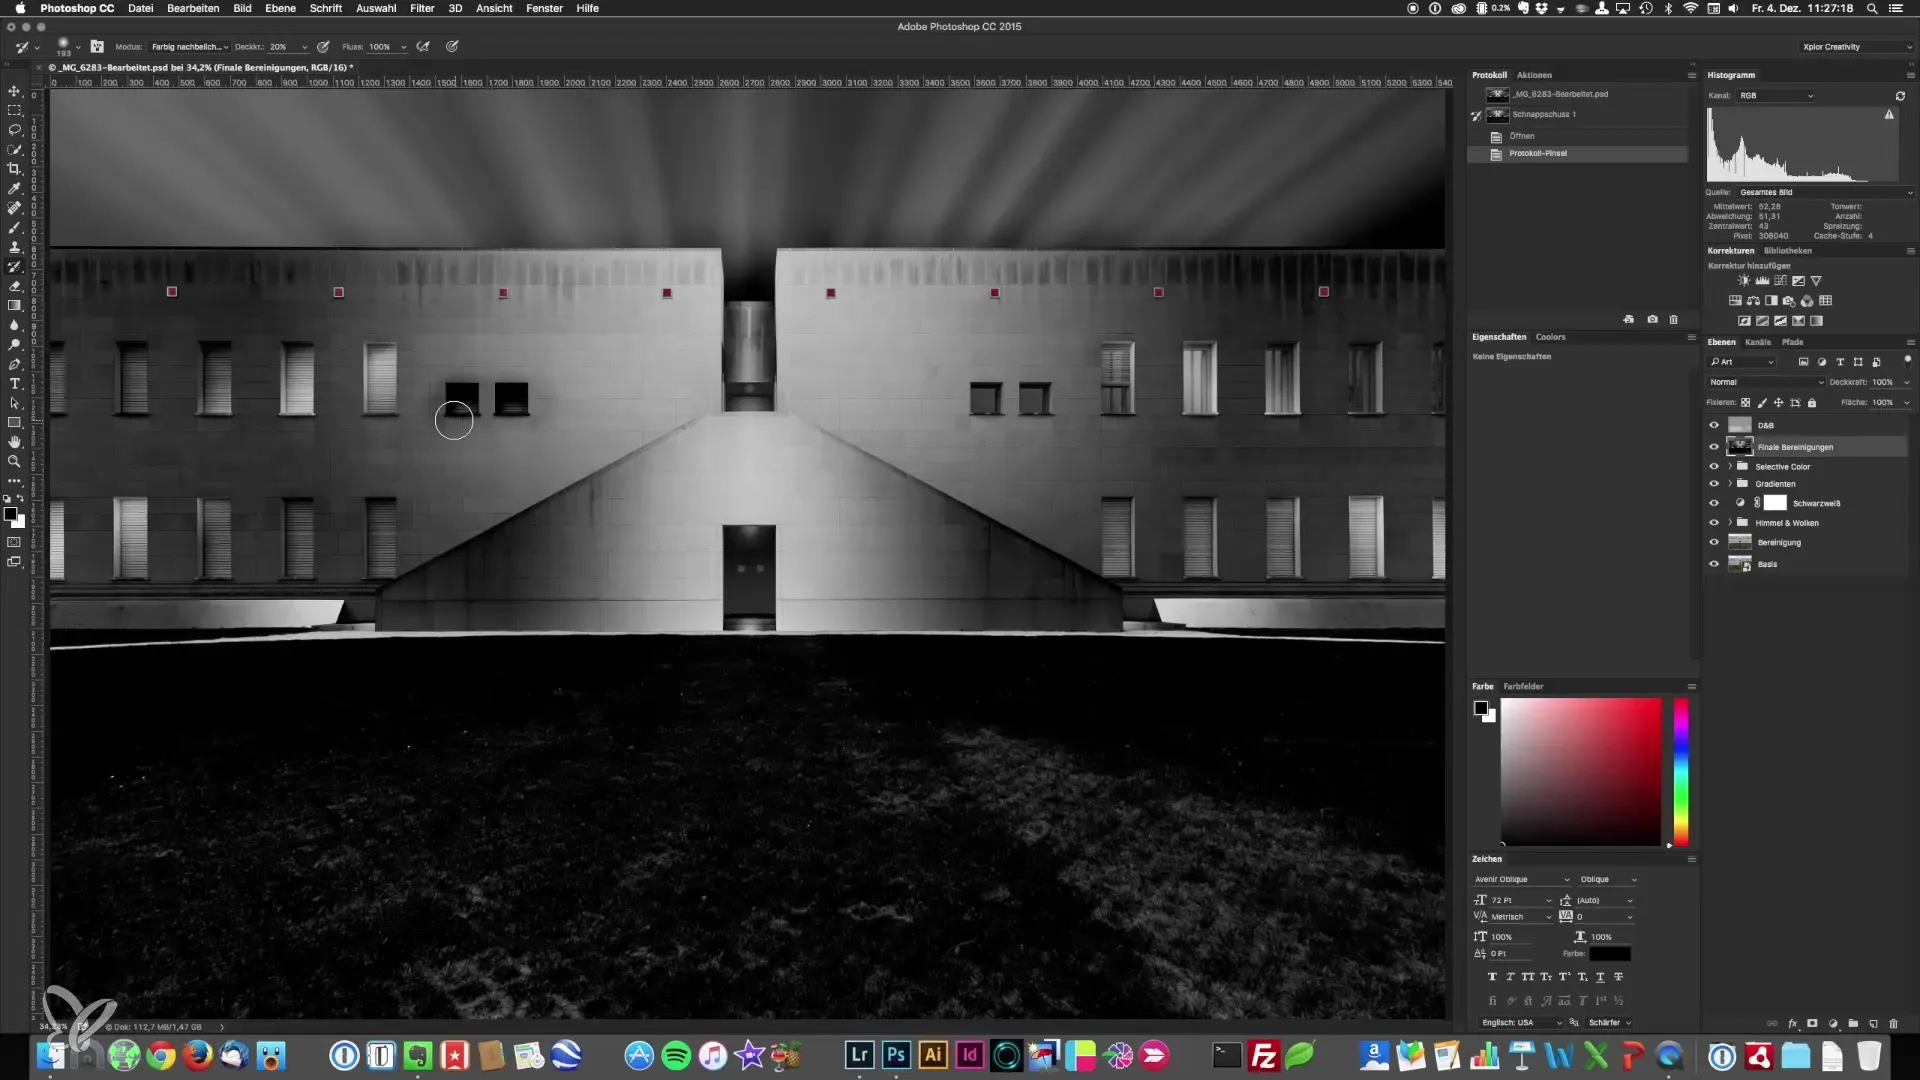
Step 4: Edit bright areas Now switch to "Color Burn" mode if you want to enhance bright spots. Also keep the opacity low here, around 20-25%, to achieve an even and gentle result. Carefully paint over the brighter areas to achieve the desired effect. Be careful not to overdo the surroundings.
Step 5: Fine-tuning contrasts Use the protocol brush to specifically edit contrasts in particular areas of your image. You can now adjust the windows or other elements that you consider too dark or too bright. This process gives your image a more harmonious overall appearance by enhancing or reducing micro-contrasts.
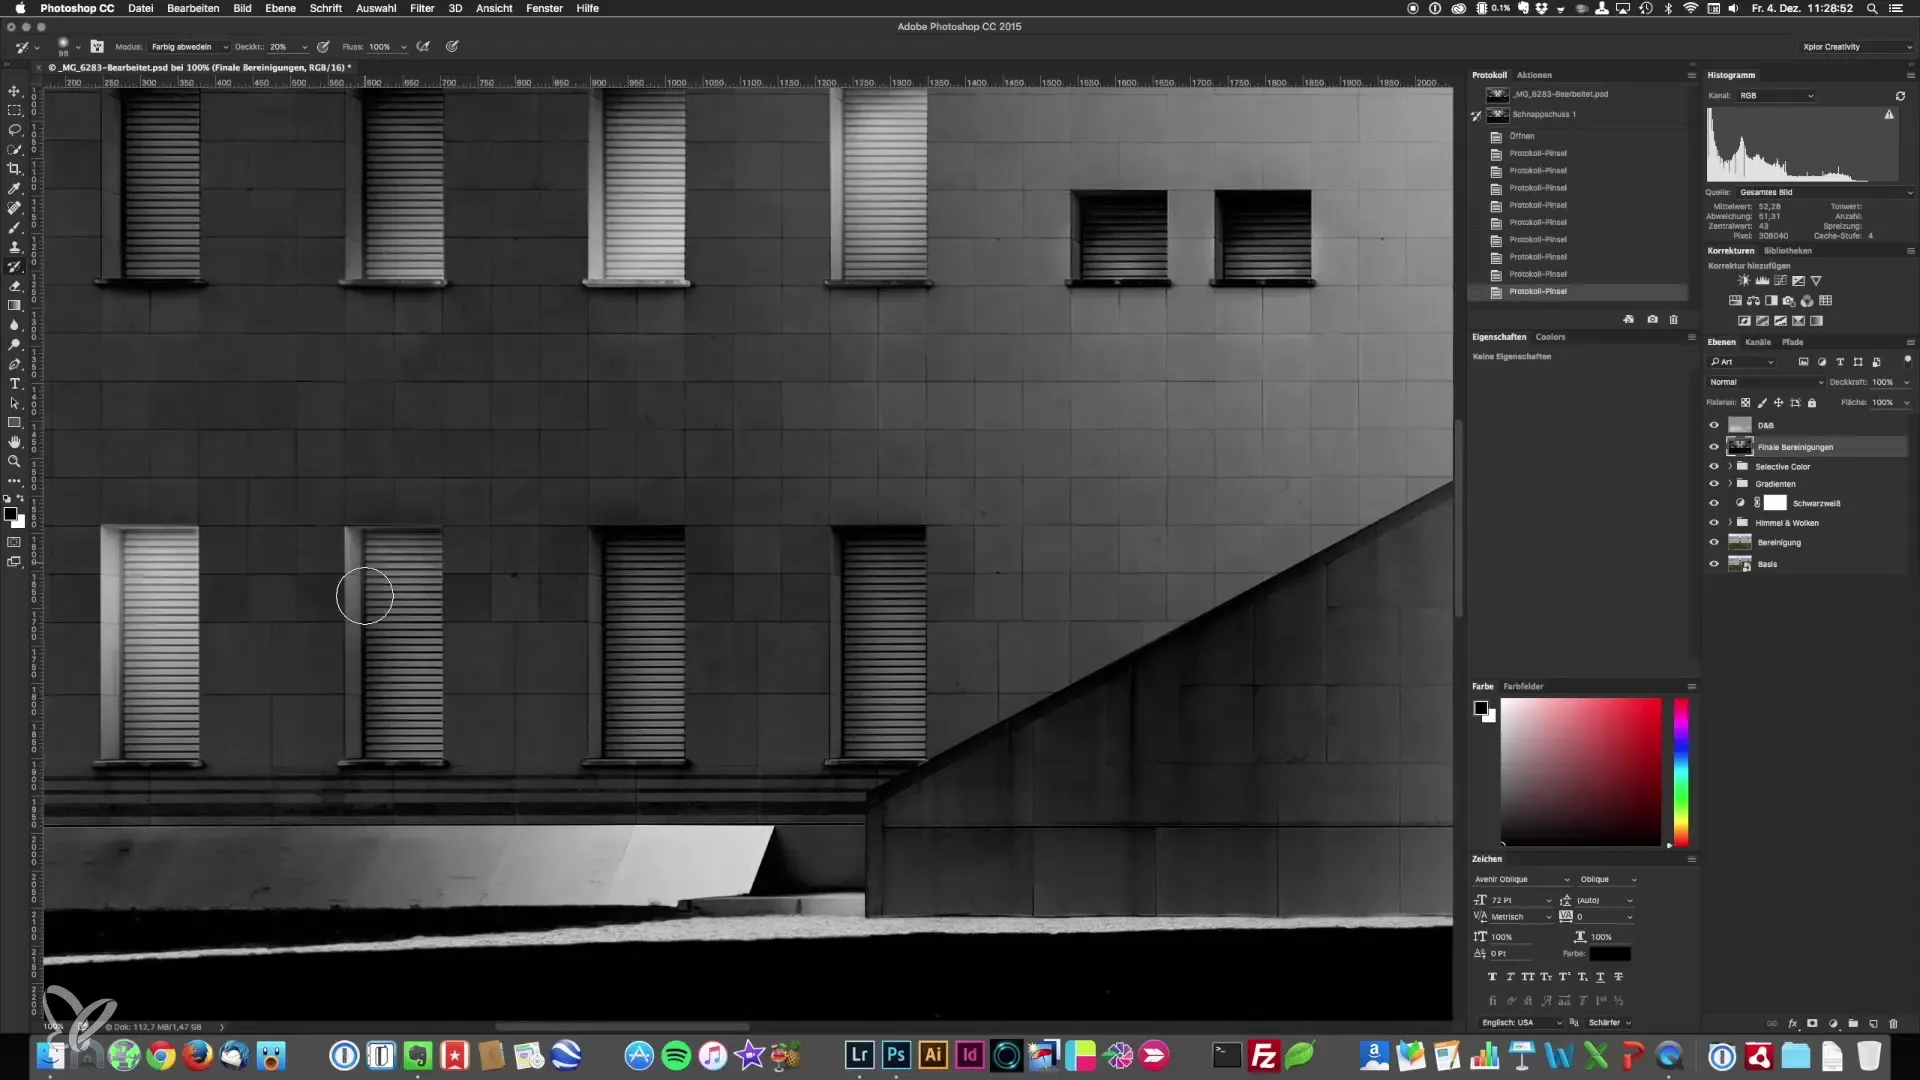
Step 6: Using the protocol brush on different layers Make sure you are using the protocol brush on the correct layer. If you apply it to a layer below, it can result in unwanted color shifts. If necessary, use a black-and-white adjustment layer to ensure no unpleasant color changes occur.
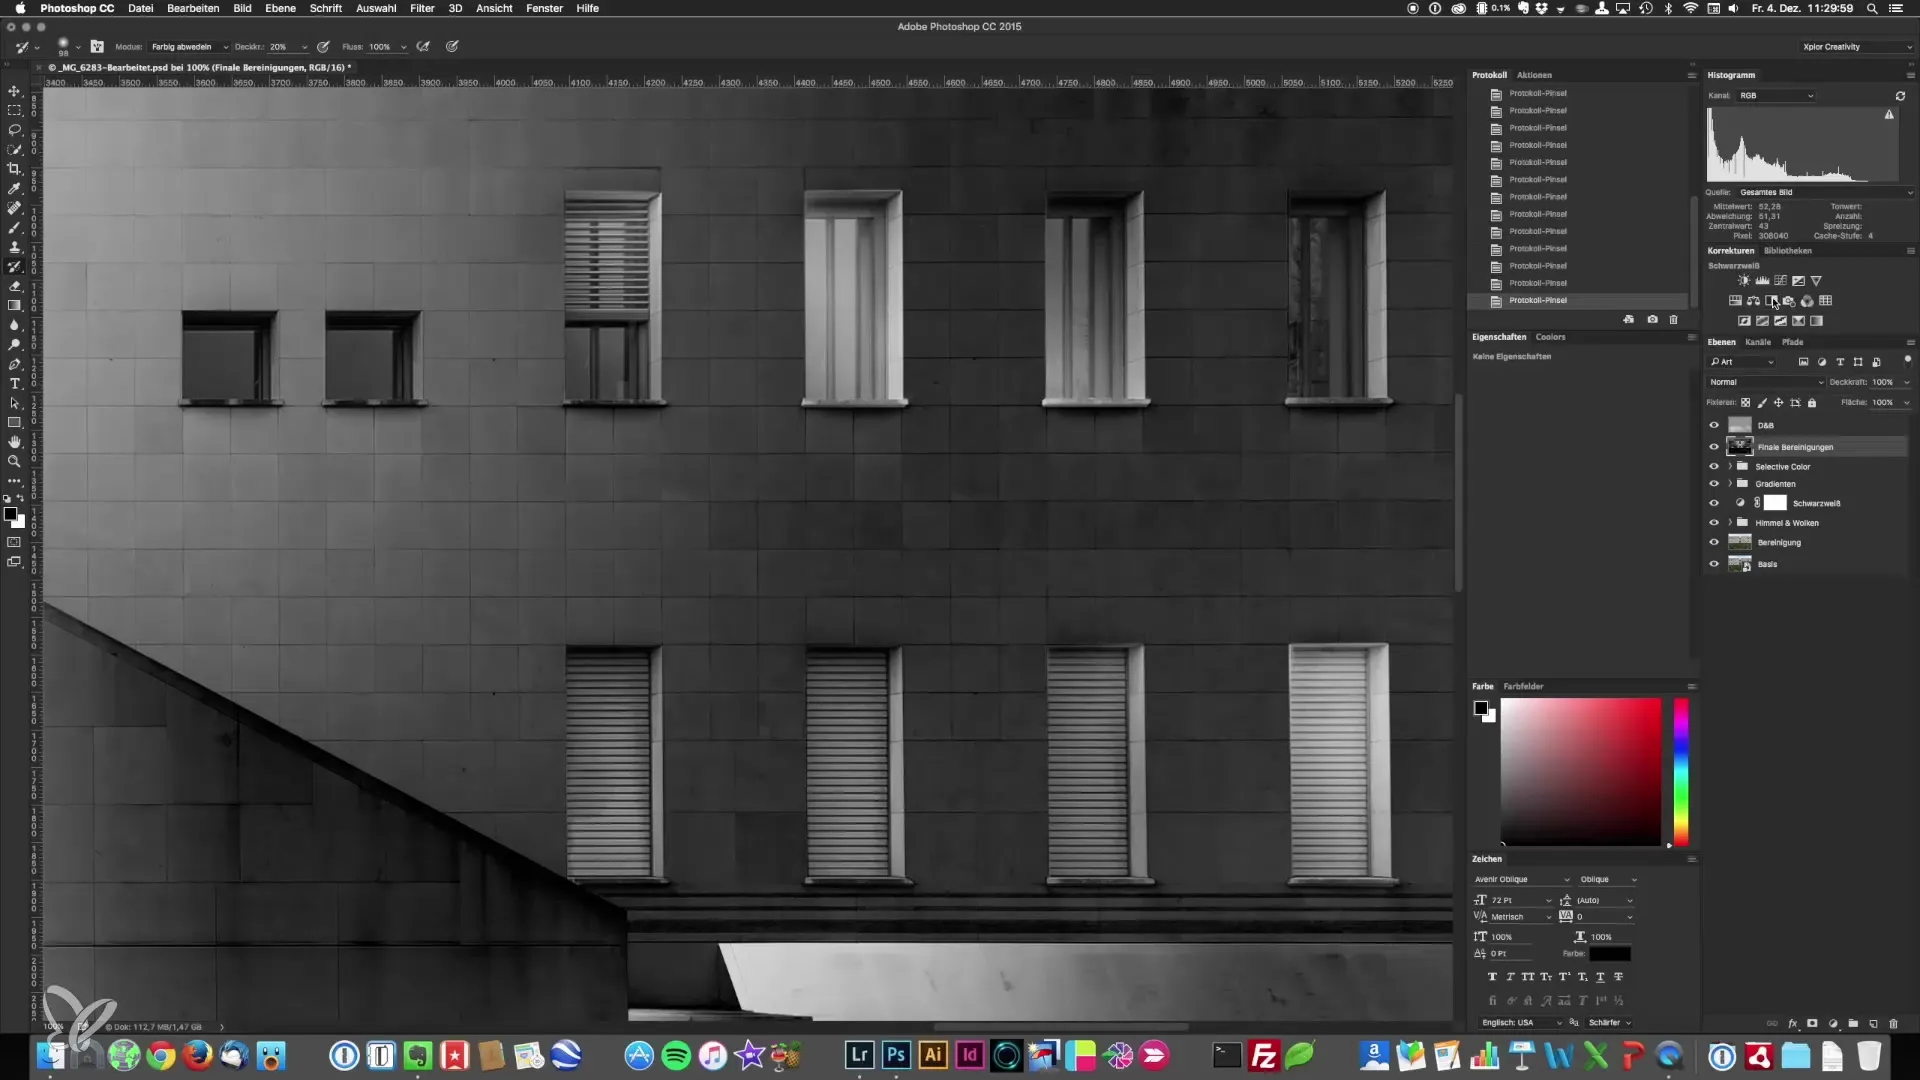
Step 7: Make final adjustments Once you have made the desired adjustments, check your image for any overexposure or color shifts. To achieve an optimal result, you can make a final color correction. Be sure to mask the colors to ensure the quality of your final image.
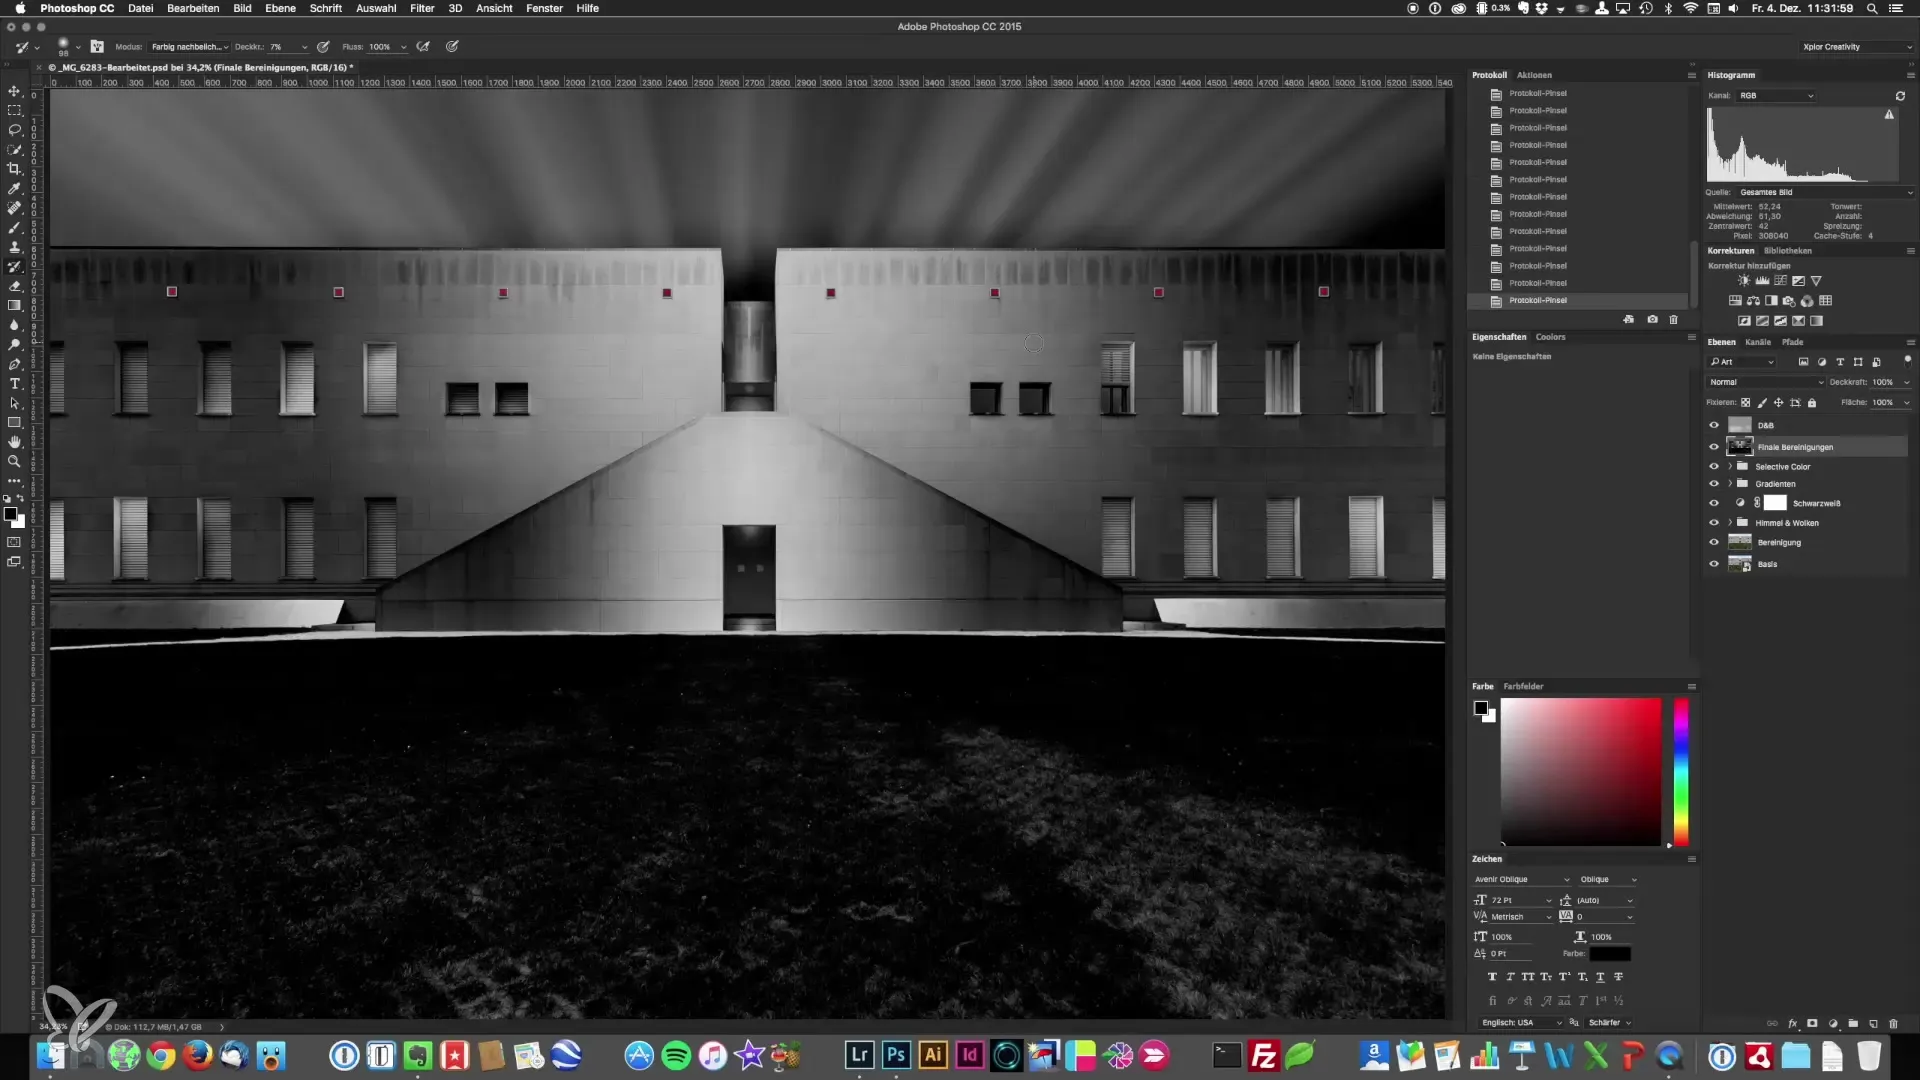
Summary - Architectural Photography: Targeting Contrasts with the Protocol Brush
The protocol brush offers a precise way to target contrasts in your architectural photography. With the right technique, you can adjust both bright and dark areas of your image without affecting the entire image. Be sure to experiment with opacity and select the right layer to achieve the best results. A final correction rounds off your workflow and secures a harmonious end result.
Frequently asked questions
How do I select the protocol brush?You will find the protocol brush in the toolbar. Make sure you are on the editable layer.
What modes are available for the protocol brush?The main modes are "Color Dodge" and "Color Burn".
How do I adjust the brush opacity?You can adjust the opacity in the upper menu bar, usually between 5 and 25%.
How do I prevent color shifts from the protocol brush?Use a black-and-white adjustment layer to mask any potential color shifts.
When should I use the protocol brush?The protocol brush is ideal for precise contrast settings in specific areas of your image.
