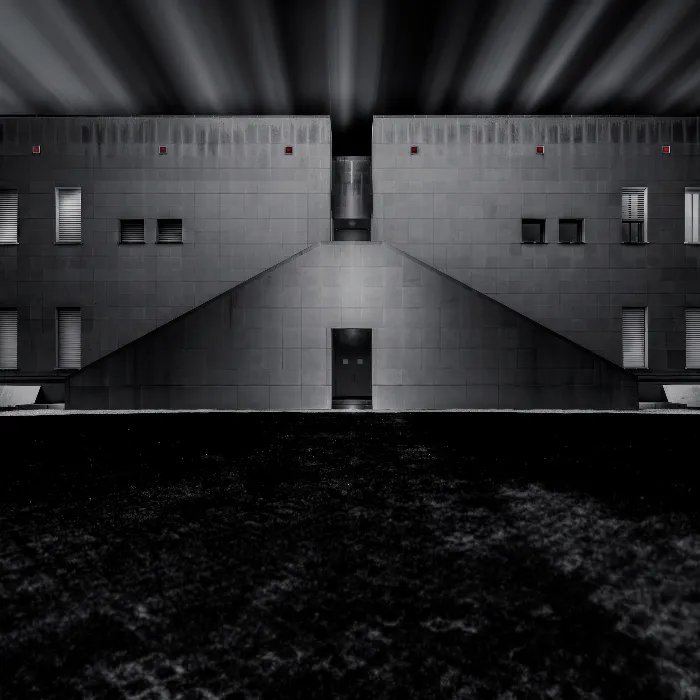
Are you looking for an effective method to refine your architectural photographs? The final finetuning of an image can make all the difference. Today, we will go through the Camera Raw filter to give your image the final touch. I will show you how to make global adjustments, such as vignette and split toning, to give your architectural shot a distinctive look.
Key Insights
- The Camera Raw filter offers numerous options for image editing.
- With the right application of clarity and contrast, you can influence the perception of surfaces.
- Vignettes and split toning direct the viewer's eye towards the center of the image and add depth.
- Adjustments in the shadows and highlights sliders can strongly affect the contrast and overall effect of an image.
Step-by-Step Guide
Create a New Smart Object
The first step you should take is to create a new layer so that your changes do not apply to the original file. In Photoshop, press the shortcut "Command + Alt + Shift + E". Name this layer "RAW" and convert it to a Smart Object. This way, you can return to the Camera Raw filter anytime to make adjustments.
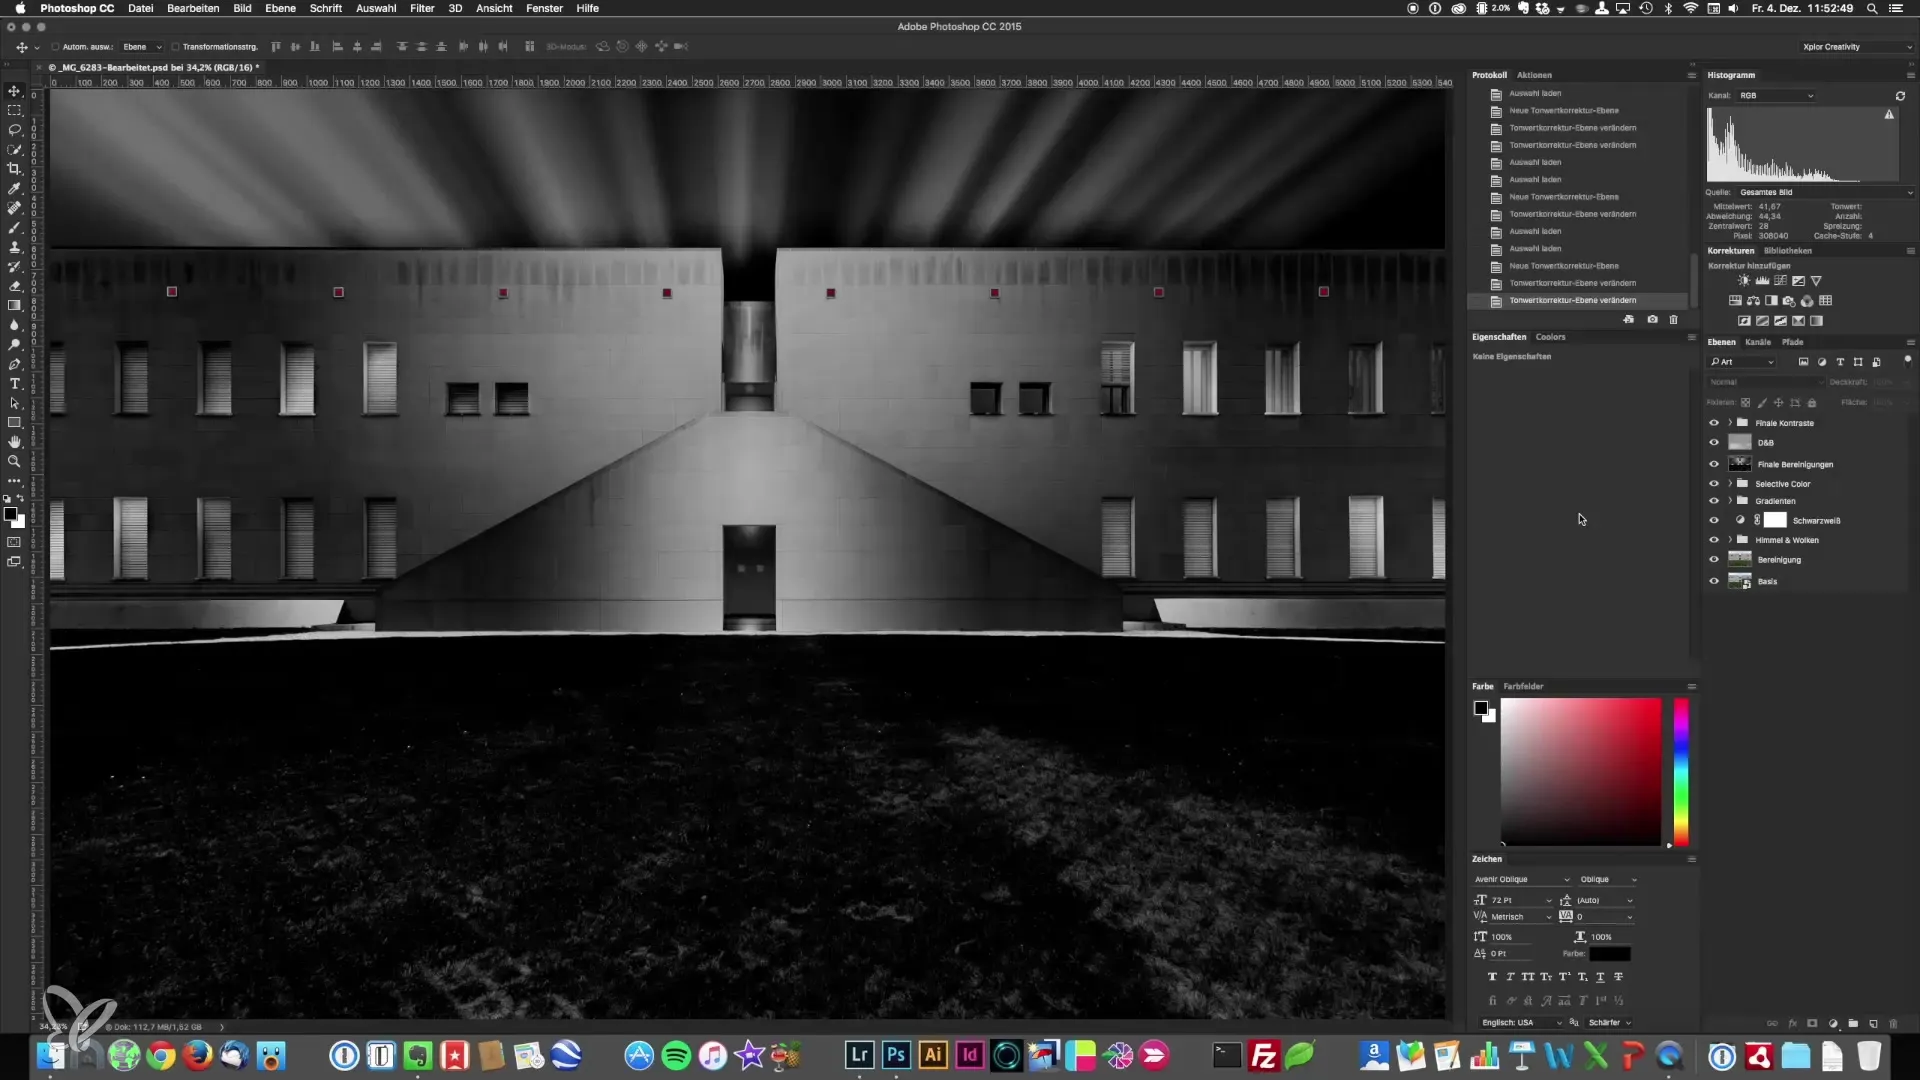
Apply Camera Raw Filter
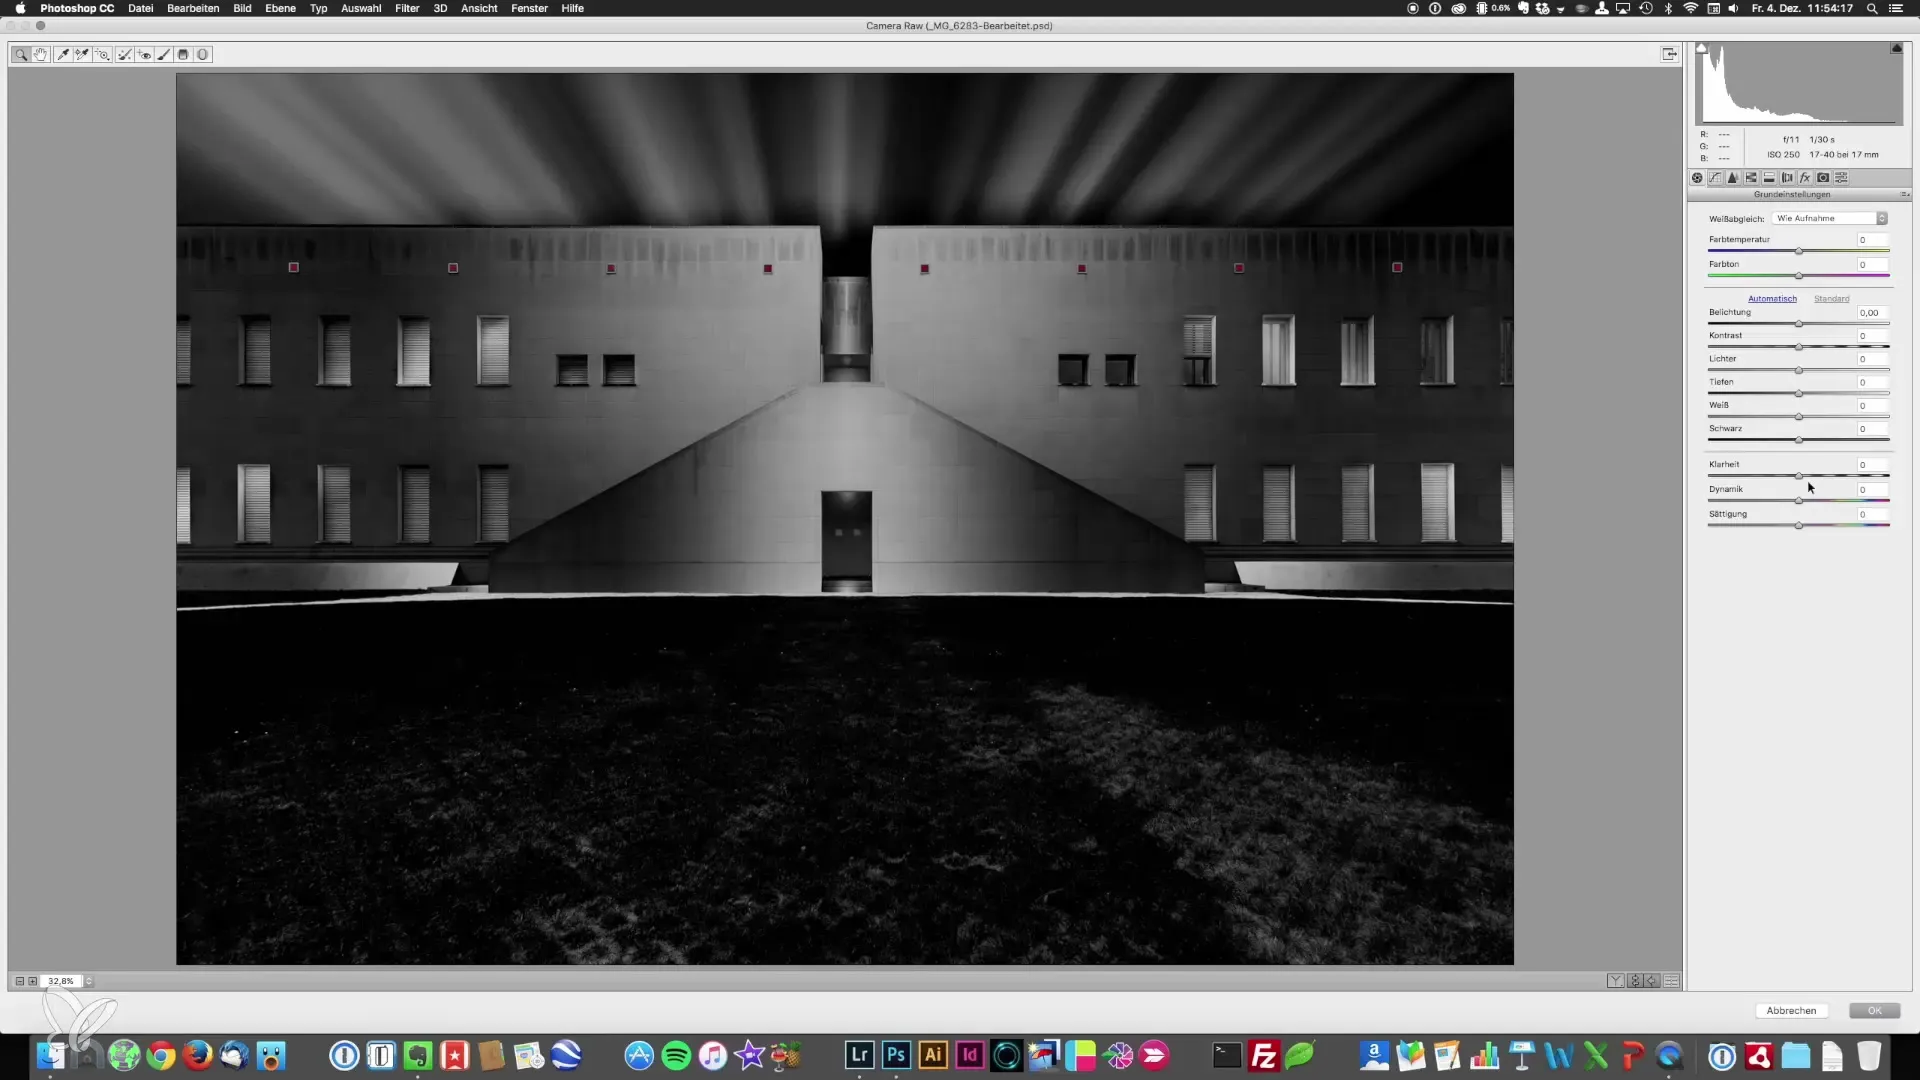
Now you apply the Camera Raw filter. Go to Filter > Camera Raw. This opens the Camera Raw menu where you can make the next adjustments.
Adjust Clarity and Contrast
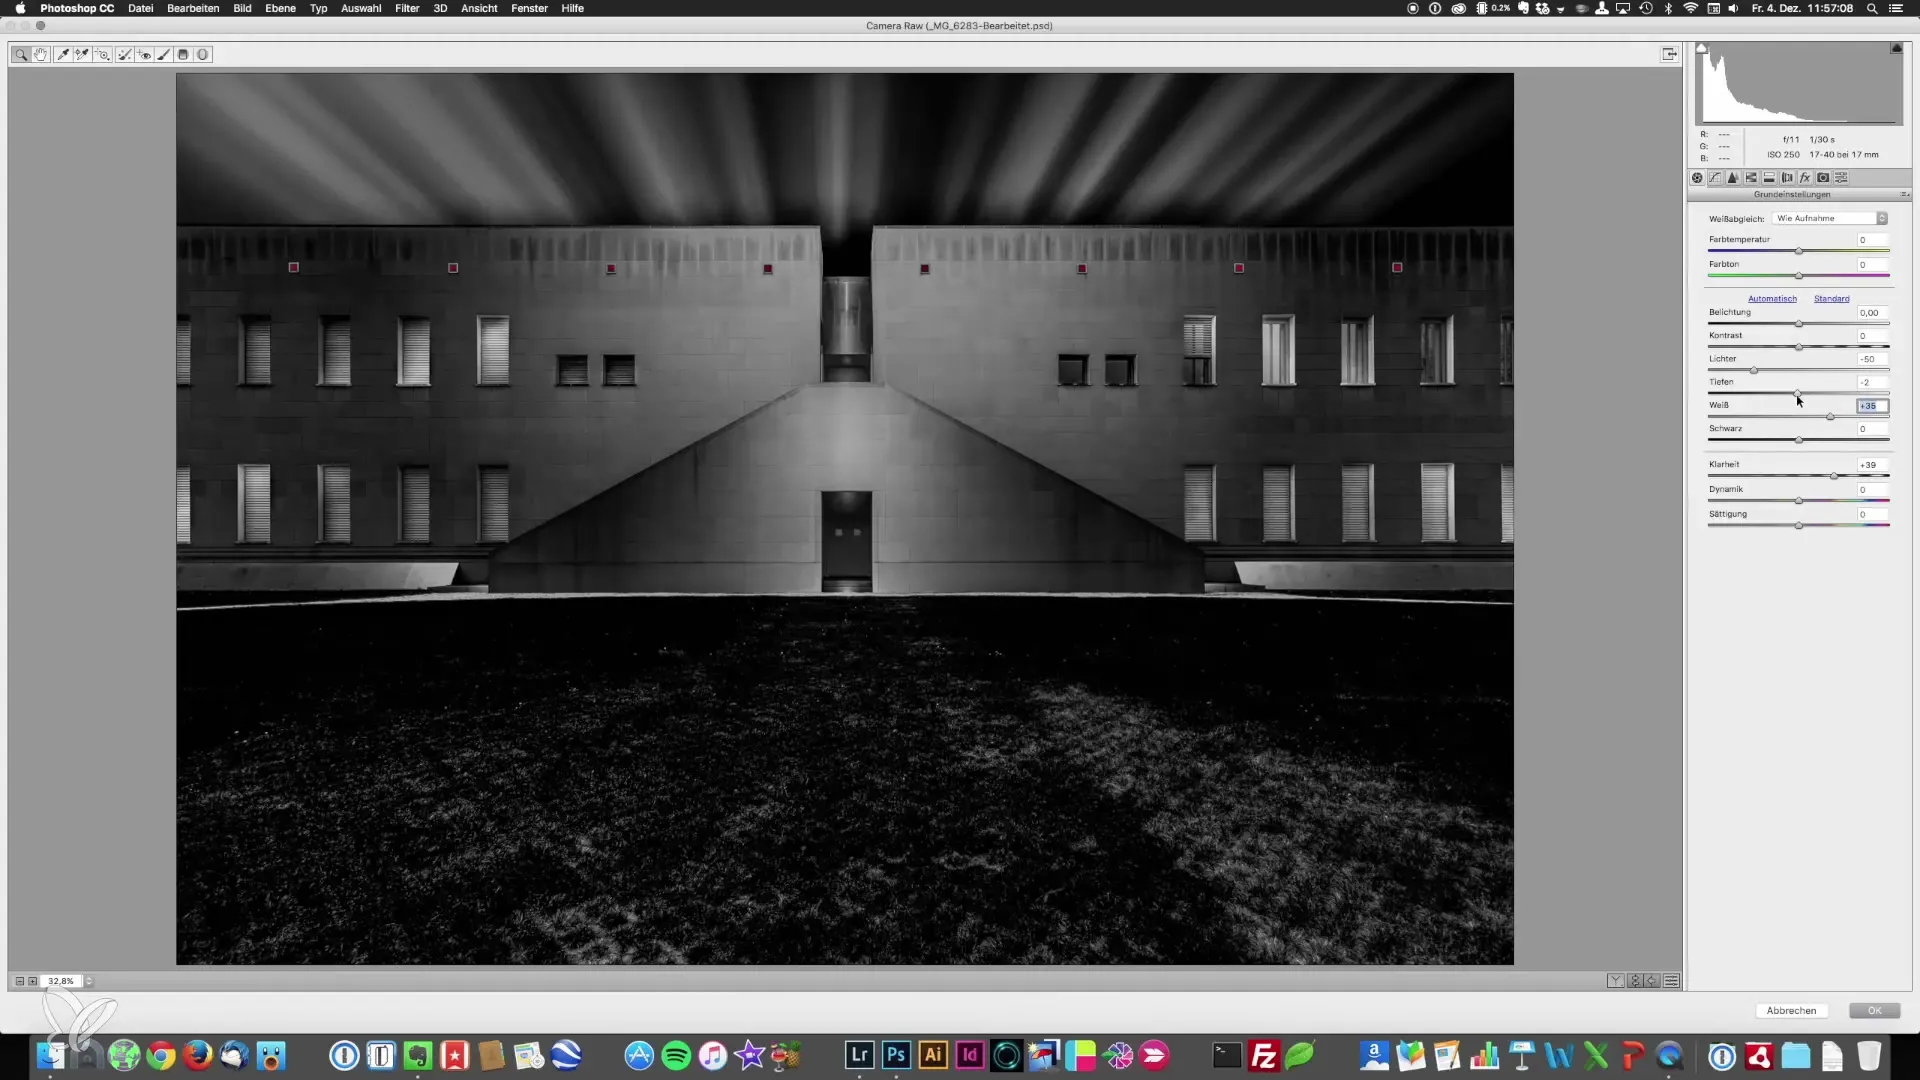
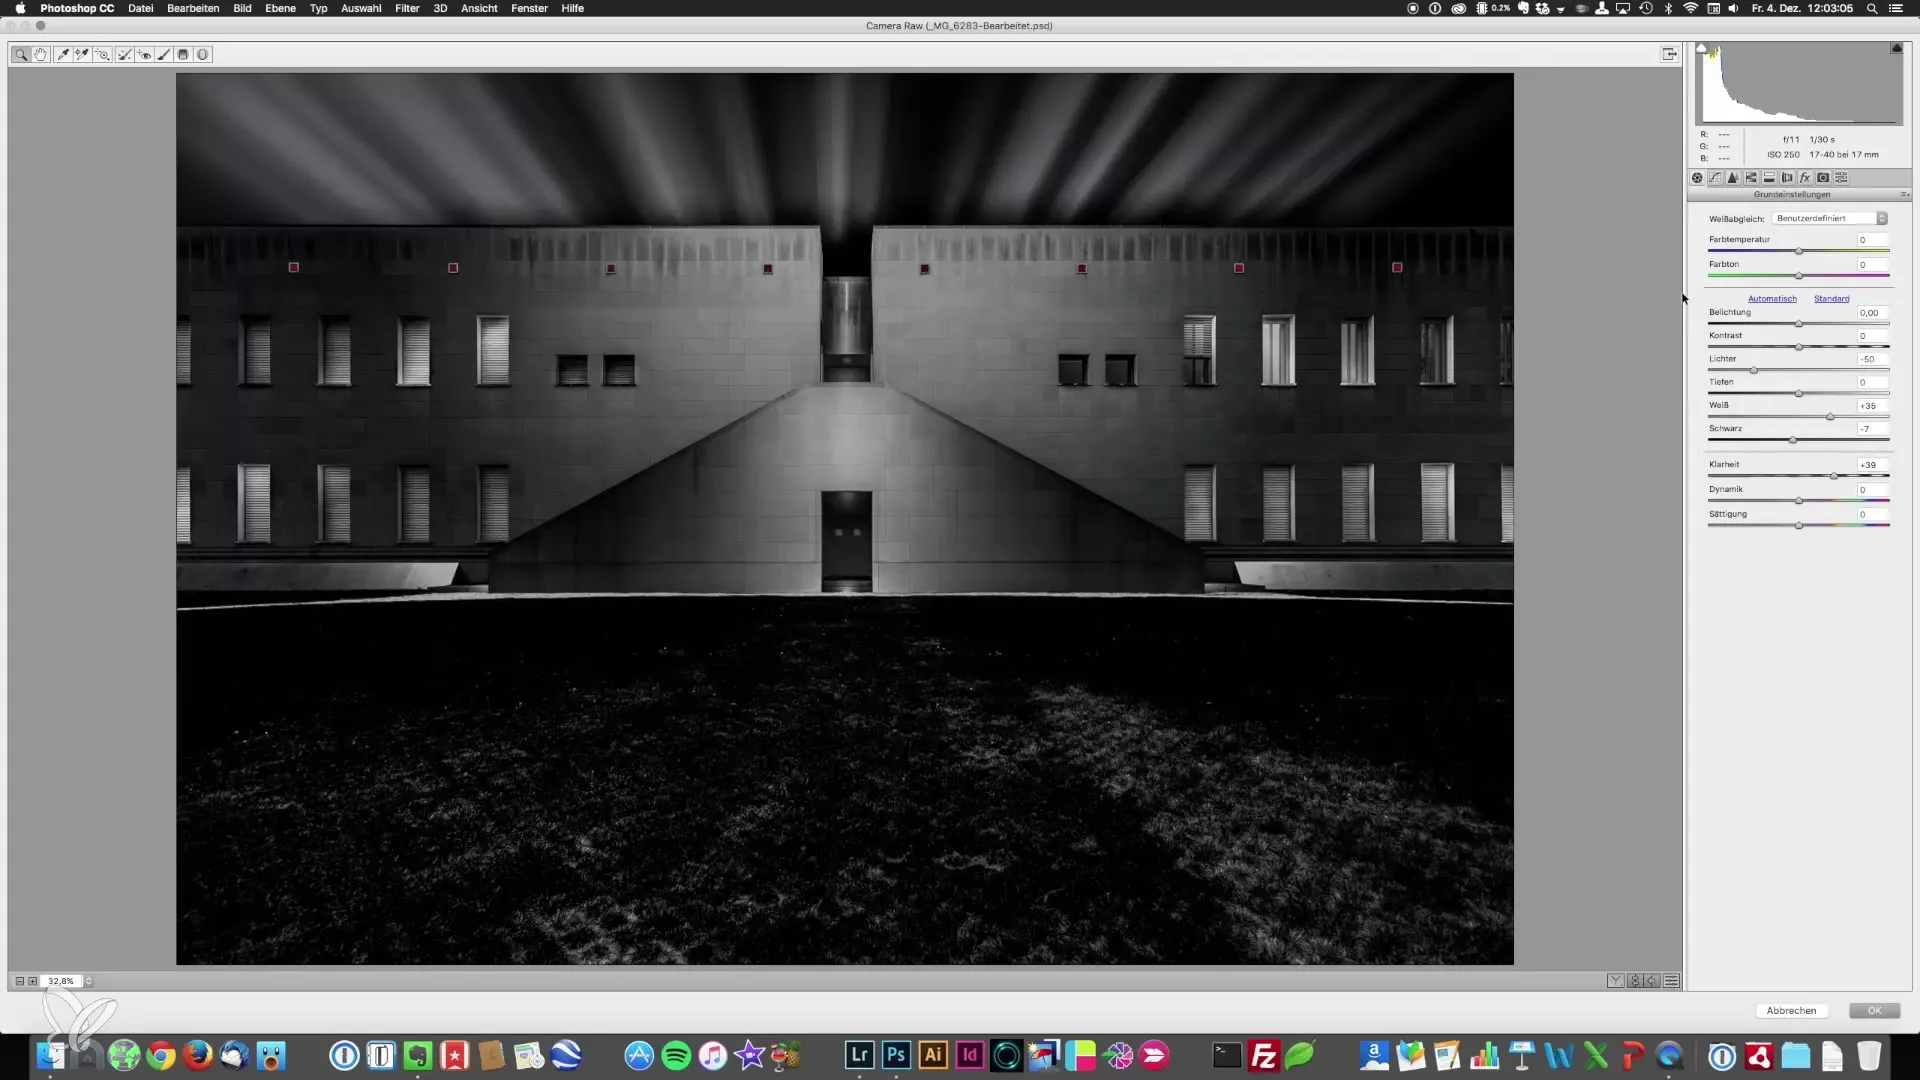
Start with the clarity slider. Generally, reducing clarity makes the façade more matte and smoother. This is especially beneficial with glass façades. Pull the clarity slider back a bit to create a soft and elegant look. You can also add some contrast to emphasize the micro-contrasts that may have been lost during the adjustment.
Optimize Highlights and Shadows
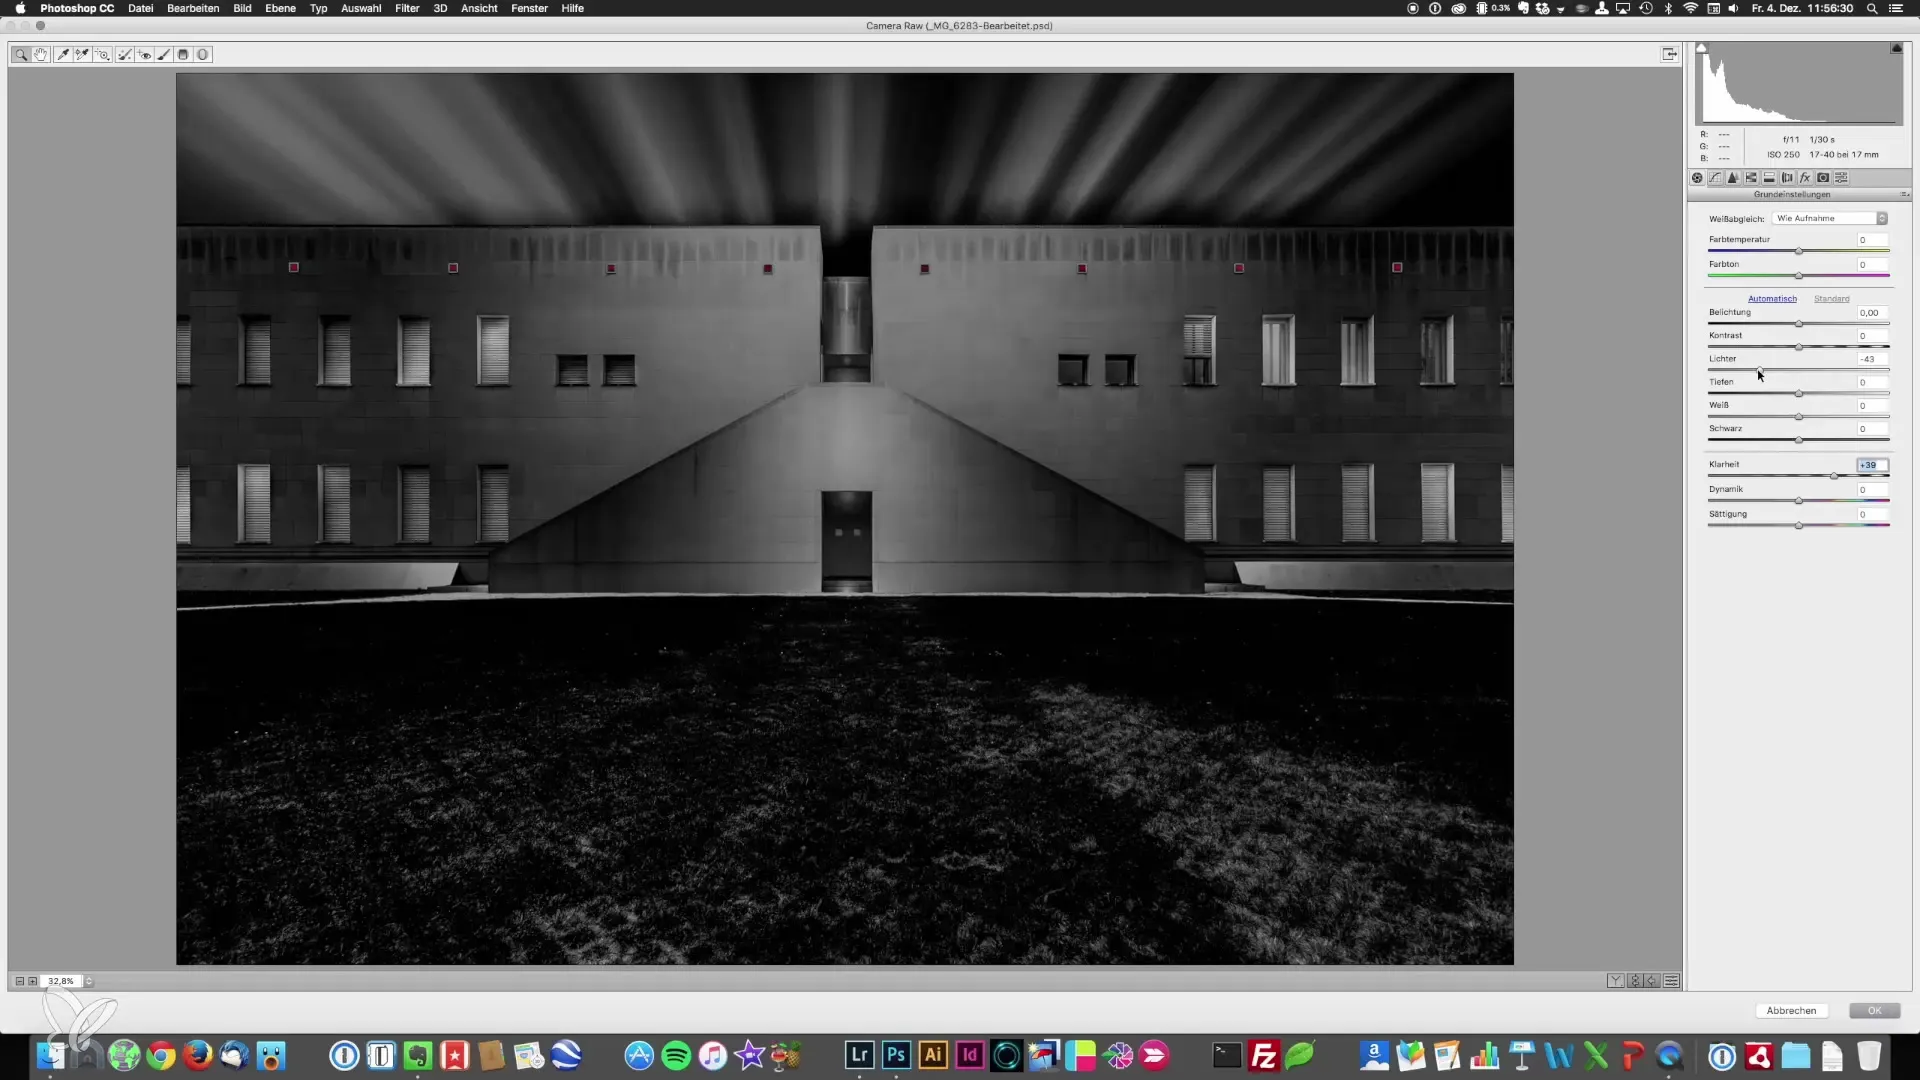
Play with the highlights and shadows sliders to optimize the balance in your image. Reduce the highlights for a more homogeneous effect and increase the white point to enhance contrast without overdoing it. This can give a balanced and professional look.
Change Depths and Black Point
If your shadow areas appear too dark, cautiously raise the depth slider. If necessary, you can adjust the black point to retain the black elements in the image while reducing their intensity.
Use Global Curves
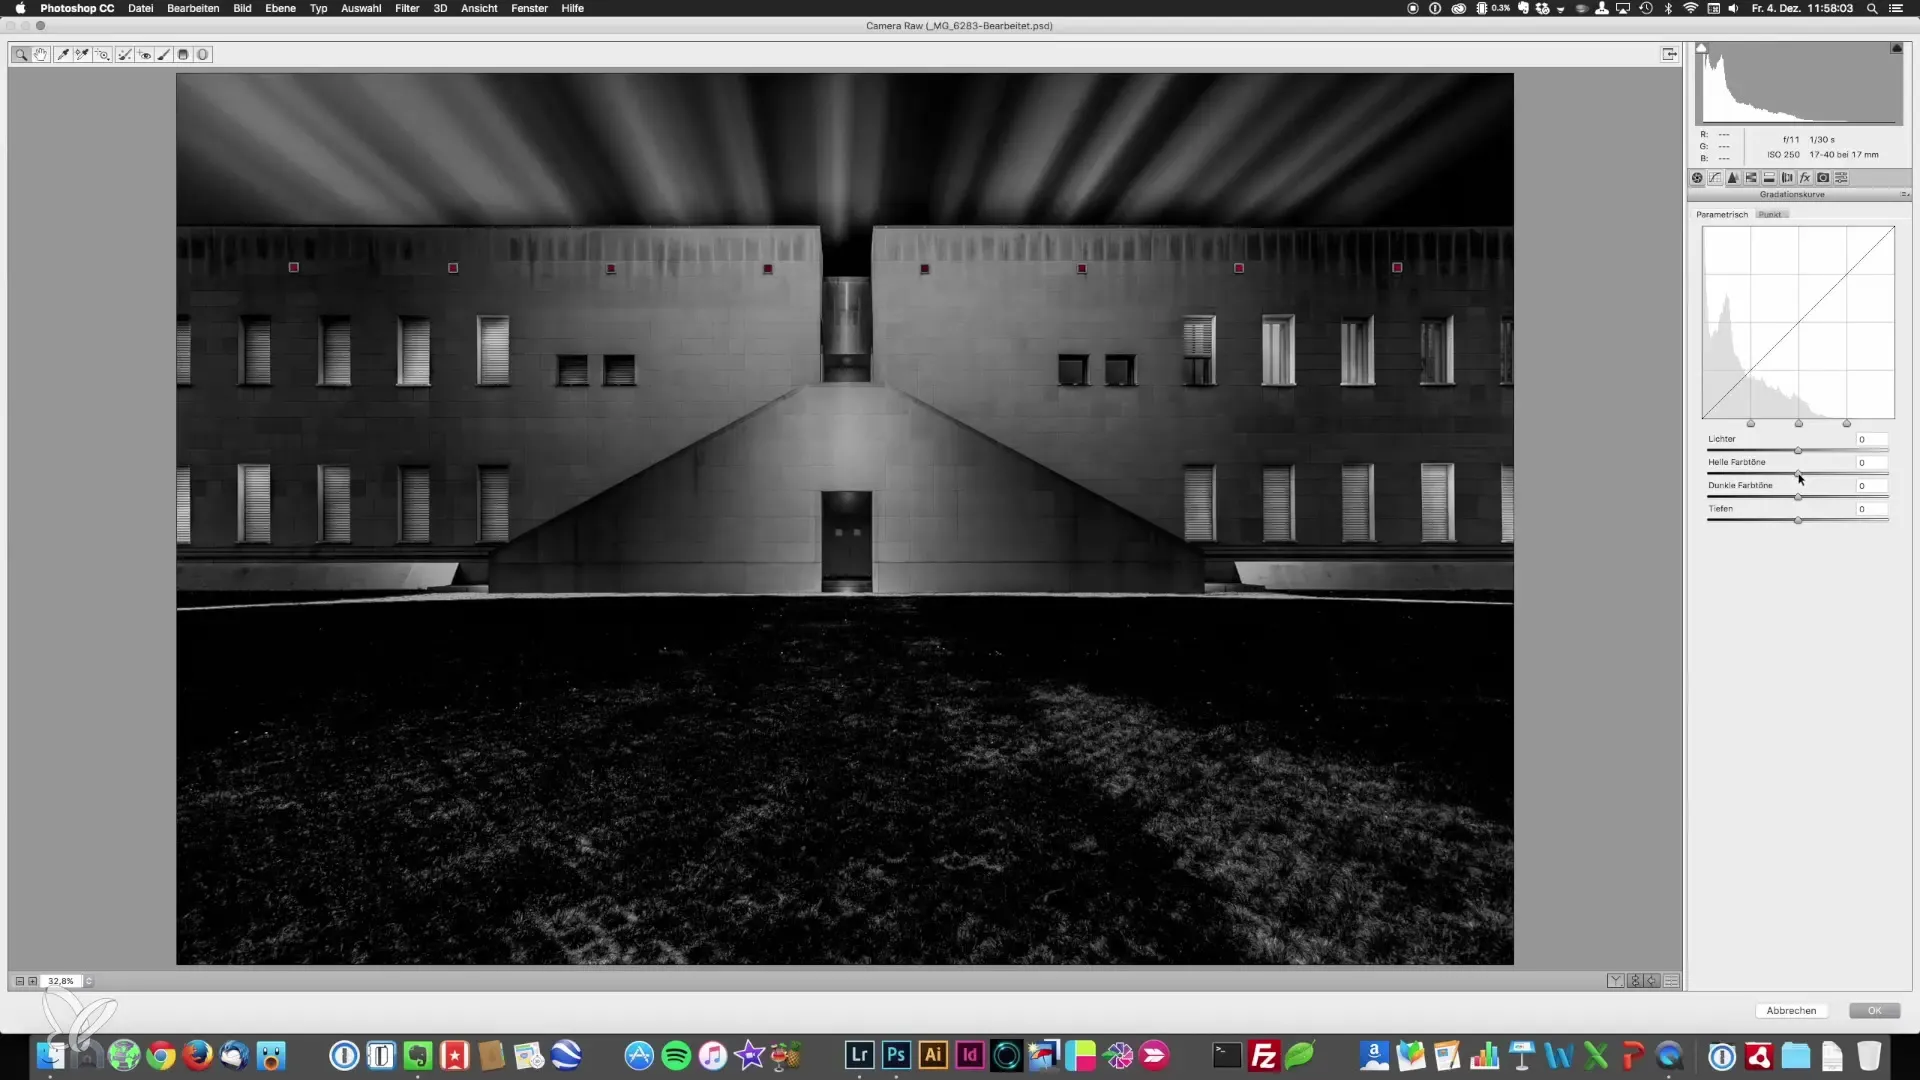
Now you can use the curves to further refine the definition of light and dark tones. Light tones can be made brighter, and dark tones darker. Make sure the balance between these two areas stays even.
Add Vignette
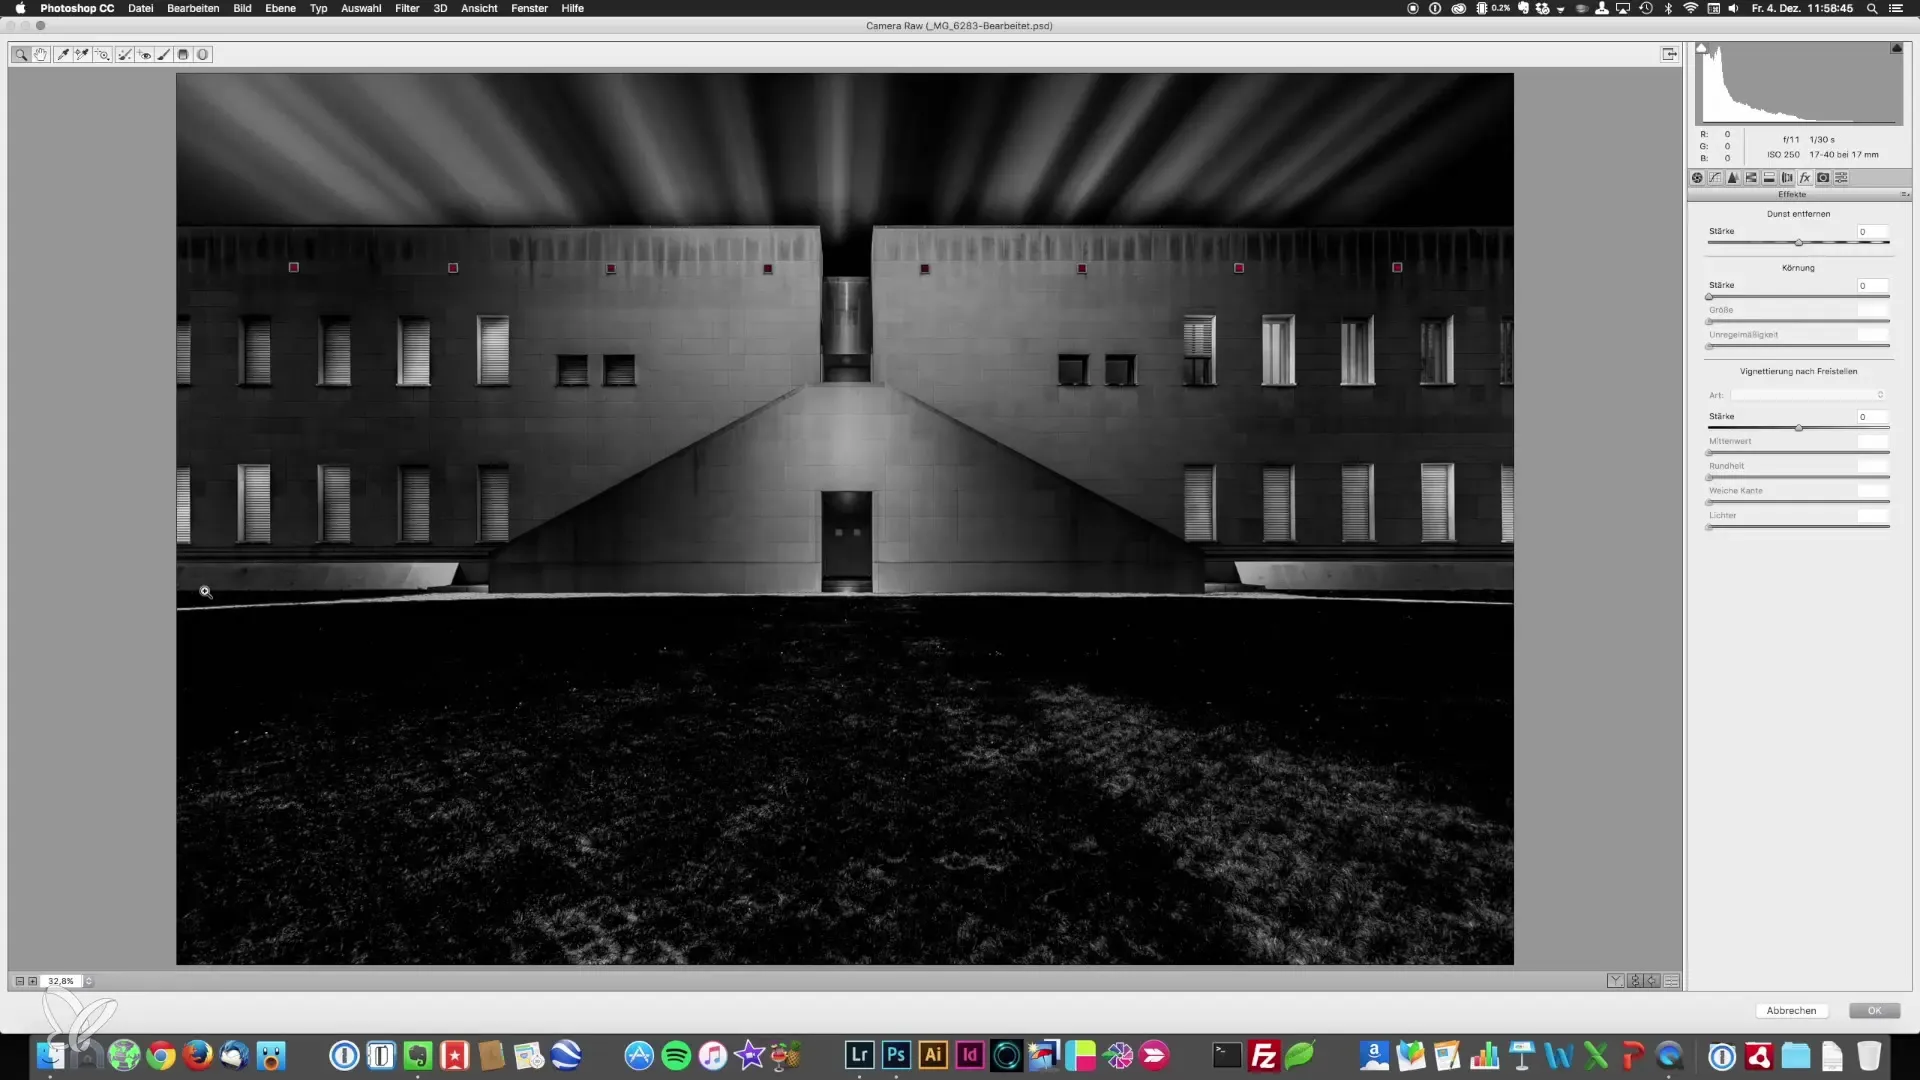
Another important step is the addition of a vignette. Navigate to the "FX" section and slightly pull the slider down to create a subtle vignette. This adds drama to the image and directs the viewer's eye to the center. Be careful not to use a whitish vignette, as this tends to lead the gaze towards the edges.
Adjust Color Temperature
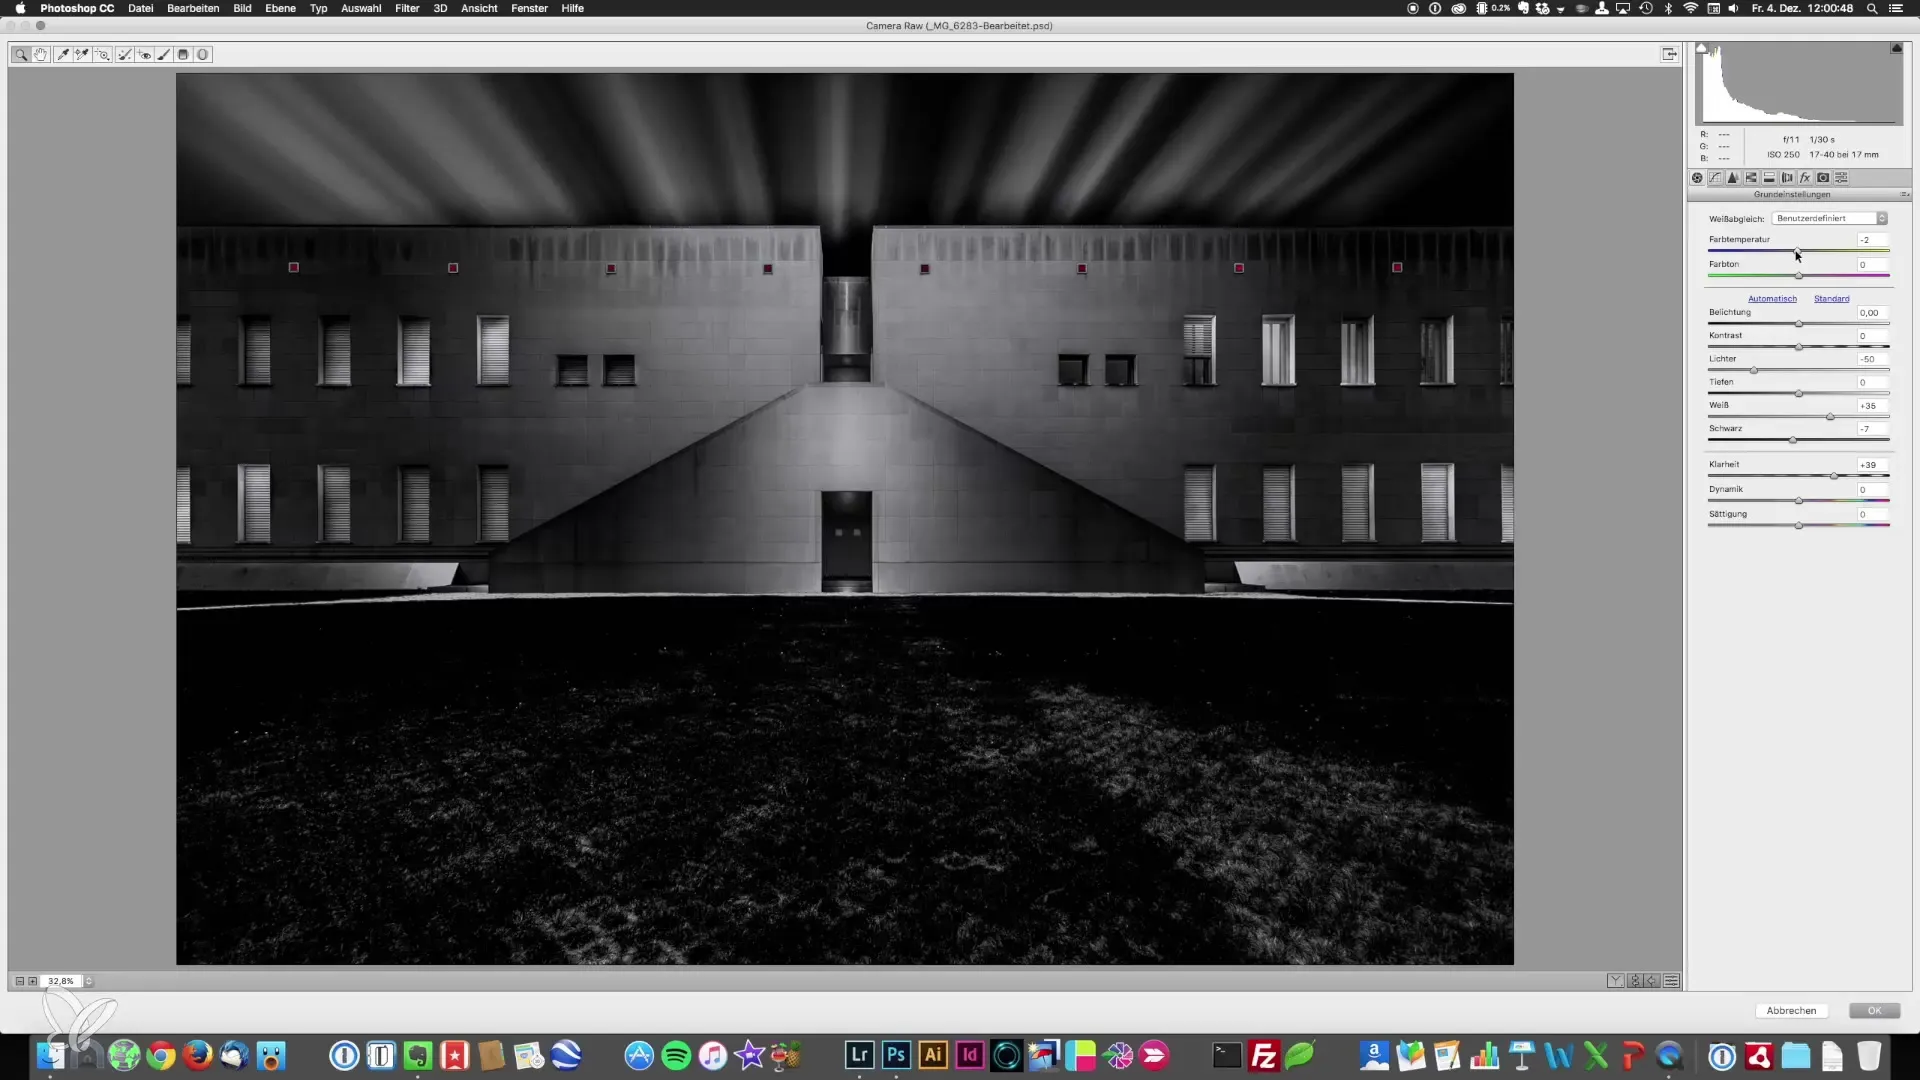
To further modify the look of the image, you can slightly shift the color temperature towards cool or warm. A cool hue can create an industrial look, while warm tones appear friendlier. Adjustments to the color temperature should be made very cautiously.
Split Toning Highlights and Shadows
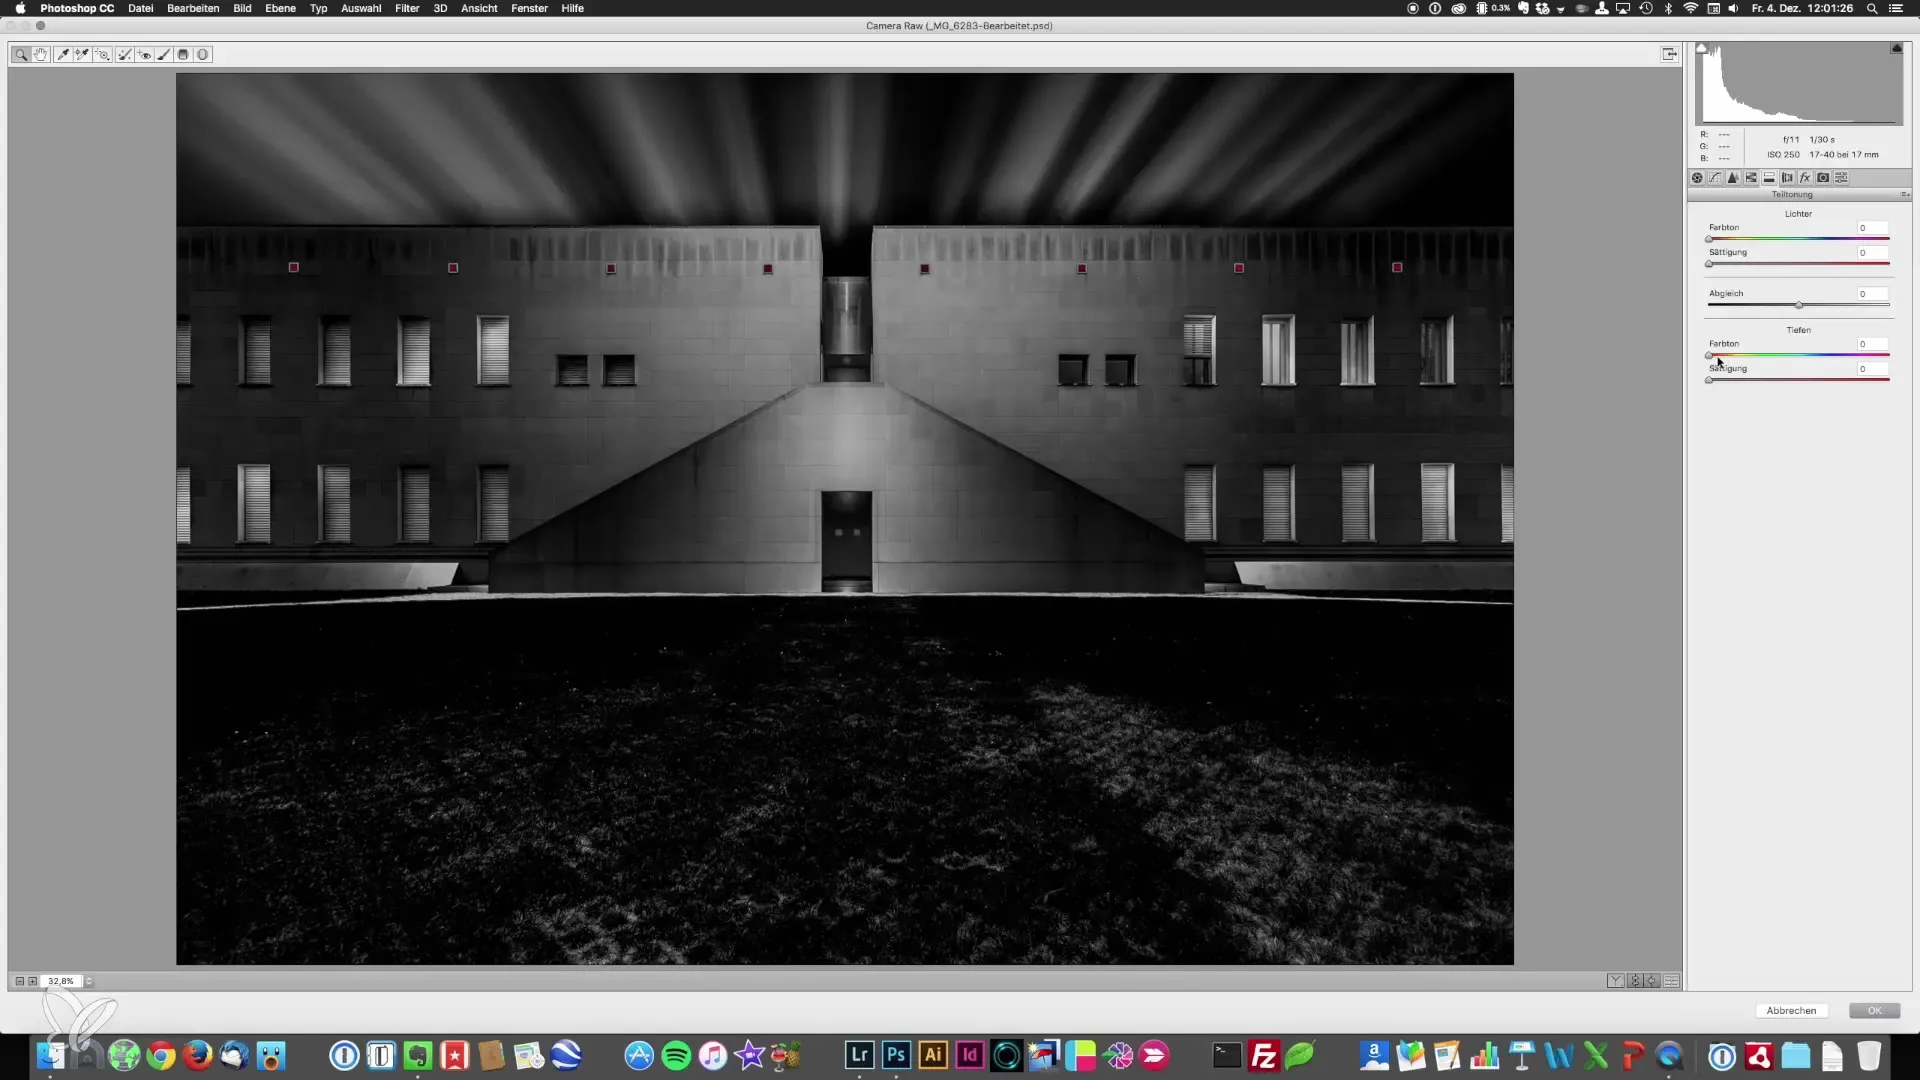
In the Camera Raw menu, go to split toning. Here you can color the highlights and shadows in specific colors. Experiment with blues in the shadows to add depth and create an interesting effect, while the highlights should remain white.
Final Sharpening of the Image
To finalize the image, a final sharpening is essential. You can use various methods to make the image appear sharper, depending on the image and desired outcome.
Summary - Architectural Photography: Image Editing with Camera Raw
By applying these steps in the Camera Raw filter, you achieve the perfect look for your architectural photography. Detailed adjustments of clarity, contrast, vignetting, and split toning help you achieve more professional results. Use these techniques and experiment with the various sliders to develop your unique style.
Frequently Asked Questions
What is the Camera Raw filter?The Camera Raw filter is an image editing tool for fine-tuning photos in Adobe Photoshop.
How do I create a Smart Object?You can create a Smart Object by opening the layer view and using the shortcut key combination “Command + Alt + Shift + E”.
What is a vignette useful for?A vignette directs the viewer's gaze towards the subject in the center of the image and can enhance the drama.
How do clarity and contrast affect an image?Clarity adds texture to the surface of the image, while contrast enhances the difference between light and dark areas.
Aren't the adjustments in Camera Raw irreversible?No, if you use Smart Objects, you can always return to the Camera Raw filter and make adjustments.
