PowerPoint is a powerful tool for presentations. It gives you the ability to create engaging and informative slides that captivate your audience. When you open PowerPoint for the first time, you may feel a bit overwhelmed by the multitude of options available. In this guide, I will walk you through the basic steps to create and save a new PowerPoint file – so you can approach your next presentation with confidence.
Key Takeaways
- You will learn how to create a new PowerPoint presentation.
- Saving your file is a crucial step to avoid data loss.
- The PowerPoint interface is intuitive and easy to use.
Step-by-step Guide
To create a new PowerPoint file, follow these simple steps:
Start PowerPoint
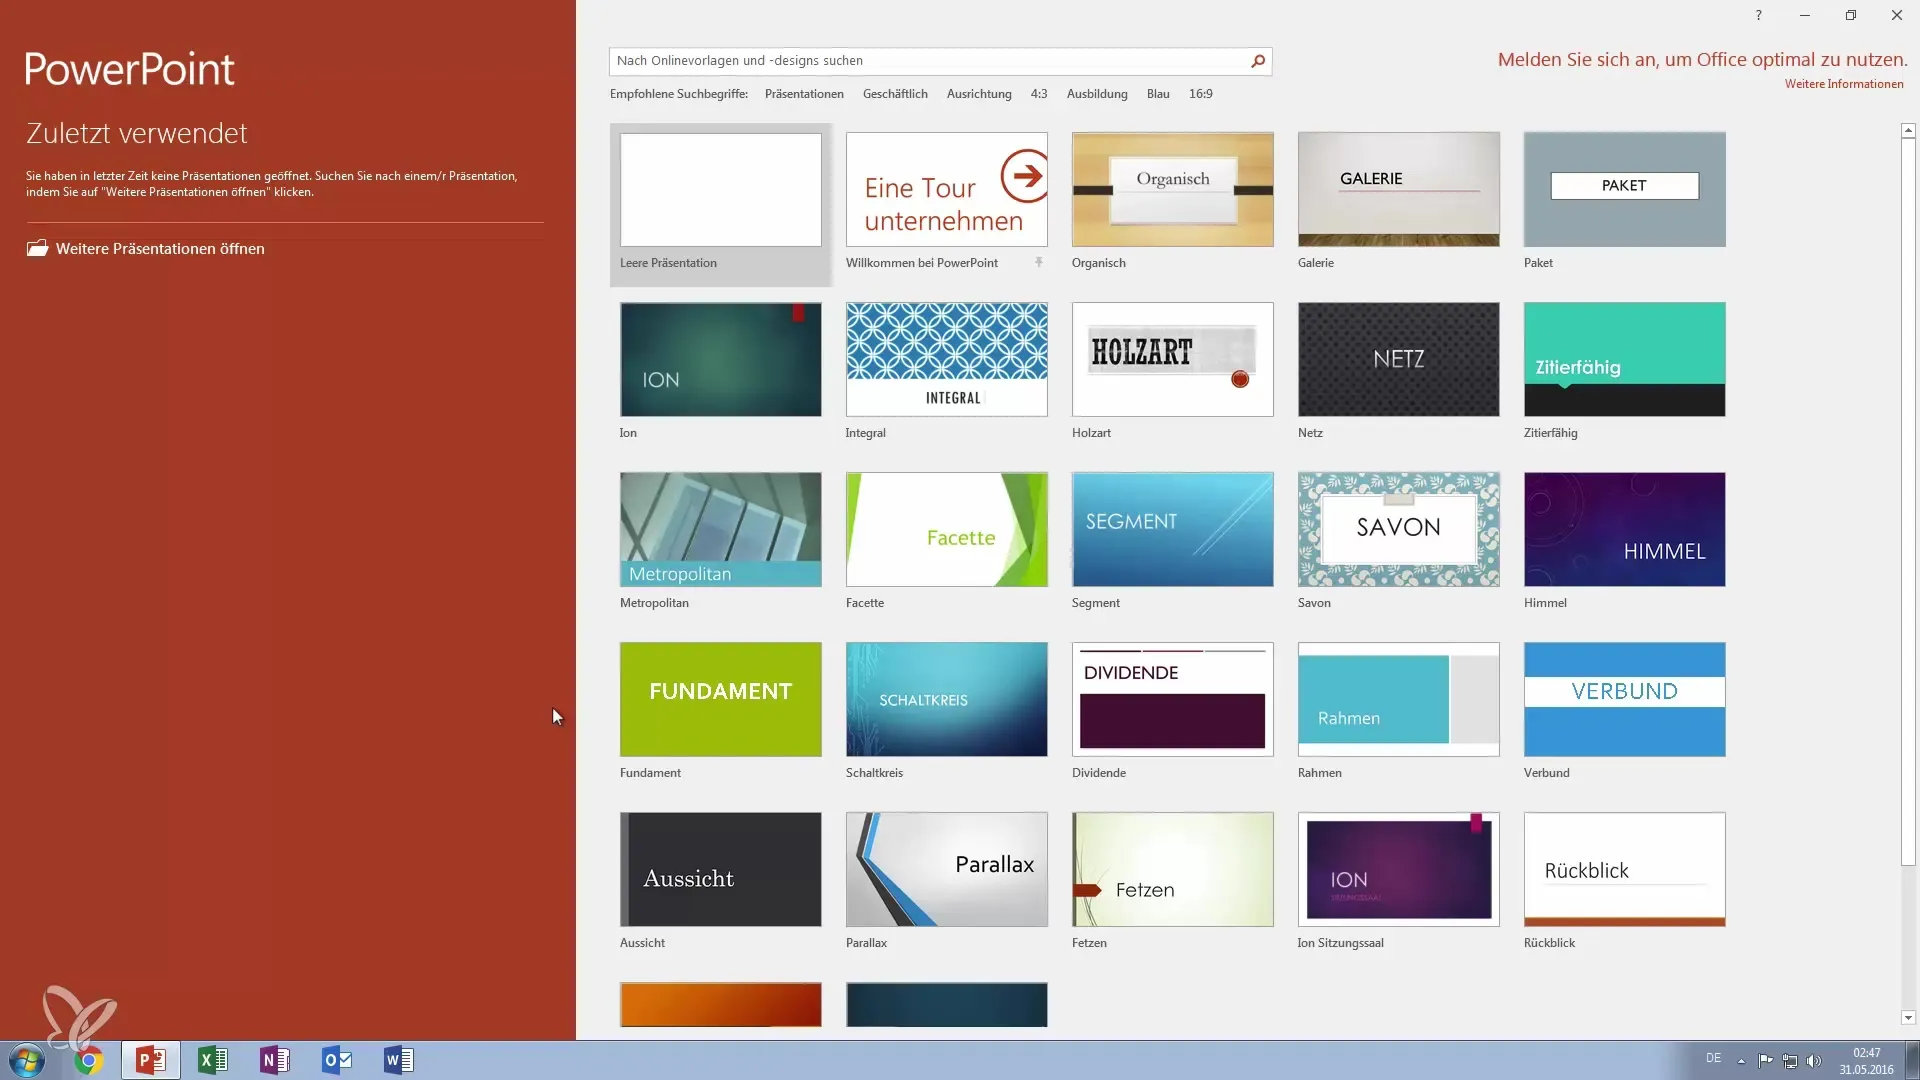
Begin by opening PowerPoint on your computer. Make sure you have Office 365 or Office 2016 installed. When you start PowerPoint, you will encounter an interface that asks you what you would like to do next. Here, you can choose to open an existing presentation or create a new one.
Select New Presentation
Select the option to create a blank presentation. This allows you to begin with a clean slide without being distracted by pre-made content. You will now see the blank presentation on your screen.
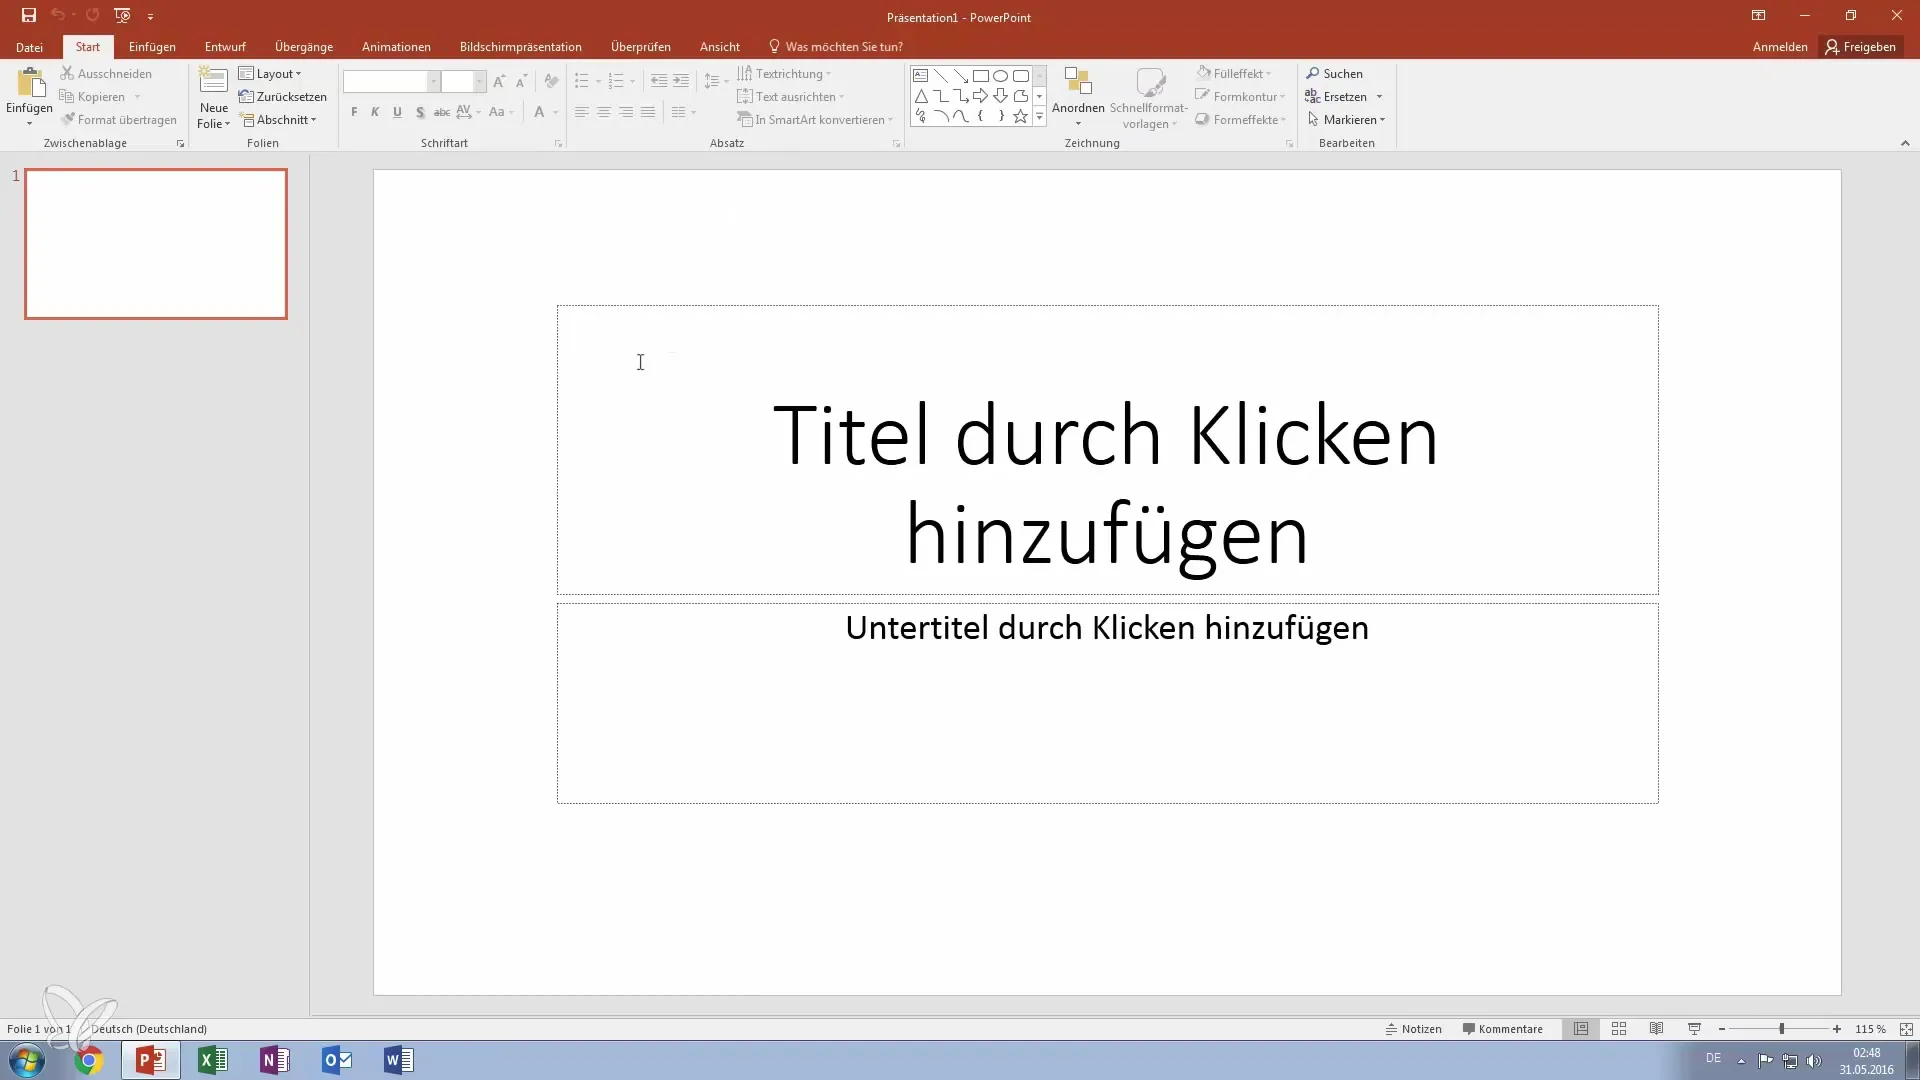
Insert a Title
Now it’s time to give your presentation a title. Click into the text box designated for the title and enter your main title. You can also add a subtitle to give your audience more context. For example, this could be “PowerPoint for Beginners” as the title and “The Ultimate Training” as the subtitle.
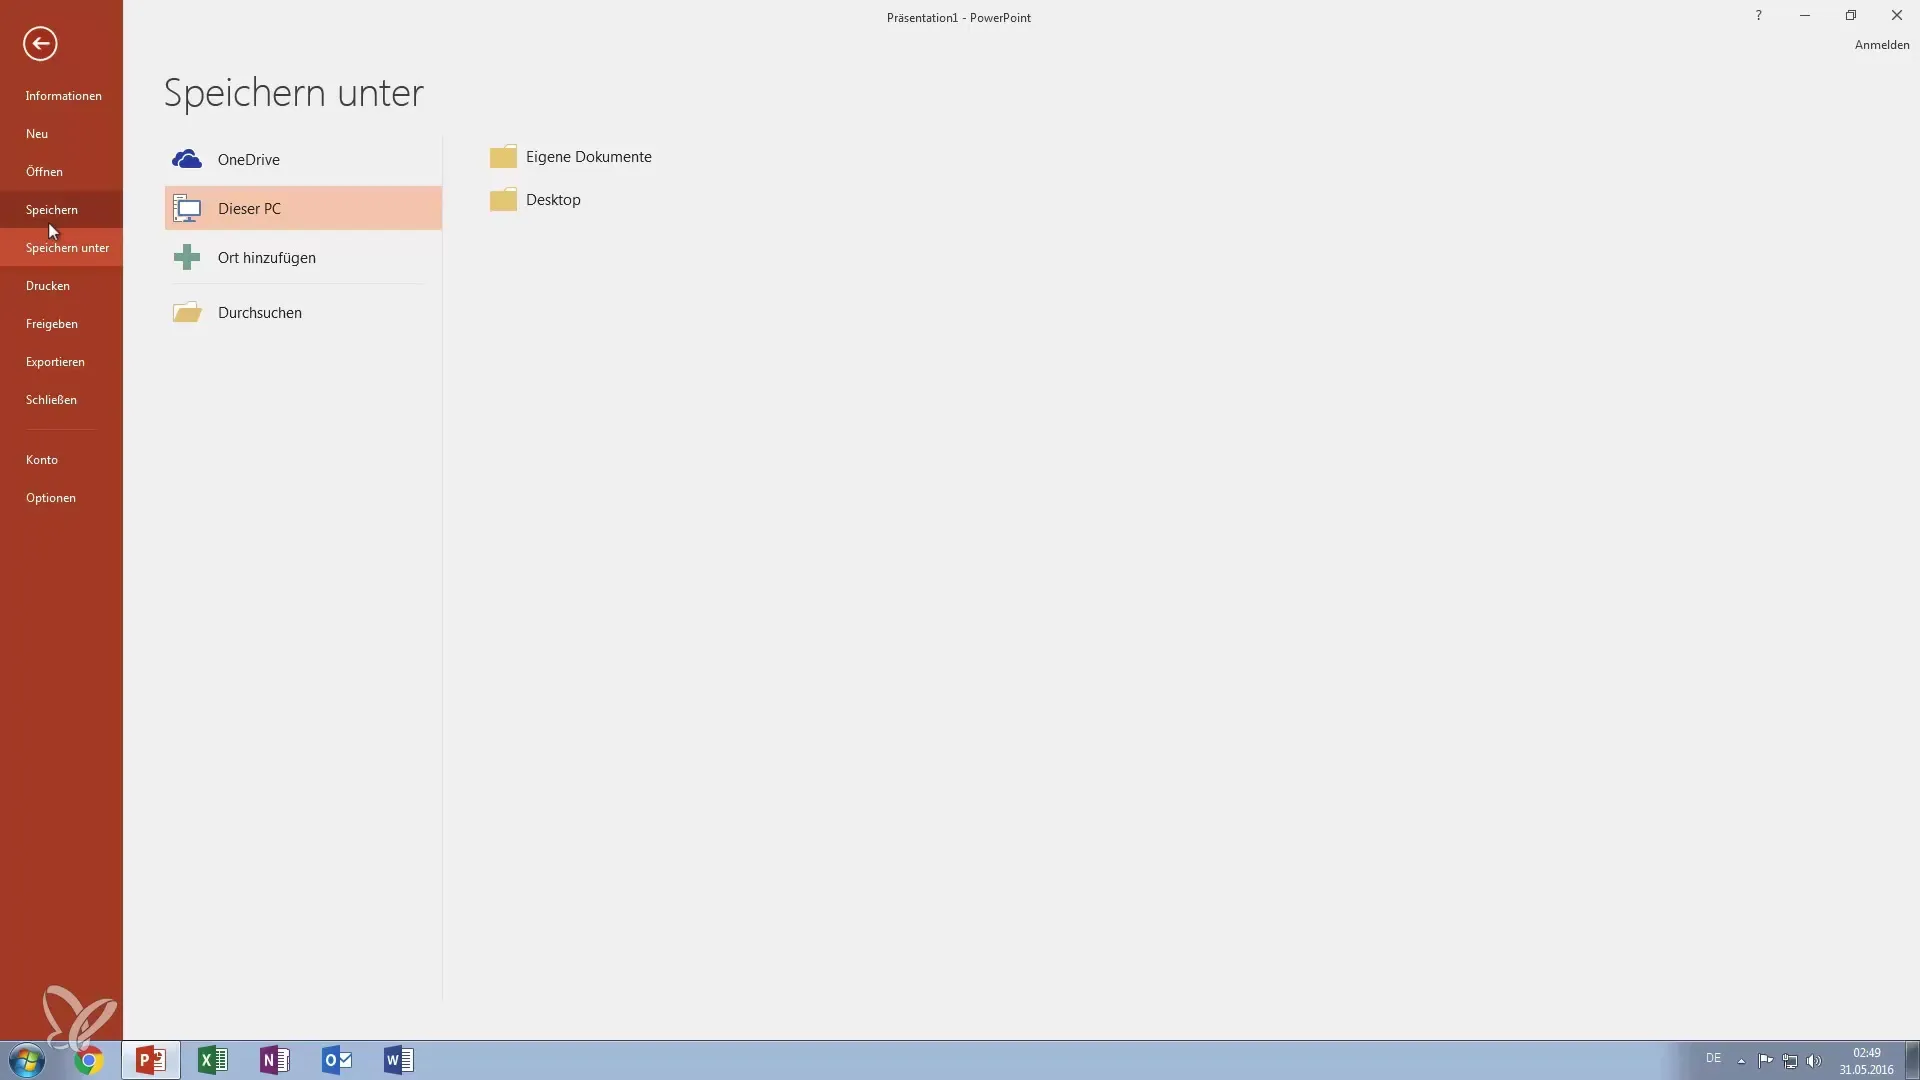
Save File
Before you continue, it’s important to save your file. Saving a new file helps ensure your work is secured and avoids data loss. To do this, click on “File” in the upper left corner of the screen and select “Save As”. This option allows you to determine where the file should be saved.
Select Save Location
Now you will be asked where you want to save your file. You can choose from various options such as OneDrive, your PC, or other storage locations. For this guide, we recommend saving the file to your desktop or your documents folder.
Assign File Name
After selecting the save location, a traditional save dialog will appear. Here, you can enter a name for your file. PowerPoint will automatically suggest the title you previously entered. However, you can customize this name, for example to “PowerPoint for Beginners”.
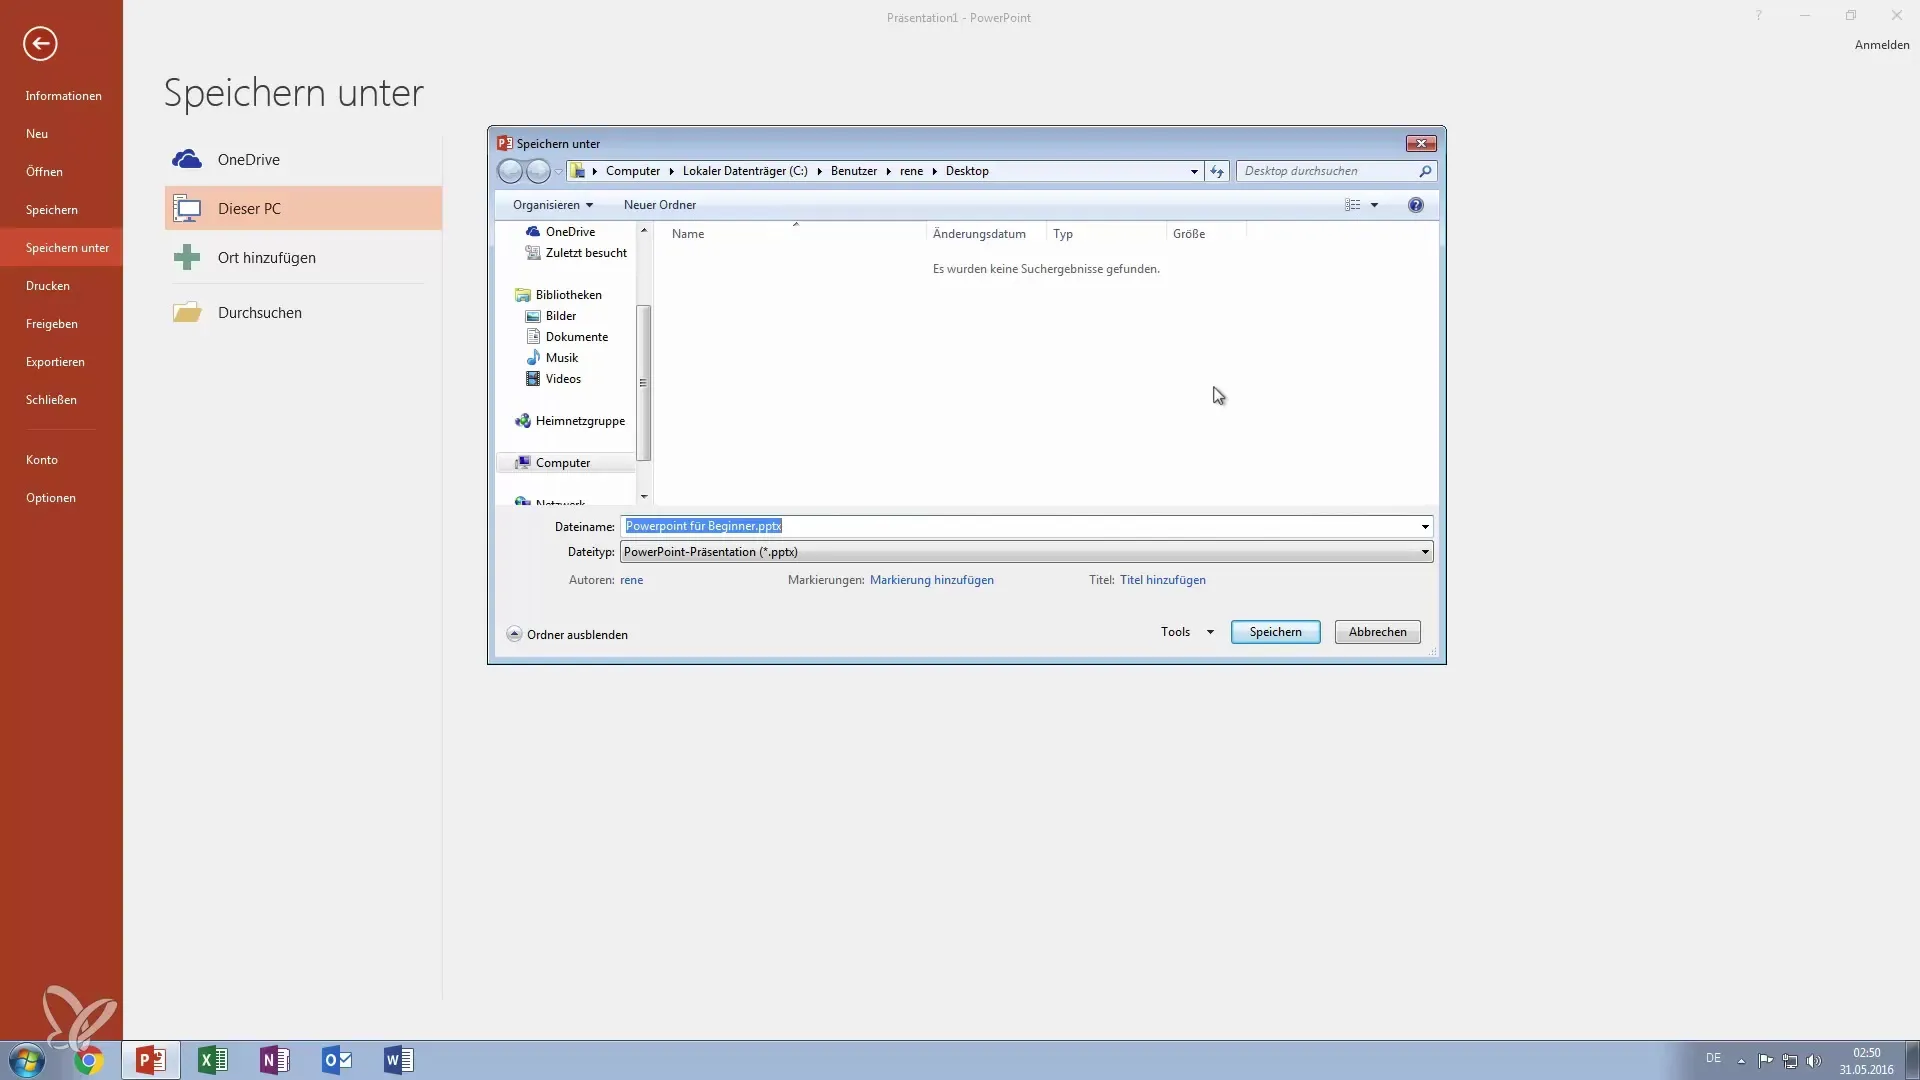
Add Additional Information
In the save dialog, you can also add the author and other metadata that are not visible in the presentation but are helpful when searching for the file later. This information can be useful for organizing your files.
Save File and Close PowerPoint
Now click on “Save” to secure your file. When you are finished, you can close PowerPoint. Your new presentation has now been successfully created and can be reopened at any time.
Open File
To open the file after saving, you can simply double-click on the file on your desktop. This will immediately open your presentation, ready for further adjustments.
Summary – Creating a New PowerPoint File: Step-by-Step Guide
In this guide, you learned how to create and save a new PowerPoint file. Each step is designed to make it easier for you to use PowerPoint. With the right foundations, you will soon be able to create visually appealing and professional presentations that impress your audience.
Frequently Asked Questions
How do I start PowerPoint?You open PowerPoint through the Start menu or the desktop icon.
How do I save my presentation?Click on “File” and then “Save As” to select the save location and file name.
Can I save my file in the cloud?Yes, you can choose OneDrive or other cloud options to save your presentation.
How do I add metadata to my presentation?In the save dialog, you can add the author and other information that will help you find the file later.
How do I open my presentation again?Double-click on the saved file on your desktop or the chosen storage location.
