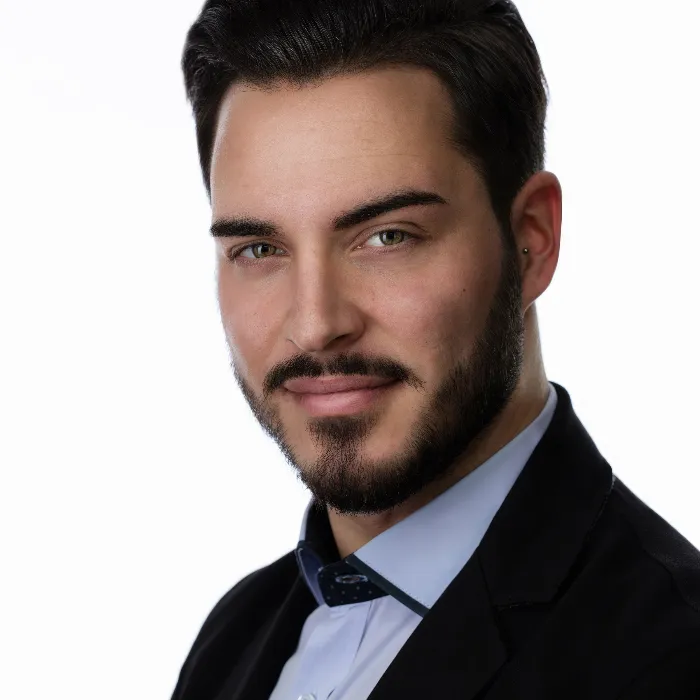
Photography is more than just technique – it’s about capturing emotions and character. Especially with headshots, lighting is crucial. You might think you need to resort to expensive lighting setups, but that's not true. In this tutorial, you will learn how to achieve impressive results with simple and affordable alternatives. Let’s dive into the world of alternative lighting setups and find out how you can create great headshots even with minimal equipment.
Key insights
- Even with just one flash head and a reflector, you can achieve appealing results.
- A softbox significantly improves light quality.
- The model's expression is more important than the technical perfection of the setup.
Step-by-step Guide
1. Choosing the Equipment
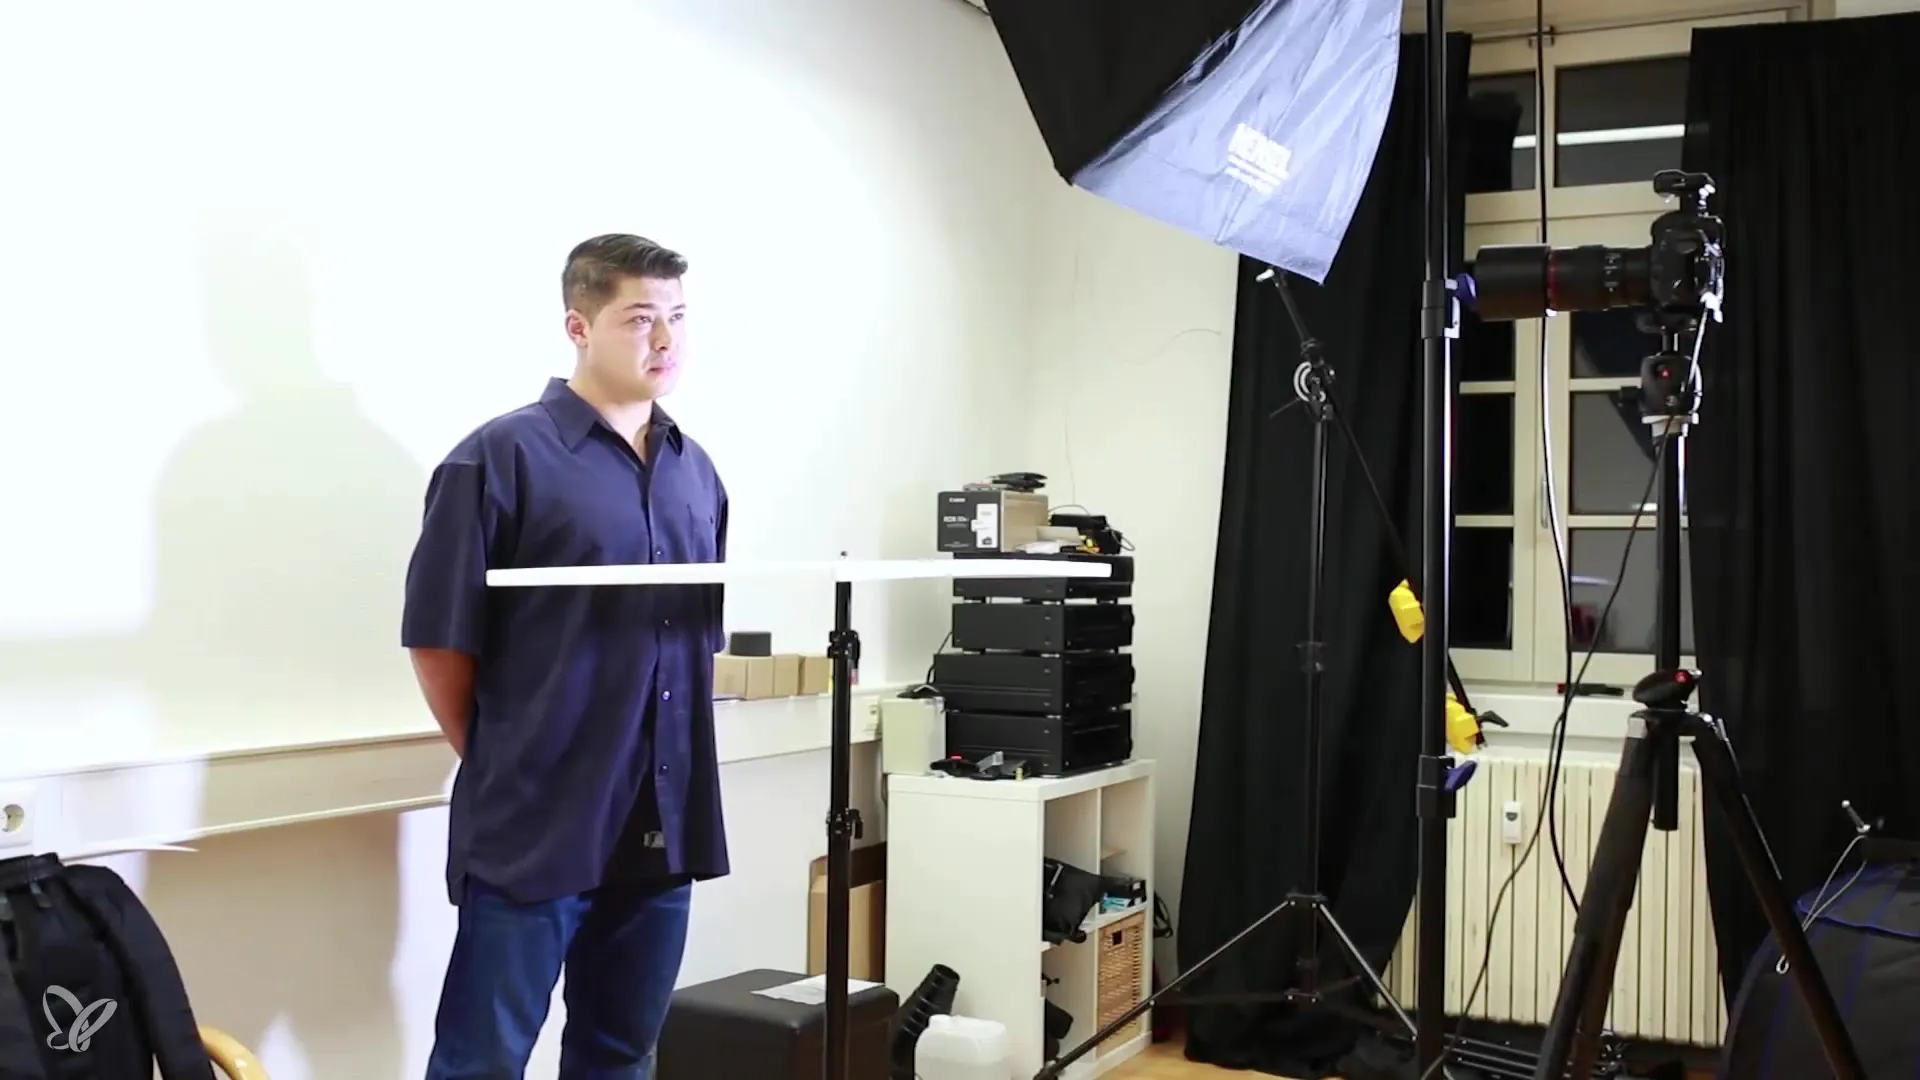
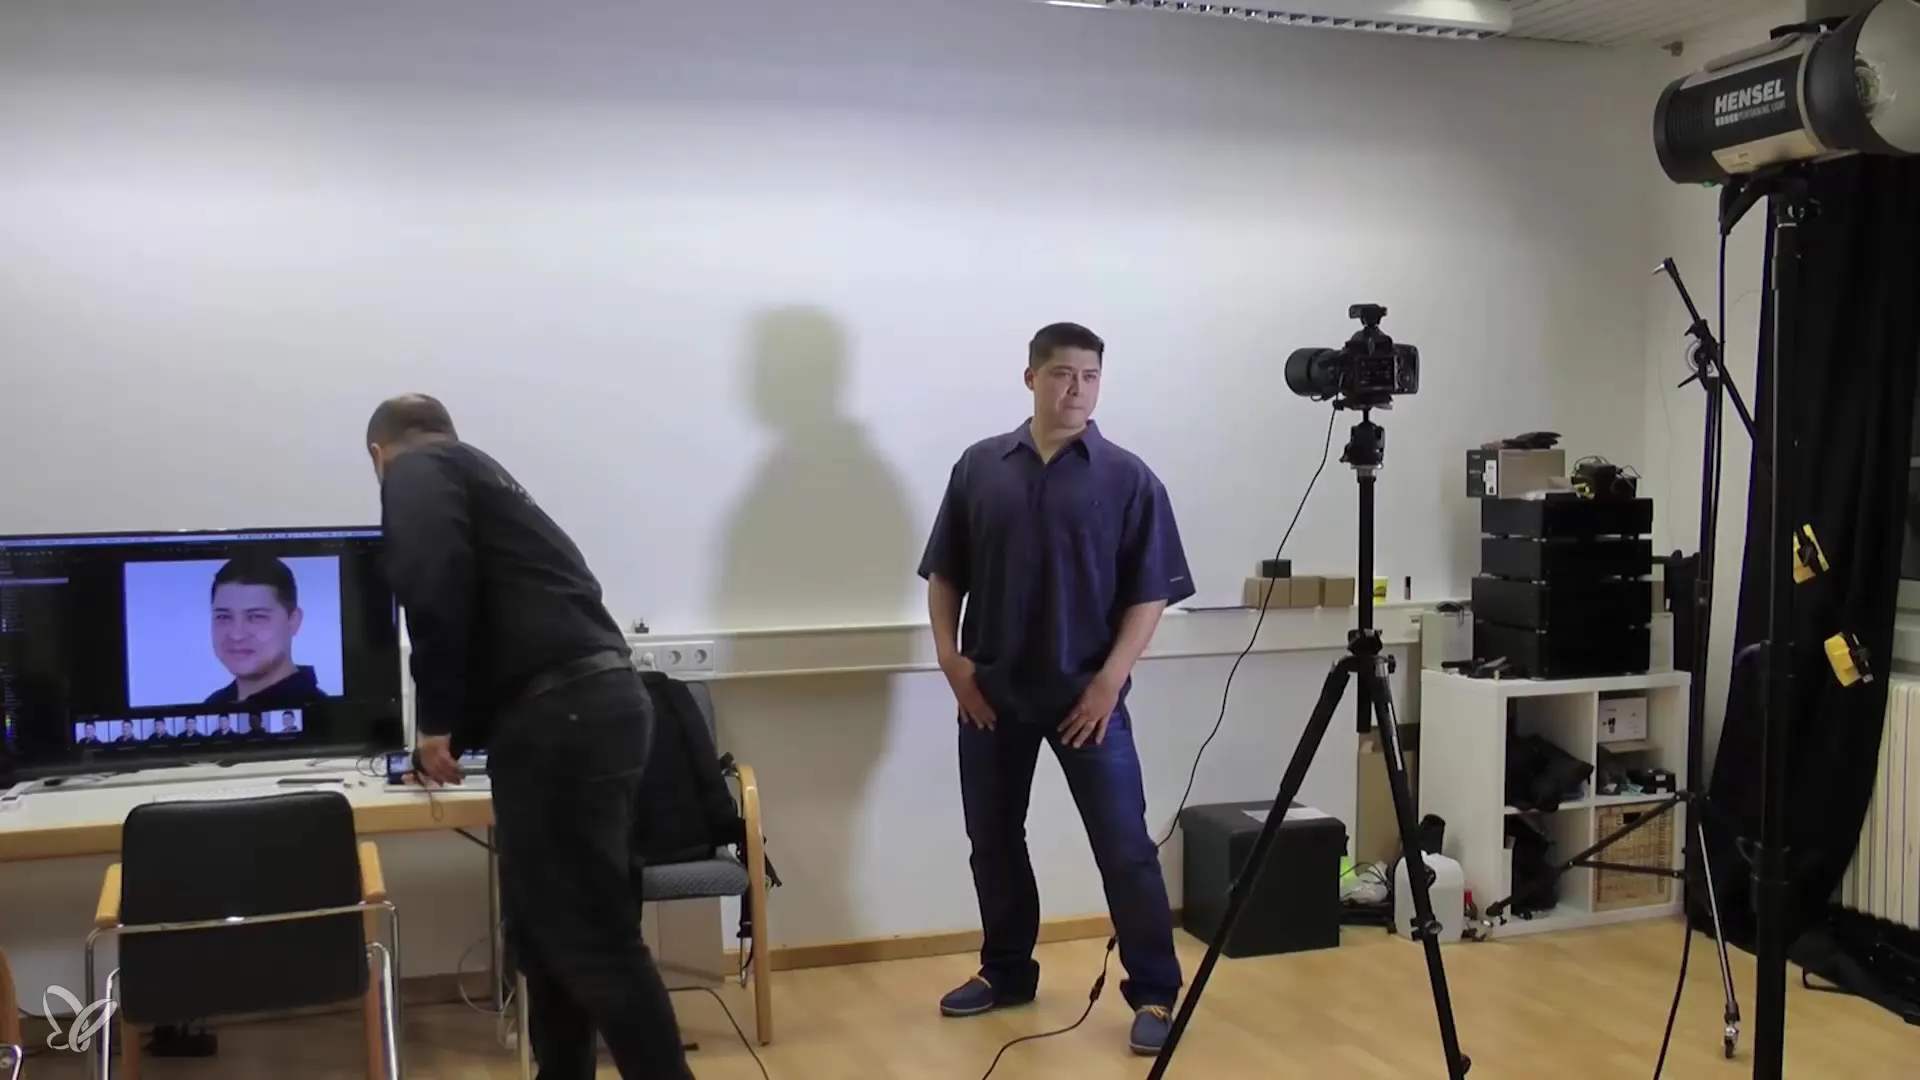
In the first step, decide which equipment you have available. Instead of using six flash heads, you can work with a single flash head and a simple reflector. You can also use a speedlight, but for best results, I recommend using a softbox.
2. Setting Up the Flash Head
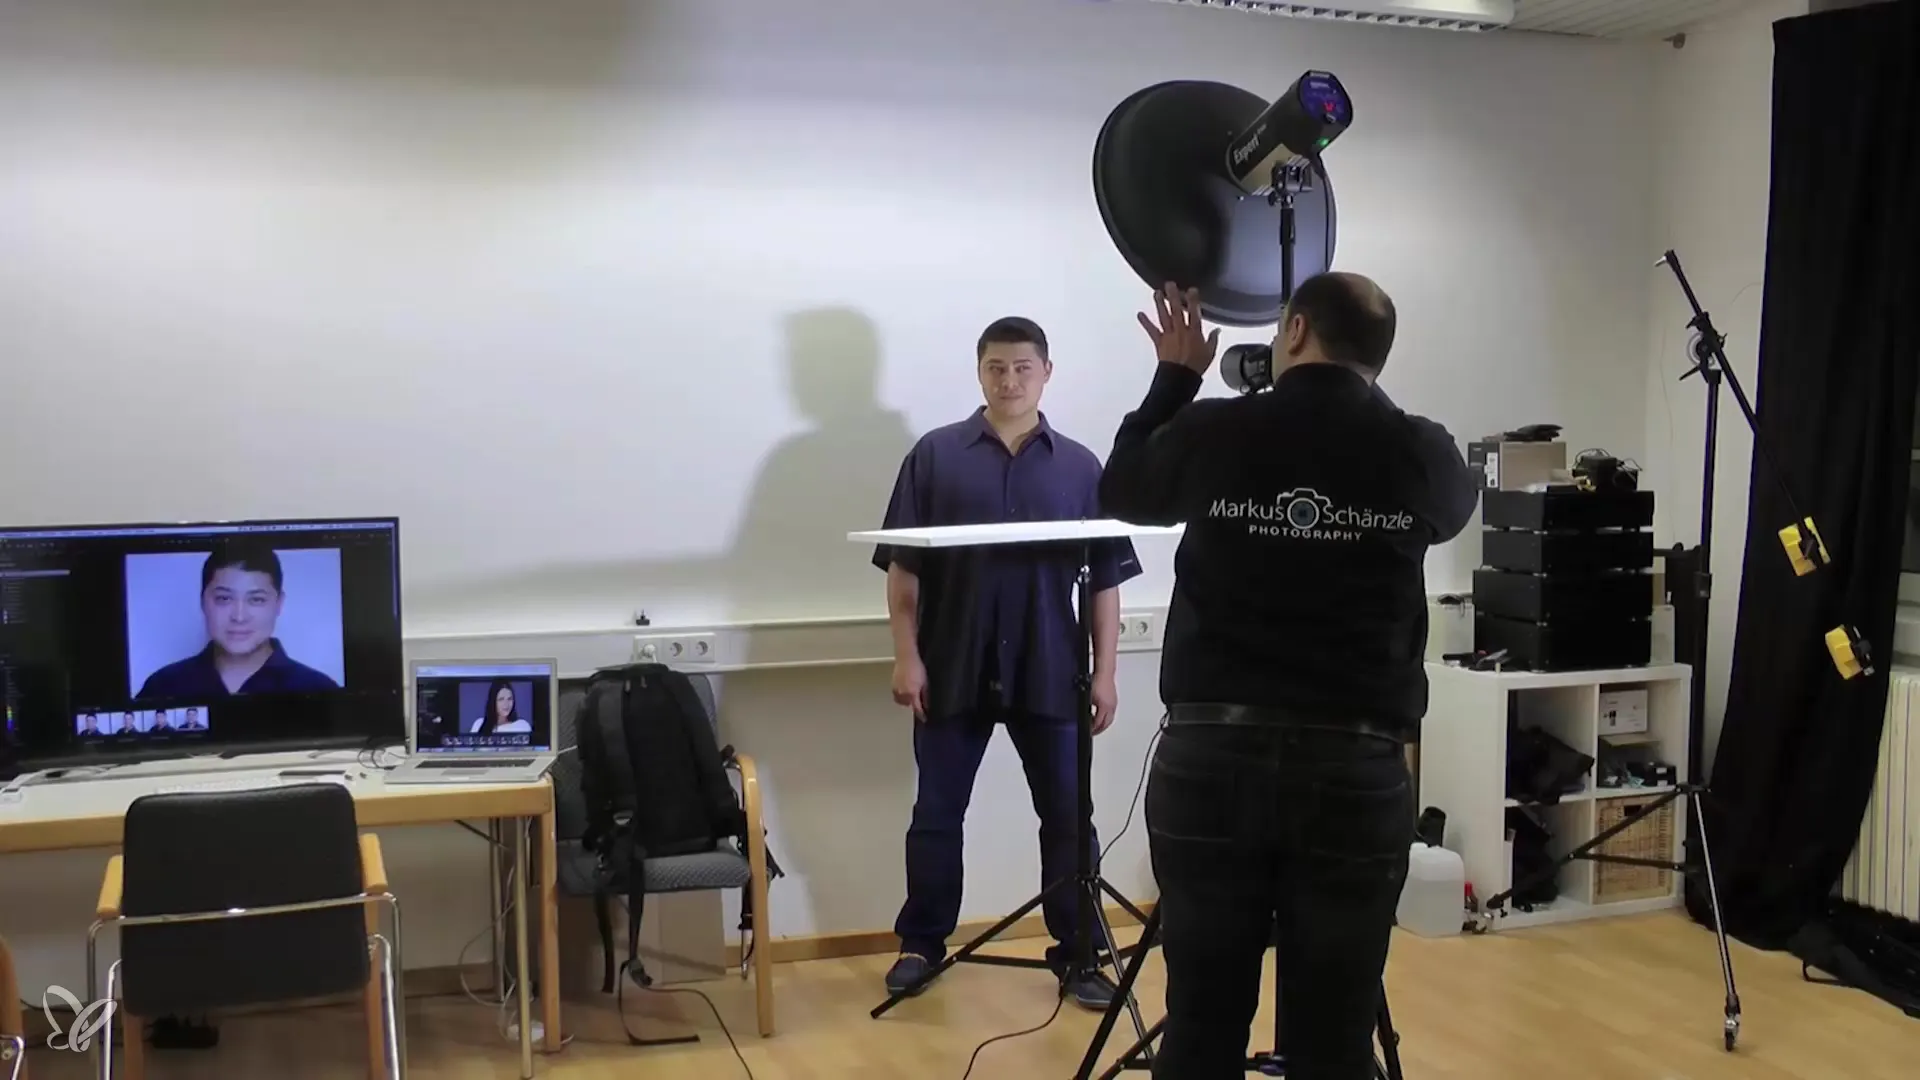
Place your flash head in a suitable location. In Eveline’s example, I positioned the flash head directly towards the person. This gives you the flexibility to experiment with different light angles.
3. Using the Reflector
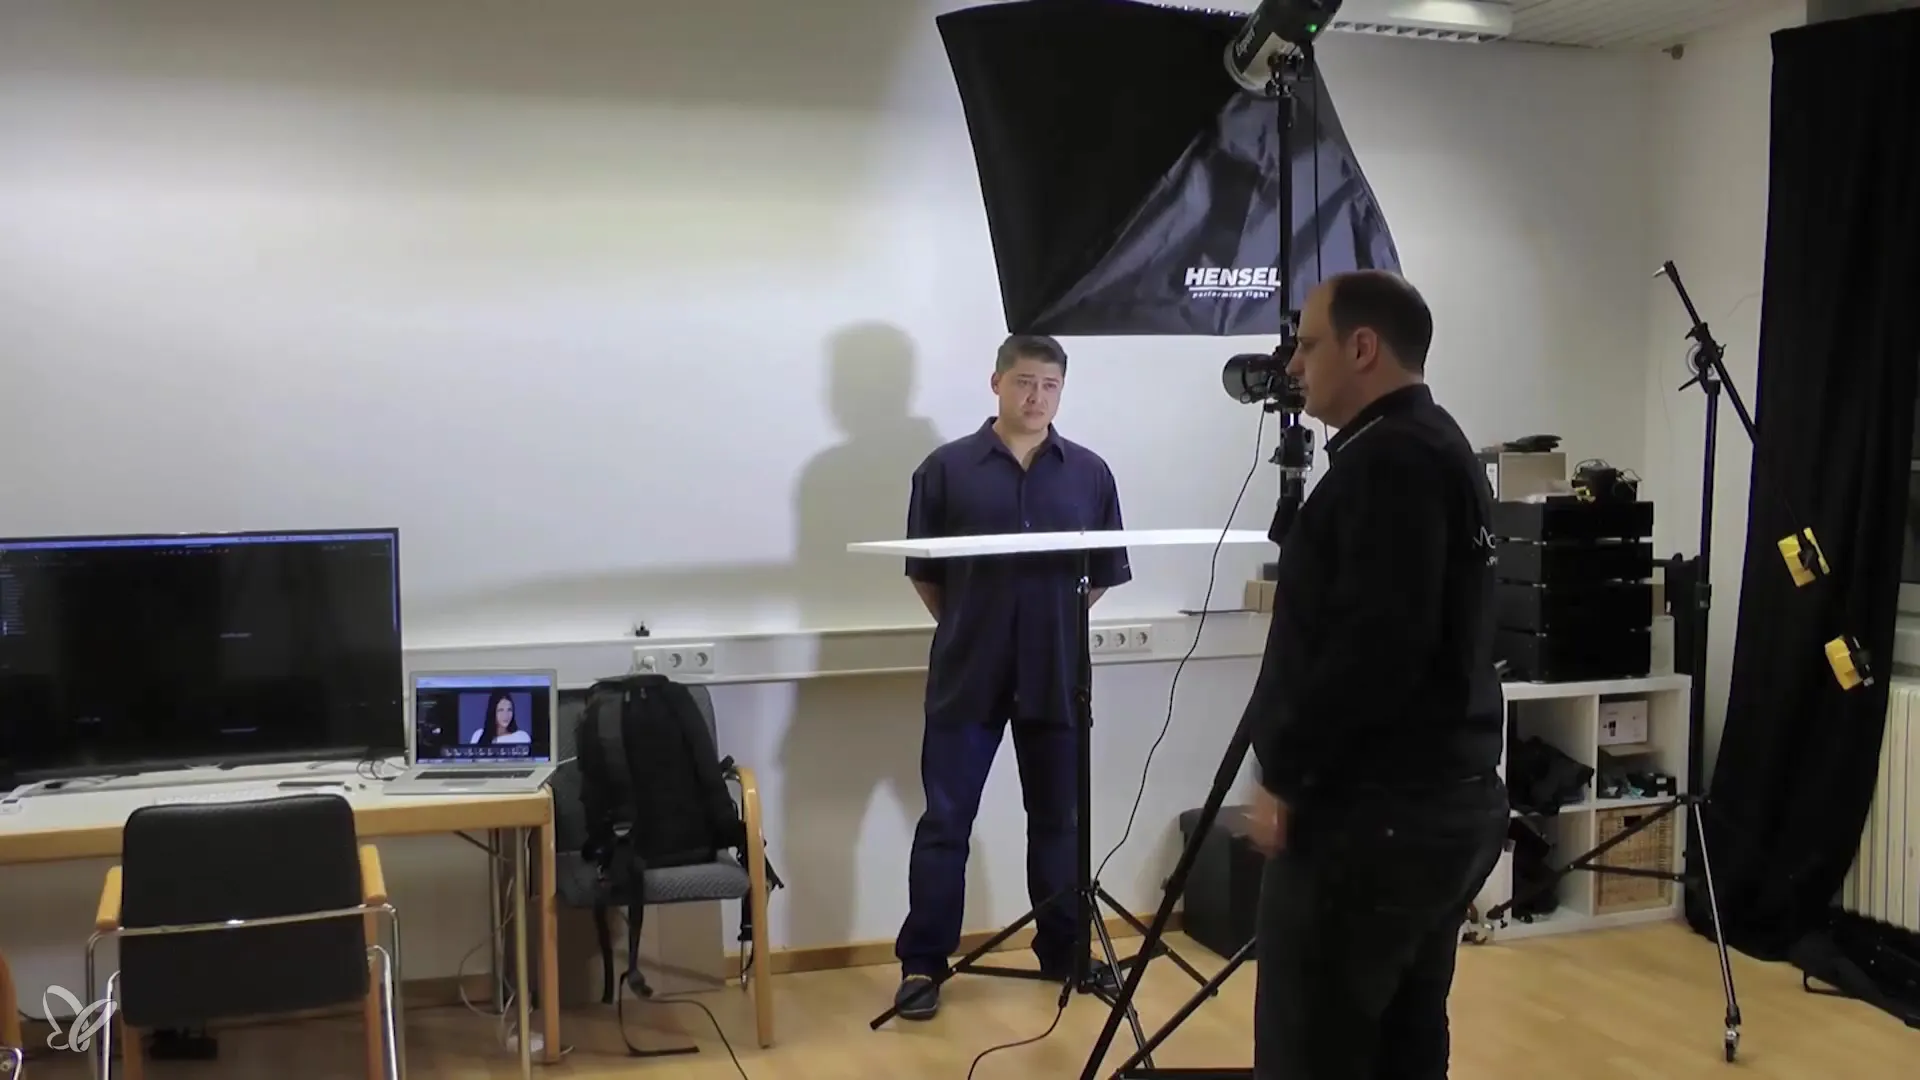
The reflector plays a key role in brightening shadows. Hold it so that it reflects light back onto your model's face. Andrea demonstrates here how you can adjust the angle of the reflector to achieve the best results.
4. Adjusting the Light Source
You can vary the light source by using different types of light modifiers. A softbox provides softer light and minimizes harsh shadows. You will notice that it significantly improves the overall image.
5. Checking the Lighting Situation
Pay attention to how the light falls on your model. Check the exposure settings and adjust the aperture or ISO if necessary. Also, consider whether you like the contrast of the light or if you want to achieve a different look.
6. Setting Up a Use Case
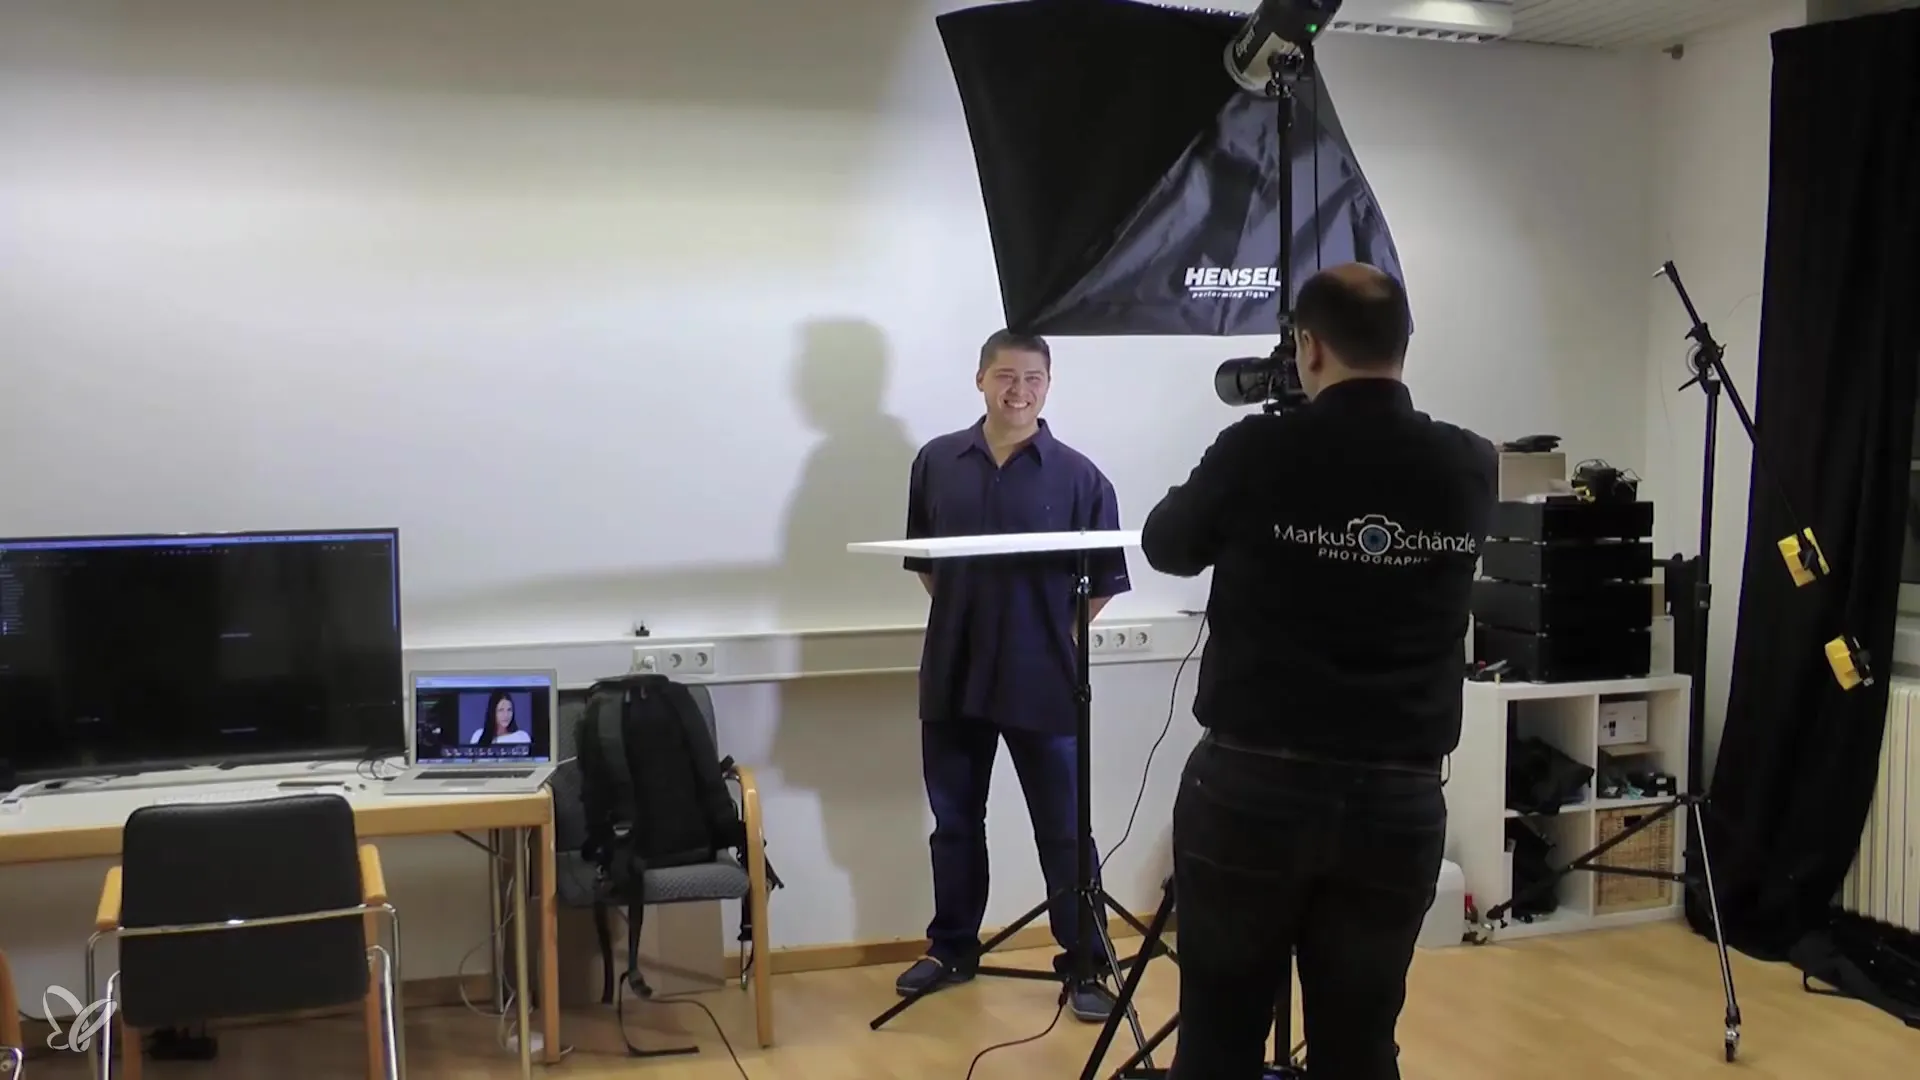
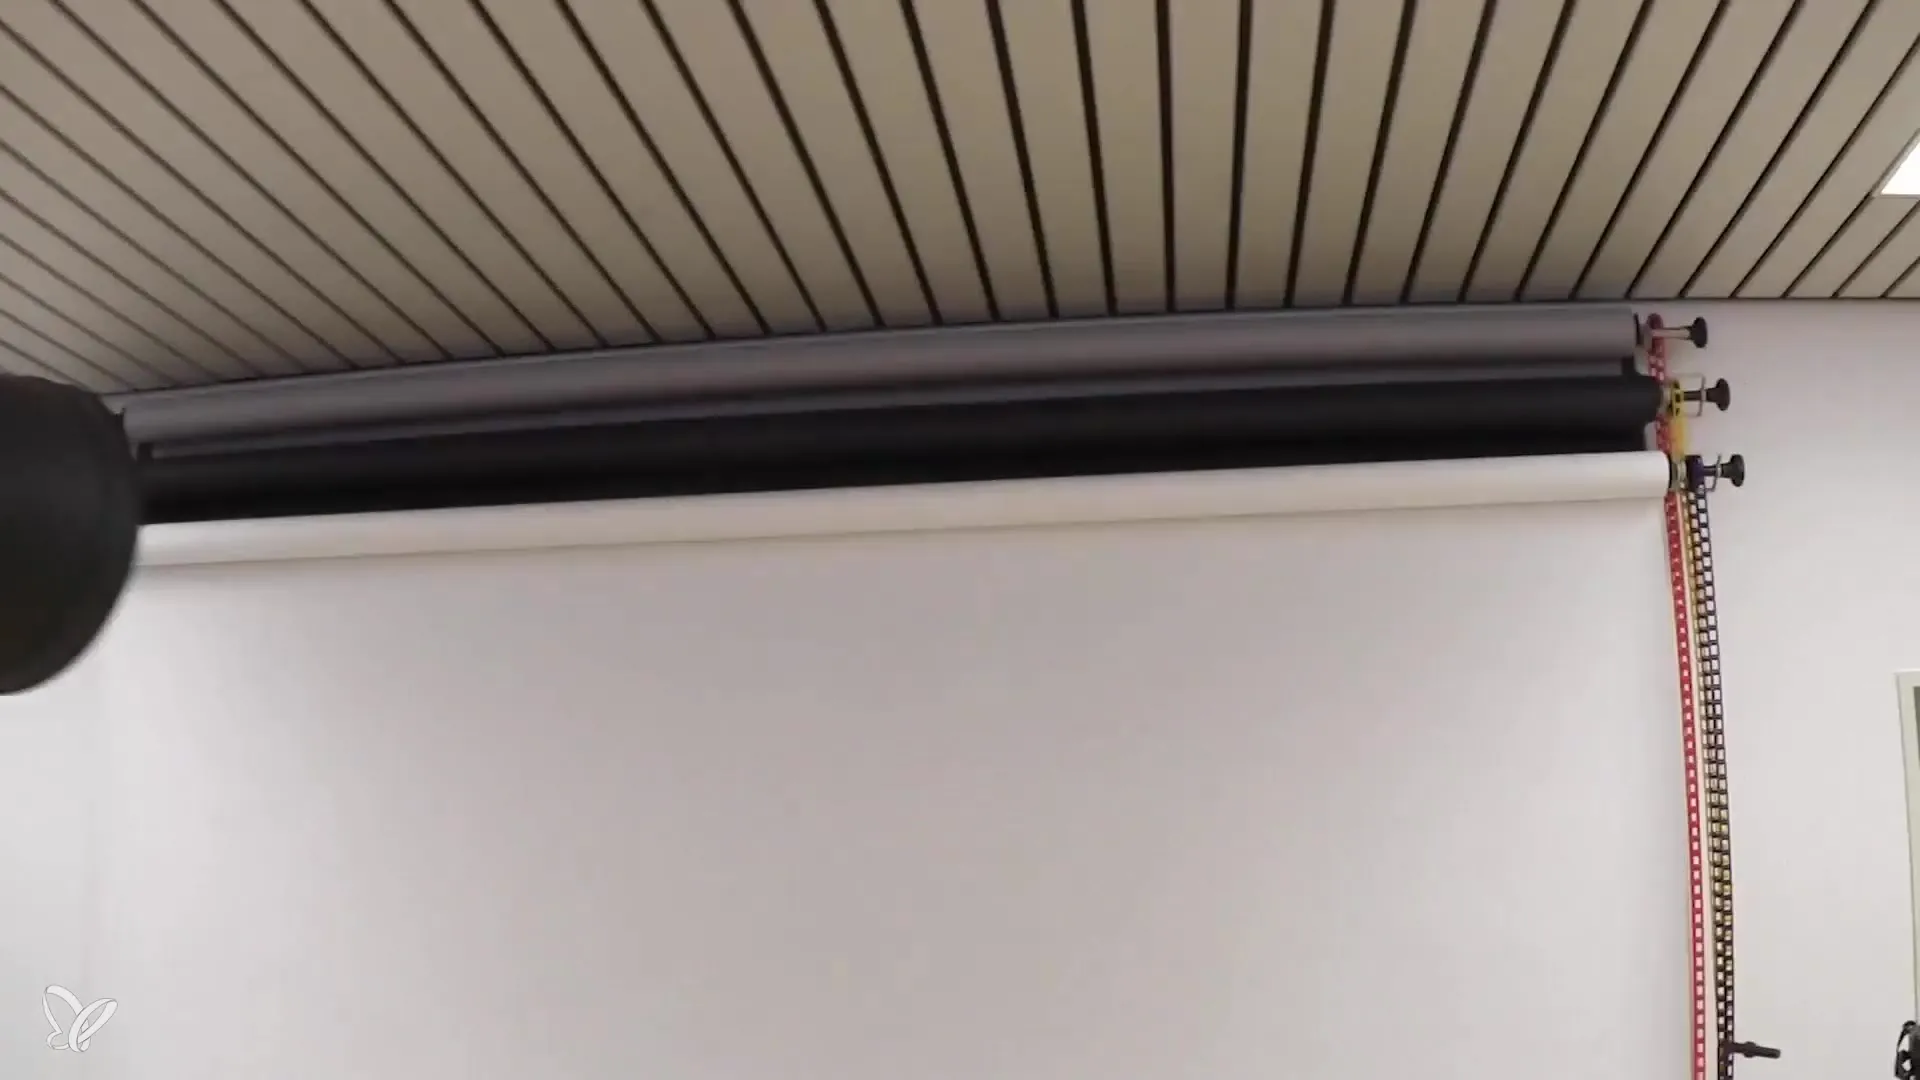
To demonstrate how effective your setup is, experiment with different settings. Take a few test shots and review the results. I have shown here that it is possible to achieve pleasant results with just one flash head and a white background.
7. Final Adjustments
If you are satisfied with the basic setup, you can also adjust the model's position and camera settings. A few small tweaks, such as tilting the model or changing the height, can make a big difference.
8. Final Block
Ultimately, it's about you feeling comfortable and your model appearing authentic. Experiment with different light sources and discover what works best for you.
Summary – Headshot Photography: Alternative Lighting Setups for the Perfect Portrait Shot
In this tutorial, you have learned how to take headshots using alternative lighting setups without relying on expensive equipment. The most important thing is to adapt the setup to your needs and highlight your model's expression. With a bit of experimentation, you will achieve impressive results.
Frequently Asked Questions
What equipment do I need for headshots?A camera, a flash head, and ideally a reflector or a softbox.
Can I also work with a speedlight?Yes, a speedlight is also a good option, especially in combination with a softbox.
How important is the lighting setup for headshots?The lighting setup is important, but the expression and interaction with the model are crucial.
