Are you on your way to creating great headshots and want to improve your retouching skills? Retouching is a crucial step to make your portraits appear in a professional light. In this guide, I will show you how to remove distractions from your images through targeted healing and get the best out of your headshot.
Key Insights
- The right healing technique is crucial for achieving natural results.
- Be careful not to over-retouch details to keep the image authentic.
- Take your time with retouching to achieve the best results in the shortest time possible.
Step-by-Step Instructions
1. Prepare the Image
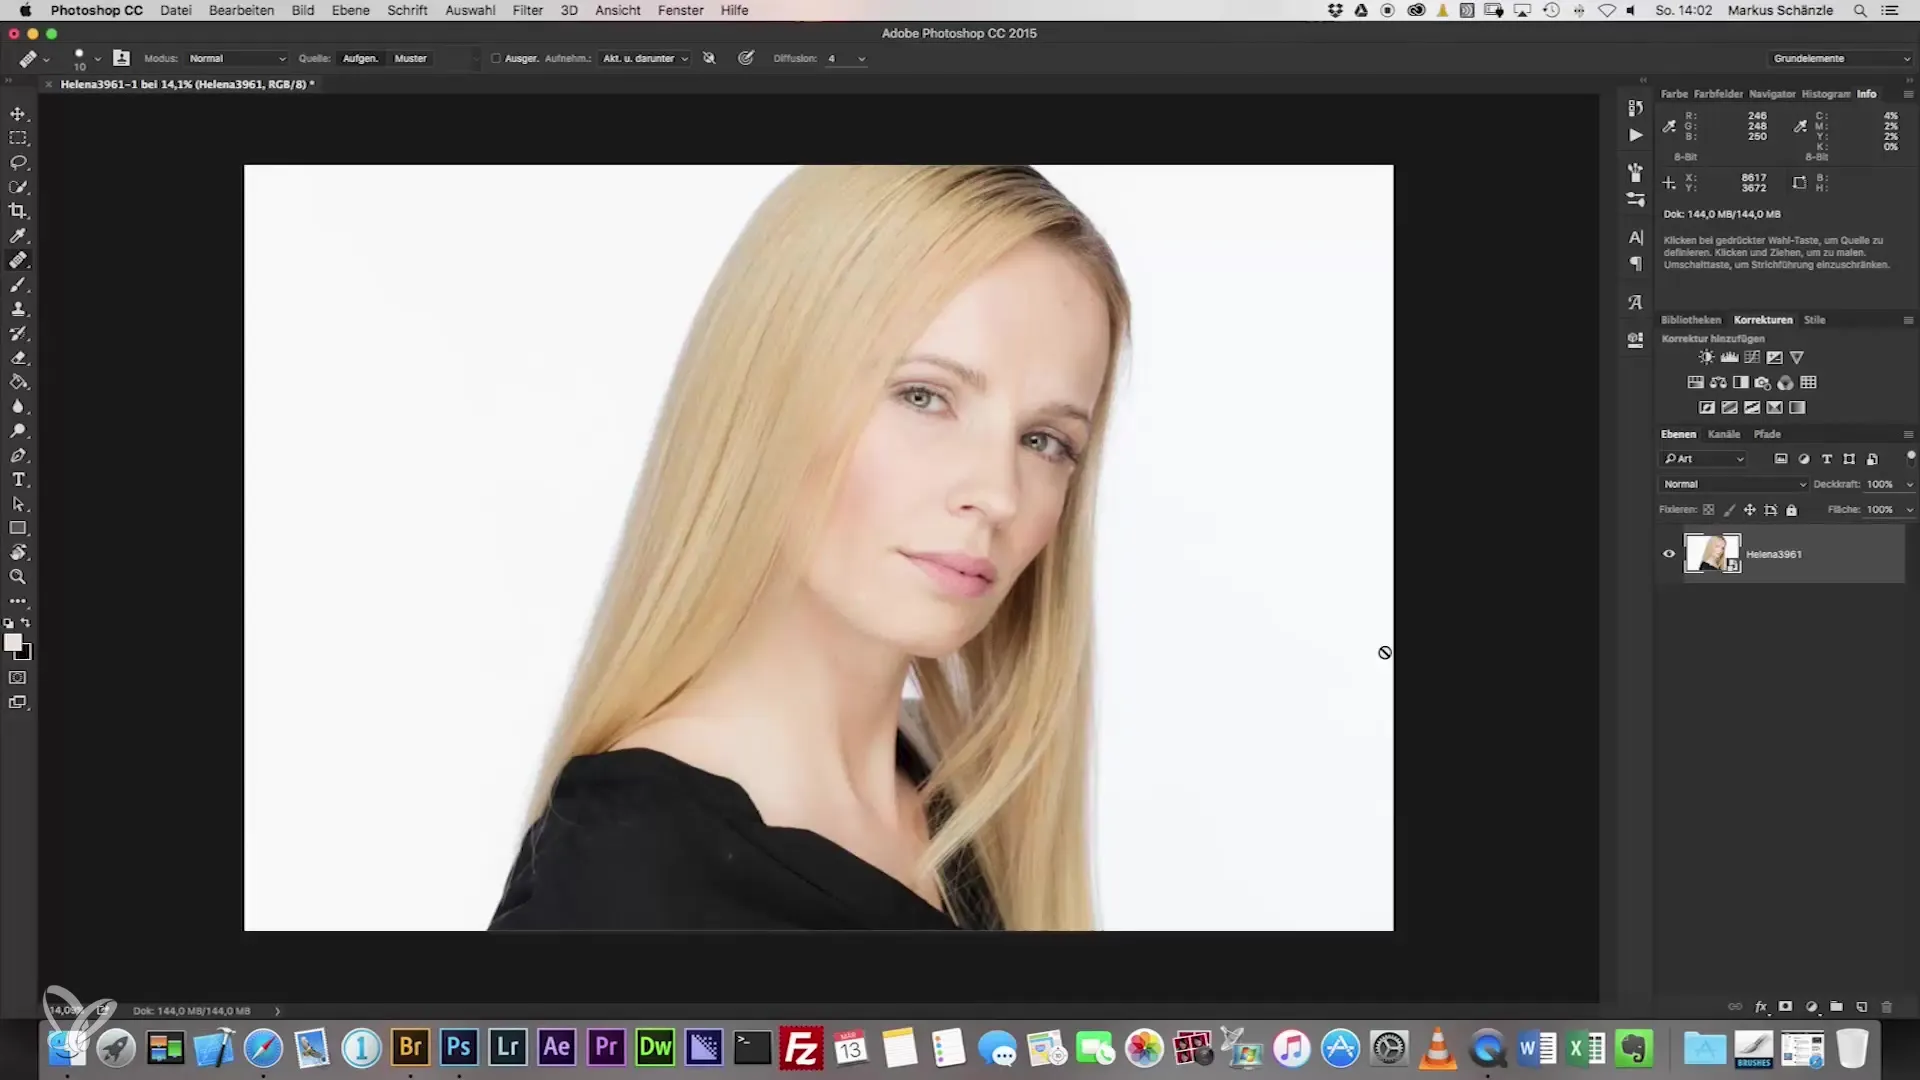
Before you start retouching, load the image into your editing software and create a blank layer for your work. This layer is essential to ensure a clean and non-destructive retouch.
2. Use the Healing Brush
The healing brush is the main tool for removing unwanted structures and spots. Make sure to choose a brush size that is appropriate for the area you want to edit. Typically, start with a brush at 100% spacing and 25% opacity.
3. Zoom and Details
Use your graphic tablet or mouse to effectively zoom into the image details. This allows you to work more precisely on problem areas. Use the ALT key to sample the source for a clean healing result.
4. Eye Correction
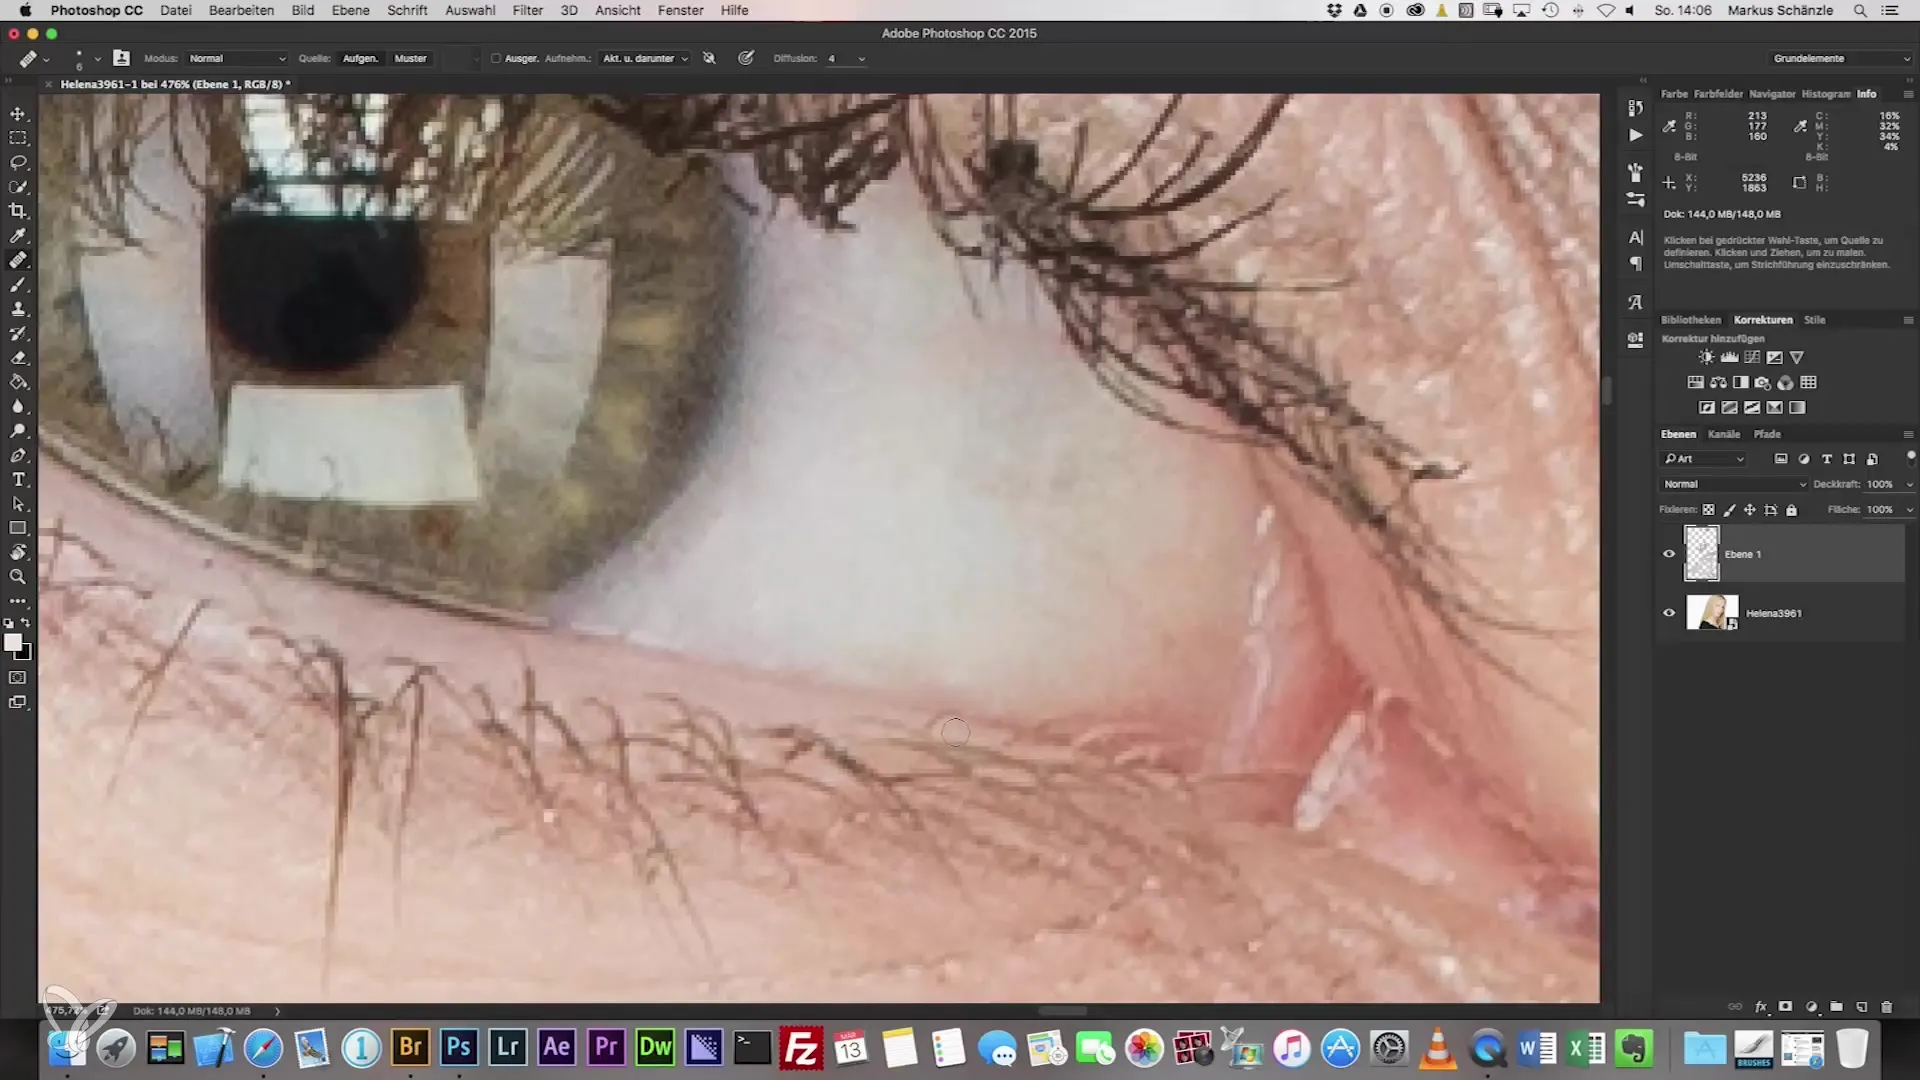
The eye area is particularly sensitive. Avoid brightening the eyes or using a white brush to ensure a natural appearance. Keep the moist structure in mind to preserve a lively look.
5. Make-up Corrections
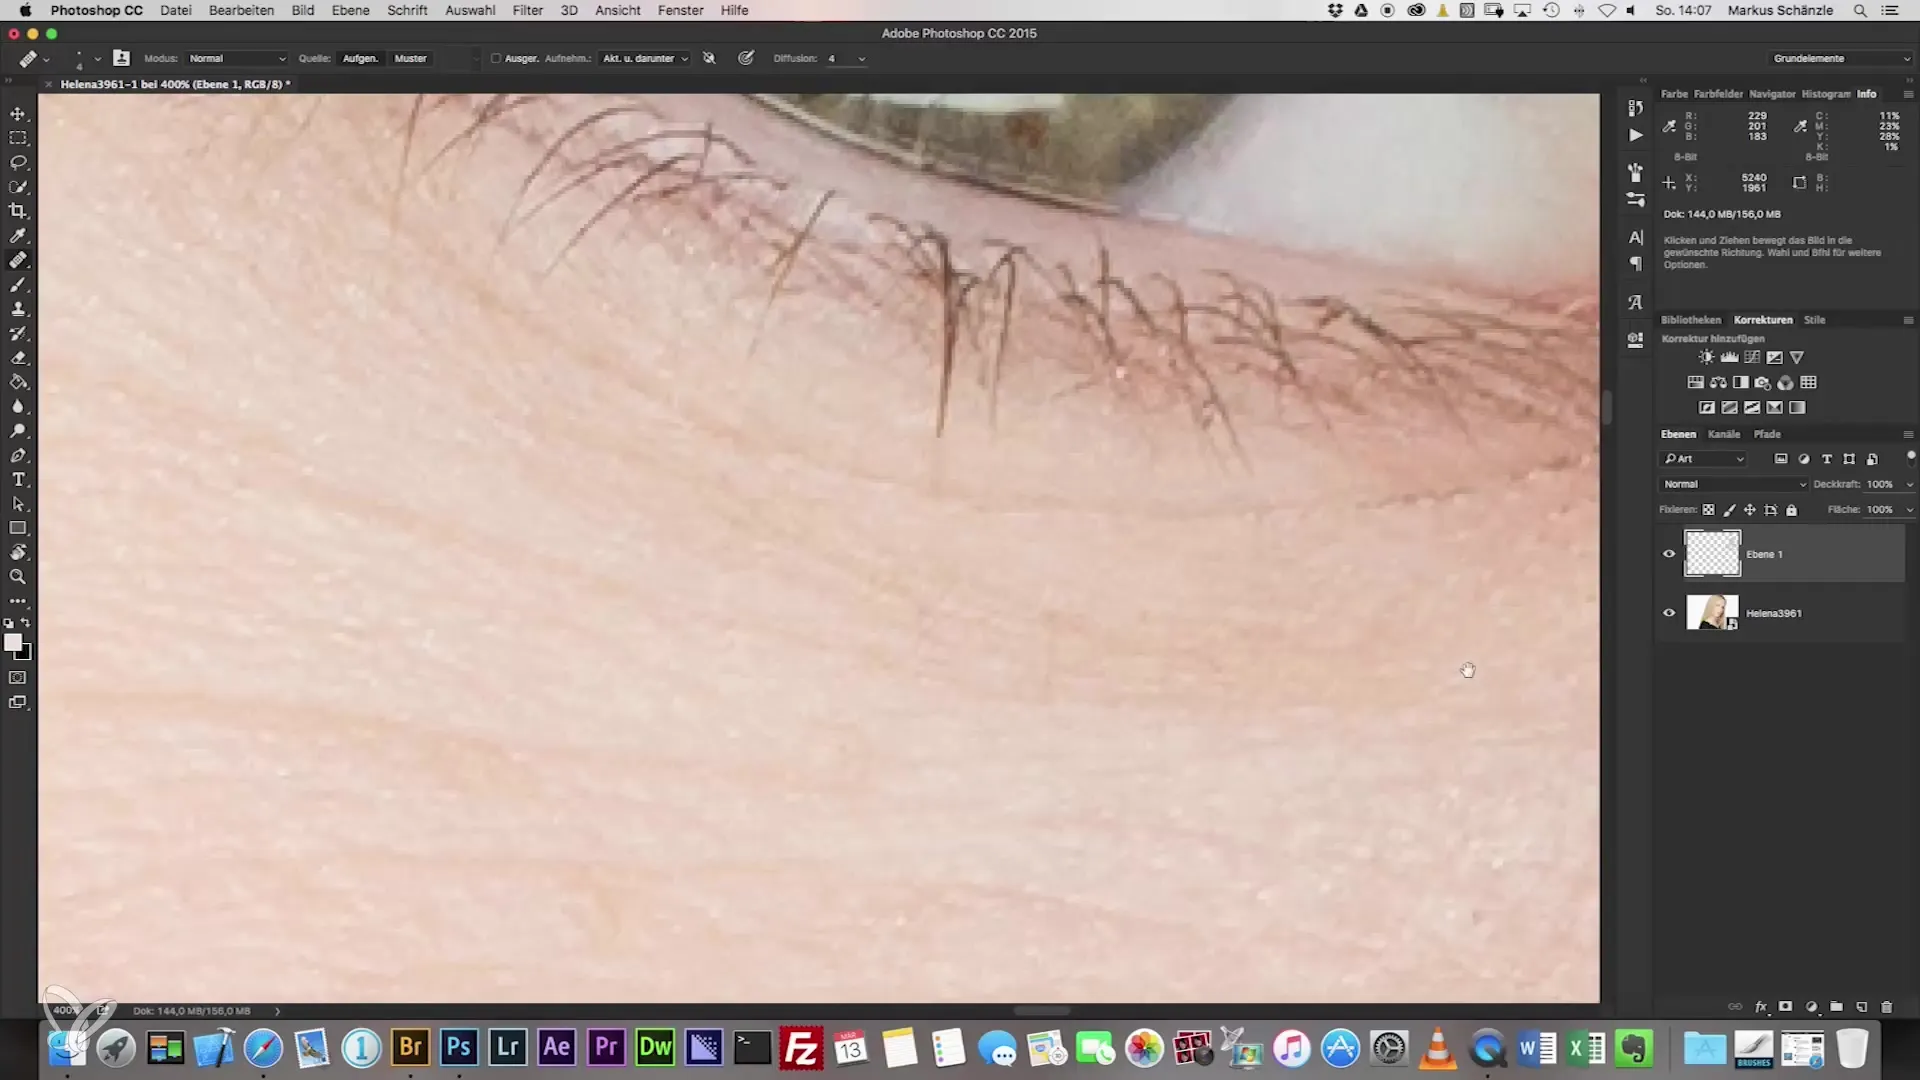
Remove unwanted makeup spots and ensure that the skin's texture is maintained. It is important to respect the shape of the eyelashes and the natural skin texture to avoid an overprocessed image.
6. Match Skin Tones
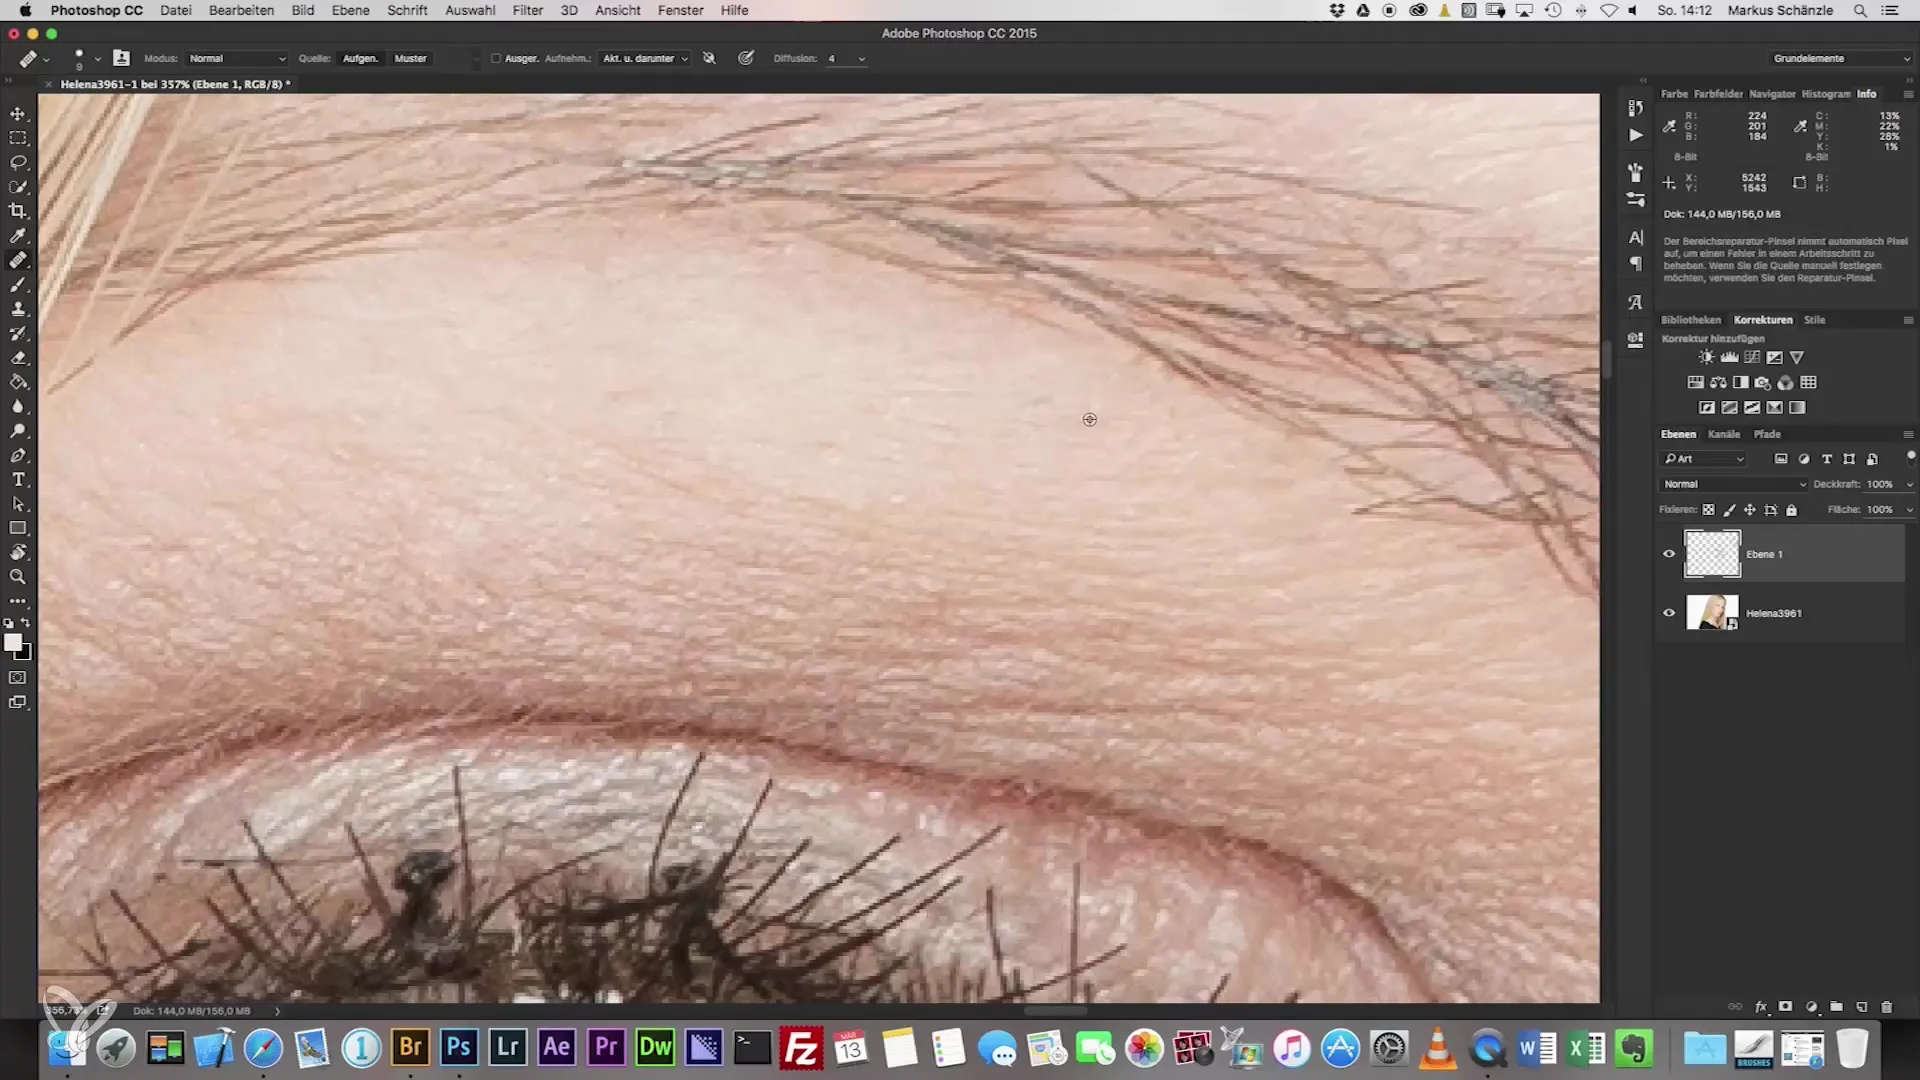
Skin tones and blemishes can appear unpleasant if not adjusted. Use the healing brush to retouch slight irregularities and skin flaws. Ensure that the color tones remain harmonious and do not create unnatural skin tones.
7. Clean Edges
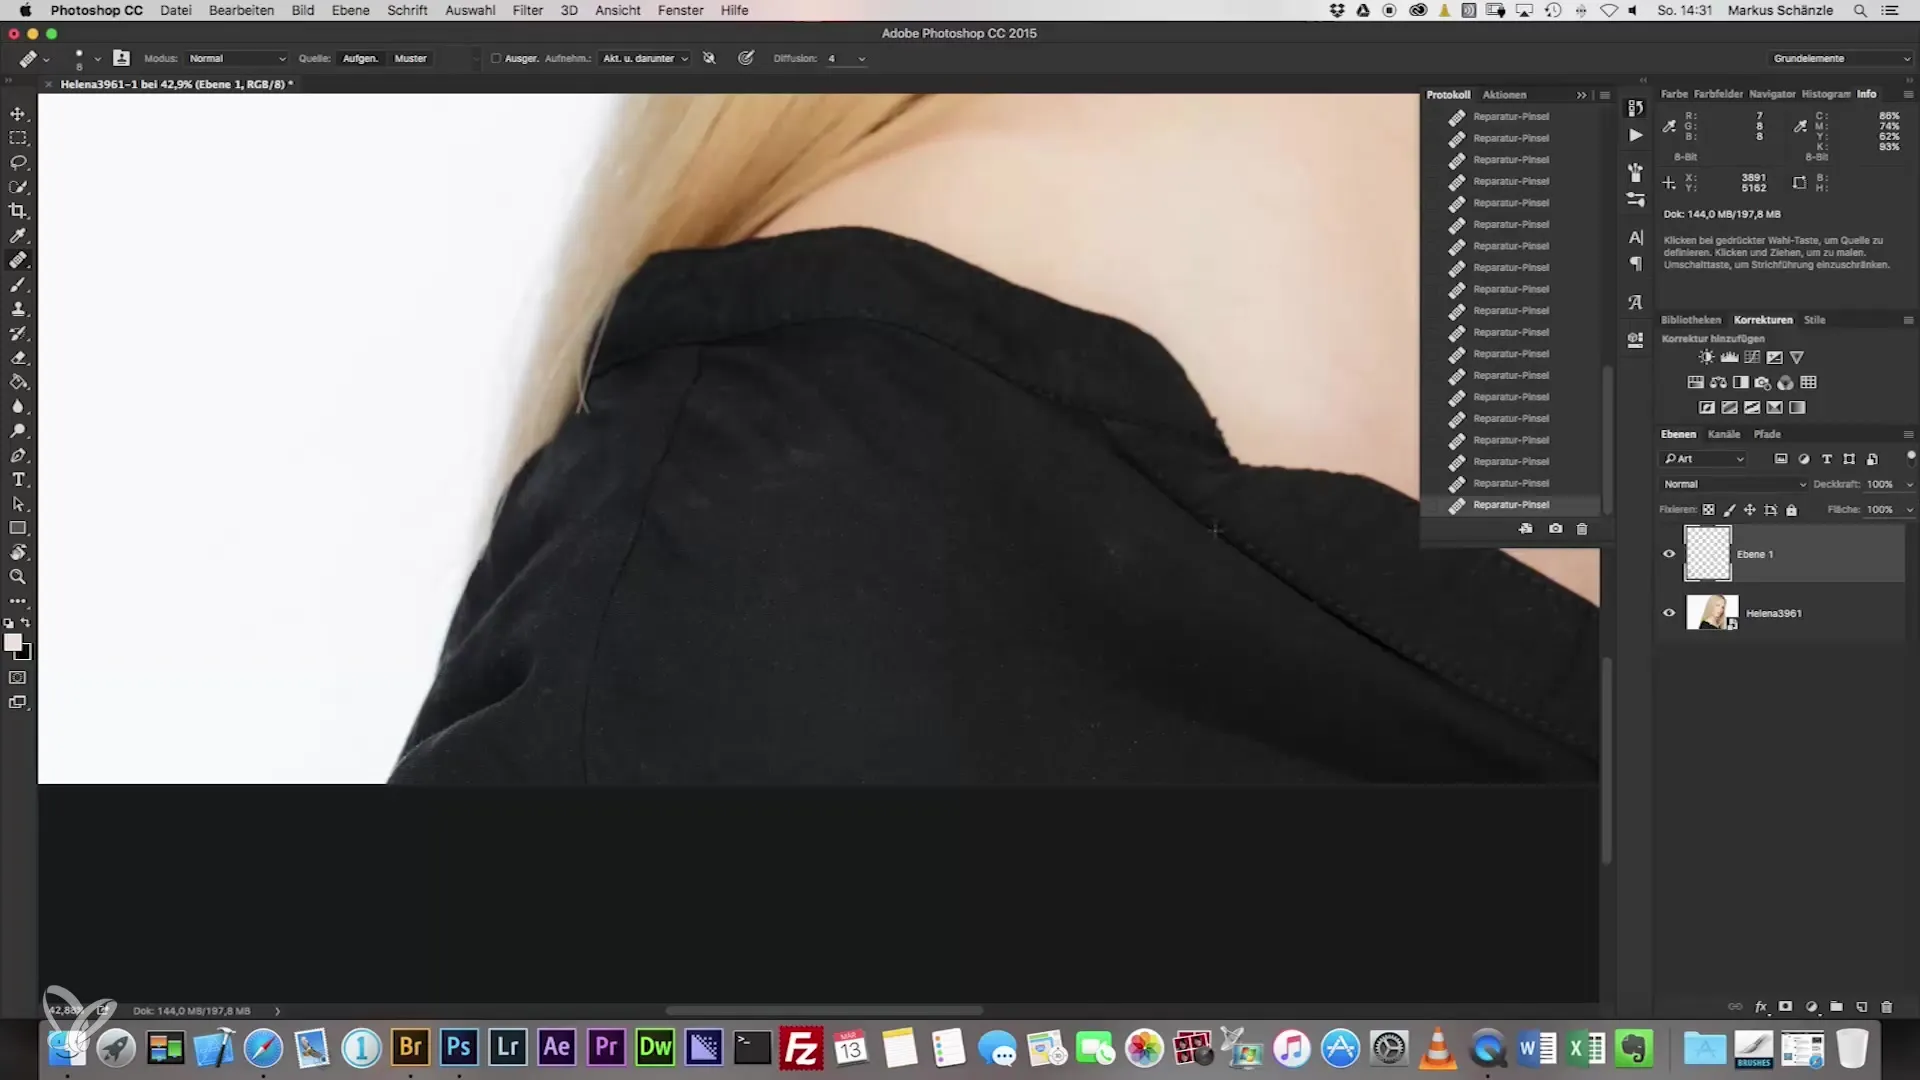
Pay special attention to the edges of your subject. The transition between skin and background should look clean. Use the stamp tool for accurate corrections on the edges to avoid blurred edges.
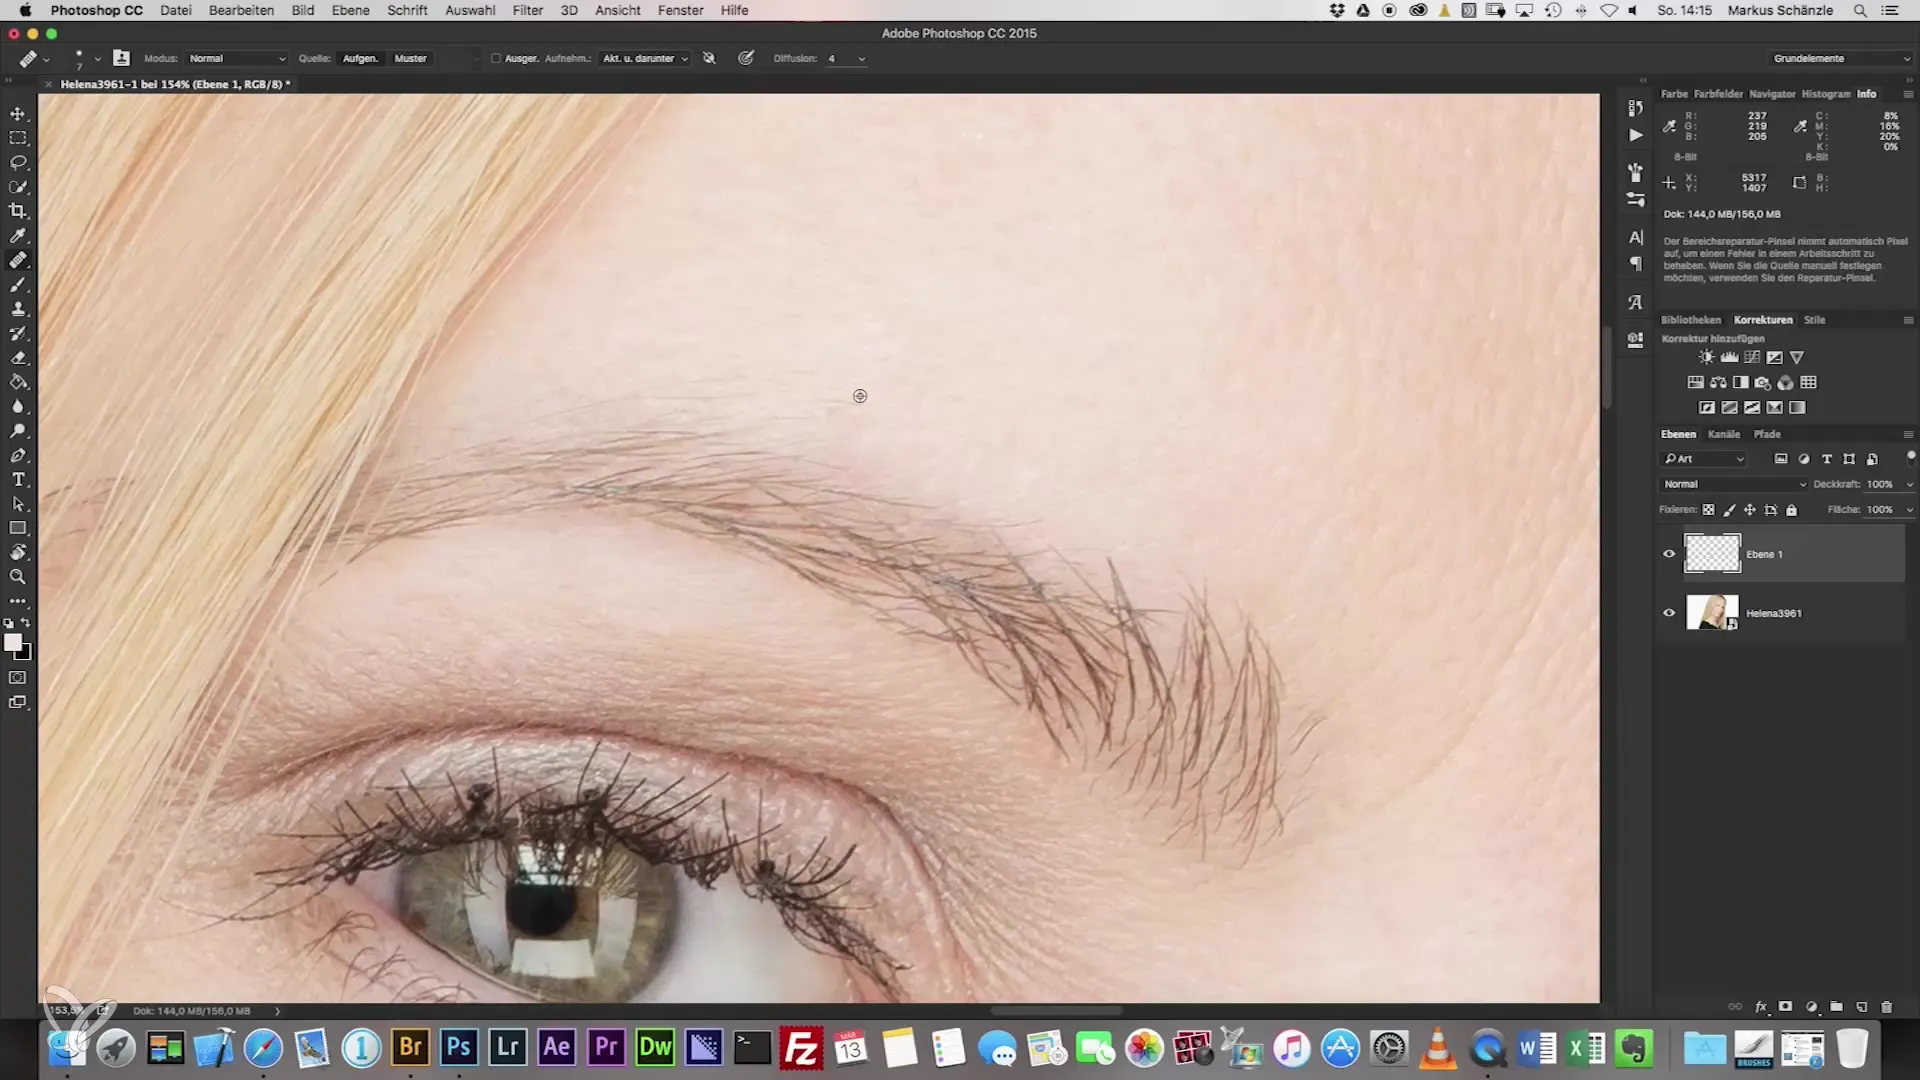
8. Hair Texture
When working with hair during retouching, be particularly careful. Ensure that the hair texture is preserved by making small adjustments, without overreacting to entire strands of hair.
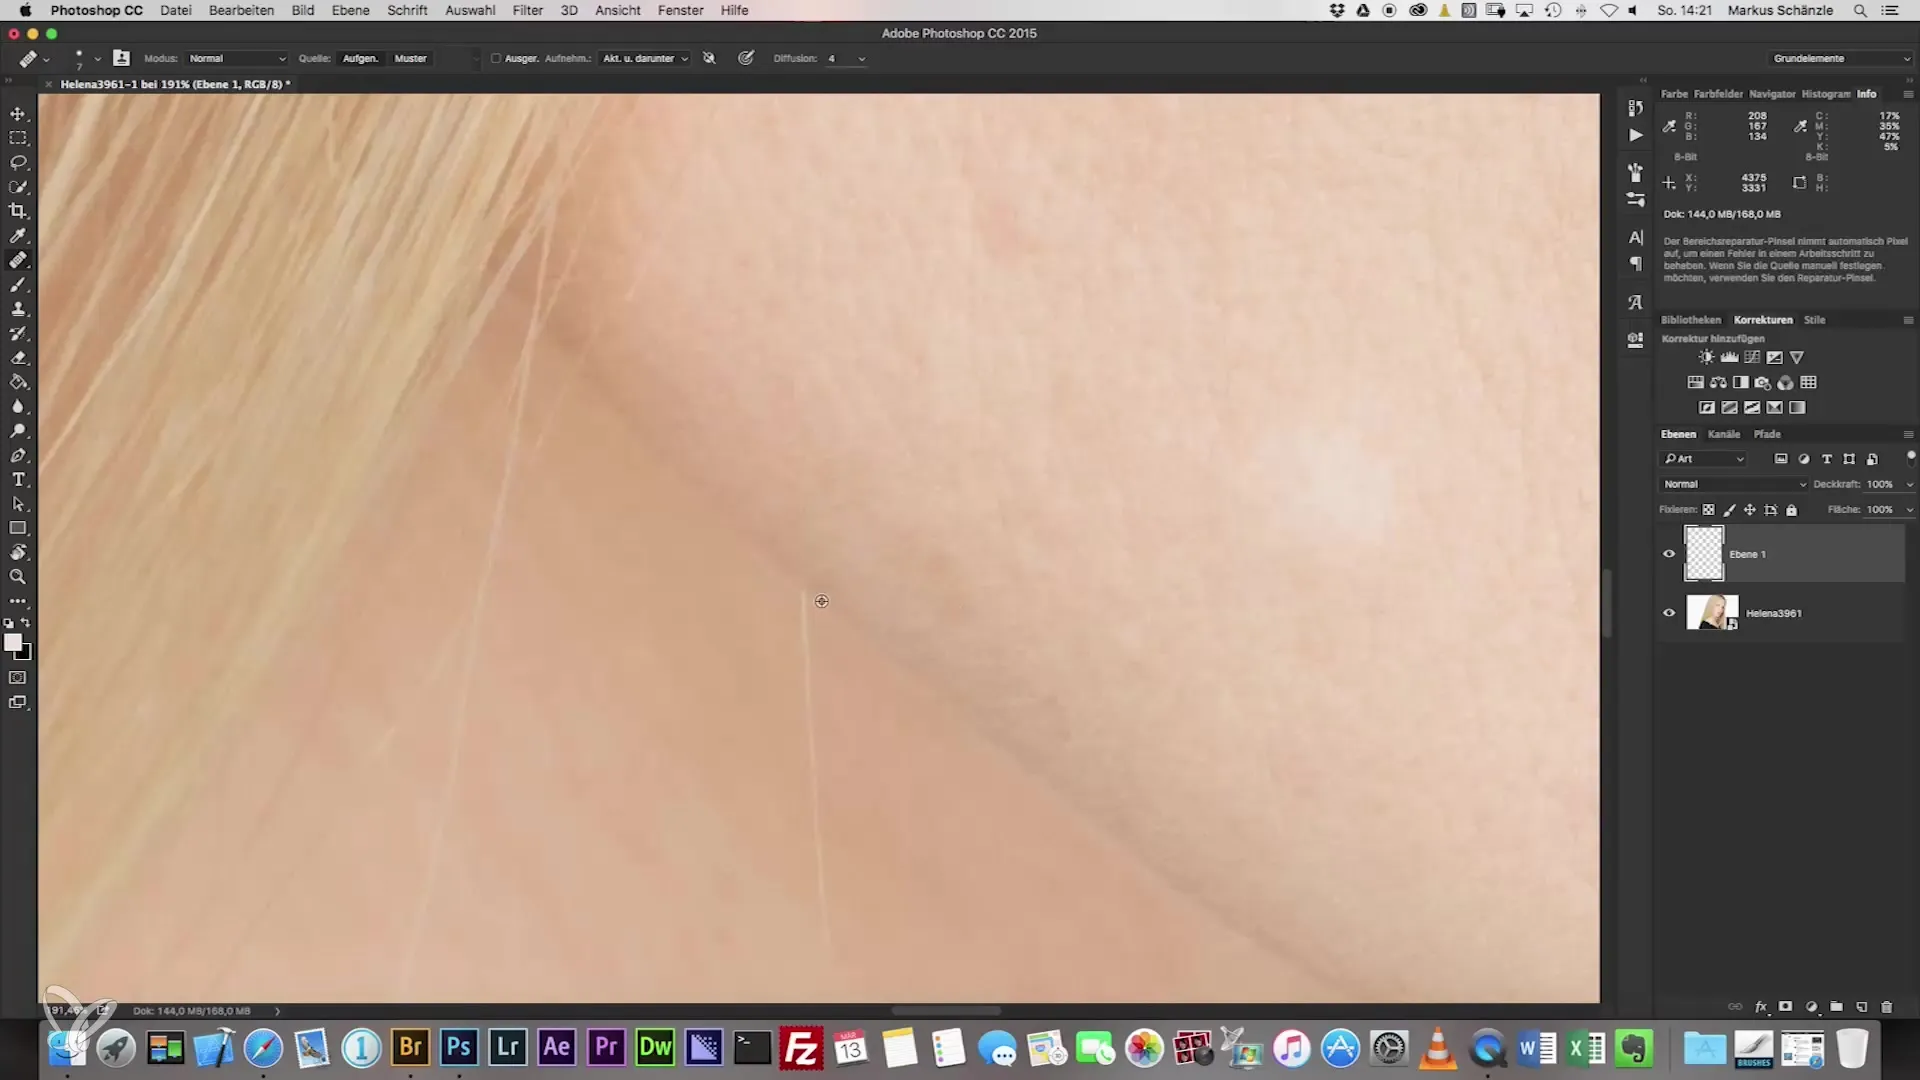
9. Final Check
After retouching, you should check your image at different zoom levels. This way, you can ensure that no errors are visible upon close inspection. Make sure that all editing steps are well coordinated with each other.
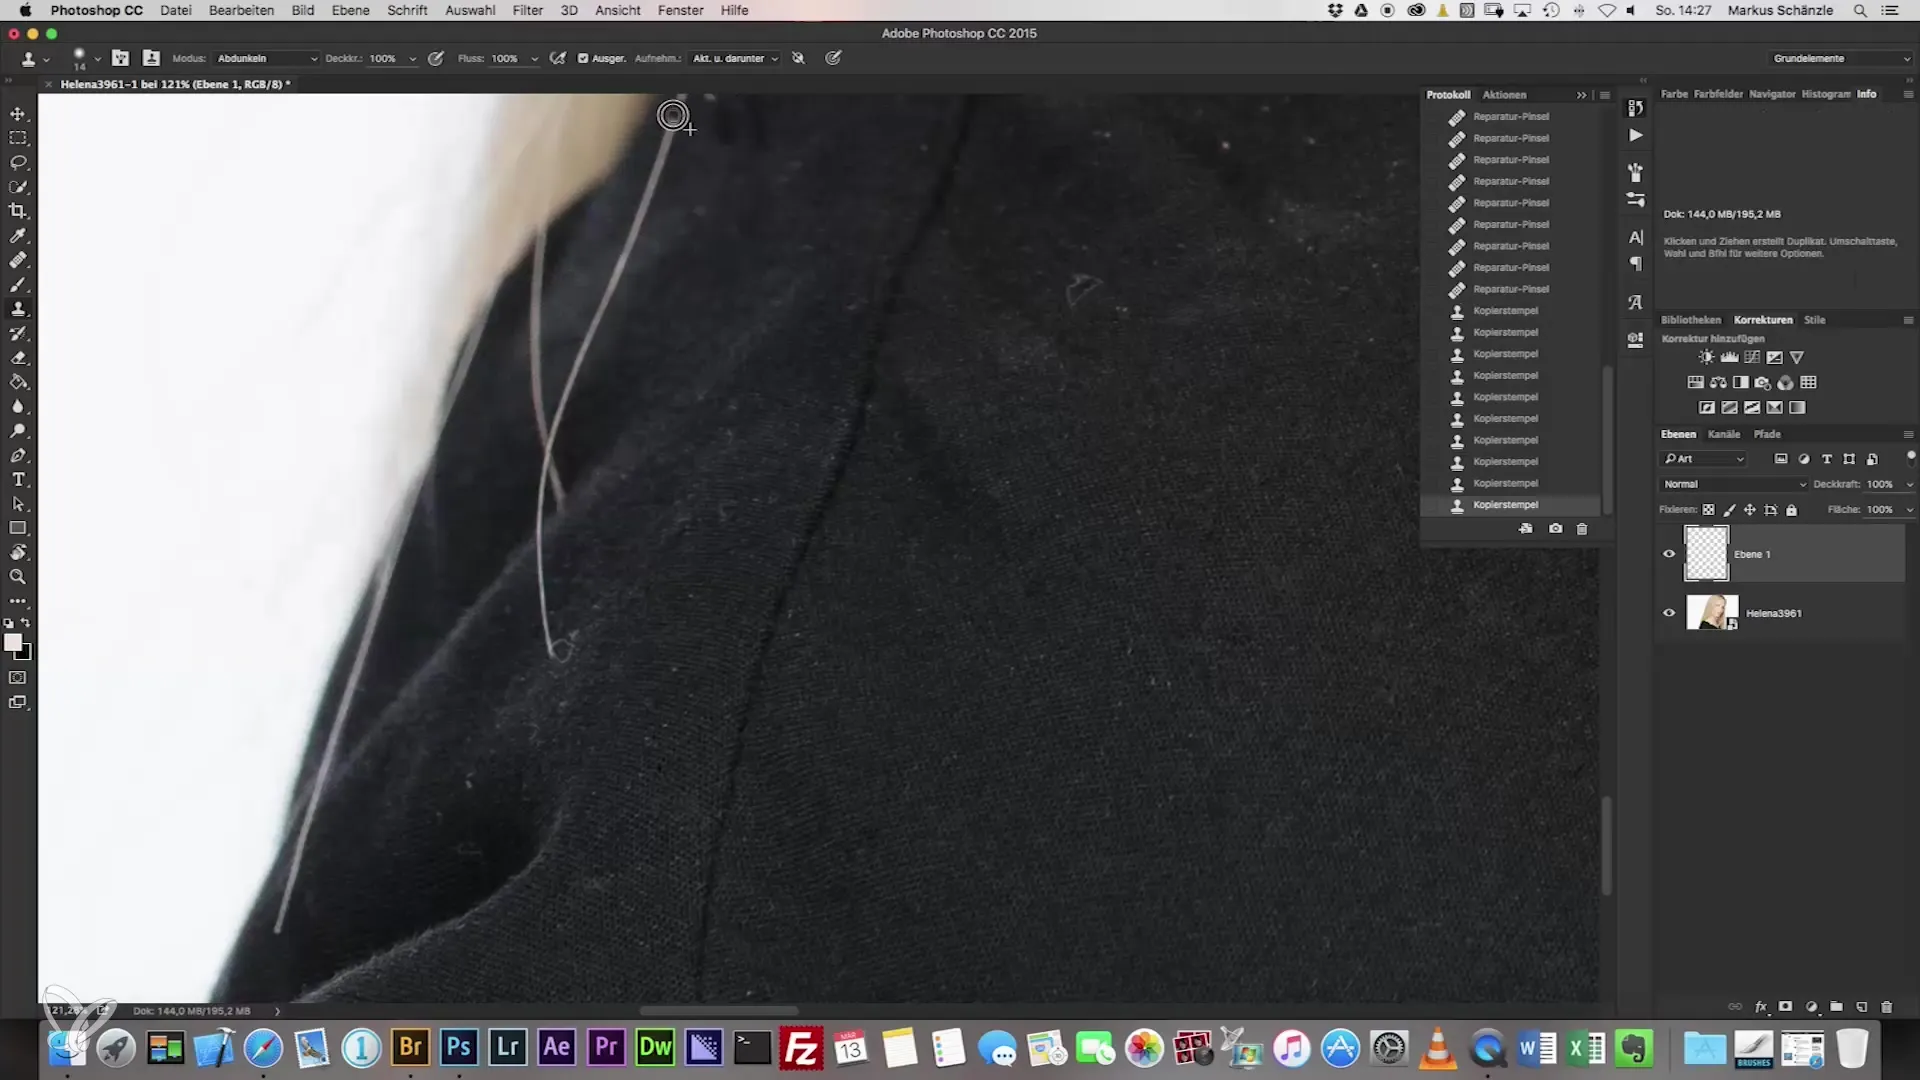
10. Don’t Forget to Save
Don’t forget to regularly save your changes to avoid losing your work. This is especially important when you are working intensively.
Summary - Headshot Photography: A Guide to Perfect Portrait Retouching
In this guide, you learned how to create an appealing and natural headshot using targeted retouching techniques, especially with the healing brush. The emphasis was on preserving natural skin tones and textures while effectively removing unwanted elements.
Frequently Asked Questions
What is the healing brush?The healing brush is a tool in image editing software used to remove flaws or unwanted structures in images.
How can I keep the eyes looking natural?To keep the eyes looking natural, avoid strong brightening or using pure white color. Make sure to preserve the existing moisture and texture.
How important is retouching in headshot photography?Retouching is important to achieve a professional result. An unretouched image can be perceived as less professional.
What techniques can I use to correct skin imperfections?Use the healing brush or stamp tool to make gentle adjustments and eliminate minor imperfections without compromising the natural skin texture.


