Retouching portrait photographs can be an art in itself. Among the many techniques available, the local dodge and burn technique is one of the most effective methods to enhance skin texture and achieve a harmonious result. Below you will learn how to apply this technique step by step to balance shadows, imperfections, and harsh transitions.
Key insights
- Local dodge and burn technique improves skin tones.
- Use helper layers to support your editing.
- Pay attention to the use of opacity and flow when brushing.
- Patience and practice are crucial for good results.
Step-by-step guide
Step 1: Create helper layers
At the beginning, you should create two helper layers in your image. One layer will be used for brightening and one for darkening. You achieve this by adding a new fill layer for a color field and setting the layer mode to "White".
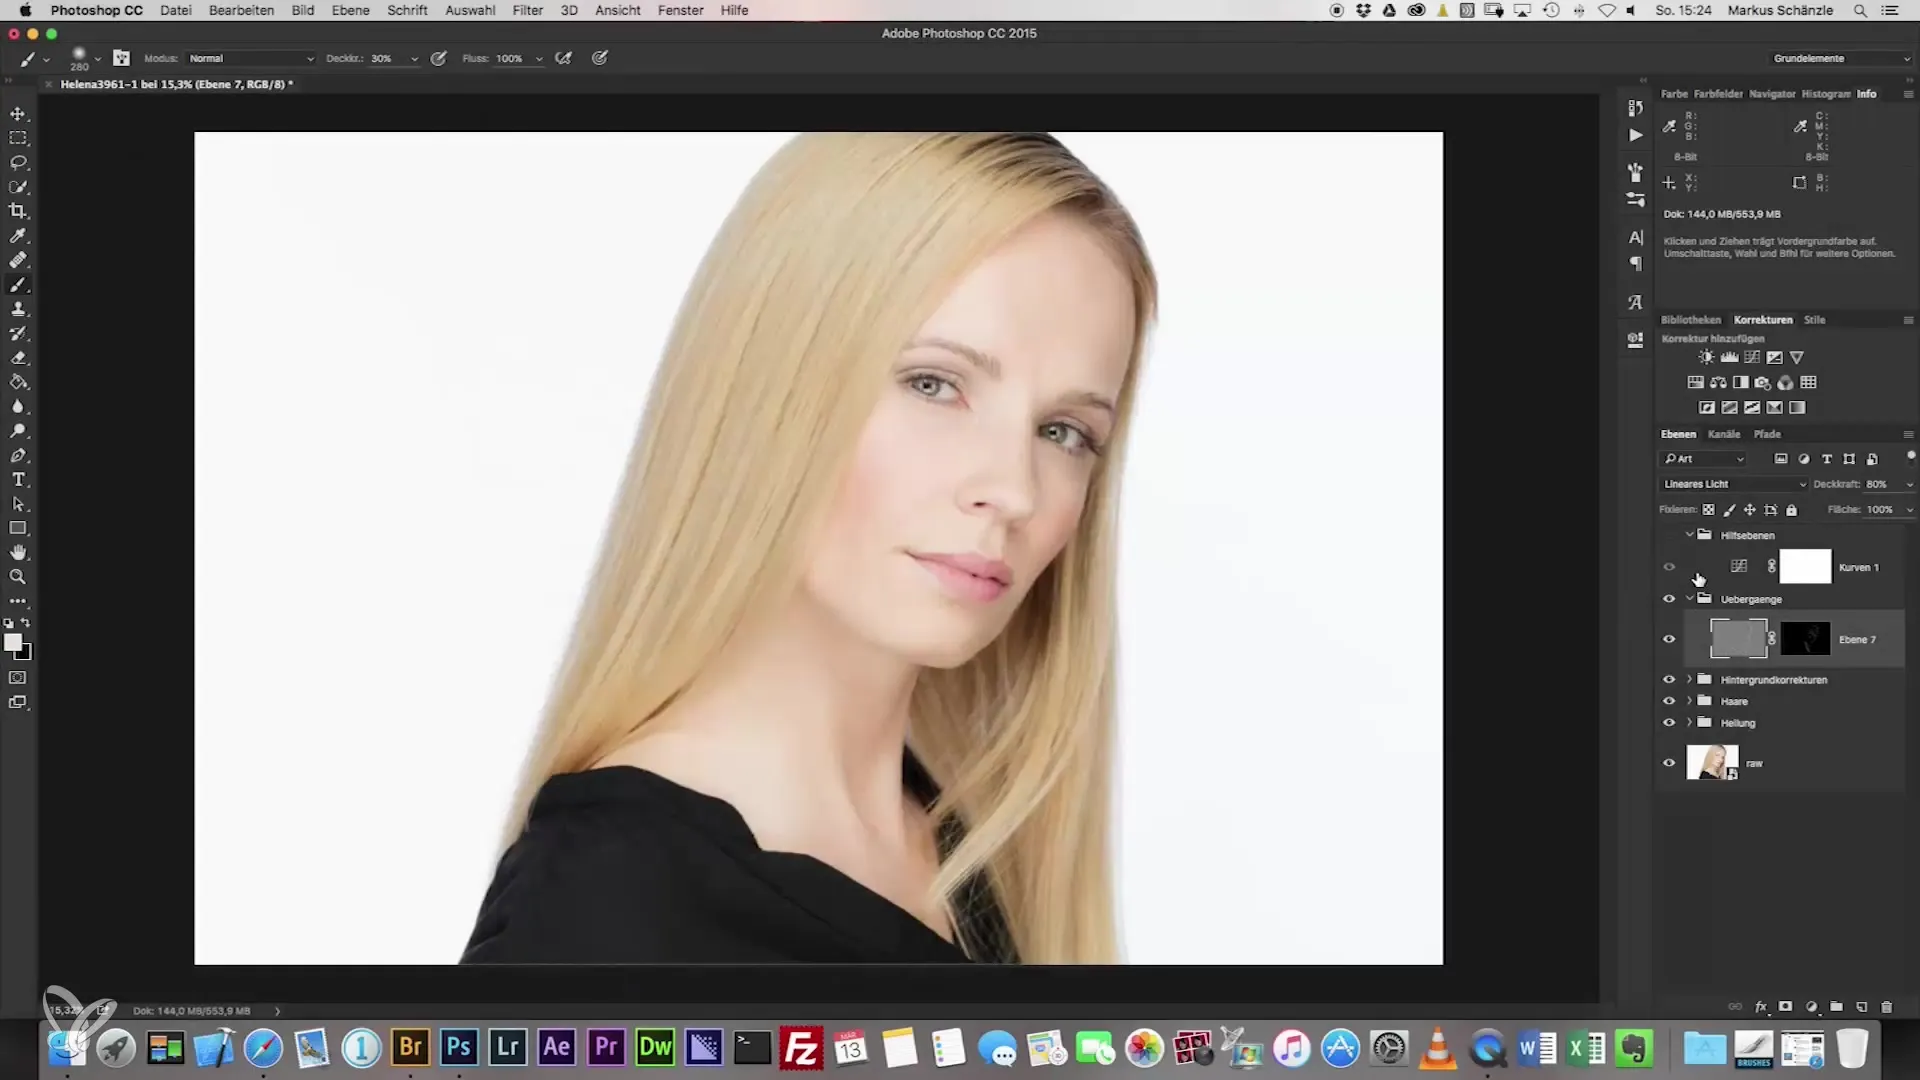
Step 2: Black and white image for clarifying structure
Create an additional helper with a channel mixer and set it to "Monochrome". This will help you better see the areas targeted by dodge and burn.
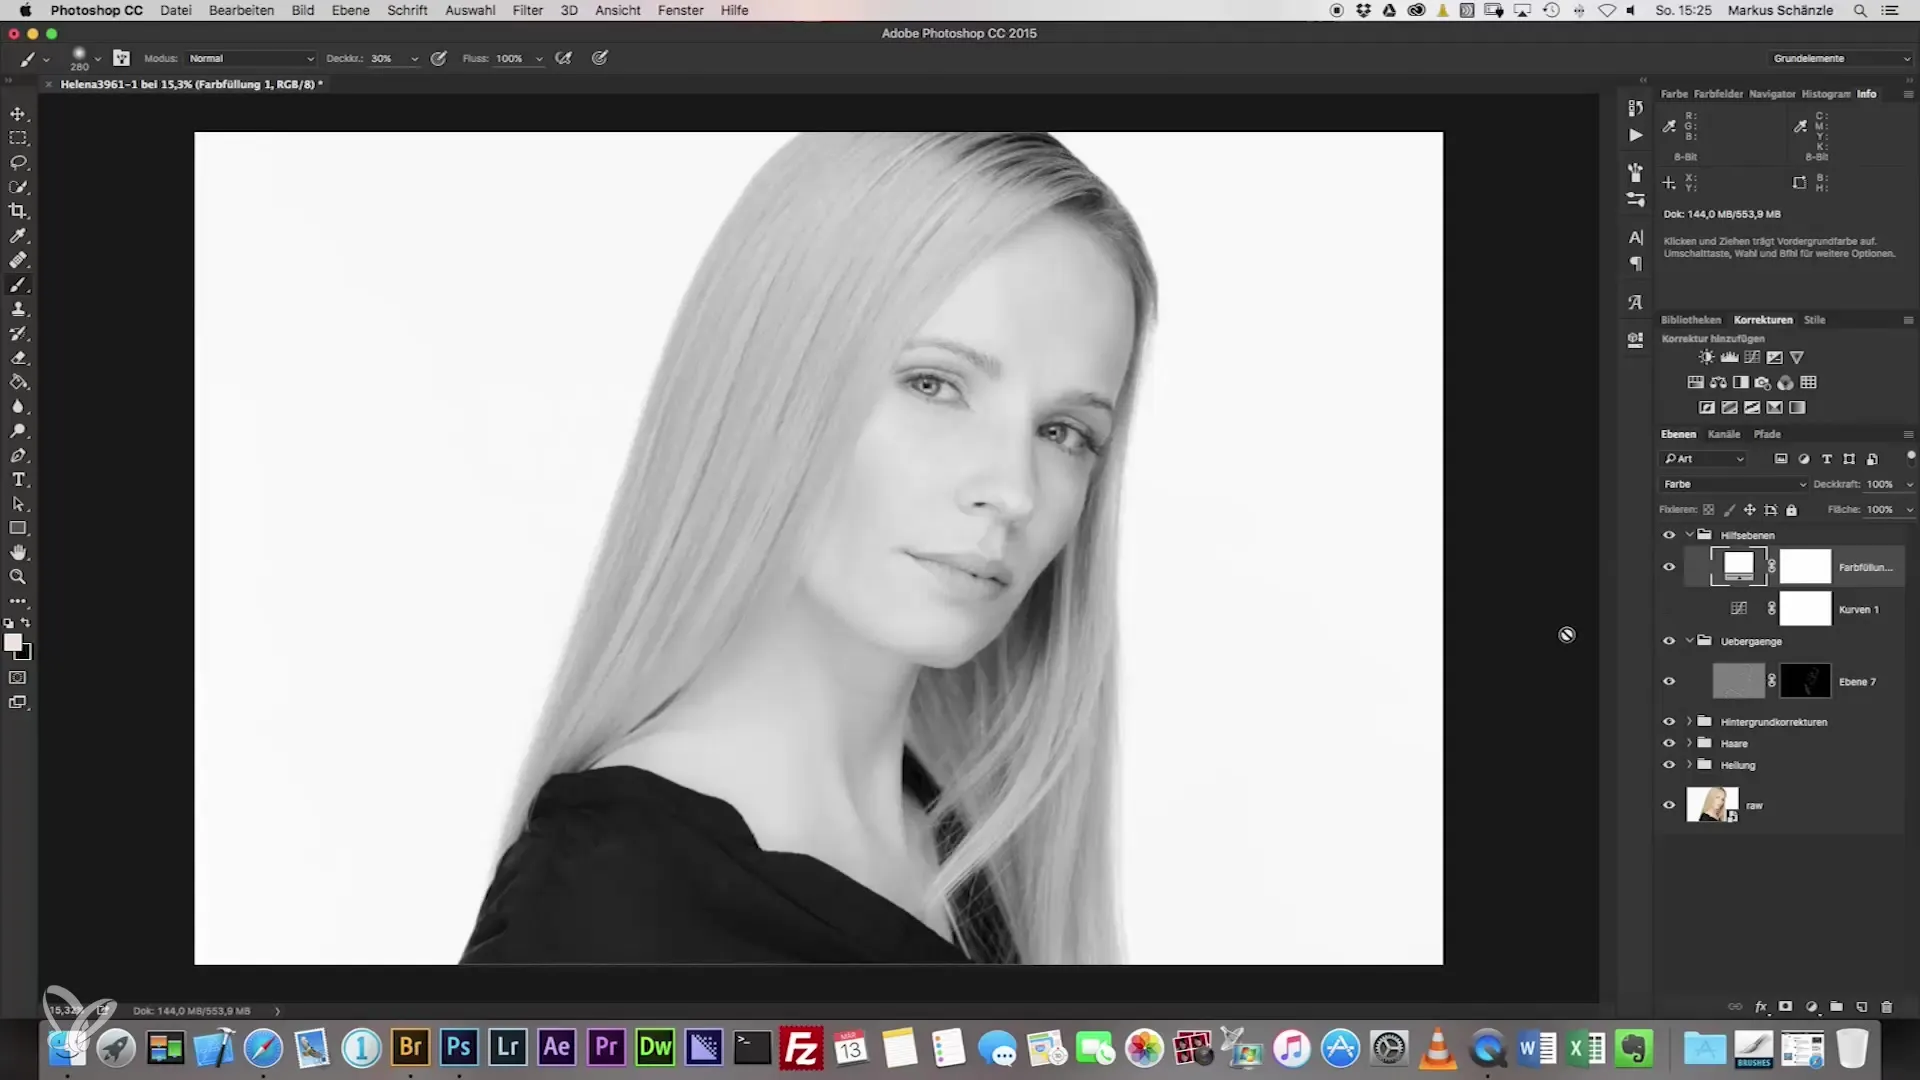
Step 3: Add adjustment curves
Now you create two adjustment curves, one for brightening and one for darkening. It is important to organize these in a group to structure your work. Name the group something like "DoD Local".
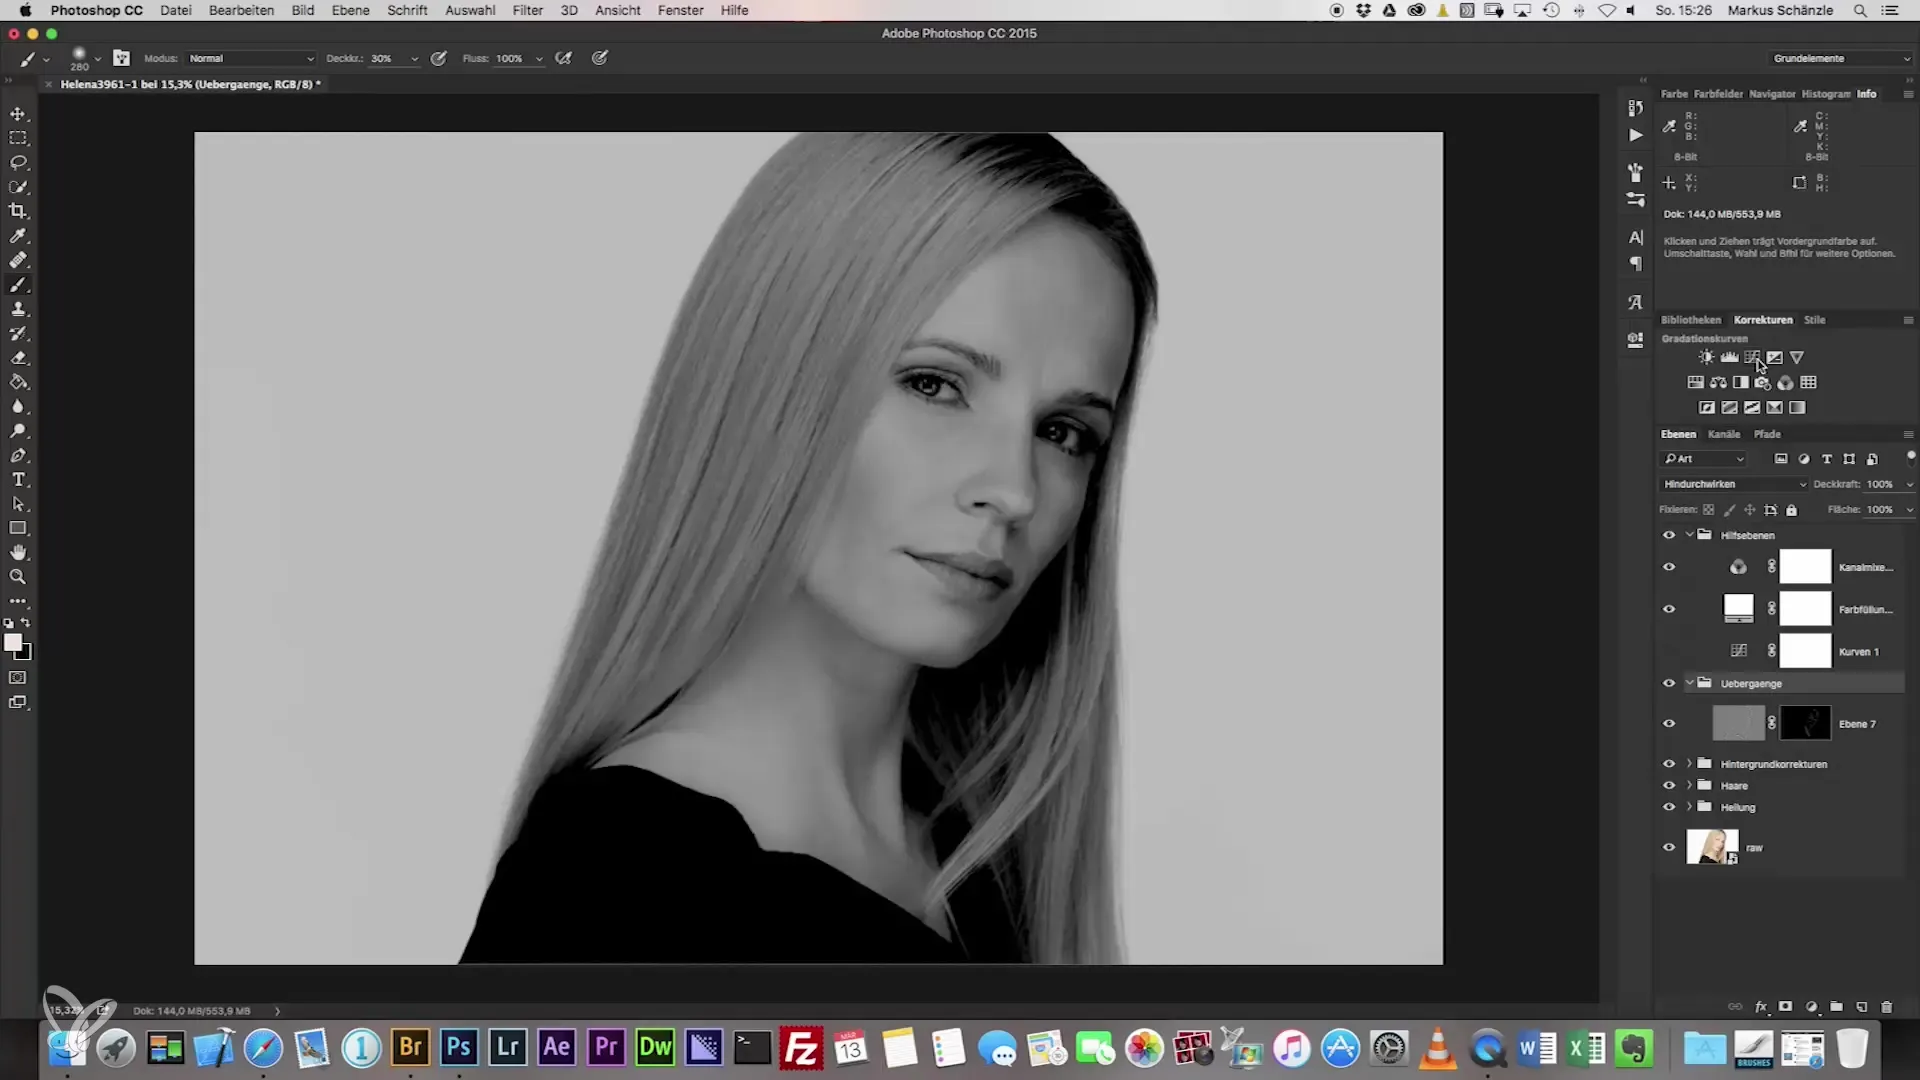
Step 4: Add saturation layer
For the darkening layer, you should add a saturation layer to minimize color changes. Link this saturation layer with a clipping mask.
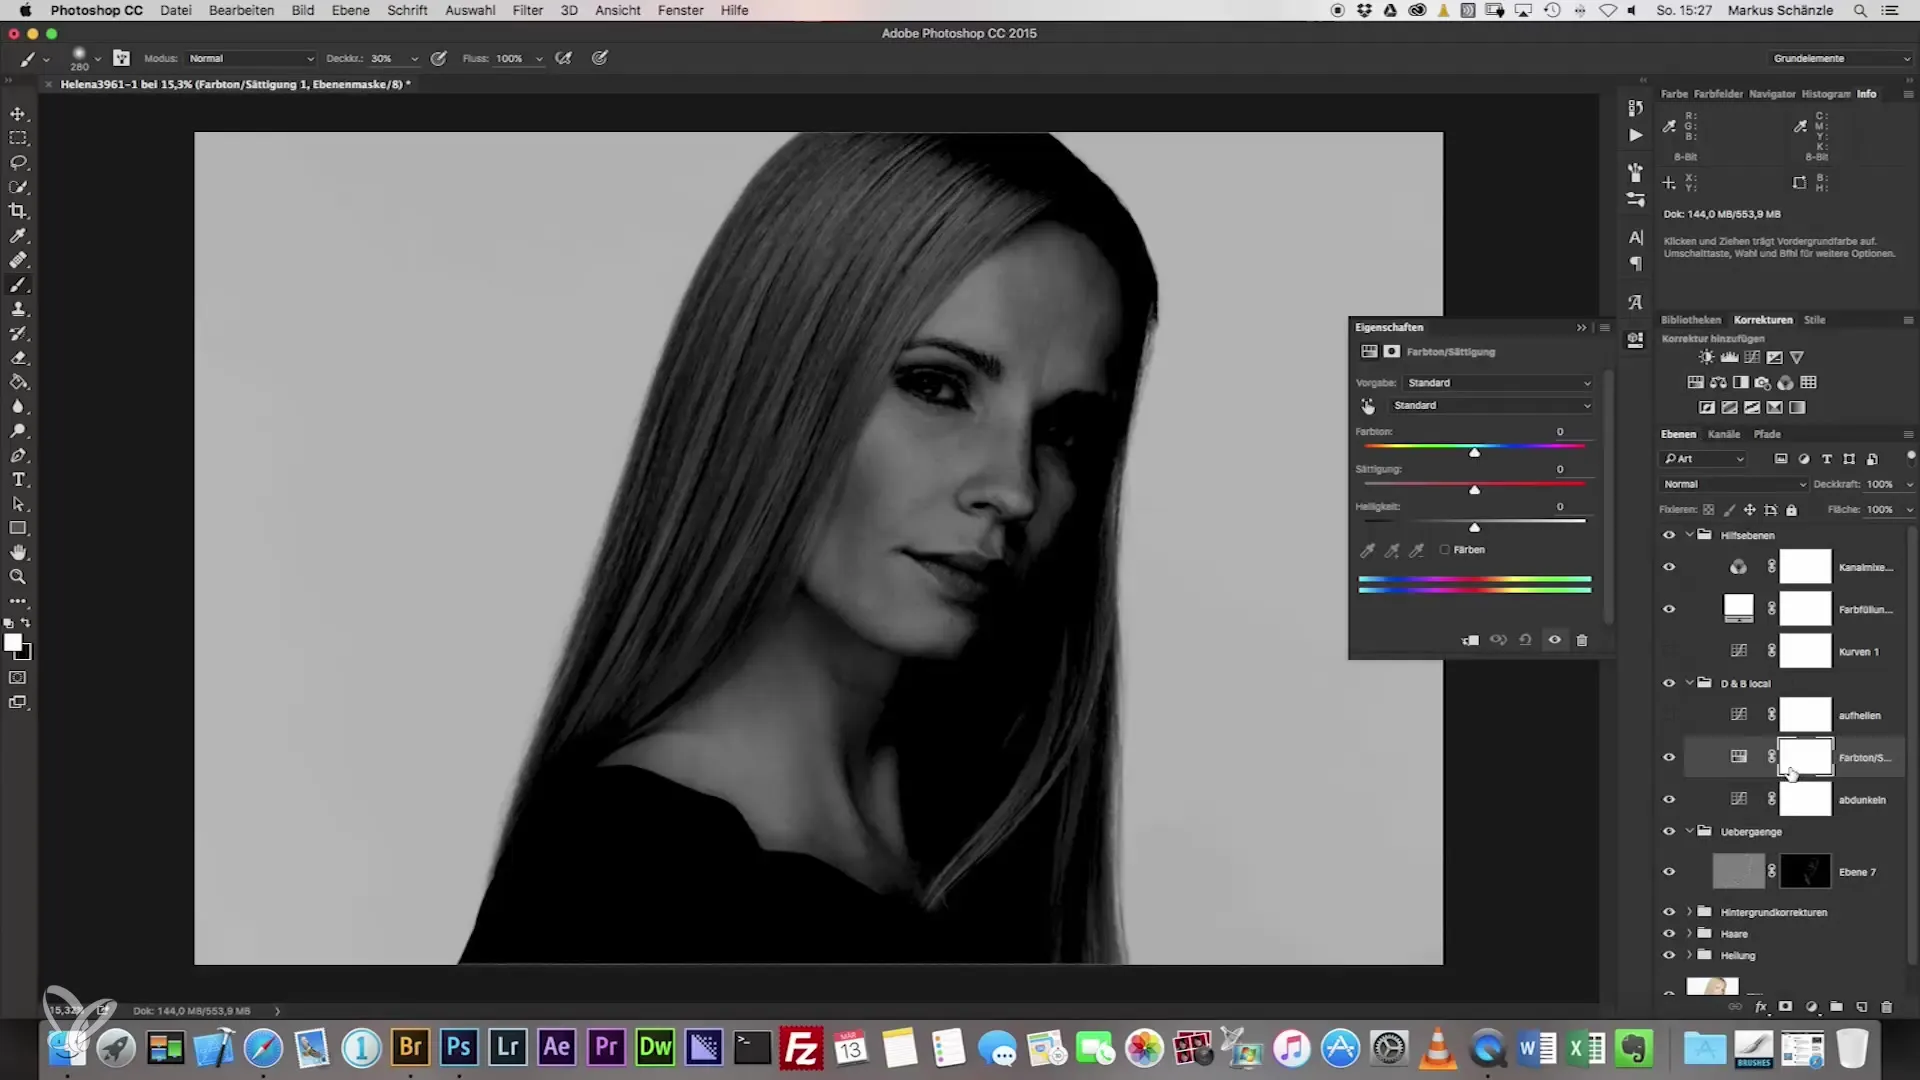
Step 5: Create masks
The next goal is to create masks for both layers. Set the mask for the darkening and brightening layers. Activate the masks to lay the groundwork for your editing.
Step 6: Select brush tools
Now it’s time to select your brush tool. You can work either with opacity or flow. Consider what you prefer. I usually prefer to work with flow for smoother control.
Step 7: Adjust brush
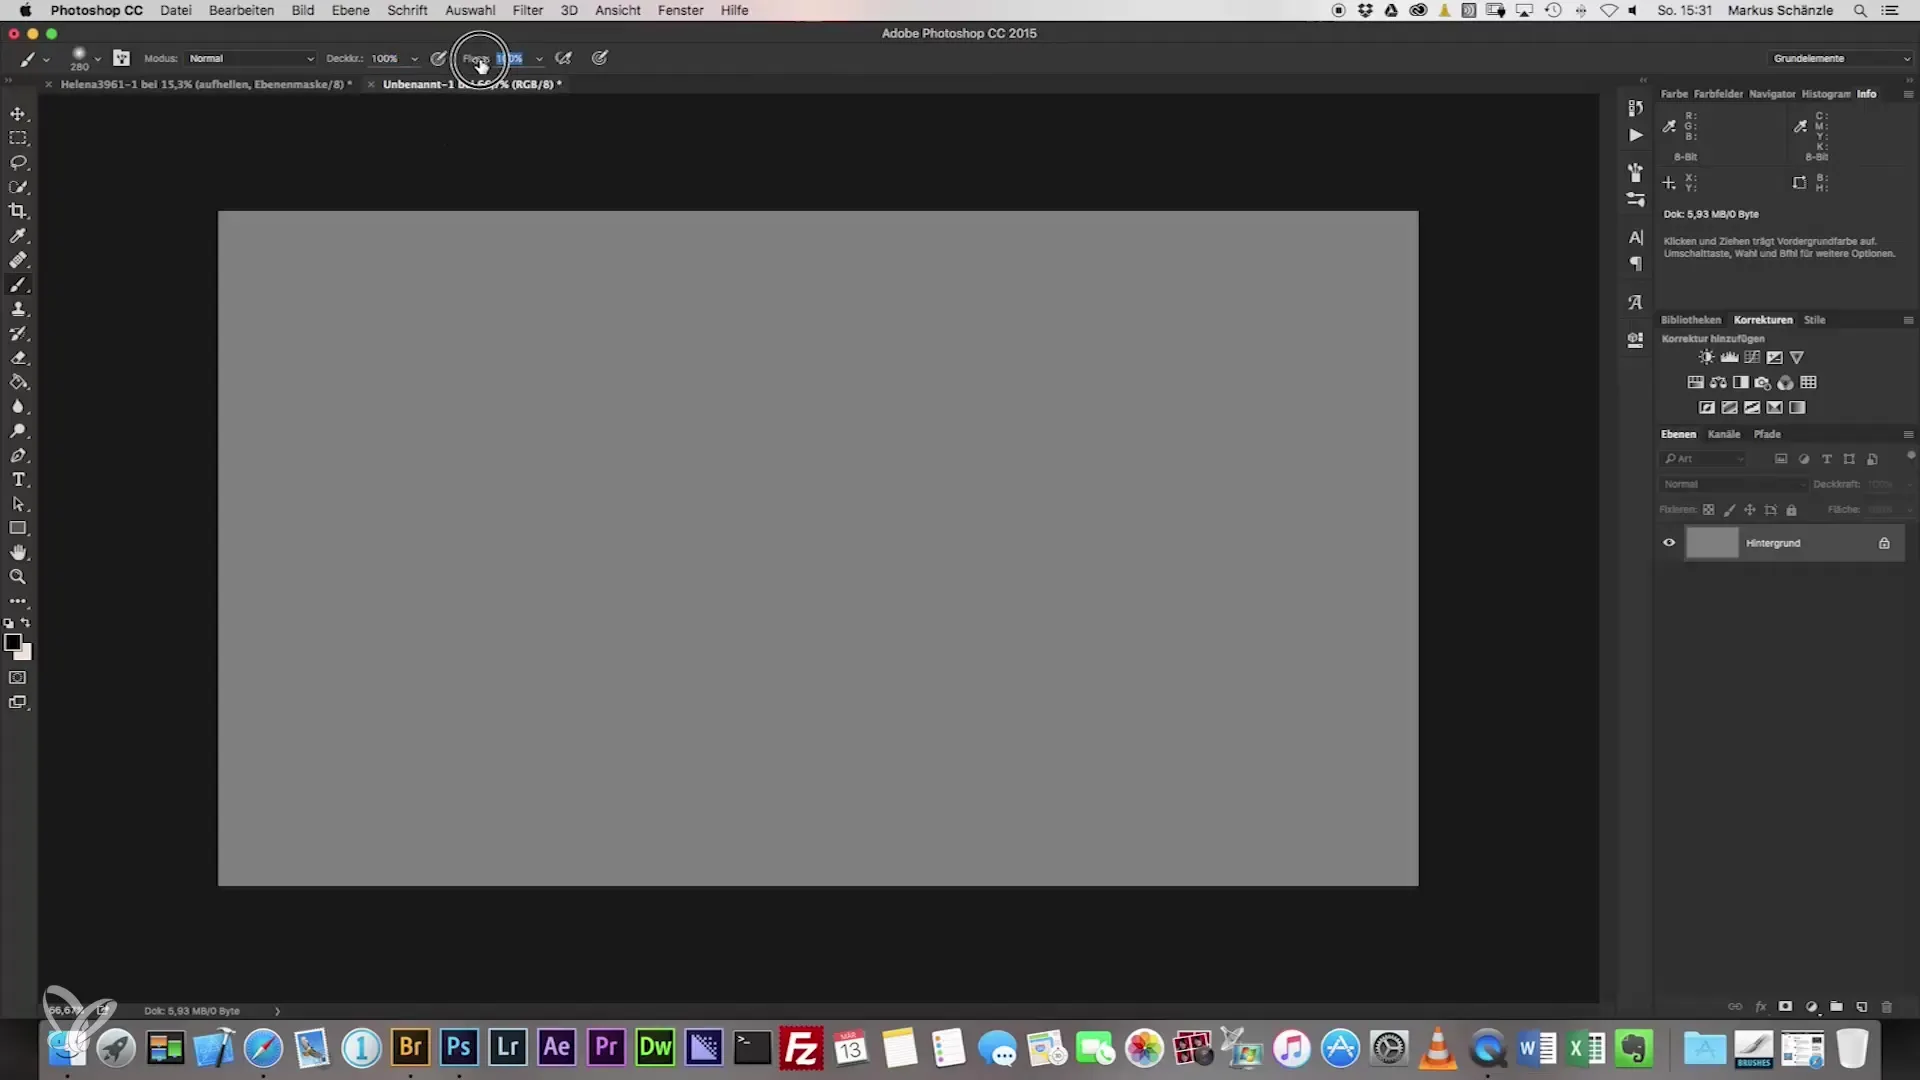
Set the flow to about 4% and start brightening dark areas and darkening lighter areas. It’s important to apply gentle pressure and give yourself enough time to observe the results.
Step 8: Check transitions
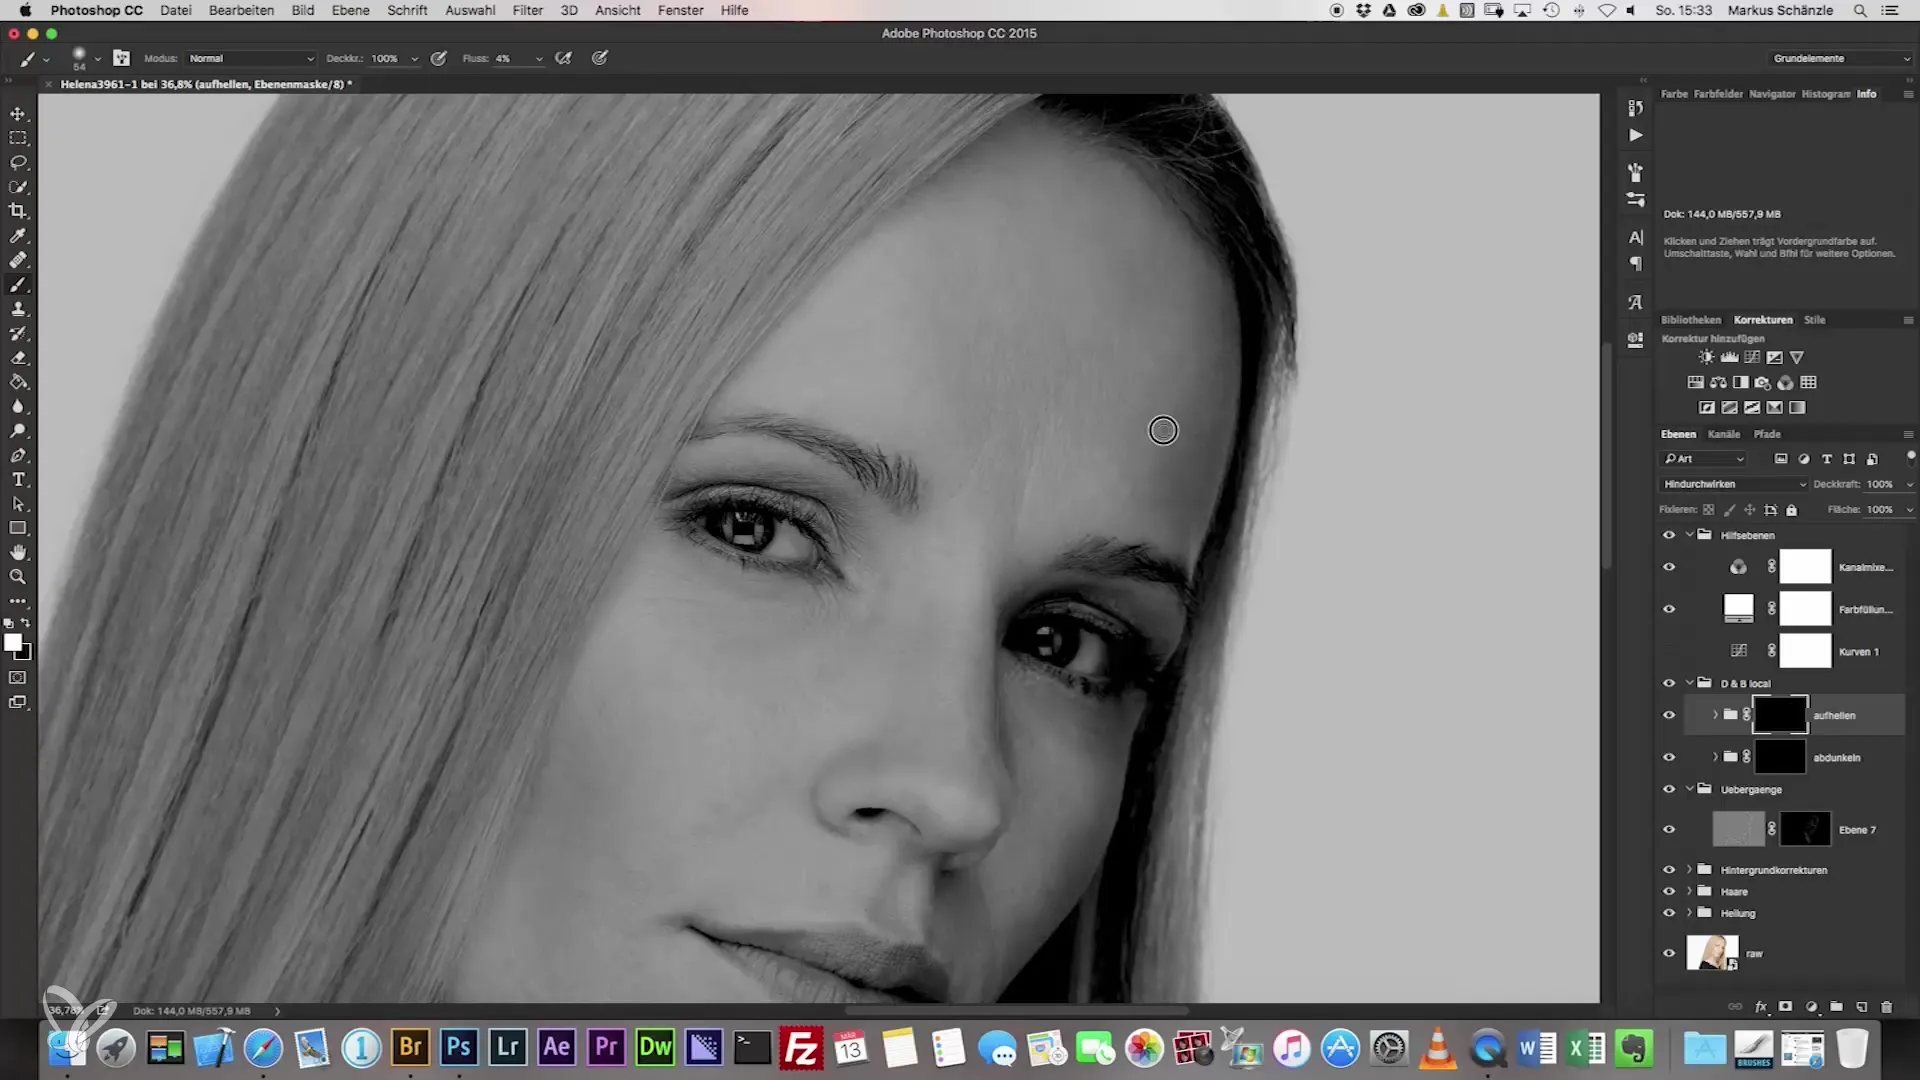
To check the transitions, you can adjust the helper layers. This will give you a better view of the changes you made.
Step 9: Develop patience
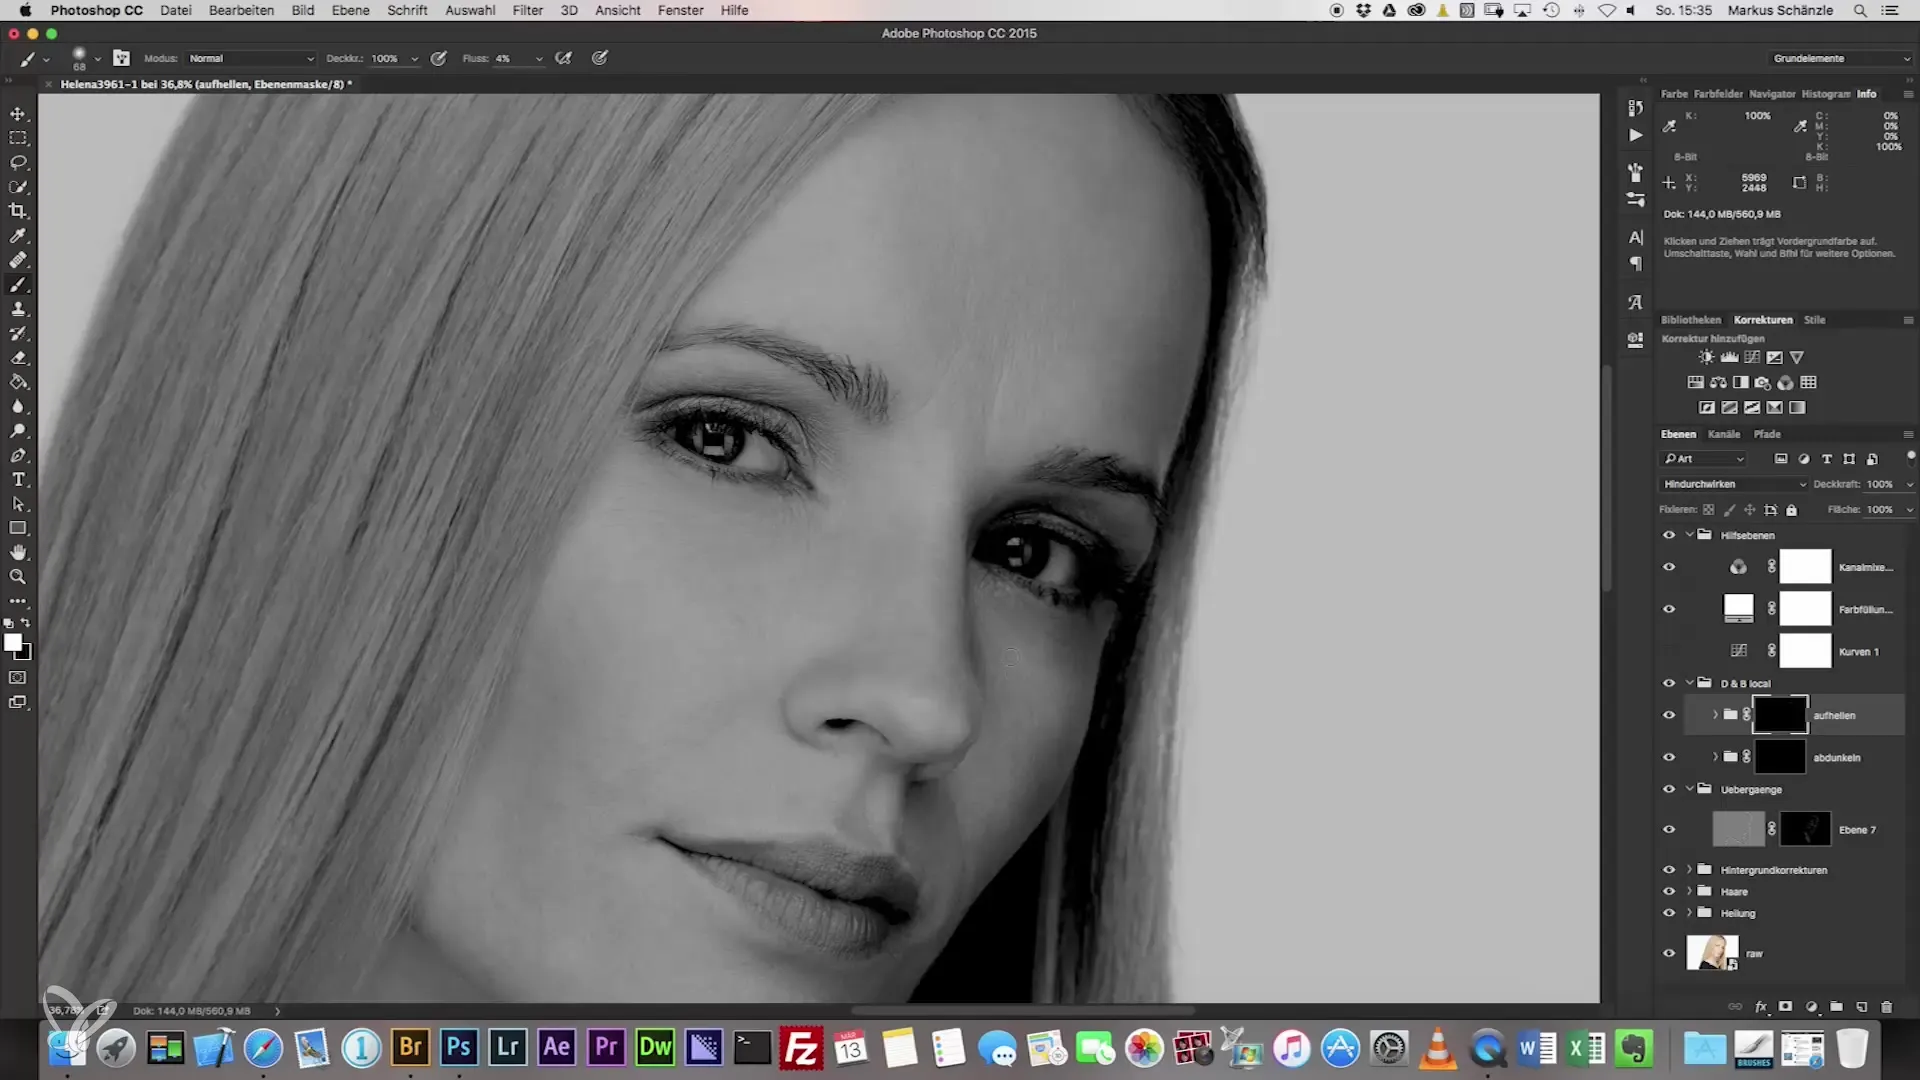
Do not hesitate to pause if you feel you are not hitting the right tone. It takes time to train your eye for such details. Persistence is key.
Step 10: Final touches
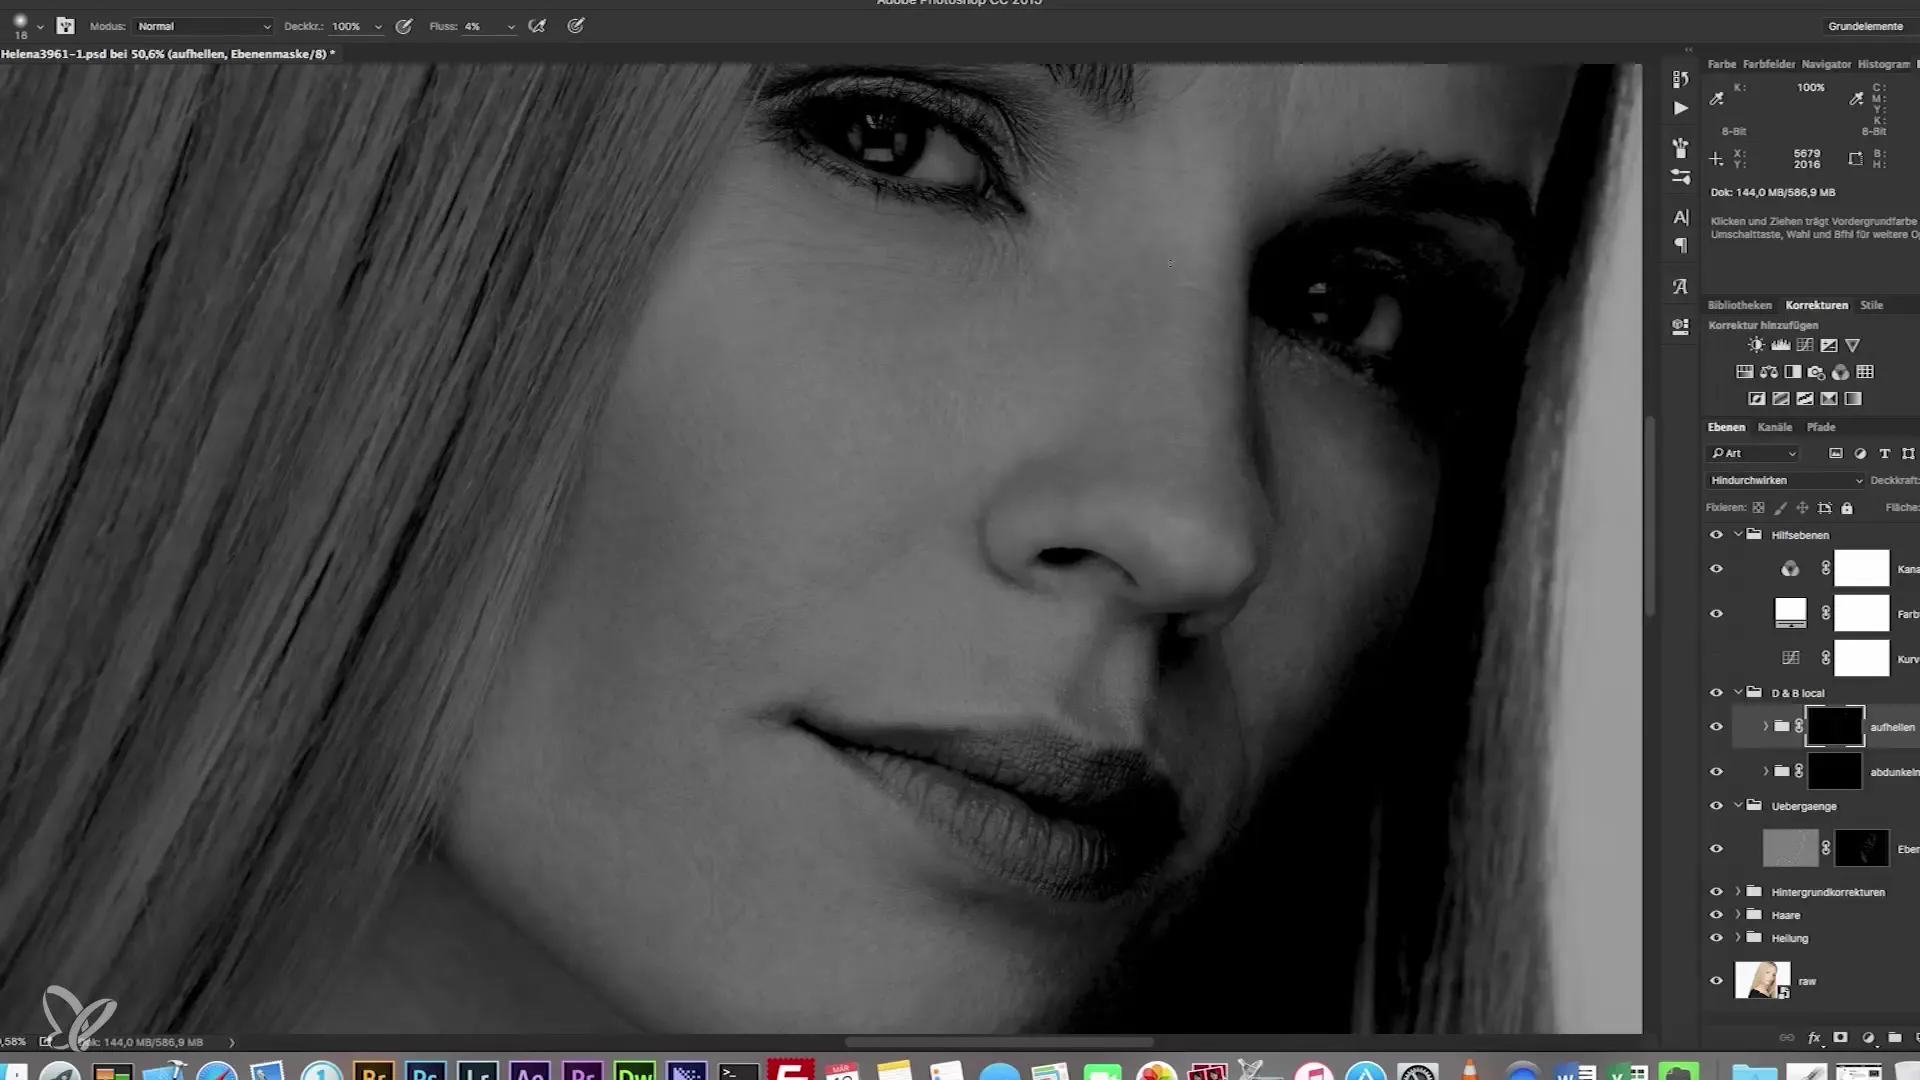
Finally, go through the edited areas again and adjust them if necessary. Leave nothing but an even skin tone with harmonious transitions.
Summary – Guide to the local dodge and burn technique in headshot photography
In summary, the local dodge and burn technique is a very effective method for retouching portraits. Attention to detail, patience, and cohesive color corrections lead to an appealing result.
Frequently asked questions
How can I create the helper layers?Create a new fill layer and select the color mode "White".
What is a clipping mask?A clipping mask allows you to affect only the underlying layer instead of the entire group.
Which brush should I use?Use the brush you prefer, but pay attention to size and flow strength to achieve the best results.
How long does it take to master the dodge and burn technique like a pro?That depends on your practice experience and your eye for detail. Over time, you will get better.


