In headshot photography, it is crucial to create smooth transitions between light and shadow to achieve an appealing portrait. The technique of the “inverted high-pass” filter helps to elegantly soften hard edges. This guide provides you with a step-by-step approach to mastering this method and enhancing your portraits.
Key insights
- Use of high-pass filter to sharpen images
- Inverted high-pass filter technique to soften transitions
- Application of blur filters to enhance image quality
- Use of layer masks for precise control of transitions
Step-by-step guide
To effectively soften transitions in your headshot portraits, follow these steps:
First, you need to merge all the layers of your project. You can do this by using the keyboard shortcut Command + Alt + Shift + E on Mac or Control + Alt + Shift + E on Windows. This will create a new layer that combines all previous layers.
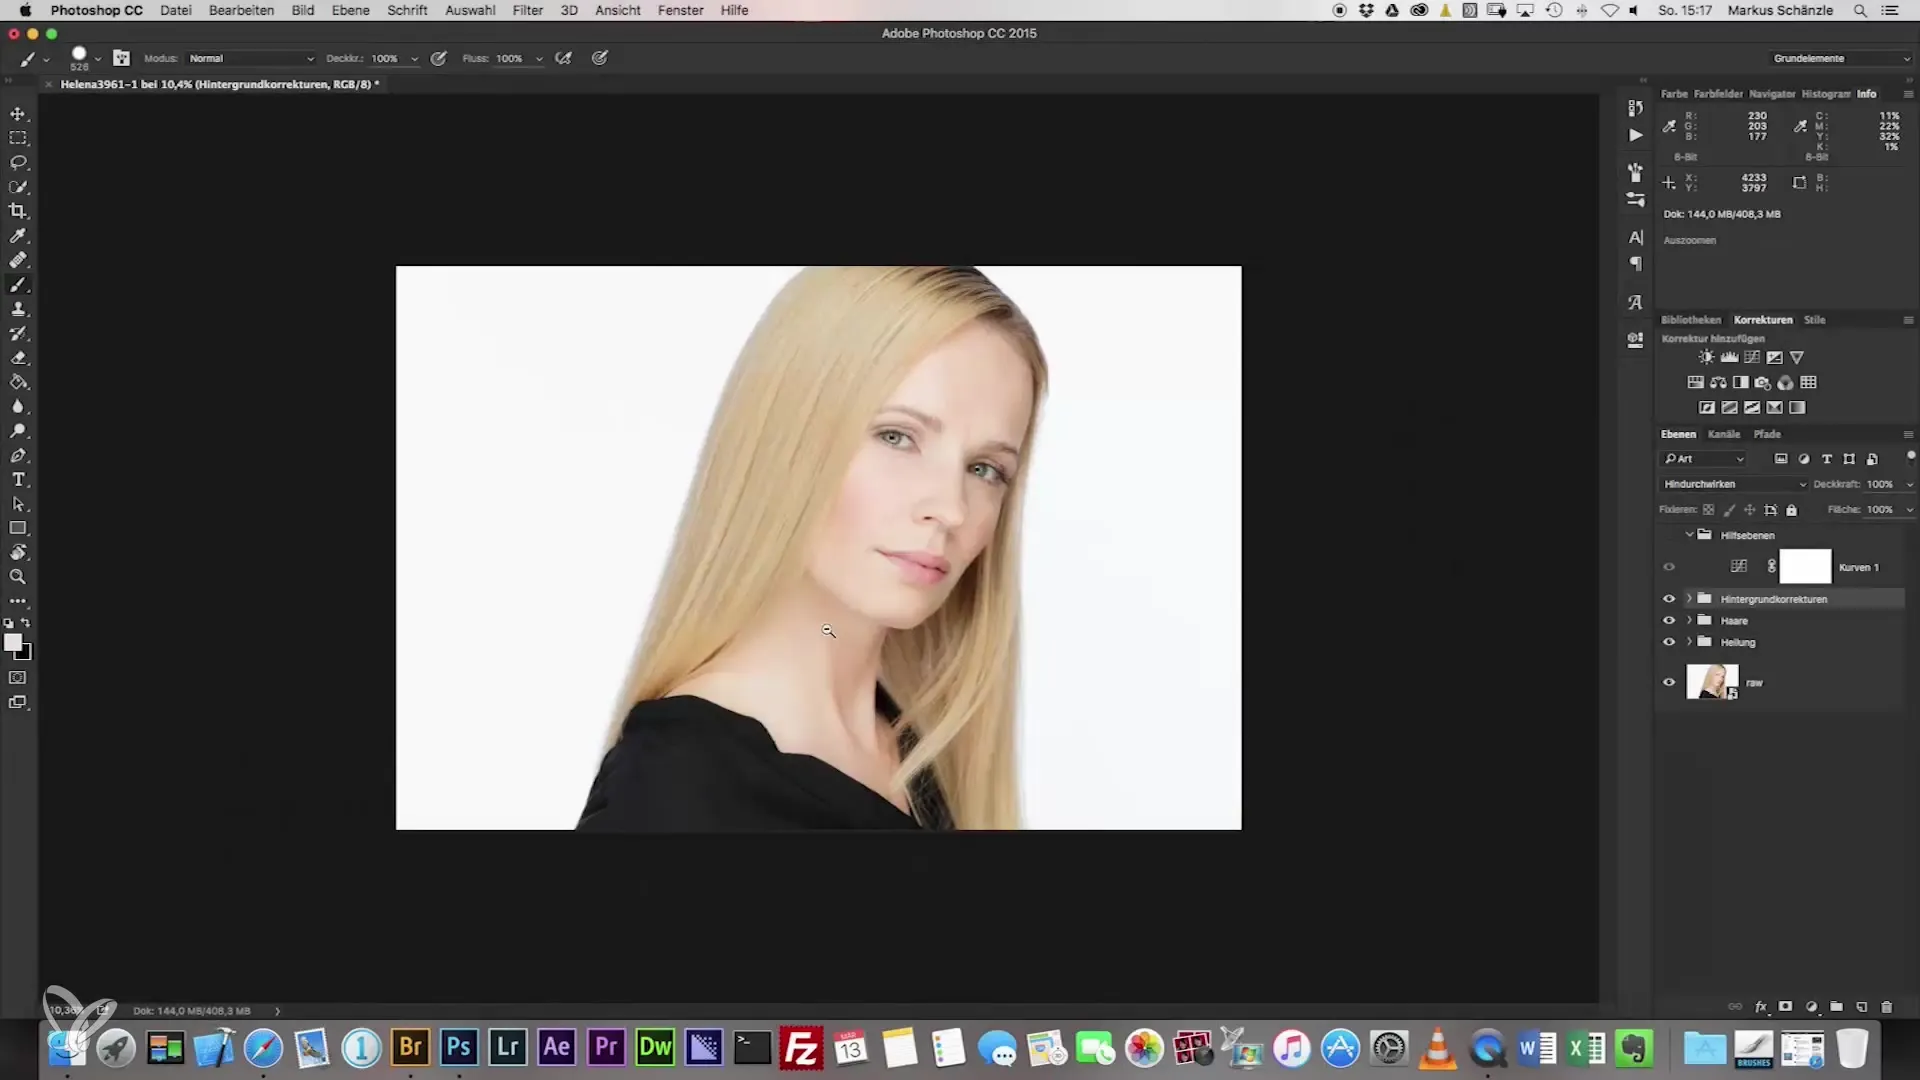
Once all layers are merged, create a new group to organize your work. You can easily do this with Command + G (Mac) or Control + G (Windows). This helps you keep track of your current processes.
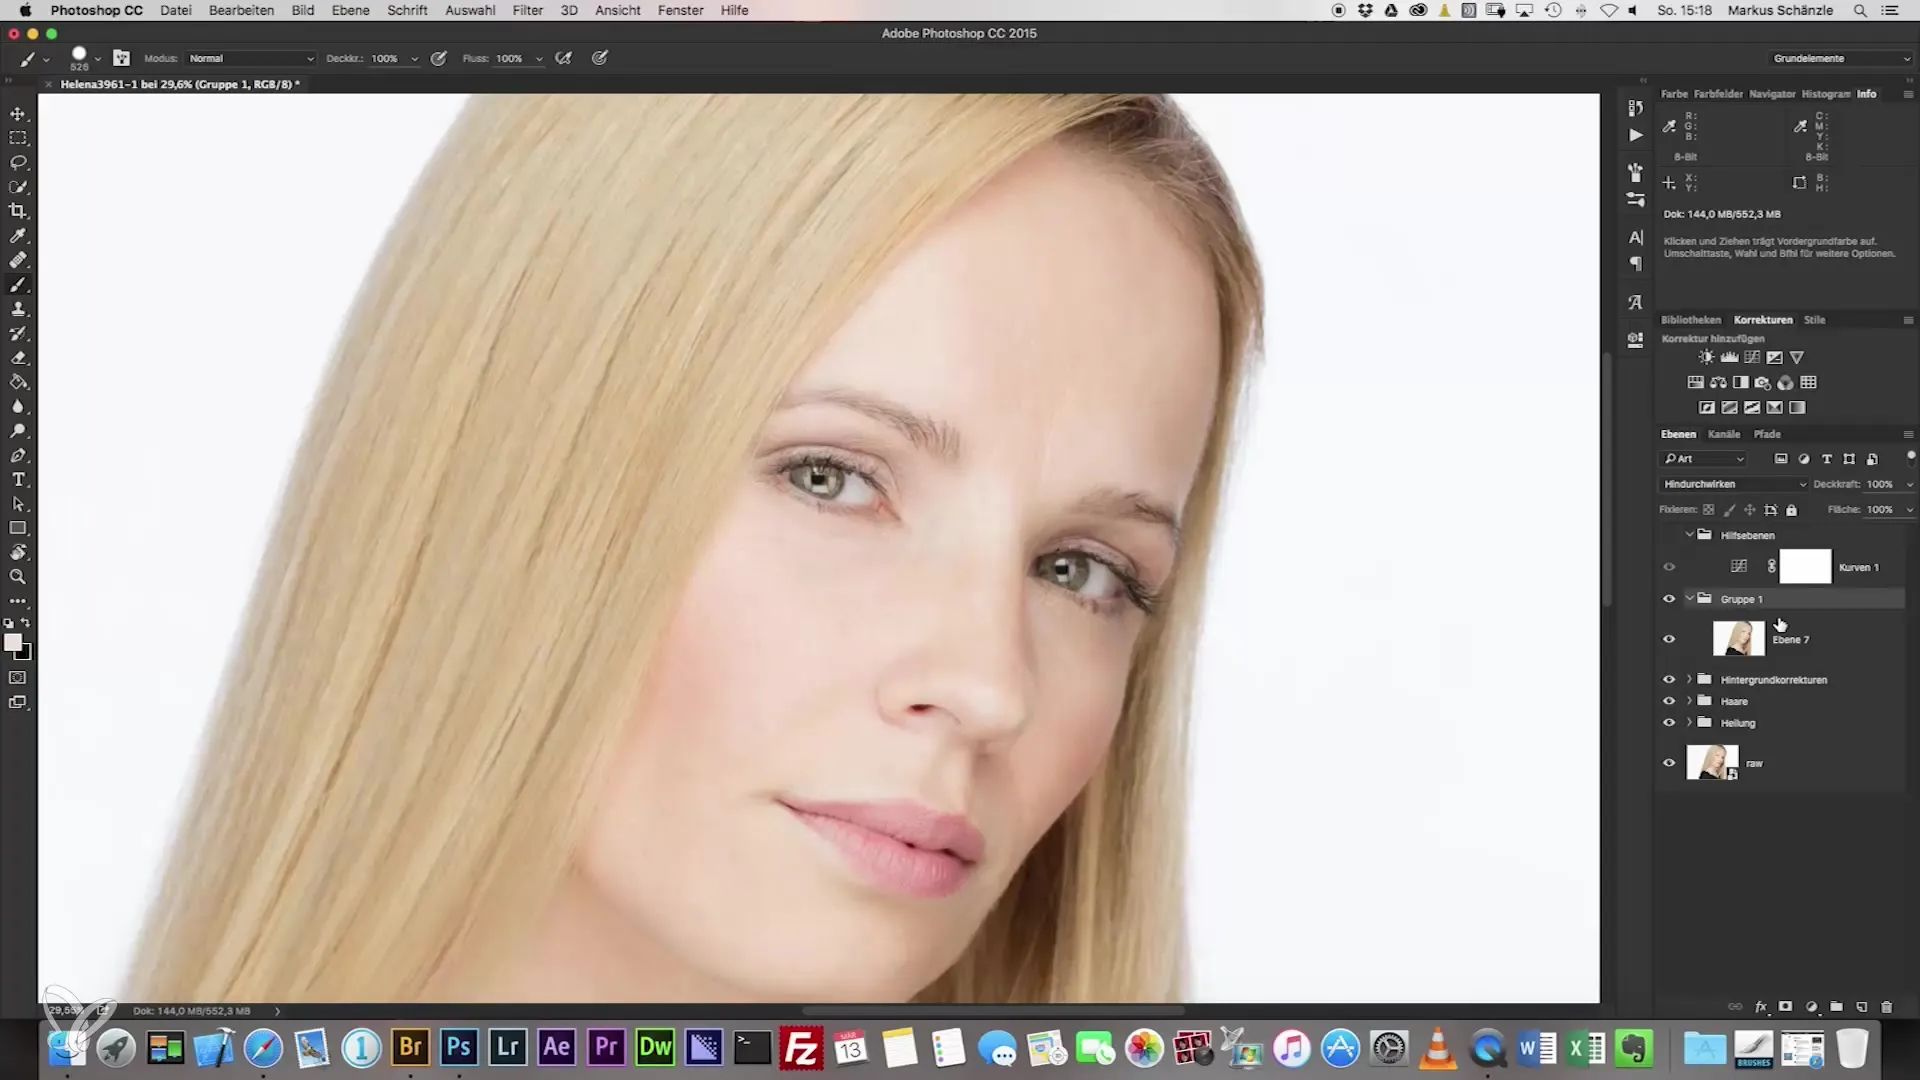
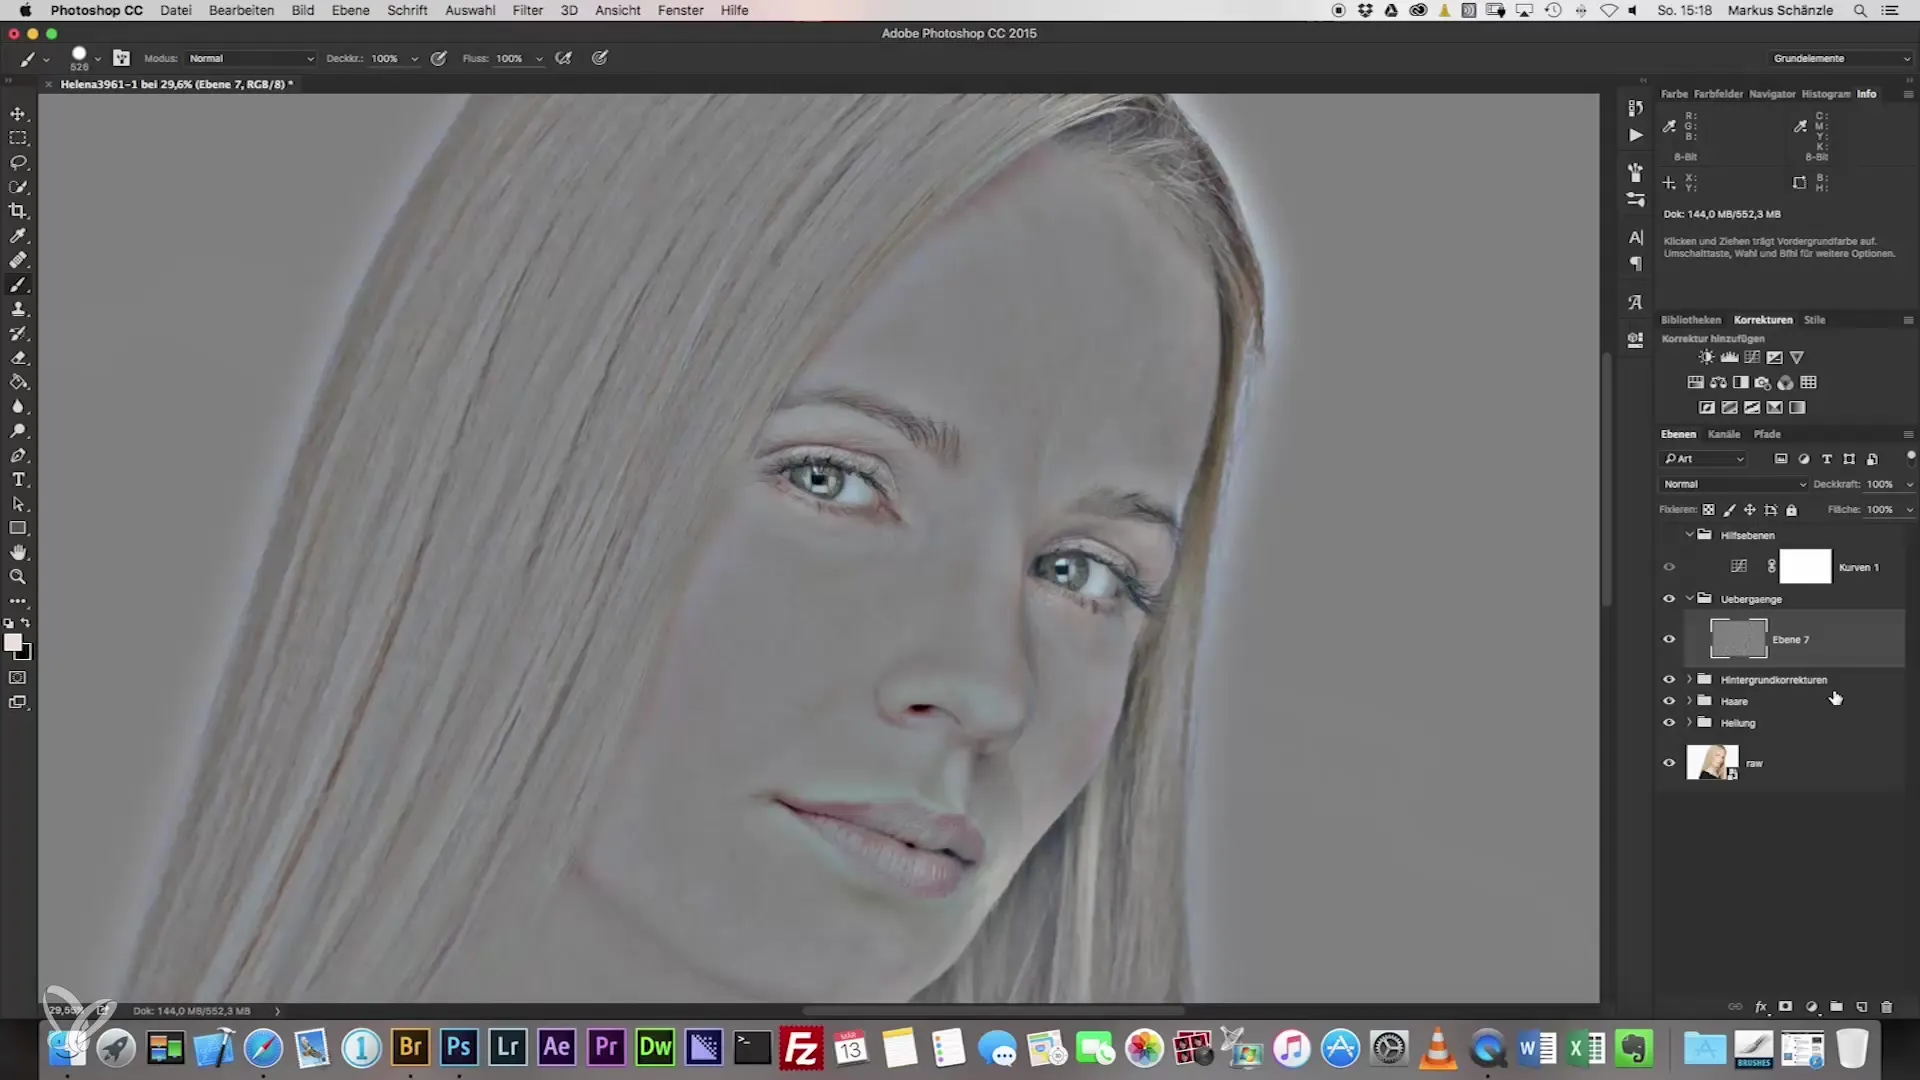
Now apply the high-pass filter. Go to the filter settings and select the high-pass filter. Set the radius of the filter to a value between 60 and 90, with 75 being a good starting point. Make sure the value is divisible by 3 to achieve optimal results.
Once you have selected the appropriate value, apply the inversion by pressing Command + I (Mac) or Control + I (Windows). This dramatically changes the visual properties of the selected layer and prepares the image for the next steps.
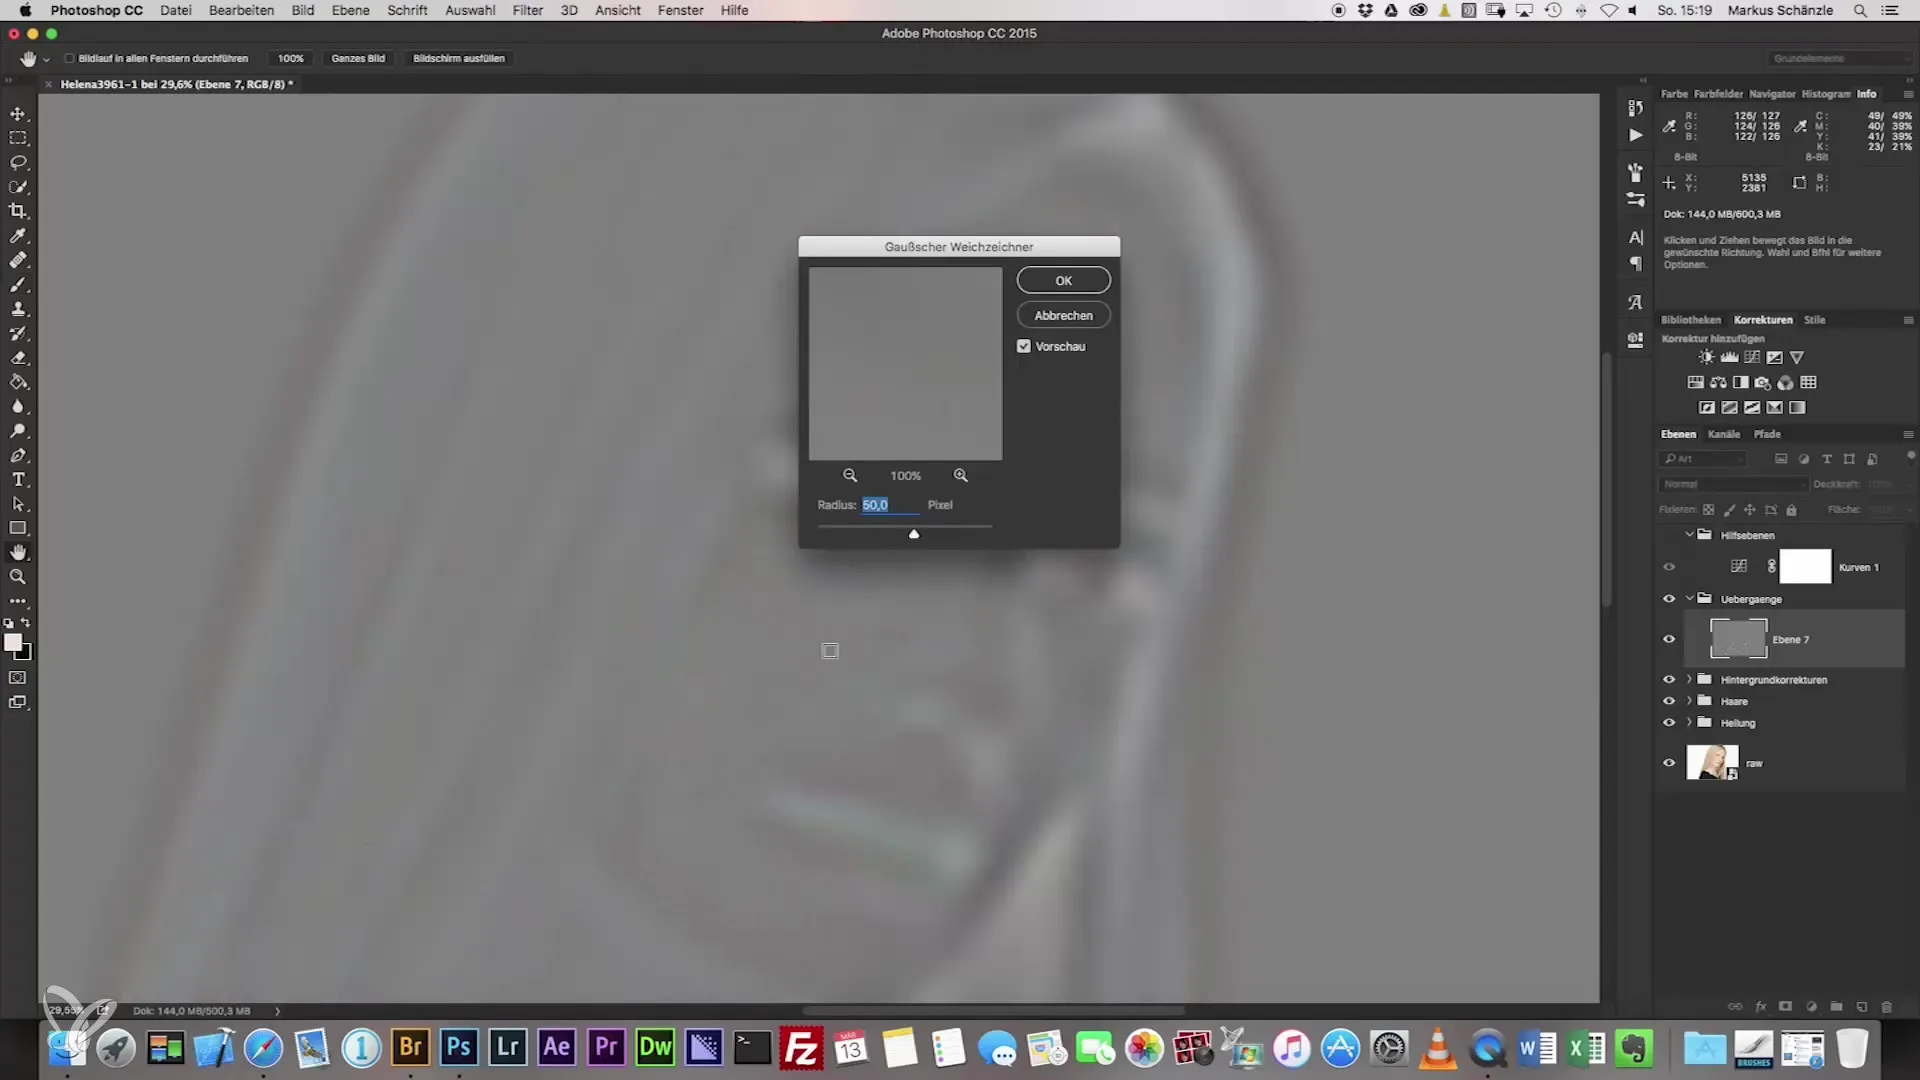
Now use the blur filter to optimize the transitions. Select the Gaussian blur and set the value to one third of your selected high-pass value, so here to 25. This technique ensures that the image appears softer without losing important details.
In the next step, you need to set the layer mode to “Linear Light” to balance the sharpness and softness of the image. You will quickly notice that the image now has a different texture, and the transitions already appear smoother.
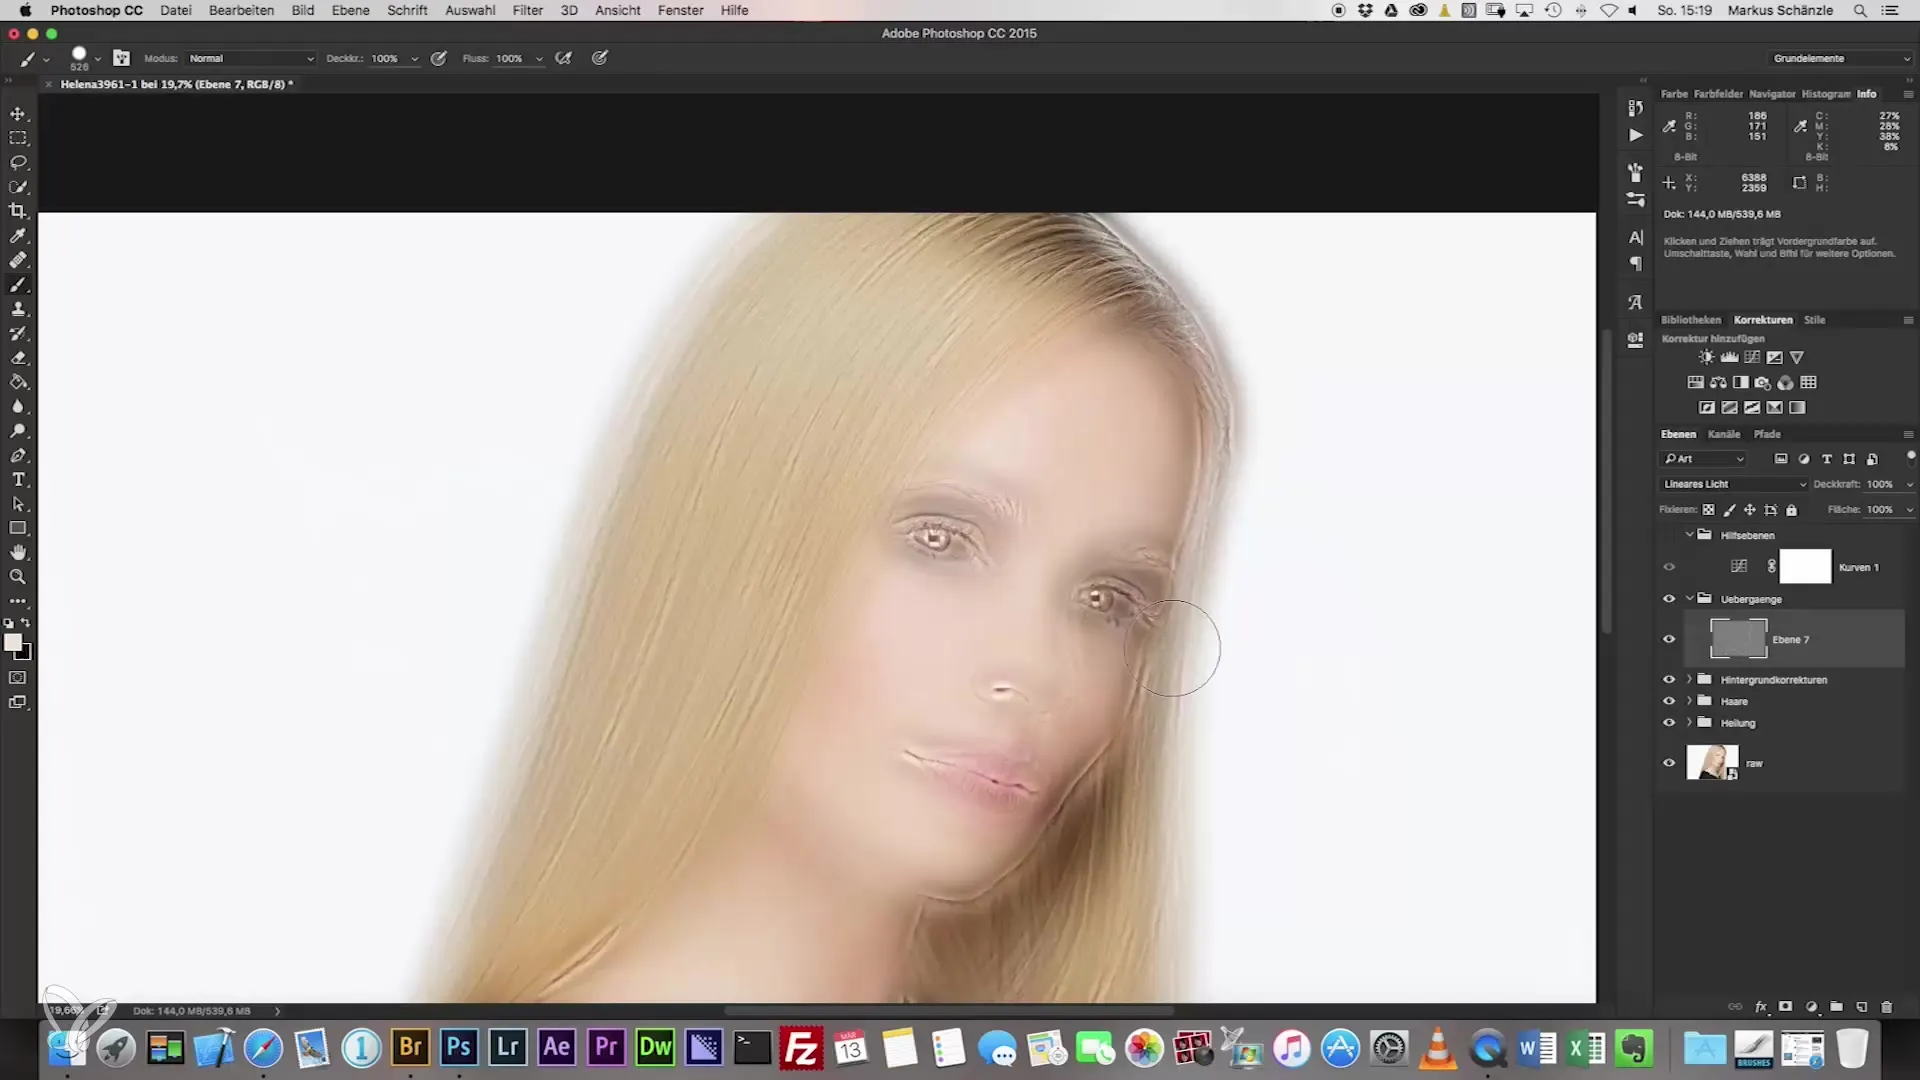
To apply the blur precisely, activate the layer mask and select the brush tool. Set the brush to around 30% opacity and choose the fifth brush from the brush library. This brush has the optimal settings to create smooth transitions.
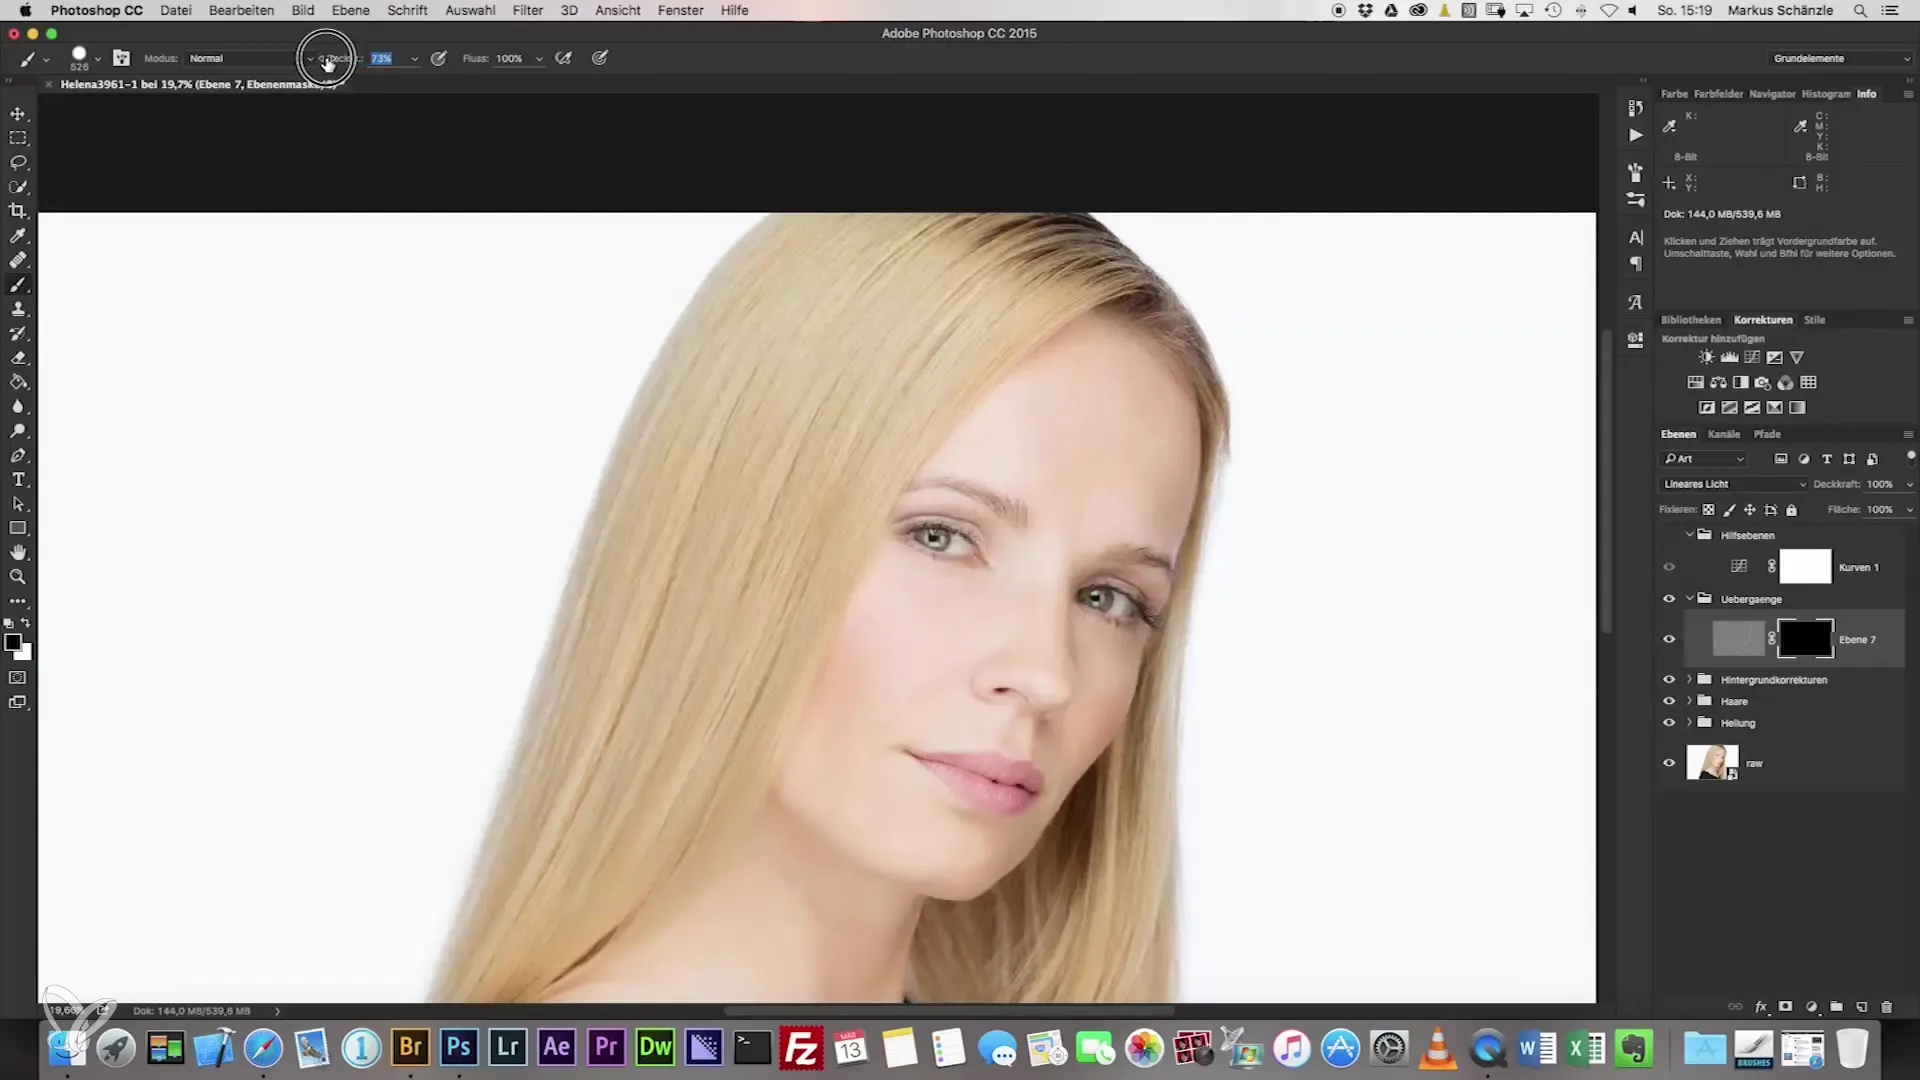
Now start painting over the areas you want to blur. Pay particular attention to facial areas such as the nose, eyes, and cheeks. The technique of the soft brushstroke helps you to soften hard transitions.
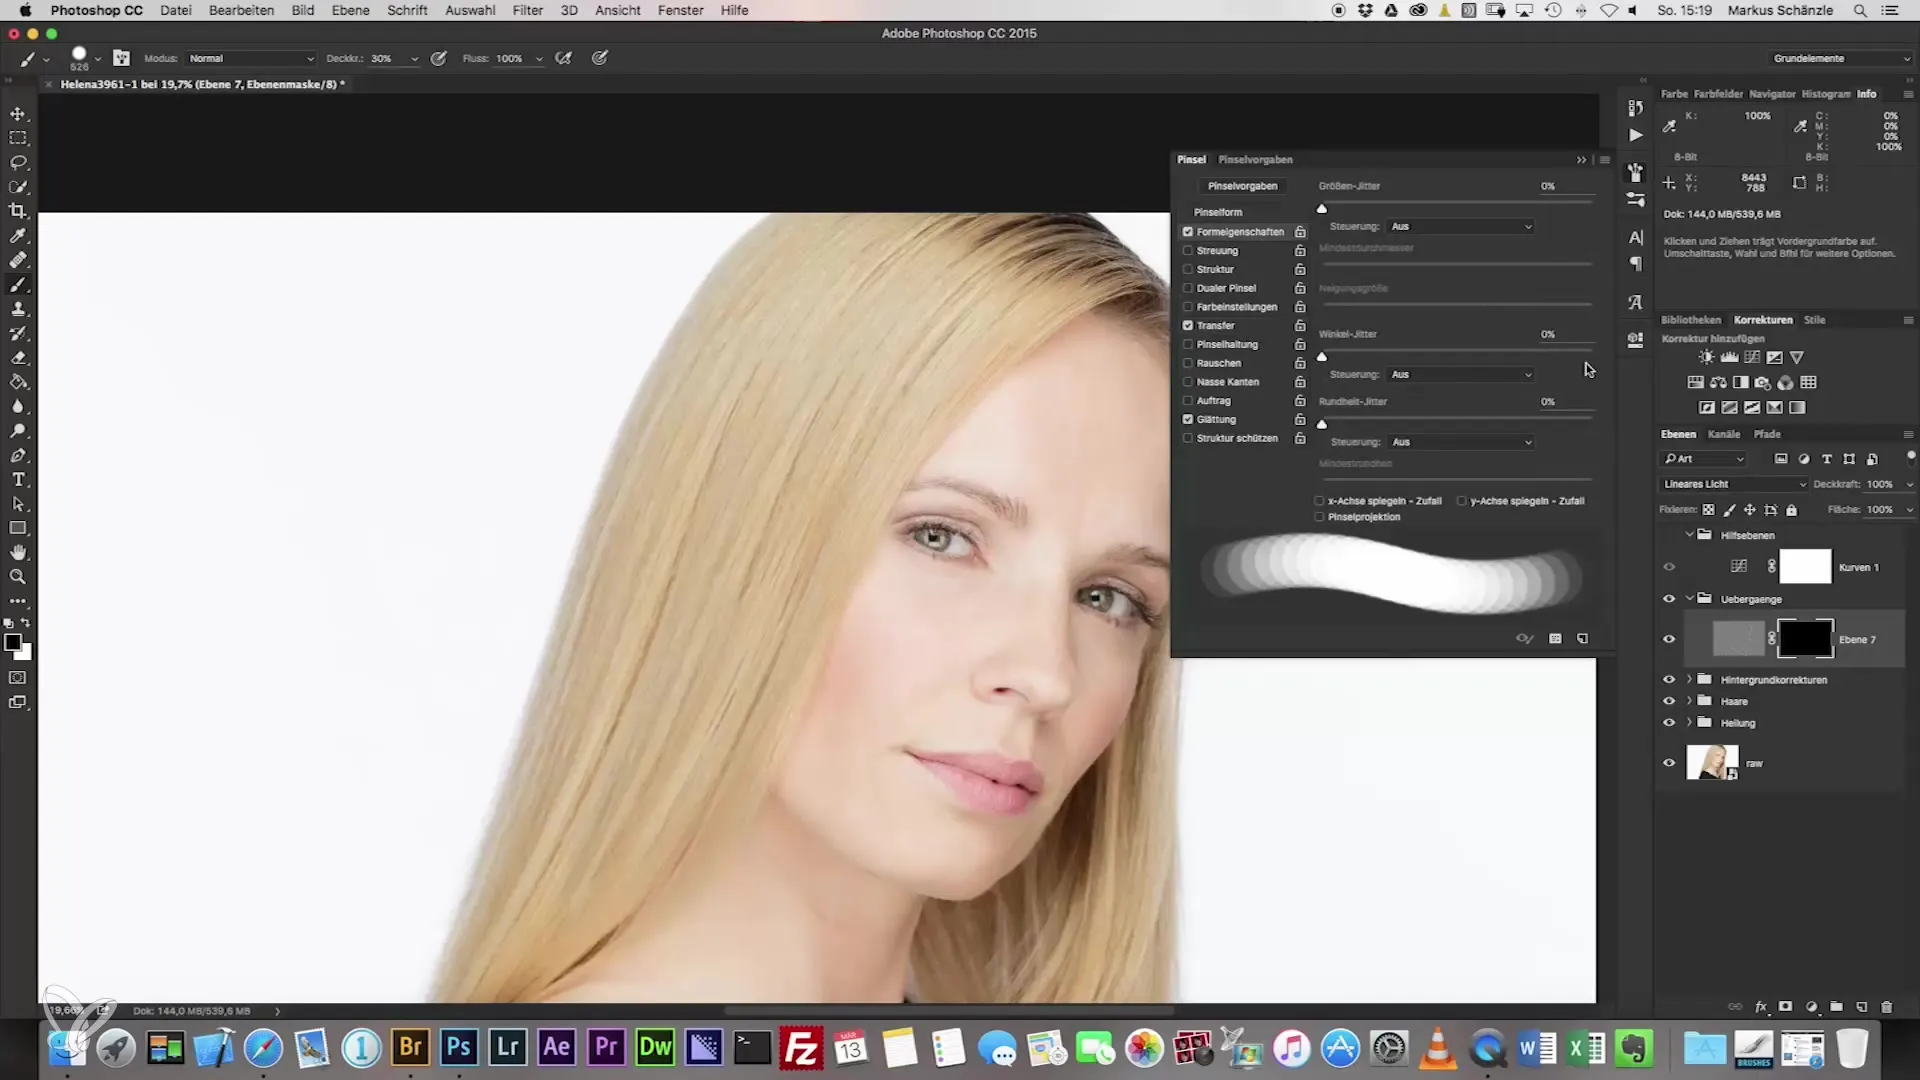
Use this method also in the area of the lips and dark circles to create a homogeneous image. Be sure to proceed very gently so as not to disturb the details of the face. Excessive pressure can yield unwanted results.
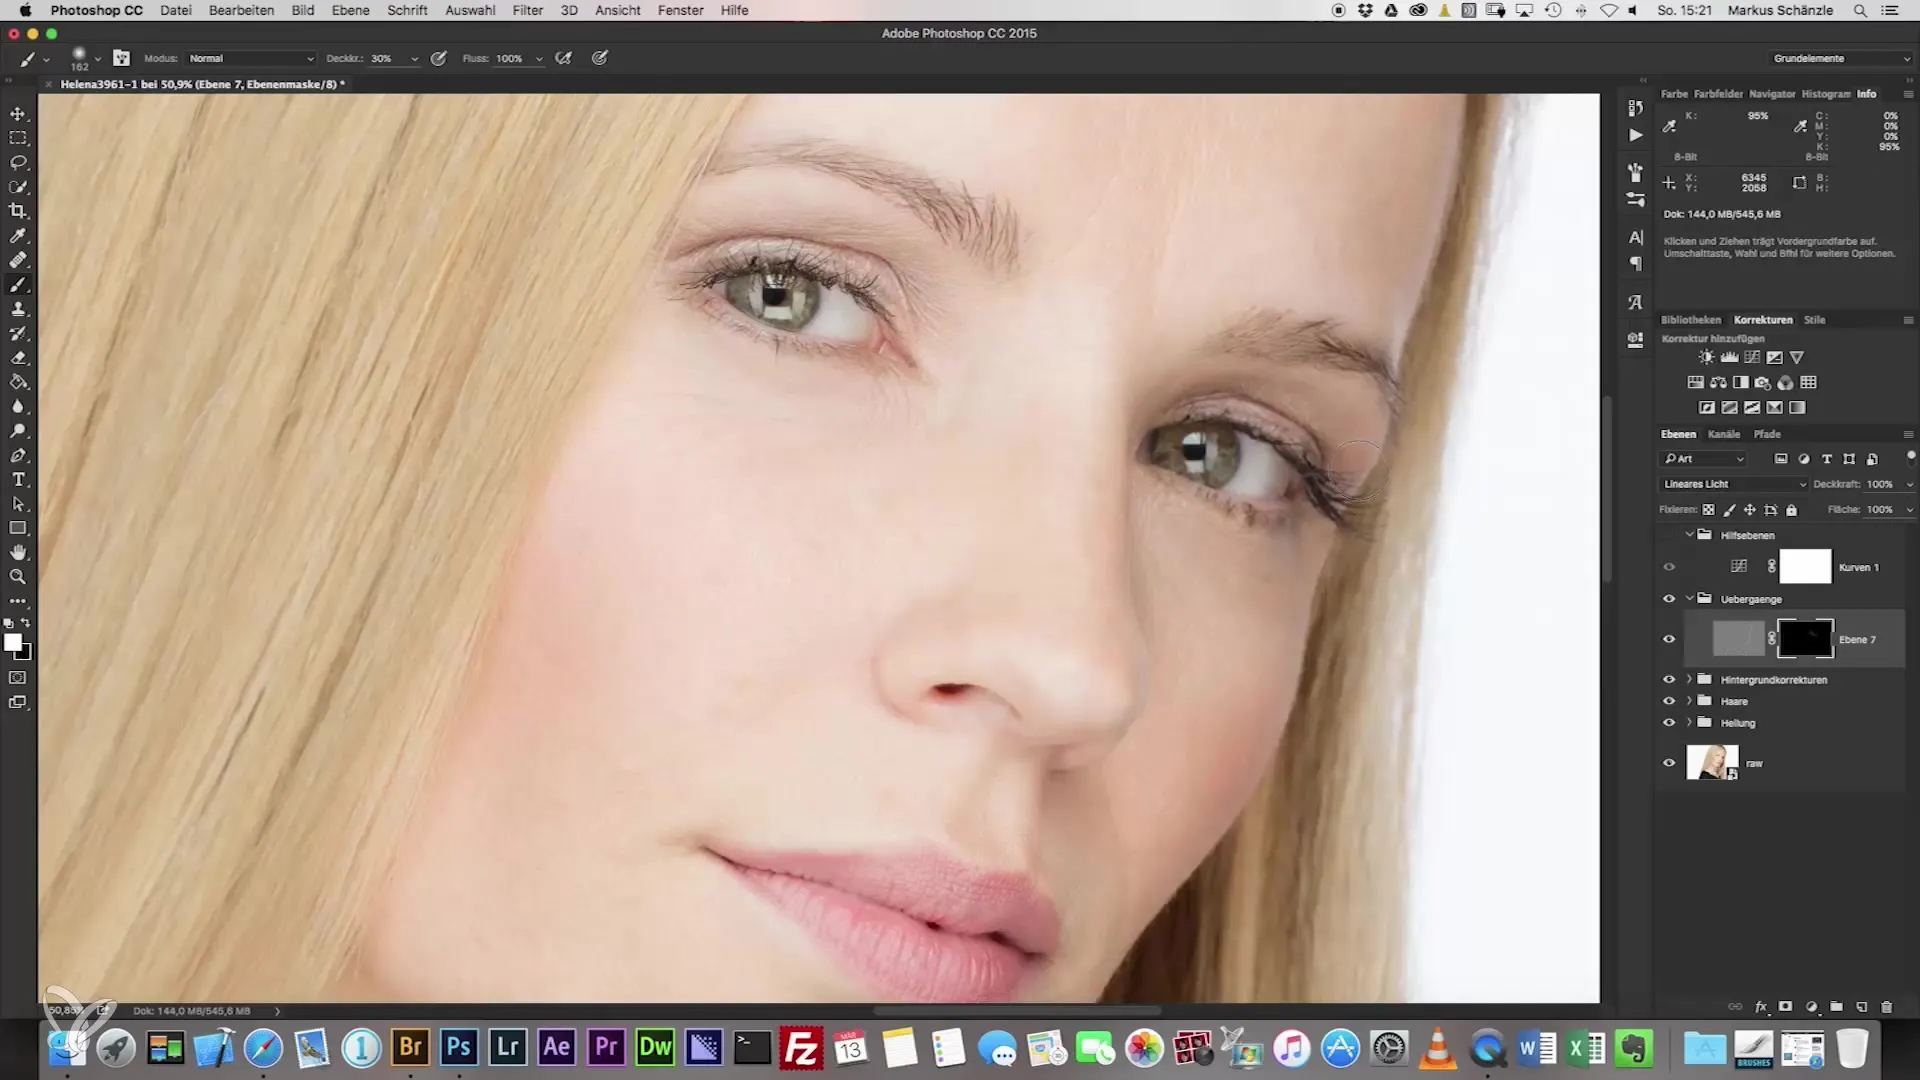
In the final step, you can adjust the opacity of your brush stroke between 70 and 80% to avoid destroying the textures. This fine-tuning ensures that your portrait looks lively and fresh.
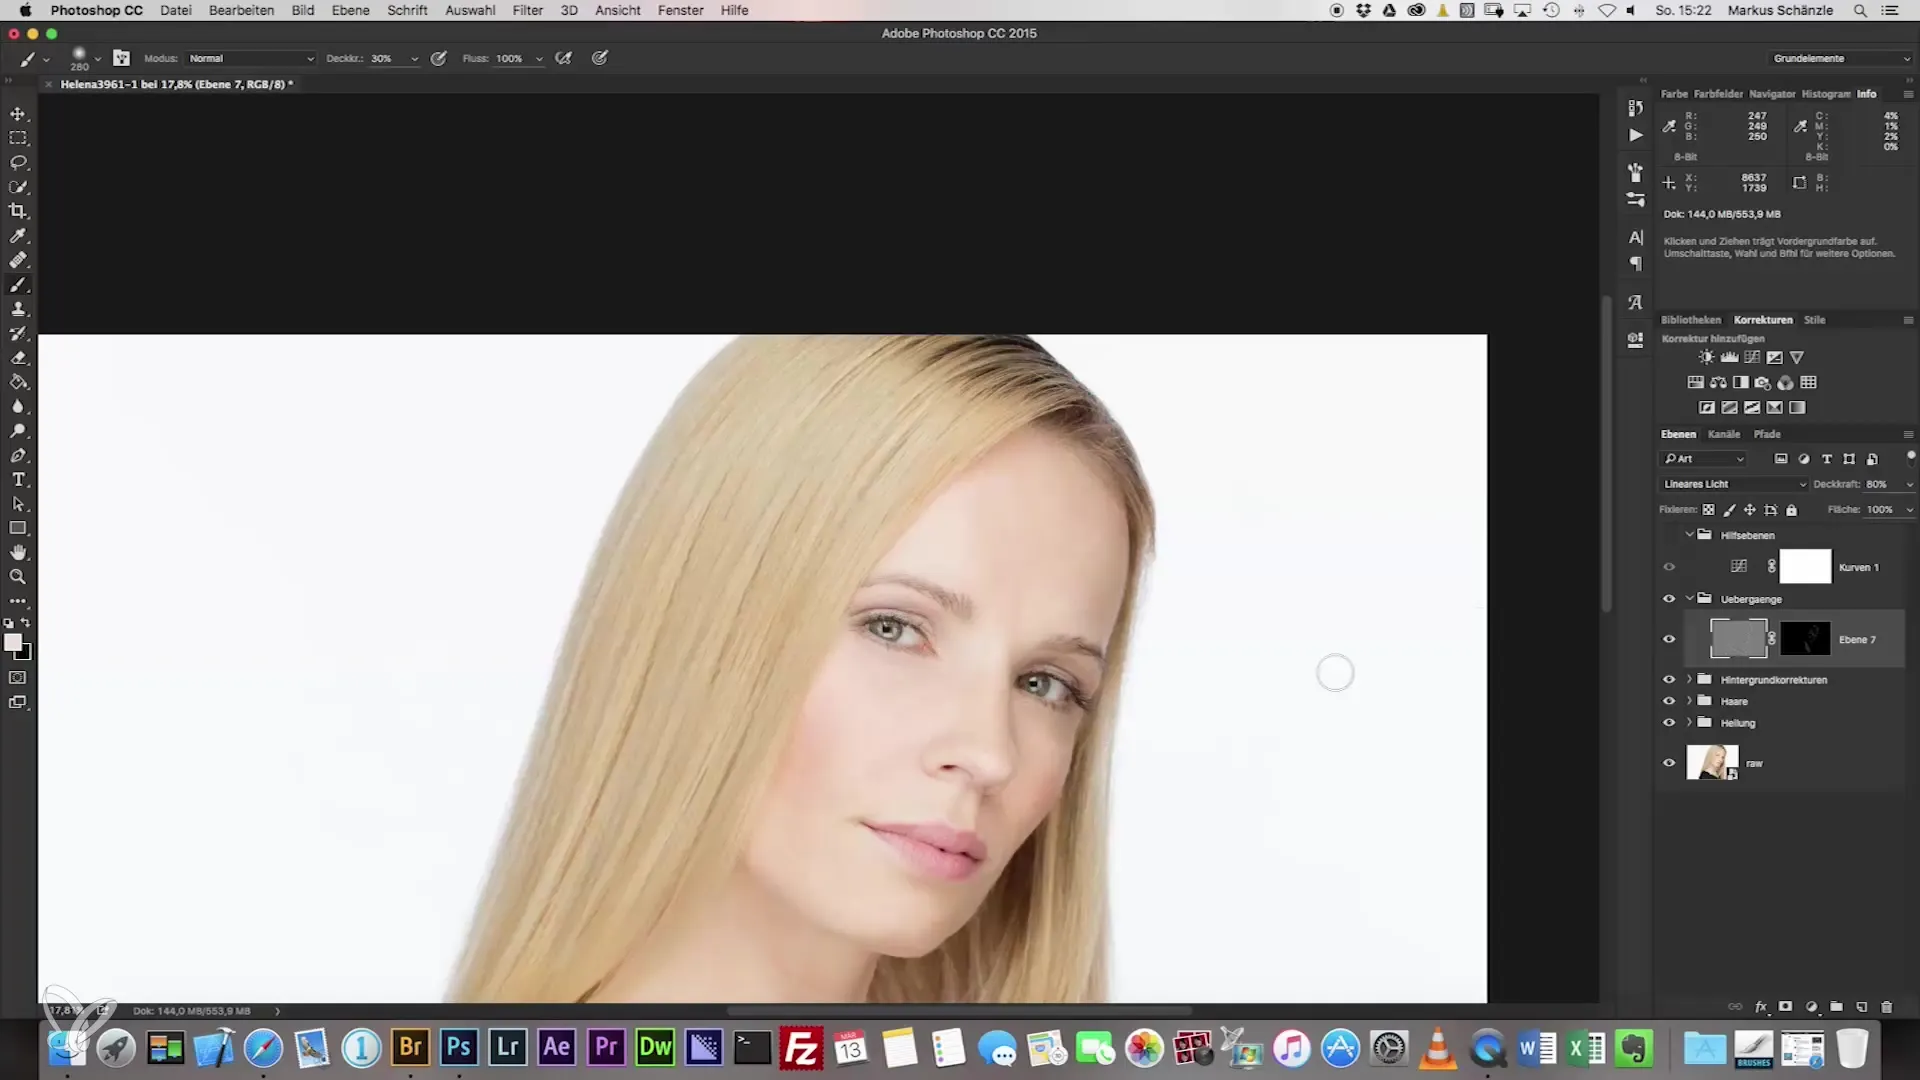
After following all the steps, the image will have a harmonious, balanced composition that effectively uses both sharp and smooth transitions.
Summary – Headshot Photography: How to Achieve the Perfect Portrait with Soft Transitions
By using the inverted high-pass filter and the correct application of blur filters, you now have the ability to optimize the transitions in your headshot portraits. Use the techniques you have learned to take your photography to the next level.
Frequently Asked Questions
How do I apply the high-pass filter?To apply the high-pass filter, go to the filter settings and set the radius between 60 and 90.
What should I apply to the layer mask?Activate the layer mask and use the brush with 30% opacity to create smooth transitions.
How do I find the right brush strength?Select the fifth brush from the brush library for the best results with transitions.
How can I adjust the opacity of the brush?Change the opacity between 70 and 80% to avoid affecting the structure of the image.
What is the significance of “linear light” in the layer mode?“Linear light” helps to balance sharpness and softness in the image.


