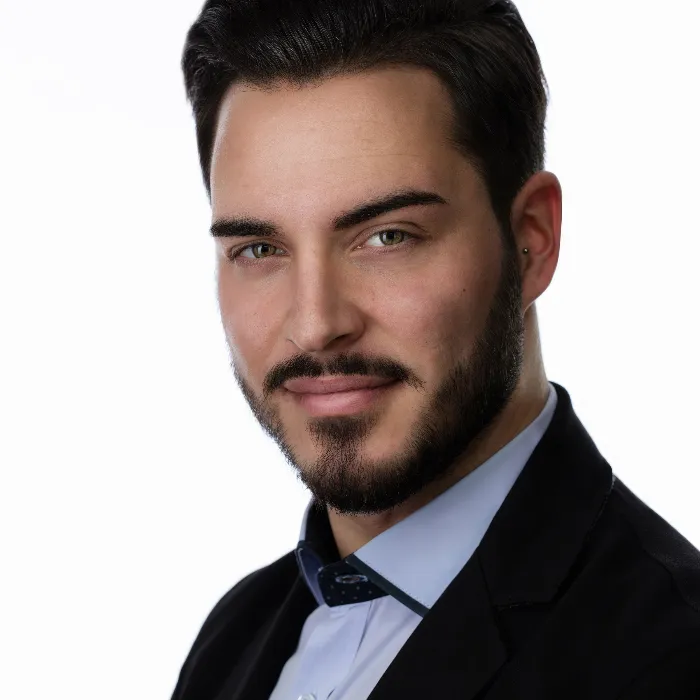
The art of headshot photography is not only about bringing the subject into the right light but also involves post-processing. Different adjustment layers and filters play a crucial role in optimizing the overall image. In this guide, you will learn how to take your portrait photo to a new level with simple yet effective steps. Let's get right to the key insights.
Key Insights
- High sharpness and contrast create vibrant portraits.
- Dodge-and-burn techniques help to create depth and structure.
- The proper application of masking gives more expression to the eyes and lips.
- Using crop tools significantly improves the composition of the image.
Step-by-Step Guide
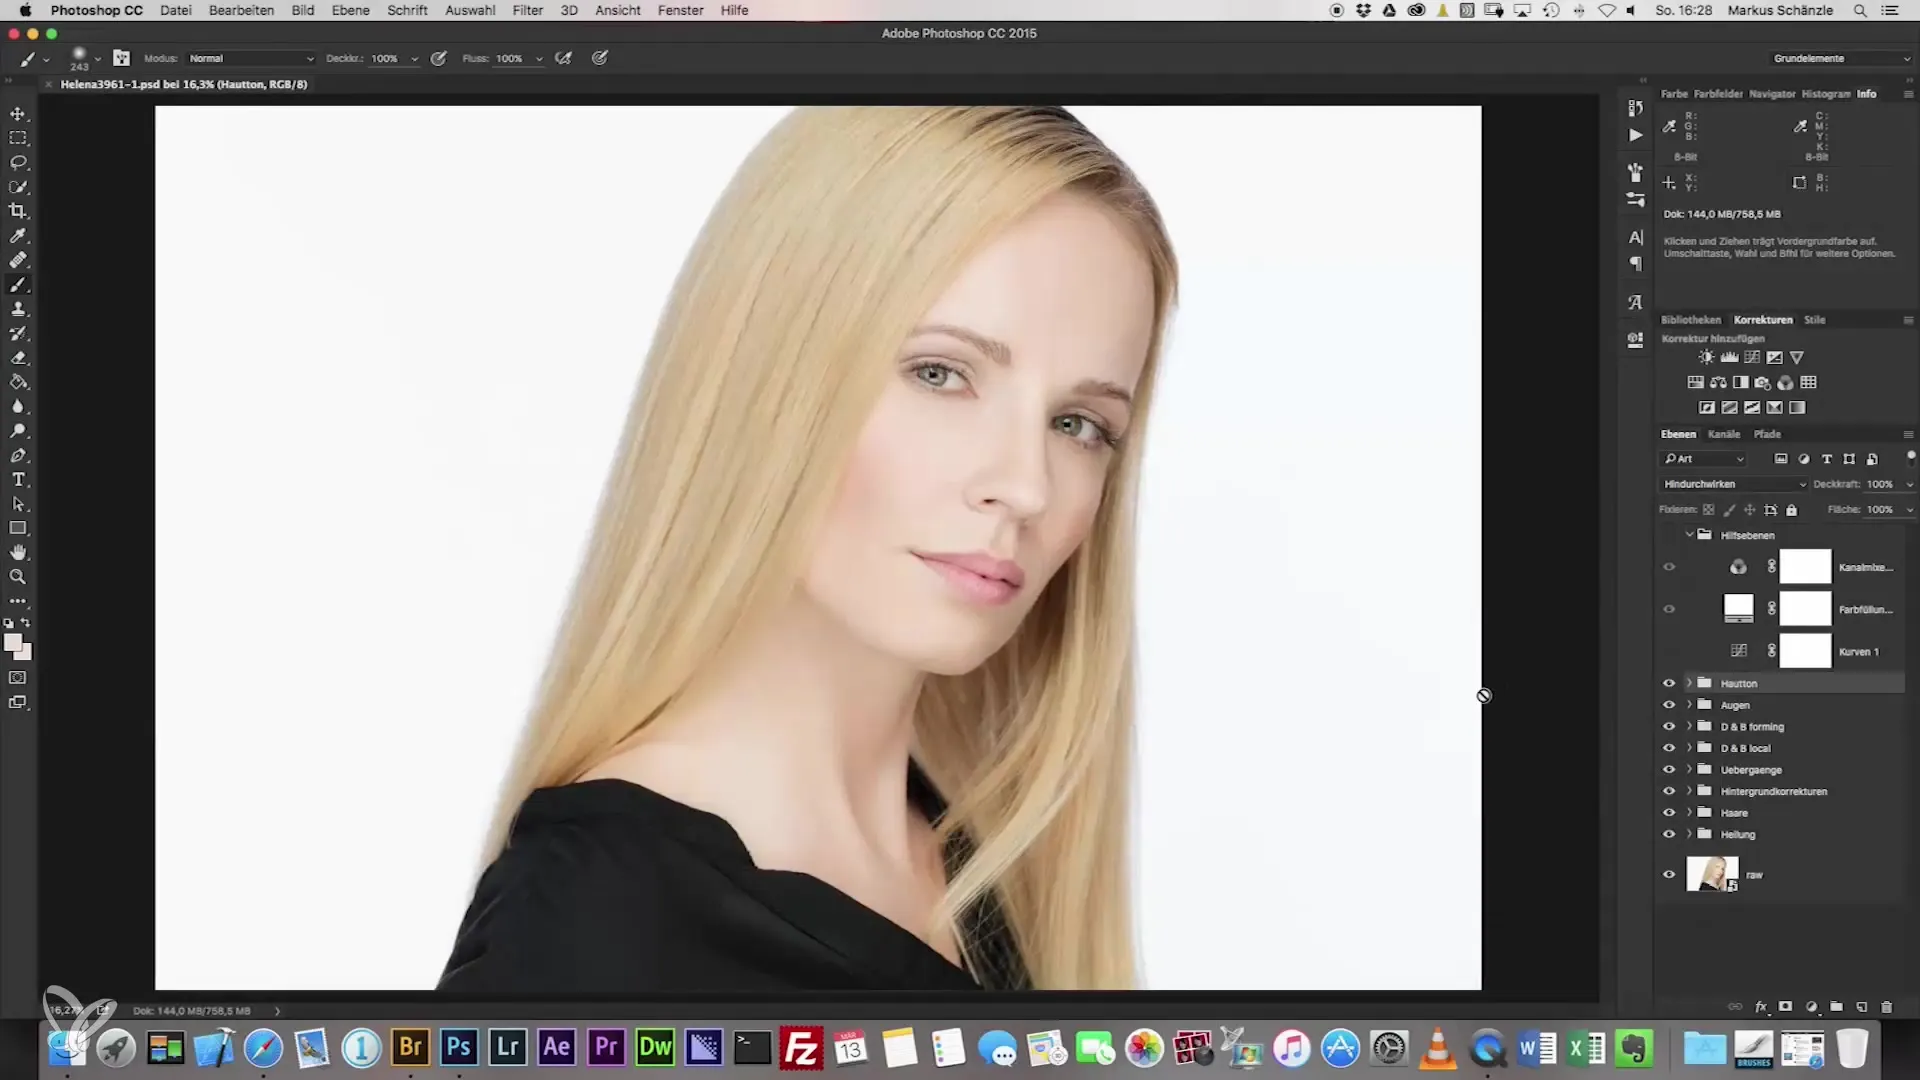
Start with the raw editing of your portrait. You have already created a solid starting base, now it's about further refining the image.
1. Adjusting Sharpness
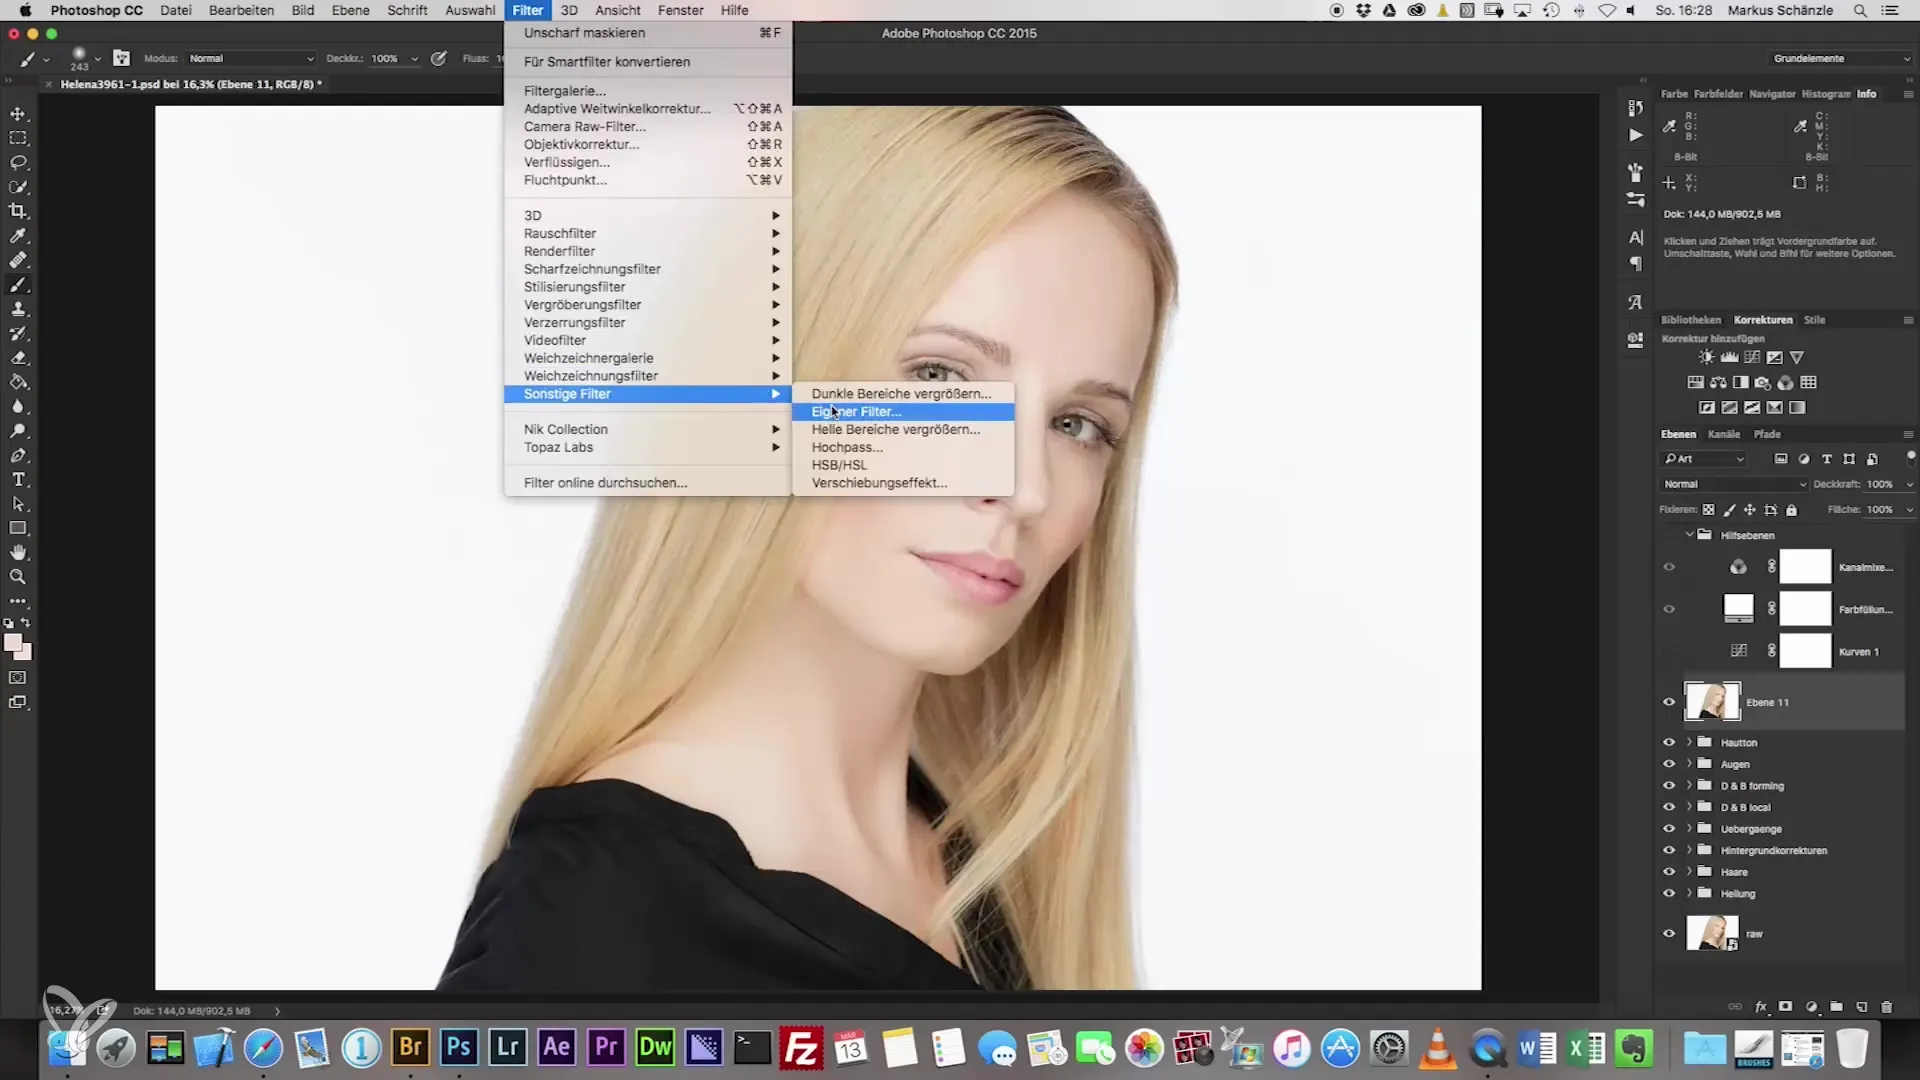
First, activate the high-pass filter. Go to "Filter" and then "Other Filters" in your image editing program. Set the high-pass value to around 130, which will give you a clear sharpness. The mode should be set to "Soft Light". To ensure that not the entire image is sharpened, hold the Alt key while creating the mask, so everything remains hidden.
2. Adding Highlights
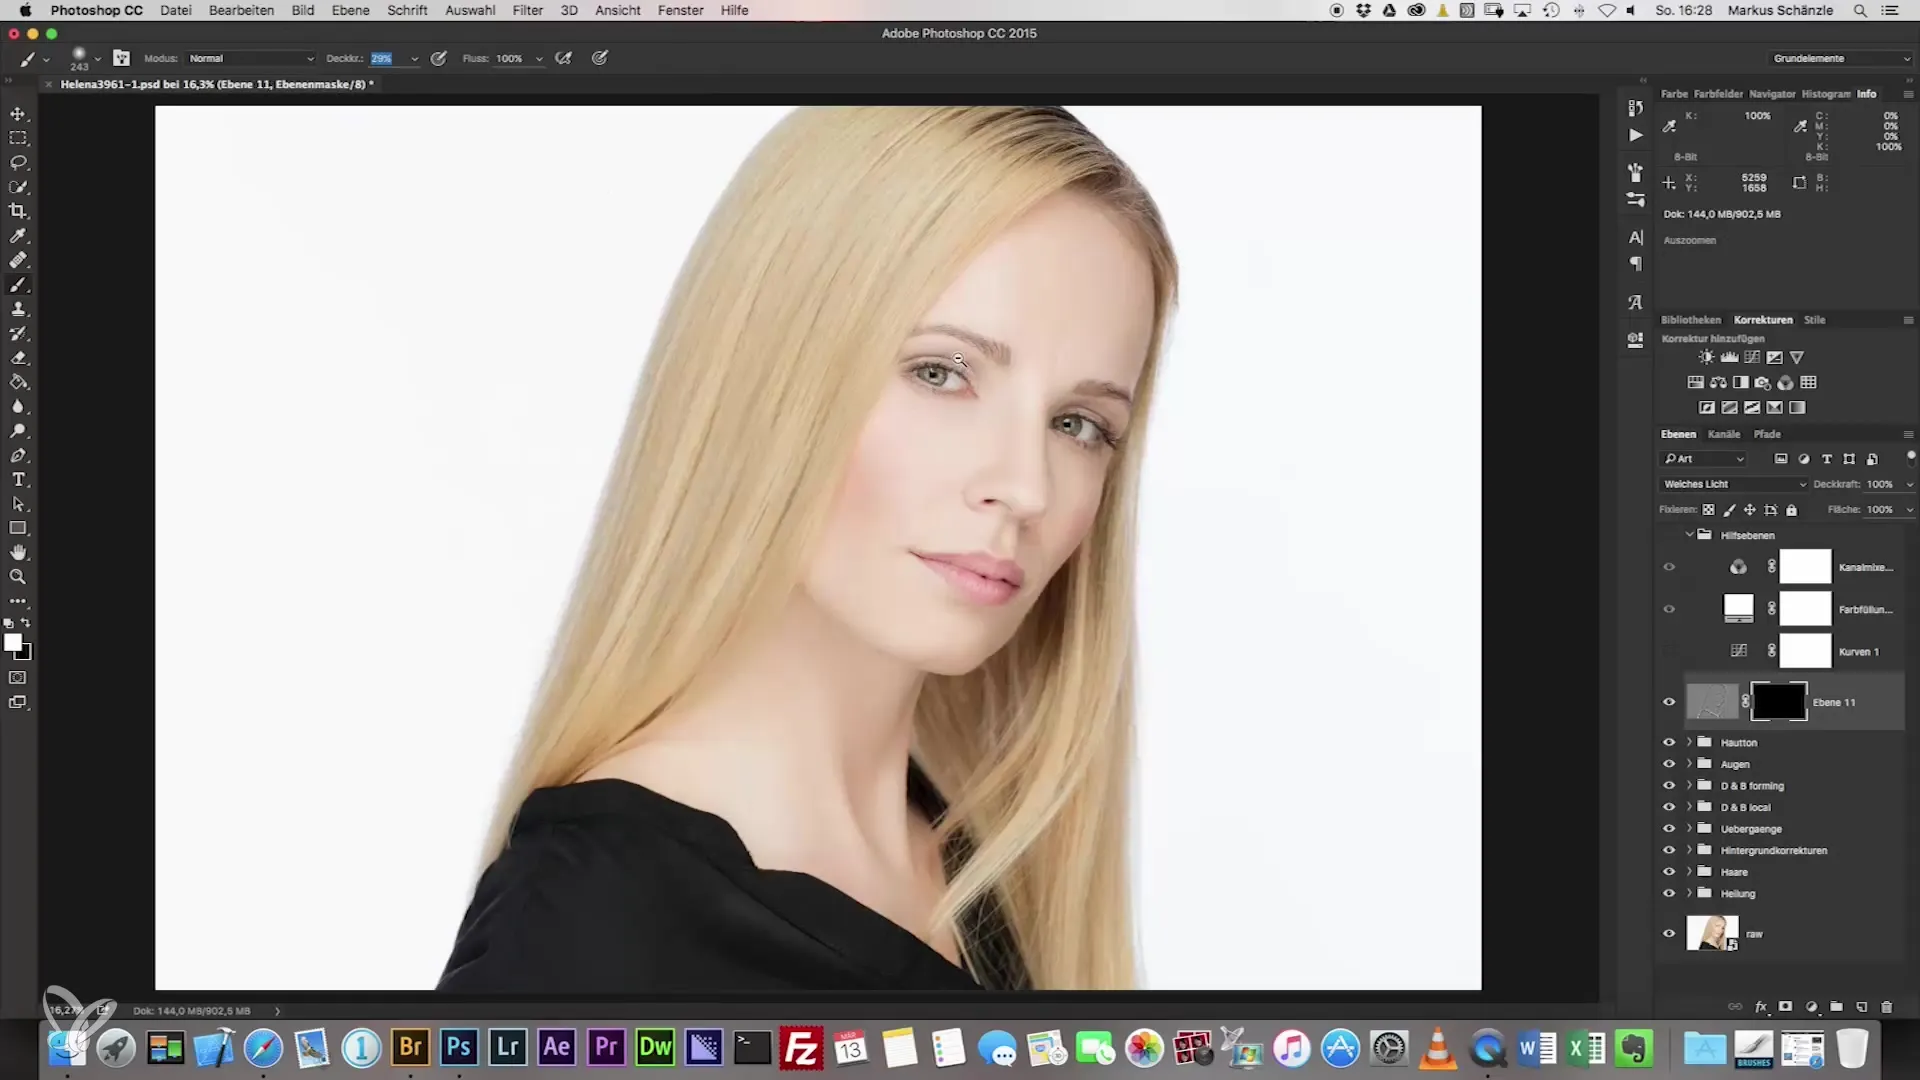
With a brush and an opacity of 30%, you can now start to work out the highlights. Use a white color to specifically accentuate the eyes and eyebrows, as well as the edges of the lips.
3. Adjusting Contrast
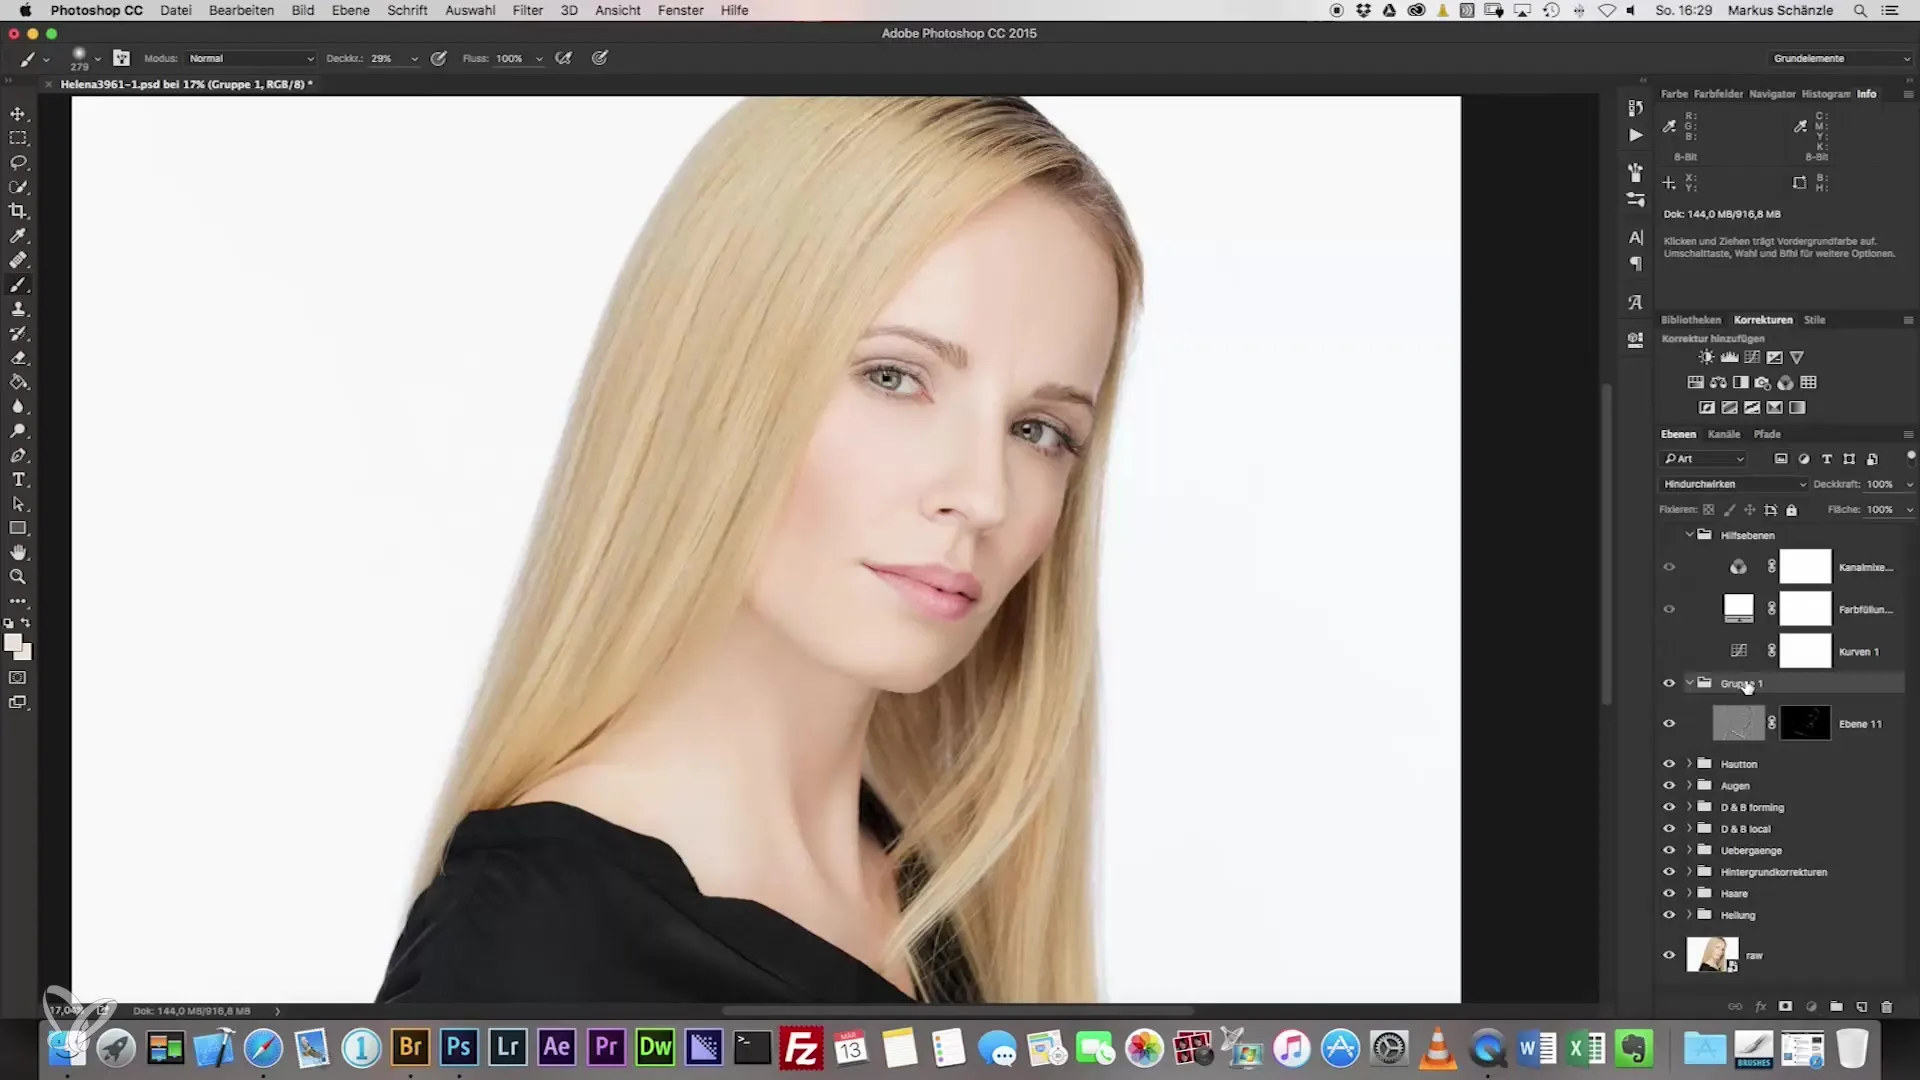
Next, experiment with the contrast settings. Select a new group and work with a "Curves" adjustment layer to enhance contrast. Here you can try different values to achieve the desired effect for the image.
4. Optimizing Saturation
The image may need a saturation adjustment, especially to make the hair color appear more vibrant. Experiment with a slight increase in saturation to enhance the effect, and adjust the setting as necessary.
5. Inverting the Mask
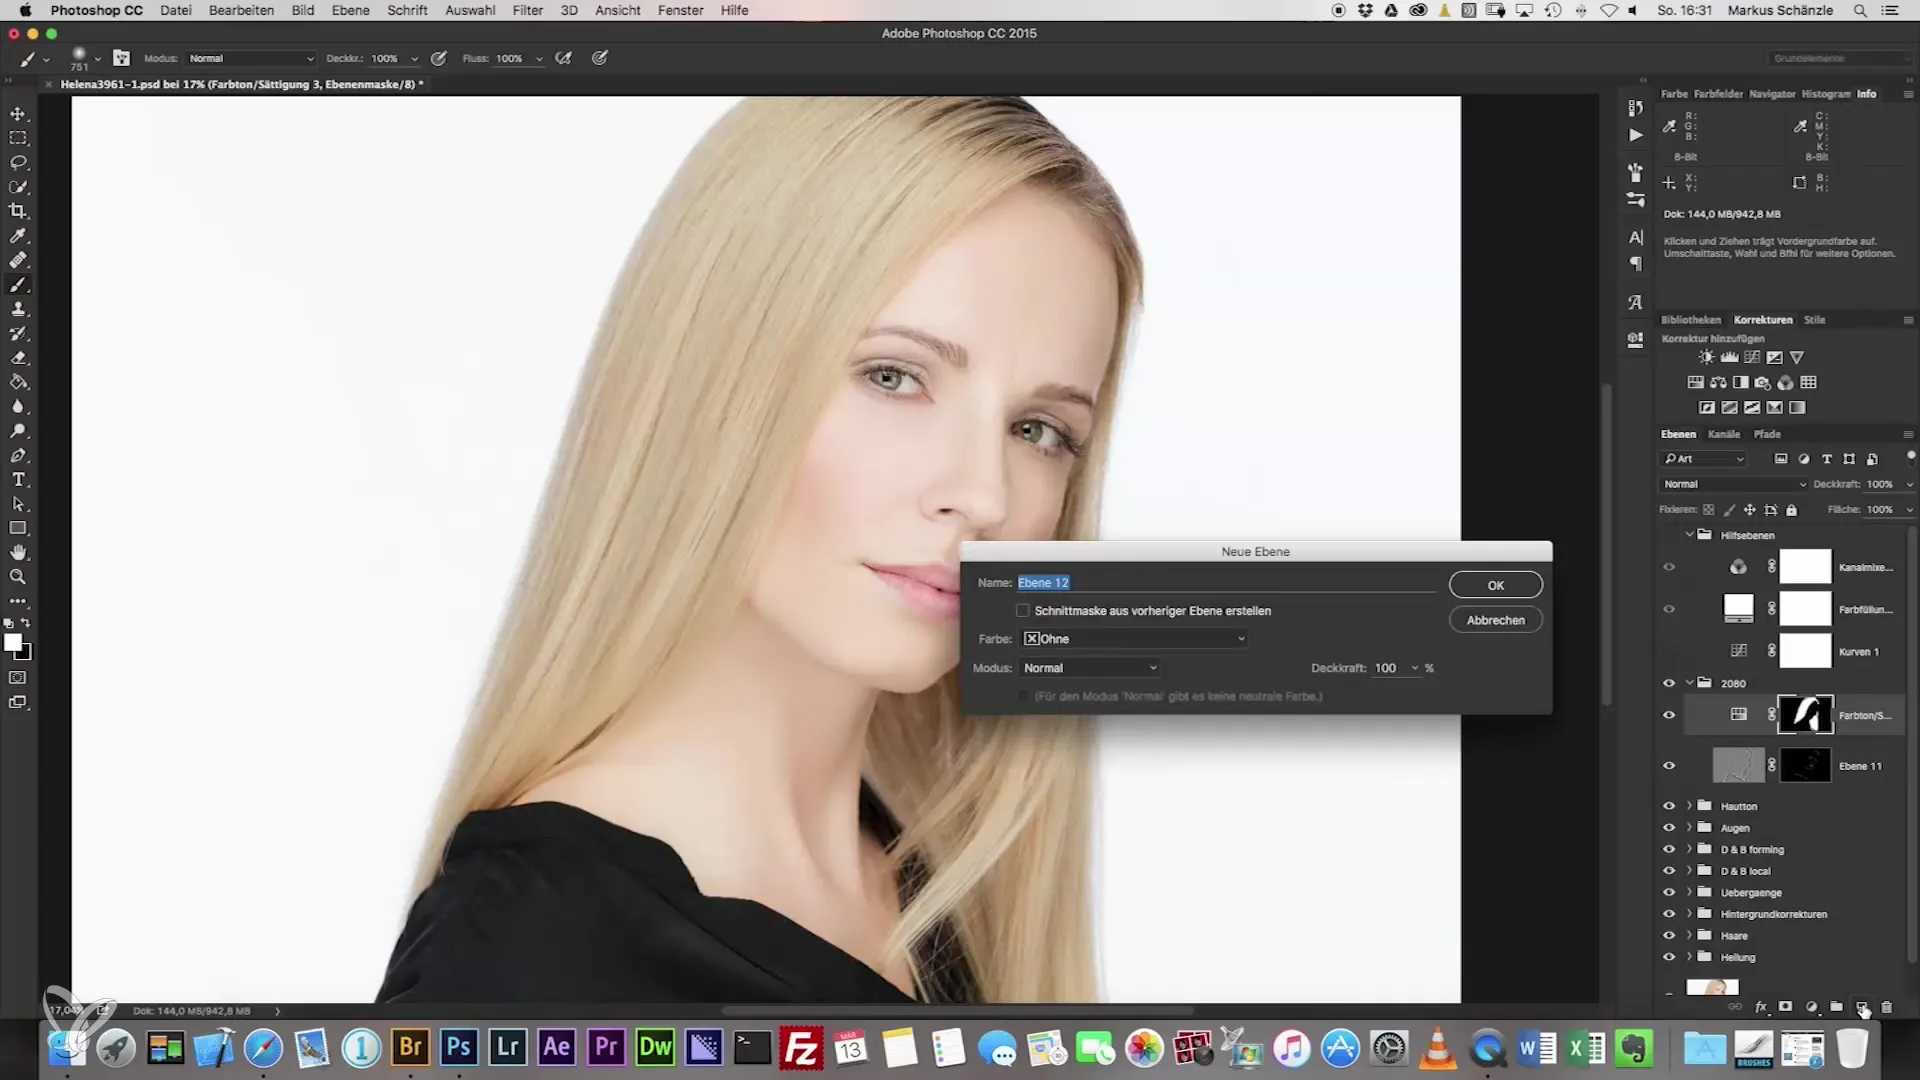
To isolate the skin tone, go to "Invert Mask" with the shortcut Command + I. This step allows you to work with full strength specifically on the hair and better highlight the skin tone.
6. Using Dodge and Burn Technique
For even greater vibrancy, you can apply the dodge-and-burn technique. Create a new layer in "Soft Light" mode and activate the corresponding options to darken or lighten specific areas. This technique adds depth to your image, but be careful not to overdo it.
7. Cropping the Image
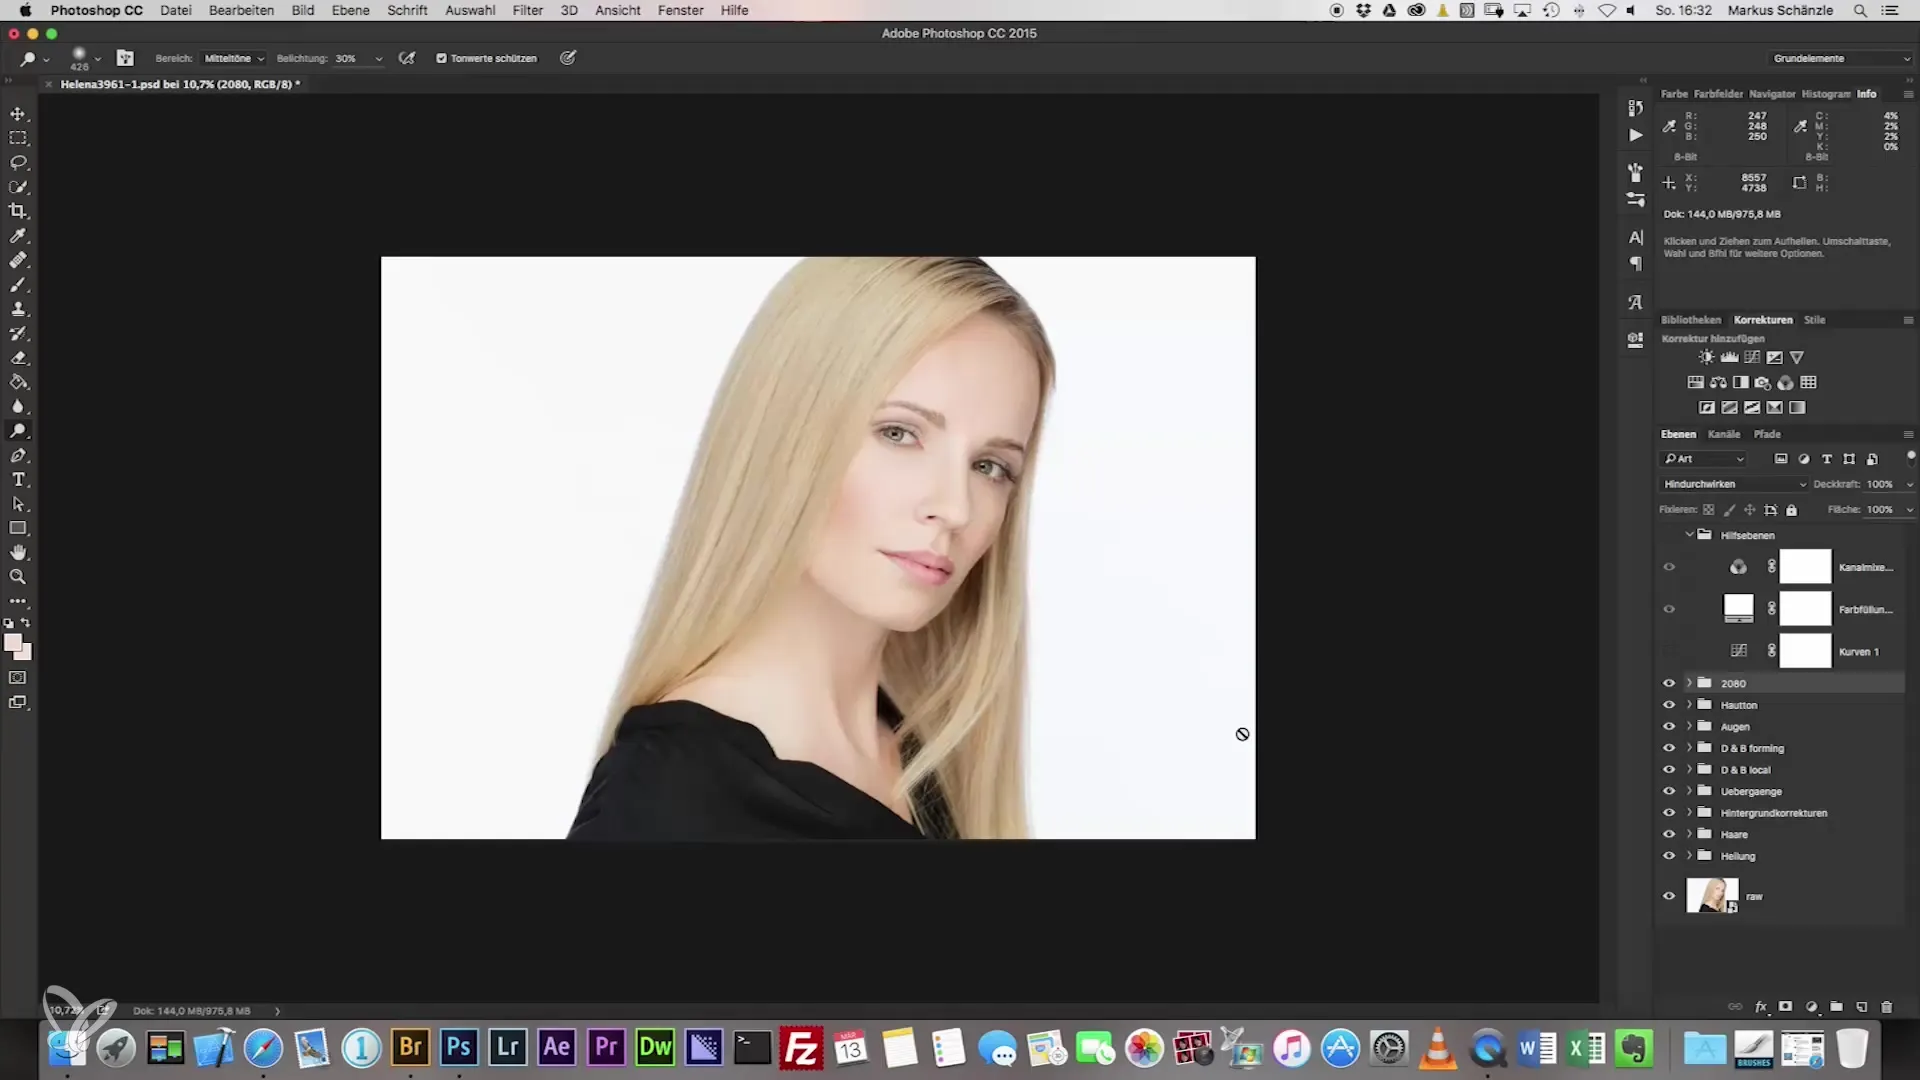
The final step in your retouching can be cropping the image. Headshots are often taken in a 10:8 format. The crop tool offers you the opportunity to position the image so that it looks harmonious. Be sure not to leave too much space on the left and right to keep the focus on the subject.
Summary – The Path to the Perfect Headshot
Through steps from sharpening corrections to adding highlights and adjusting saturation to cropping the image, you can create an impressive portrait. The targeted work with adjustment layers and various editing techniques gives your headshot the final touch and ensures that it looks professional.
Frequently Asked Questions
How do I change the saturation in my image editing program?You can usually find saturation under the color or adjustment tools and adjust the slider there.
What is dodge-and-burn?Dodge-and-burn is a technique to selectively brighten or darken areas of an image to create more depth.
How can I ensure my image looks good?Regularly compare it with other images and make your own test prints to check the colors and contrasts.
How does masking work in image editing?A mask allows you to hide or highlight certain areas of an image while keeping other regions unchanged.
Can I apply multiple high-pass filters?It is advisable to start with one filter and then make adjustments as needed to avoid over-editing.
