The challenge in headshot photography often lies in harmoniously matching the different skin tones of the face and body. This guide shows you how to effectively adjust skin tones to create a smooth and aesthetic portrait. You will need some basic knowledge in image editing and an image editing program that supports layers and color management.
Key Insights
For harmonious skin tone matching, it is important to compare different tones from the face and body. A good technique is to use color sampling tools in layer mode and adjust the opacity. By selectively masking areas, you can achieve the desired effects that enhance the overall image.
Step-by-Step Guide
To match skin tones in your headshot photography, follow these steps:
Step 1: Select an Image and Activate Layer Mode
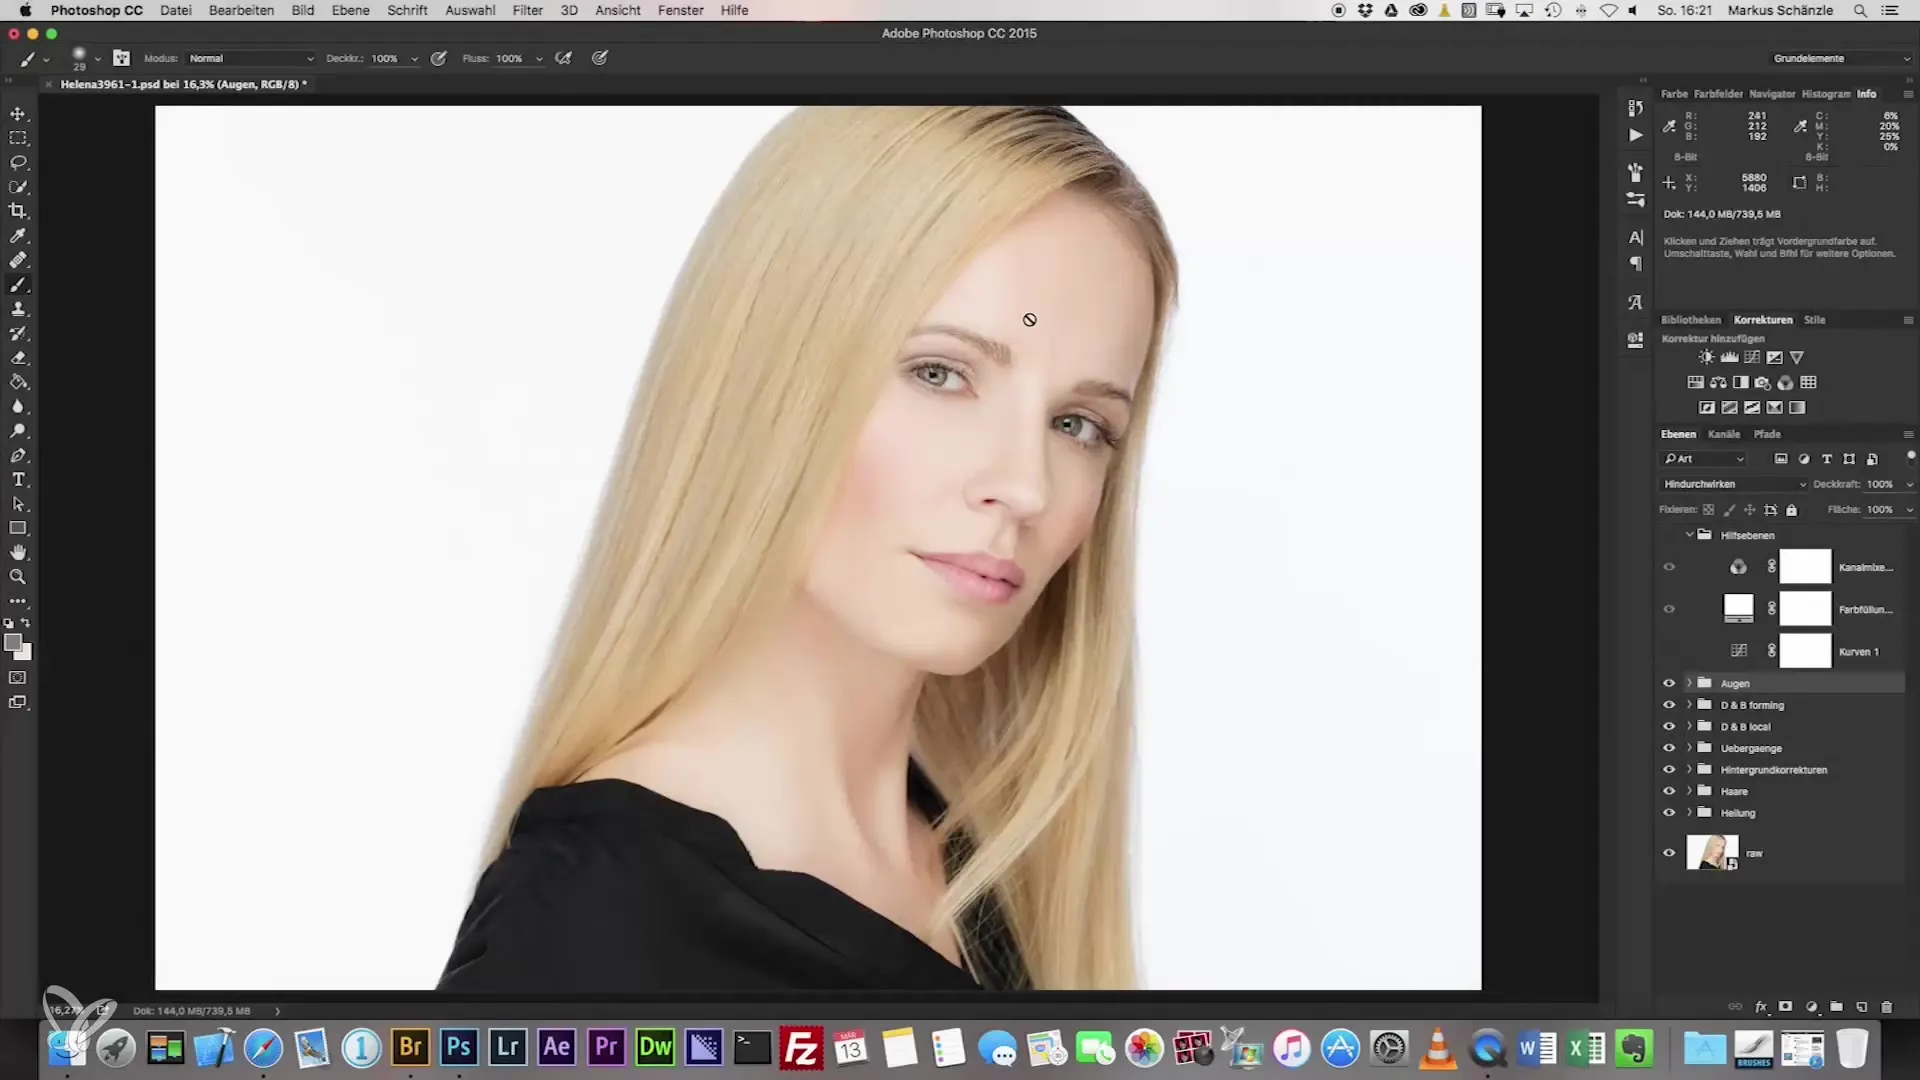
Select the image you want to edit. Make sure the image is sharp and the skin tones are clearly visible. Start your image editing program and open the image. You will need layer mode, so ensure you have the right area selected to work on.
Step 2: Create Color Field
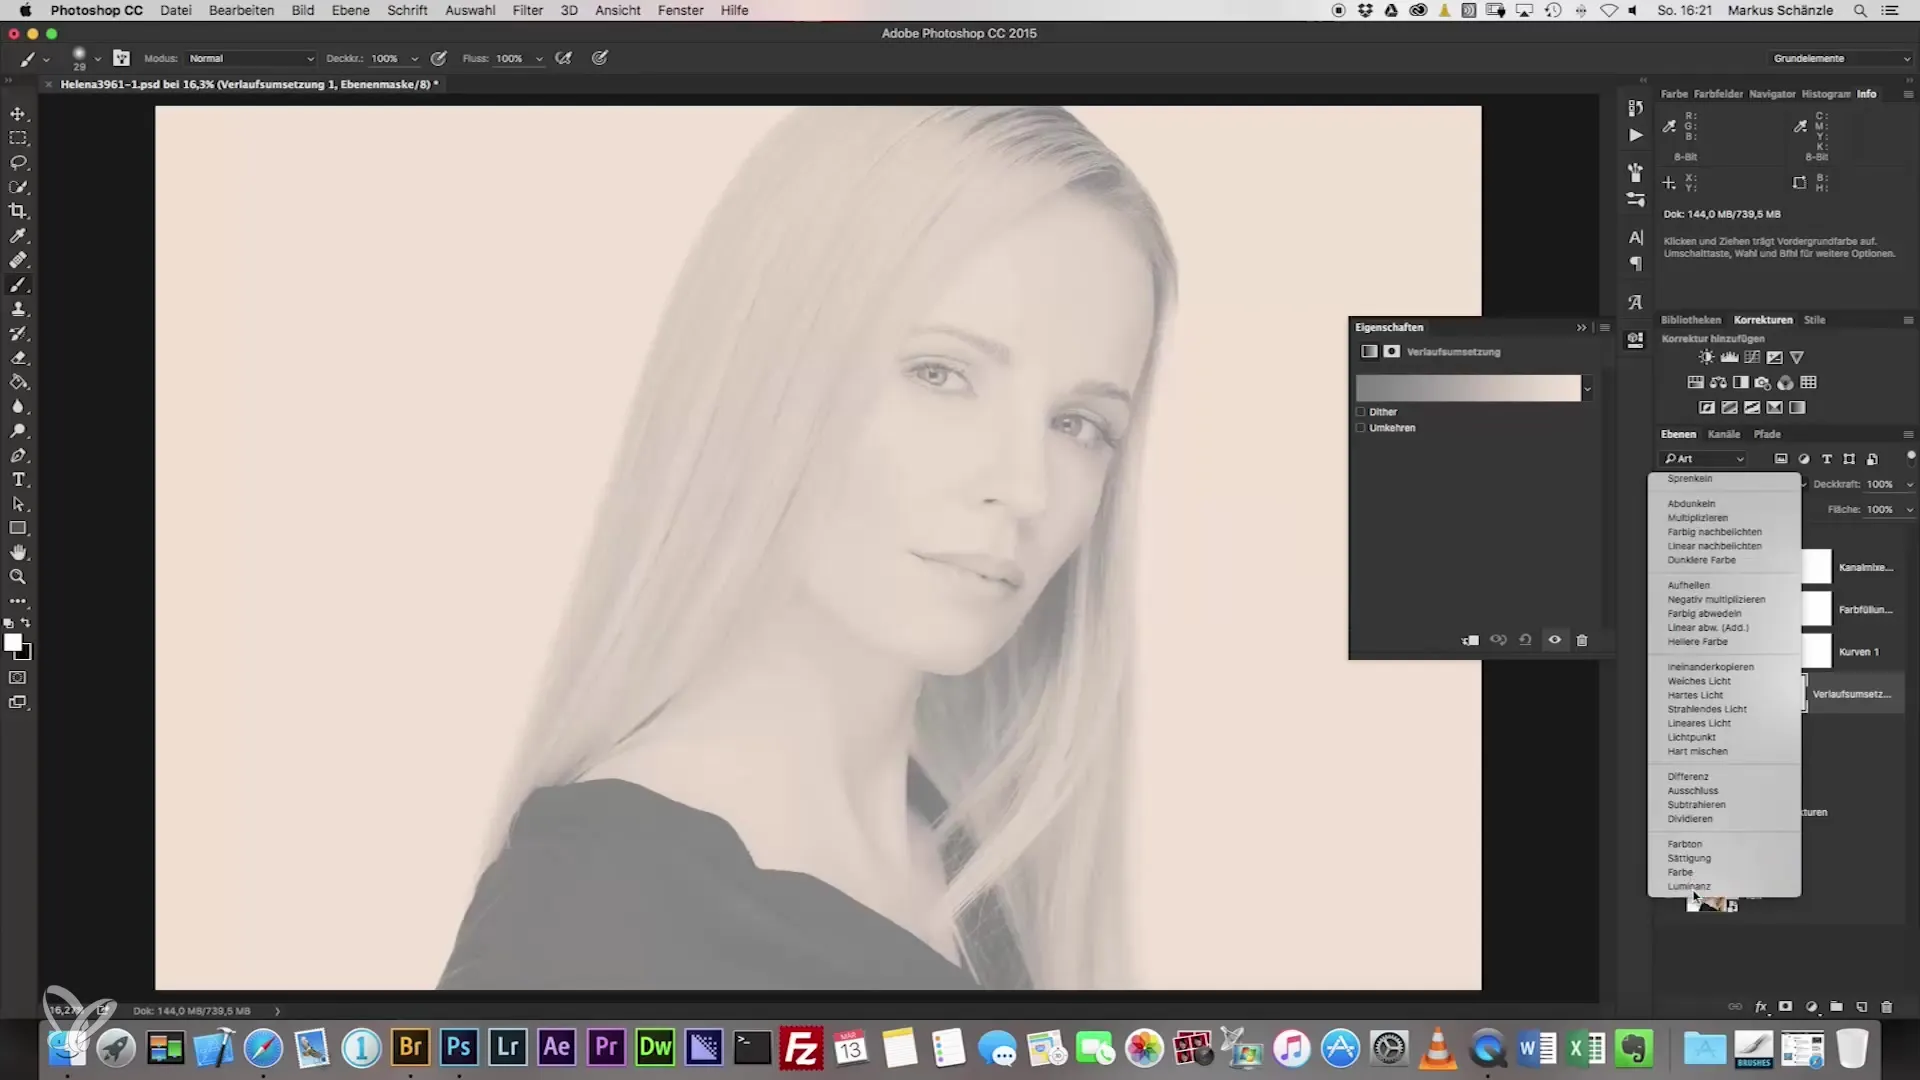
Add a new color field that you can use as a base for adjustments. Choose a mid-tone from the face before moving on to the color design. This will be the foundation for later adjustments.
Step 3: Sample Color Tone
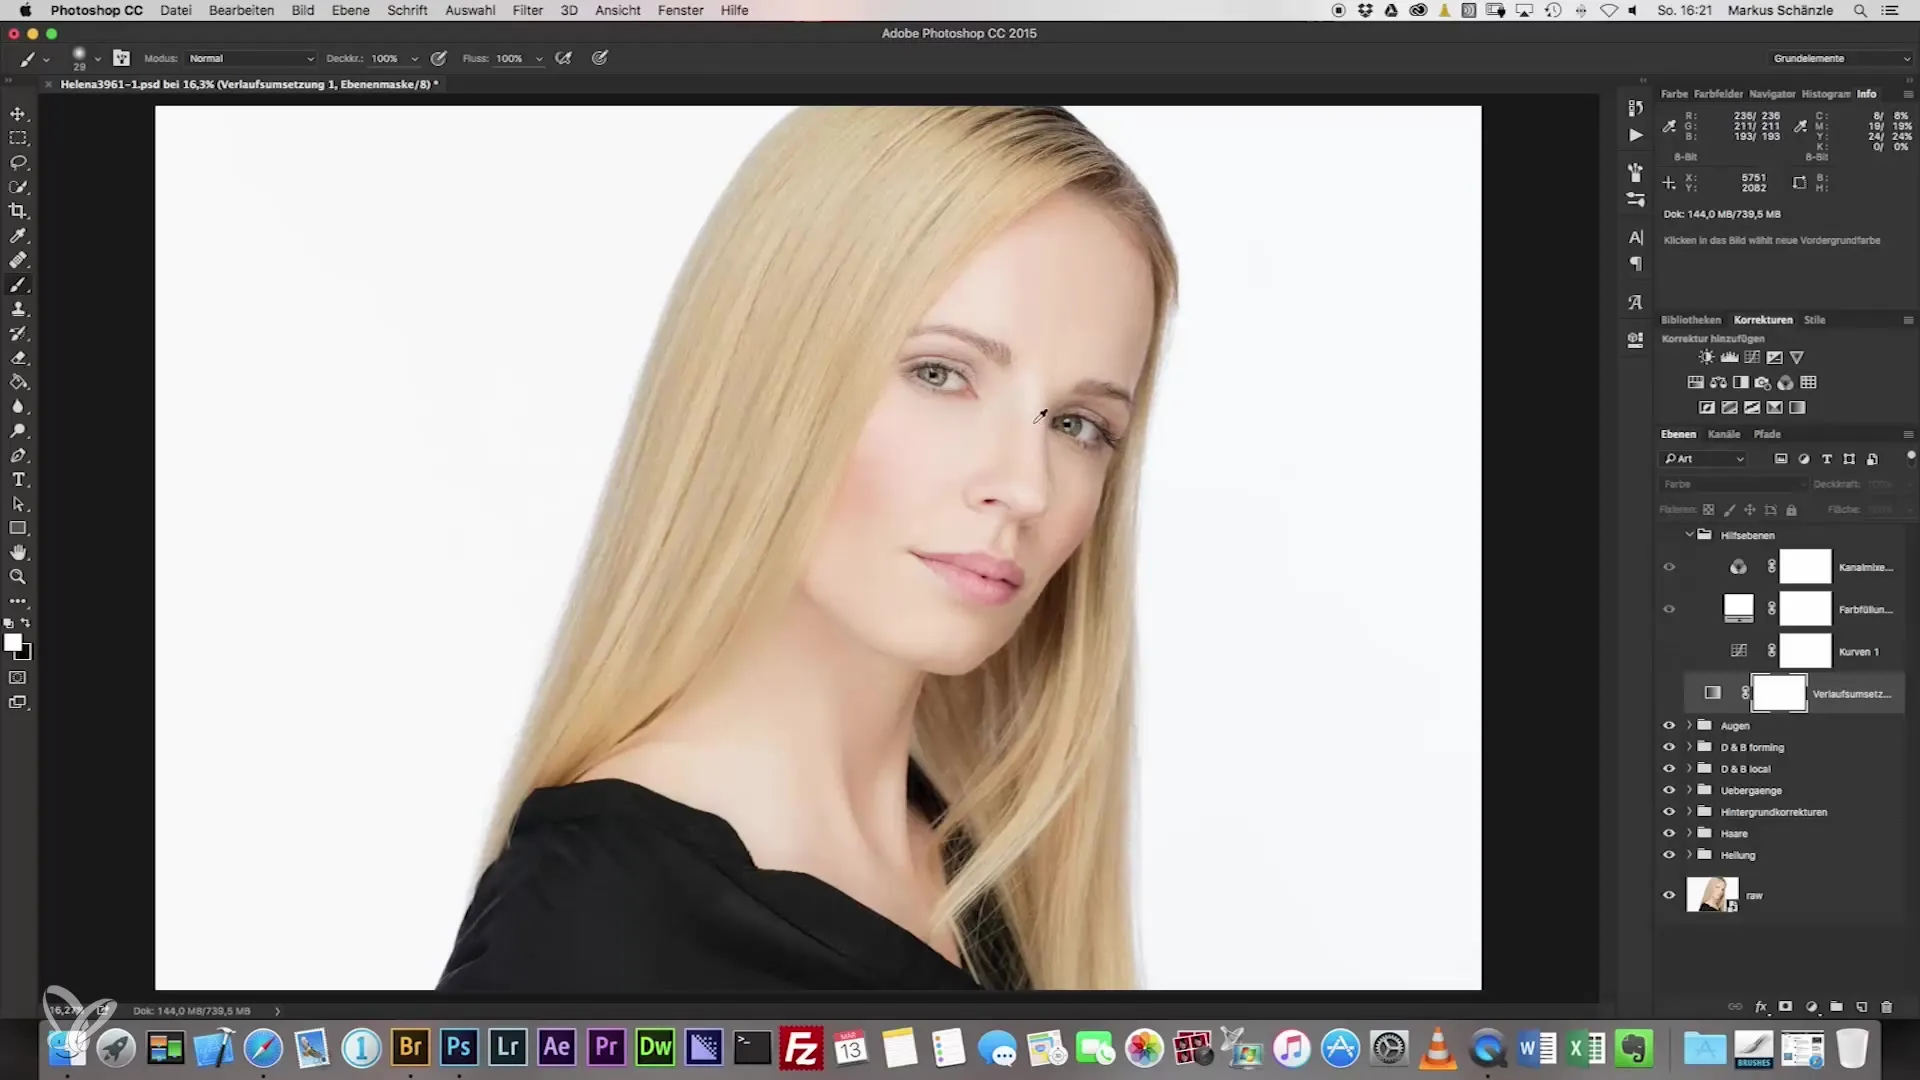
Use the eyedropper tool to sample a mid-tone. With the tool, you can select an area that well represents the typical skin tones. Be sure to choose an area that is large enough to get an accurate average for the best results.
Step 4: Add Additional Tones
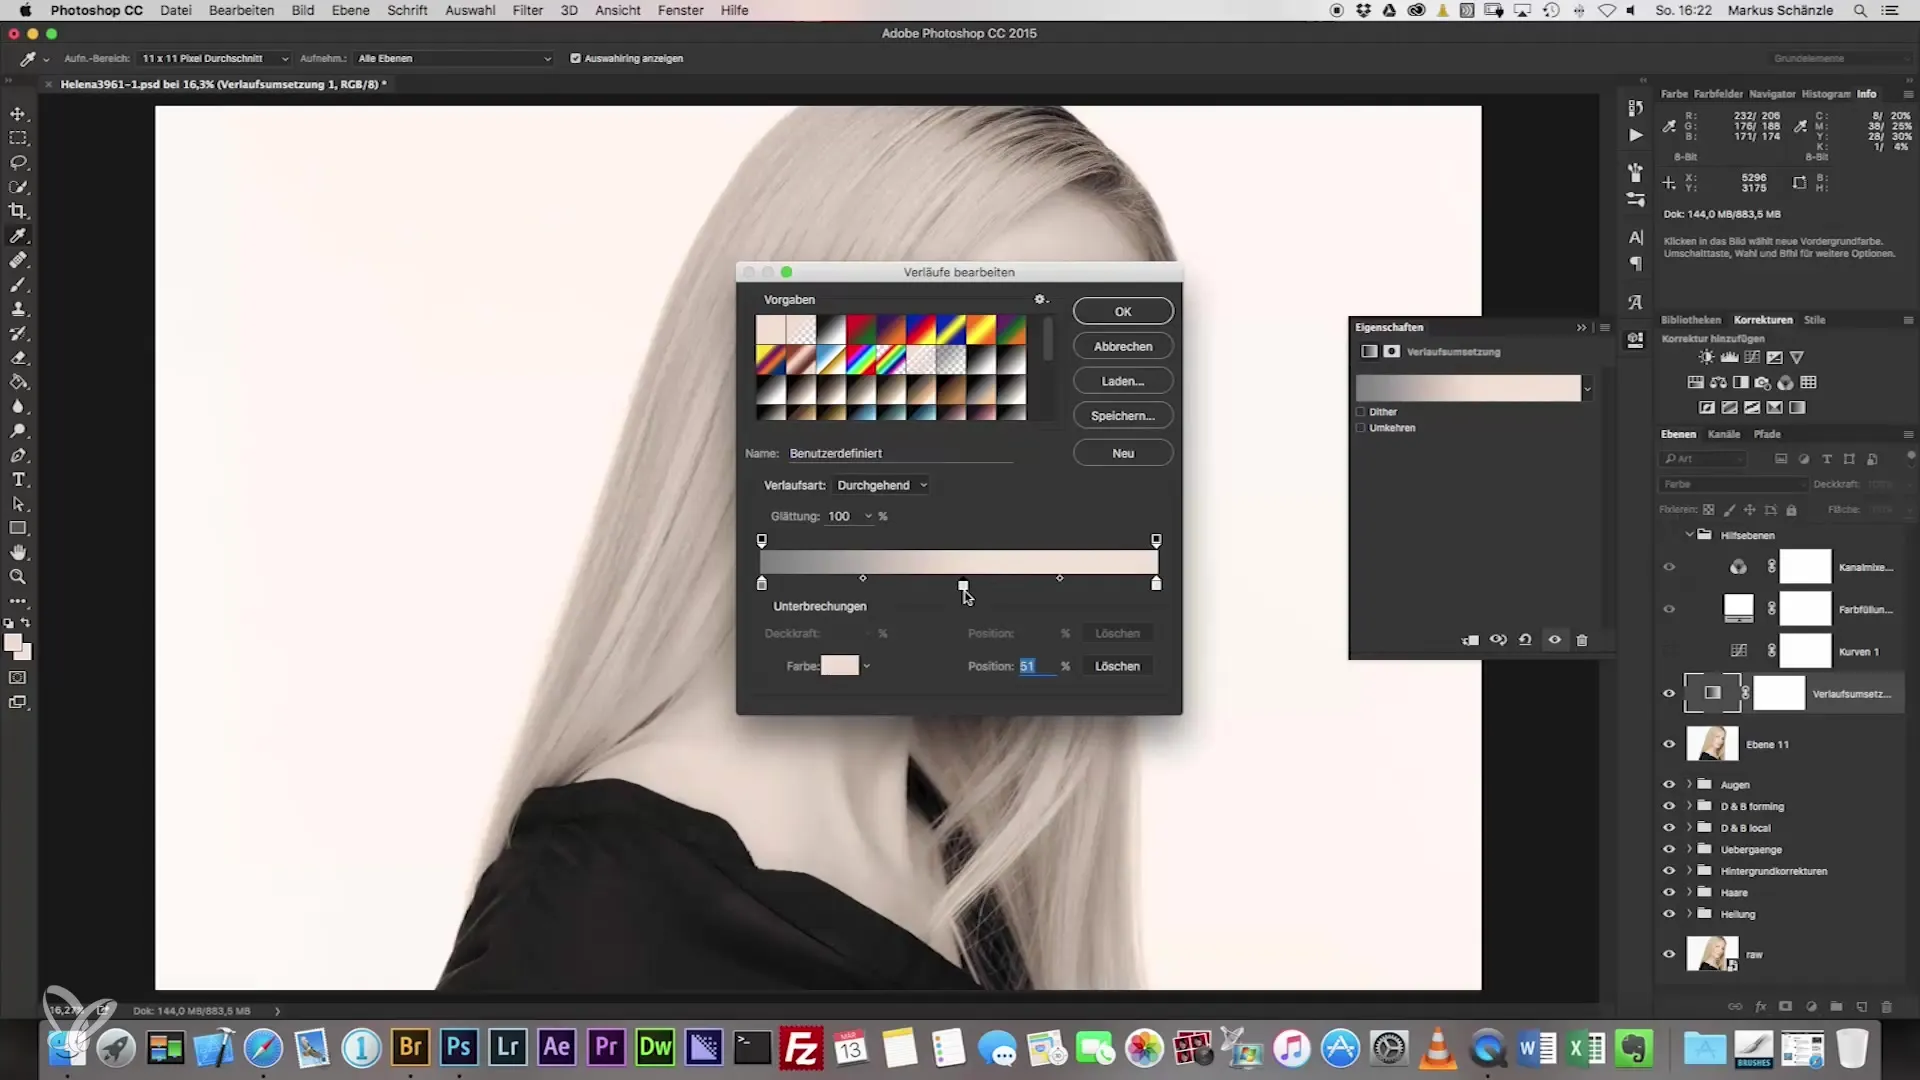
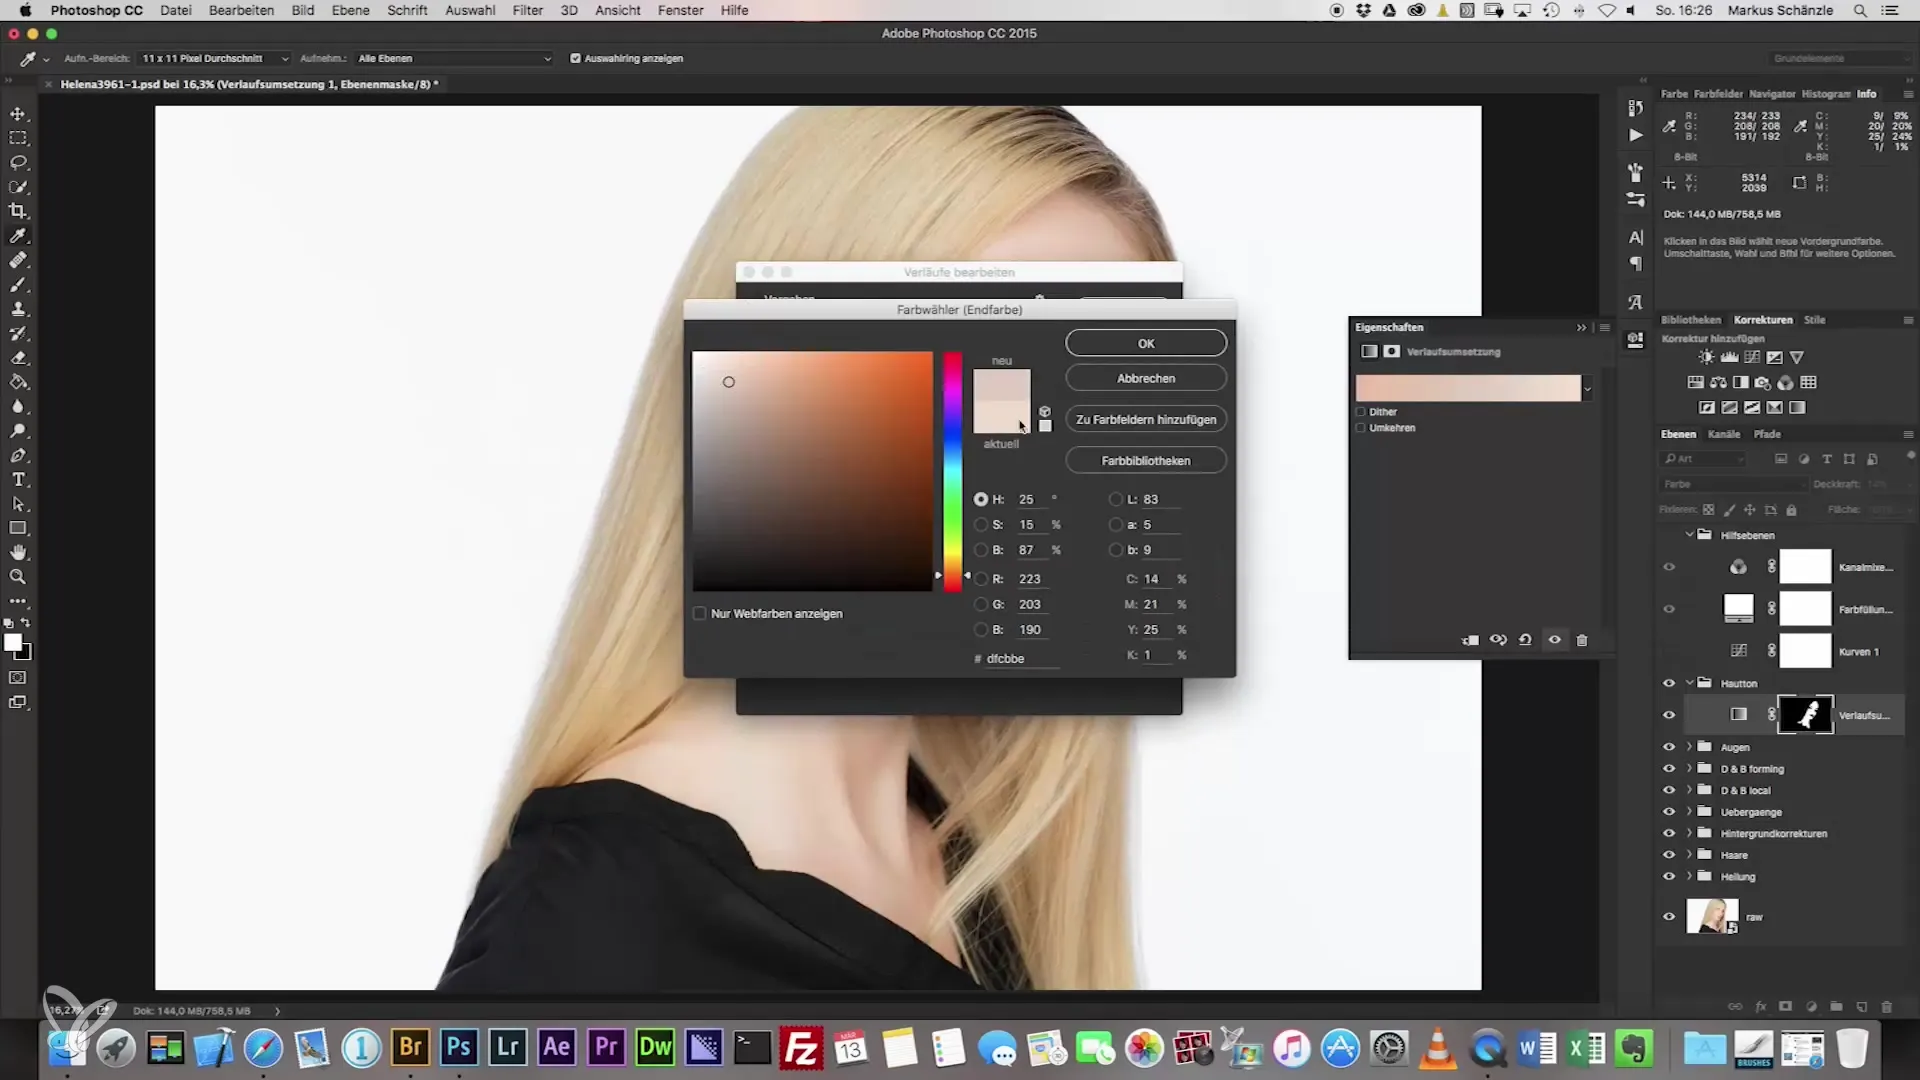
Once you have sampled the mid-tone, return to the color database and add additional points to refine the gradient. The more color points you use, the more precise the matching of skin tones will be.
Step 5: Select Darker Areas
Now select a darker area of the skin, such as the tip of the nose, to increase contrast. Copy the color values and insert them into the corresponding part of your gradient. Adding darkness will help highlight depth and dimension in your portrait.
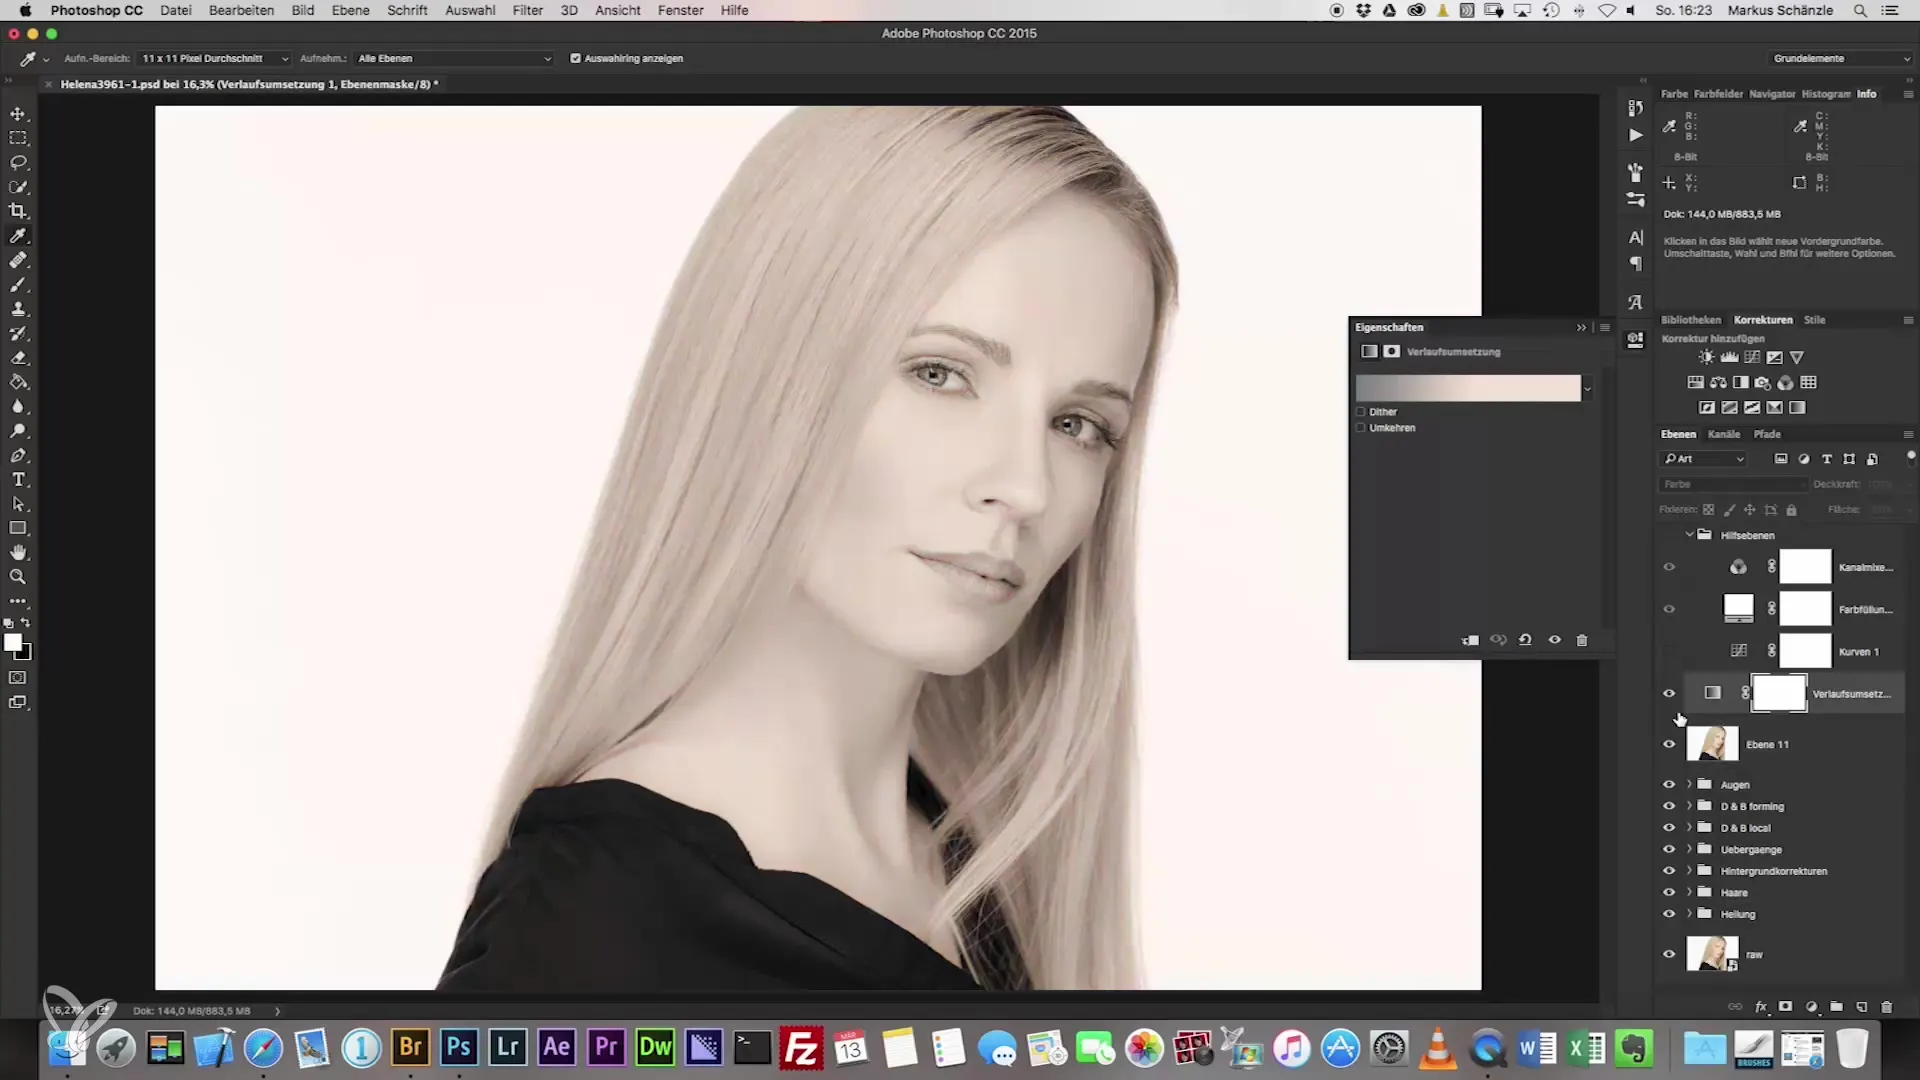
Step 6: Add Lighter Areas
Select a lighter skin area in your image to account for light reflections. Be sure to transfer the color values accurately to ensure a harmonious match.
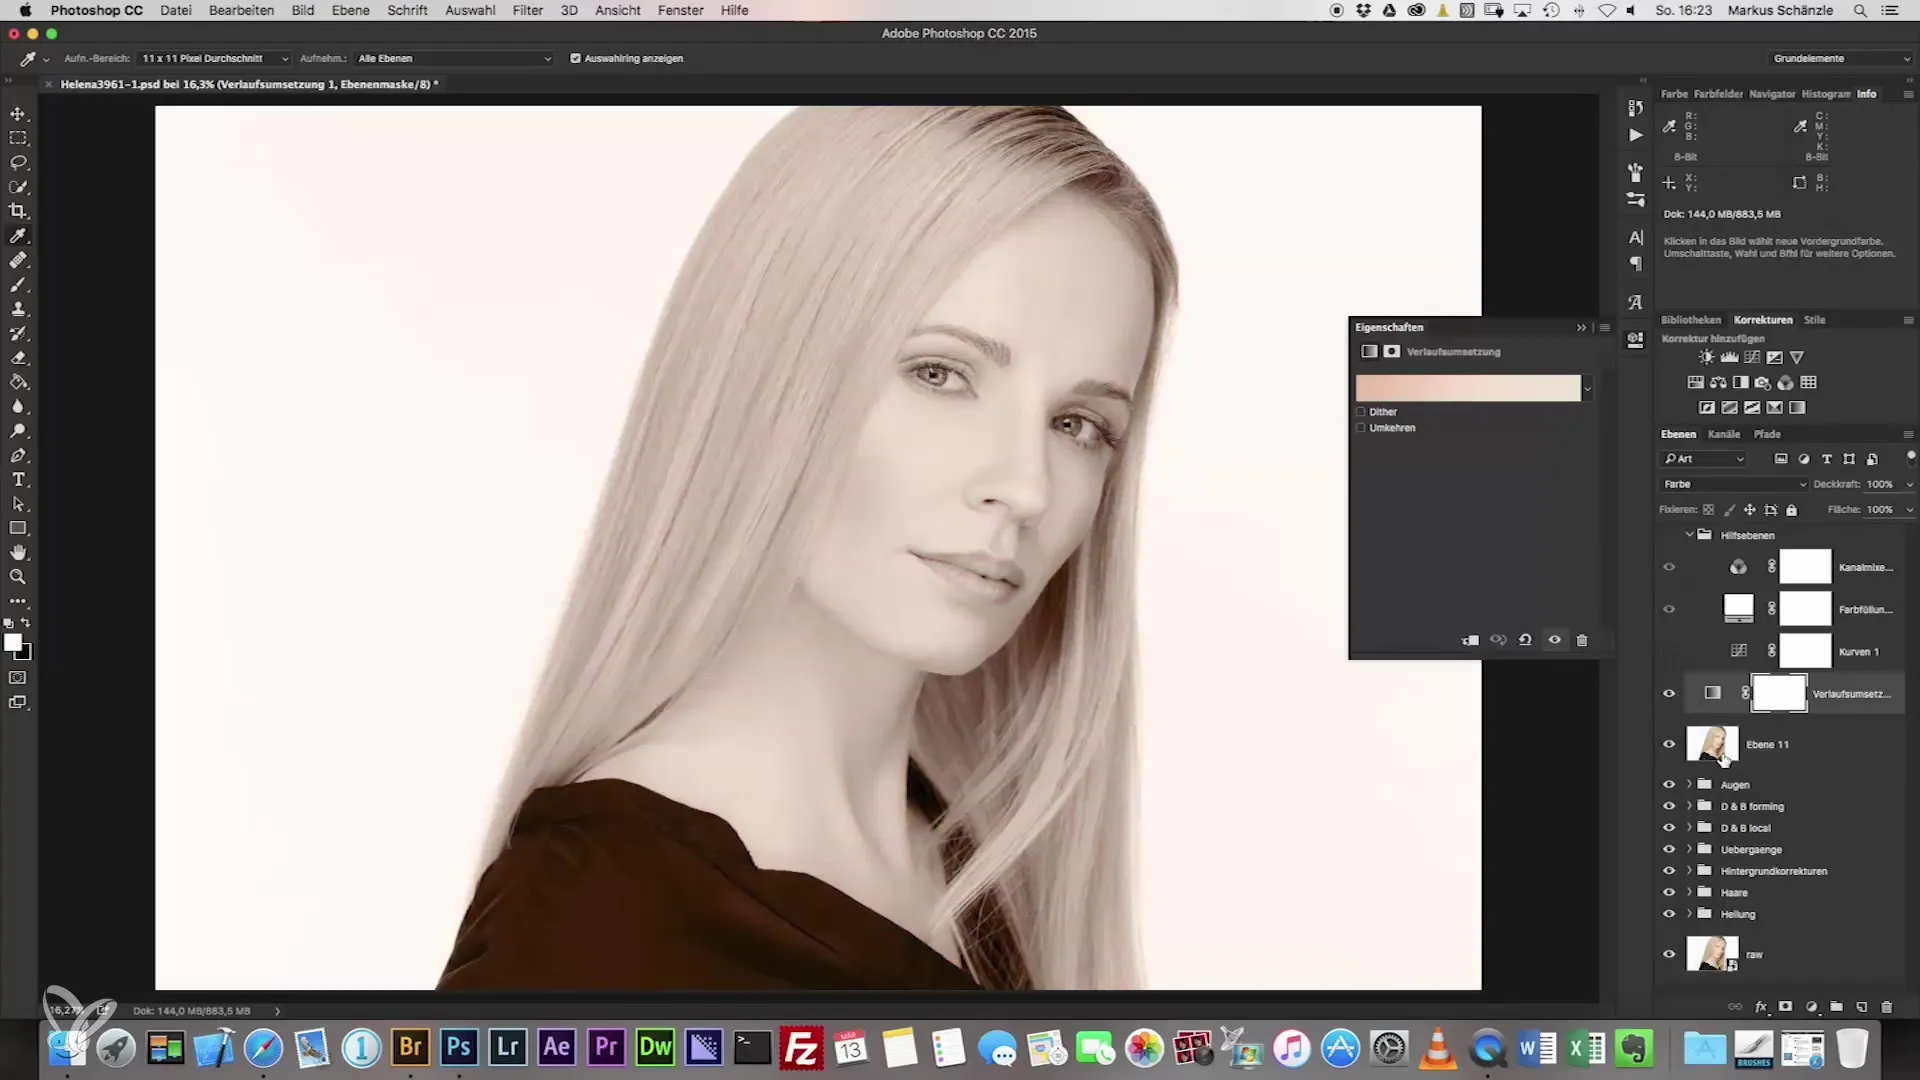
Step 7: Adjust Opacity
Once you have added all the important color values, it is time to reduce the opacity of the layer. Start with a low opacity of 14% to see how the changes affect your image. This will allow you to integrate the applied colors subtly.
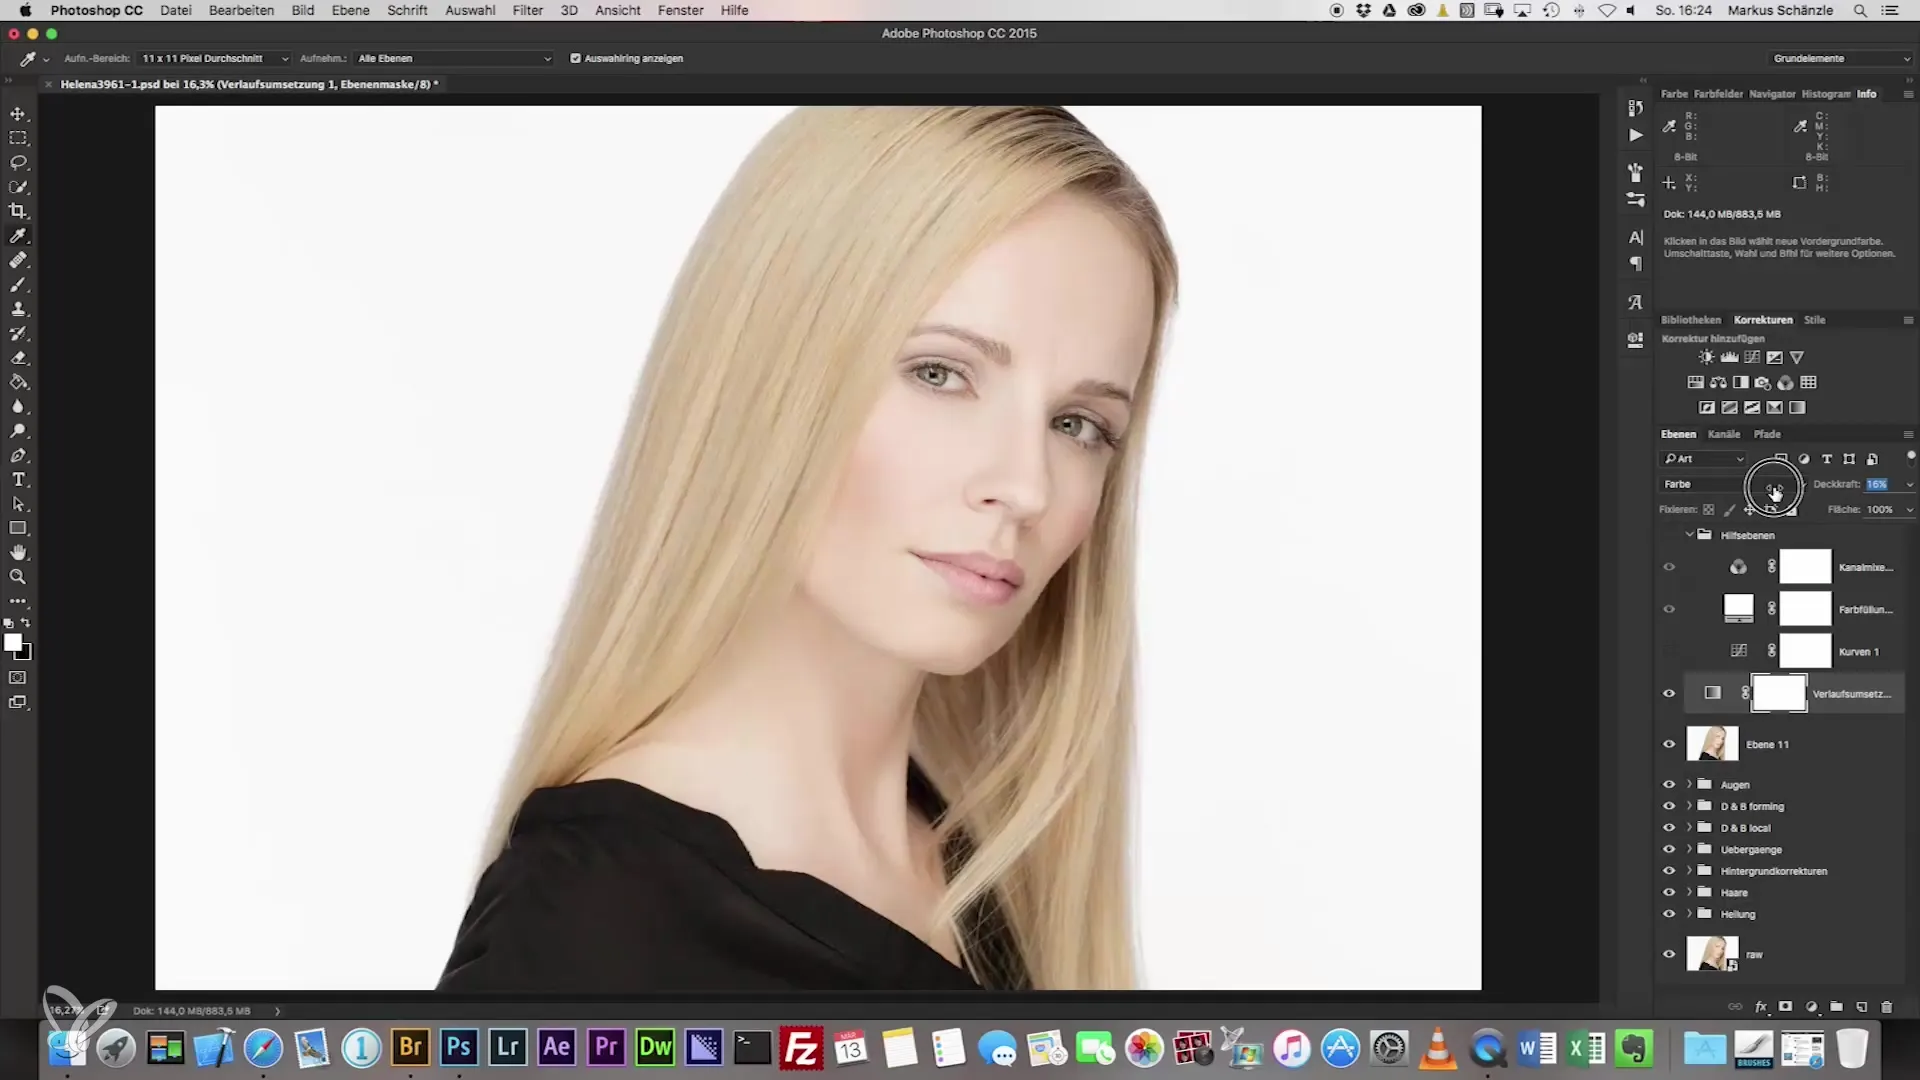
Step 8: Invert and Edit Mask
Now it's time to invert the mask. With this technique, you can specifically adjust only the skin areas without affecting other parts of the image. Draw over the skin areas and ensure you protect the hair and other elements.
Step 9: Refine the Mask
Make sure the mask looks good. With various tools and the Alt key, you can make adjustments to the mask. Create a soft edge around the facial features to achieve a natural blend.
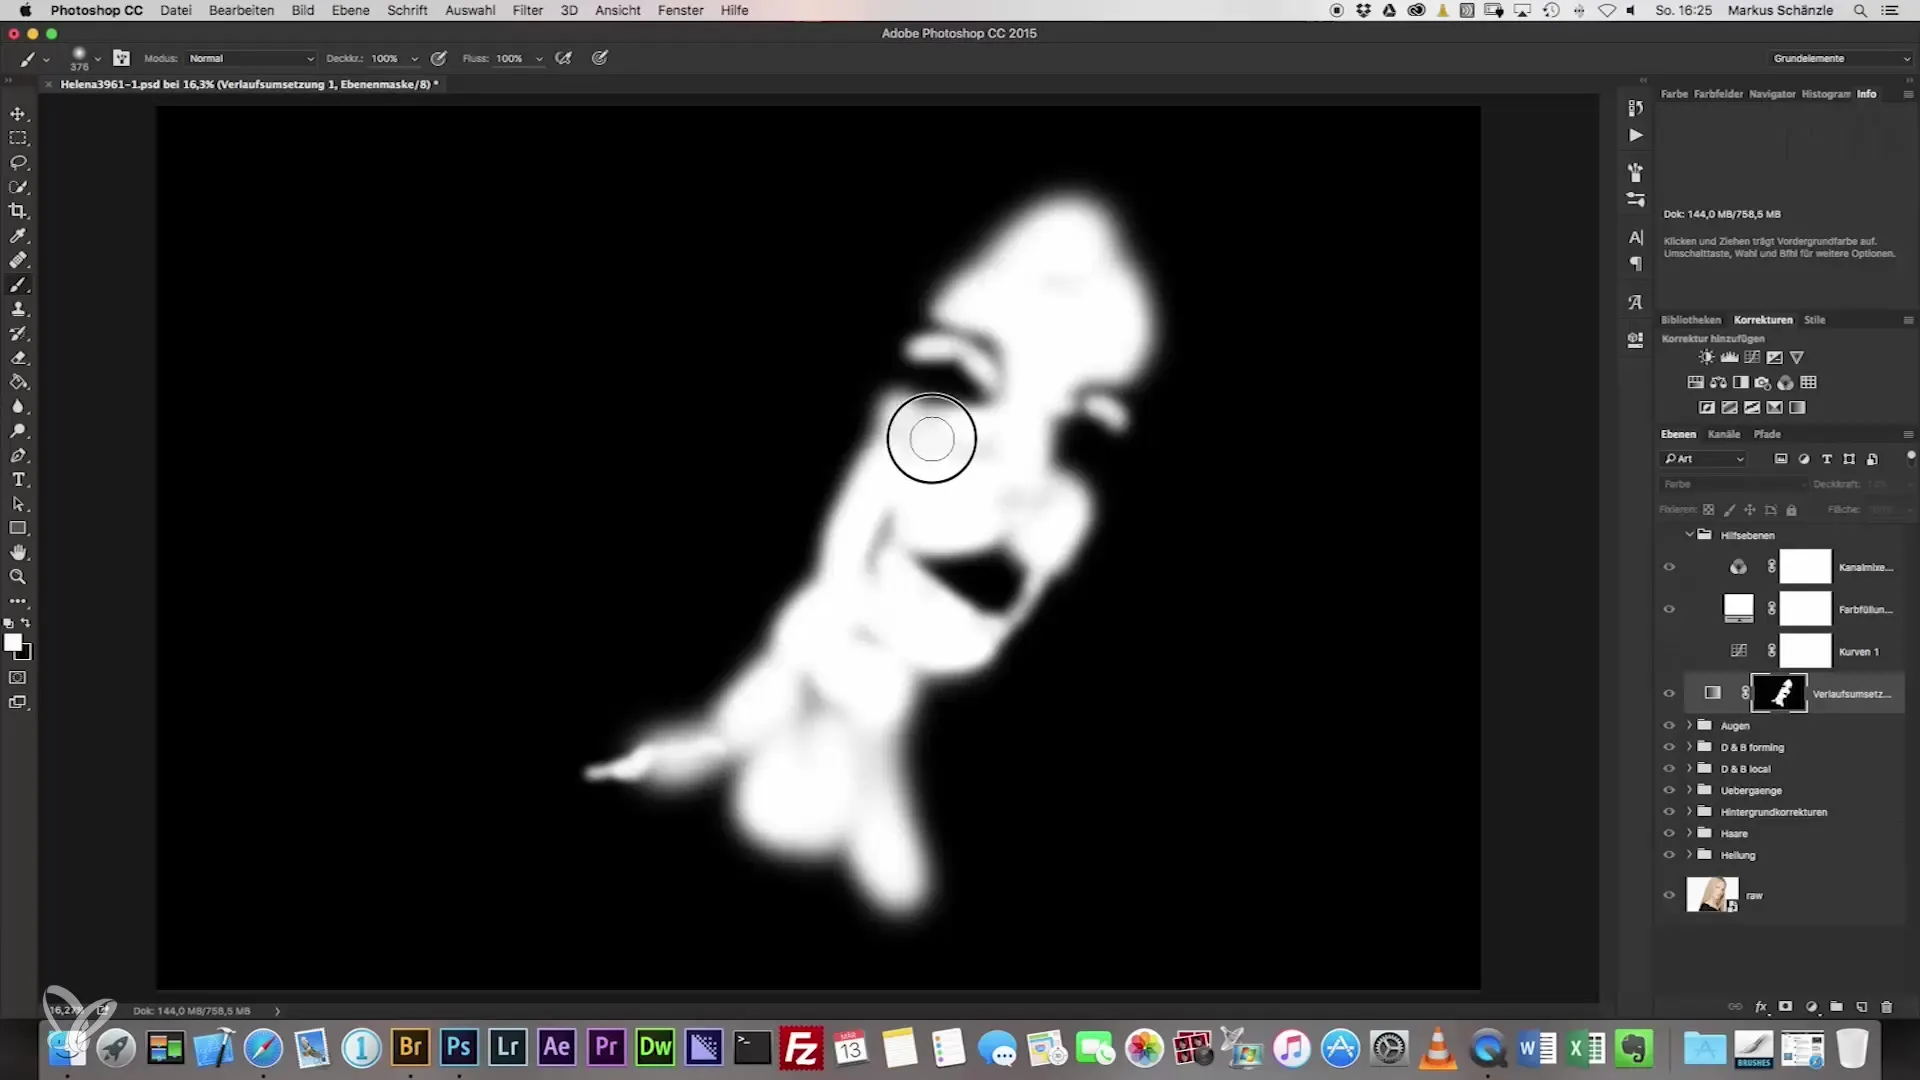
Step 10: Final Adjustments
Let's move on to the final details. You may want to adjust the brightness again to ensure the skin tone matches your ideal result. You can decrease or increase the brightness based on your starting value.
Summary – Headshot Photography: The Path to Perfect Portrait Adjustment
In this guide, you have learned how to effectively adjust skin tones in headshot photography. The steps include sampling color values from the face, adjusting opacity, and editing masks. The use of gradients also gives you the opportunity to create a harmonious overall image.
Frequently Asked Questions
How can I recognize different skin tones in an image?To recognize differences, zoom in and compare the tones in different areas of the image.
Why is it important to do the masking correctly?Clean masking ensures that only the desired areas are edited and the remaining parts of the image remain untouched.
Can I apply the technique to other body parts as well?Yes, the method can also be applied to arms or legs to achieve consistent color design.
What should I do if the final skin tone looks unnatural?Make a subtle adjustment in opacity or color design until you are satisfied with the result.
Is it necessary to follow all the steps exactly?Steps may vary depending on the image, but they provide a good foundation for most portraits.


