After an extensive shooting, the exciting yet challenging part comes: the selection and editing of the images. Words alone are not enough to convey the significance and feel for good headshots. This guide provides you with valuable insights into the image selection process and the criteria you should consider. Let's understand the key aspects of image selection and image editing based on the tips from a video tutorial.
Main Insights
- An effective pre-selection of the images is crucial for the final result.
- Pay special attention to the expression and body language of the subject.
- Utilize software like Adobe Bridge or Lightroom for image rating.
- During the shoot, it is important to regularly review the images and keep an eye on the expression.
Step-by-Step Guide
Step 1: Prepare the Software
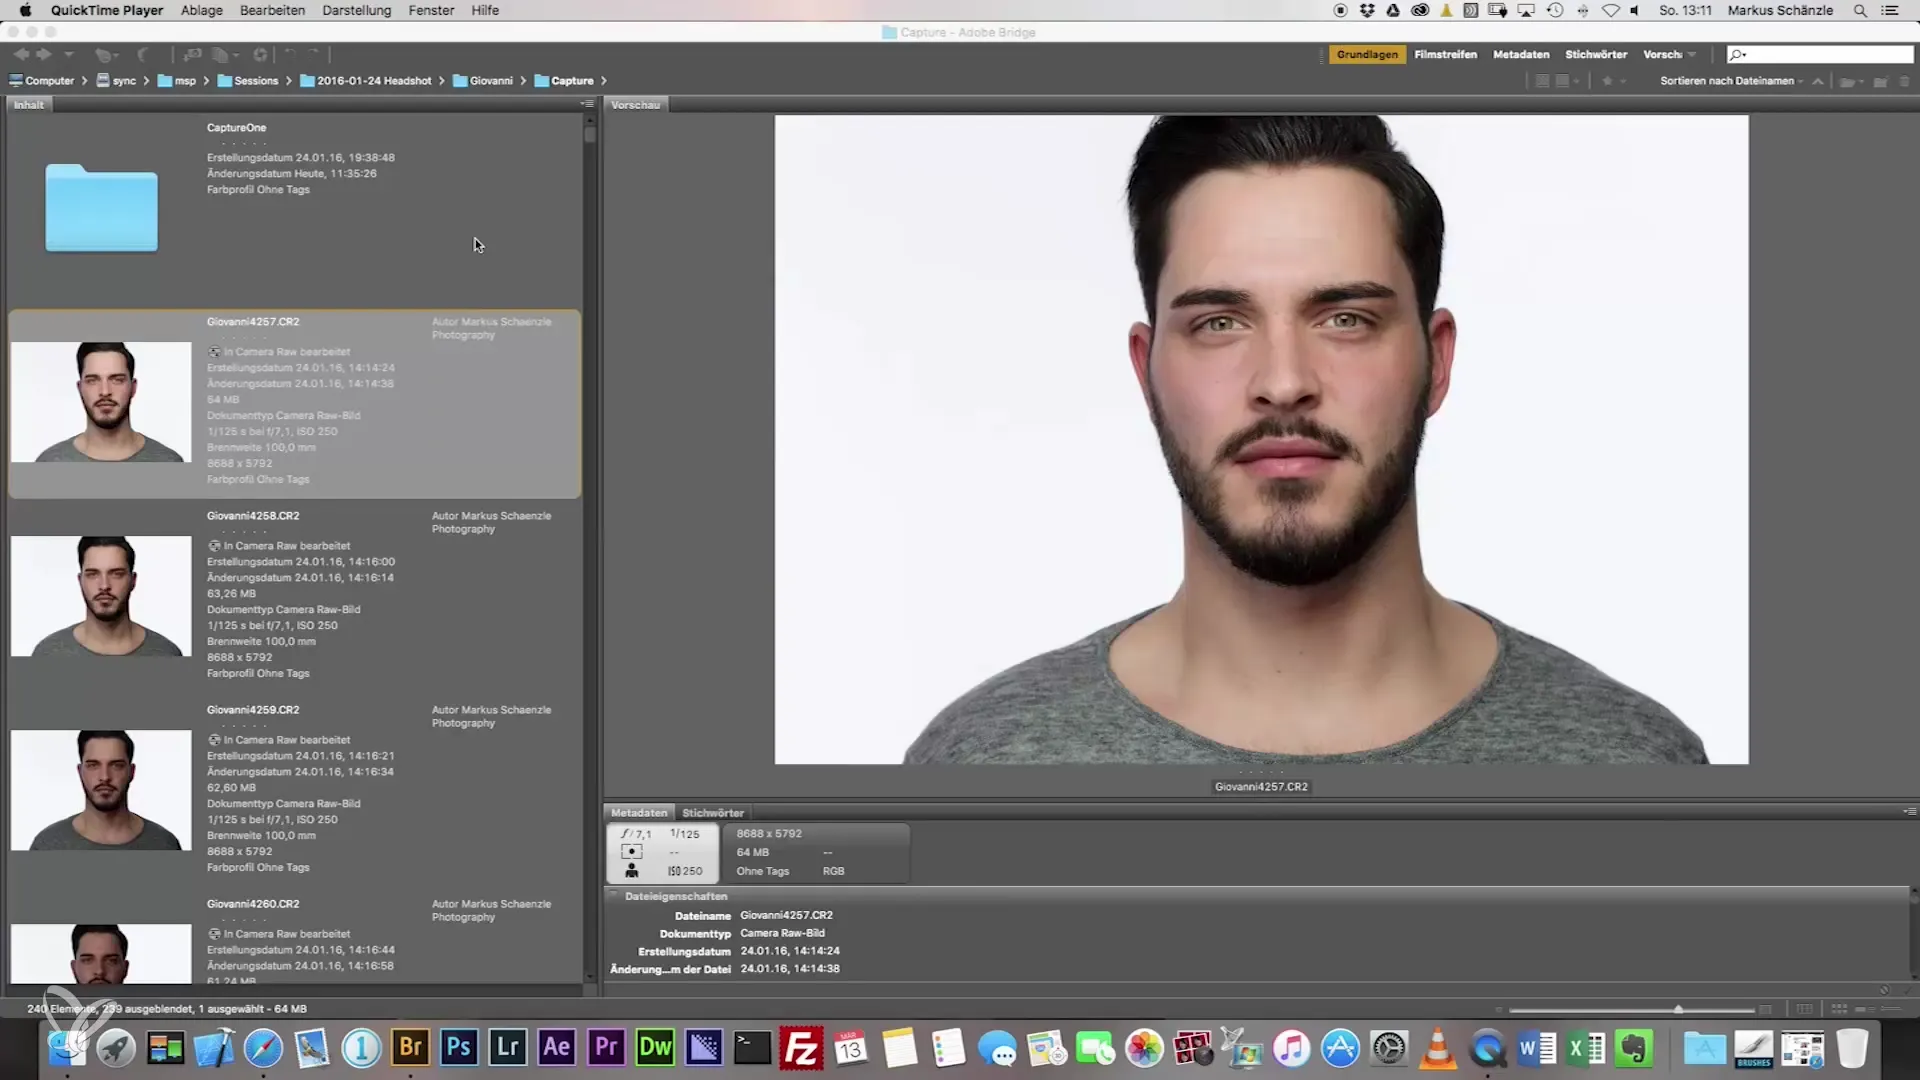
Before you start selecting images, open Adobe Bridge, Lightroom, or Capture One. In this tutorial, we will focus on Adobe Bridge, as it is the chosen platform. This software provides you with the tools you need for an effective image selection.
Step 2: Review and Rate Images
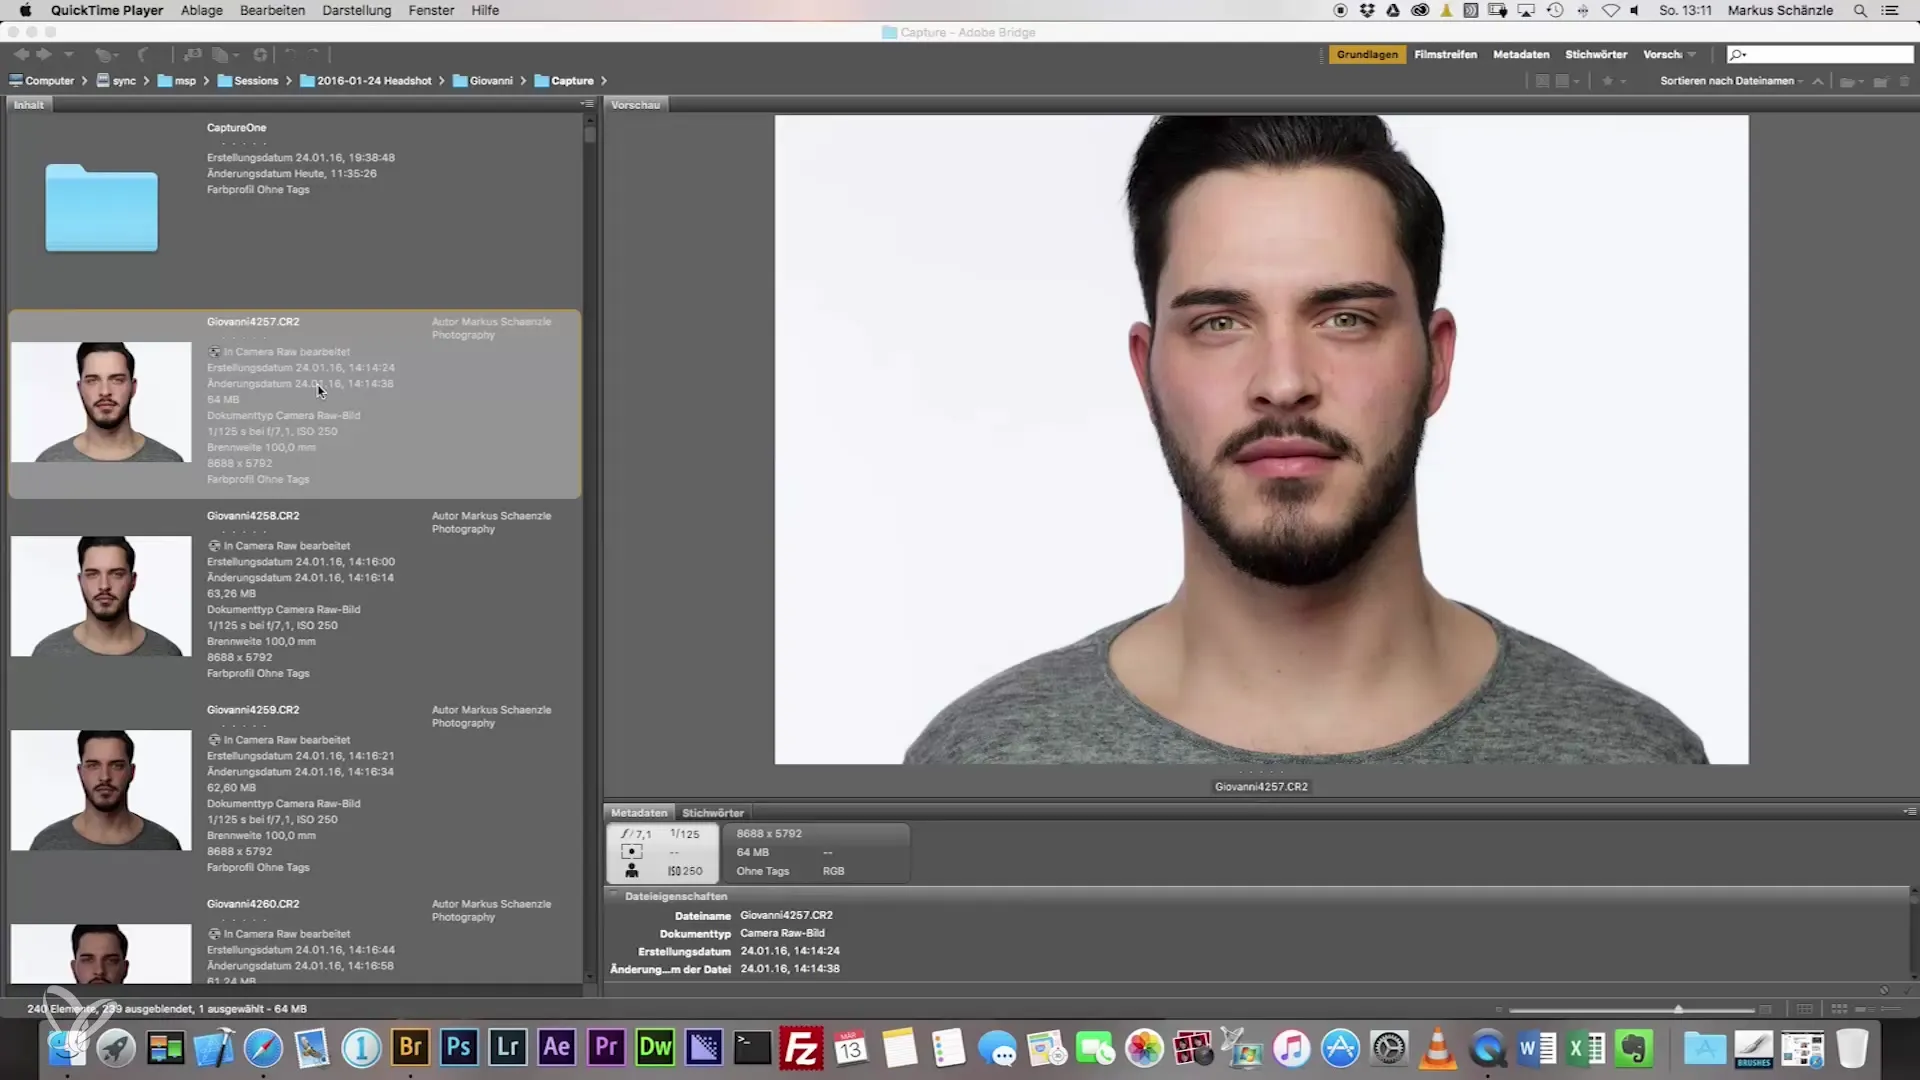
Look at all the images and assign a rating of one star to each image. One star means that the image is acceptable and makes it to the next round of selection. The goal is to quickly make a first pre-selection that facilitates your decision-making process.
Step 3: Consider Expression and Body Language
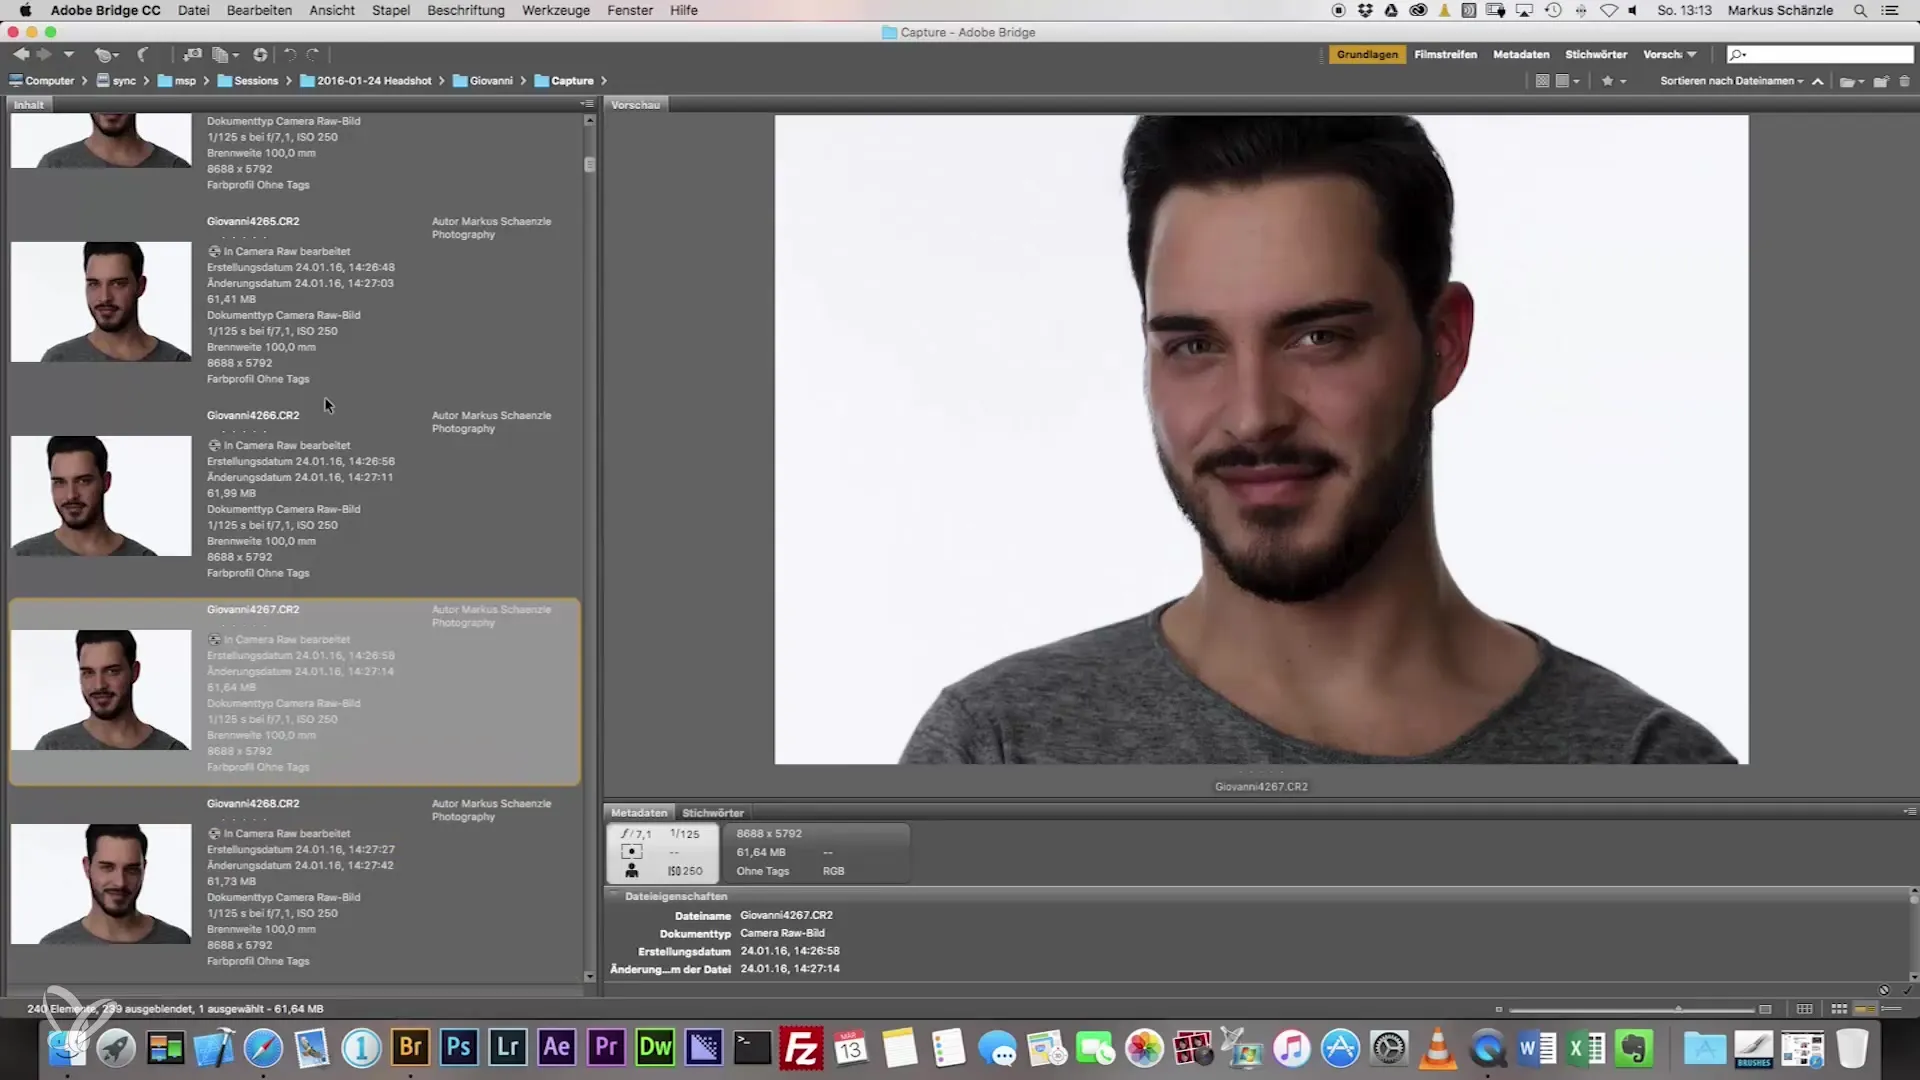
When reviewing the images, pay special attention to the facial expression and body language. An image that appears unsure or unnatural will not achieve the desired effect. Critically assess each shot and ensure it reflects the character of the subject.
Step 4: Gather Feedback from the Client
It can be helpful to ask the client during the shoot which images they like. However, you should insist on selecting only those images that resonate with you. If an image does not leave the desired impression, do not hesitate to reject it.
Step 5: Find the Good Side
Identify the model's good side, which can look different on each side. One side is often more flattering than the other, and it is important to consider this when making your selection. Pay attention to the eyes and mouth, as these areas significantly contribute to the overall impression.
Step 6: Pay Attention to Technical Quality
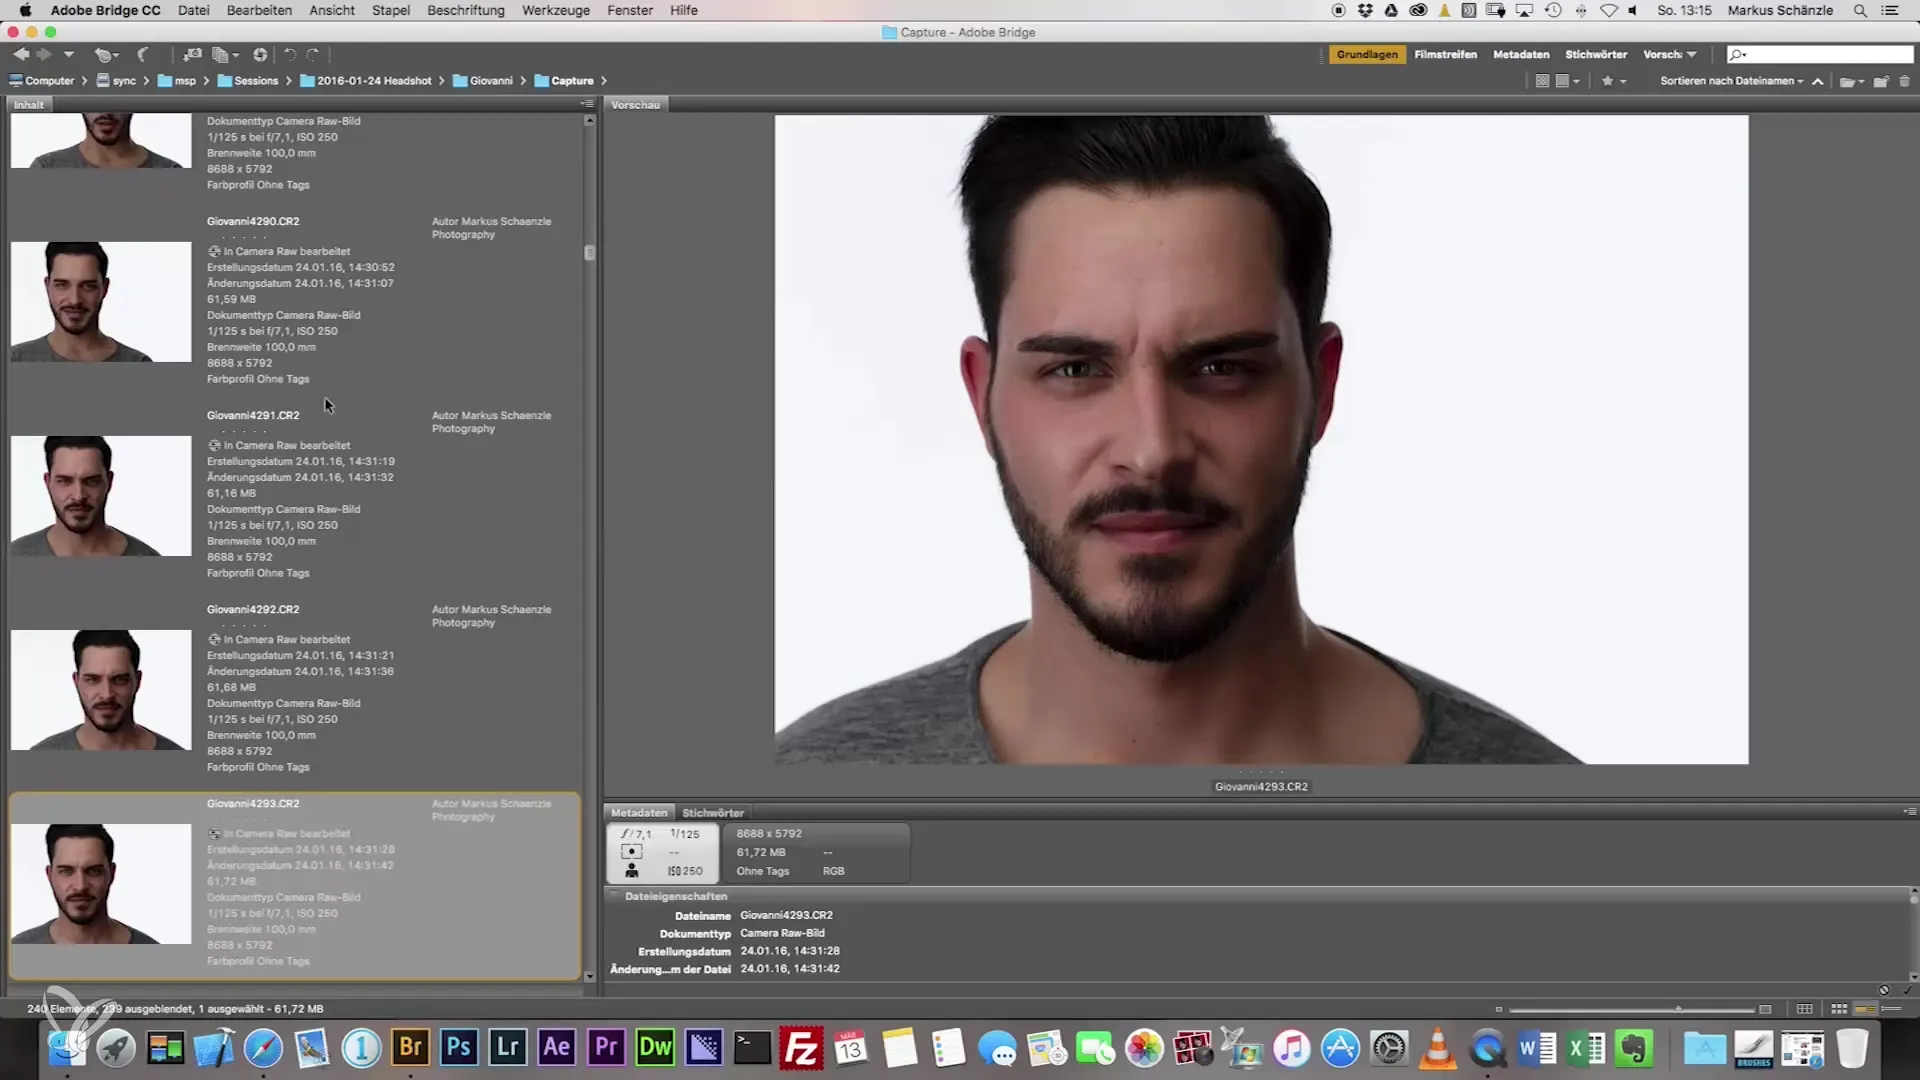
Once you have rated your images, check that they are technically sound. They should be well-exposed and sharp. It is particularly important that the front eye is sharp to capture the viewer's attention.
Step 7: Refine Image Selection
After the initial marking, go through the images a second time and filter out those that you like less or where the expression does not fit. Sometimes it is worthwhile to reconsider the selection the next day. A fresh perspective can help identify the best images.
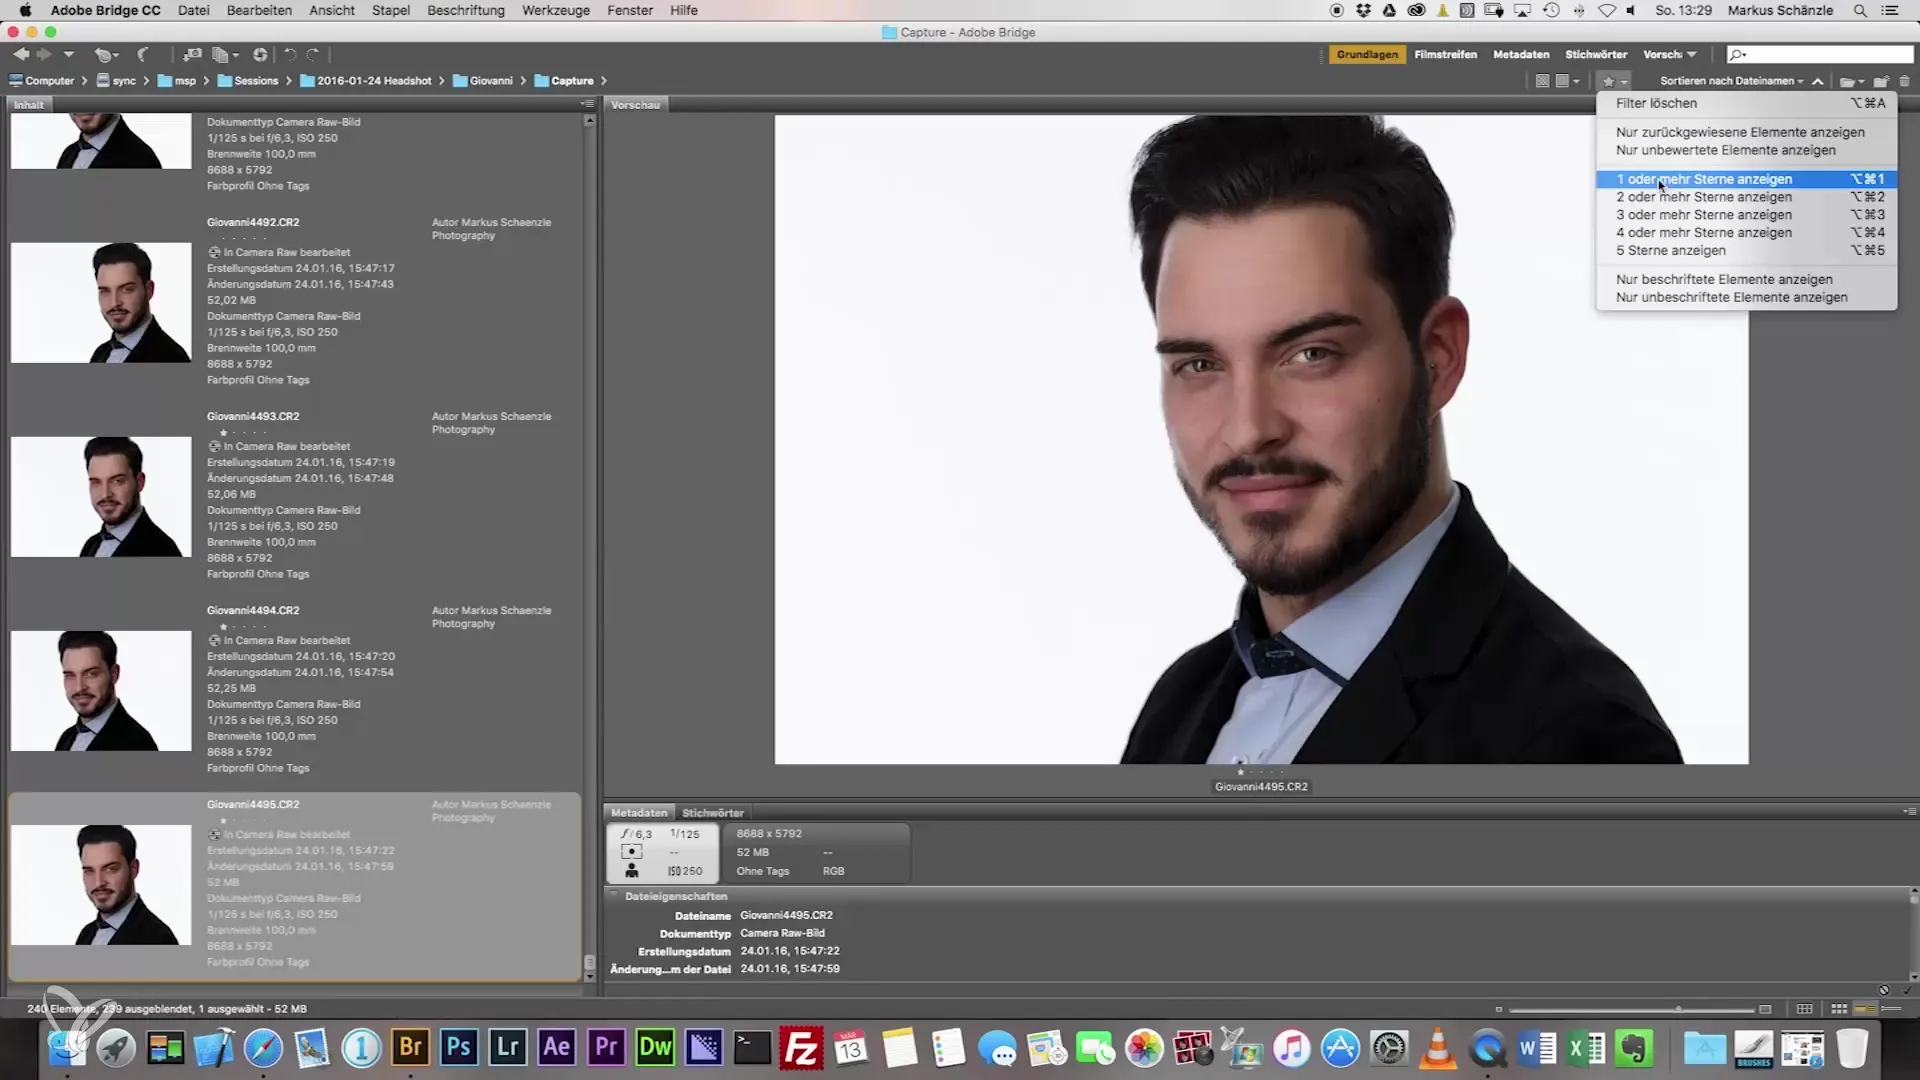
Step 8: Final Adjustments
After making your selection, choose your favorites and pass them on for final editing. Ensure that all technical and aesthetic criteria are met here as well. Remember that your final selection should reflect the feel and style of your portfolio.
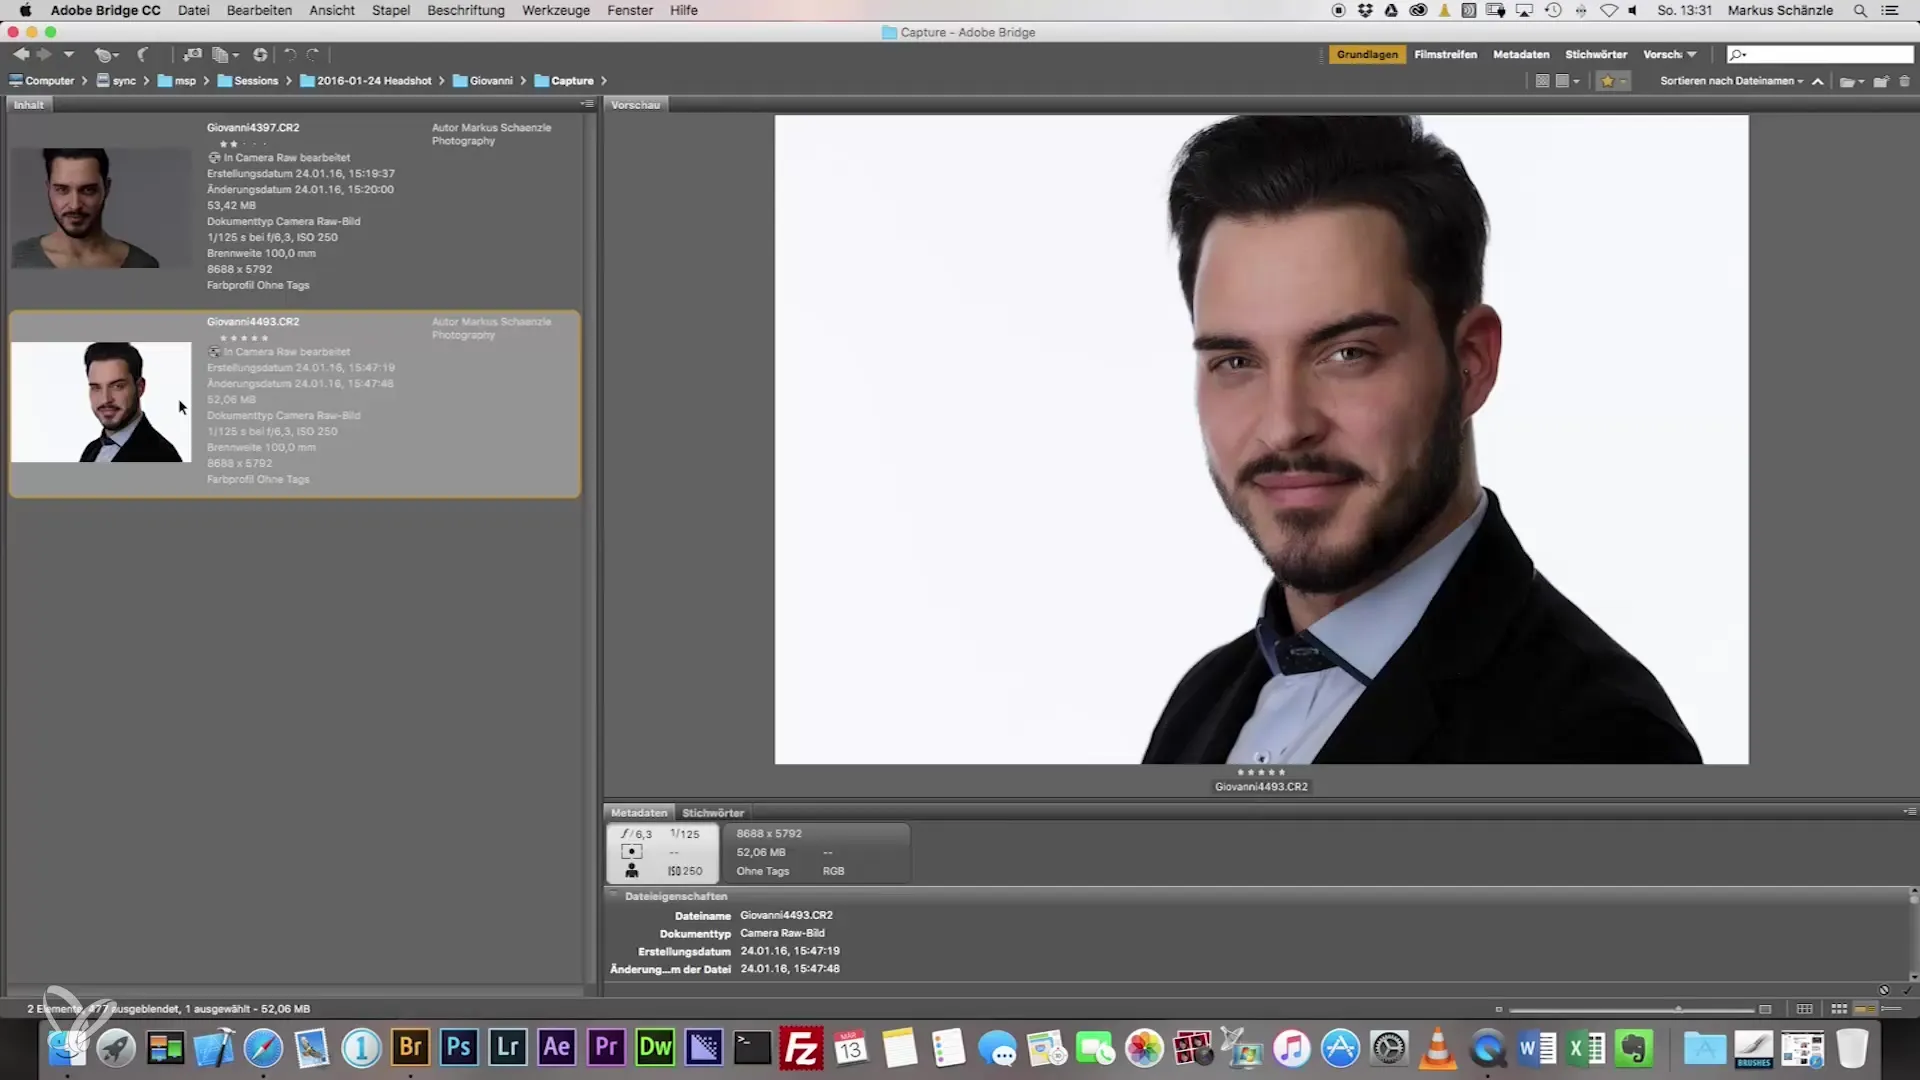
Summary - Headshot Photography: The Art of Image Selection Step by Step
The selection of the right images is key to impressive headshots. You have learned how important it is to keep an eye on expression and body language, consider technical aspects, and create an effective selection process to achieve the best results.
Frequently Asked Questions
How do I choose the best images?Pay attention to the expression, body language, and technical quality of the images.
Should I involve the client in the image selection?Yes, it can be helpful to get feedback from the client, but also trust your own judgment.
How important are technical aspects in headshots?Technical aspects are crucial, especially regarding sharpness and exposure.
How many images should be reviewed for the final selection?Ideally, about 20 to 30 images should make it to the final selection after the first filtering.
What software is recommended for image selection?Adobe Bridge, Lightroom, or Capture One are excellent options for image evaluation.


