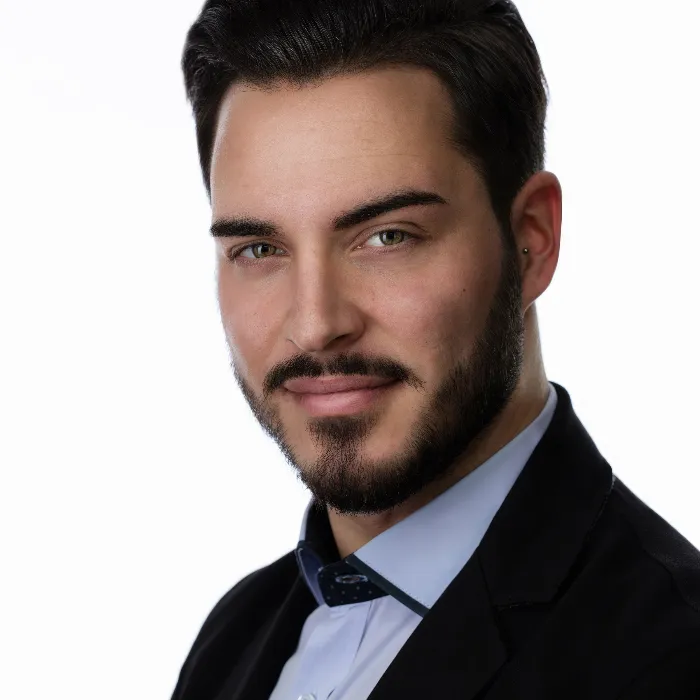
Hair details can be crucial for the quality of a portrait. In headshot photography, it is essential that the model's hair looks good and does not distract from the main focus - the face. Here I will show you how to effectively optimize your portraits in post-processing using various techniques to achieve the best possible results.
Key Insights
- Pay attention to hair arrangement while photographing.
- Use layers and masks to correct hair.
- Use soft edges for harmonious transitions.
- The clone tool can help reduce unwanted areas.
Step-by-Step Guide
To perform optimal hair retouching, follow these steps:
1. Prepare the Layers
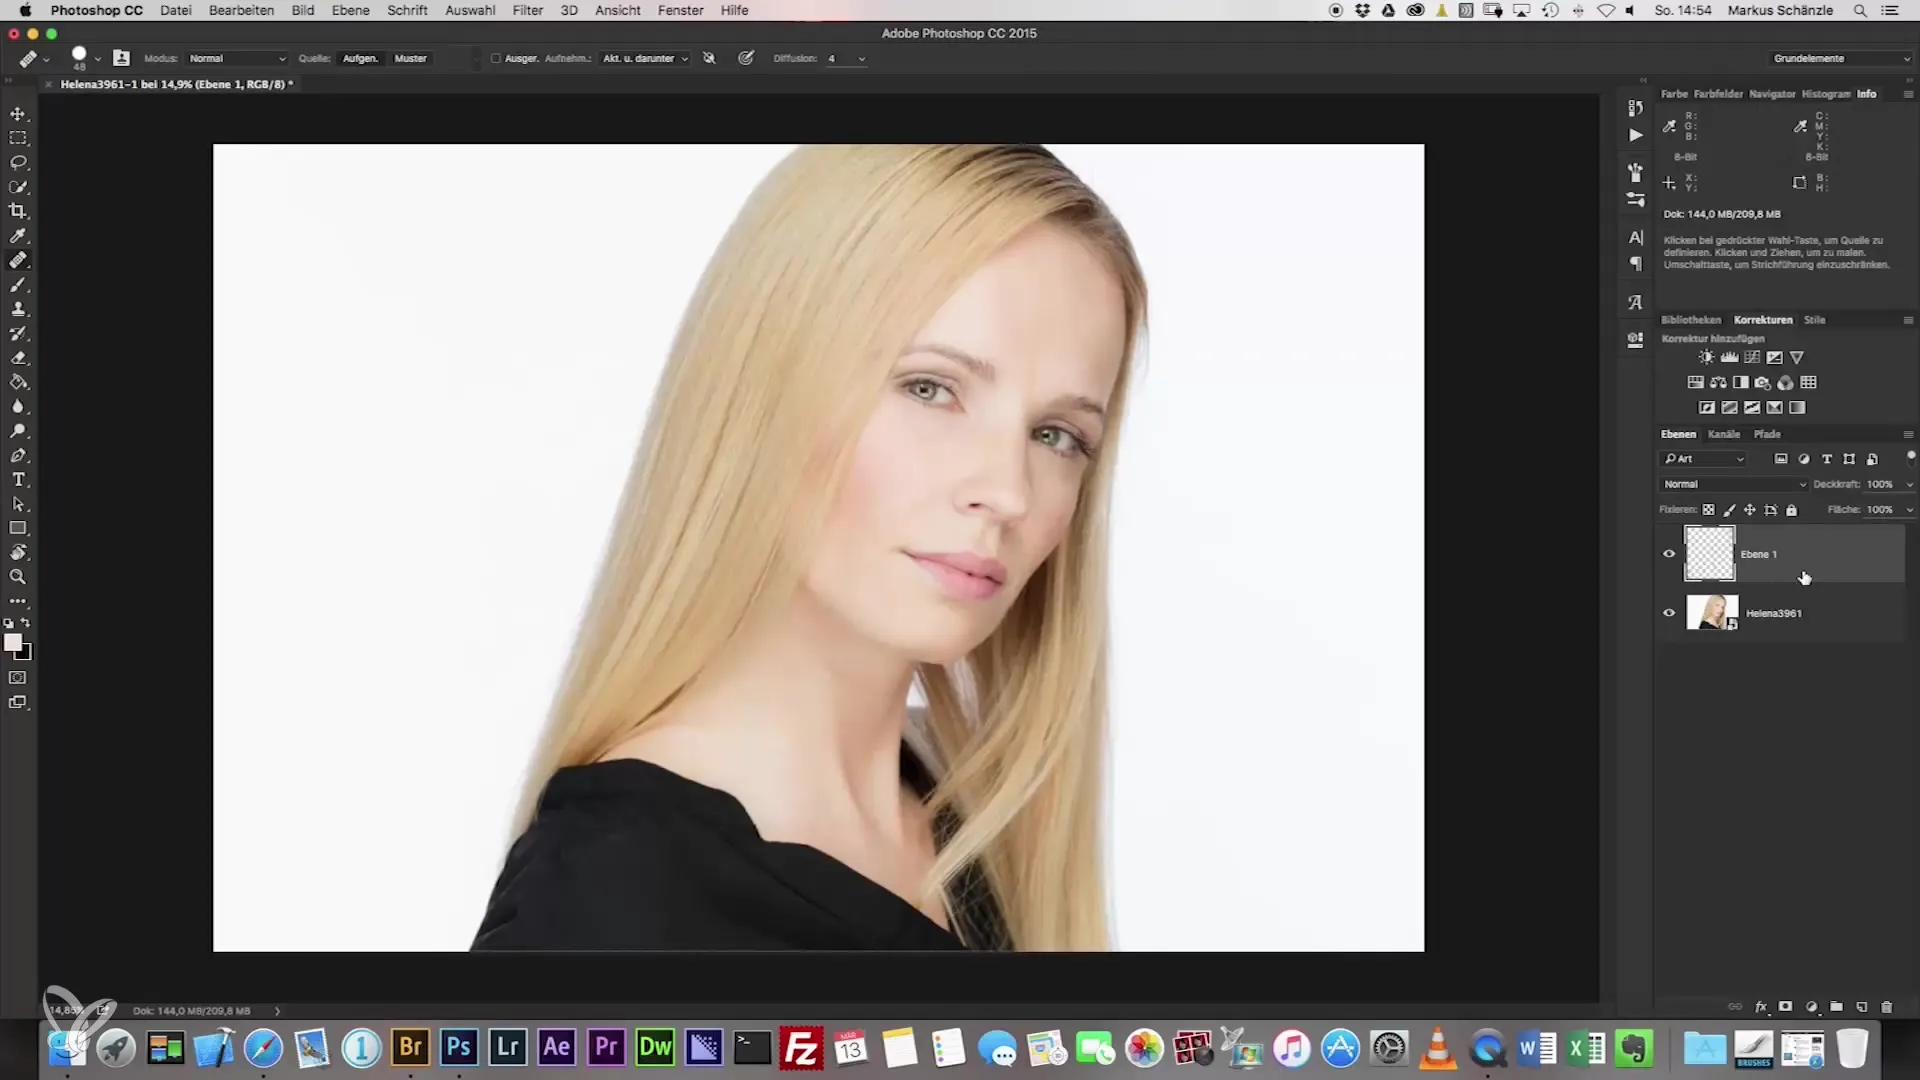
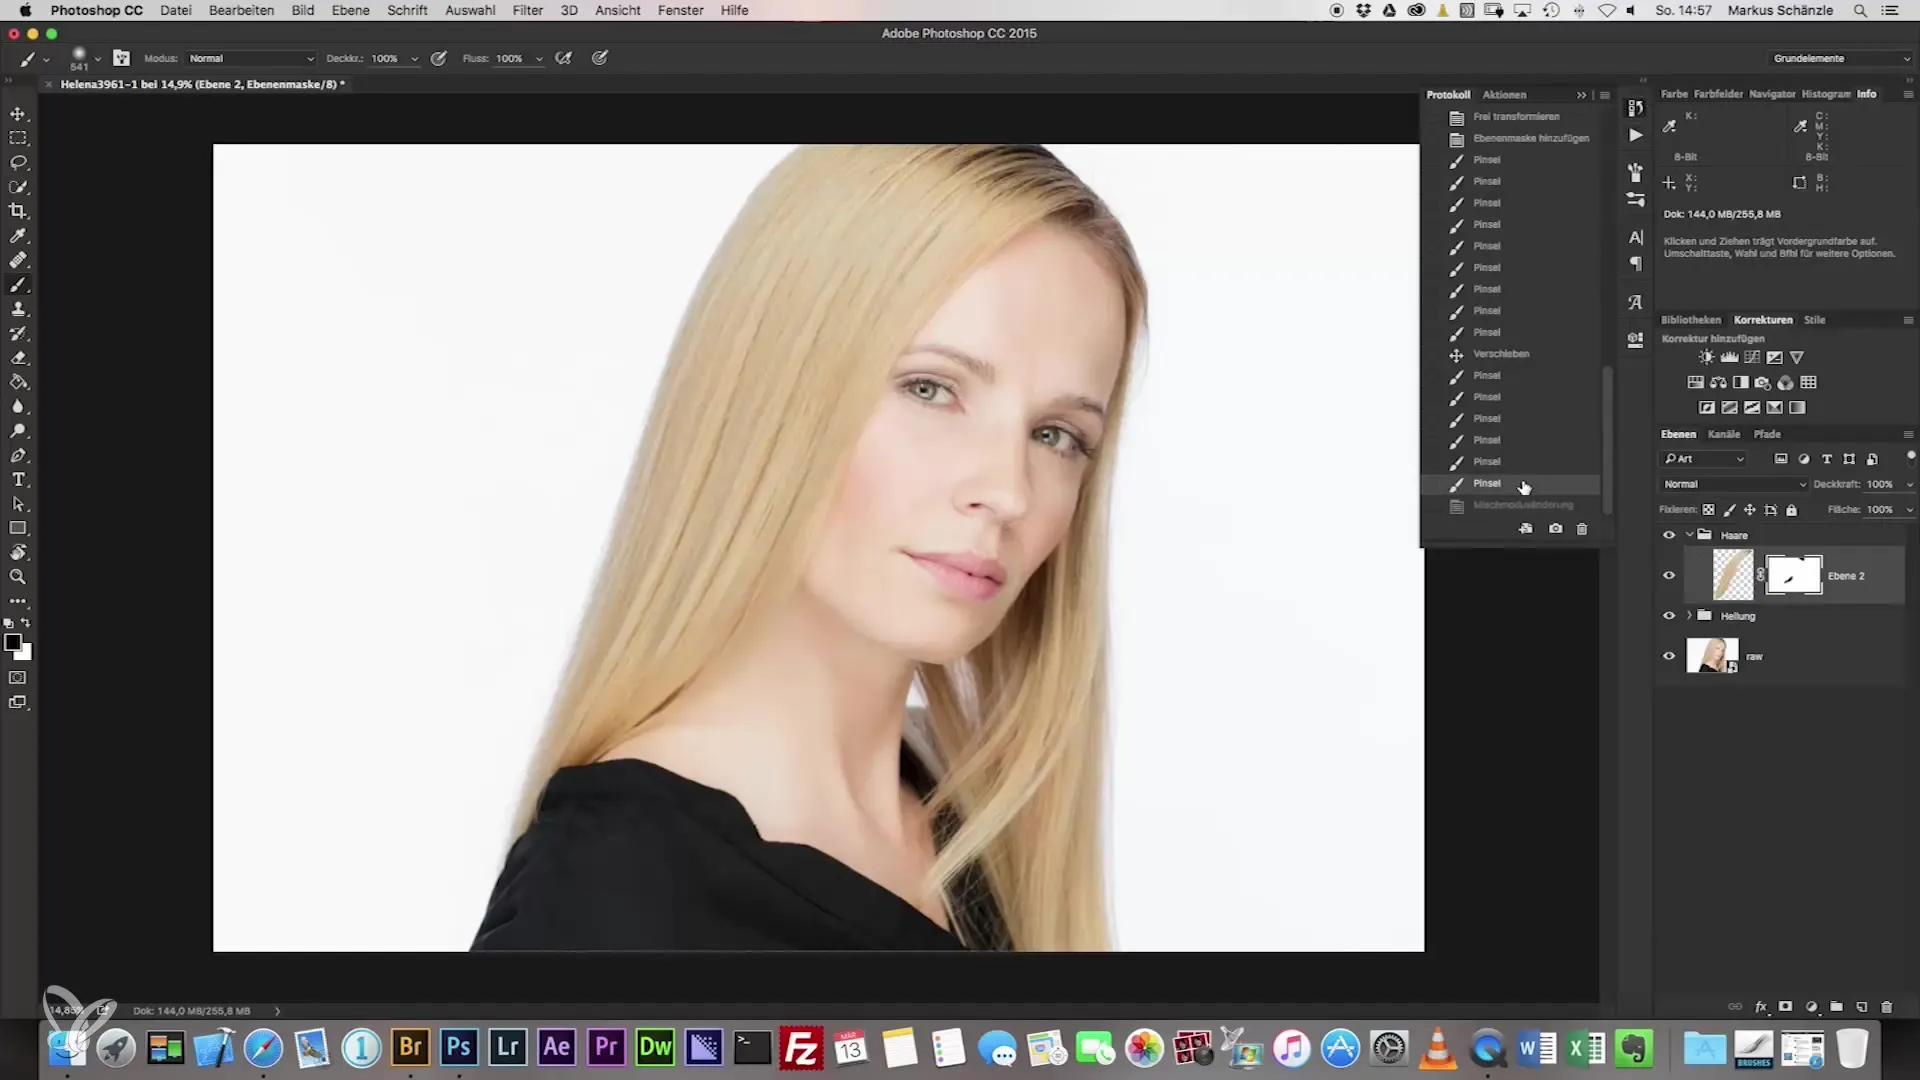
Before you begin editing the hair, it is important to use the starting situation. Create a new layer where the existing hair parts can be edited. Use the shortcut Command + J (or Ctrl + J) to make a copy of your background layer.
2. Select and Copy Hair Sections
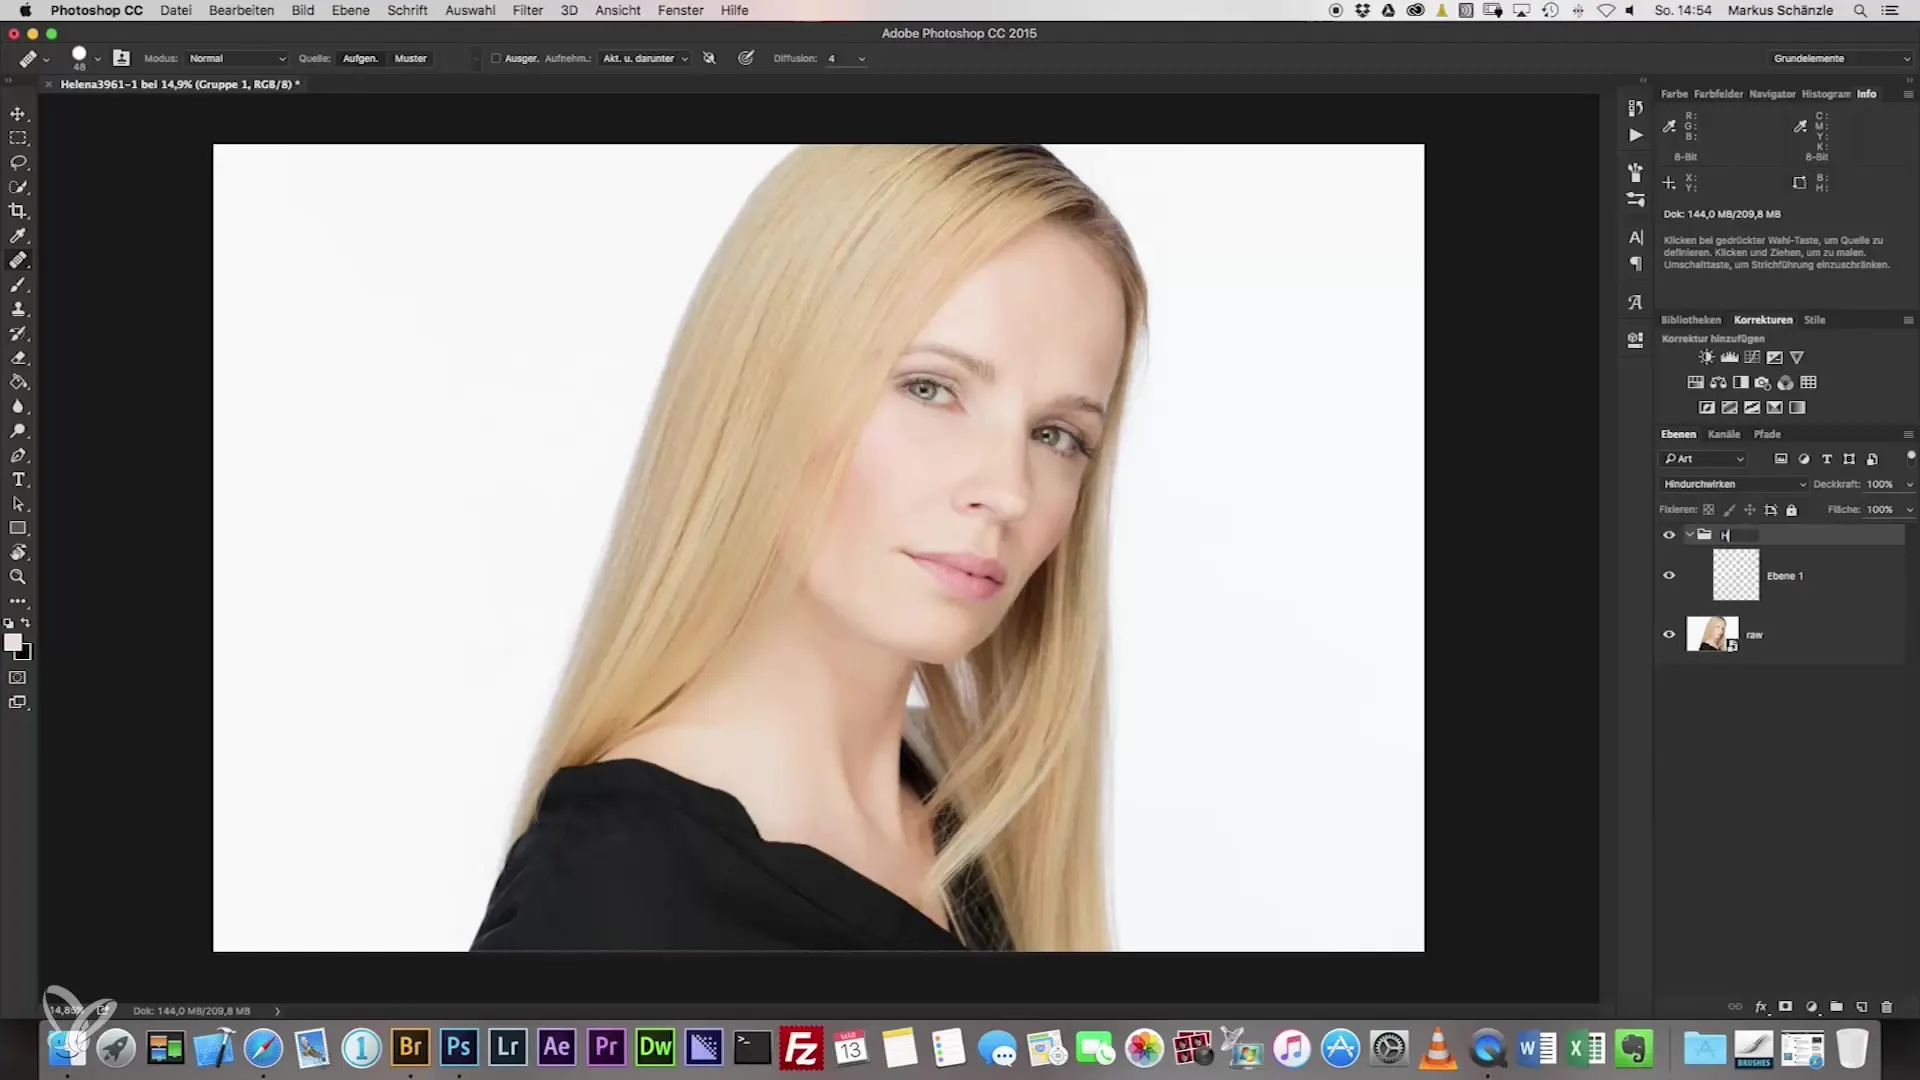
Now you need to select the areas of hair that you want to use as a base. Select the area that looks best and move it to the new layer to minimize any disturbances. It may be helpful to slightly rotate the area to fit better into the overall composition. Use the Edit > Transform > Free Transform function or the corresponding shortcut for this.
3. Masking the Hair
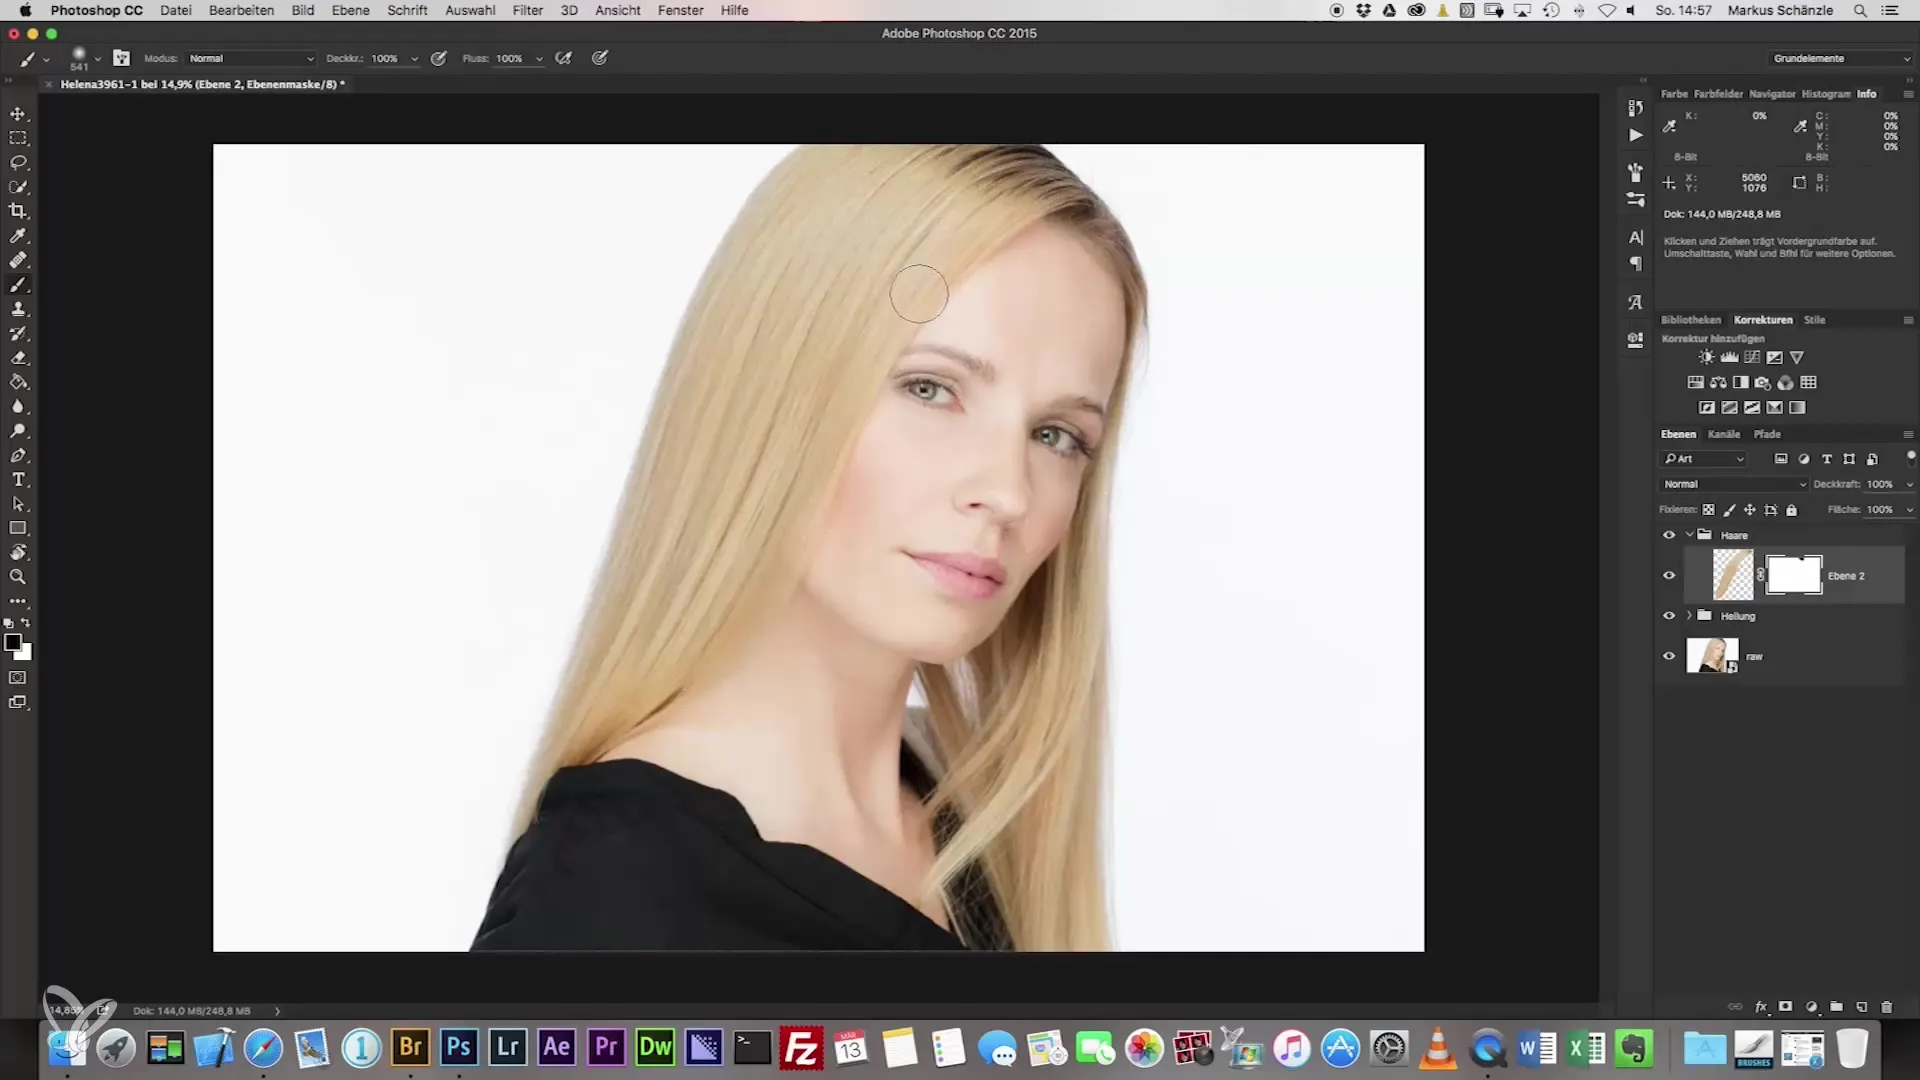
One of the best methods for hair adjustment is masking. Make sure to choose a brush with 100% opacity and a suitable diameter for precision work. With a black brush, you can mask out the areas you want to remove. Be sure to set a soft edge so that the transitions look harmonious.
4. Check the Results
After masking, it is crucial to perform before-and-after comparisons to see if the corrected area looks good. If necessary, go back and adjust the masking to improve areas that have not been edited optimally.
5. Fine-tuning the Hair Strands
In this step, you can optimize the transitions between the hairs. You can also set higher opacity values or switch to the "Multiply" layer mode to improve the appearance of the hair. This will help make the overall image appear cleaner.
6. Using the Clone Tool
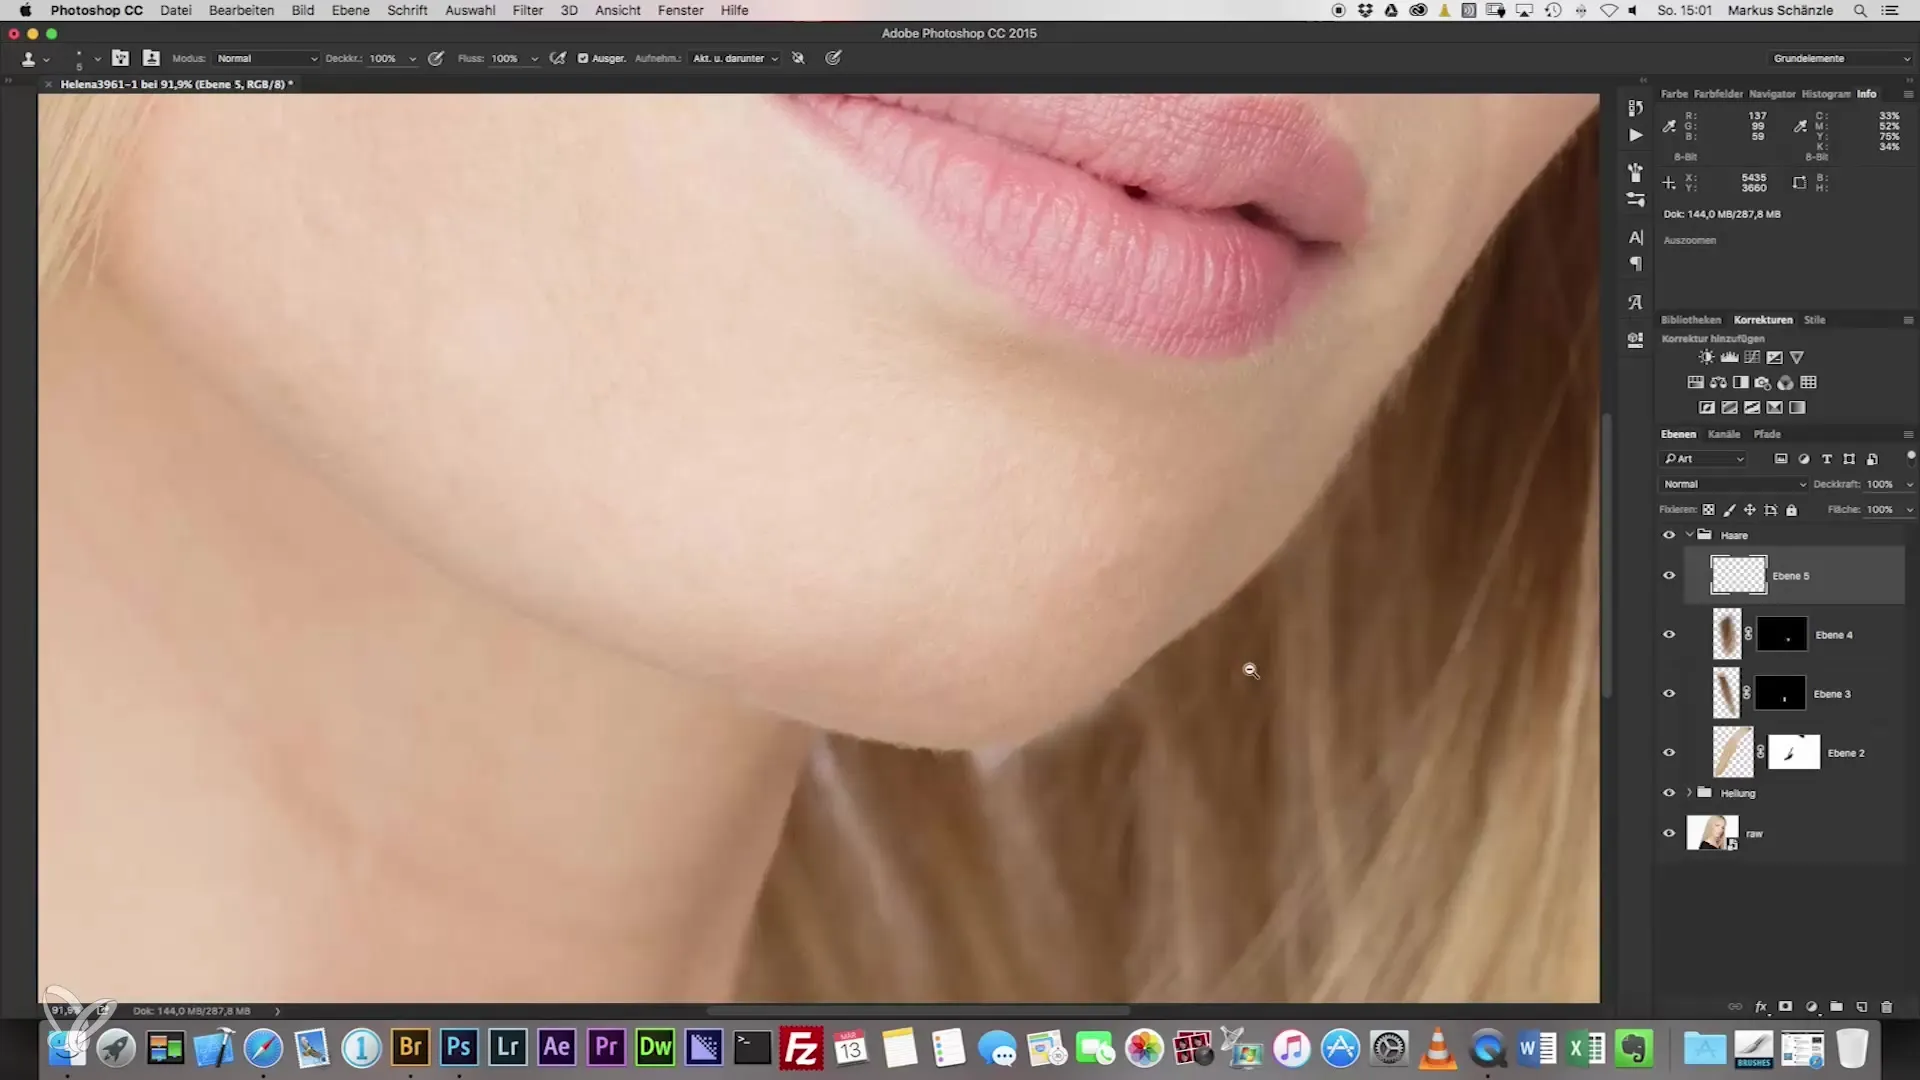
After the initial corrections have been made, you can use the clone tool to edit fine details and further reduce unwanted areas. Create a new empty layer to minimize the risk of unintentional over-editing on the working copy.
7. Review and Final Adjustments
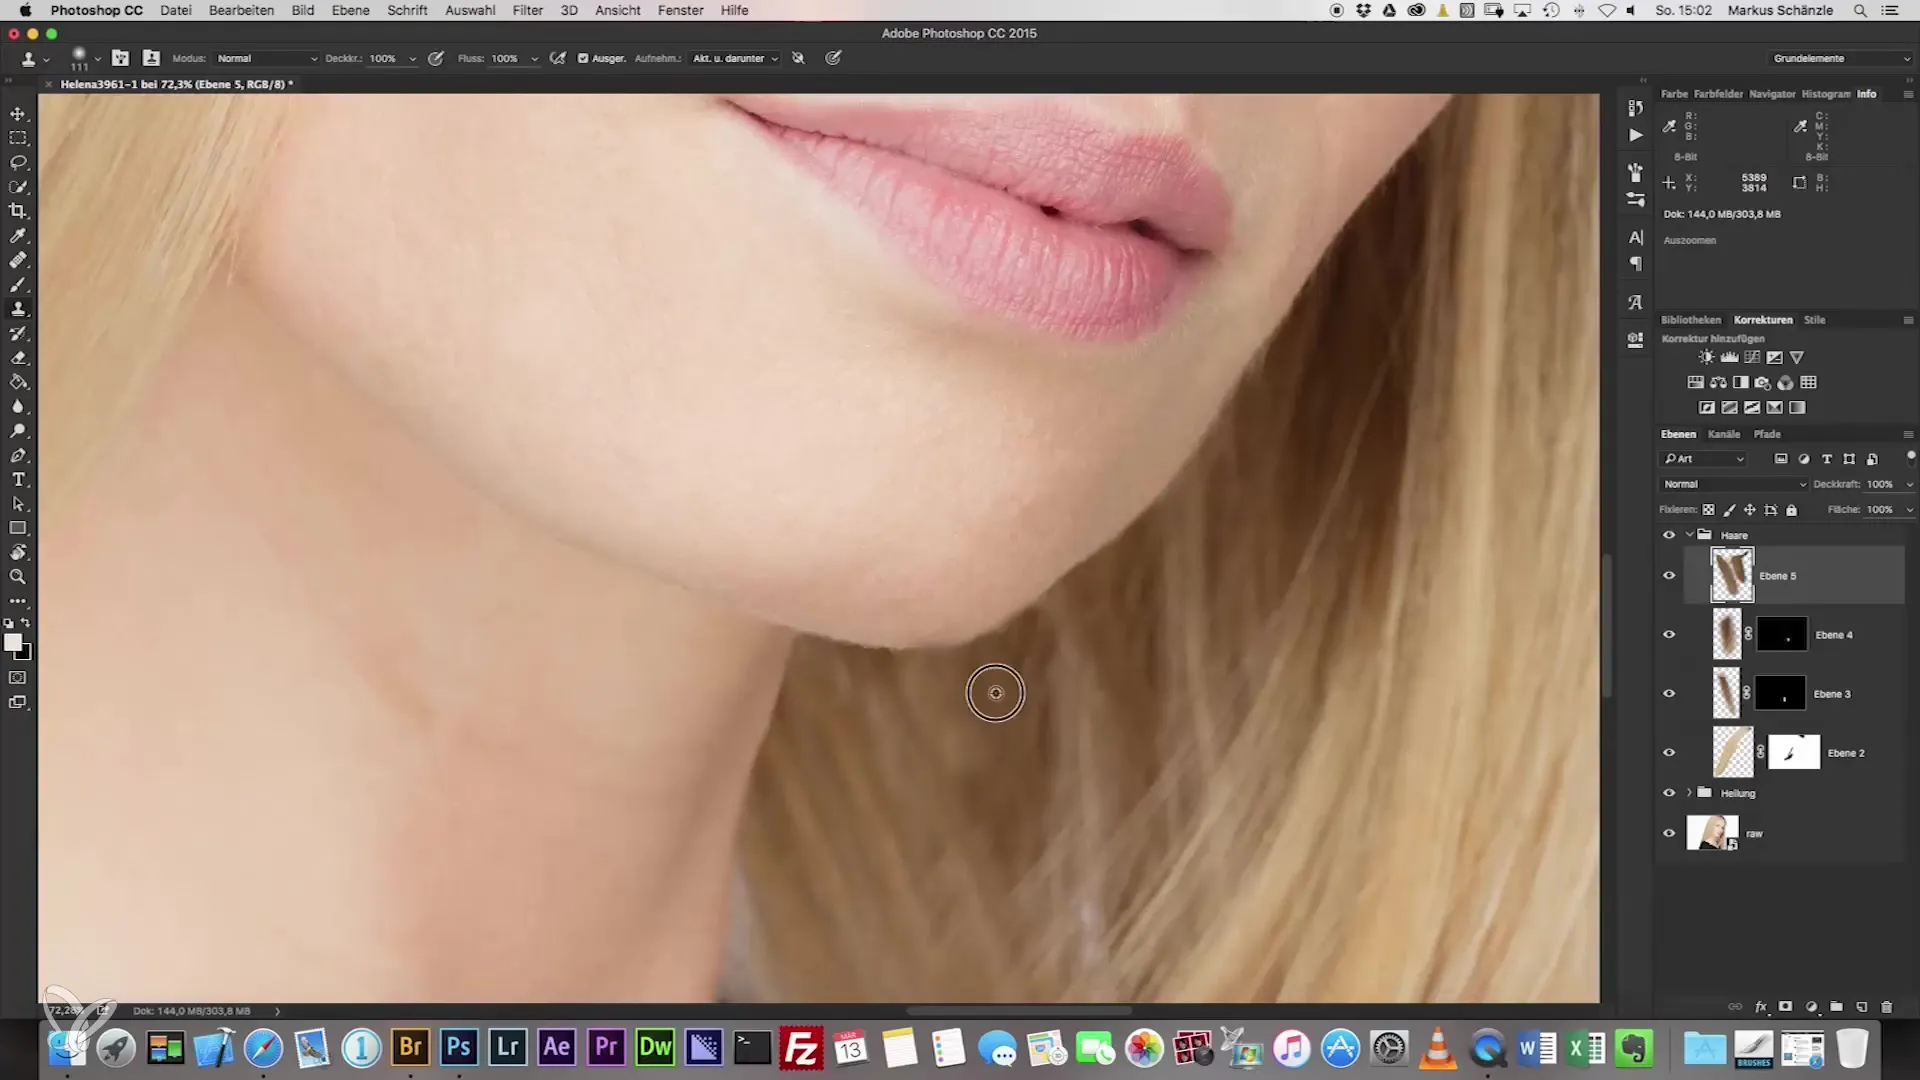
Check the entire image for inconsistencies and fine edges. Ensure that all corrections are seamlessly integrated into the overall portrait. If necessary, re-edit the key areas to ensure a harmonious result.
Summary - Perfect Hair Corrections in Headshot Photography
To perfect your headshot photography, focus on hair editing. By applying the right techniques, you can minimize distractions and highlight the beauty of the face. Don't hesitate to try different methods to achieve optimal results.
Frequently Asked Questions
How can I avoid distractions from hair?Pay attention to deliberately position the hair while photographing.
What is the importance of masking in hair editing?Masking allows you to edit specific areas of hair precisely without affecting the entire image.
Why is a soft edge important when masking?Soft edges help to make transitions look nicer and more natural.
Can I also edit other areas with the clone tool?Yes, the clone tool is versatile and can be used to adjust many different areas of the image.
