In this tutorial, you will learn how to effectively remove backgrounds using the Background Eraser in Affinity Photo. This tool allows you to eliminate unwanted backgrounds and create images with transparent areas. Although it is a destructive tool, we will show you how to work non-destructively with it. Get ready to unleash your creative potential and achieve impressive results!
Main Insights
- The Background Eraser in Affinity Photo removes image information destructively.
- By using a combination of masking techniques, you can achieve non-destructive results.
- The tolerance function of the tool plays a central role in erasing colors.
Step-by-Step Guide
1. Image Preparation
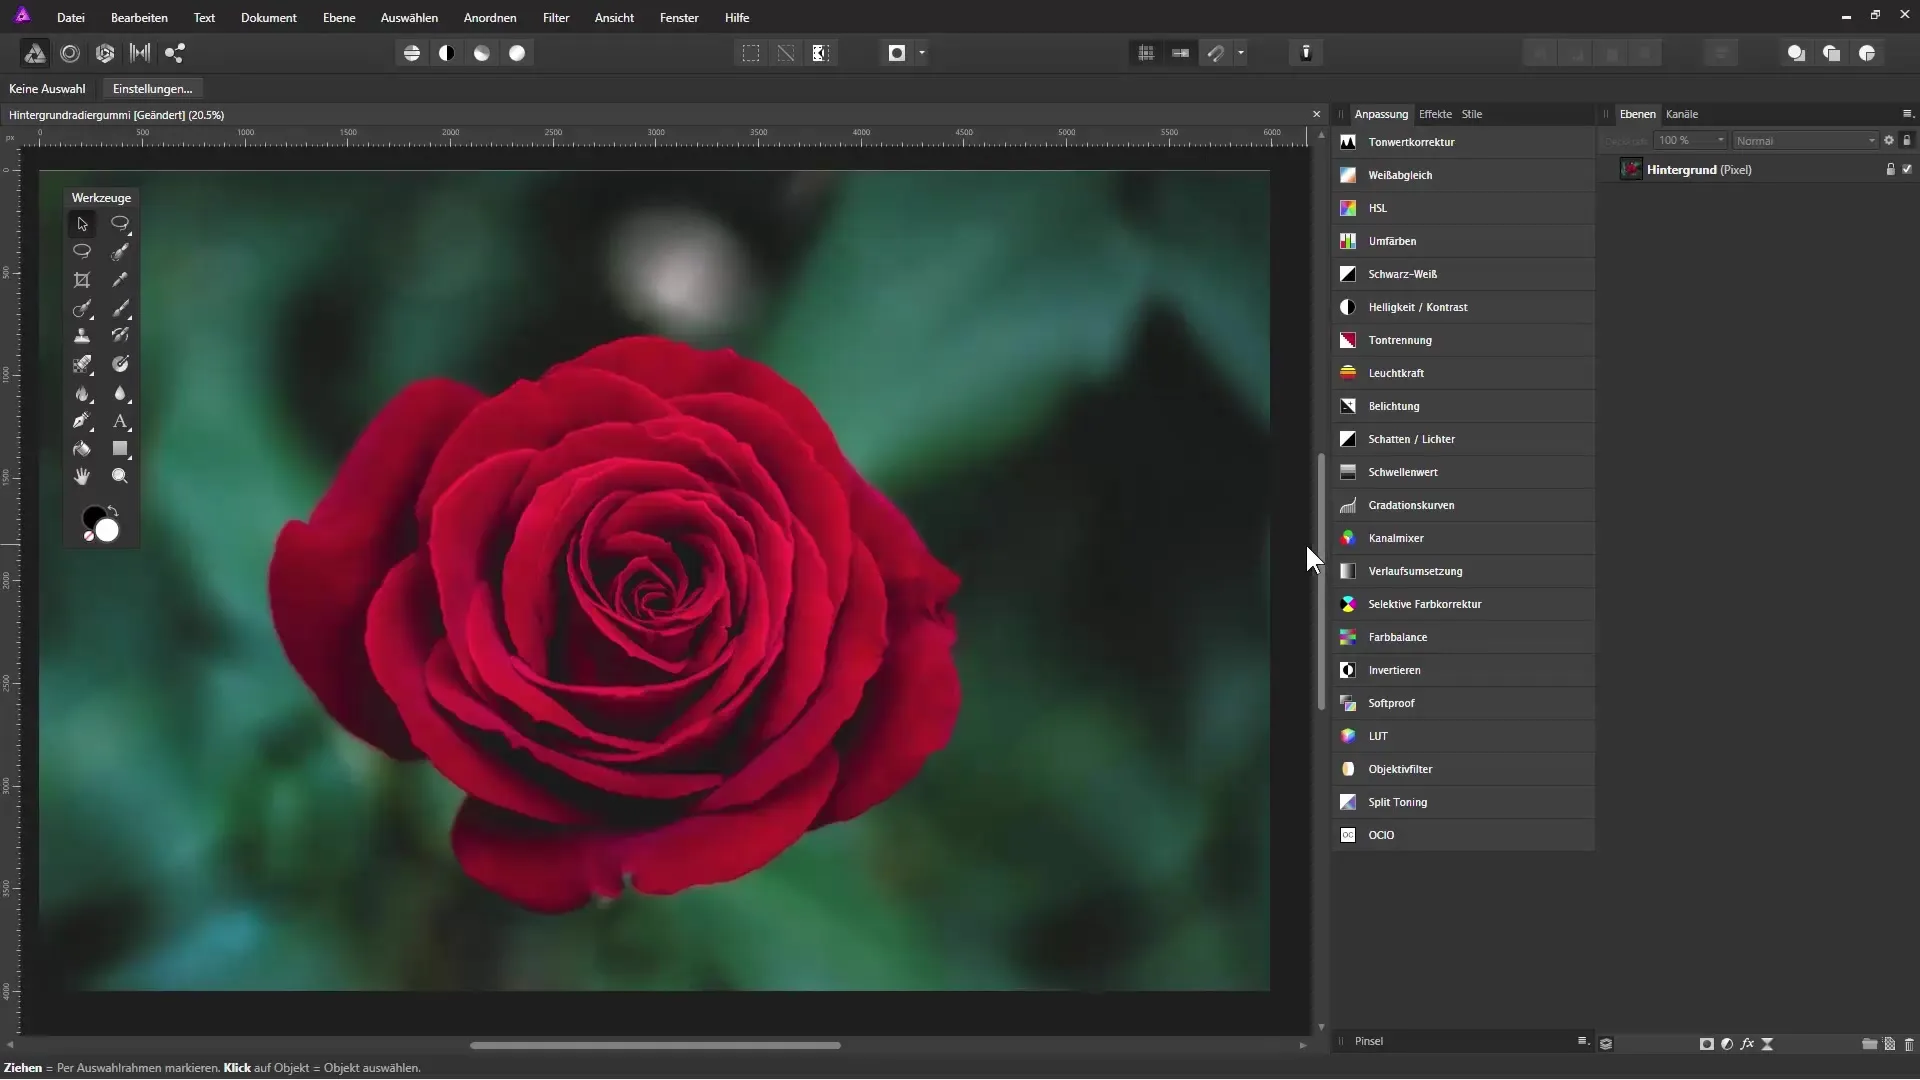
Open your image in Affinity Photo. Make sure that the background layer is not locked. If it is locked, right-click on it and select “Duplicate Layer” or press Ctrl + J to create a new floating layer. This is important since the Background Eraser only works on floating layers.
2. Create a Fill Layer
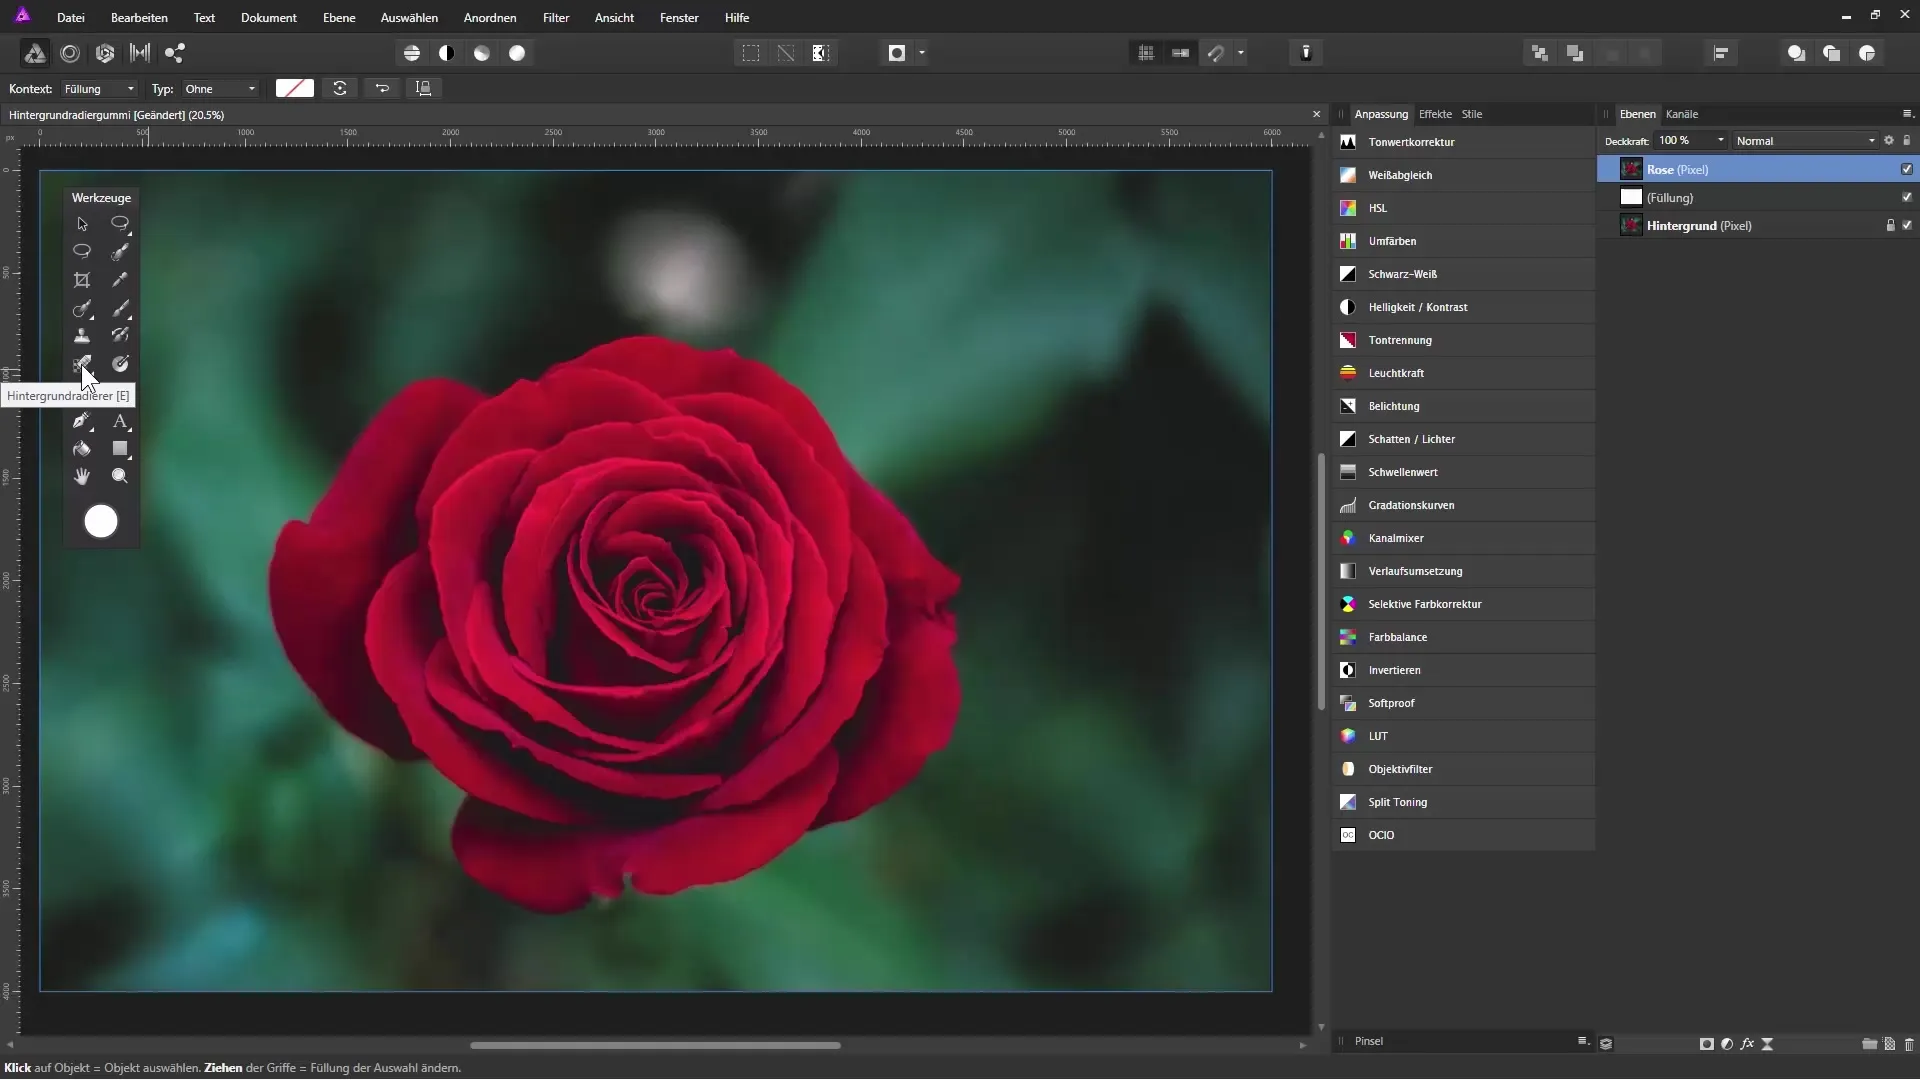
To ensure that you do not see the original layer, add a fill layer behind your floating layer. Select “Layer” from the menu and click on “New Fill Layer”. You can choose any color – in this example, we are using white. Move this fill layer below the floating layer.
3. Select the Background Eraser
Select the Background Eraser tool from the toolbar. If it is not immediately visible, hold down the left mouse button on the eraser icon and look for the Background Eraser icon in the new menu. Be sure to choose the correct settings for tolerance and sampling.
4. Adjust Tolerance
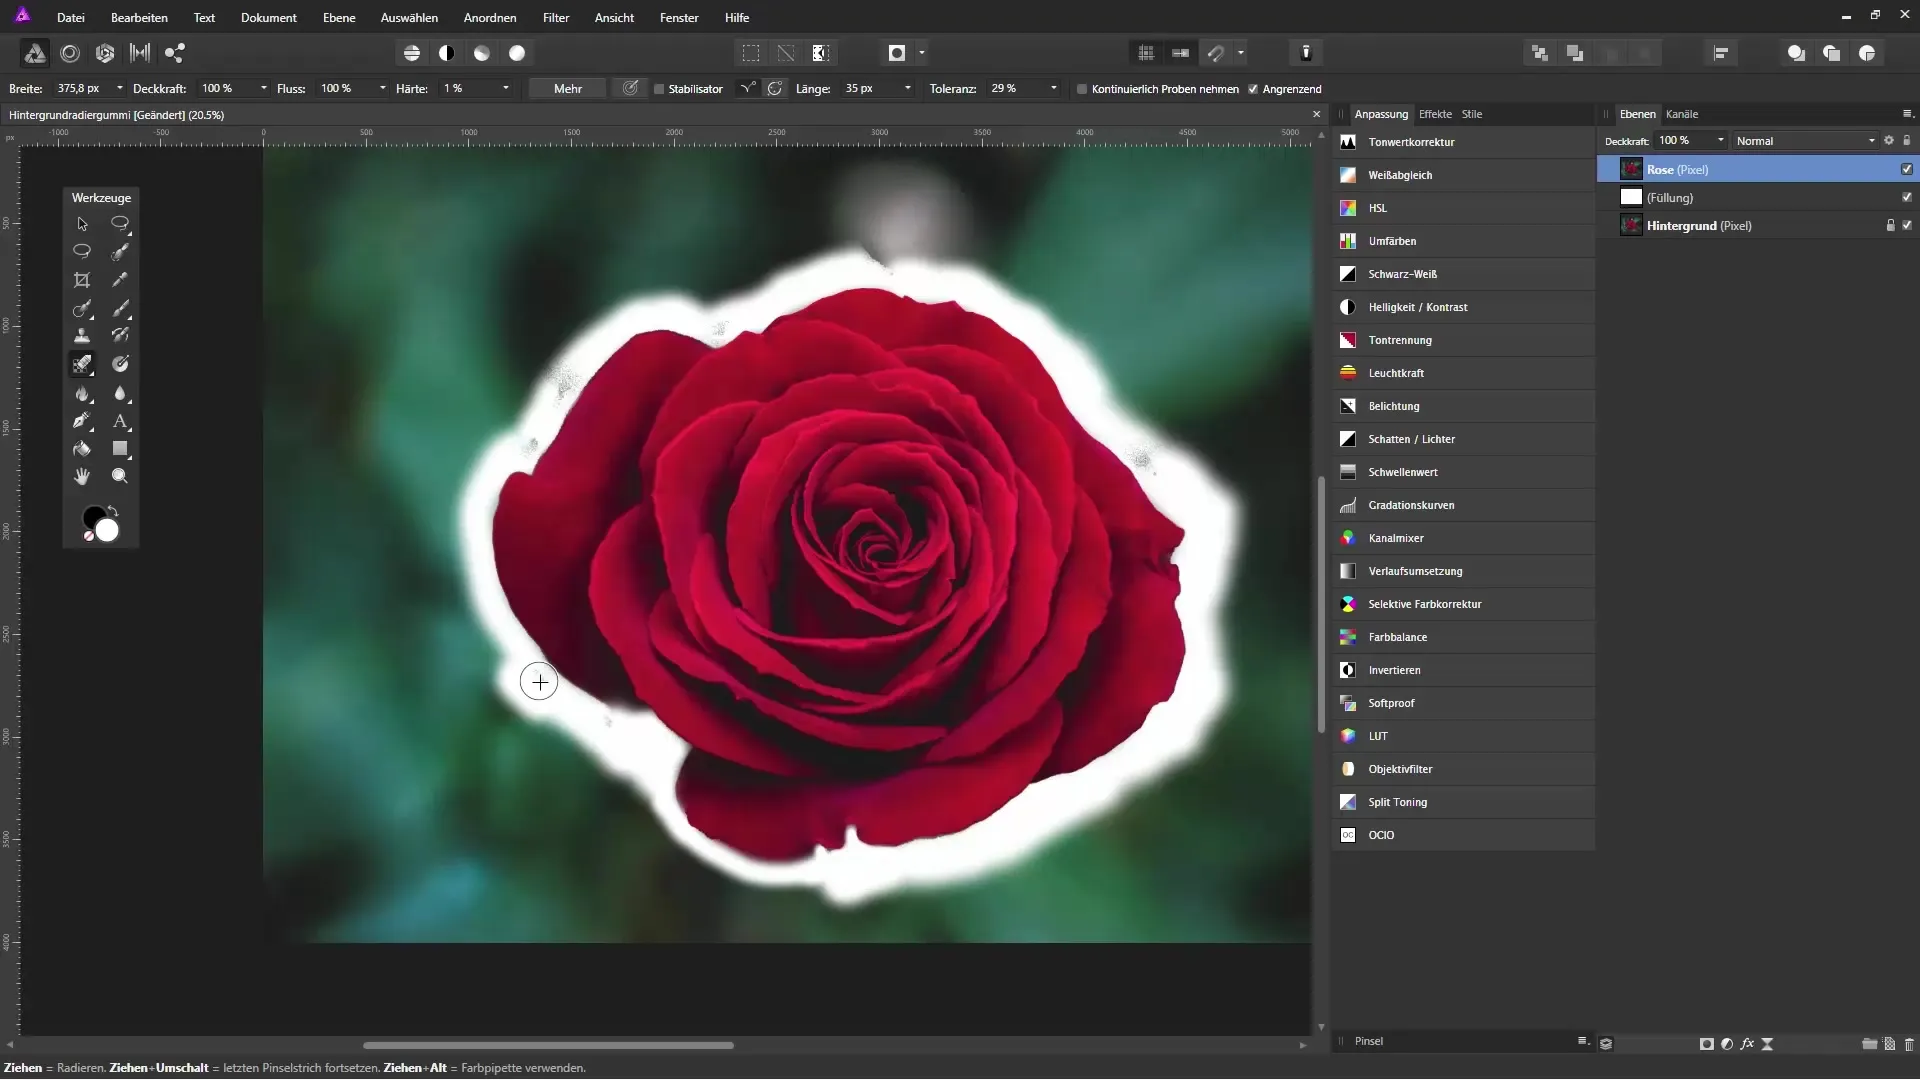
Tolerance is an important parameter. Start with a low tolerance and gradually increase it to achieve the best results. A lower tolerance only removes similar colors, while a higher tolerance removes broader color variations. Test different values; a value around 10%-30% can often be effective.
5. Erase the Background
Start erasing the background by swiping the tool over the unwanted areas of the image. Make sure to adjust the tolerance to the color shades you want to remove. Adjust the brush size if necessary to work more precisely.
6. Corrections After Erasing
After erasing, you should examine the result and possibly make manual corrections. Use the undo tool if you went too far, and adjust the tolerance to make more accurate modifications.
7. Selecting the Object
To achieve more precise erasures, you can use the lasso tool to additionally paint around the flowers or objects you want to keep. Then, select the pixels and invert the selection to remove the background.
8. Edge Refinement
To refine the edges of the cut-out objects, go to the “Refine Mask” dialog. Here, you can adjust various parameters to make the edges softer and more natural. Be sure to keep the preview active to see the changes in real-time.
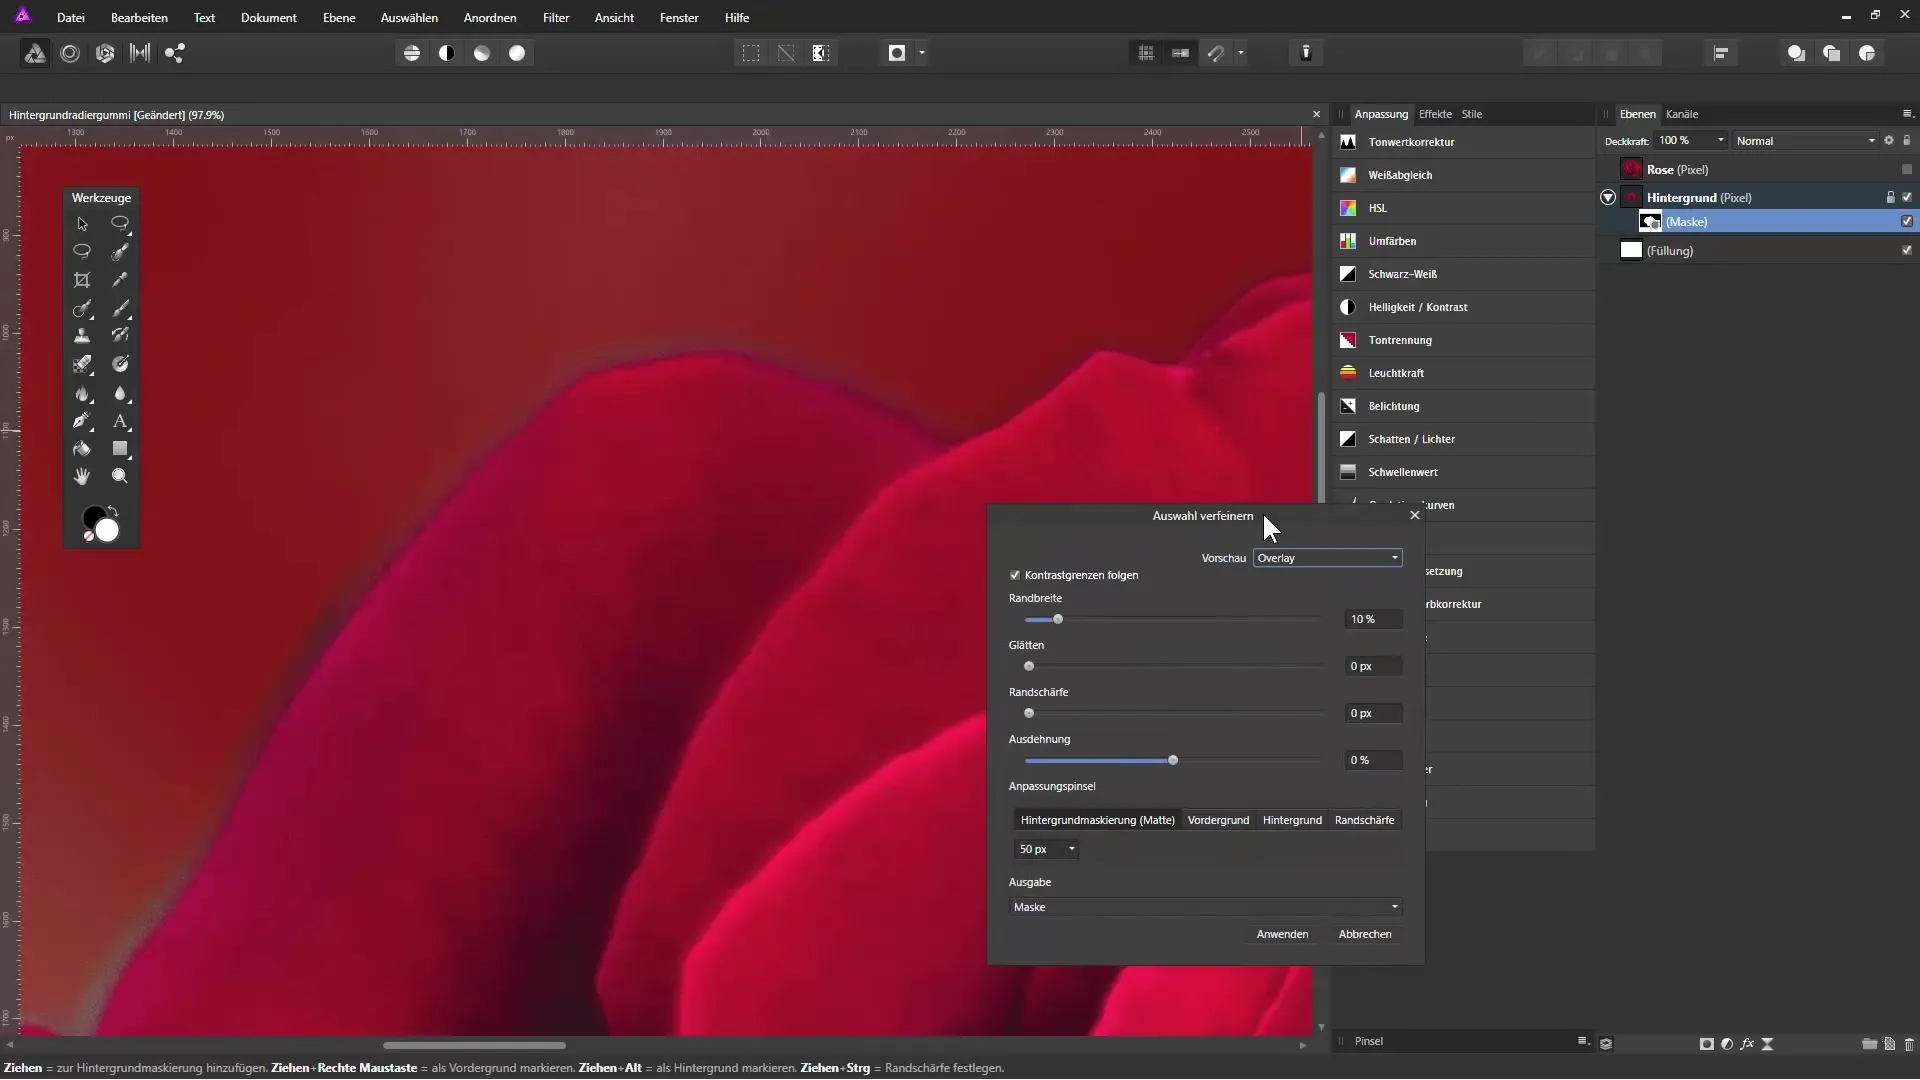
9. Create a Mask
After working with the Background Eraser, you can generate a mask for the cut-out areas. You can do this by activating the selection and clicking on the mask icon. This allows you to maintain flexibility for adjustments.
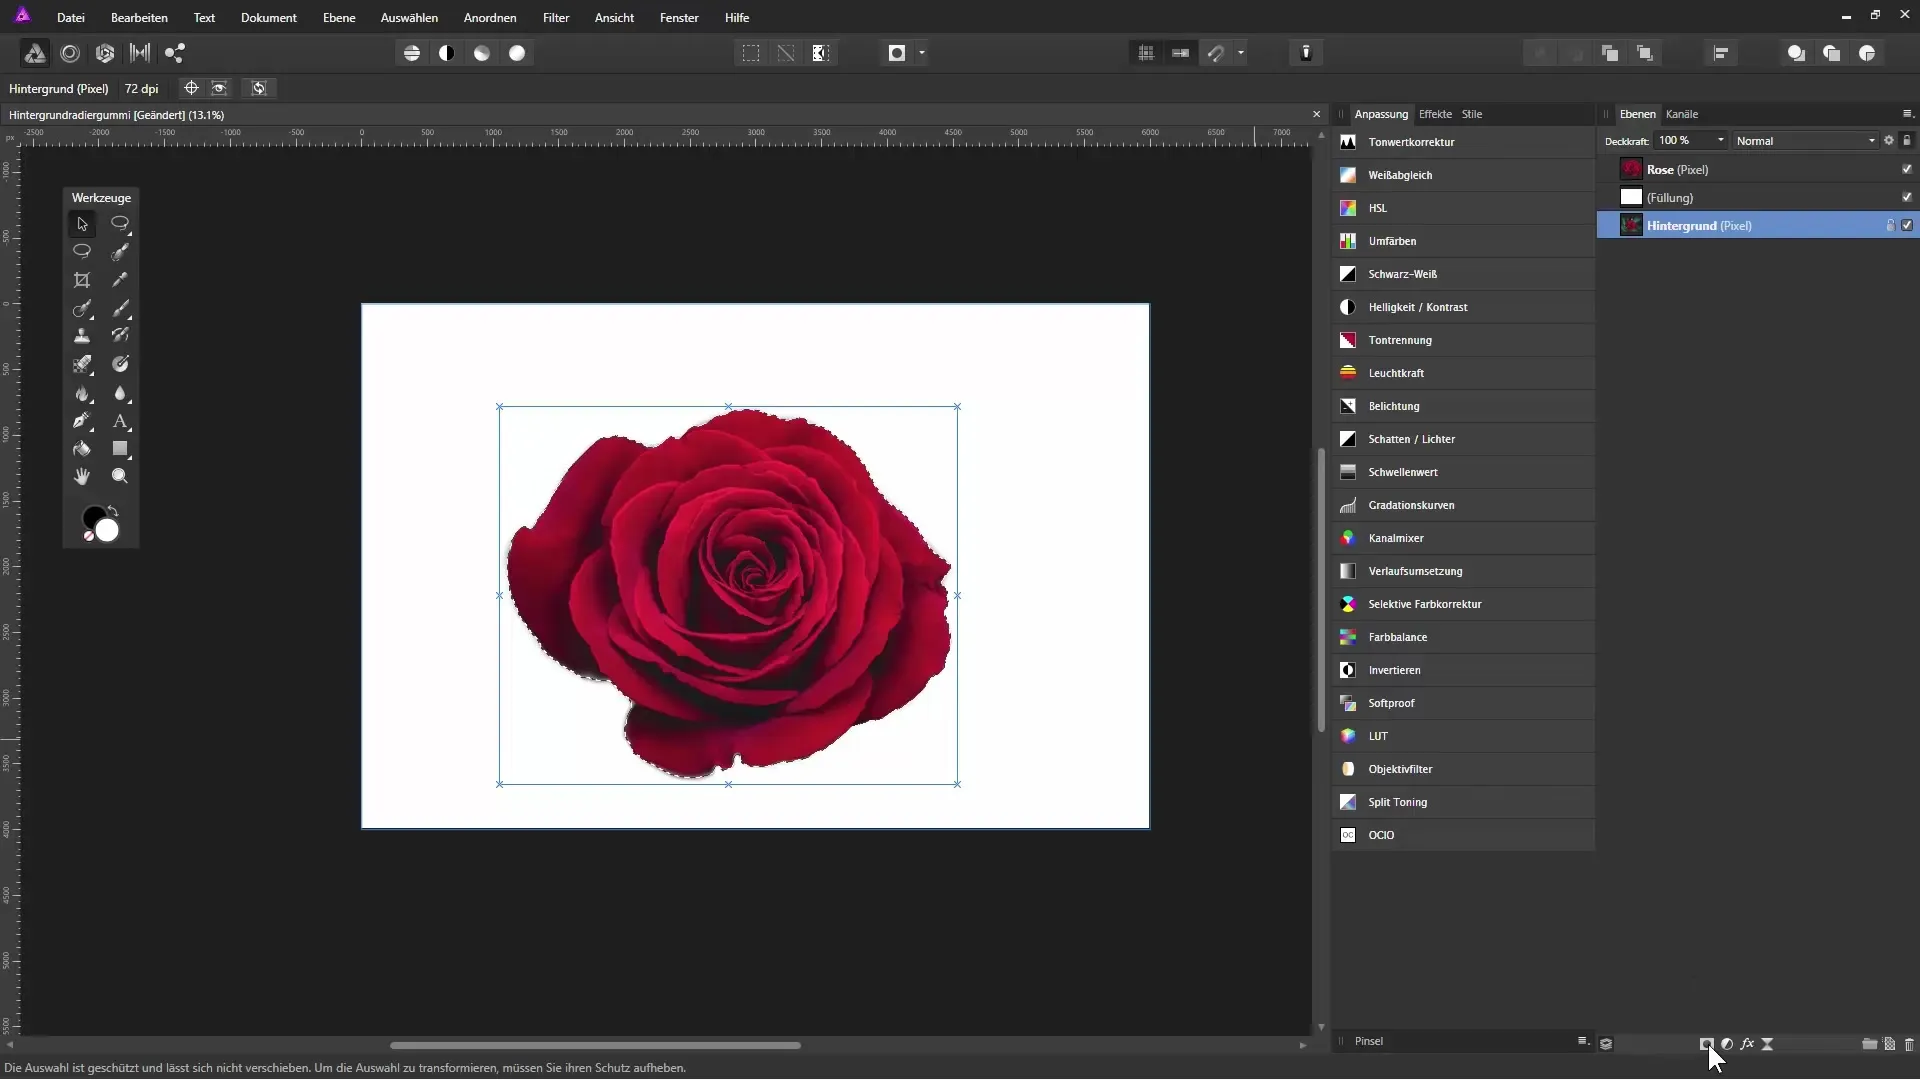
10. Final Adjustments
Add the fill layer with a new color to check how well your main subject is cut out and if any adjustments are needed. If everything looks good, you can save the mask and preserve the result.
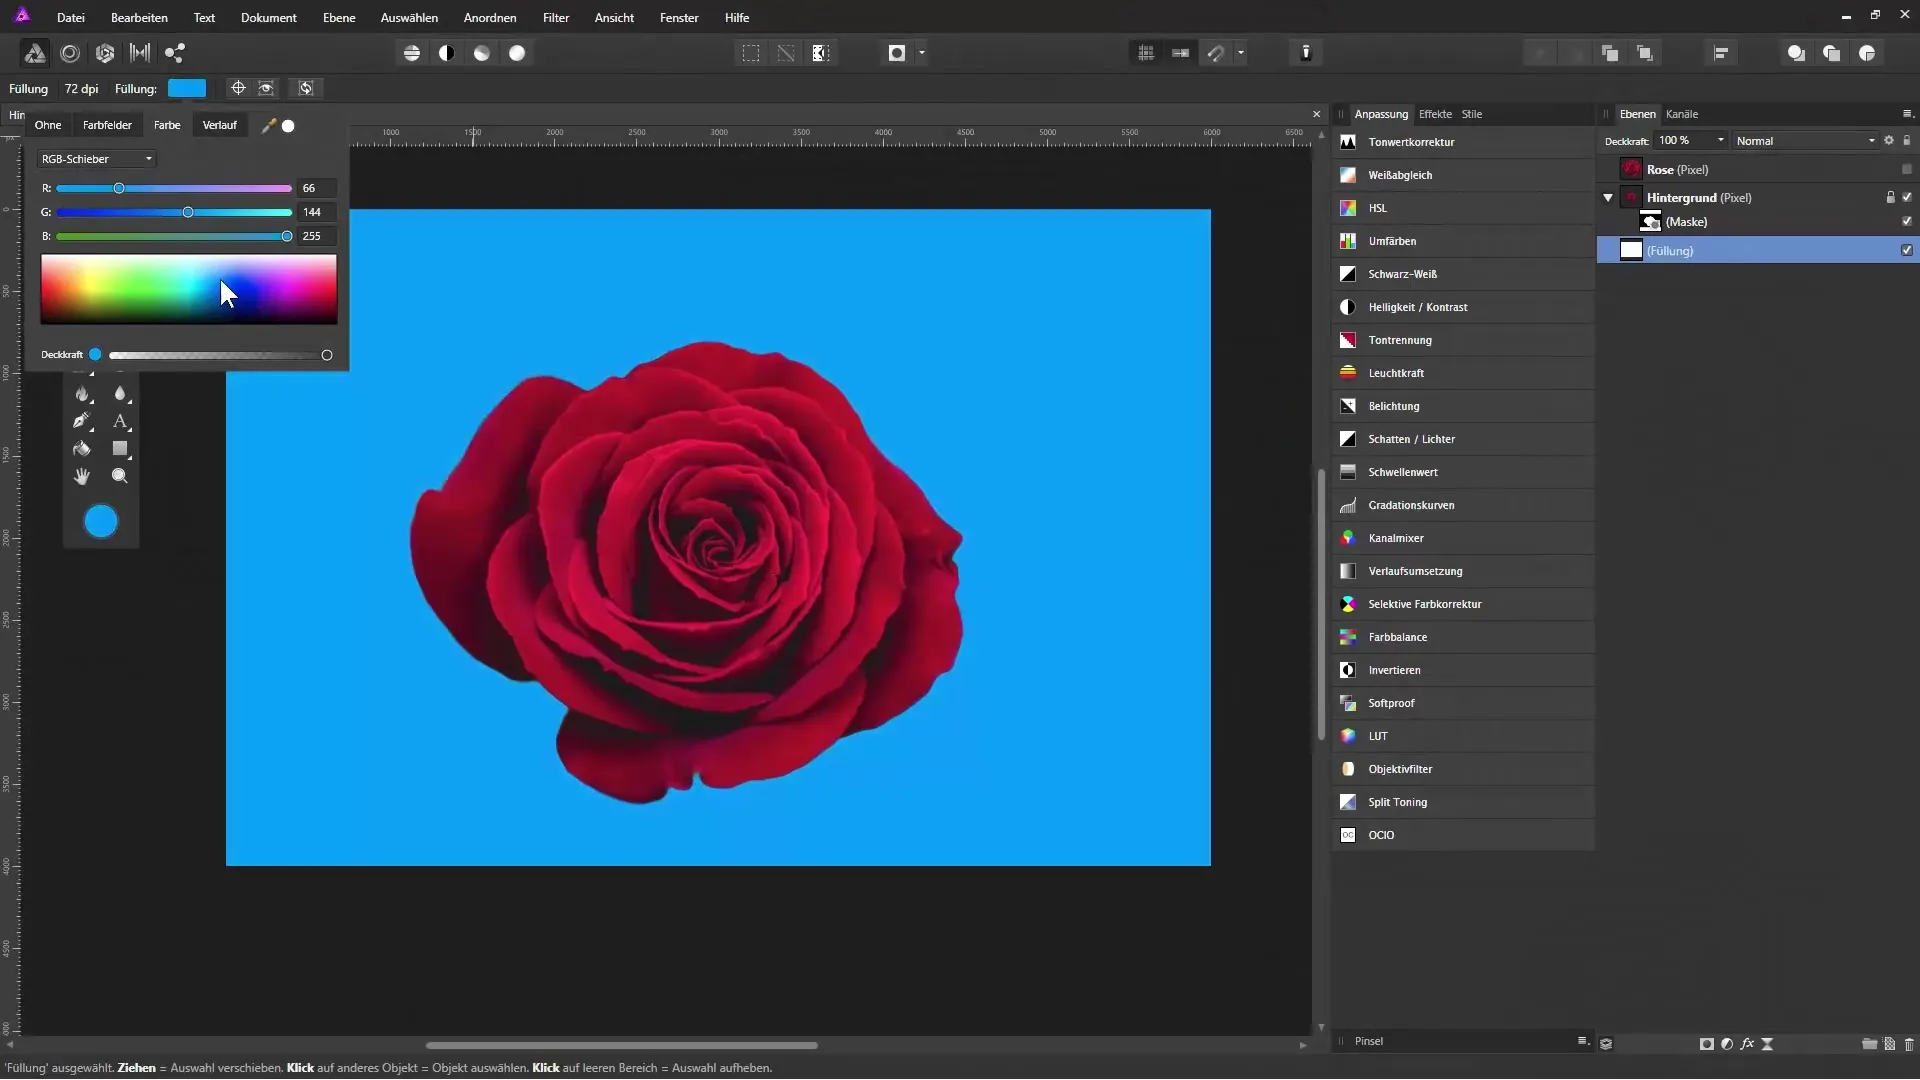
Summary – Cutting Out with the Background Eraser in Affinity Photo
By understanding and mastering the Background Eraser tool along with the application of masks, you can achieve impressive results and creatively handle your images.
Frequently Asked Questions
How safe is it to use the Background Eraser?The Background Eraser is destructive, so it is advisable to make backup copies of your images beforehand.
Can I use the Background Eraser for other types of colors?Yes, the eraser works with different shades of color, depending on how you set the tolerance.
Is there a way to adjust the radius of the eraser?Yes, you can easily adjust the brush size of the eraser to work more precisely.
What happens if I use the eraser too aggressively?This can lead to important parts of your image being lost. Therefore, it is essential to work carefully and regulate the tolerance.
Can I restore the selection after applying the eraser?Yes, by applying a mask, you gain the ability to restore or correct areas.


