Affinity Photo offers a variety of options for editing images and achieving creative effects. One of the lesser-known but extremely useful features is the blending options. With these, you can selectively make areas of the image transparent or highlight them without the use of complex masks. The blending options allow you to work specifically with color ranges and optimize your images. This guide shows you step by step how to use the blending options for masking more effectively.
Key Insights
- Blending options allow you to selectively make colors and color ranges transparent.
- You can highlight or hide both light and dark areas of the image.
- Using image layers with different fills creates interesting effects.
- Adjustments can be made at any time afterwards.
Step-by-Step Guide
Step 1: Open the image and go to the blending options
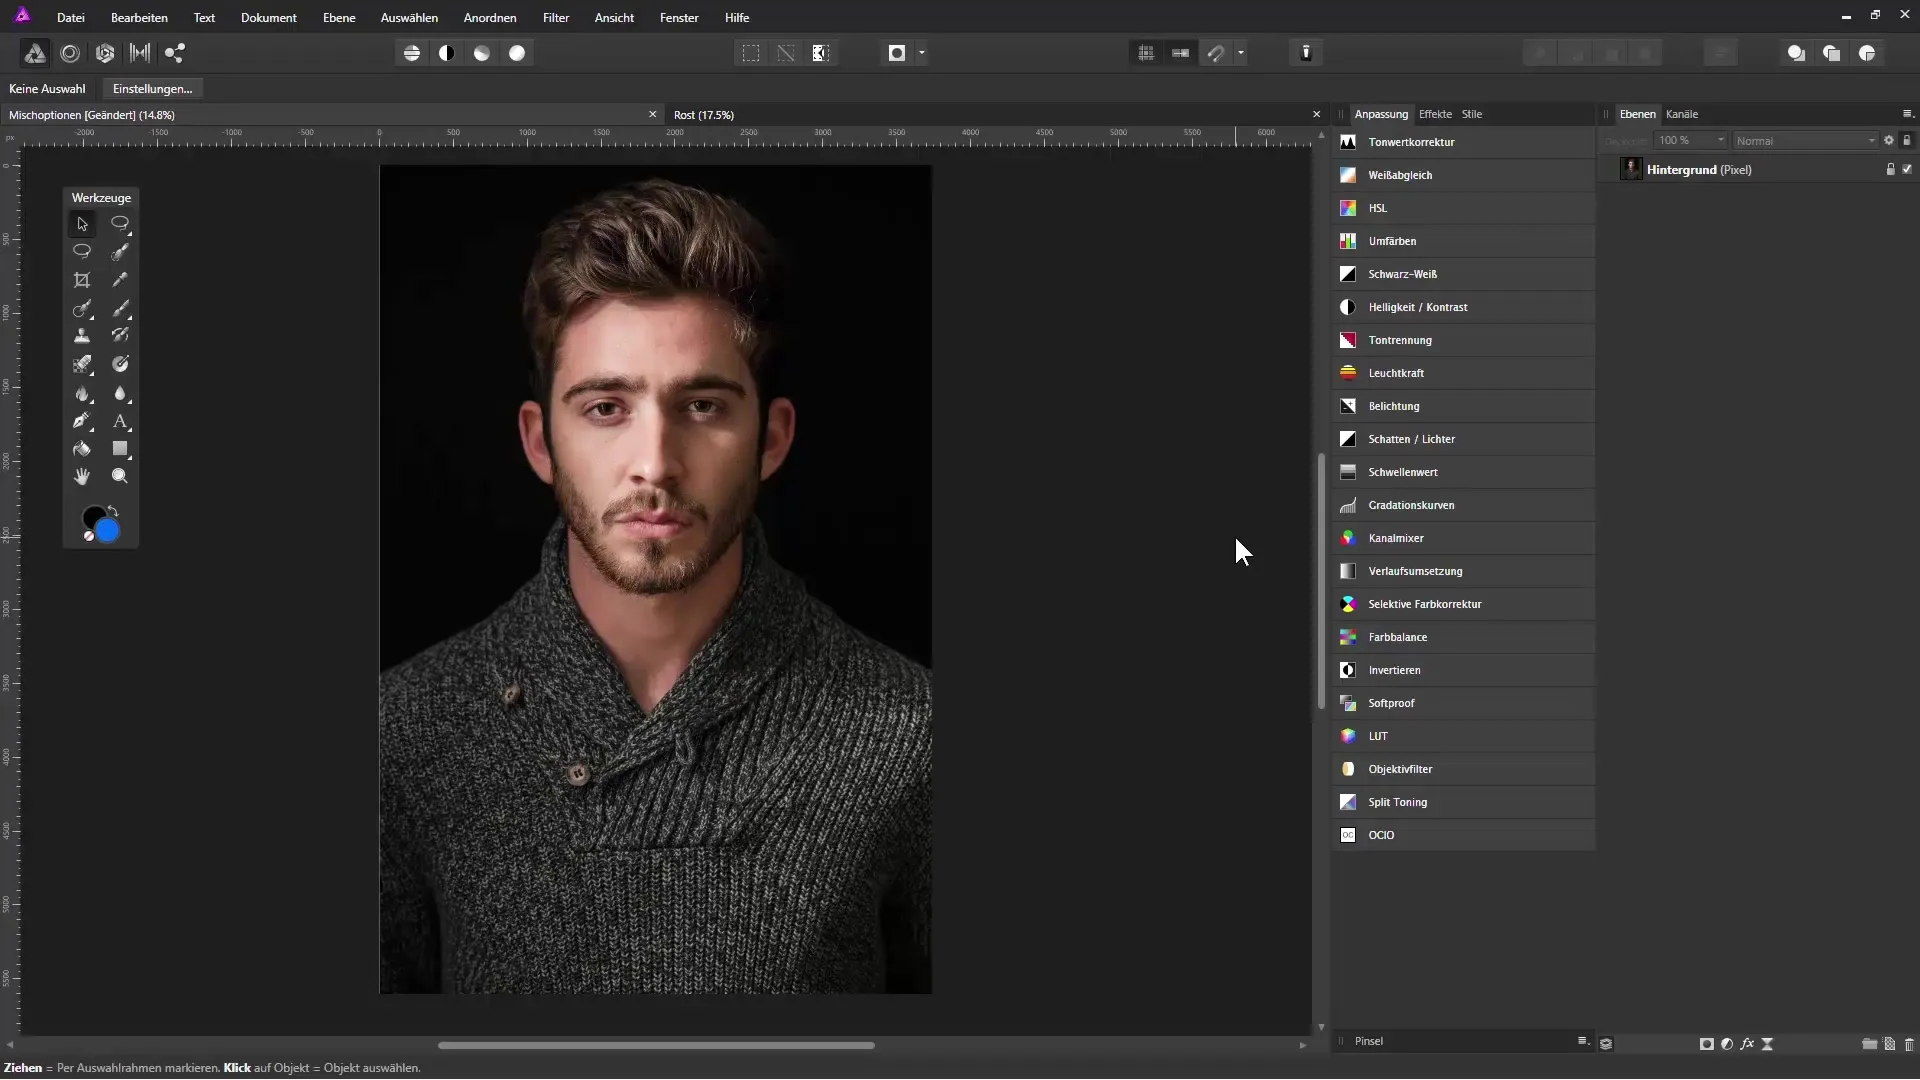
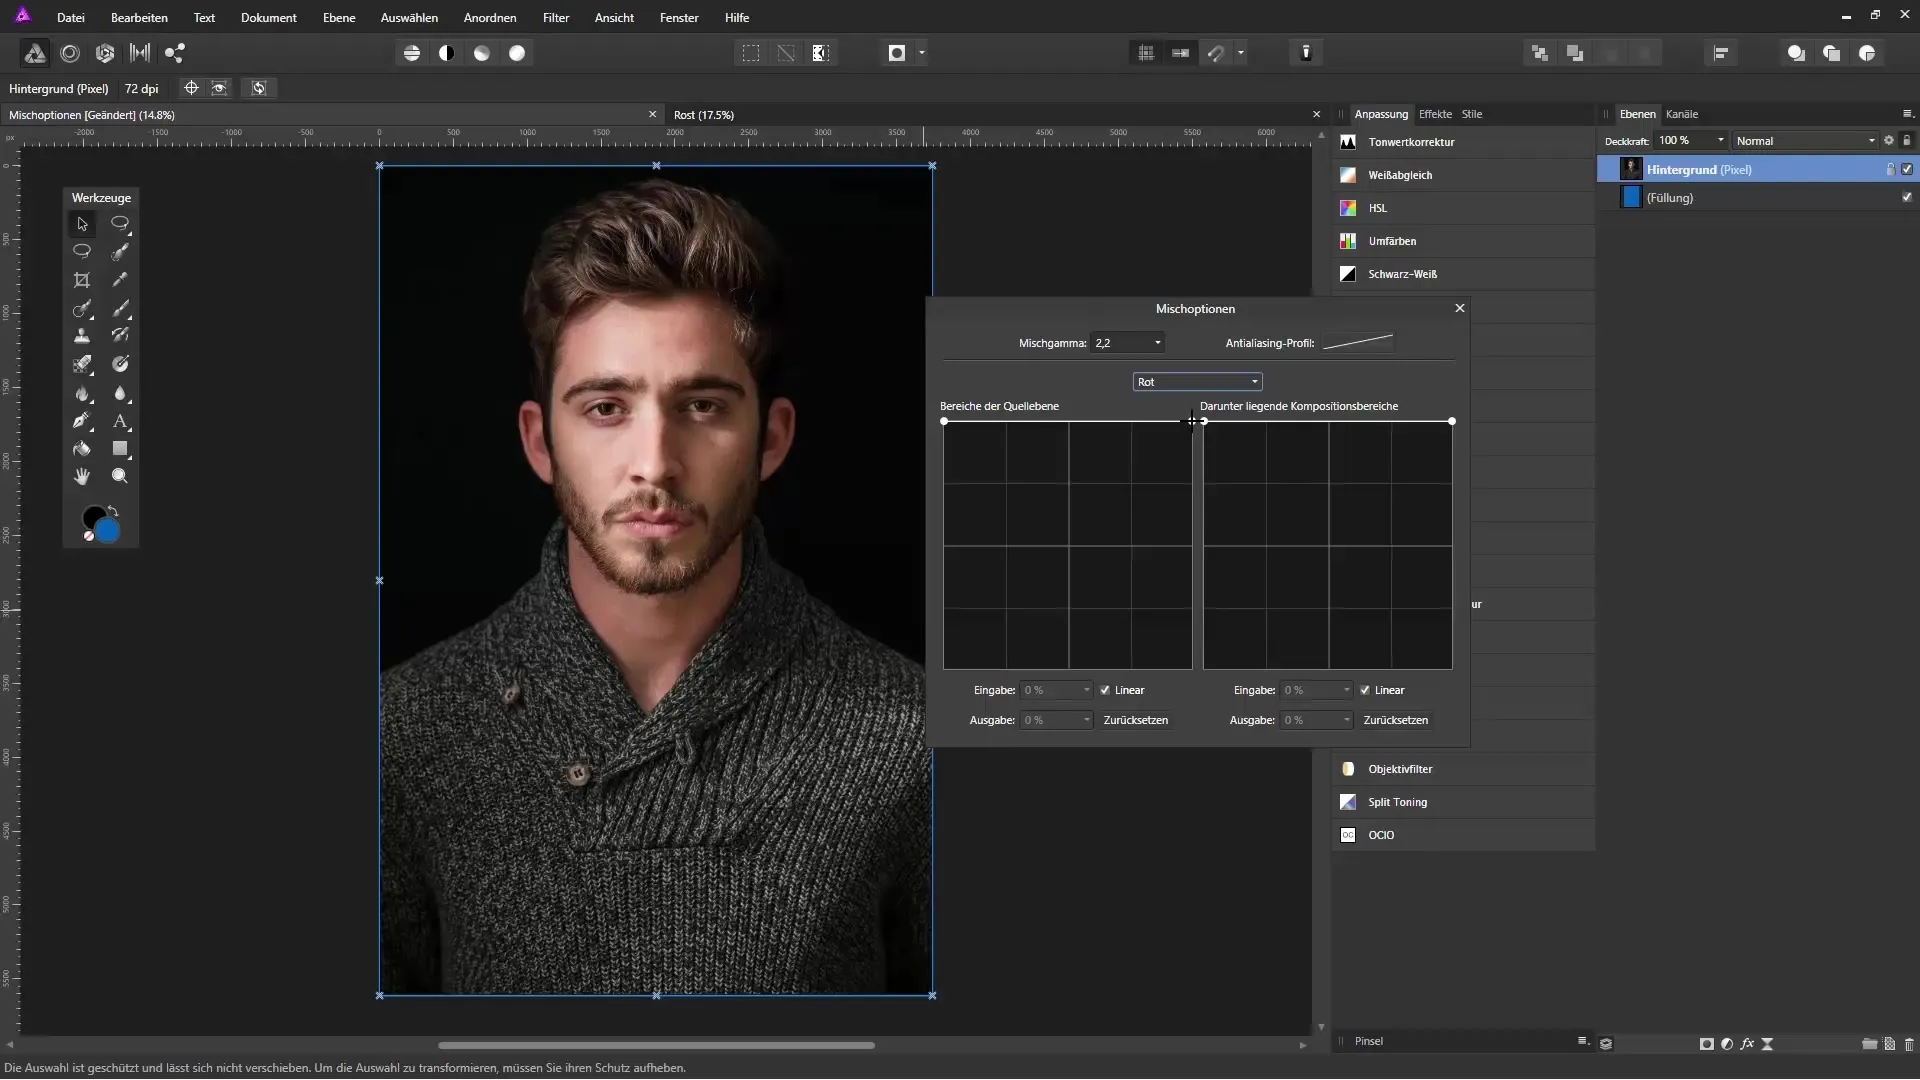
Start by opening your desired image in Affinity Photo. In the layers palette, you will see the image as a background layer. Click on this layer and look for the gear icon in the top bar. Clicking this icon opens the blending options, which provide you with various adjustment possibilities.
Step 2: Choose the appropriate channel
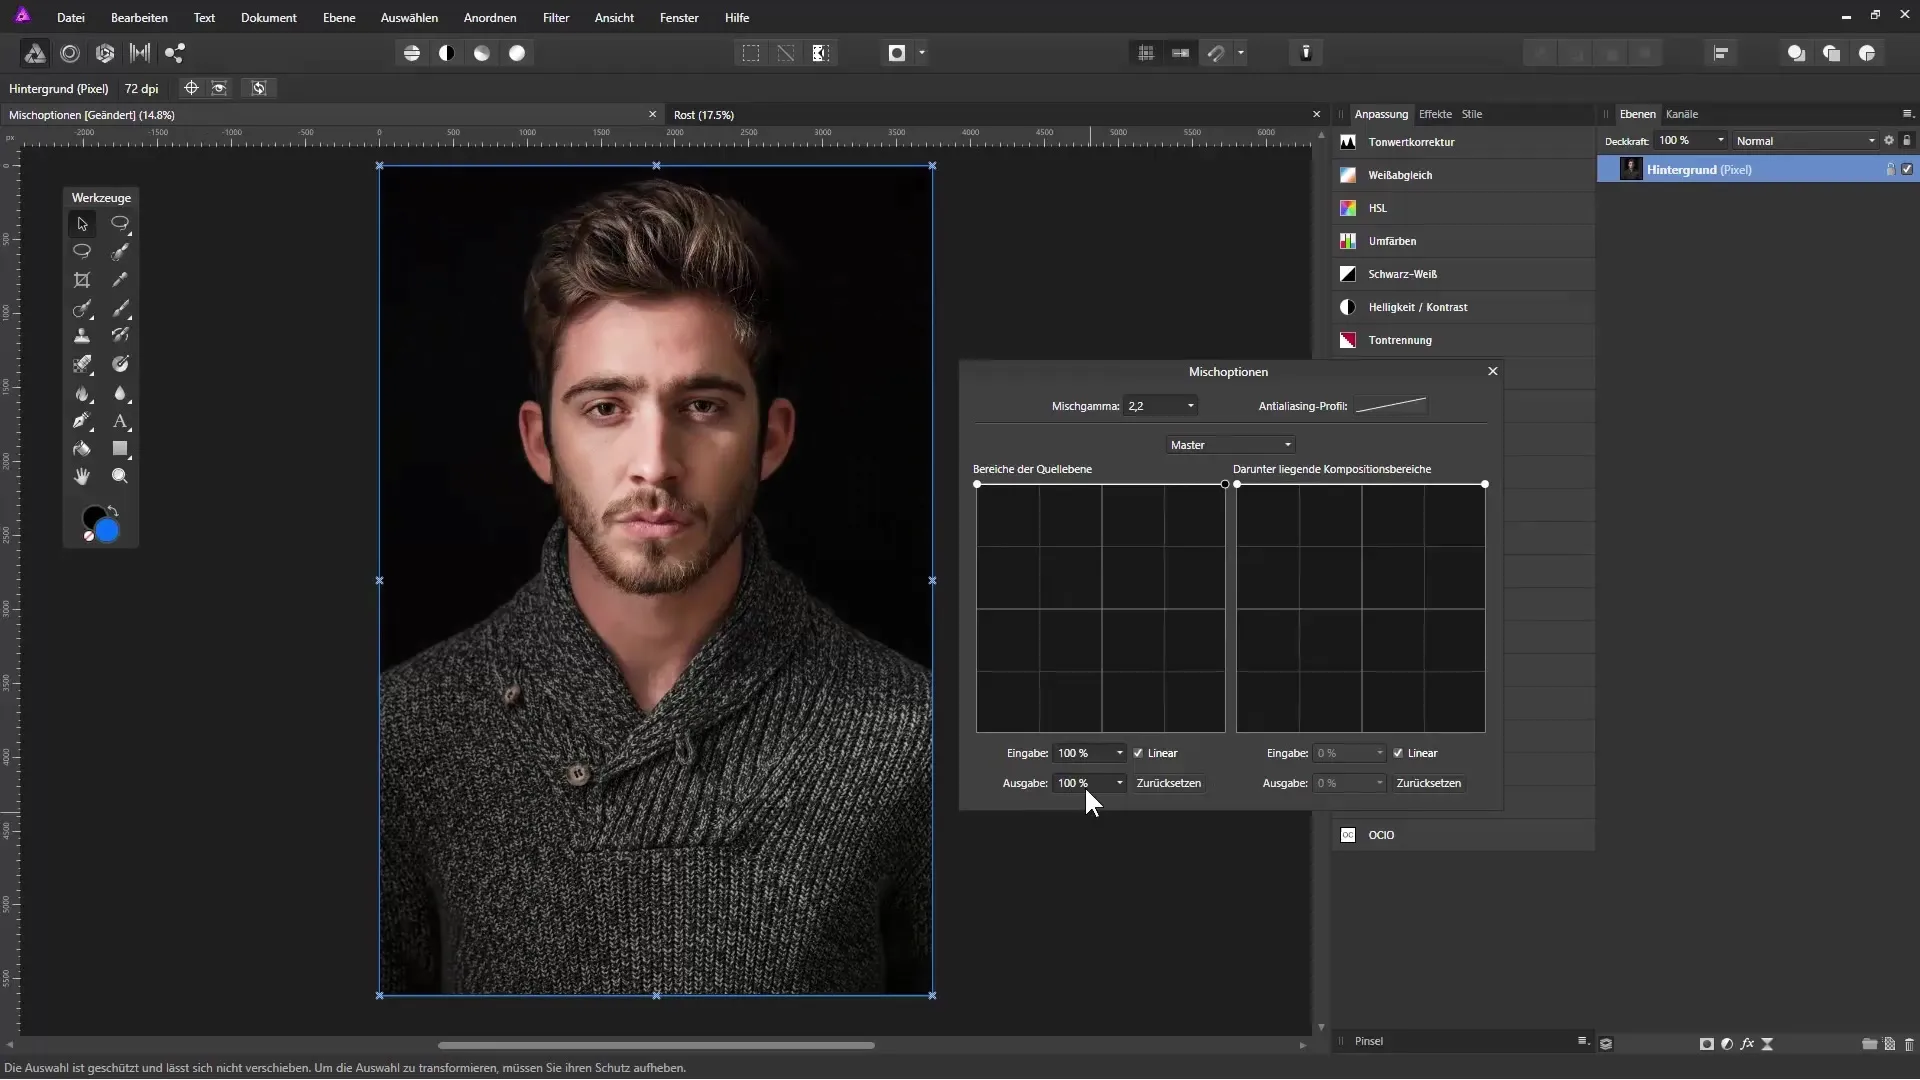
In the blending options, you can select the channel you want to adjust. By default, the master channel is selected, which means all channels (Red, Green, and Blue) are affected simultaneously. If you want to edit a specific color, you can choose one of the other colors. For example, drag the slider for light areas down to make them transparent.
Step 3: Adjust the transparency
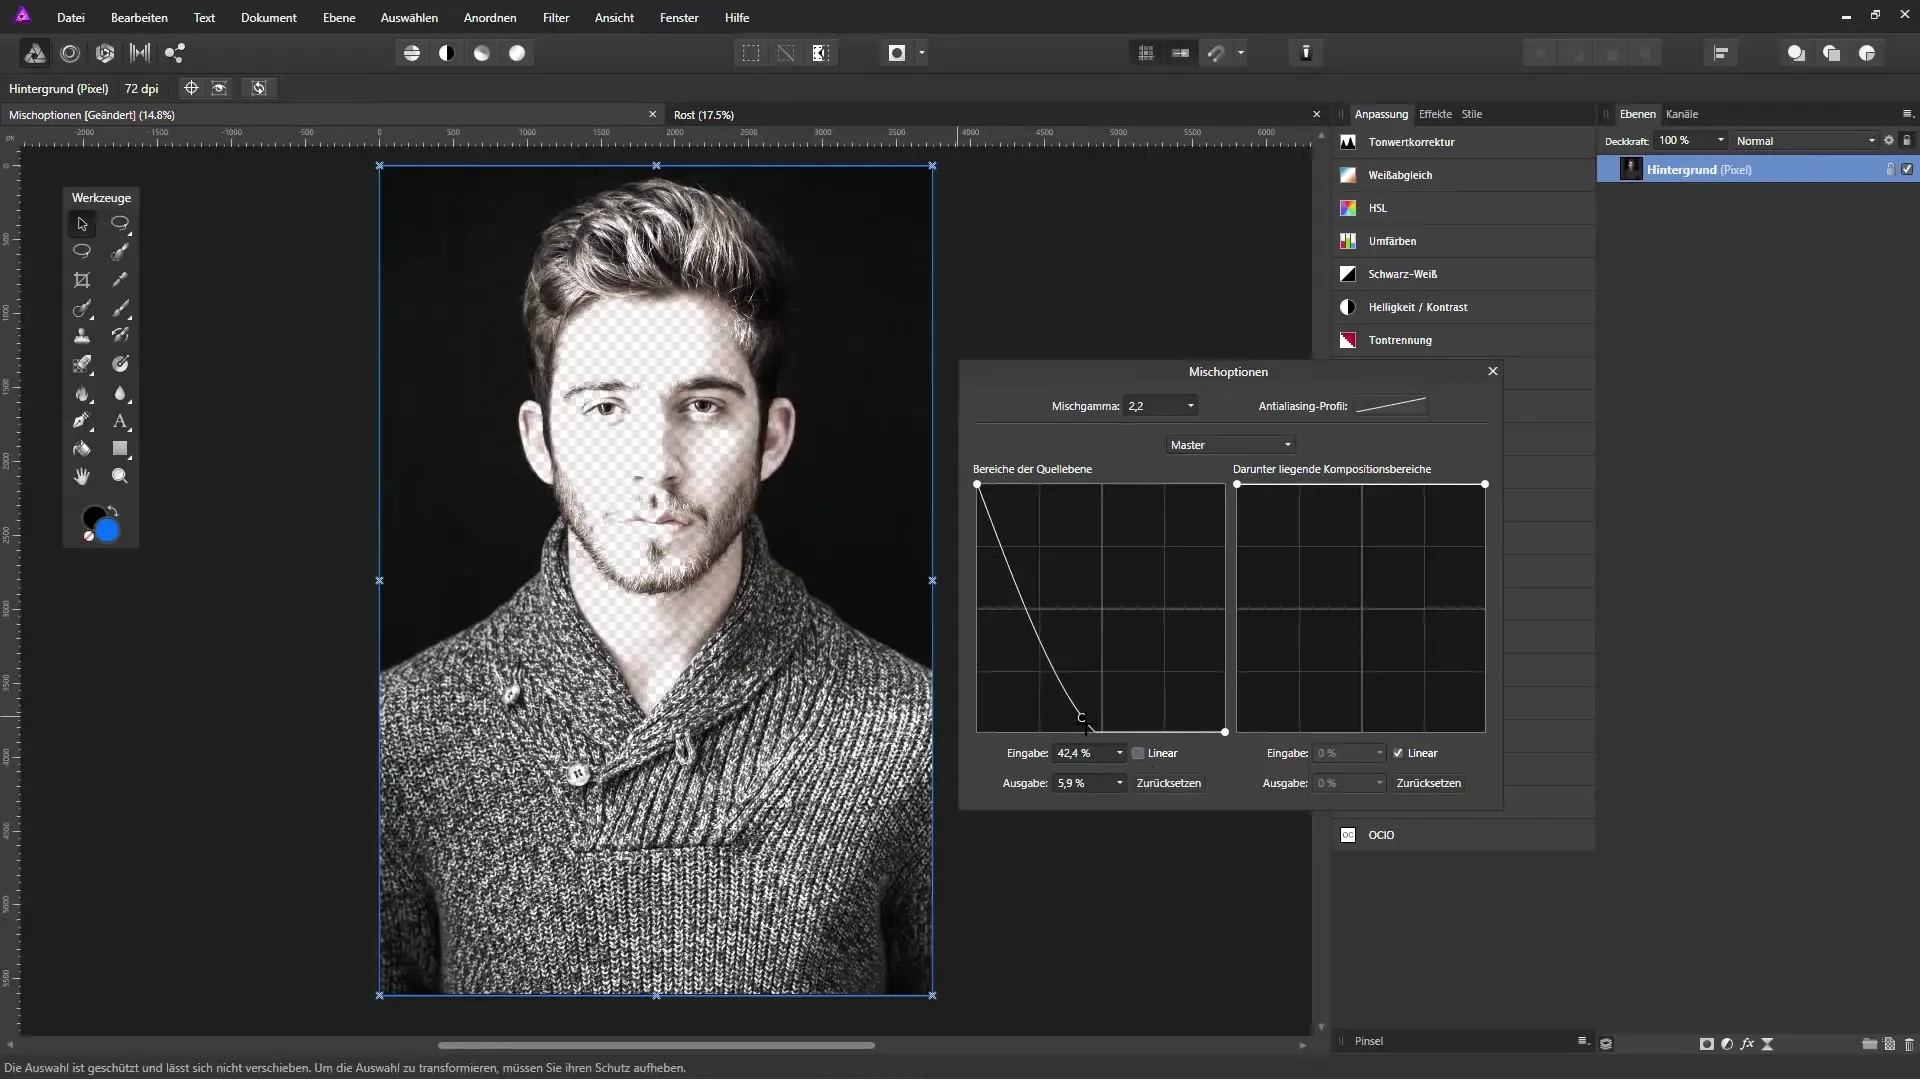
By dragging the right handle down, you can see how the light areas in the image gradually become transparent. Move the handle to the left to make more areas transparent. While doing this, you will notice that the dark areas become more pronounced. Experiment with these sliders to achieve the desired effect.
Step 4: Play with the sliders
It is possible to add multiple handles along the diagonal (between black and white) to make fine adjustments. This allows you to create smoother transitions, making the image appear less harsh. Disable the linear setting for softer transitions if you want to soften the edges.
Step 5: Work with fill layers
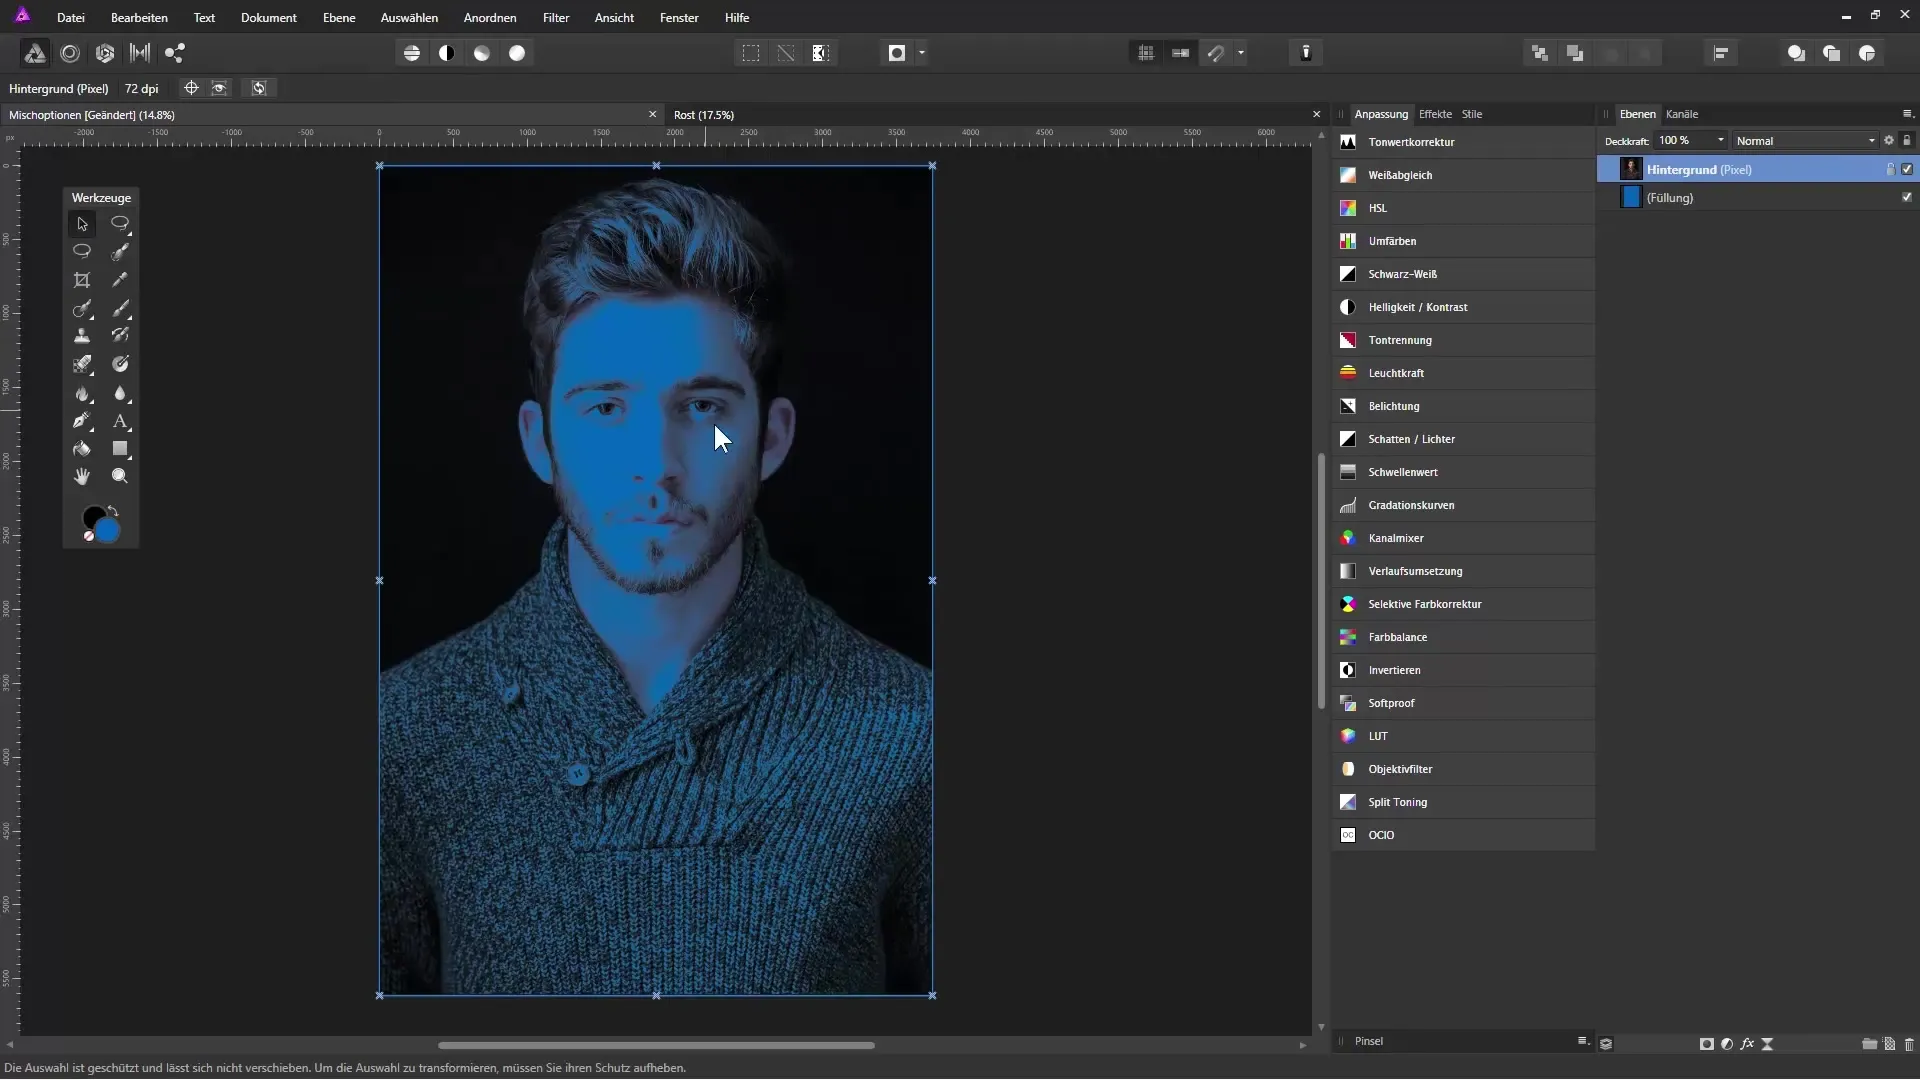
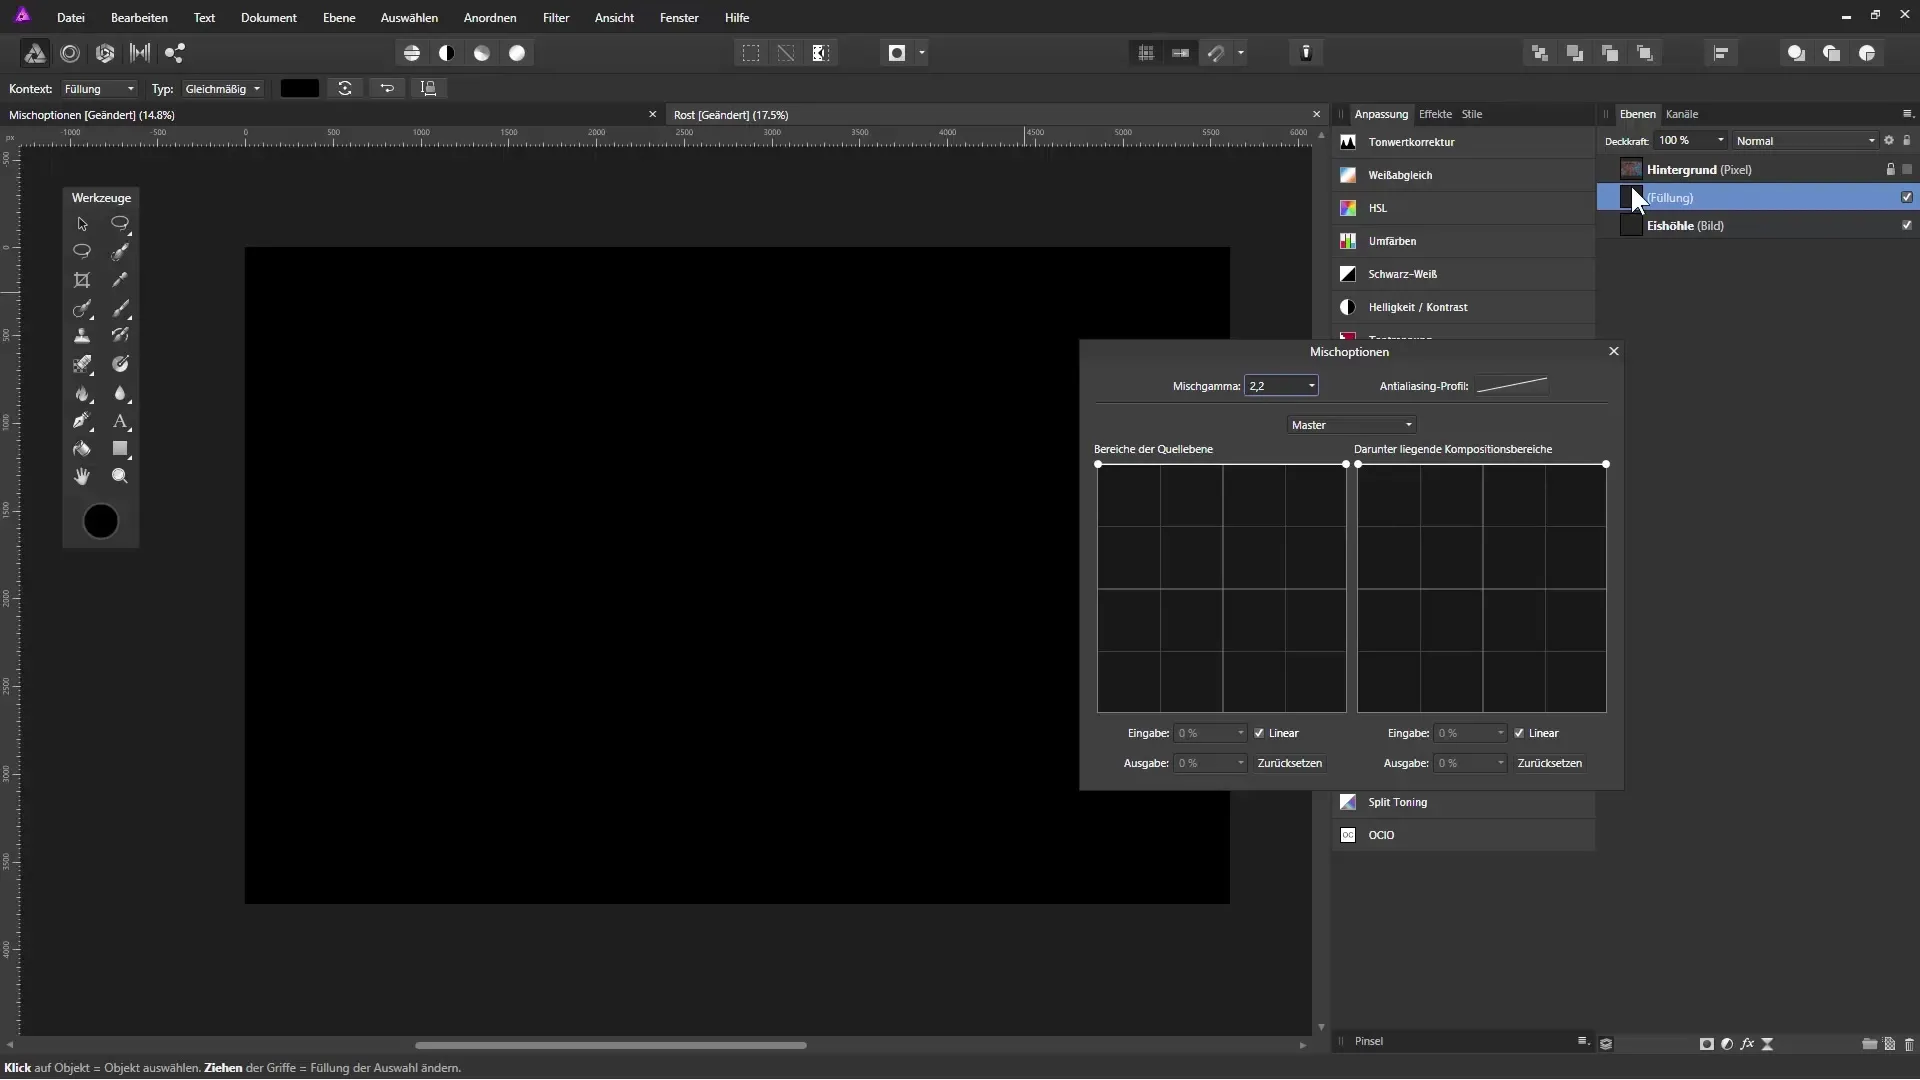
To further vary the creation effect, you can insert a fill layer below the image layer. Click on “Layer” and select “New Fill Layer.” Choose a color and drag the new layer under the image layer. This way, you can see how the transparent area lets your fill show through.
Step 6: Undo and make adjustments
Whenever you want to go back a step, you can use the “Undo” function. You can also reopen the blending options and make targeted adjustments to the channels, such as the red channel for skin tones. This brings more detail accuracy to your image.
Step 7: Experiment with image combination
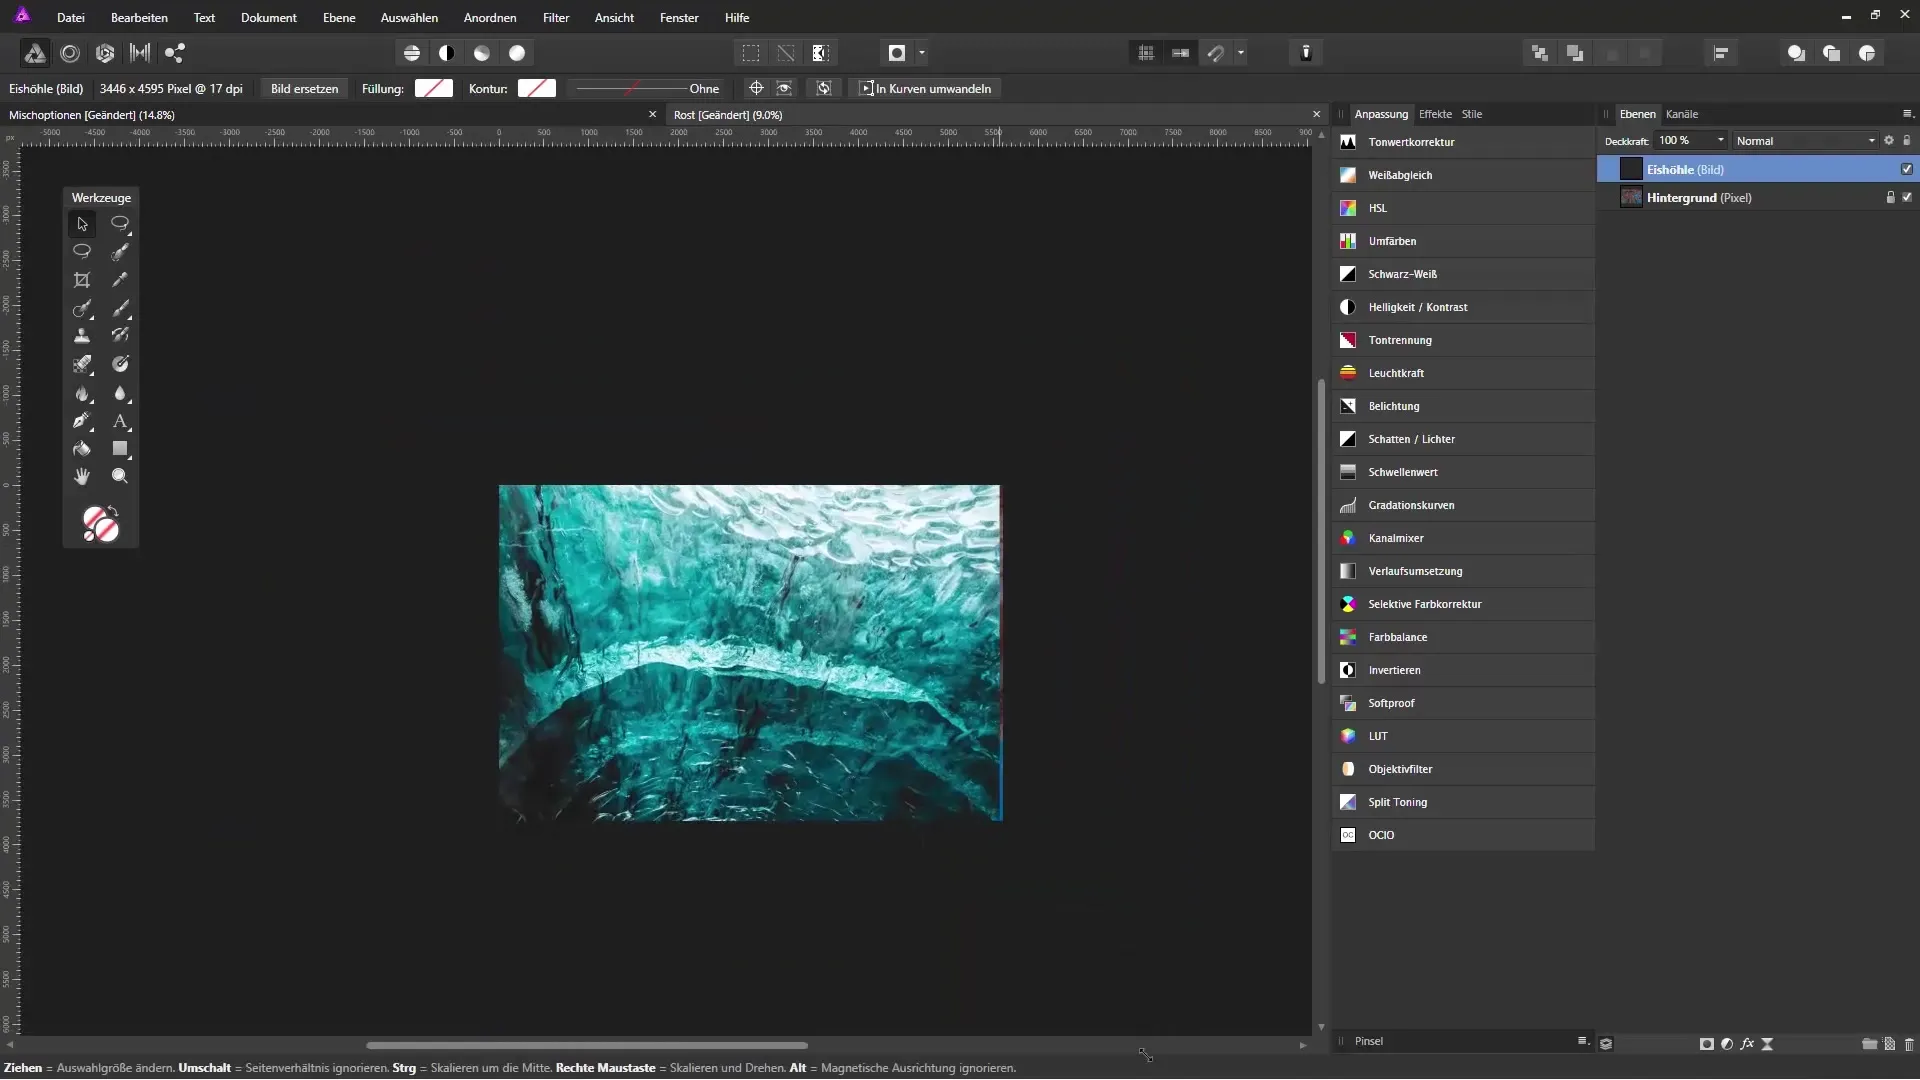
To achieve an interesting effect, drag another image into Affinity Photo and place it underneath the masked areas. For example, an image of an ice cave to showcase the masking effect of the rust surface. Move the new image so that it harmonizes well with the transparent areas.
Step 8: Final adjustments in the blending options
Click on the blending options again and focus on the composition areas. Here, you can specifically highlight the light areas of the new image to create a harmonious transition. The result is impressive artist moments in the image without the need for complex masking techniques.
Summary - Masking in Affinity Photo: Effectively use blending options
With the blending options in Affinity Photo, you can specifically manipulate color ranges to achieve impressive effects. Whether by masking light or dark areas or incorporating other image elements – this technique offers you many creative possibilities. Use the adjustment functions to create your images powerfully and appealingly.
Frequently Asked Questions
What are the blending options in Affinity Photo?The blending options allow you to hide or make specific color ranges transparent, creating creative effects in images.
How can I make light areas transparent?Use the sliders in the blending options and drag the handle for the light areas down.
Can I undo the changes?Yes, you can use the “Undo” function or reopen the blending options to make adjustments.
Can I work with different image layers?Yes, you can add additional fill layers below an image layer to create interesting effects.
How can I soften the edges of the transparencies?Disable the linear setting in the blending options for softer transitions.


