The sky is often the first thing that catches the viewer's eye. A beautiful sky can give an image a completely different atmosphere. With Affinity Photo, you can efficiently replace the sky in an image to create dramatic or atmospheric effects. This guide will walk you through the process of extracting and replacing the sky step by step.
Main insights
- Select the sky using the “Select Color Range” or “Color Range” functions for a precise selection.
- Use masks to effectively edit the background without altering the original image.
- Adjust the colors of the new sky and the rest of the image to achieve more realistic results.
Step-by-Step Guide
To extract and replace the sky in your image, proceed as follows:
The first step is selecting the background layer. Choose your image in the layers palette. Make sure the background layer is active; only then will the appropriate selection options be available. Click on the selection tools.
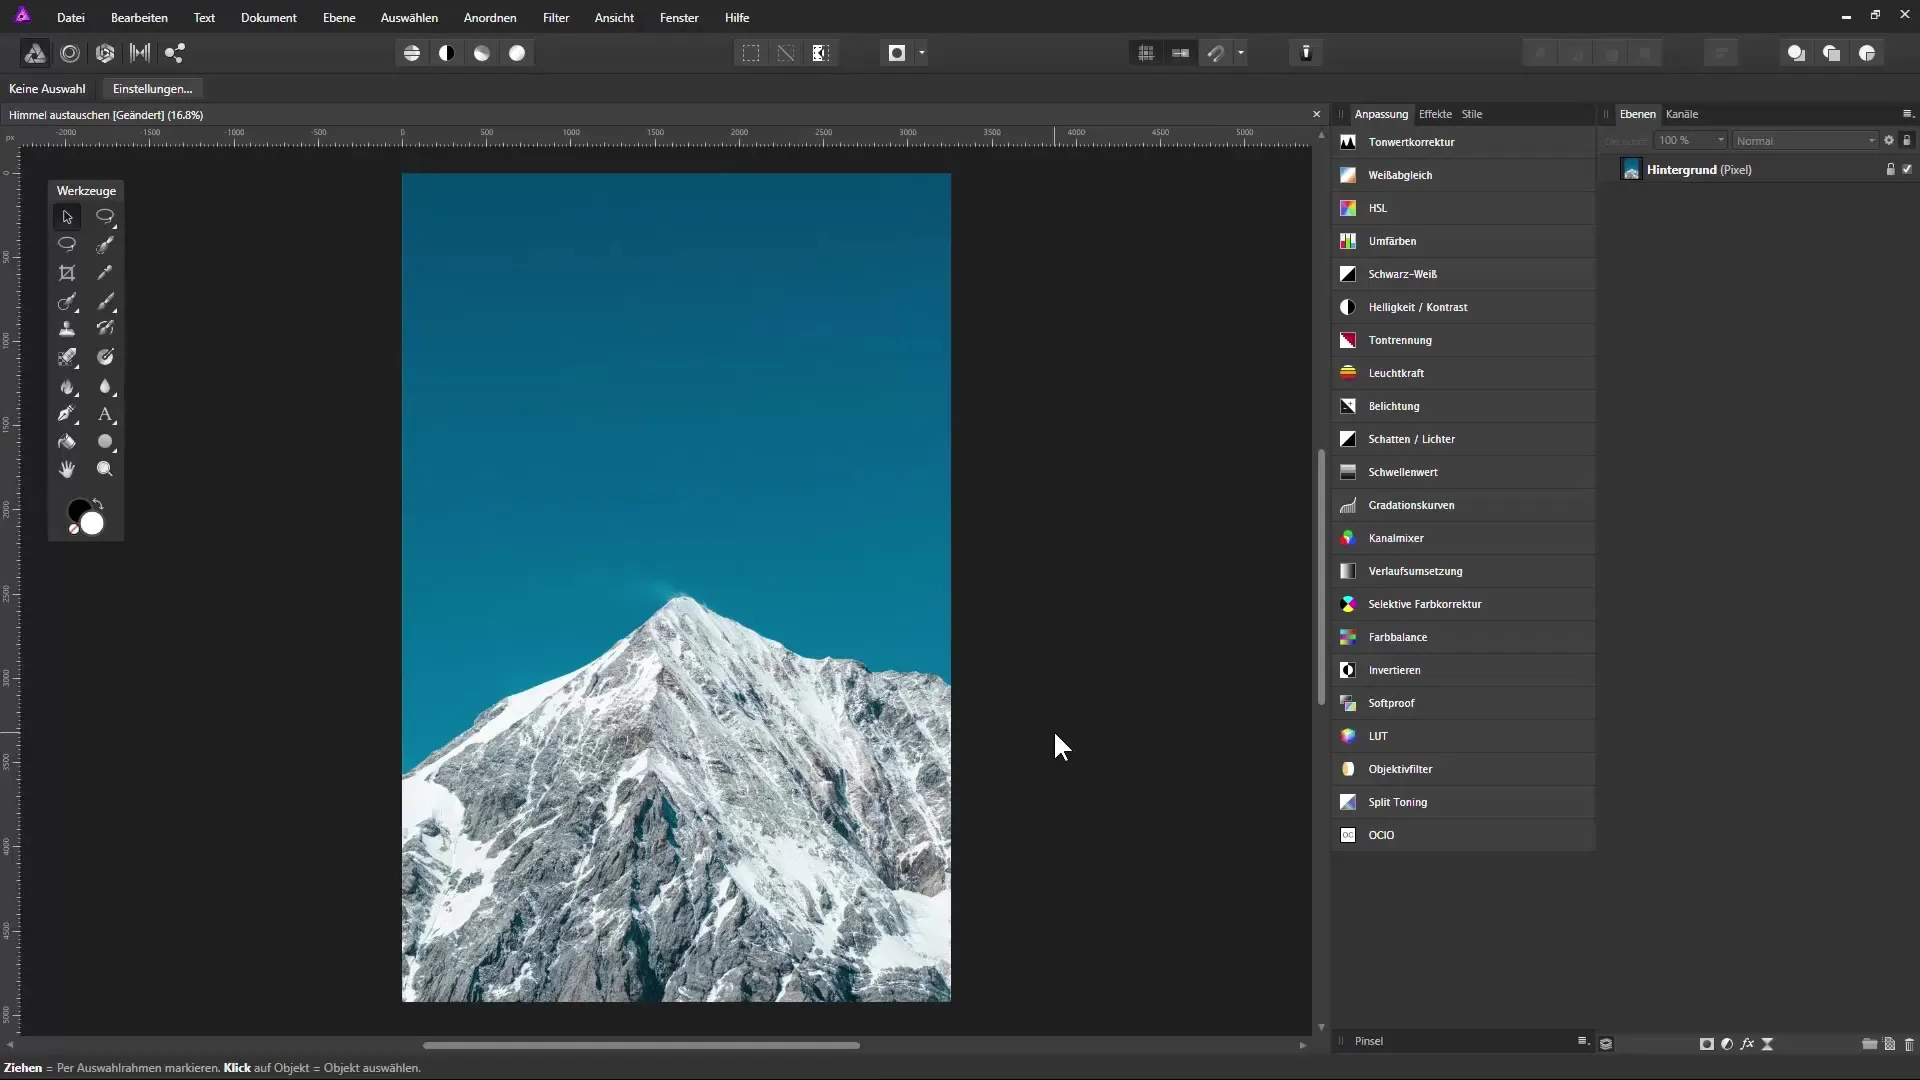
You have several options to select the sky. One of the easiest methods is to select it using the “Select Color Range” function. Ensure that the background layer is activated, then you can select the color of the sky via “Select” and “Select Color.” Simply click on the sky.
Once you have selected the sky, you can adjust the tolerance to select more similar shades of blue. Drag the slider to the right to expand this selection until the entire sky is highlighted. Be particularly careful not to overload the image – ideally adjust the selection up to the mountain's edge.
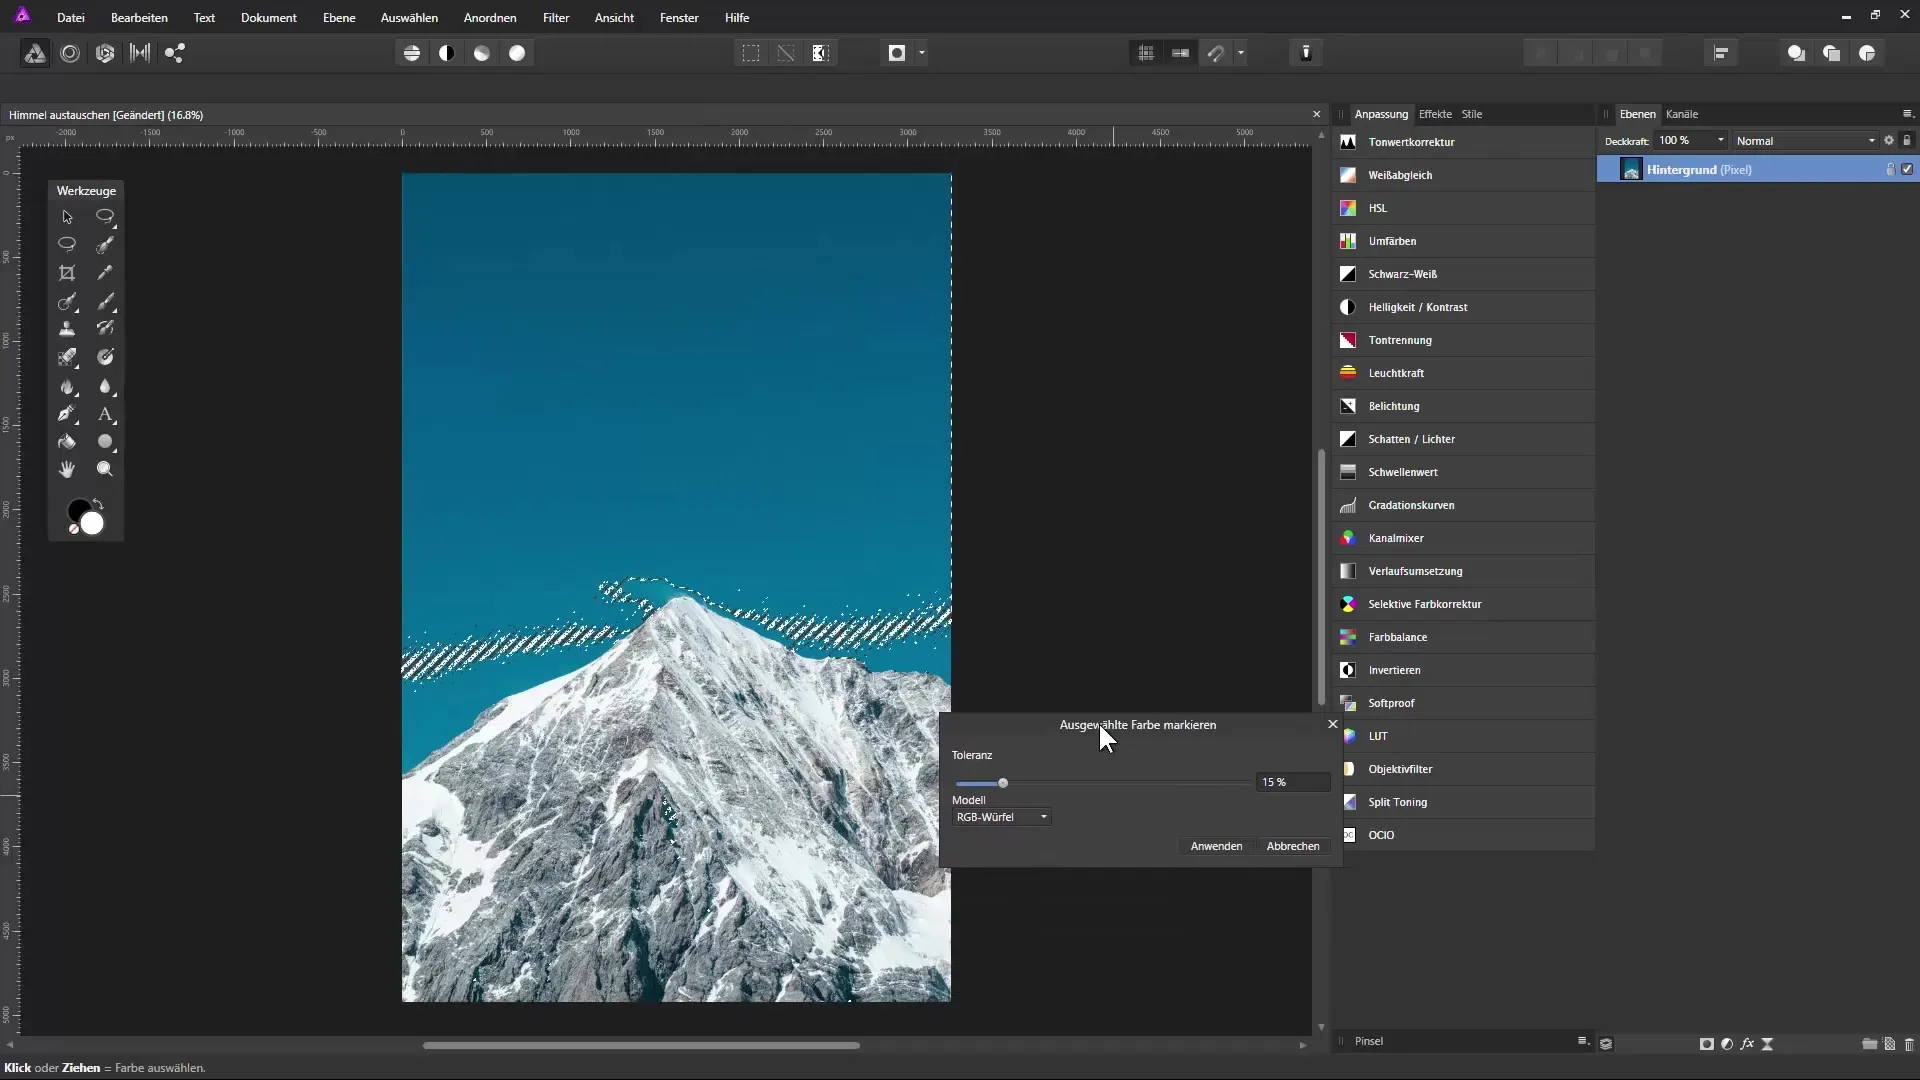
Once you have made the desired selection, you can activate it by clicking on “Apply.” However, it may often happen that some unwanted areas are mistakenly selected. You can correct this by selecting “Select” and then “Invert Selected Pixels,” so that ultimately only the sky is extracted.
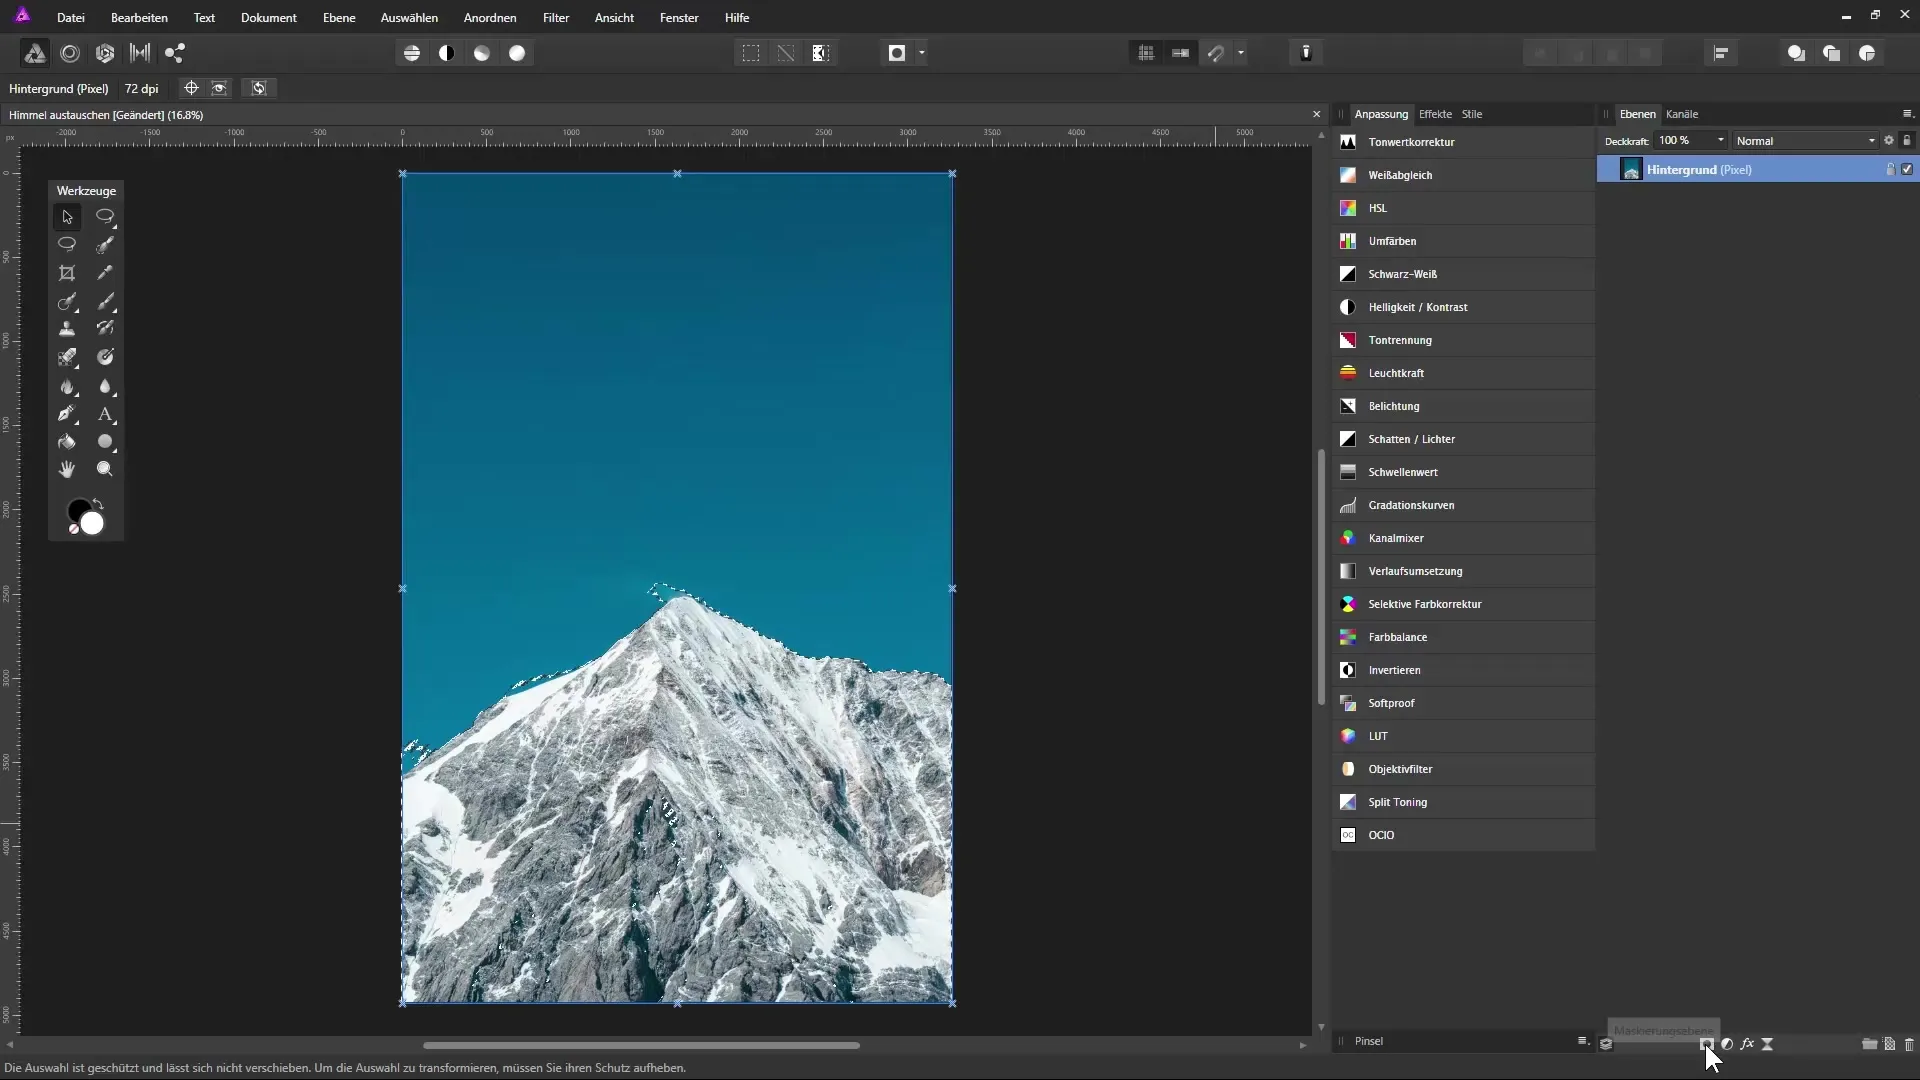
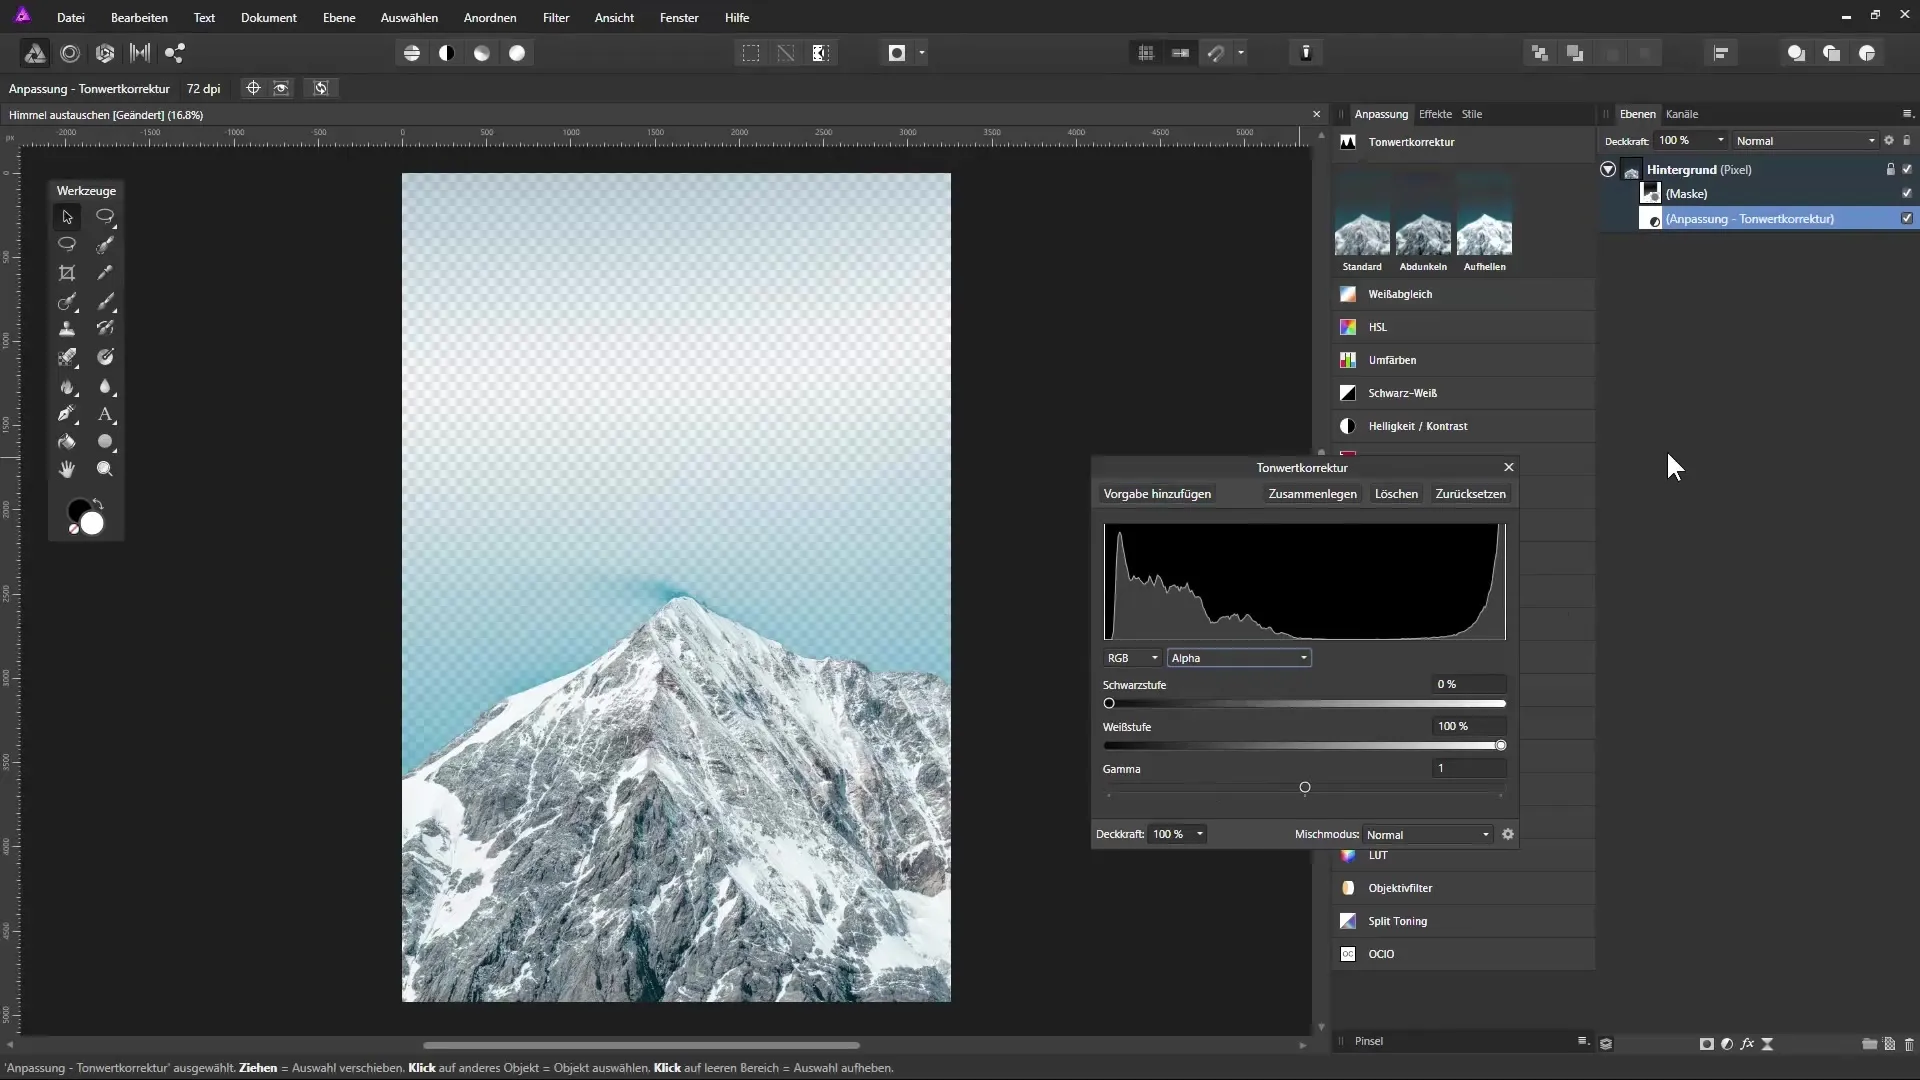
Now that the sky has been removed, you may still see some distracting blue areas. Hold down the Alt key and click on the mask to check the visibility. Here you can see what is visible or invisible. White means visible, black means invisible.
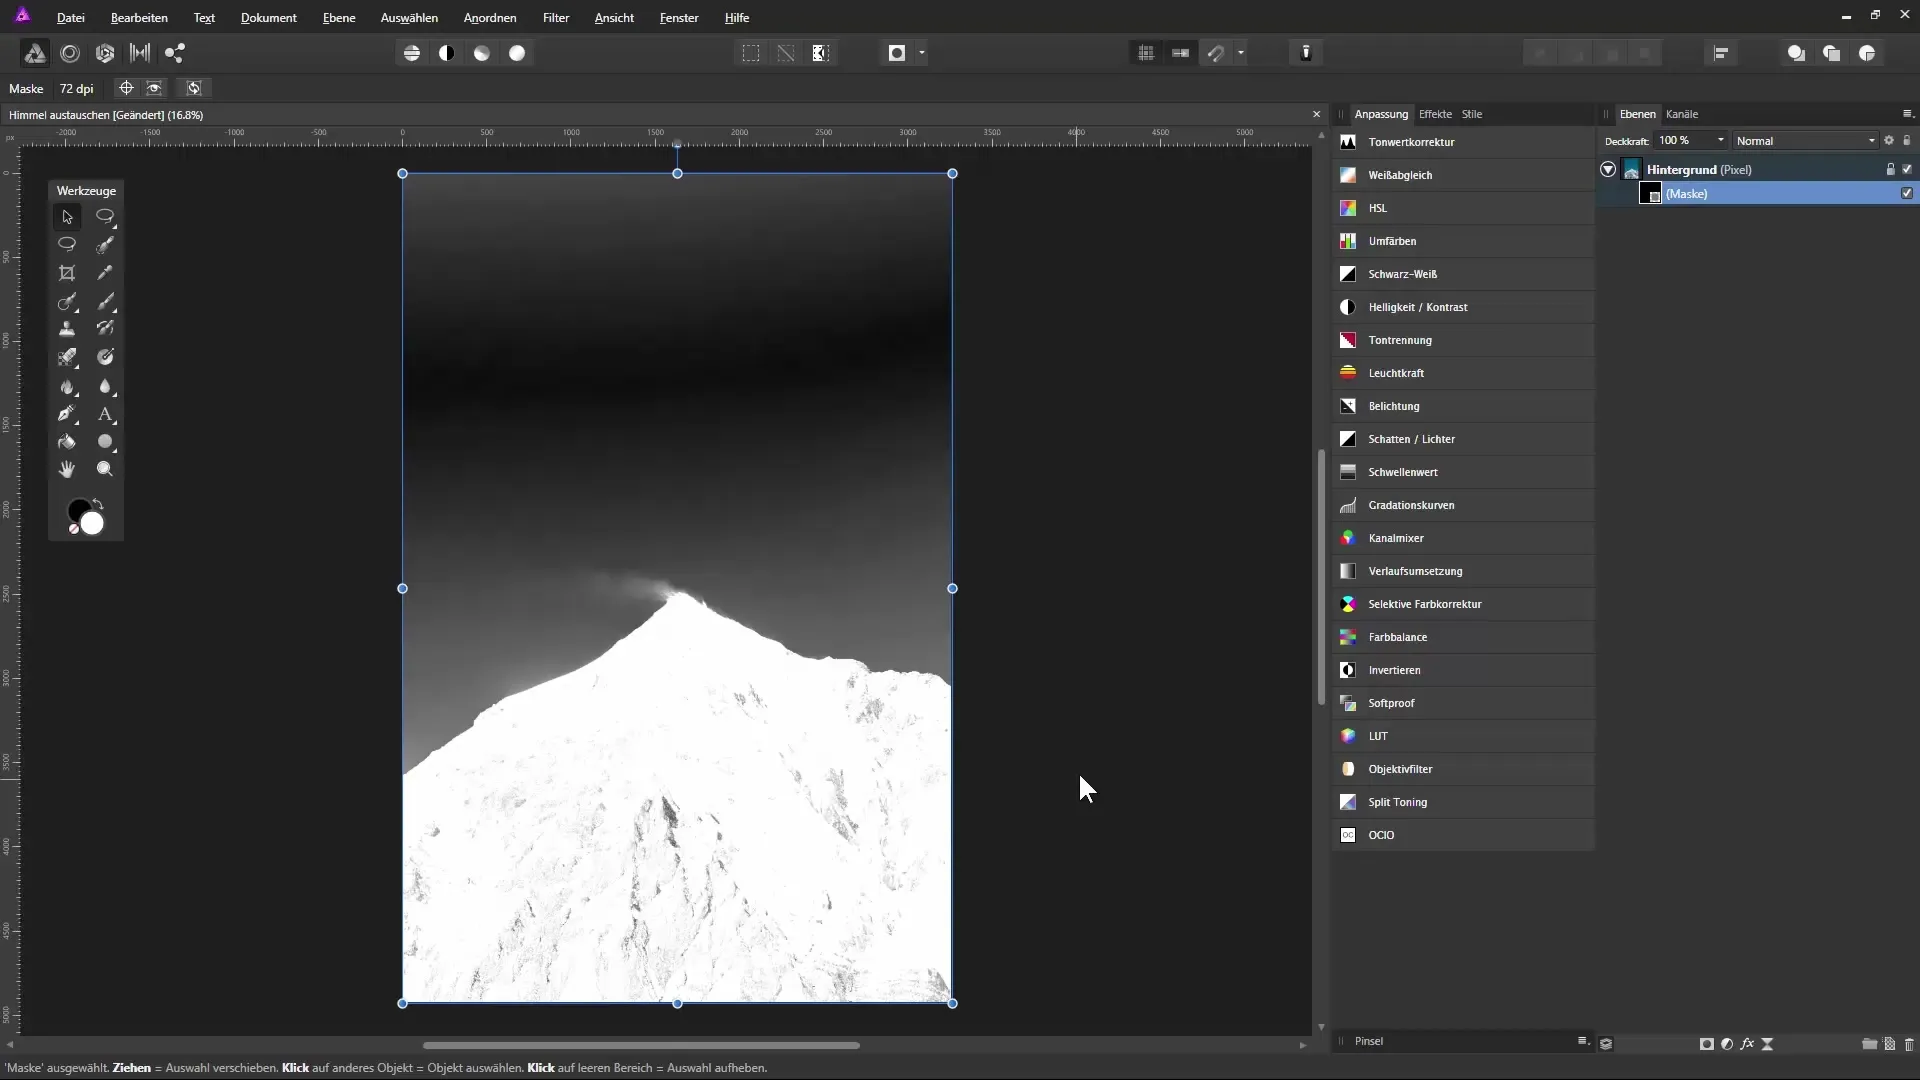
To edit the remaining blue areas, you can work with the brush tool on the mask. Alternatively, you can apply a levels adjustment to specifically edit the mask. Click on “Levels” in the adjustment layer and affect only the mask by changing the selection from “Master” to “Alpha.” This way, only the mask will be adjusted.
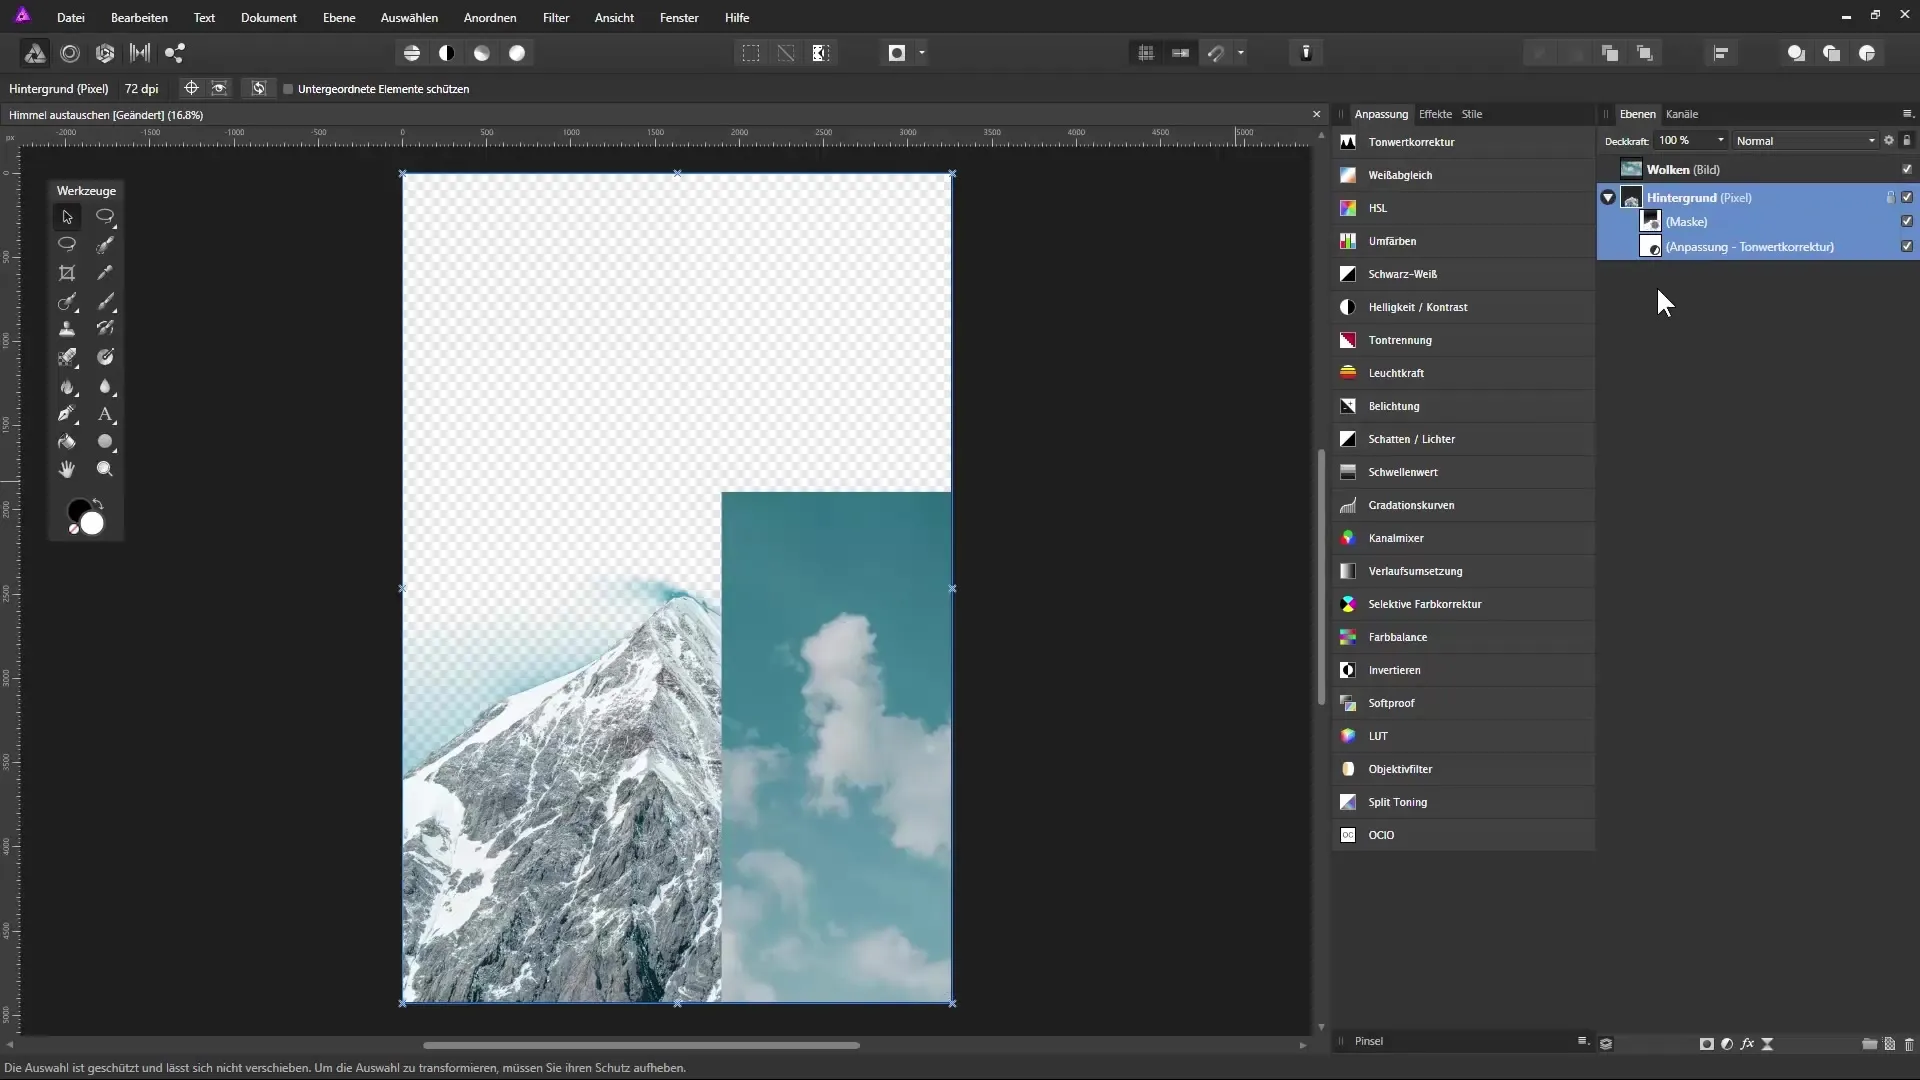
Now it is time to add the new sky. Drag the desired cloud image from the explorer into Affinity Photo and place the new layer below the background layer. Be careful not to drag the wrong blue bar, so you position the image correctly.
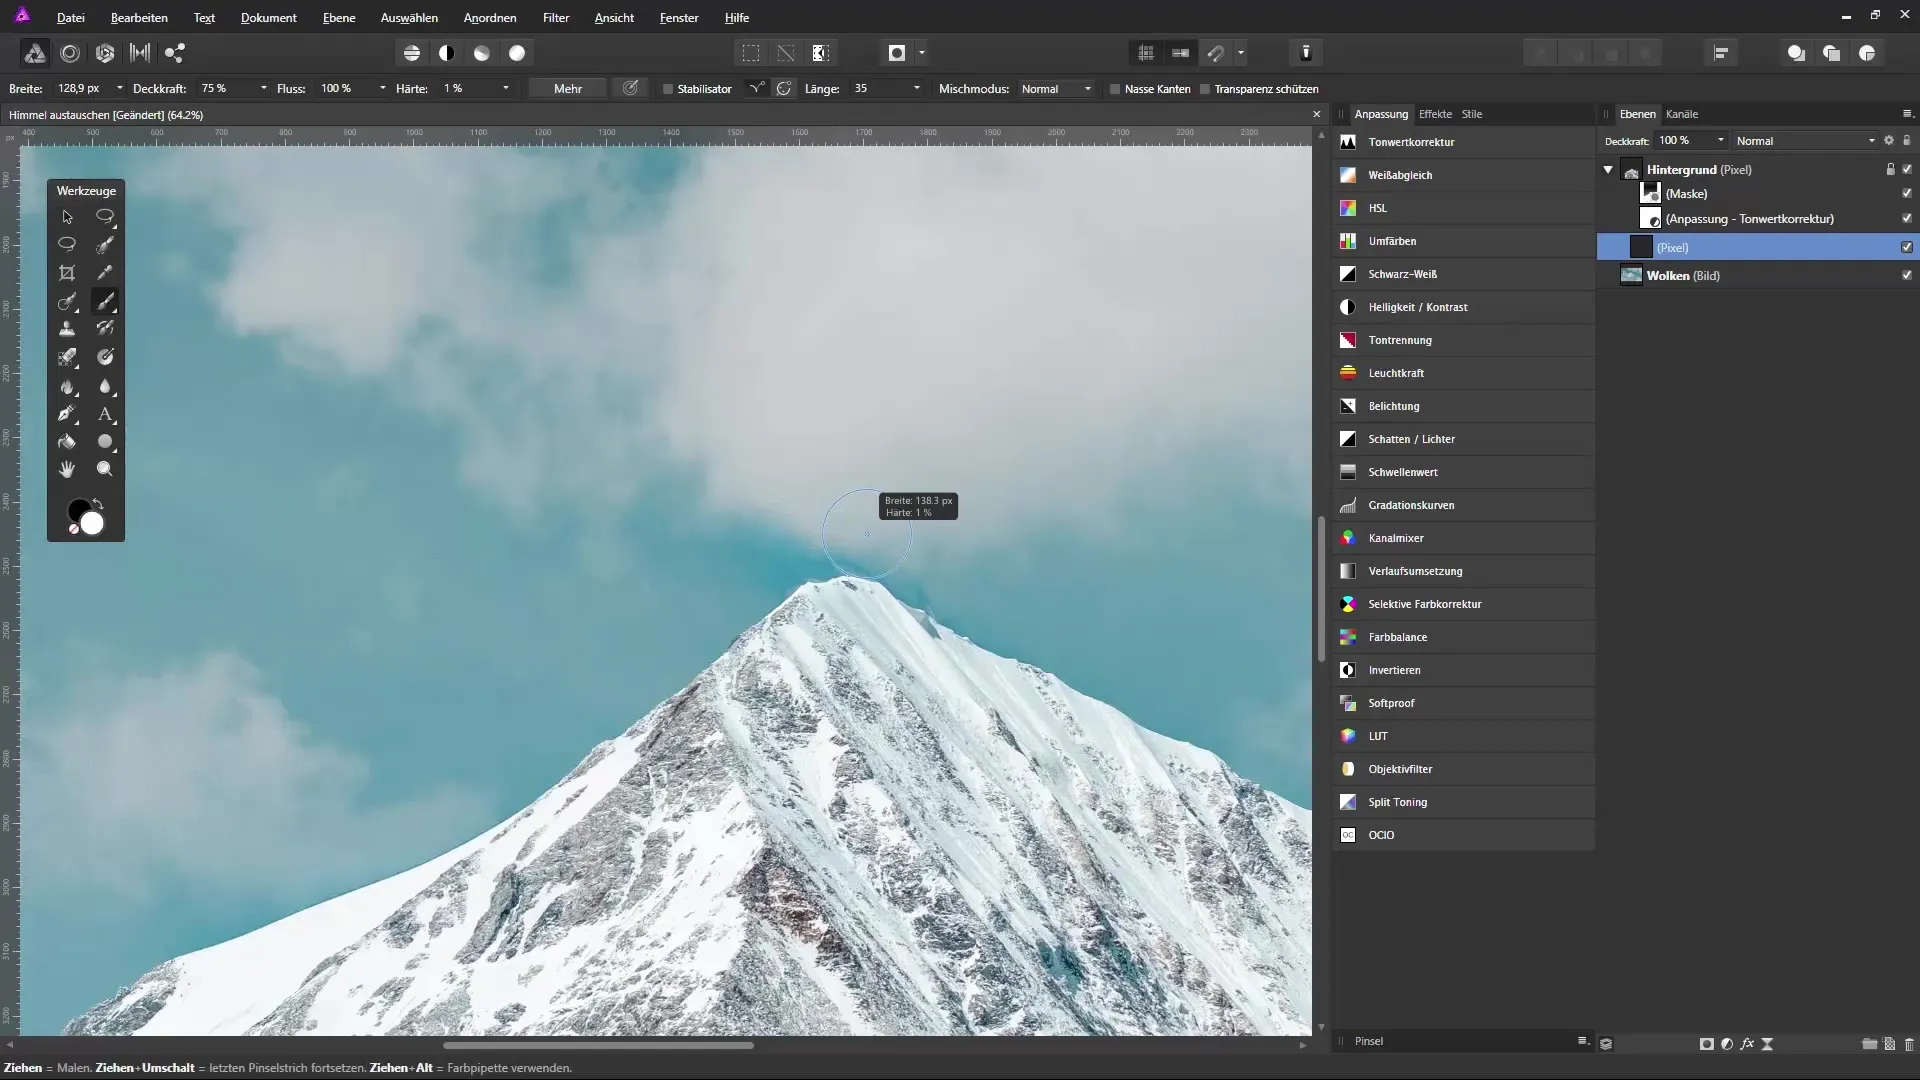
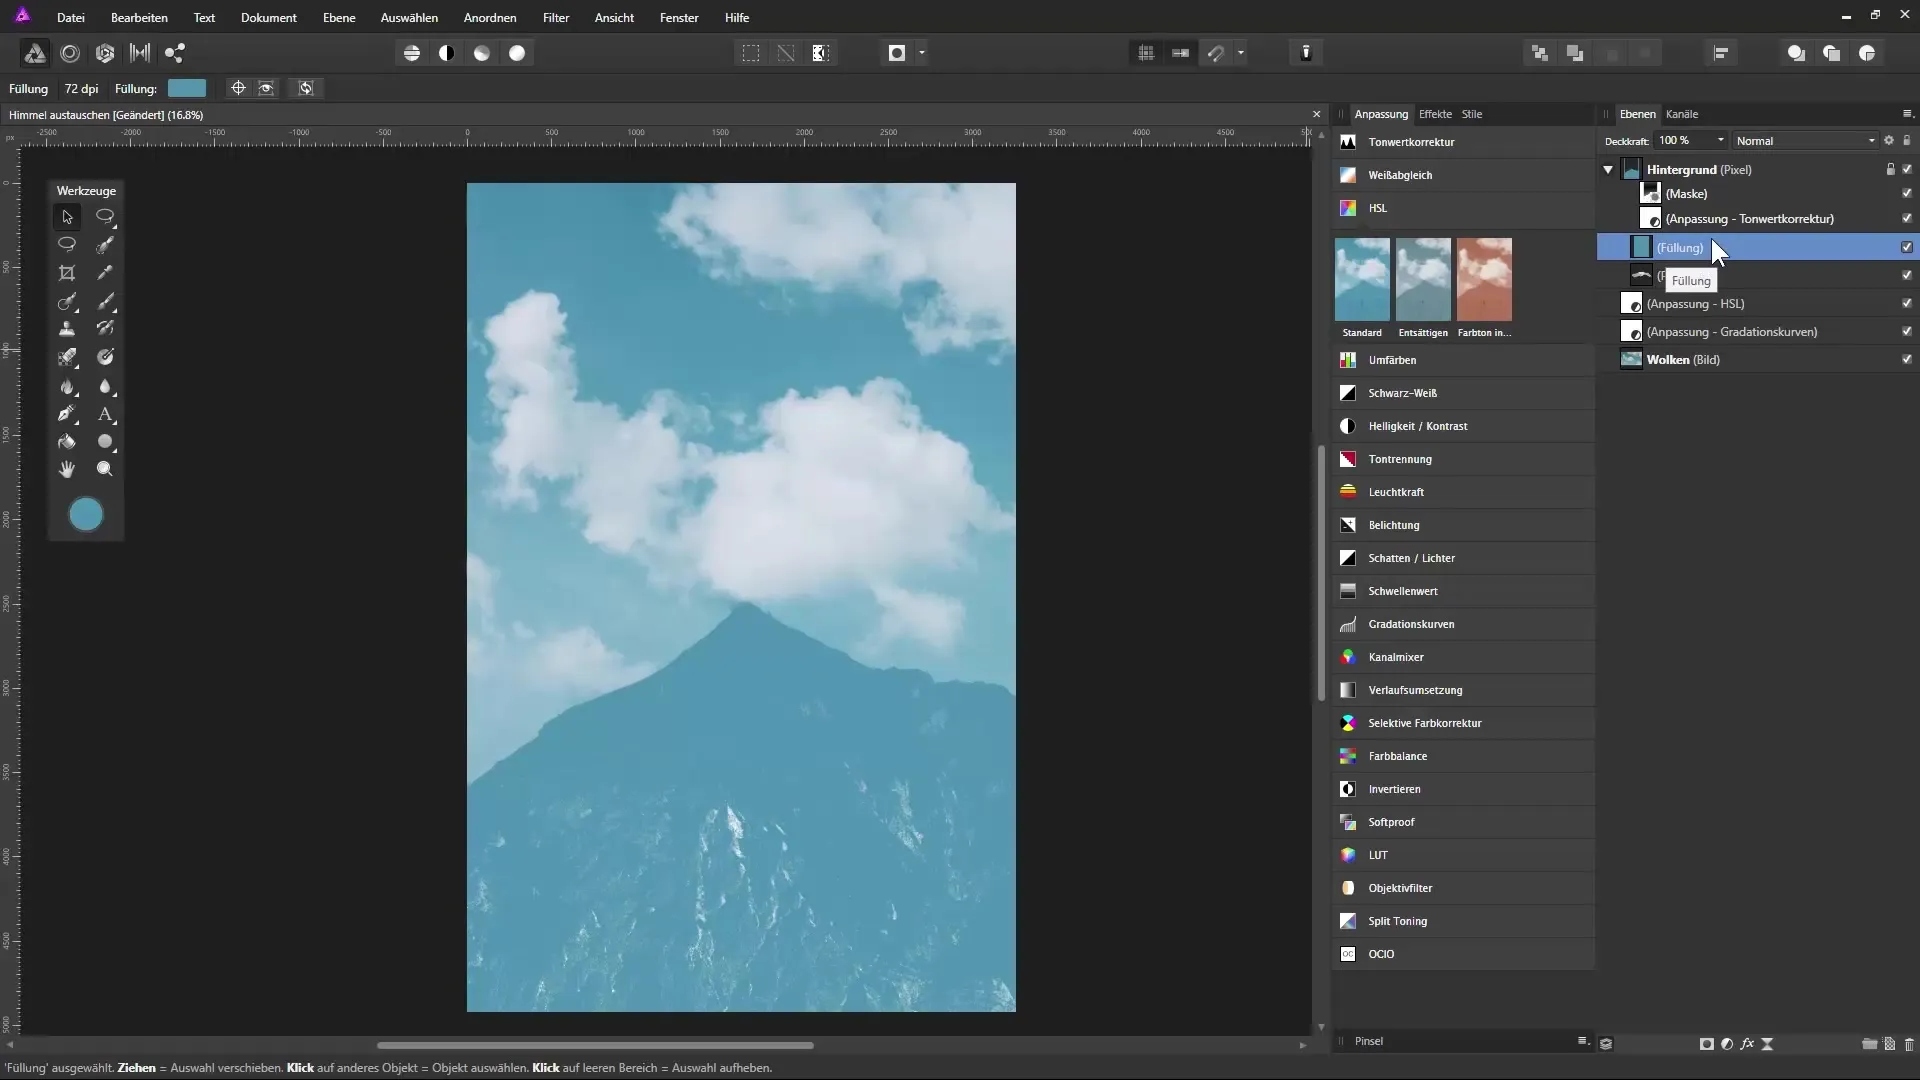
If the new sky looks good, it is important to adjust the colors and mood of the rest of the image. You want the snow and other elements to harmonize well with the new sky. To do this, create a new transparent layer and use the brush tool to adjust the colors of the snow. For instance, you could create the impression that the sky is slightly tinting the snow.
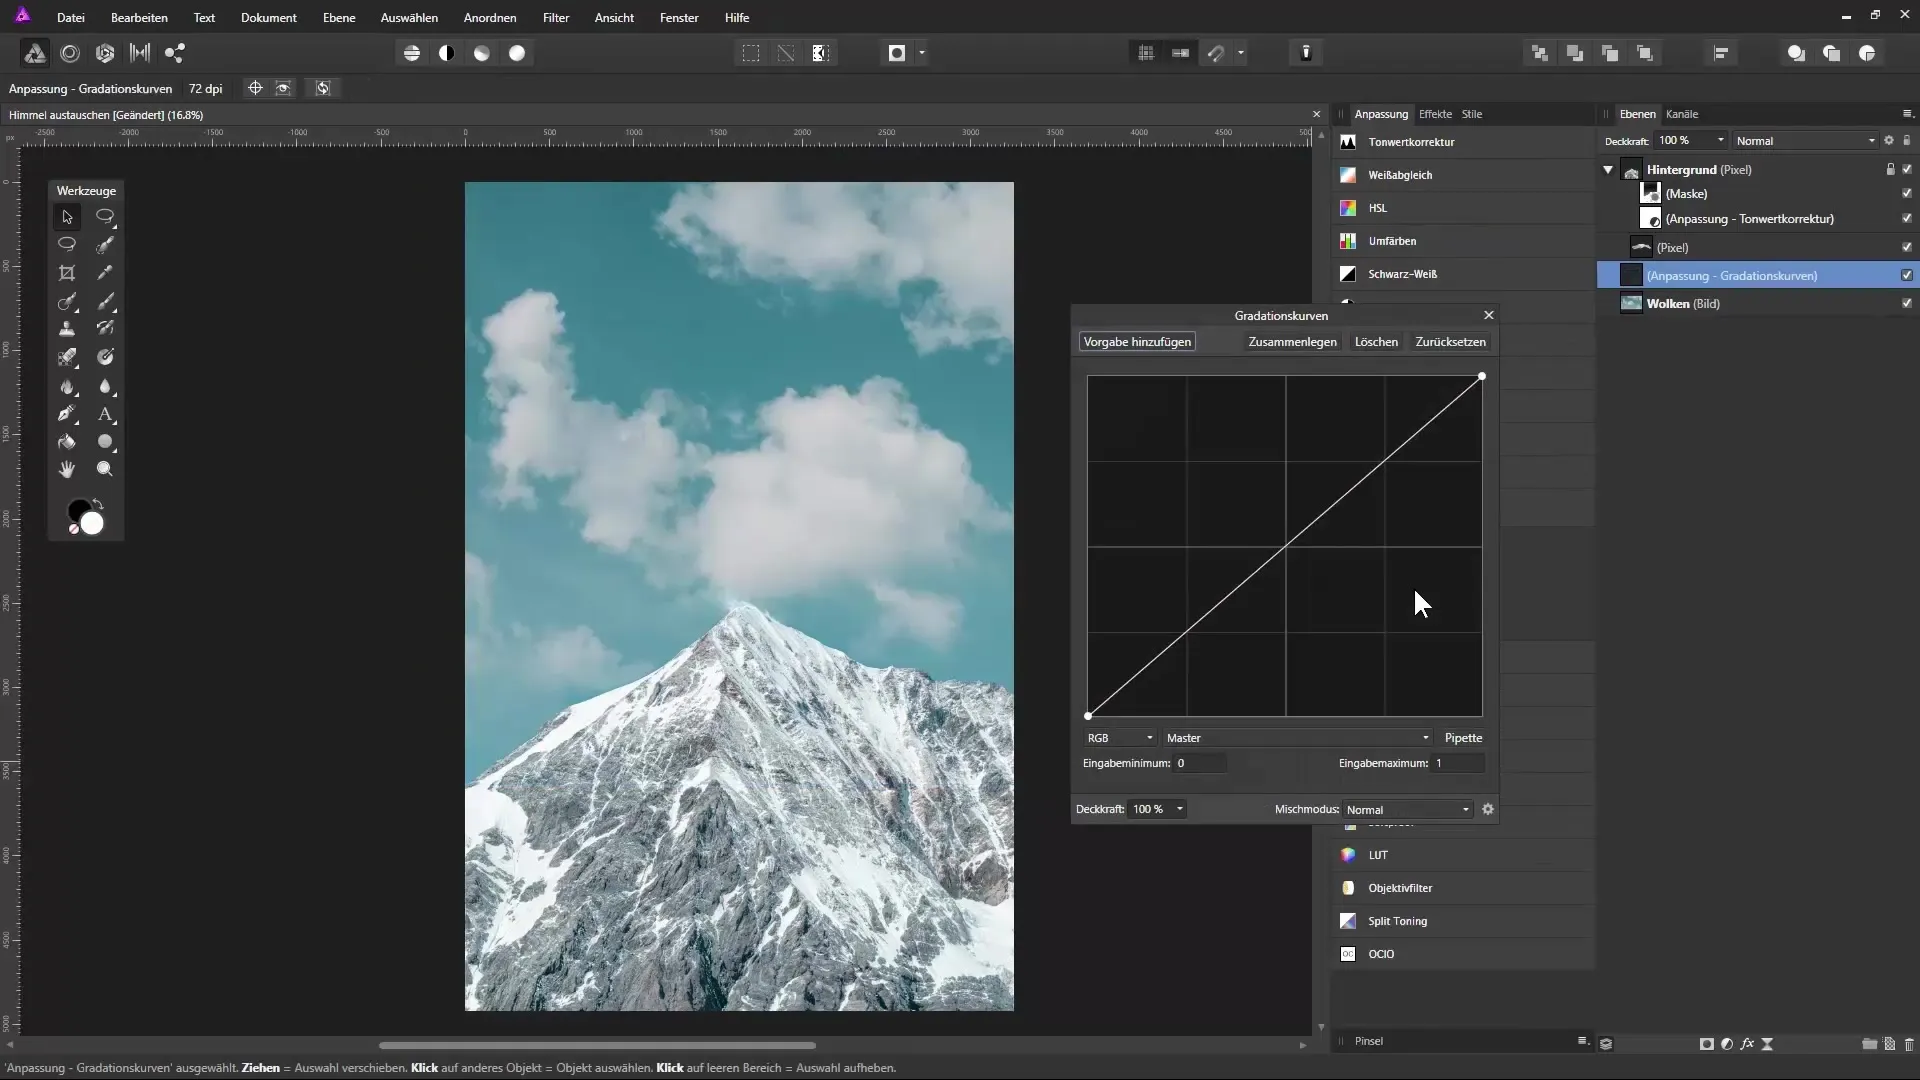
If the sky still does not fit the overall composition, you can add an adjustment layer. Select “Curves” from the adjustment palette and adjust the components of the sky. Here, you can adjust the midtones to brighten the sky and give it a pleasant atmosphere.
Additionally, you could tone down the saturation through an HSL adjustment to enhance the overall image intensity. If the colors still do not match, you can also use the eyedropper tool to pick the sky color and adjust it to the rest of the image. A new fill layer allows you to optimize the image using a soft light mode.
Summary – Efficiently Extracting and Replacing the Sky in Affinity Photo
In this guide, you have learned how to efficiently replace the sky of an image. By specifically extracting the sky, using masks, and adjustment layers, you can achieve impressive results. The combination of these techniques allows you to enhance mood, atmosphere, and visual harmony in your images.
Frequently Asked Questions
How can I remove clouds from the sky?Use the “Select Color” tool to select the blue tones of the sky.
How do I adjust the colors of the new sky?Use adjustment layers like “Curves” or “HSL” to align the colors of the sky and the rest of the image.
What do I do if I make mistakes?You can always invert the selection or use the brush tools to make corrections in the mask.
Can I adjust other parts of the image too?Yes, it is possible to adjust other parts of the image using adjustment layers to optimize the overall composition.
Is it necessary to adjust saturation and brightness?Yes, it is often necessary to adjust saturation and brightness to ensure that all elements in the image harmonize together.


