The extraction of your own signature not only offers you aesthetic advantages but also practical applications for digital documents. Here you will learn how to easily convert your signature into a digital format.
Key insights
- You can create your signature as a PNG file with a transparent background.
- The format allows you to use it in documents and emails without distracting backgrounds.
- Adjusting colors and cleaning backgrounds can be done intuitively.
Step 1: Scanning the signature
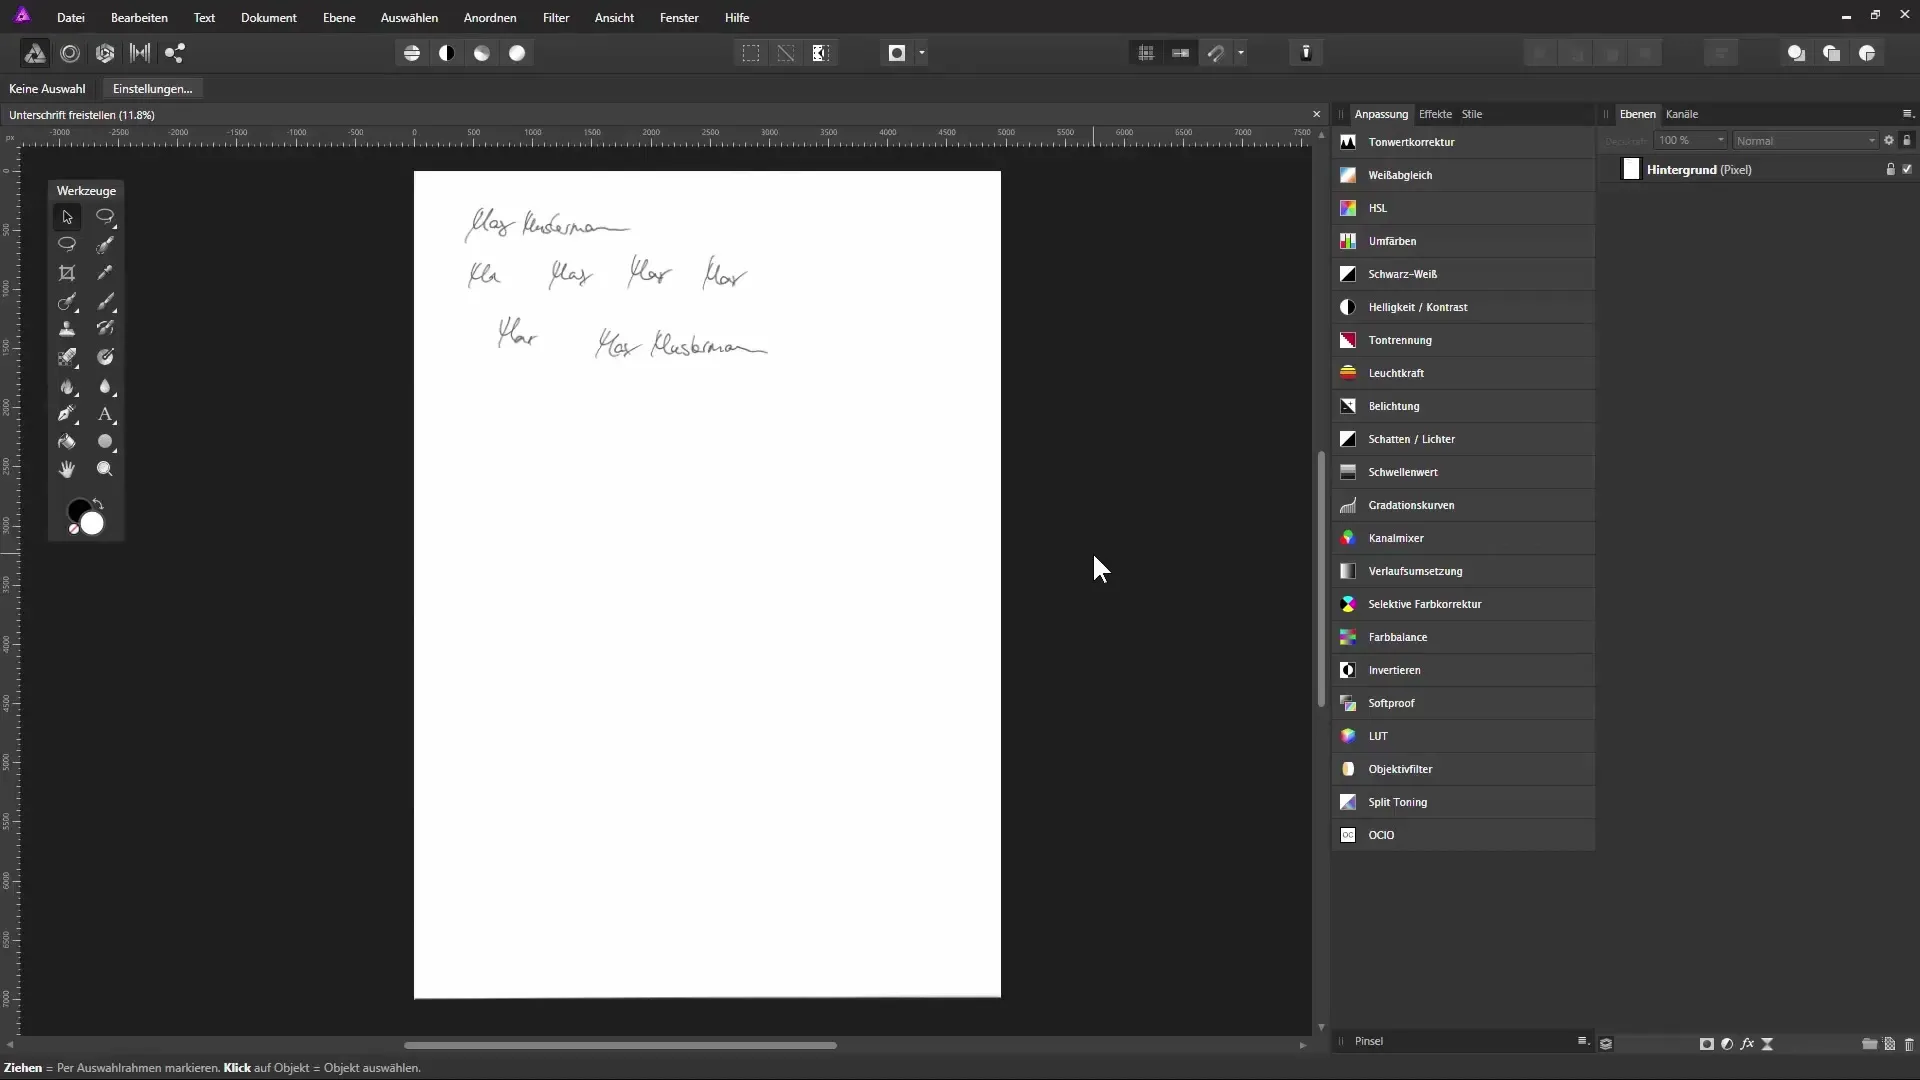
First, you need a clear template of your signature. Scan your signature on a white sheet of paper. Make sure that the resolution is high enough to capture details well.
Step 2: Open the image in Affinity Photo
Open the scanned image in Affinity Photo. The image will usually load as a large file that you will then crop accordingly.
Step 3: Cropping the signature
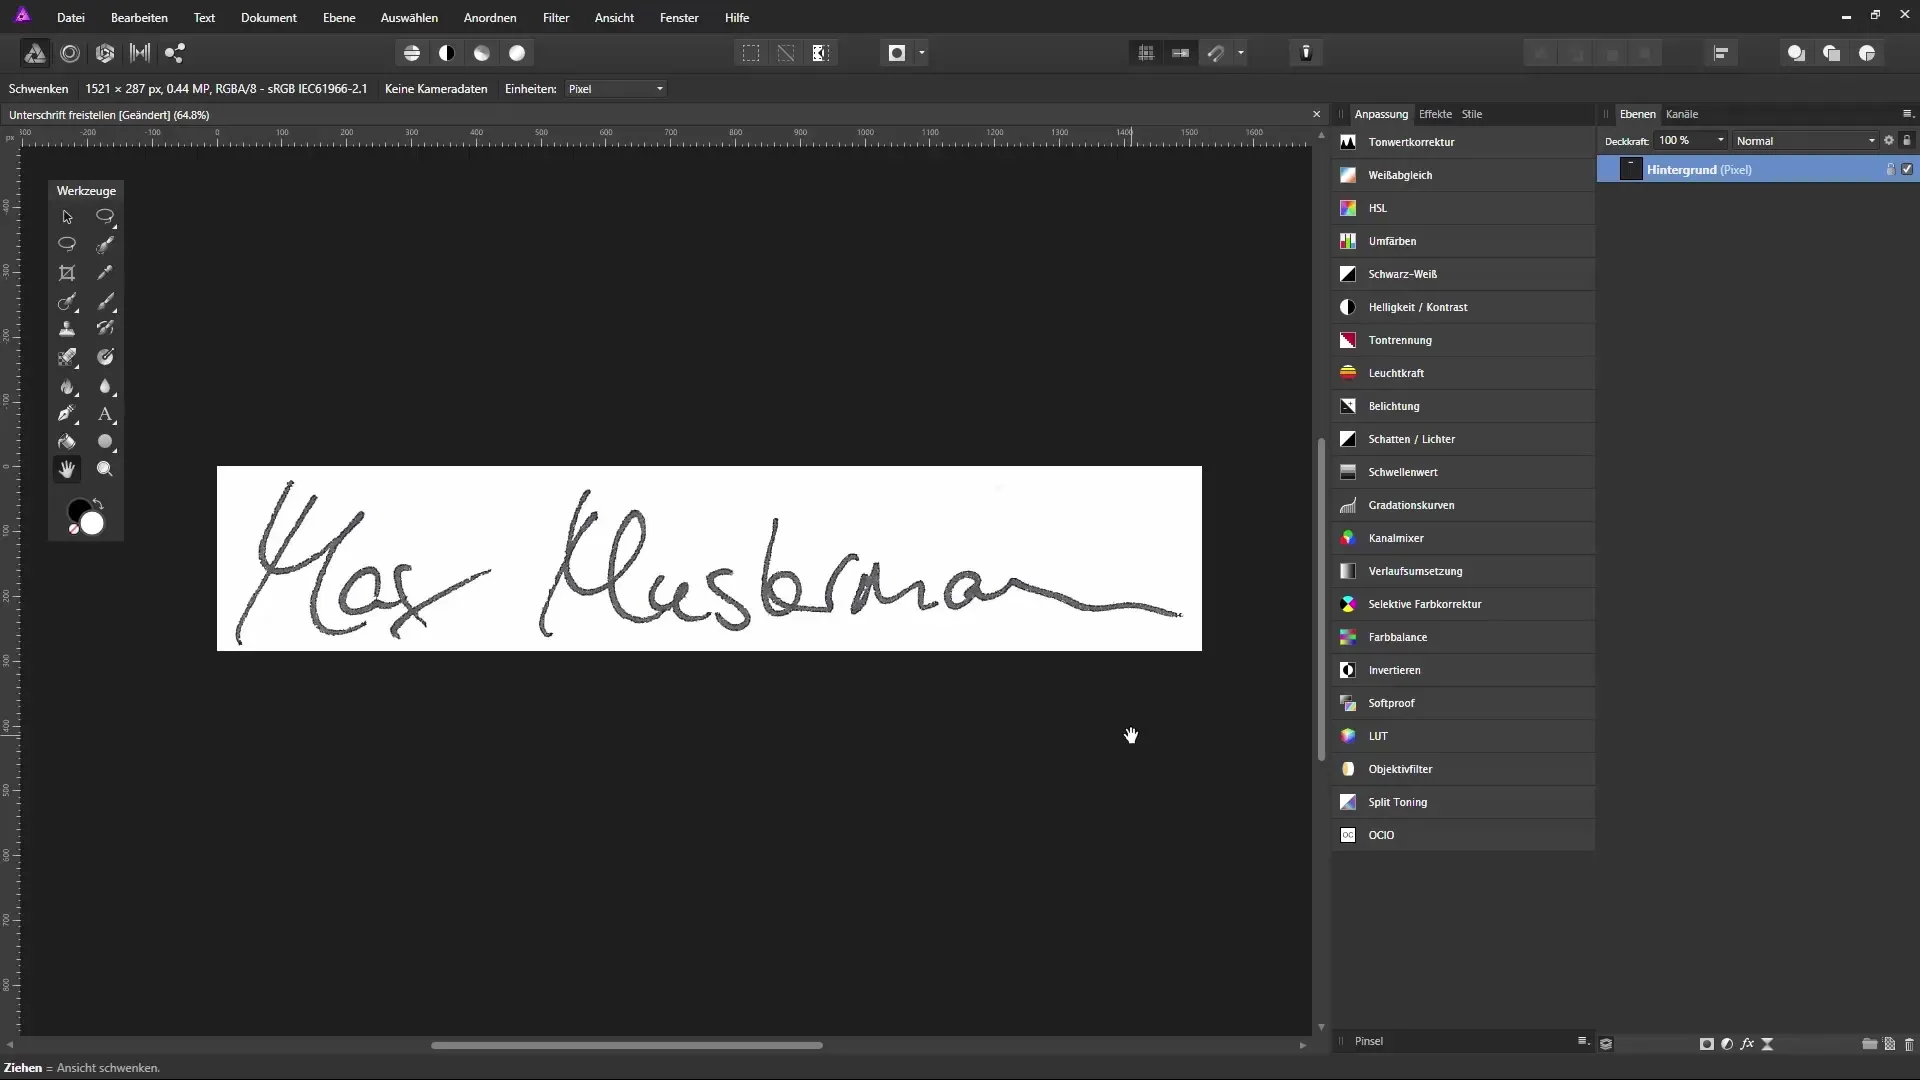
Use the crop tool to closely outline the signature. By adjusting the edges, you can ensure that only the signature remains in the image without unnecessary areas. This will enhance future editing.
Step 4: Adjusting colors
To change the signature from gray to a rich black, select a level for tonal correction. Through the dialog box, you can enhance the dark areas and adjust the light areas to achieve a clear text.
Step 5: Removing disturbances
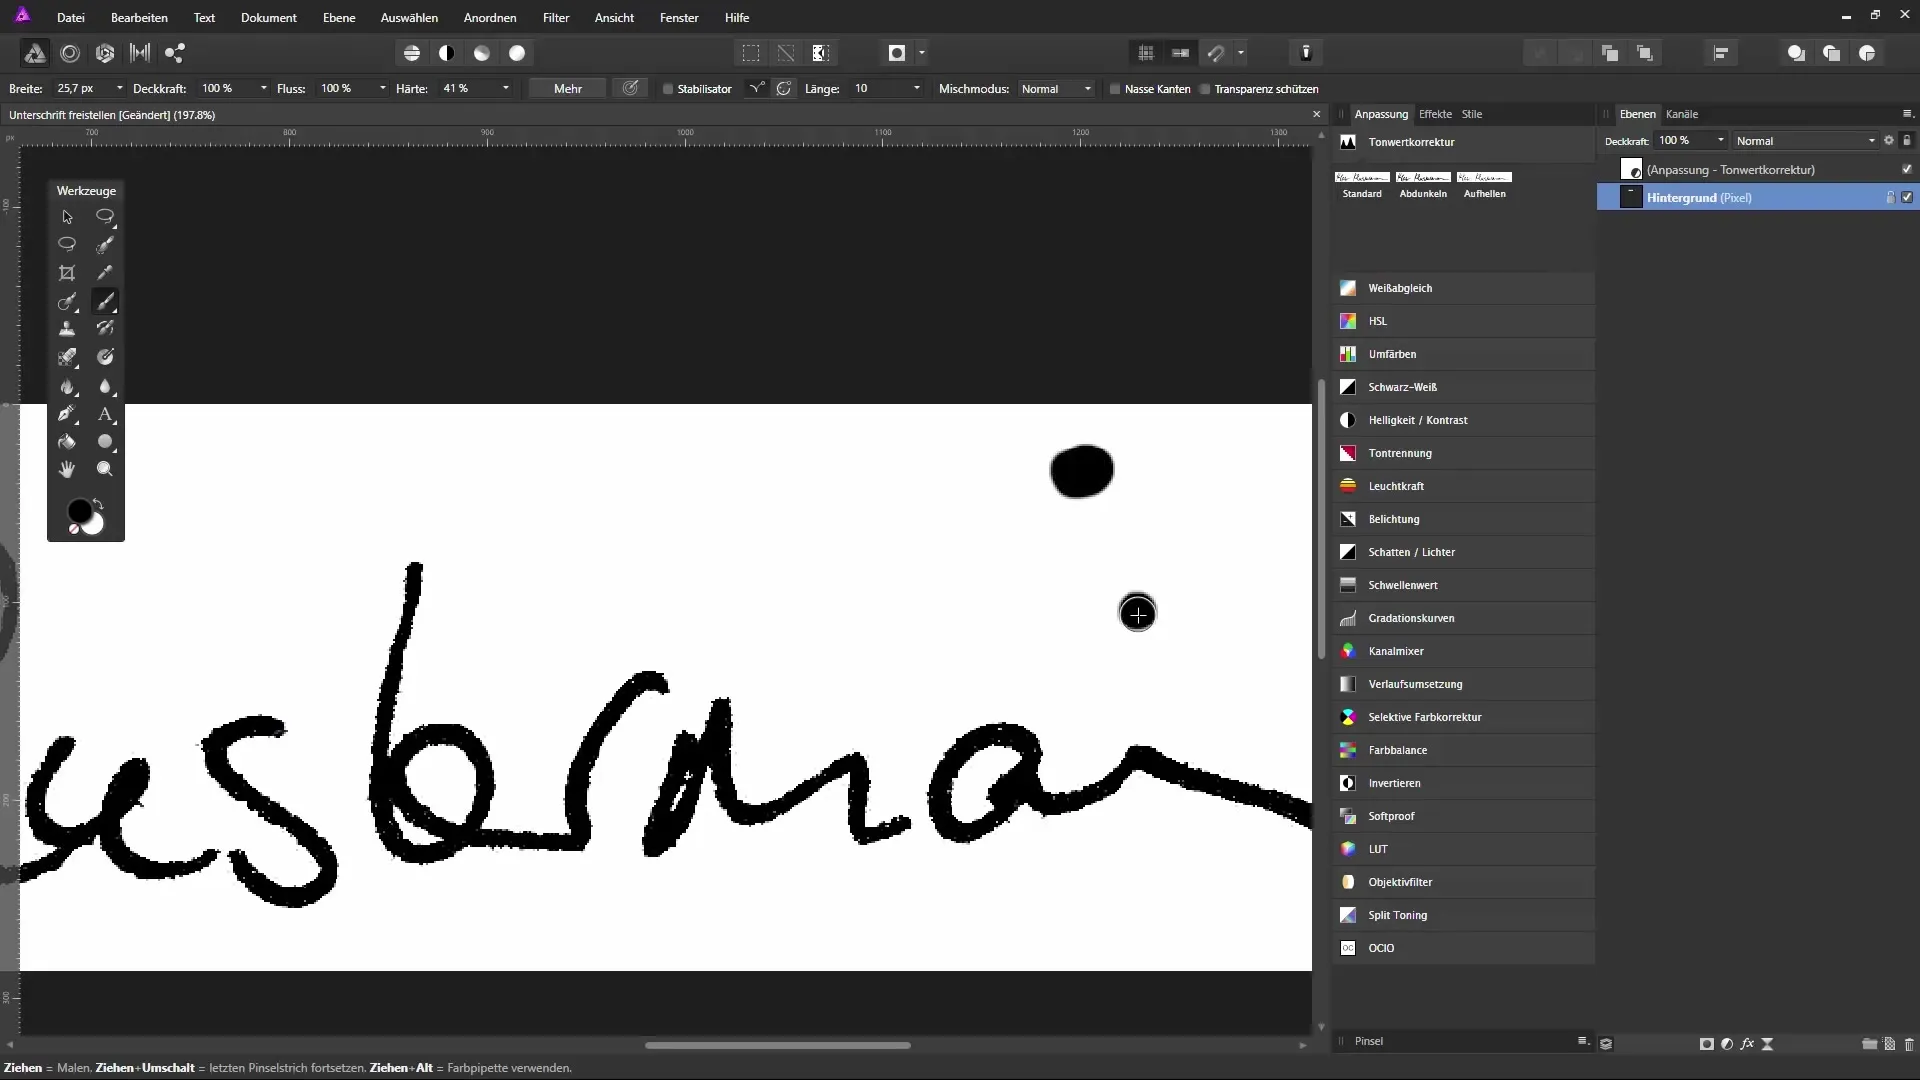
Check the image for any spots or unwanted edges. Use the brush with white color to paint over these spots on the white background and optimize the lettering.
Step 6: Merging layers
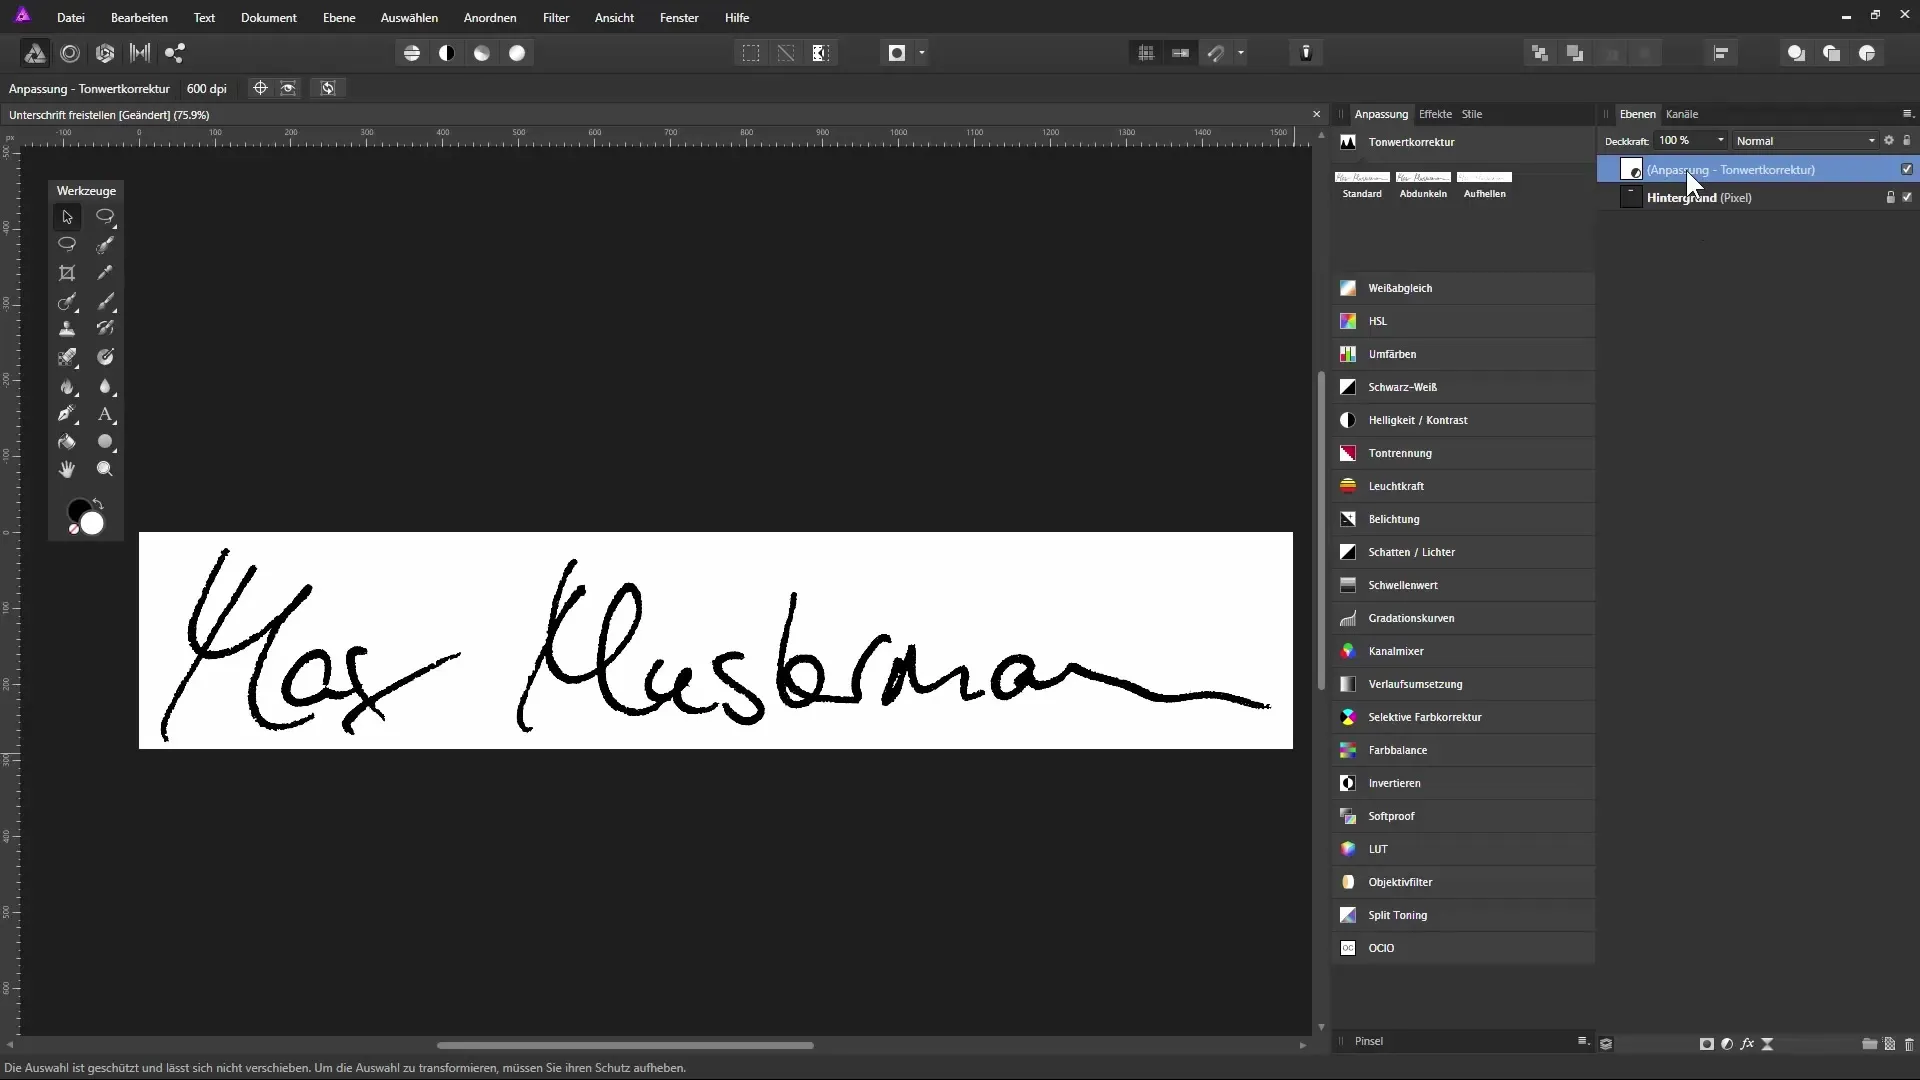
For better clarity and to simplify editing, you can merge the different editing layers into a single layer. This makes your work more efficient.
Step 7: Create selection
To place the signature on a transparent background, create a luminance selection. Select the area of your signature by holding down the control key and clicking on the thumbnail of the background layer.
Step 8: Move the writing to a new layer
With the selection active, press control and J to raise the signature to a new layer. You can now hide the background layer to only see the extracted signature.
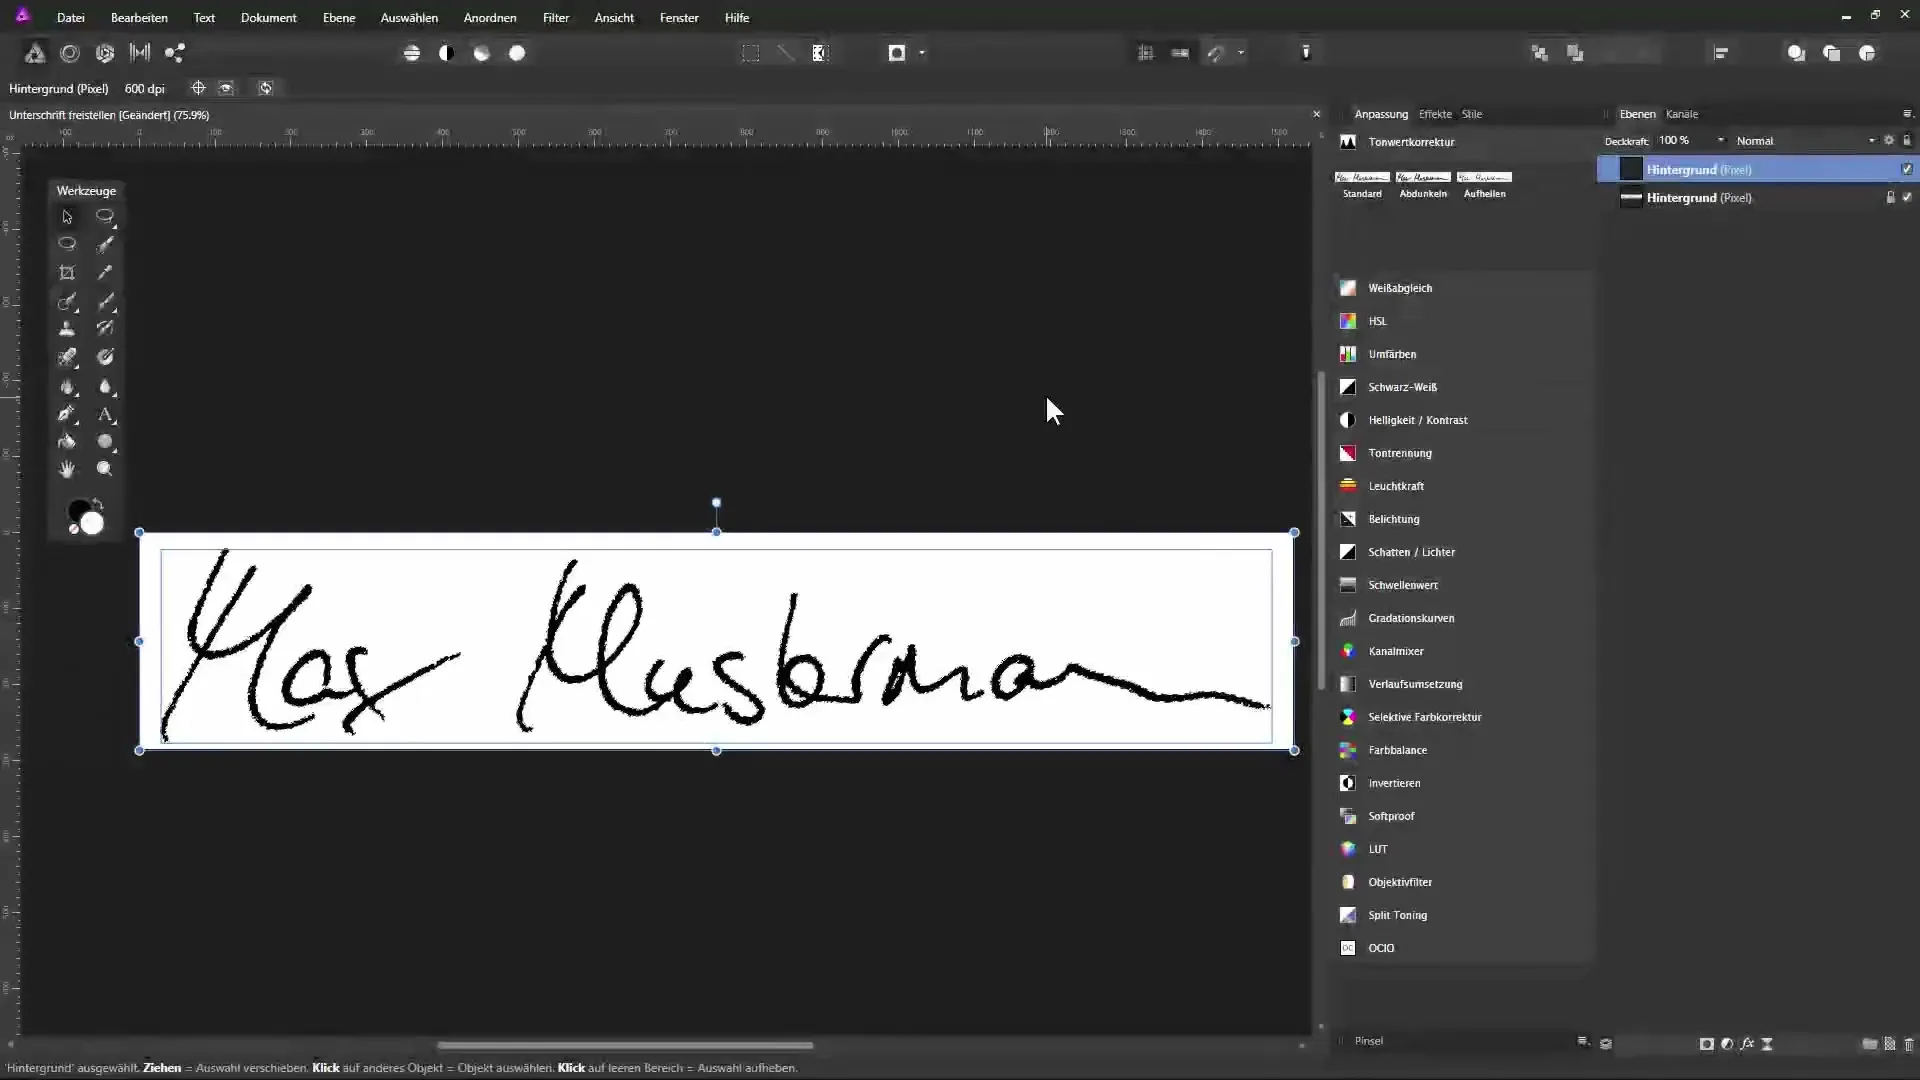
Step 9: Make color corrections
If there are still lighter pixels in the signature, you can convert them to black. Select the light pixels and change the fill color to black.
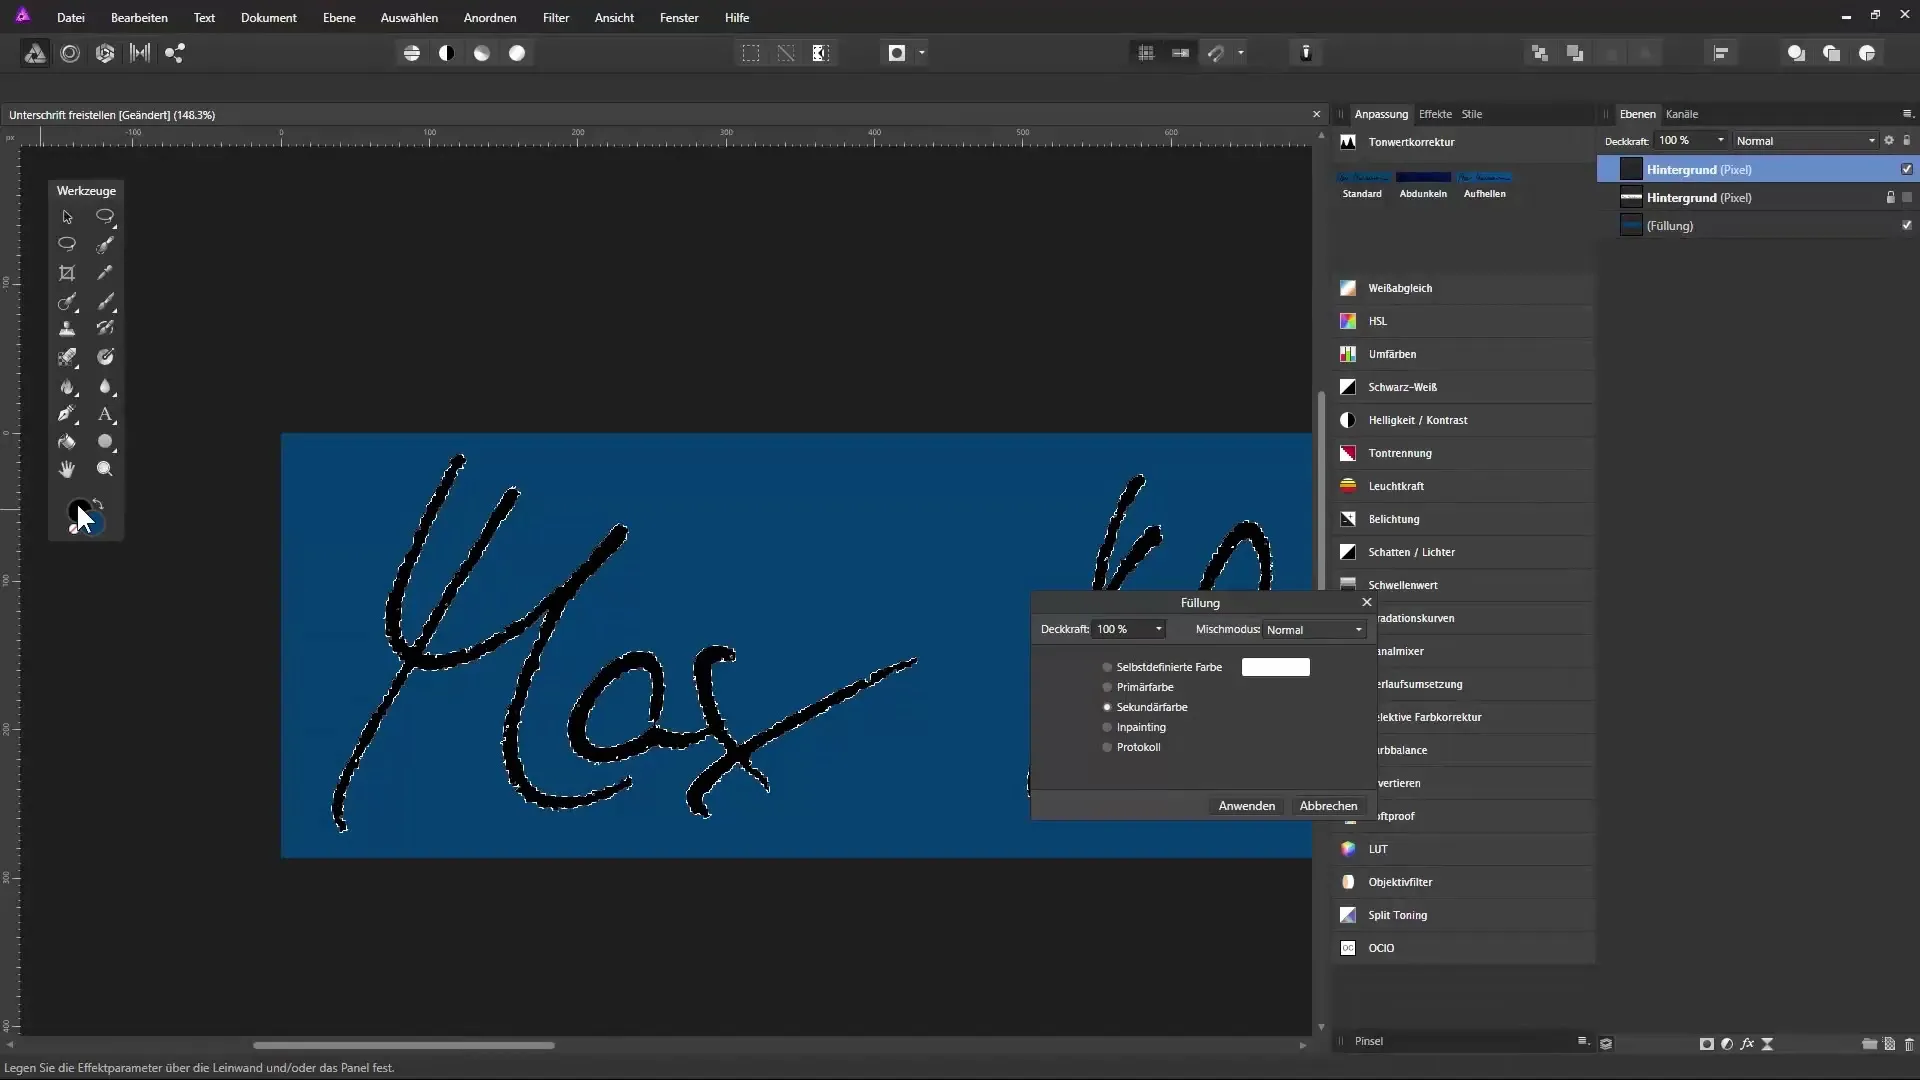
Step 10: Refining the signature
Give your signature the finishing touches by painting over smaller gaps with the brush tool. Decide for yourself whether to maintain the "scribbled" aesthetic or to smooth the text.
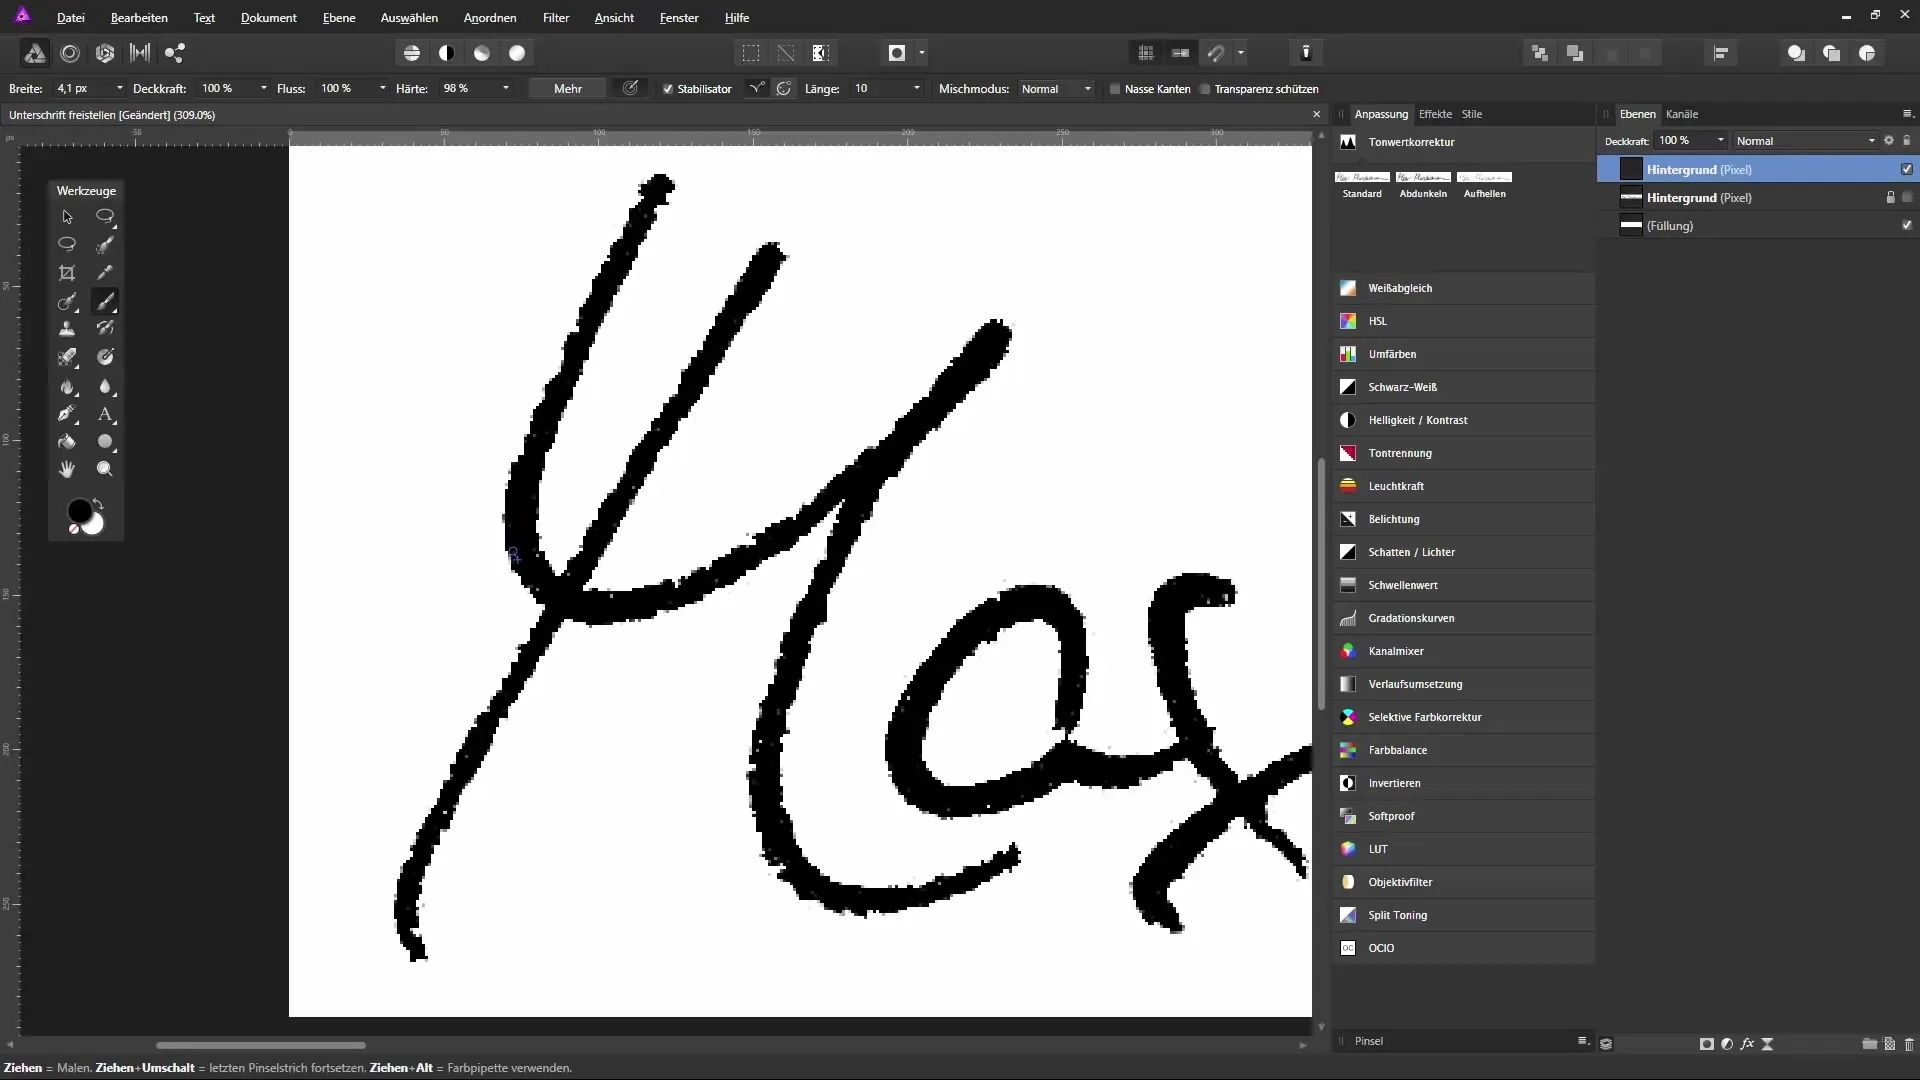
Step 11: Adjust document size
Depending on what format you need the signature in, you should adjust the document size. Go to "Document" and select "Change Document Size". Here you can set the new width or height.
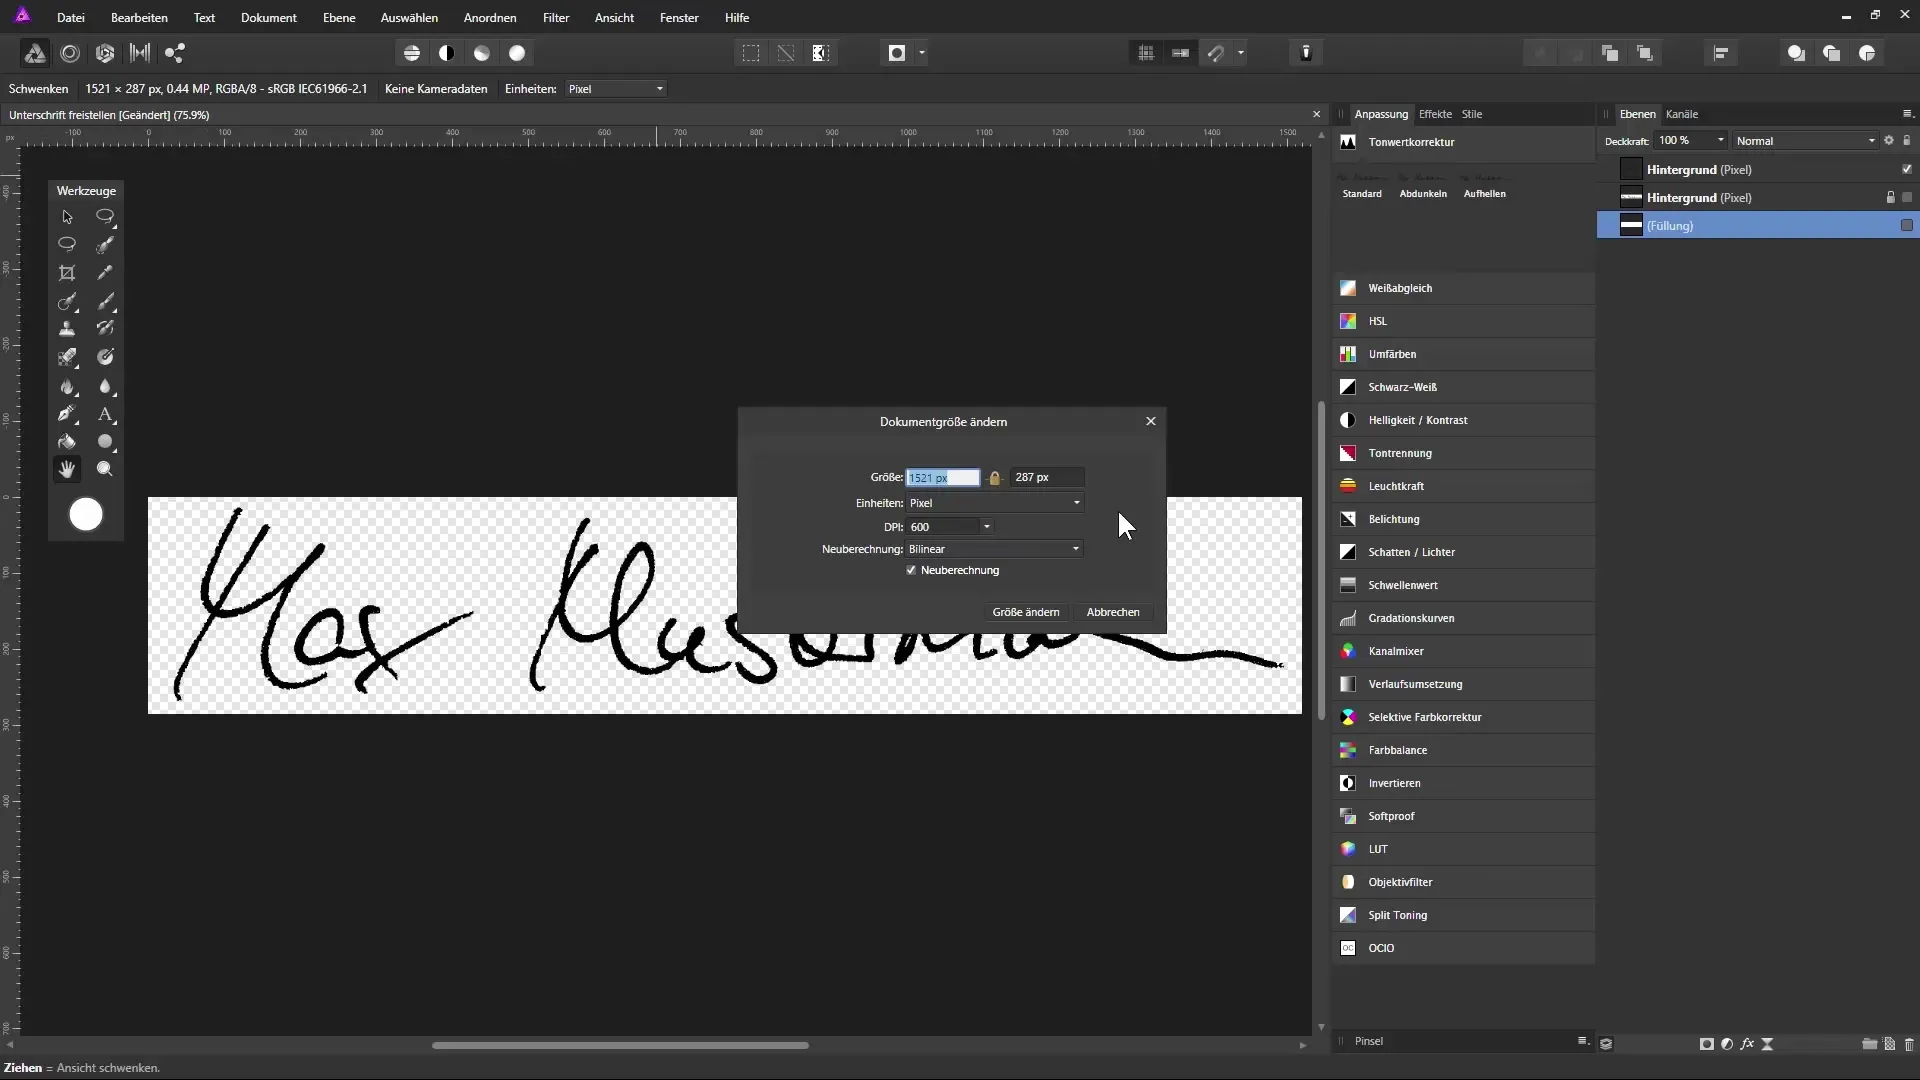
Step 12: Save signature
When your signature is ready, save the file in PNG format. Go to "File" > "Export" and select the PNG option. Make sure to choose "PNG 24" to retain transparency.
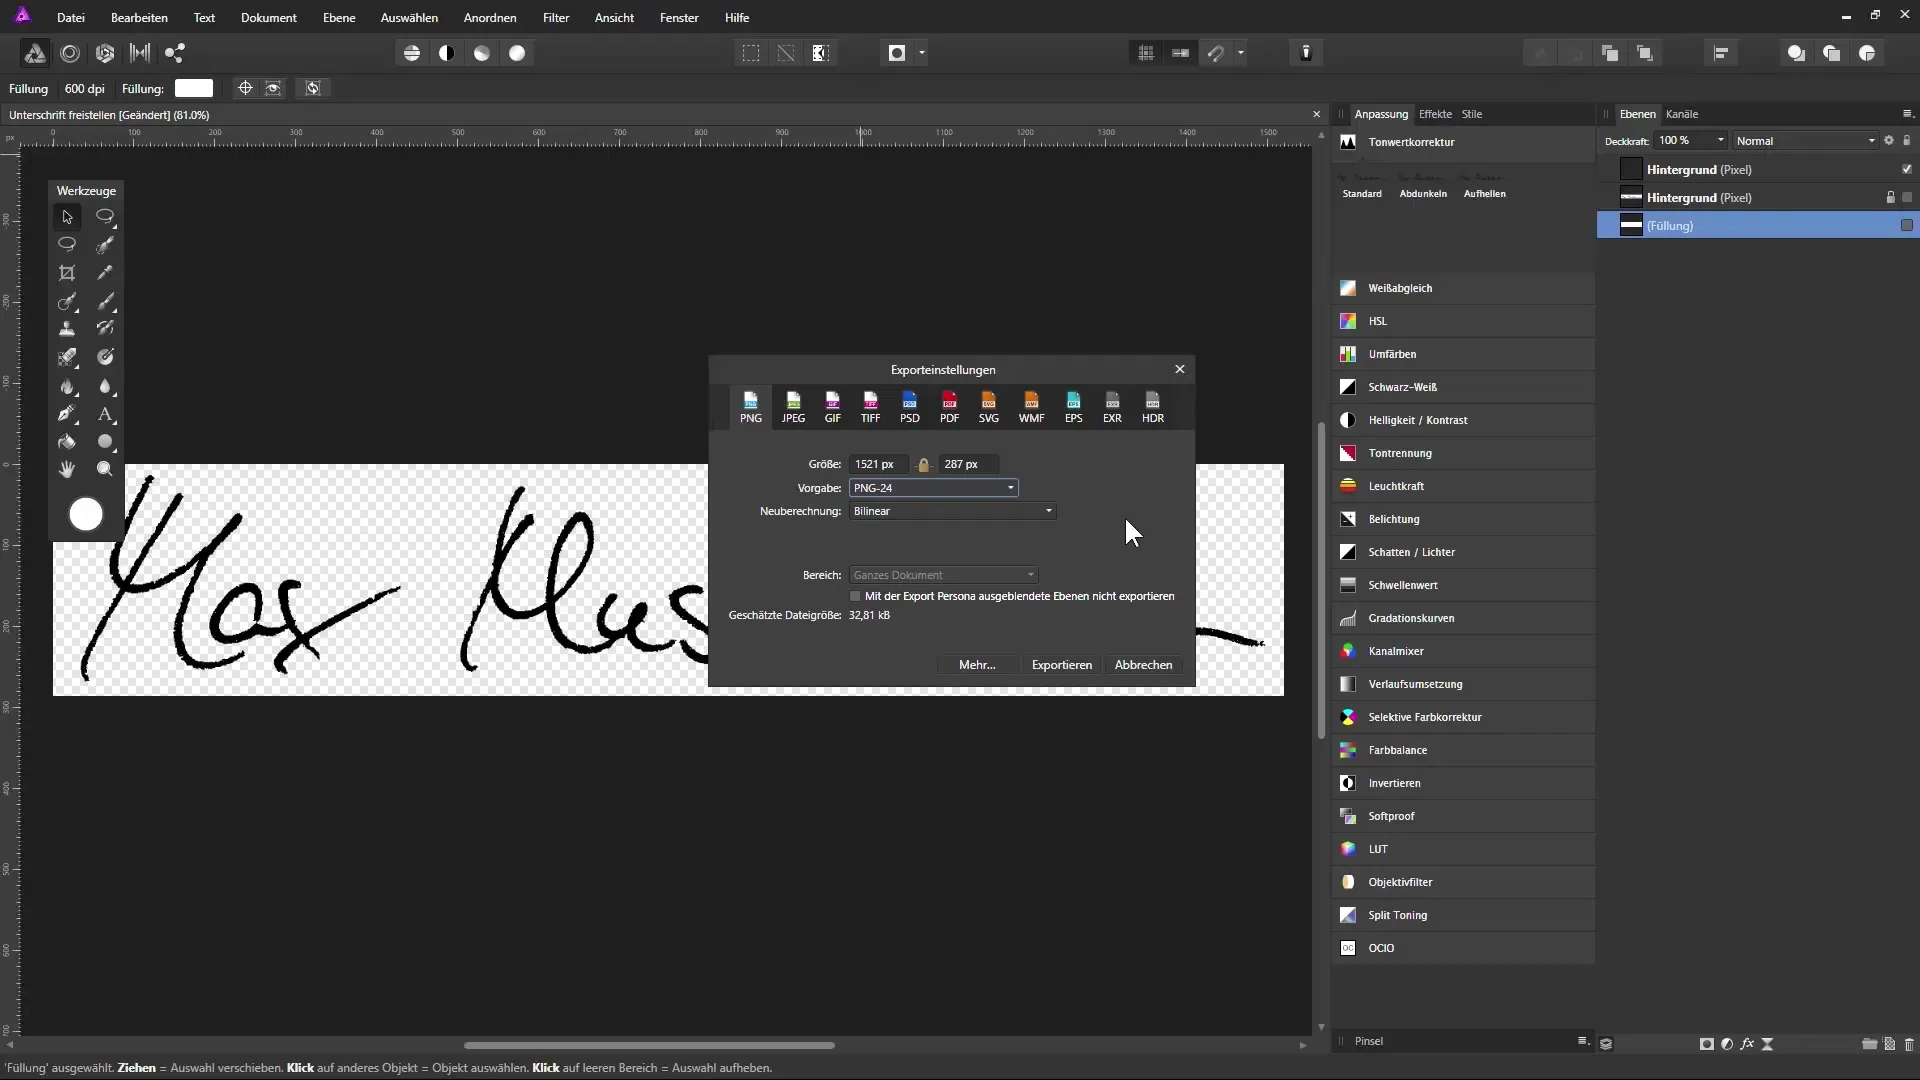
Summary – Extracting the signature with Affinity Photo
You have now successfully extracted your signature and prepared it for use in digital documents. Whether in Word, PDF, or for your email signature – your signature is now versatile!
Frequently asked questions
How can I best scan my signature?Scan the signature on a white sheet of paper and ensure a high resolution.
What file formats can I use?The PNG format is ideal for transparency, but JPEG or GIF are also possible.
How can I insert the signature into Word or PDF?Use the "Insert" function in Word or PDF to insert the saved PNG file of your signature.


