Do you want to precisely crop and edit your images in Affinity Photo? Selections are the key to effective cropping. In this guide, I will show you the basic concepts and functions that will help you create and adjust selections efficiently. You will learn how to isolate color areas or objects and adjust the selection for optimal results.
Key Insights
- Selections are the first step to cropping or editing areas of an image.
- The selection tool can be used in various forms, such as masks or paths.
- Soft edges improve the quality of the selection.
- Adjustments after creating a selection are possible and often necessary.
- Masks offer more flexibility than traditional selections.
Tips and Techniques for Creating Selections
1. Basic Understanding of Selections
Before diving into the various tools and techniques, it is important to understand how selections work in Affinity Photo. Selections define which area of your image should be edited or cropped. This can be done through various methods such as pixel selection, masks, or paths.
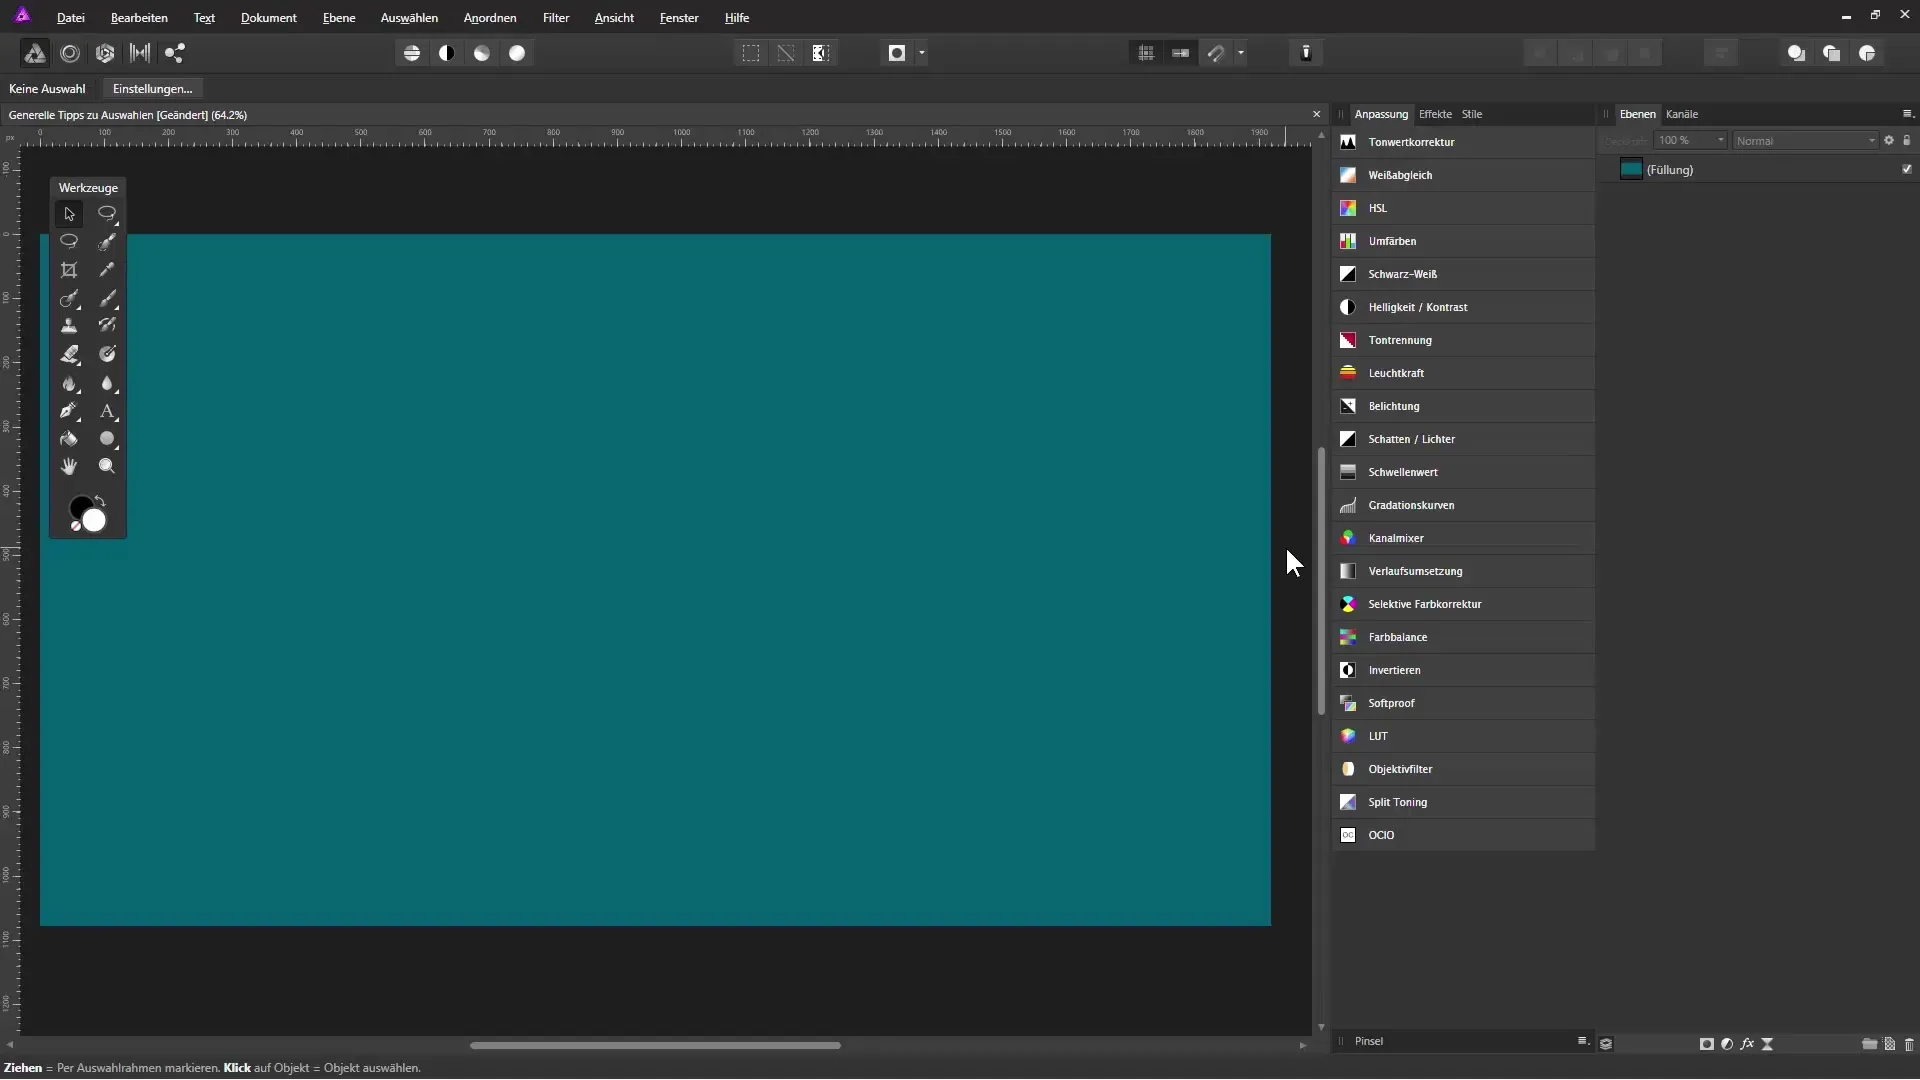
For example, you can select a selection tool like the lasso tool and specifically define an area of your image. After the selection, an animated march line appears, indicating that the area is active.
2. Optimizing Selection Edges
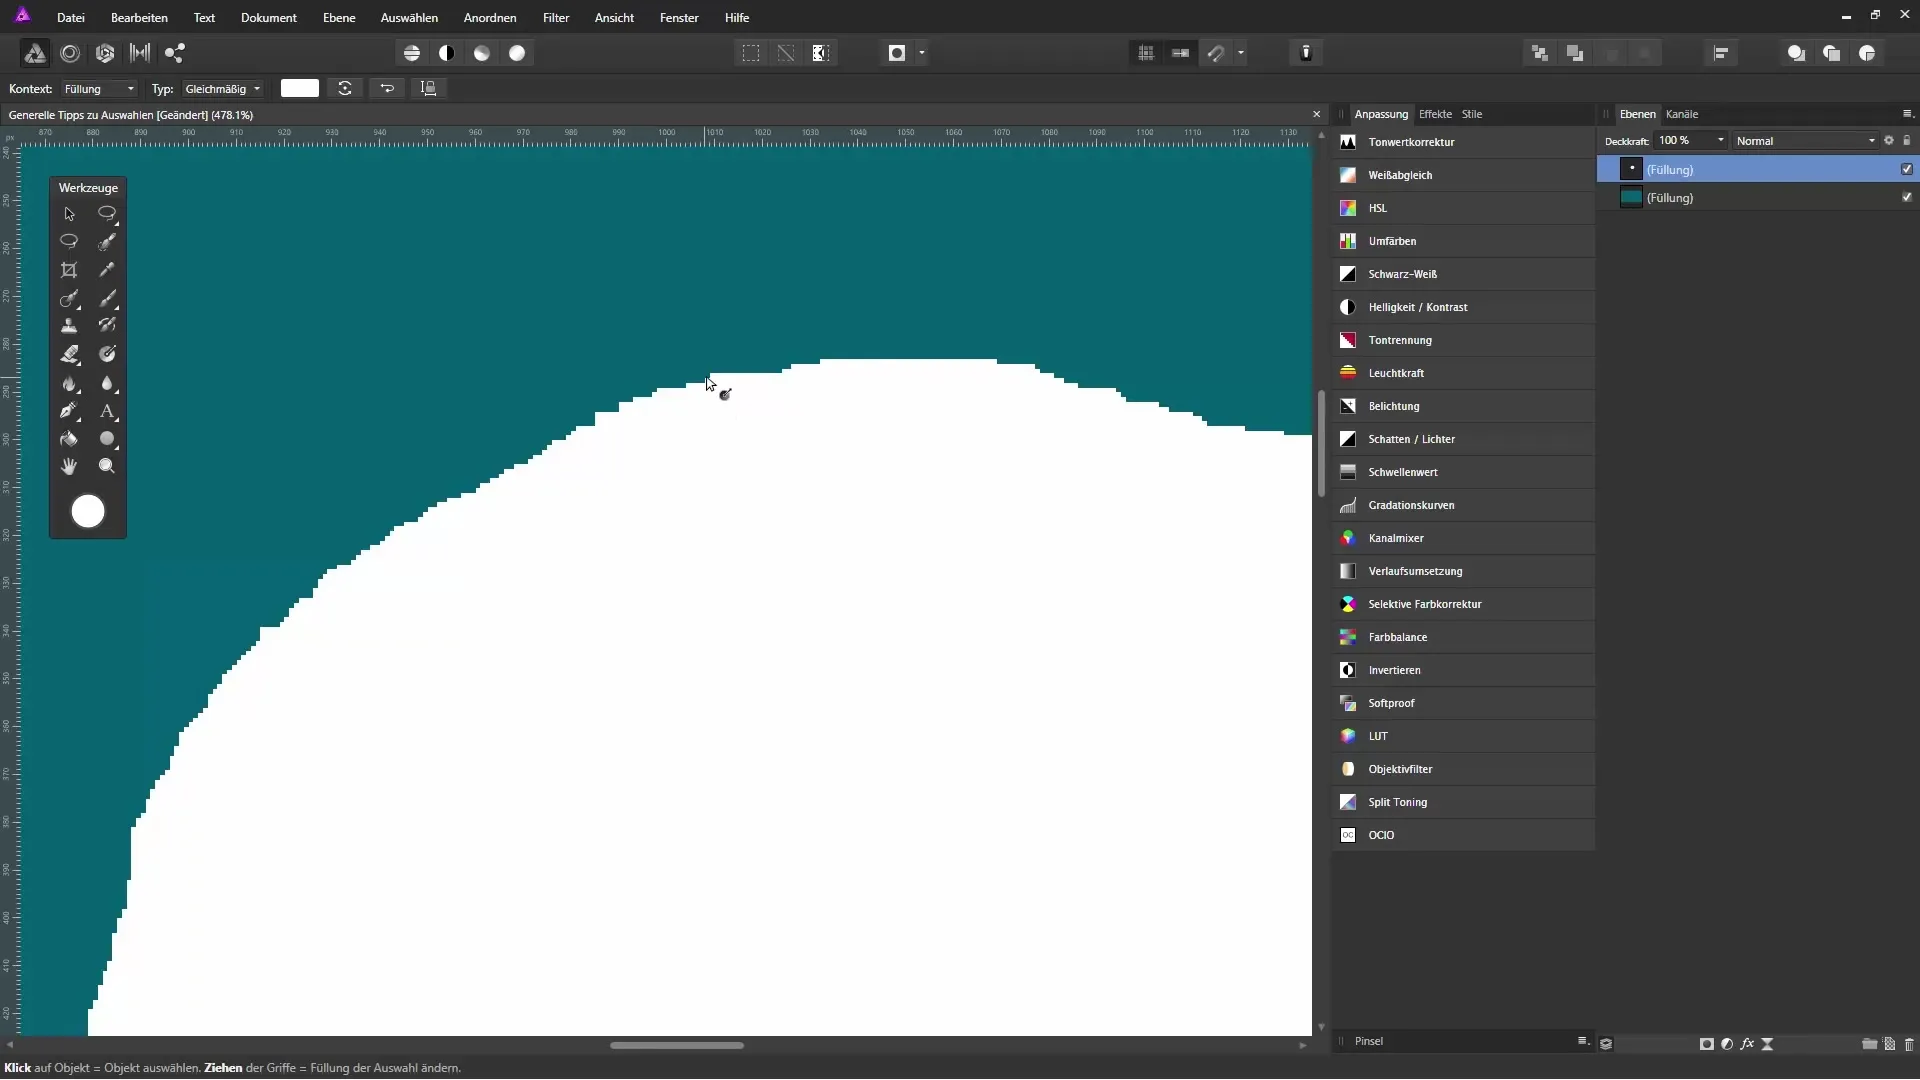
Often, the edges of a selection are hard and unnatural, which can lead to an unprofessional look. To improve this, you should always activate the anti-aliasing feature. This function smooths the edges and provides a softer transition between the selected object and the background.
Activate anti-aliasing in the selection tool and create a new selection. You will see that the edges are now presented much more pleasantly.
3. Edge Sharpness and Contouring
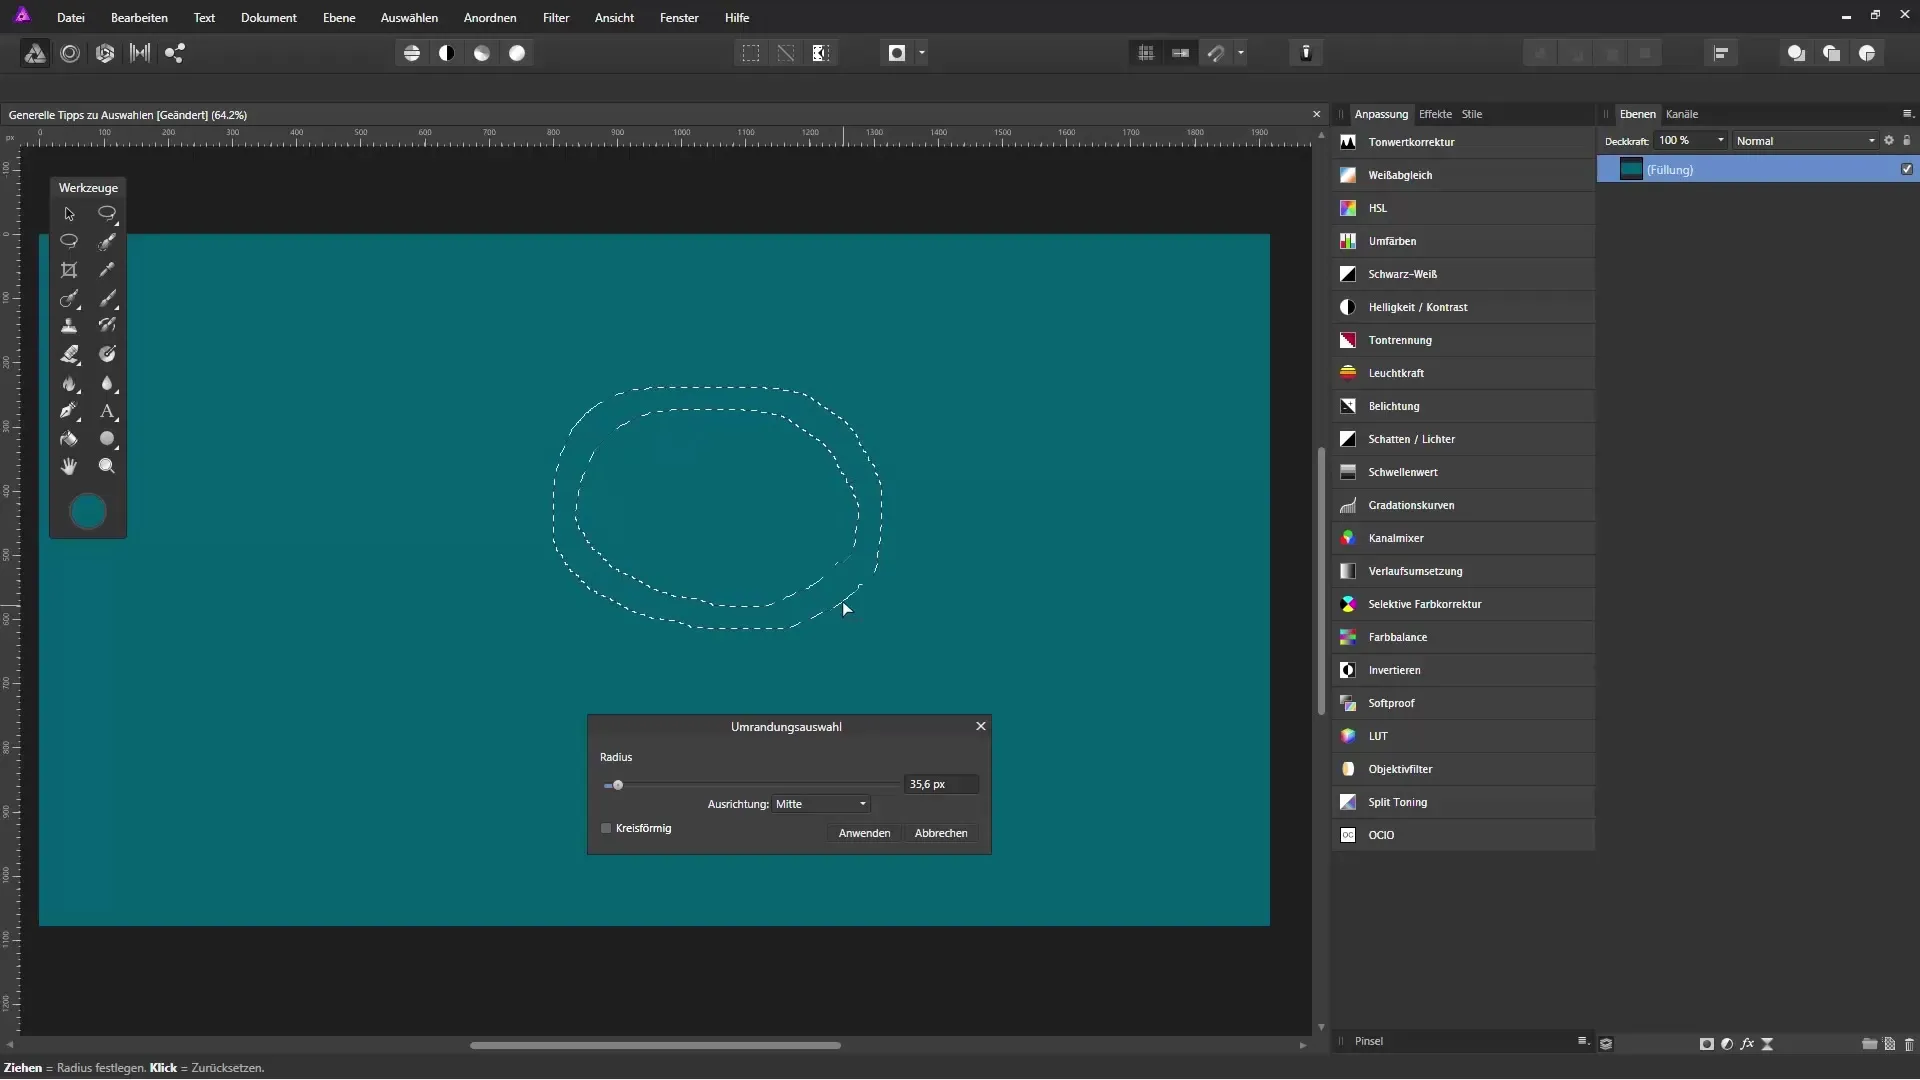
Edge sharpness can also be adjusted to refine the selection results. Increased edge sharpness can help create softer transitions. Additionally, you can use the contour feature in the selection to create a new frame around the selection.
By increasing the radius, you can create an environment around your selection, which increases editing flexibility.
4. Expanding or Shrinking a Selection
If you realize after the initial selection that you want more or less of an area, you can adjust the selection at any time. By using the "Select" option, you can expand or shrink the selection. This is helpful for removing unwanted parts or extending the selected area.
5. Cropping with Masks
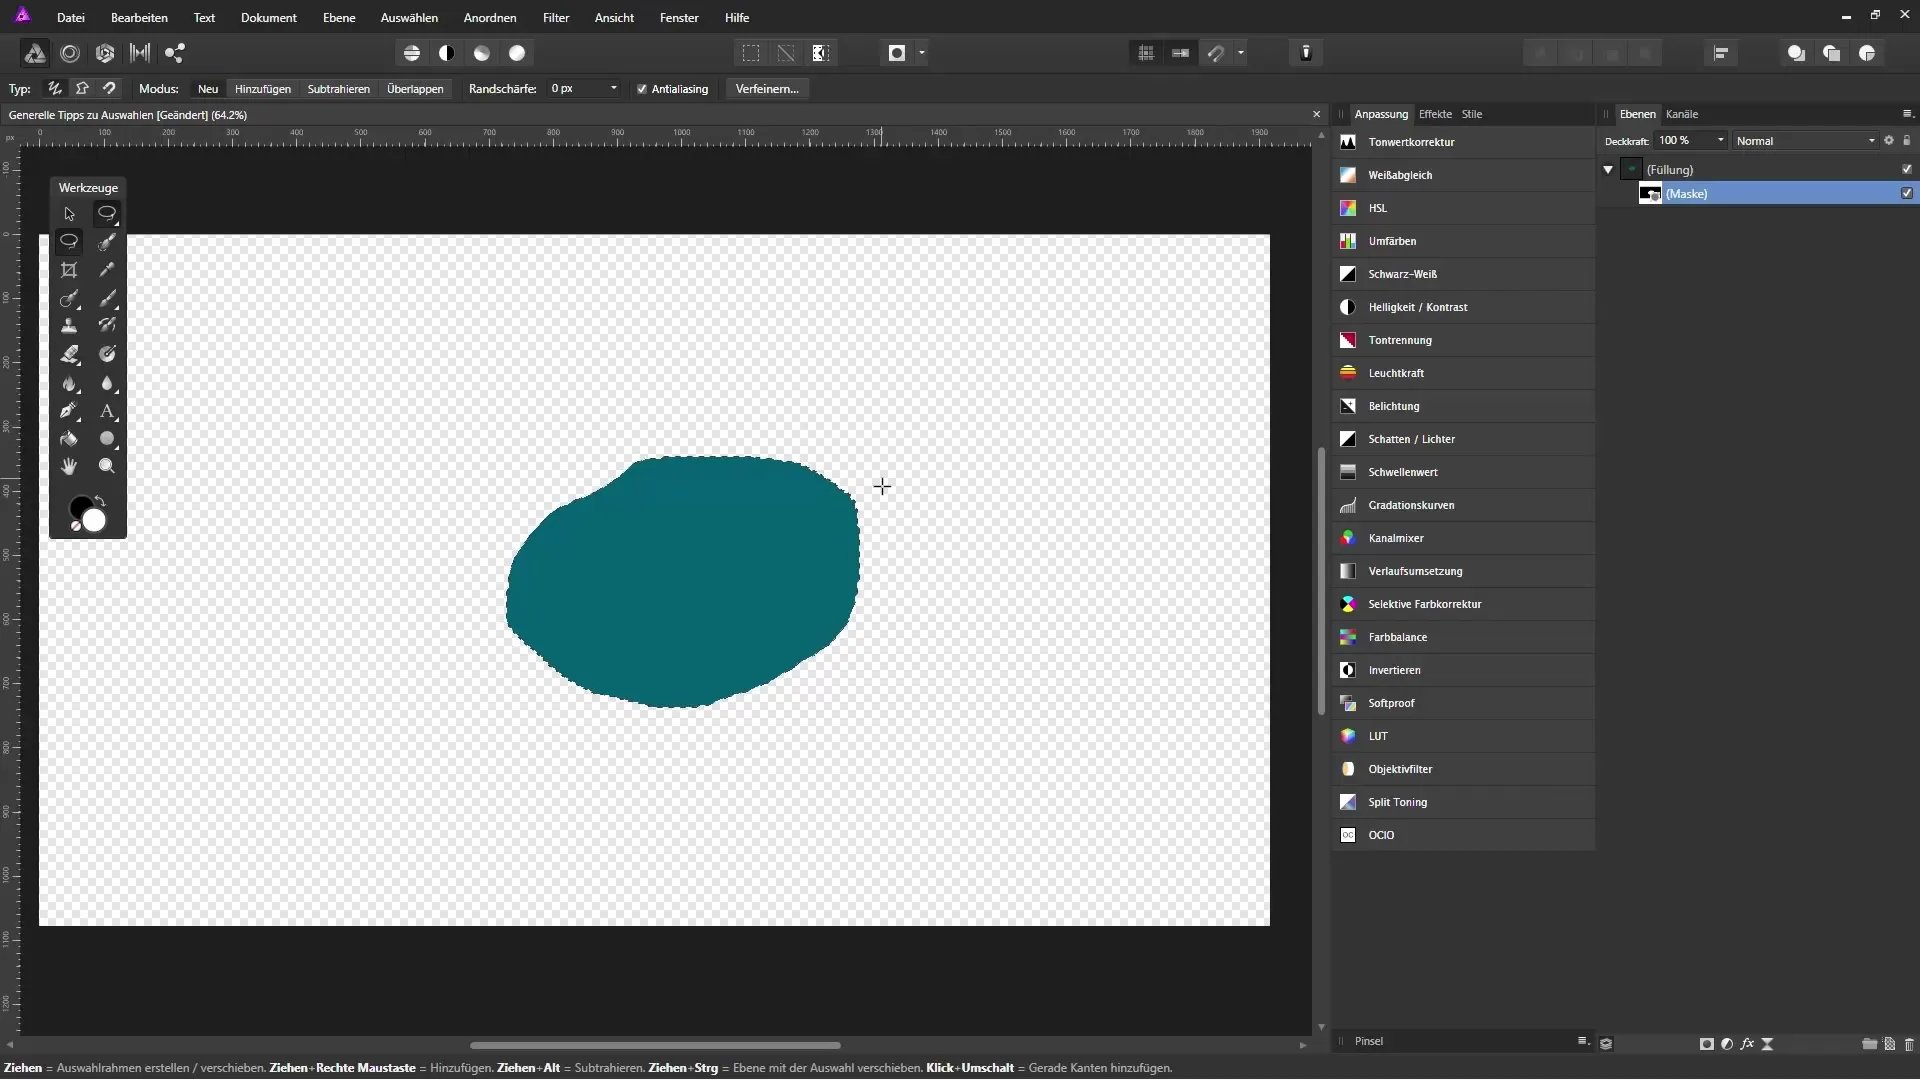
You also have the option to create a mask from a selection. Masks allow you to permanently hide or reveal areas without directly deleting the image data. Working with masks gives you more flexibility since you can make adjustments at any time without damaging an image.
To create a mask, take your selection, click on the mask icon in the layers palette, and you will see that the selected area remains visible while everything else is hidden.
6. Saving and Loading Selections
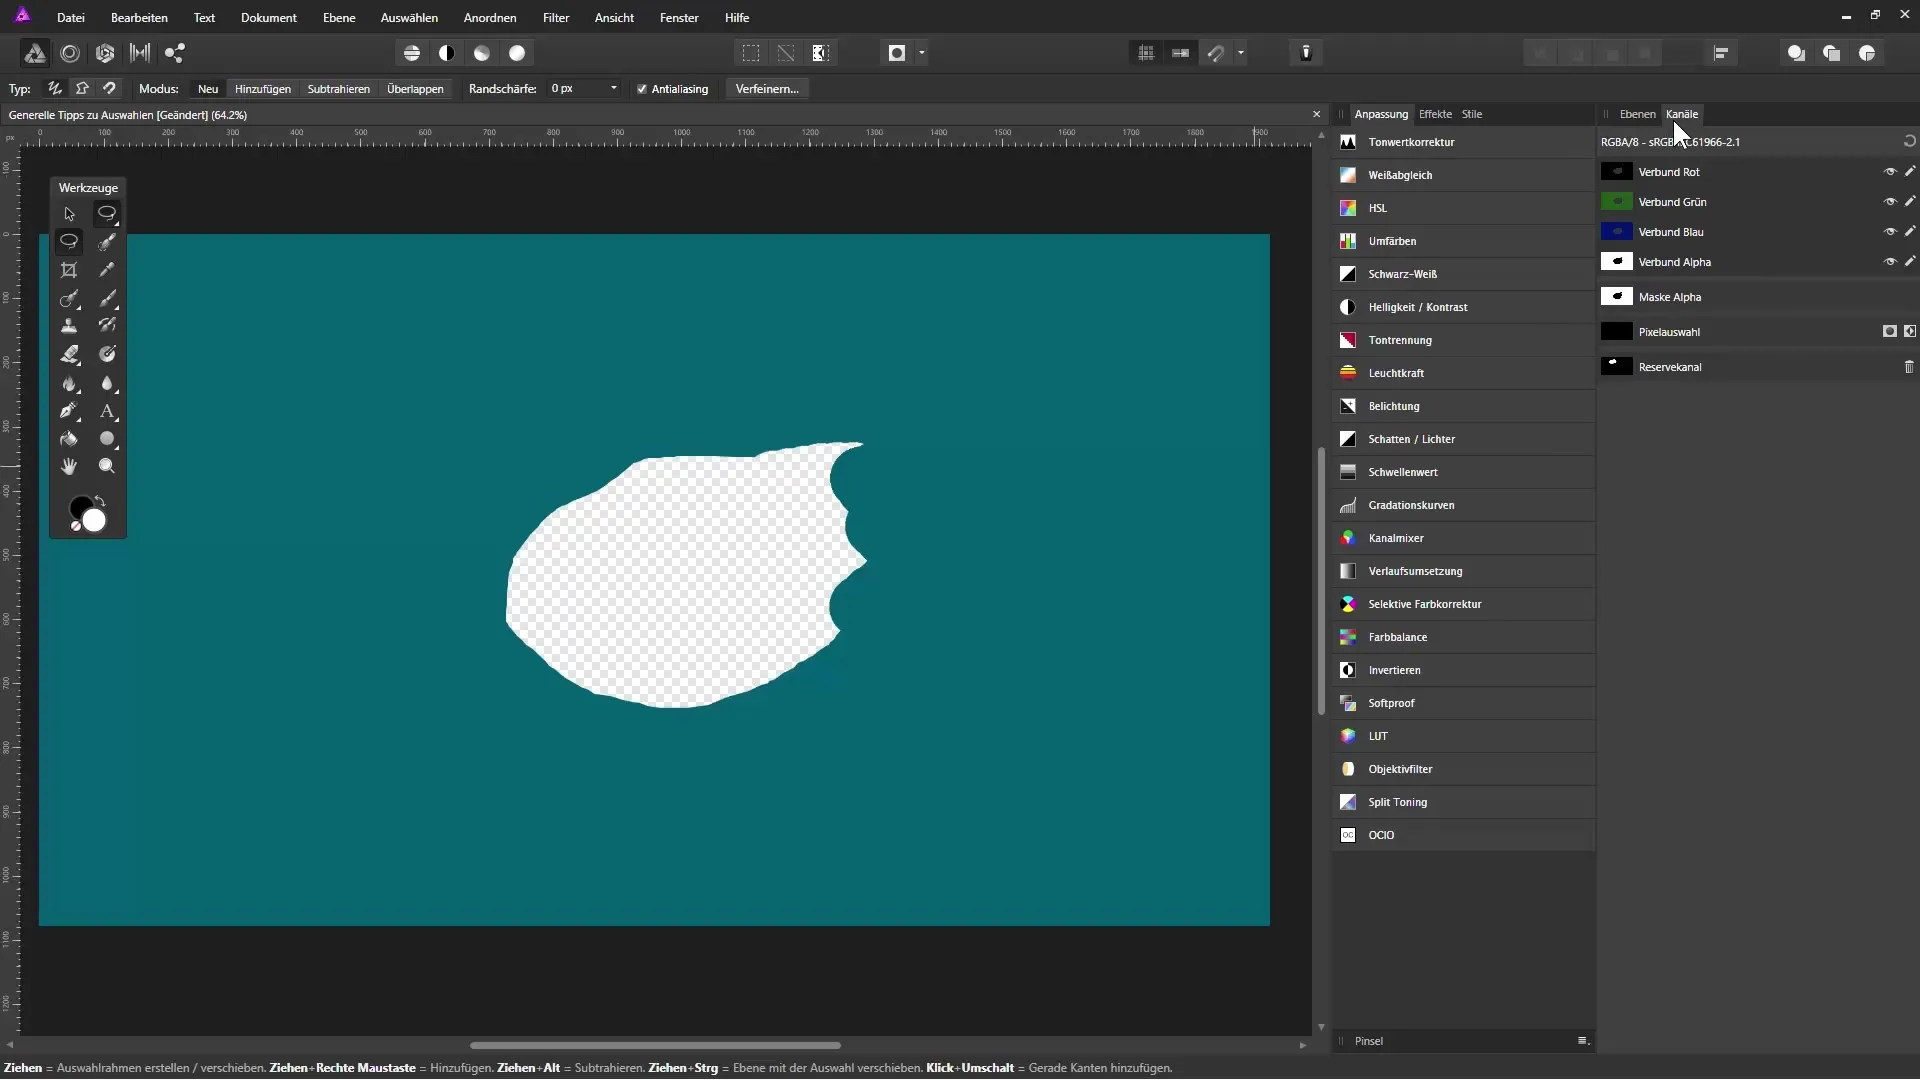
Another useful feature in Affinity Photo is the ability to save selections. This is particularly helpful if you want to access the same selection later. You can save the selection as a "spare channel" or even save it as a file on your hard drive.
7. Quick Implementation with Quick Mask
The Quick Mask is a very useful feature for quickly creating a selection. You can use the brush tool to select or deselect areas by simply painting over them. With the Quick Mask, you quickly get an overview of your selection.
Summary – Selecting and Cropping in Affinity Photo
To improve your image editing skills in Affinity Photo, a deep understanding of the selection tools is essential. You will learn how to create selections precisely, optimize edges, and save or adjust them as necessary. With masks, you can further refine your editing technique and gain flexibility in your projects. Use the tips from this guide to perfect your cropping!
Frequently Asked Questions
What are the main tools for selection in Affinity Photo?The main tools are the lasso tool, selection tools for color areas, the path tool, and the brush tool in Quick Mask.
How do I use anti-aliasing and edge sharpness?Anti-aliasing smooths the edges of a selection, while edge sharpness adjusts the transition. Both improve the look of your selection.
Can I undo a selection?Yes, you can cancel a selection at any time by pressing Control + D.
How do I save a selection for later?You can save a selection by saving it as a spare channel or as a file.
What is the advantage of a mask over a selection?With a mask, you can permanently hide or reveal areas without changing the original image data.

