Image editing can help you create impressive visual effects. One of the most powerful techniques you should master are clipping masks. In this guide, you will learn how to use clipping masks in AffinityPhototo isolate image areas and achieve interesting effects. This is done in a non-destructive way, so you can always revert or modify your adjustments.
Key Insights
- Clipping masks only affect the layers underneath.
- You can use both text and shapes as clipping masks.
- Masks and clipping masks give you the opportunity to work creatively and edit non-destructively.
Step-by-Step Guide
To work effectively with clipping masks in Affinity Photo, follow these steps:
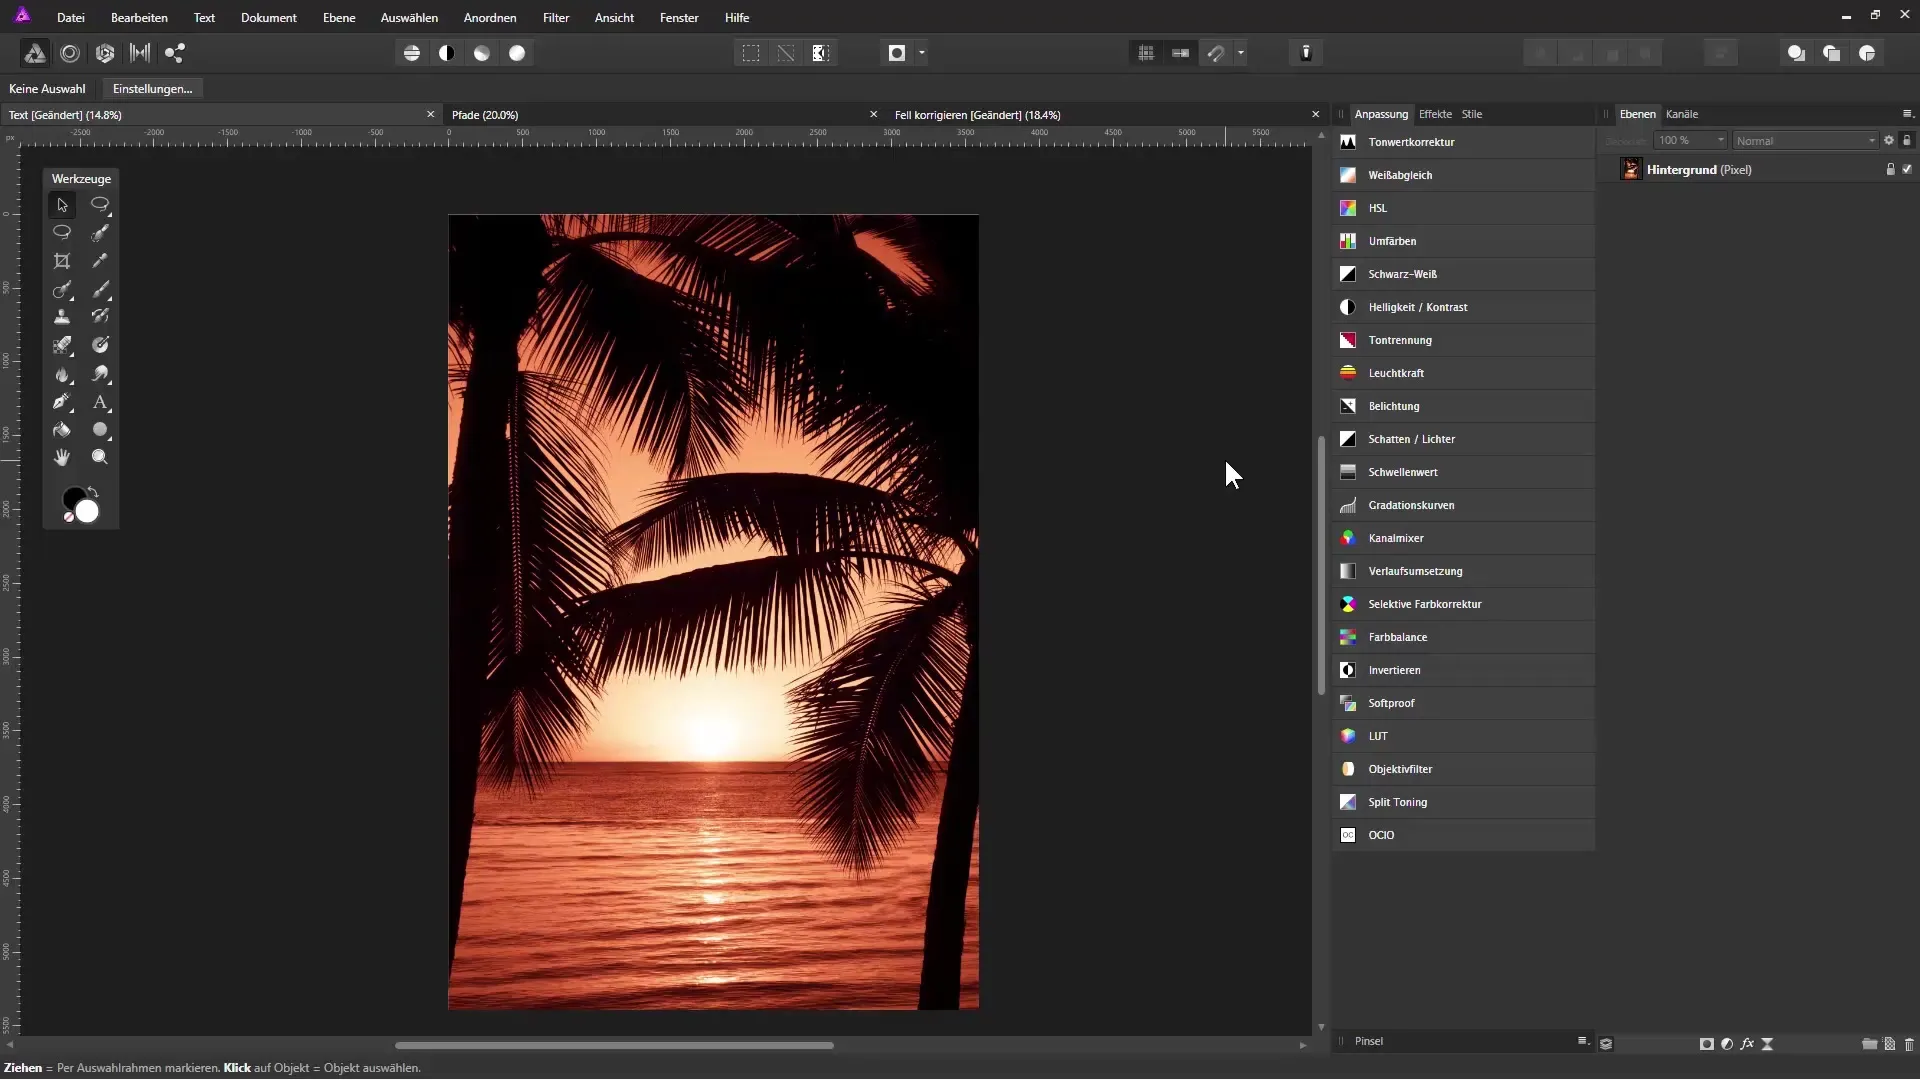
Unlock Background Layer
To work with clipping masks, you must first ensure that your background is unlocked. In the layers palette, you will see a lock icon next to the background layer. Click on this lock to unlock the layer.
Duplicate Layers
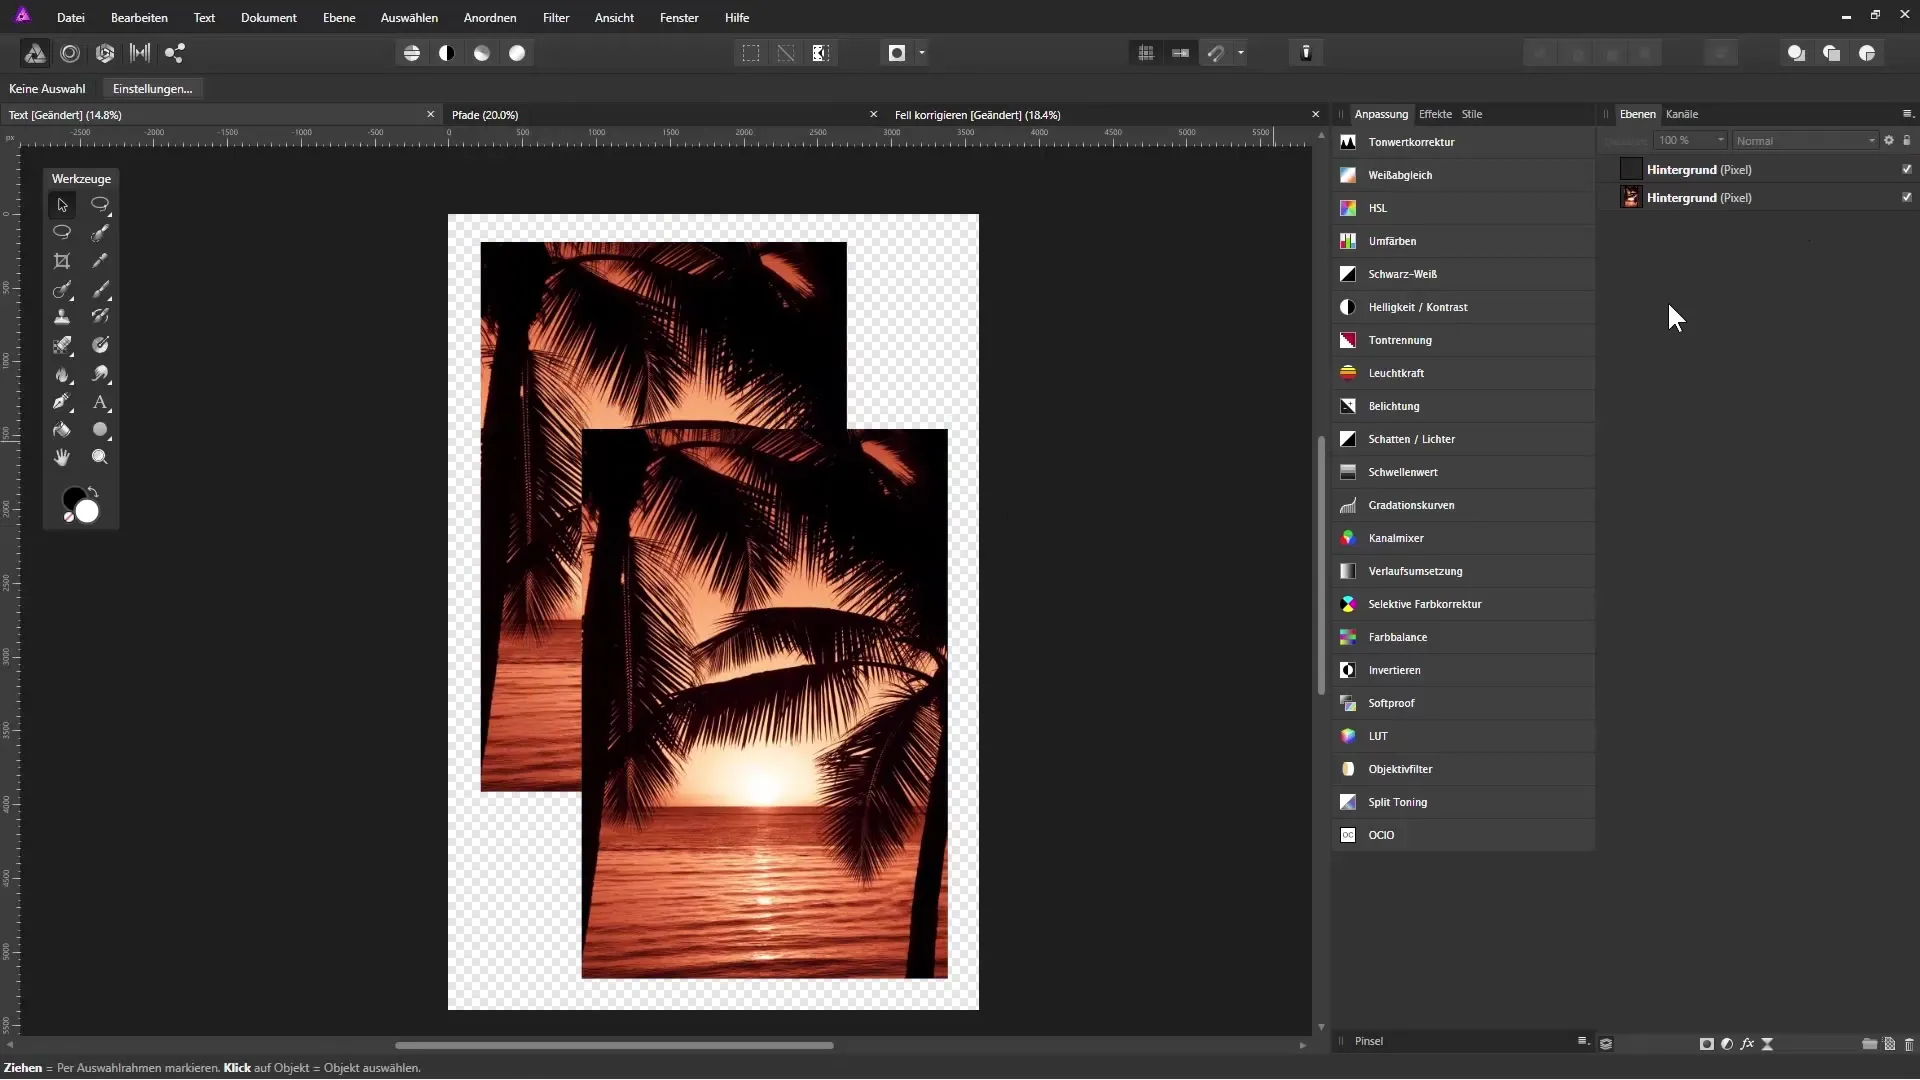
Now that your background layer is unlocked, you should create a copy of it. Press the Ctrl and J keys to duplicate the layer. Place the copy in your desired location.
Create Classic Mask
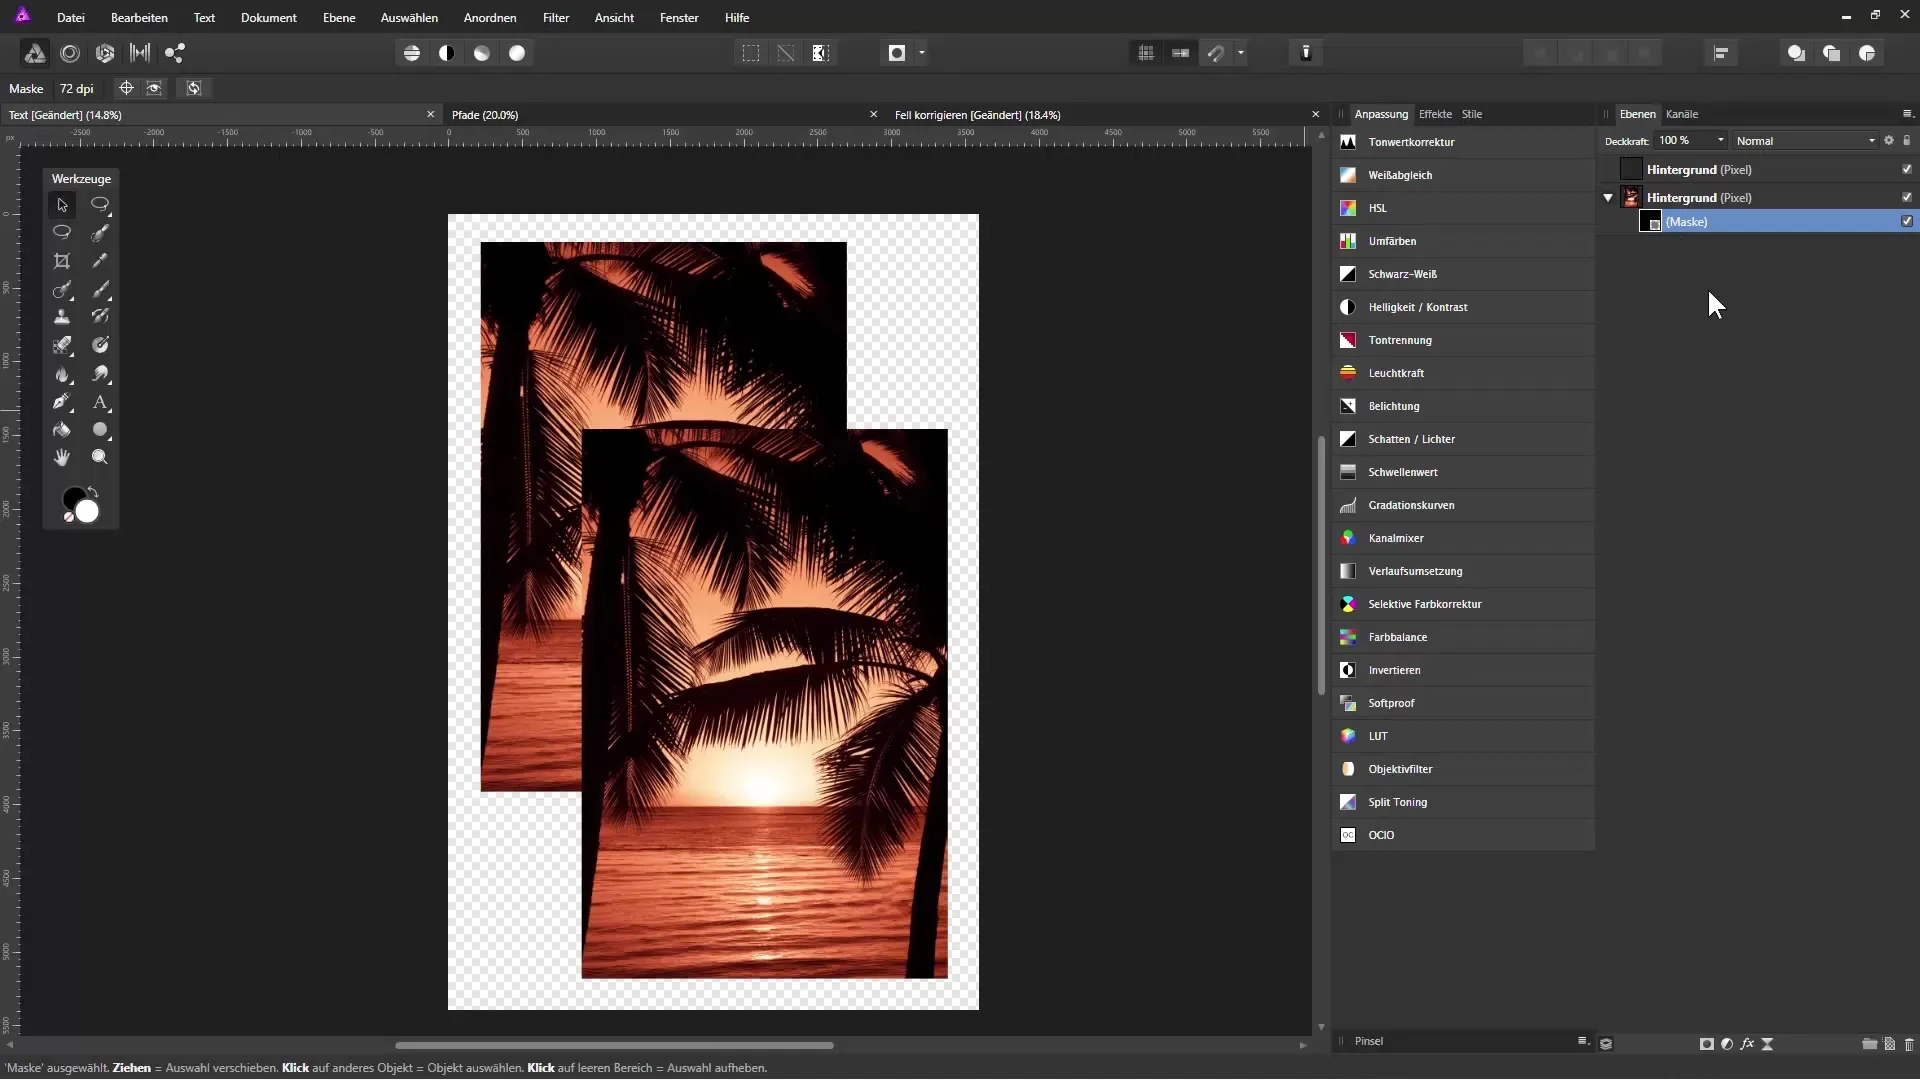
With a classic mask, you can make parts of your layer transparent. Select one of the layers and click on the mask icon in the layers palette. Now switch to the brush tool, set the color to black, and paint on the mask to make areas invisible. If you want to restore hidden parts, switch the color to white.
Apply Transparency Gradient
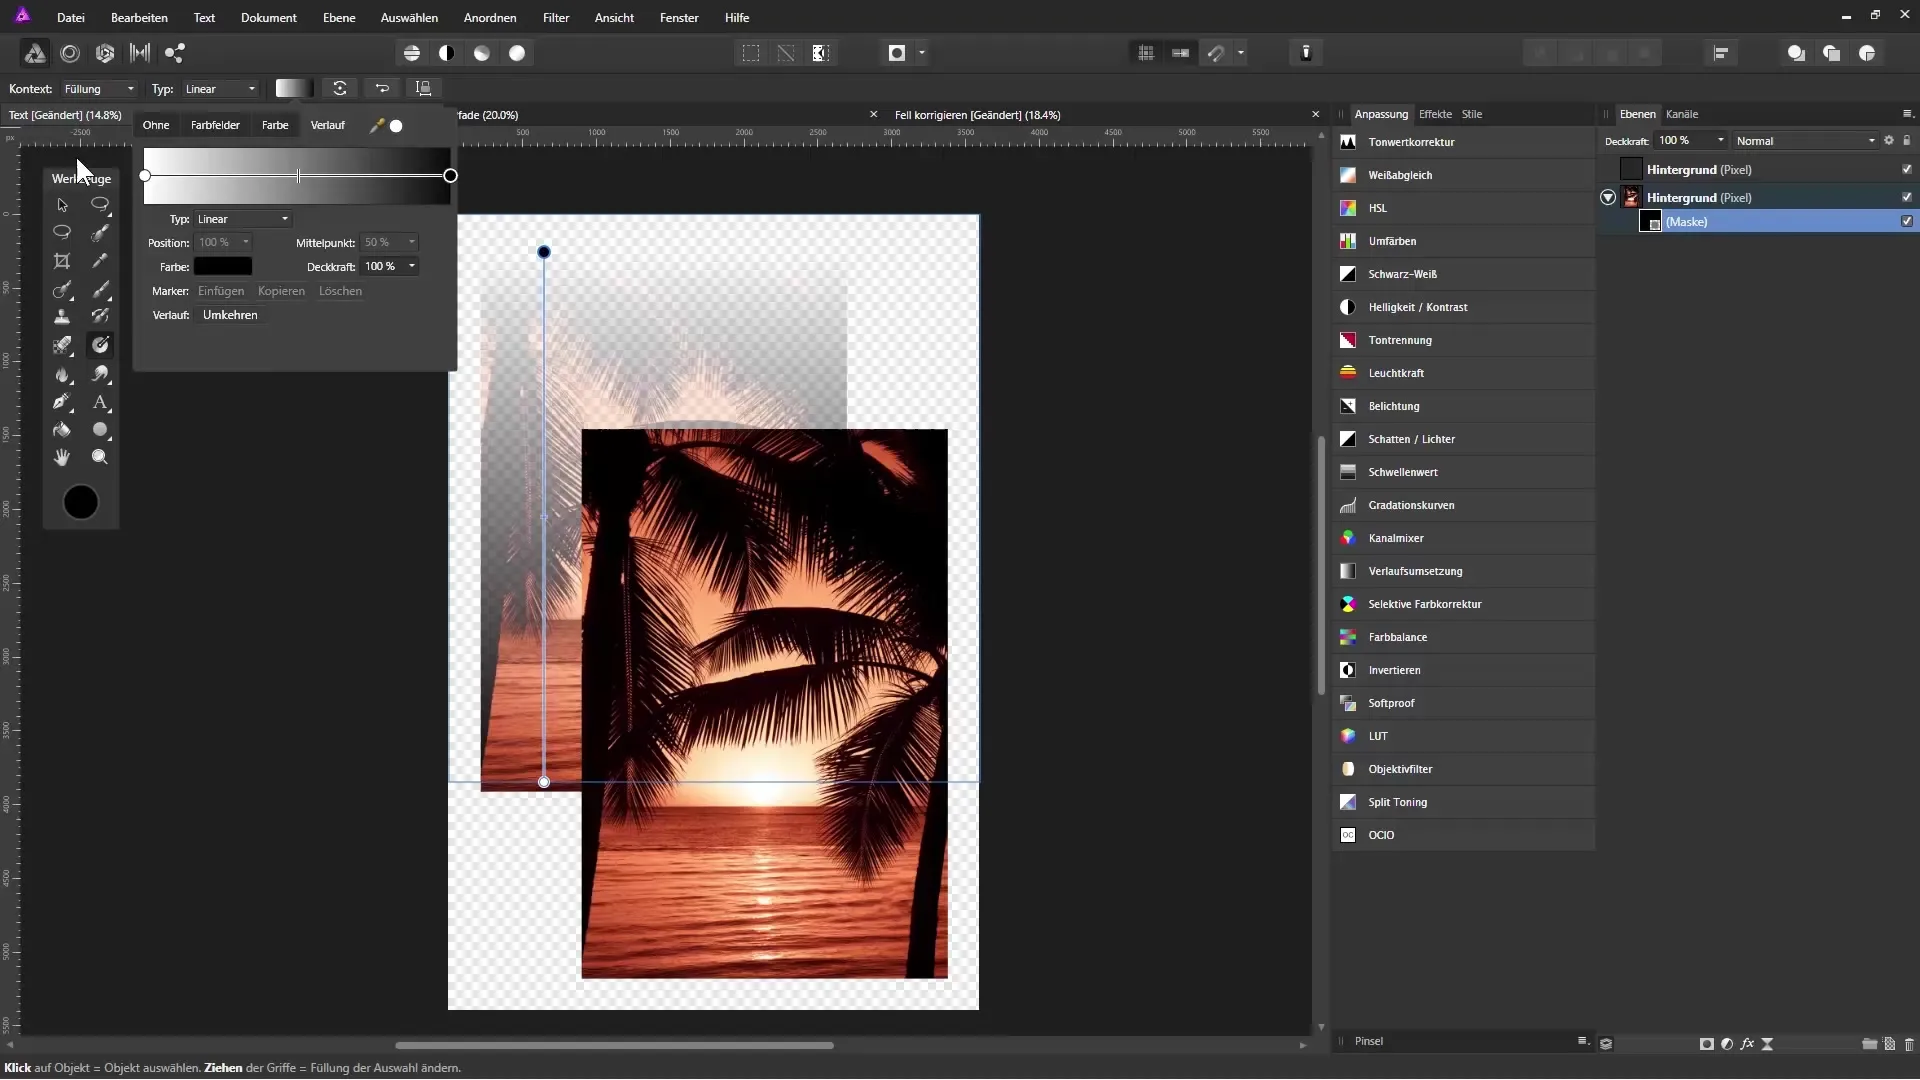
For a smoother transition, you can add a gradient to your mask. Select the gradient tool and drag from the bottom edge upwards. A gradient from white to black creates a transparency gradient from opaque to transparent.
Create Clipping Mask
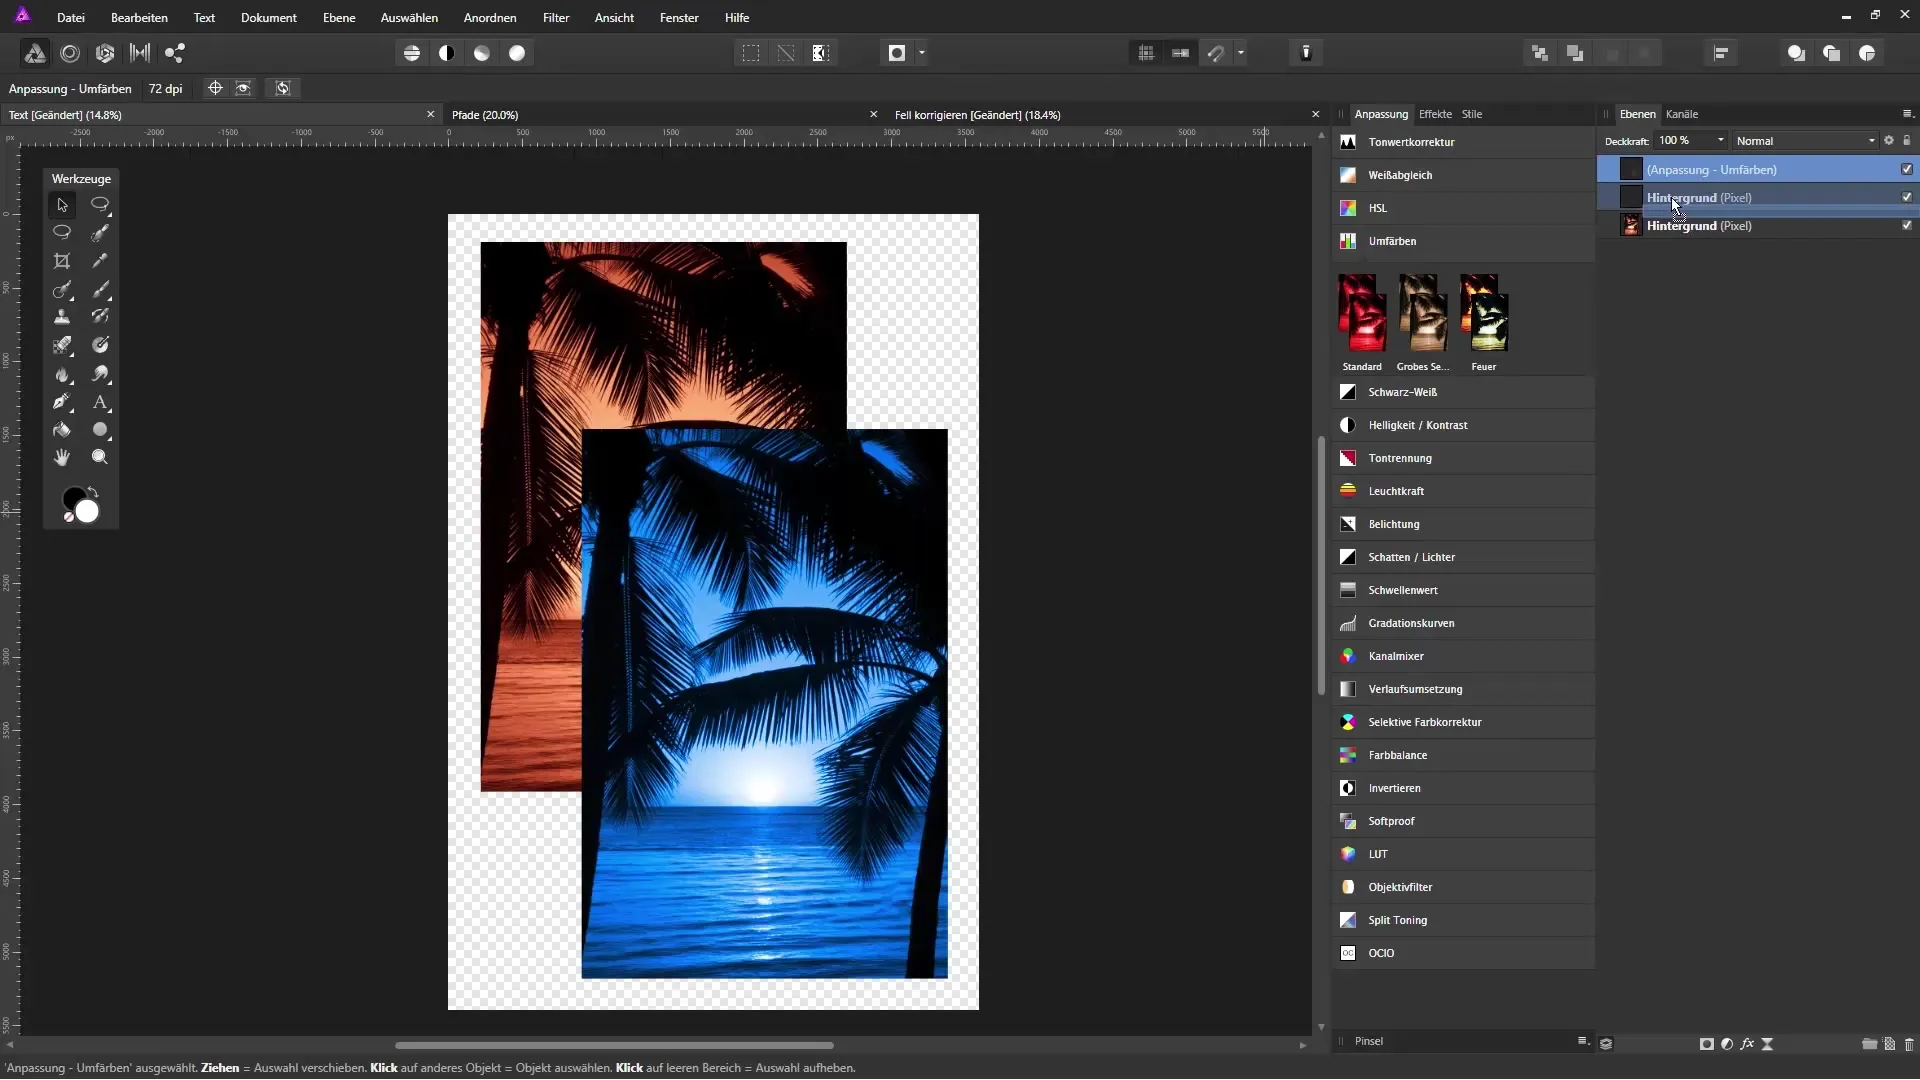
To create a clipping mask, go to the topmost layer in the layers palette. Drag an adjustment layer beneath this layer. This will apply the adjustment only to the layer below.
Create Pixel Layer
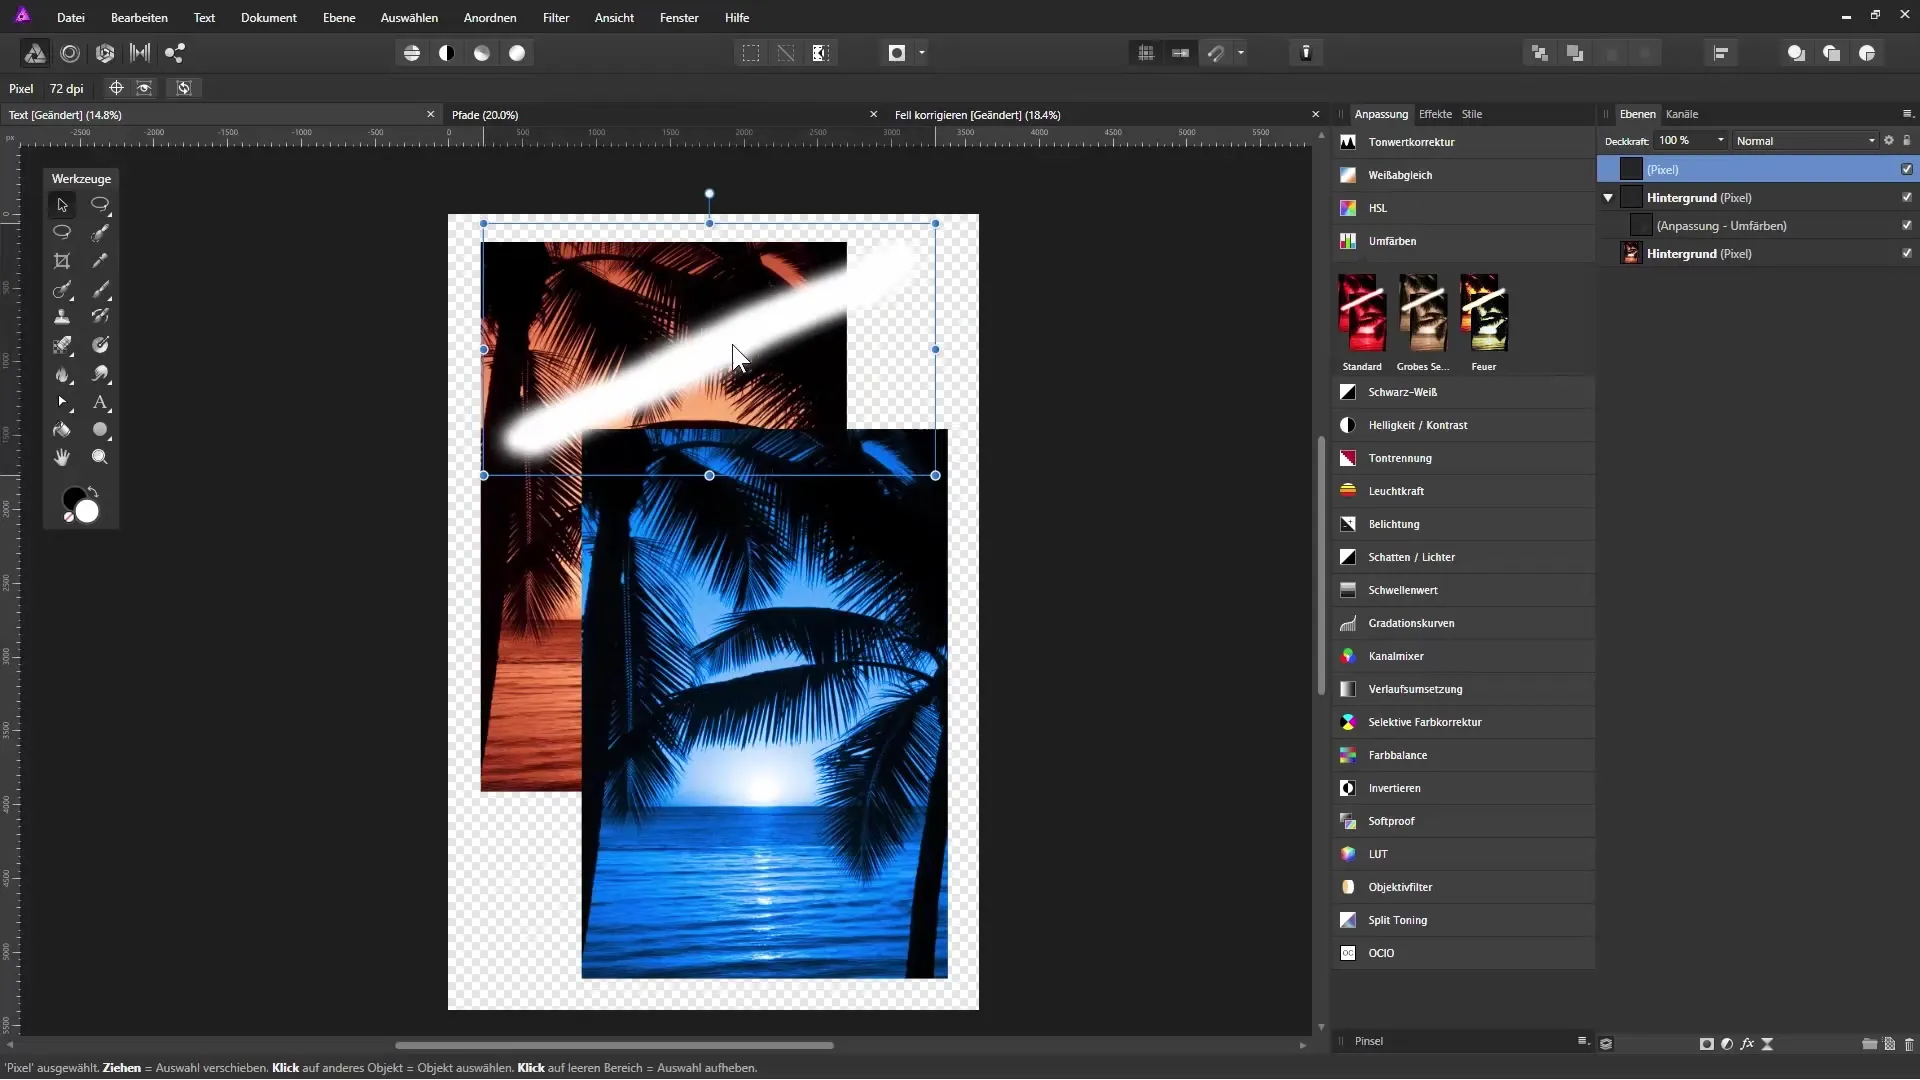
Now you can create a new empty pixel layer. Click on the new layer icon in the top menu bar. Make a stroke in white with the brush tool and position this pixel layer so it can function as a clipping mask.
Use Shapes as Clipping Masks
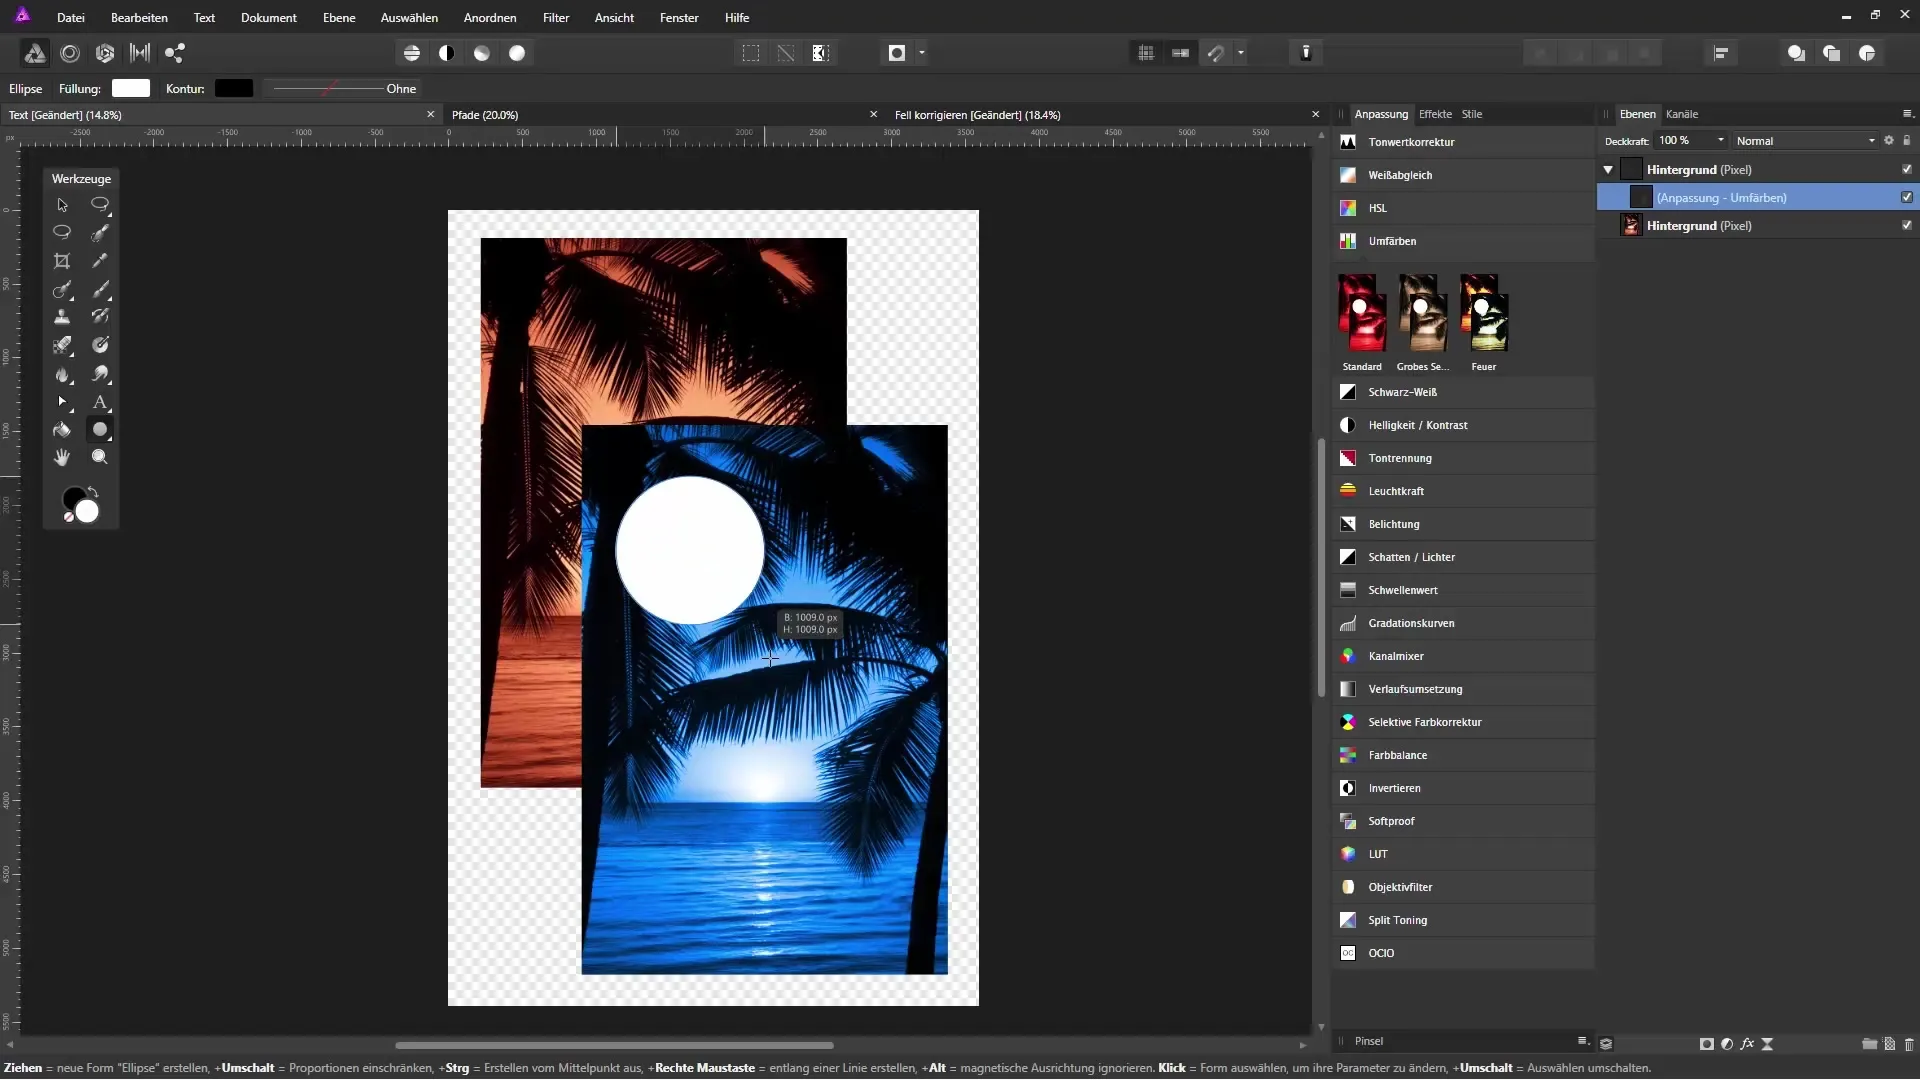
Create a shape, for example, an ellipse, while holding down the Shift key to generate a perfect circle. Place it over the layer you want to use as a clipping mask. This ellipse will instantly become the clipping mask.
Use Text as Clipping Mask
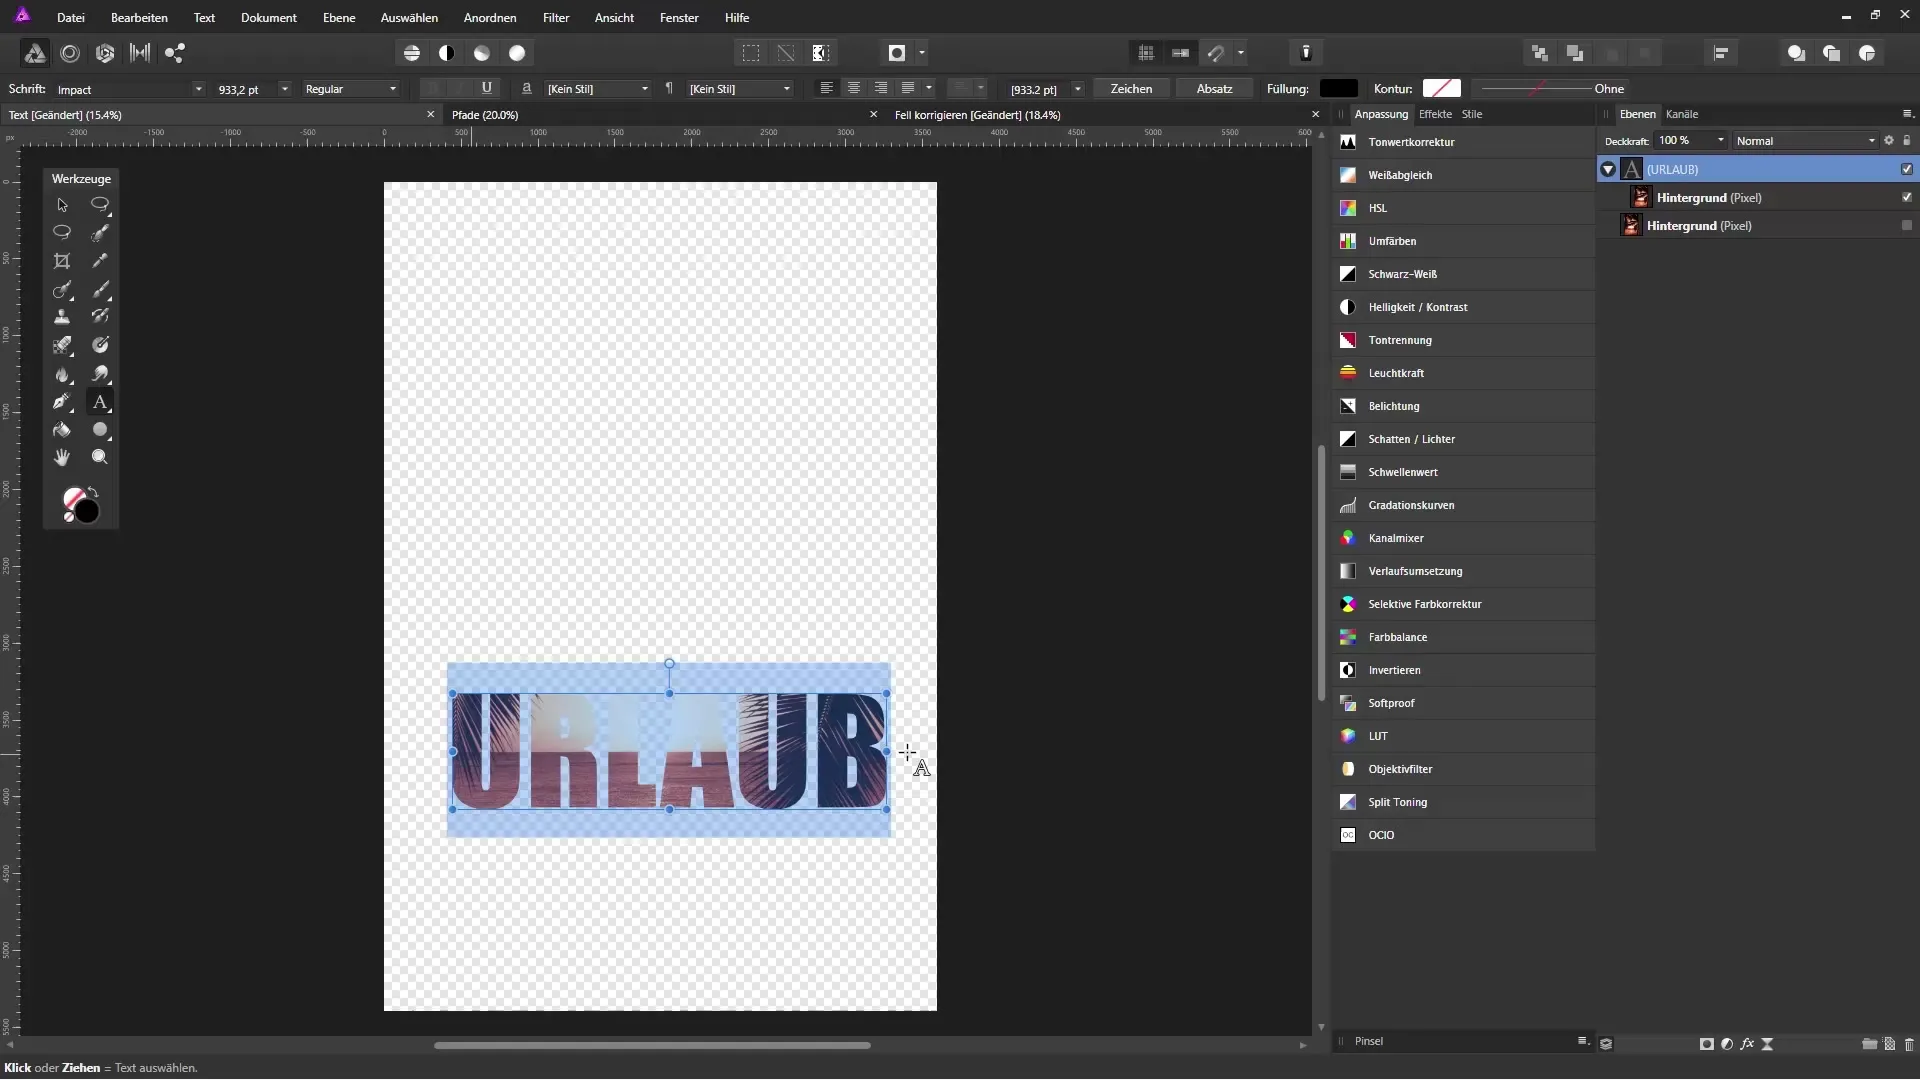
To use text as a clipping mask, first create the desired text. Then, drag the background layer onto the text layer in the layers palette to achieve a clipping mask effect. Make sure the blue bar is shifted to the right.
Masking with Objects
To punch a hole in an image, select your text or a shape that you want to punch into the image. Go to the layer blending modes and choose "Erase" to cut out the text or shape from the image while keeping the text editable.
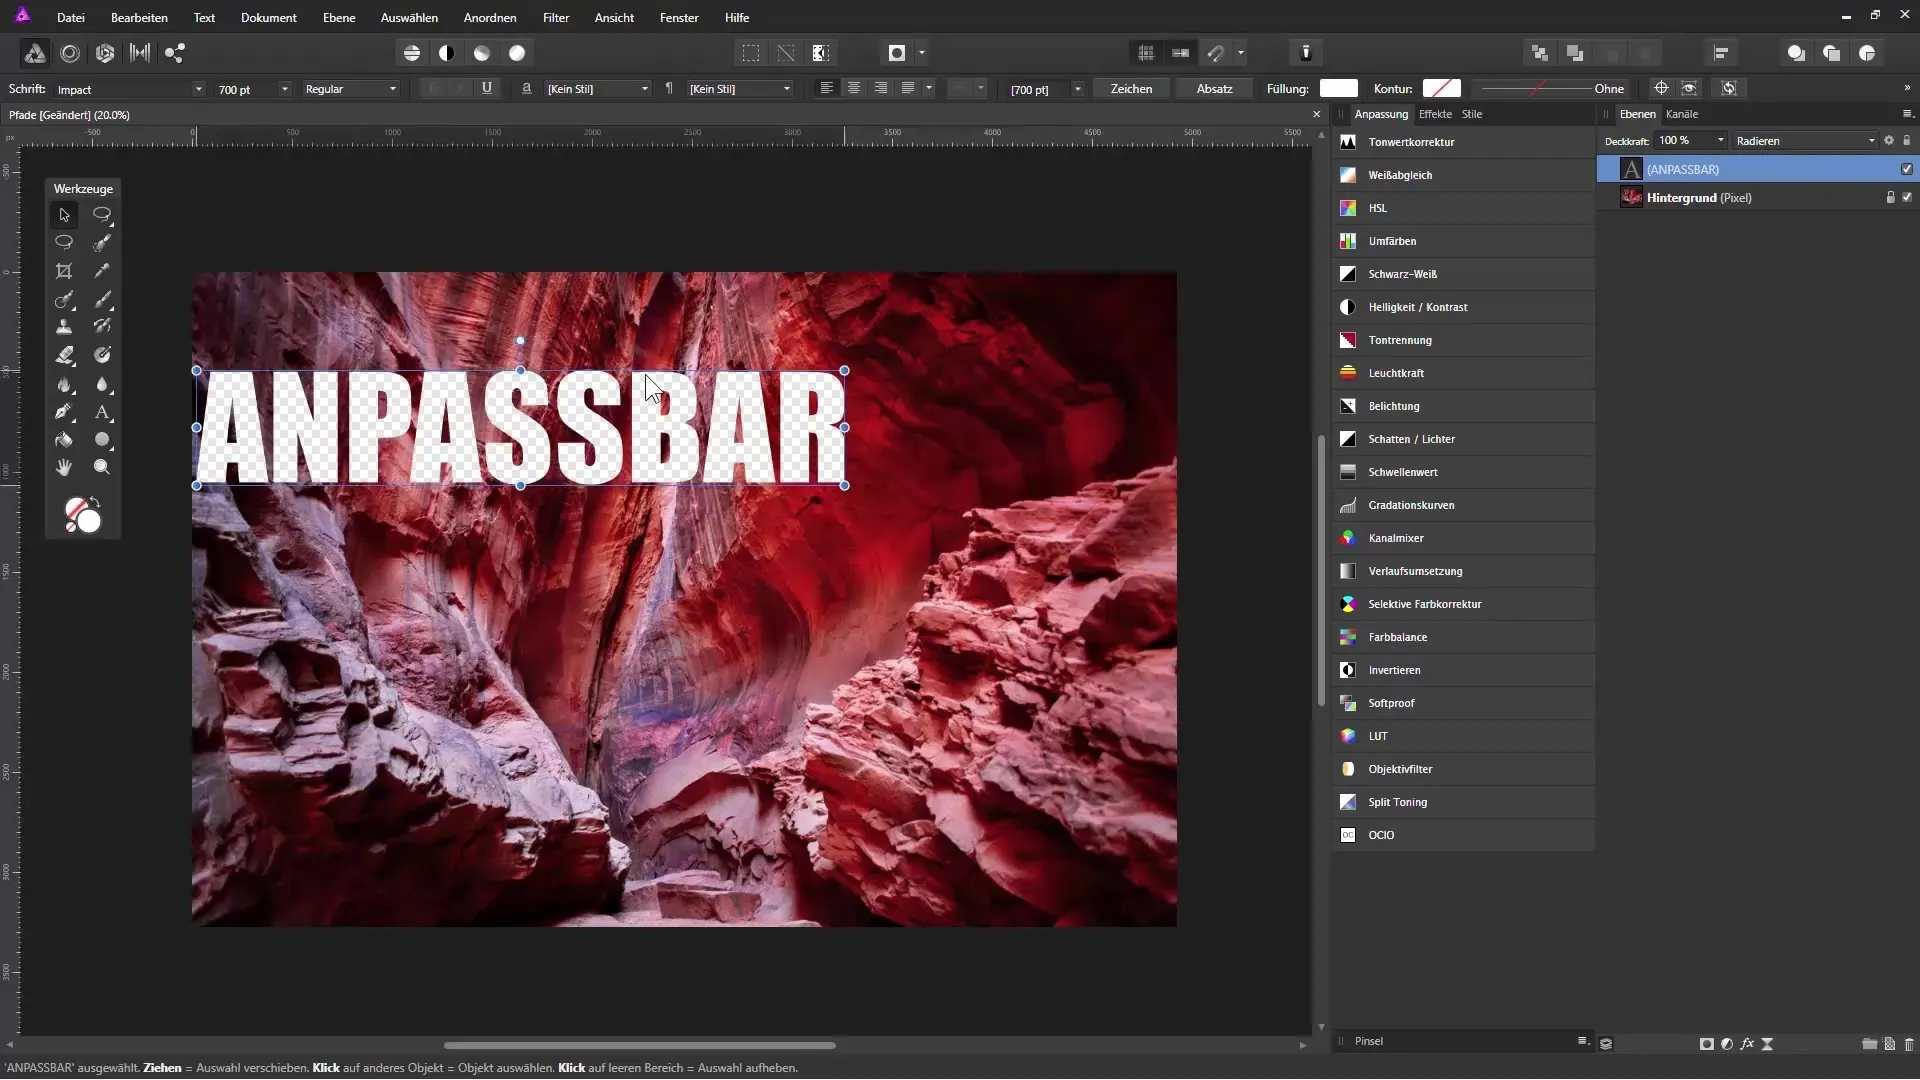
Combining Masks and Clipping Masks
To fully leverage your editing potential, you can combine masks and clipping masks. You can create either a semi-transparent text or a path and allow it to function as a clipping mask.
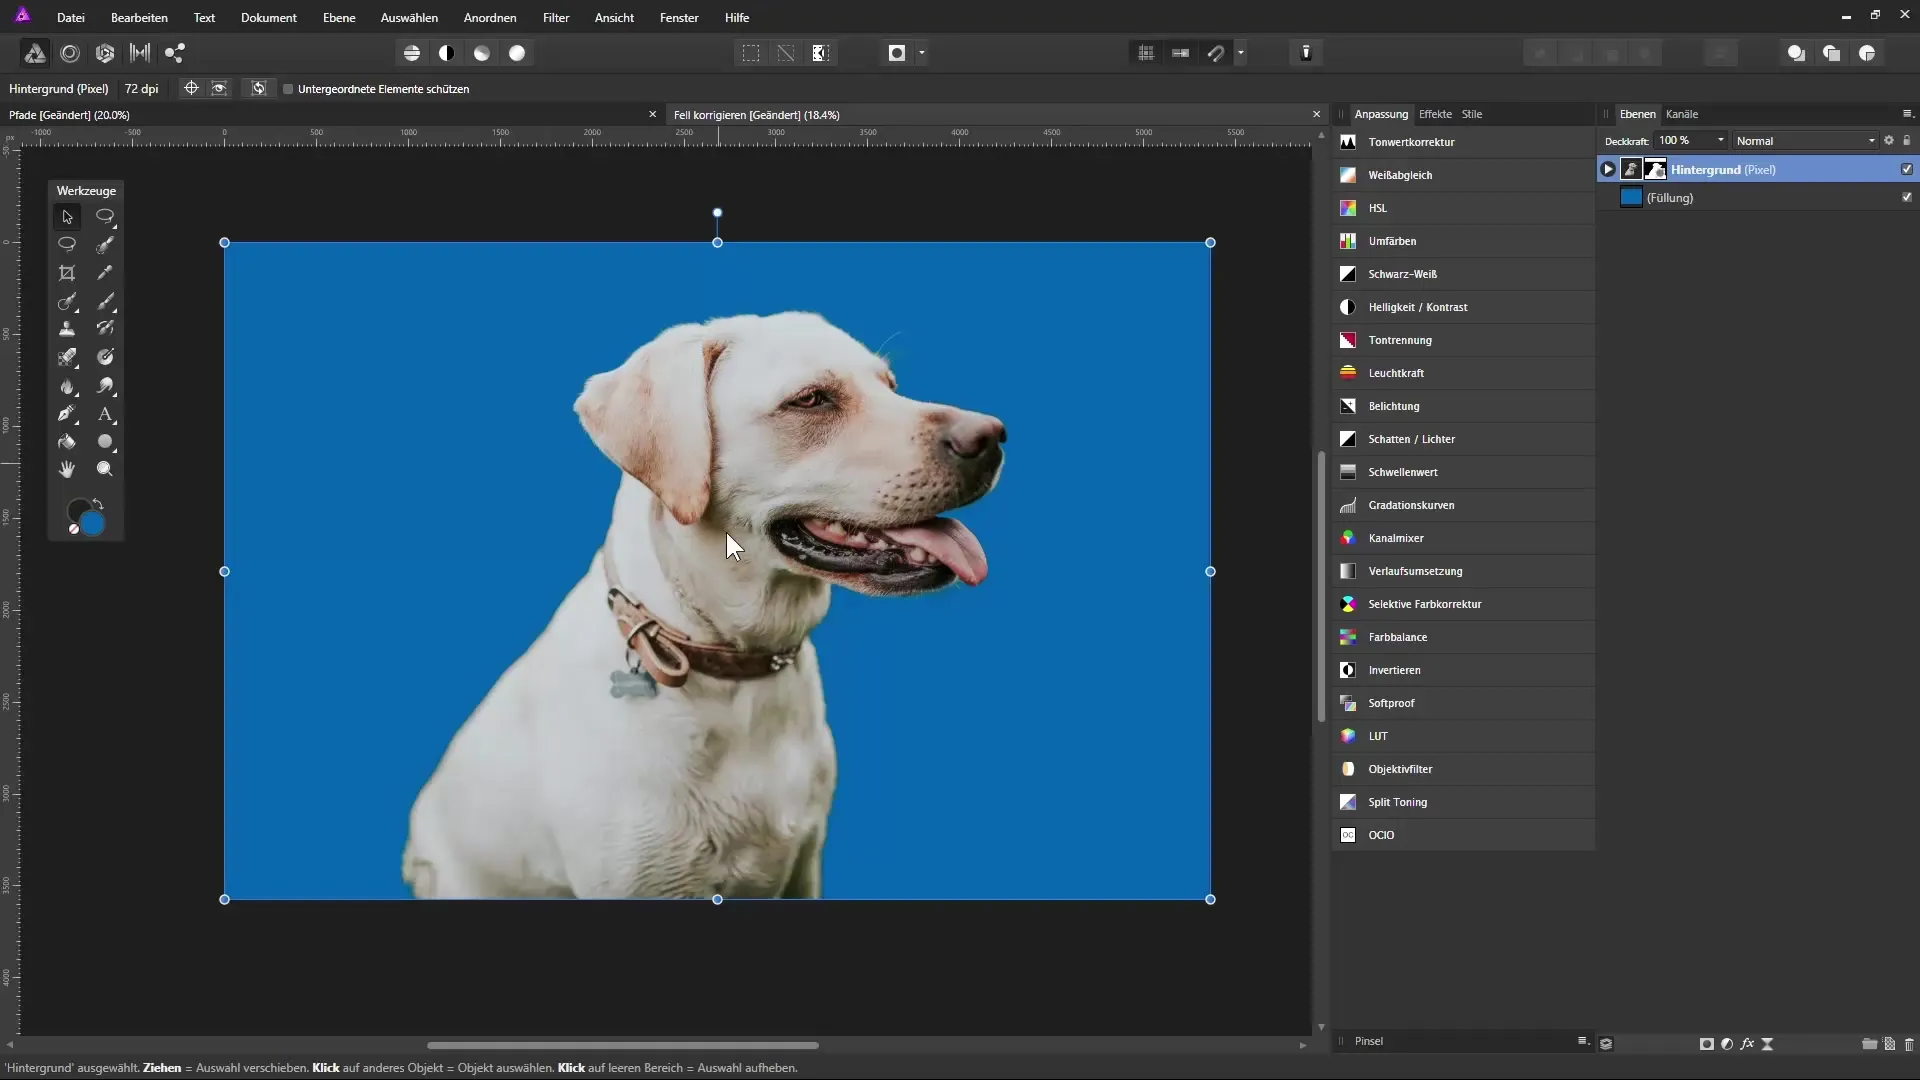
Summary - Using Clipping Masks in Affinity Photo Made Easy
Clipping masks offer you many possibilities in Affinity Photo to creatively handle image editing. By working non-destructively, you can easily make adjustments, create and combine shapes, texts, and images. Experiment with these techniques to create appealing designs that enhance your visual projects.
FAQ
How do I create a clipping mask in Affinity Photo?Drag an adjustment layer over the desired layer and ensure that the blue bar is shifted to the right.
How can I restore a mask?Switch to the mask and paint with white over the transparent areas to make them visible again.
Can I use clipping masks with text?Yes, create some text and drag the background layer onto the text layer to use the text as a clipping mask.
Are all changes with masks reversible?Yes, since masks are non-destructive, you can make changes or revert them at any time.
Can I also apply a clipping mask to a shape?Yes, create a shape and drag it onto the transparent layer to create a clipping mask.


