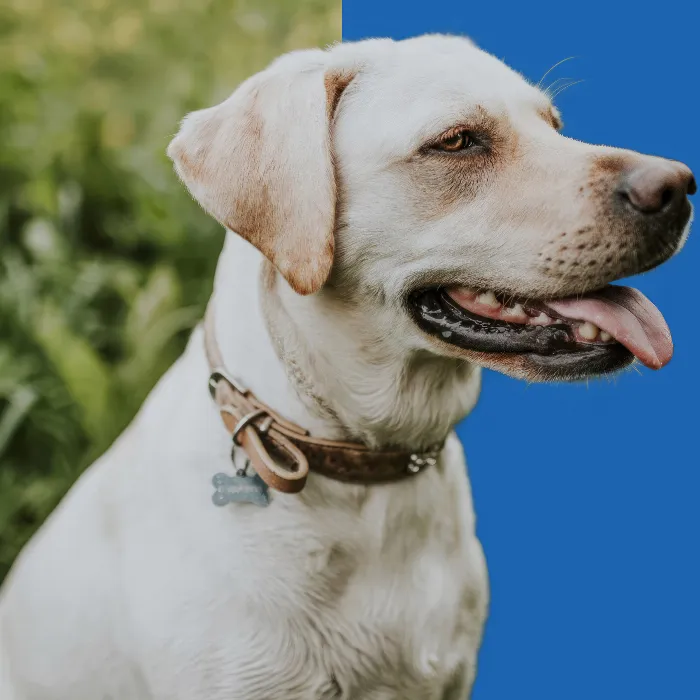
In image editing, it can sometimes be necessary to precisely isolate hair or fur from animals and possibly even add individual strands later to create a harmonious overall image. Affinity Photo provides you with the tools to achieve exactly that. This guide will take you step by step through the process of isolating a dog from the background and show you how to correct the fur with just a few adjustments.
Key Insights
- The use of the selection tool makes it easier to isolate fur.
- By applying masks, you can make targeted adjustments.
- If necessary, anatomically realistic hair or fur structures can be added to maintain a natural appearance.
Step-by-Step Guide
To start with the isolation and correction of the fur, first open your image in Affinity Photo.
1. Open Image and Analyze Background
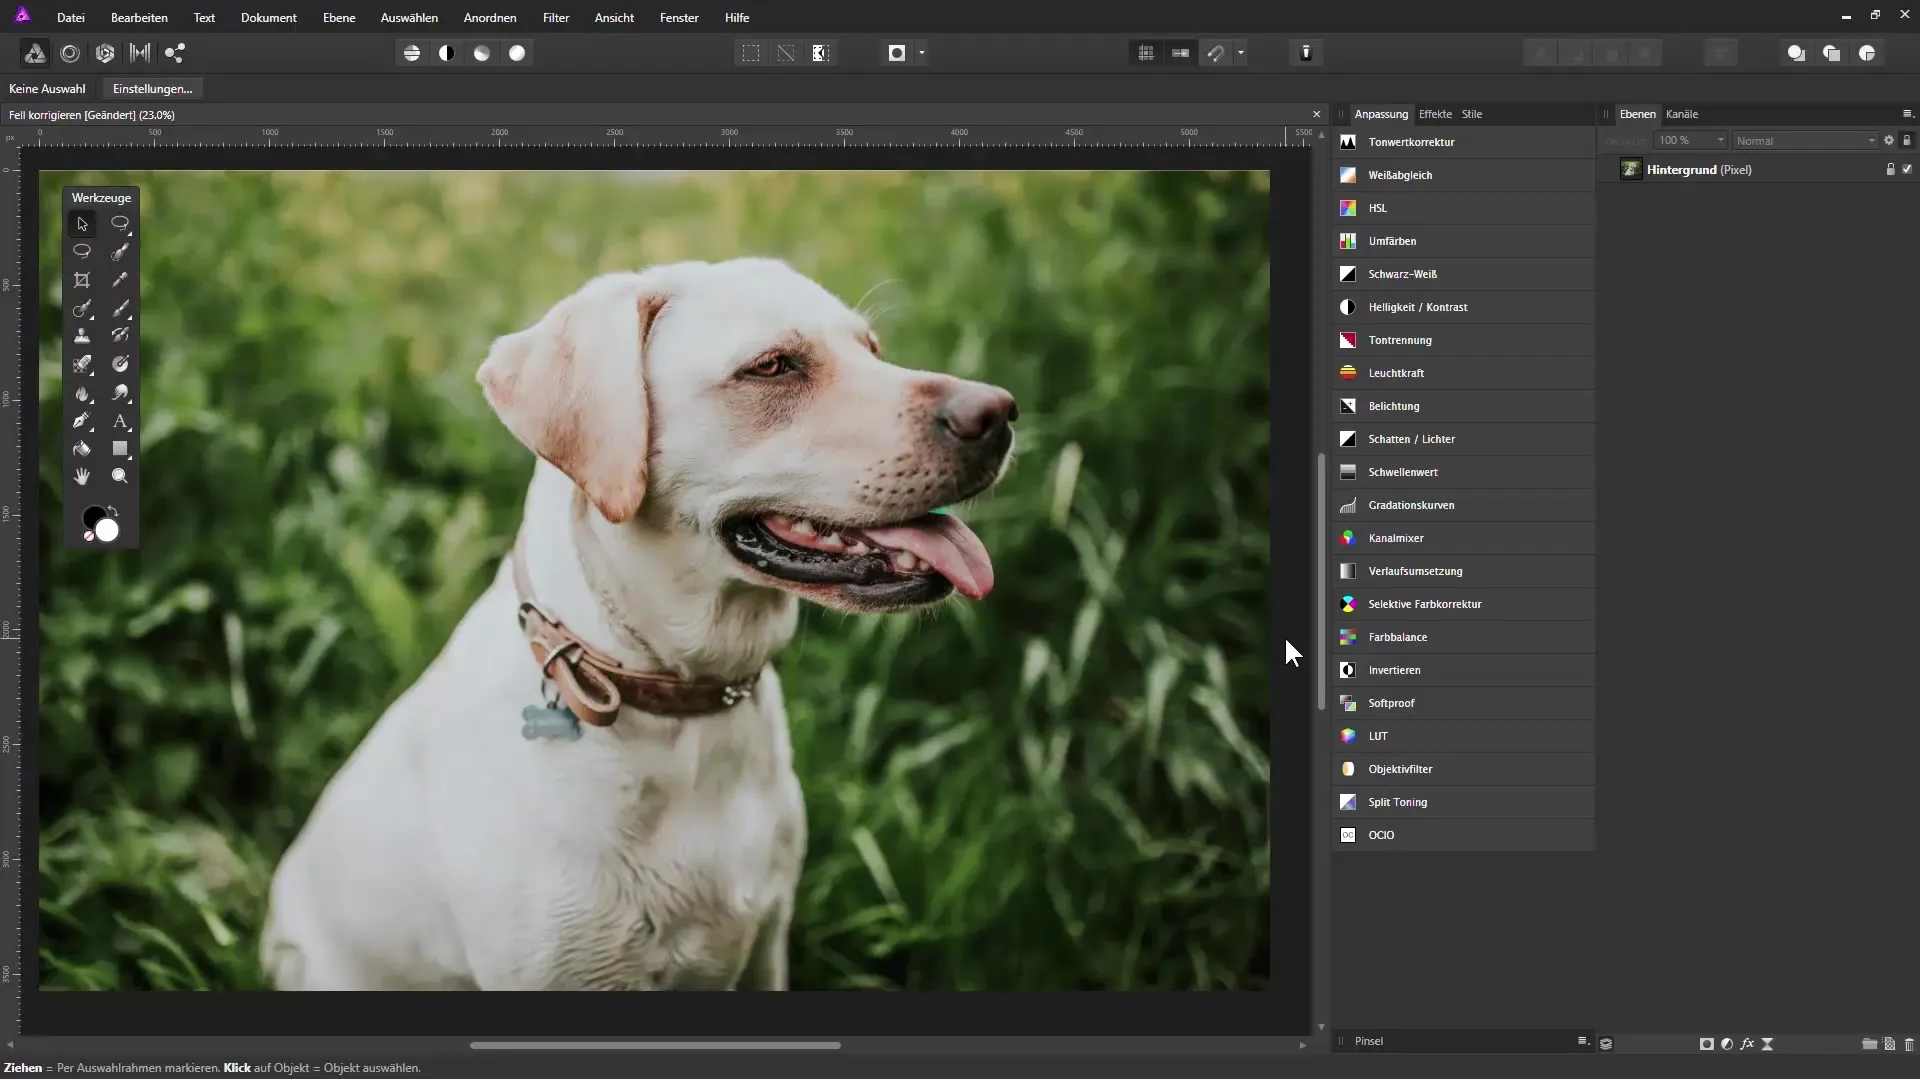
Open the image you want to edit. Make sure the dog stands out well from the background. In this example, a green background has been chosen against the light-colored dog. It is important that the structures of the fur in the image are sufficiently visible so that you can isolate them well.
2. Conduct Selection with the Brush Tool
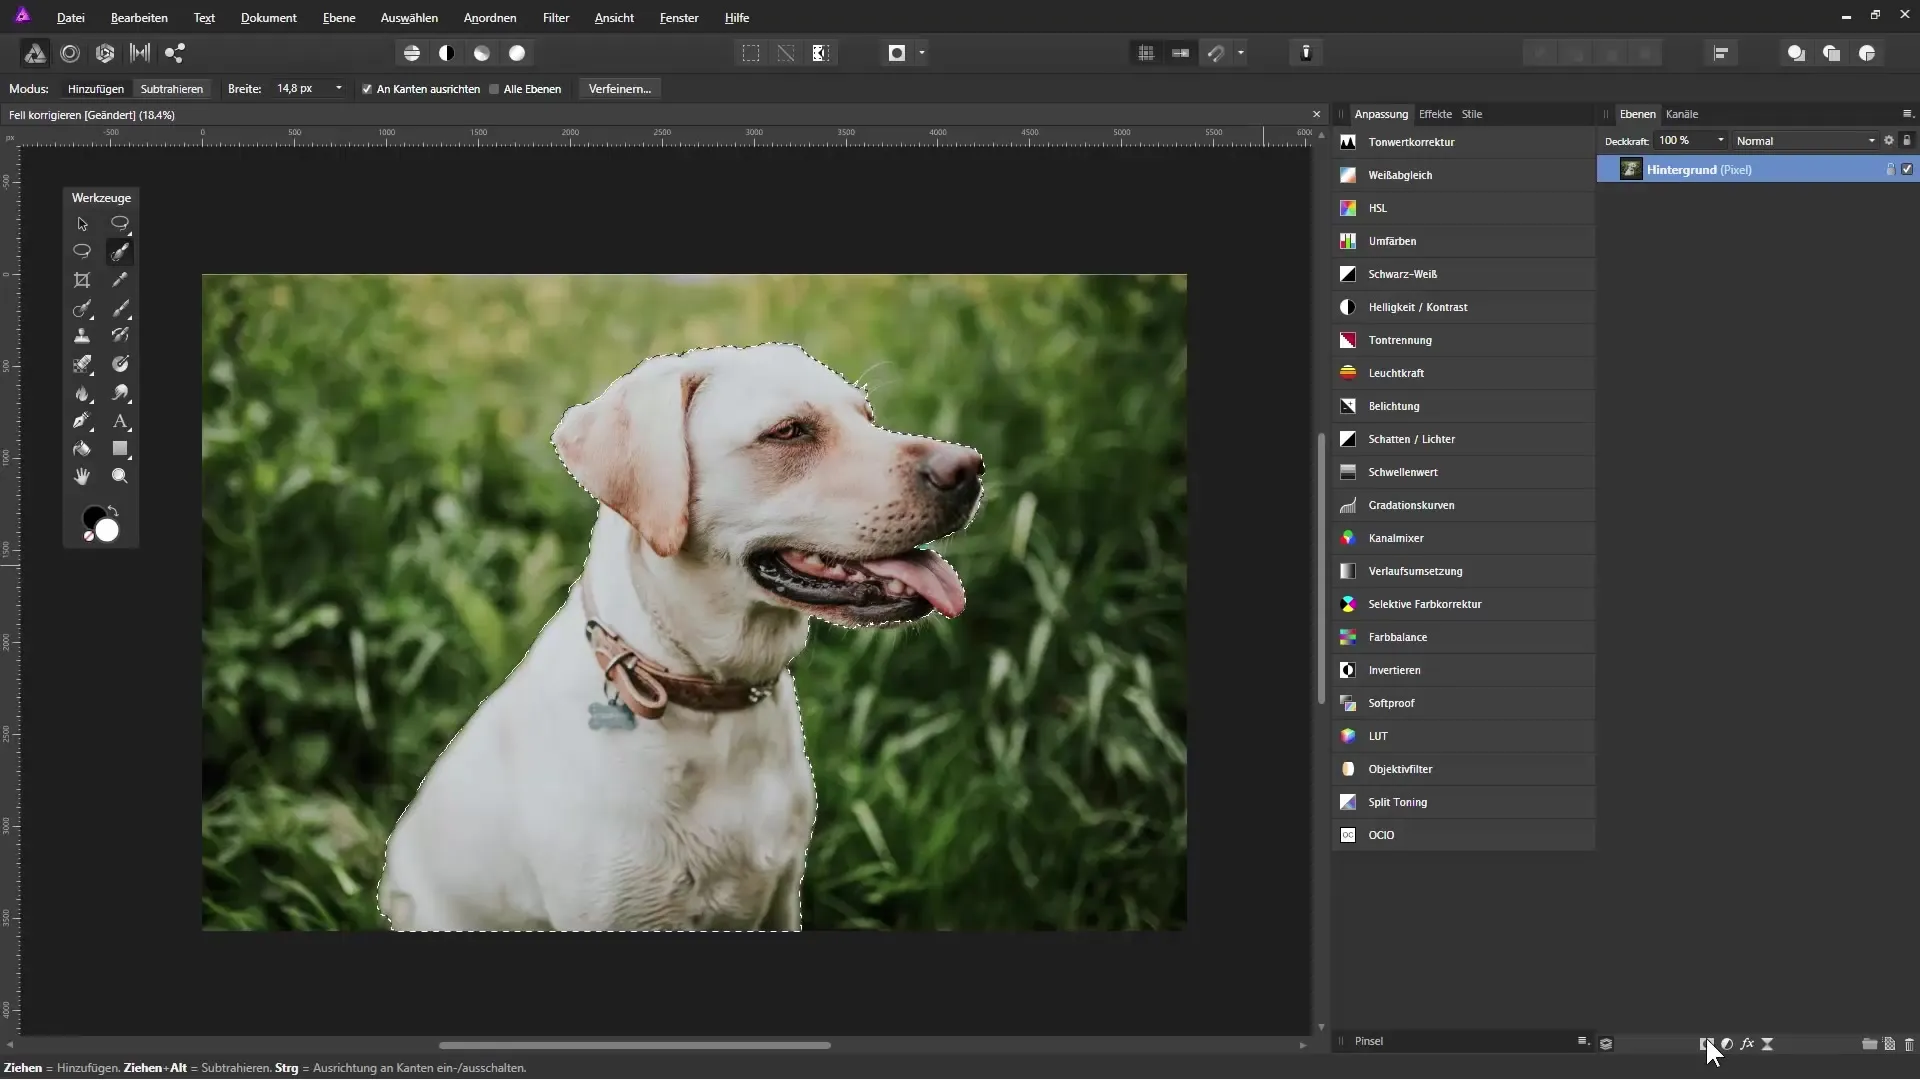
Select the selection brush tool from the toolbar. Adjust the brush size accordingly; a larger brush tip helps to select a larger object more quickly. As you move over the image, Affinity Photo will automatically select the areas corresponding to your brush stroke.
3. Correct Incorrect Selections
Did you accidentally select areas that shouldn't be included? Hold down the ALT key and paint over these spots to remove them from the selection. This works just as well for the fine hairs of the fur that are often overlooked.
4. Create Masks
Once you have a satisfactory selection, you should create a mask. Click on the mask icon in the layers panel to save the selection in a mask. You can release the selection using Control+D, which makes it easier to work with masks.
5. Make Color Adjustments
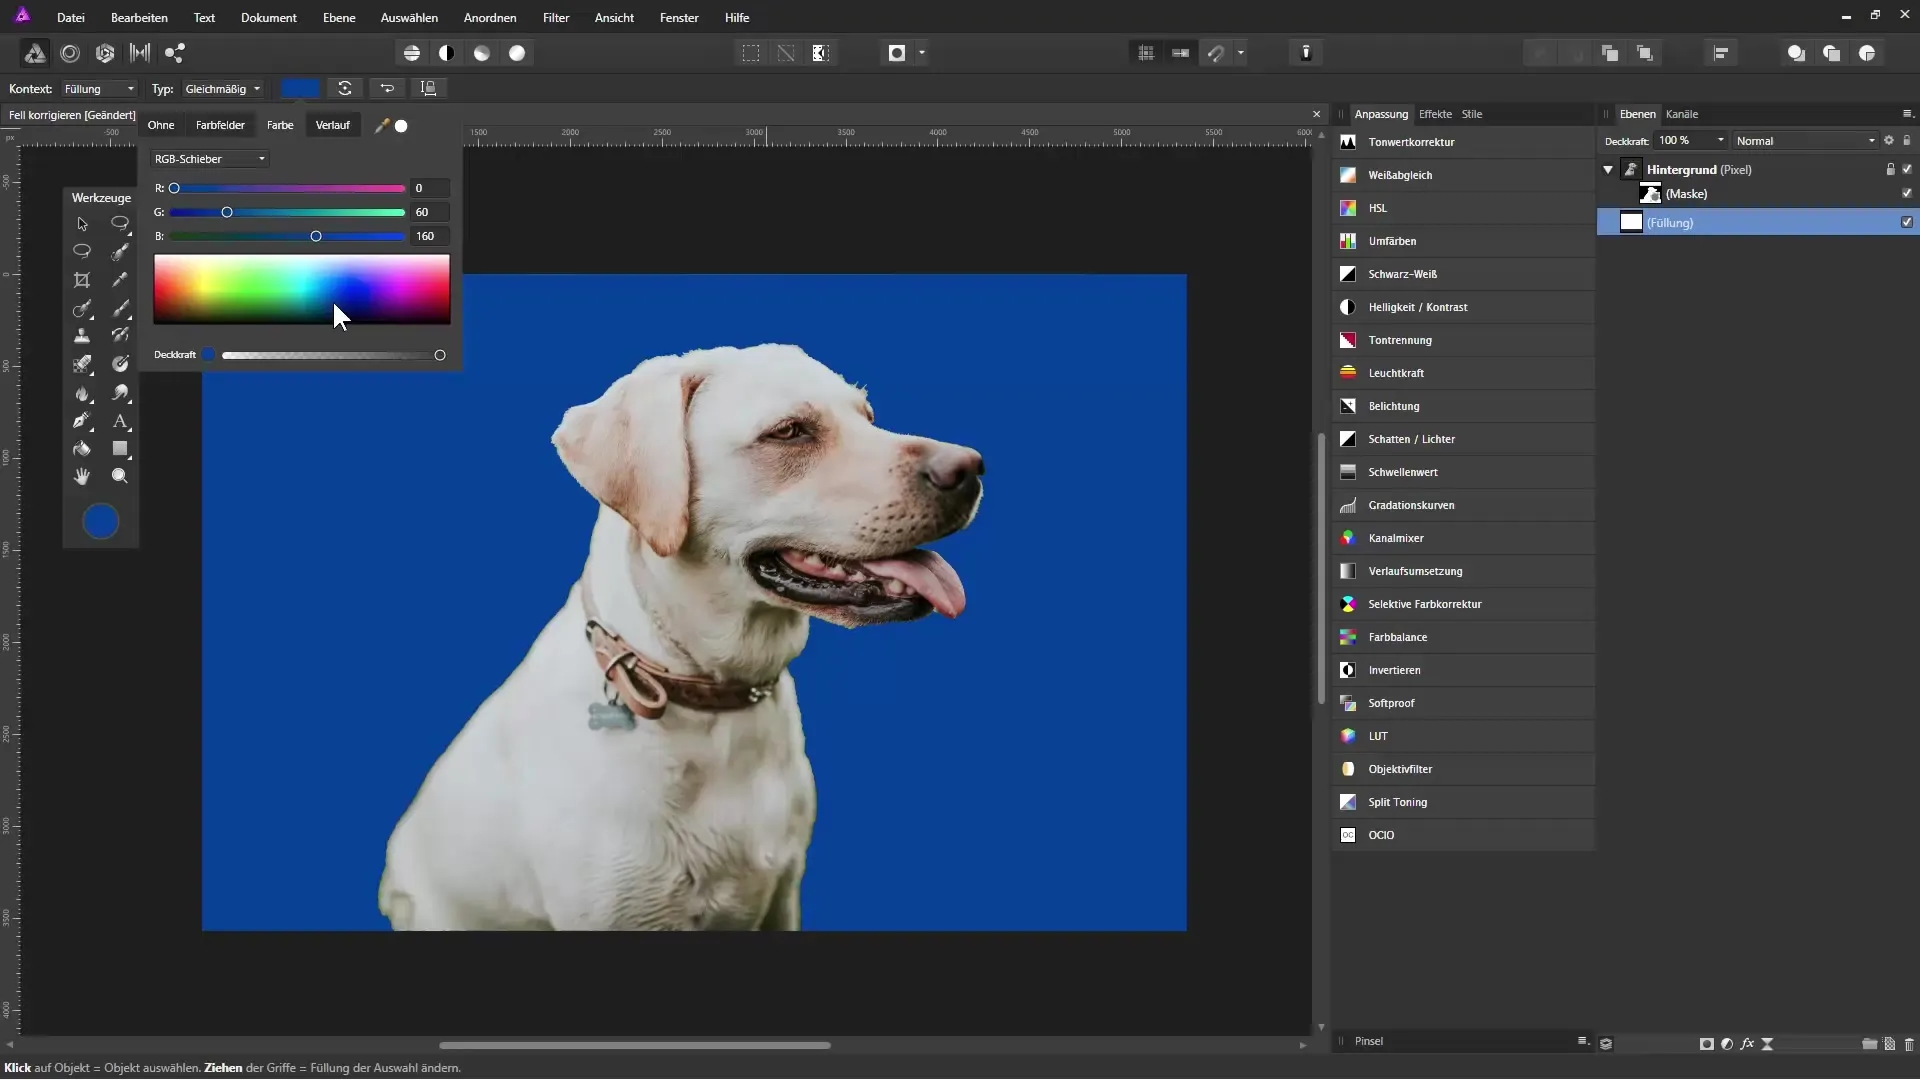
Create a new fill layer and drag it to the bottom position in the layers panel. Choose a contrasting color for the background, which helps you see the edges of the dog better. This is useful for achieving sharp and clean edges.
6. Refine the Mask
Right-click on the mask and select “Refine Mask.” Adjust the transparency so you can see the structure of the background. Reduce the edge width to work out the edges of the dog more precisely.
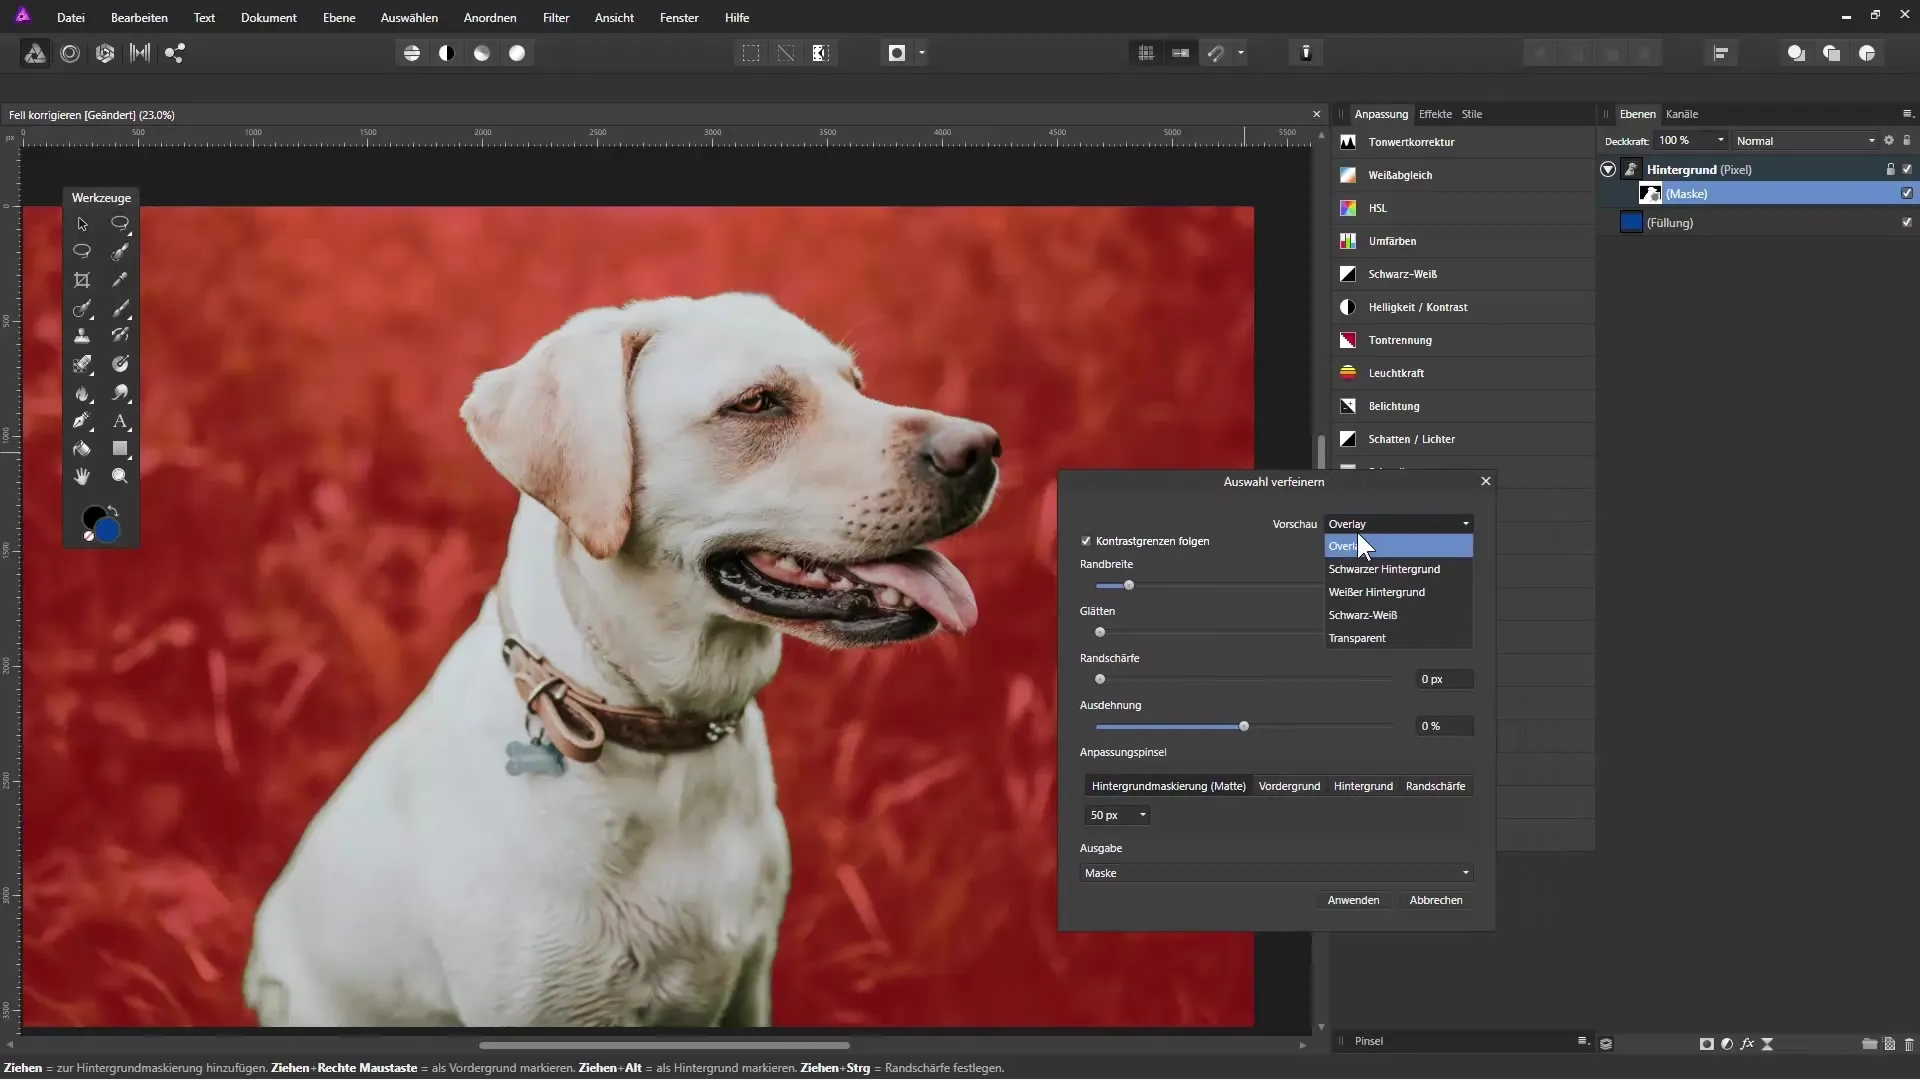
7. Edit Edges
Use the brush tool in the refine dialog to gently paint the edges again. This ensures that the fine hair strands along the edges of the dog are adequately isolated.
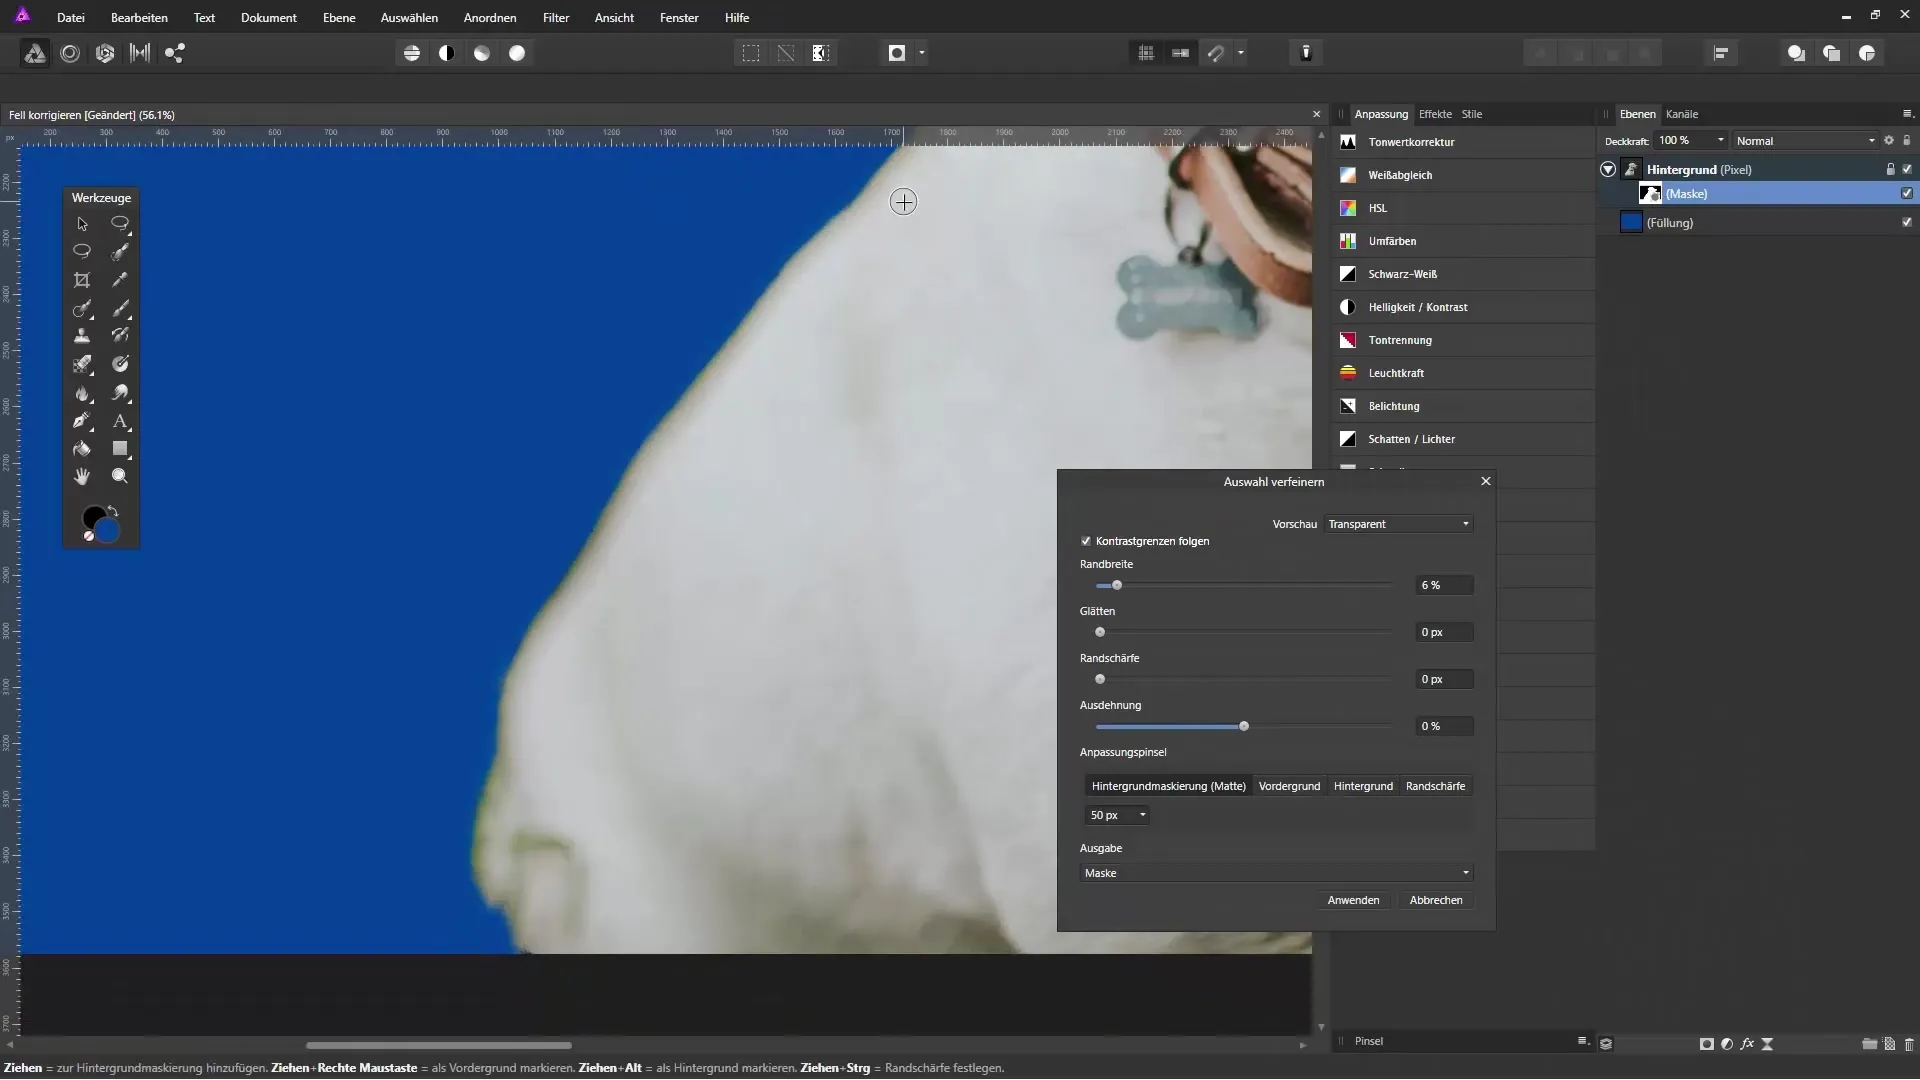
8. Intentionally Draw Strands
To correct the fur afterward and add individual hair strands, switch to the color selection and set an appropriate brush. Paint directly over the areas where the fur appears too thin or incorrect. Vary the pressure of the brush stroke to make the strands look more realistic.
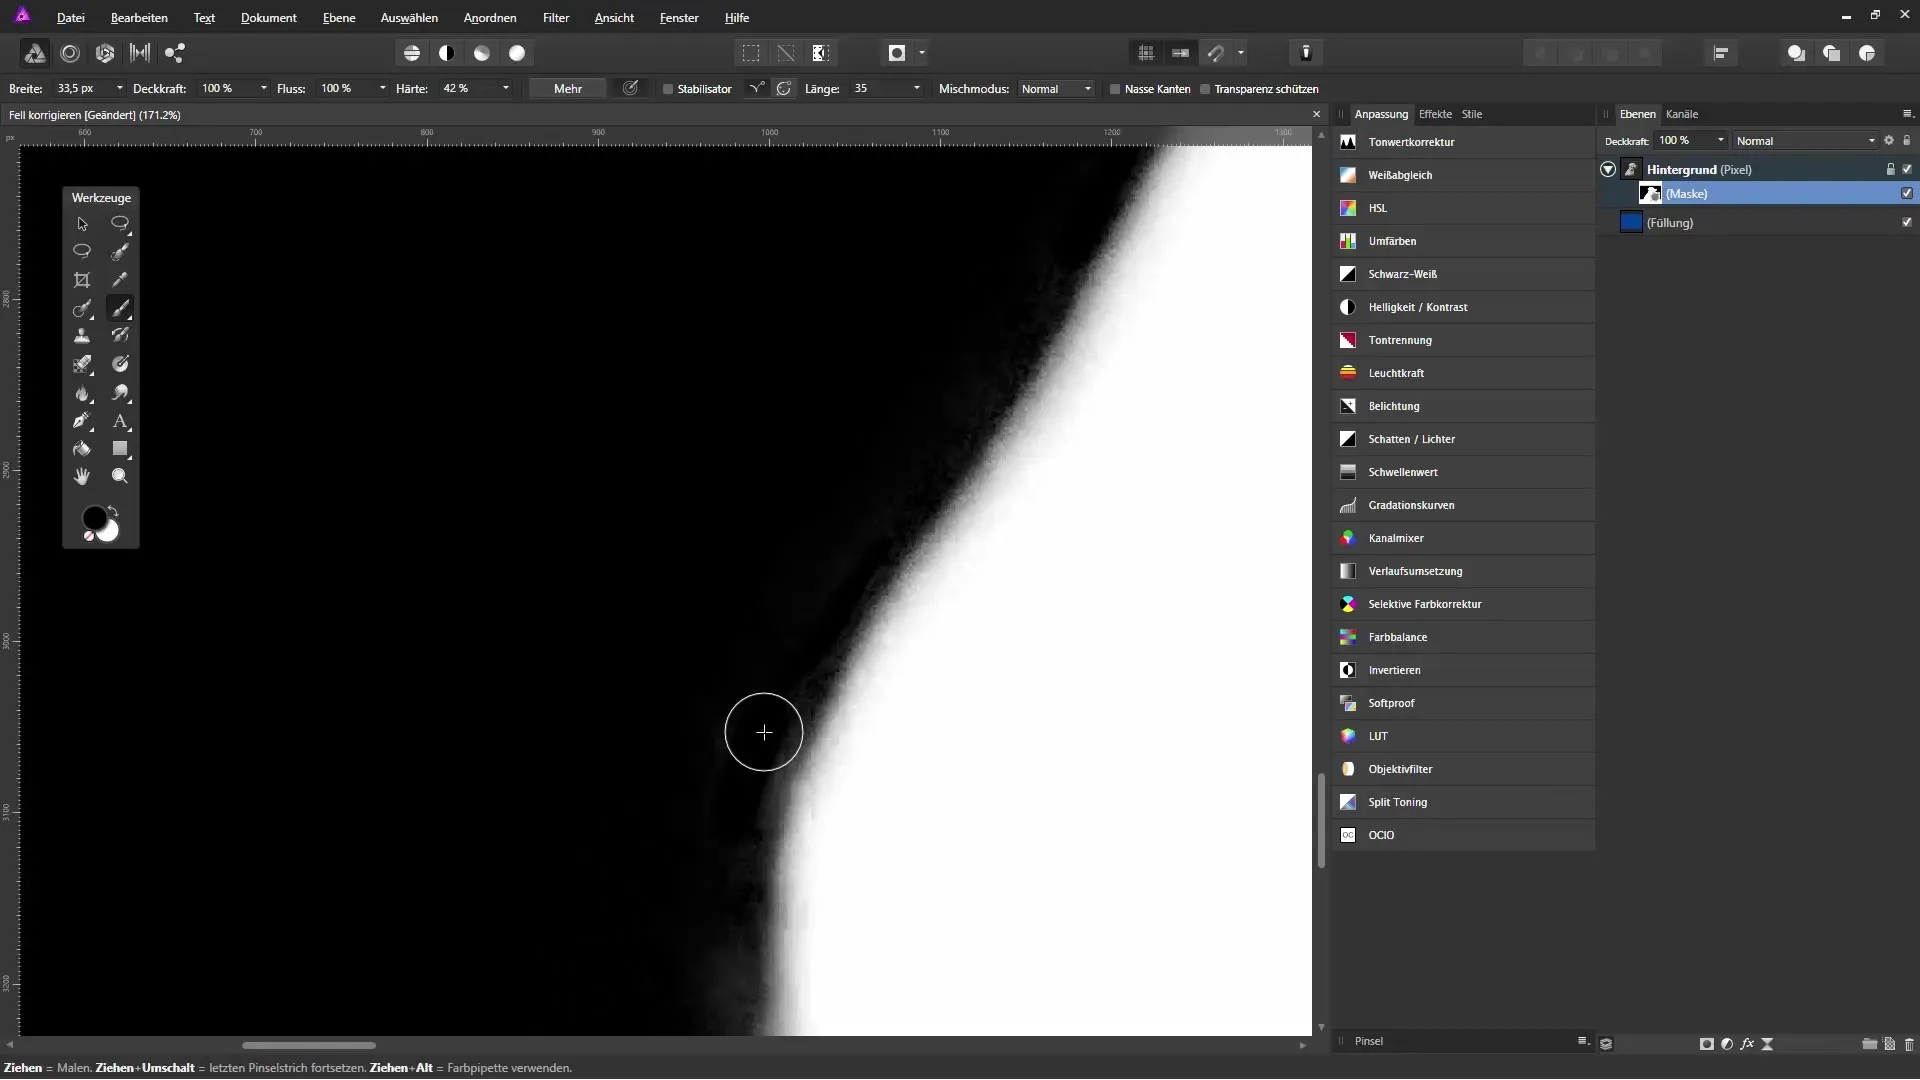
9. Remove Unsightly Artifacts
If unsightly artifacts appear in the image caused by the isolation, you can remove them intentionally. Use the brush tool to shade those areas and improve the contrast.
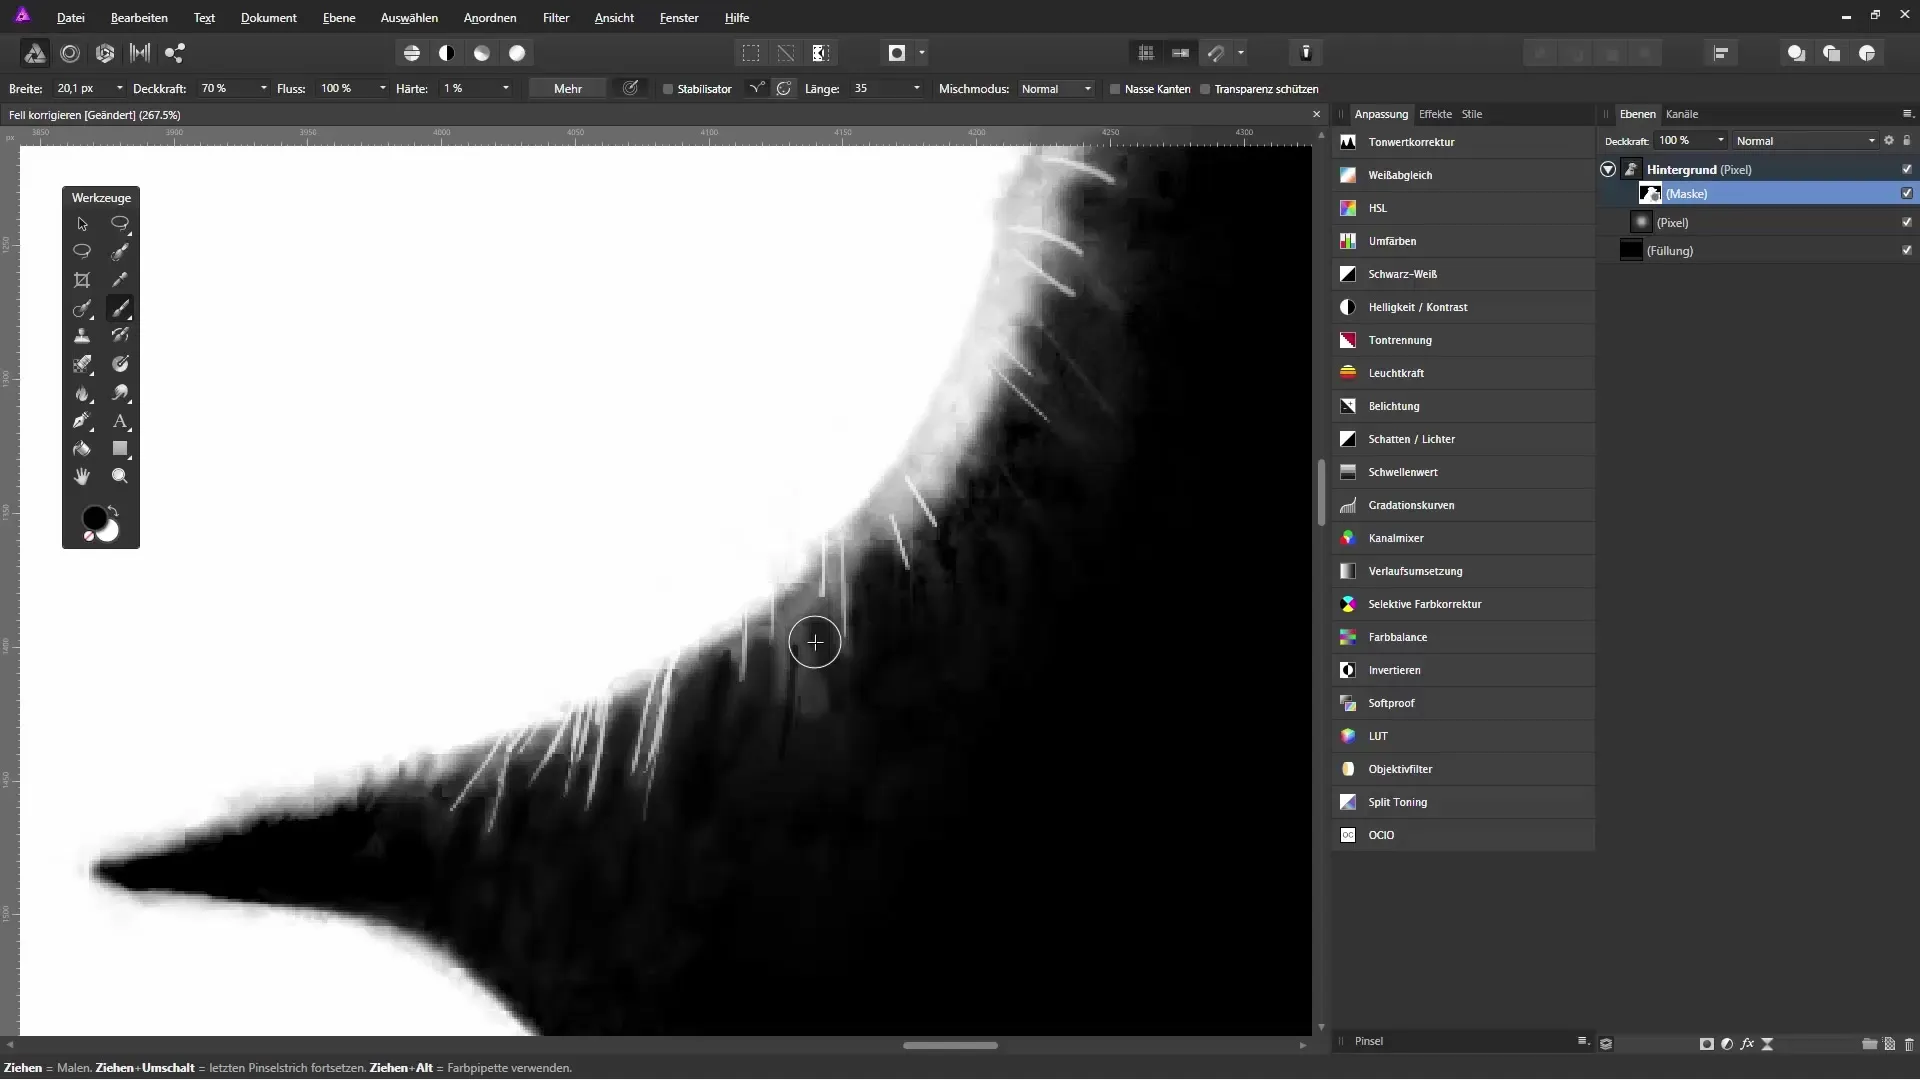
10. Final Adjustments
Check the entire image, especially around the edges and transitions. Ensure that the fur looks natural and integrates well into the background. You can adjust the opacity of the brush to create a smooth transition so that the added hair blends better into the image.
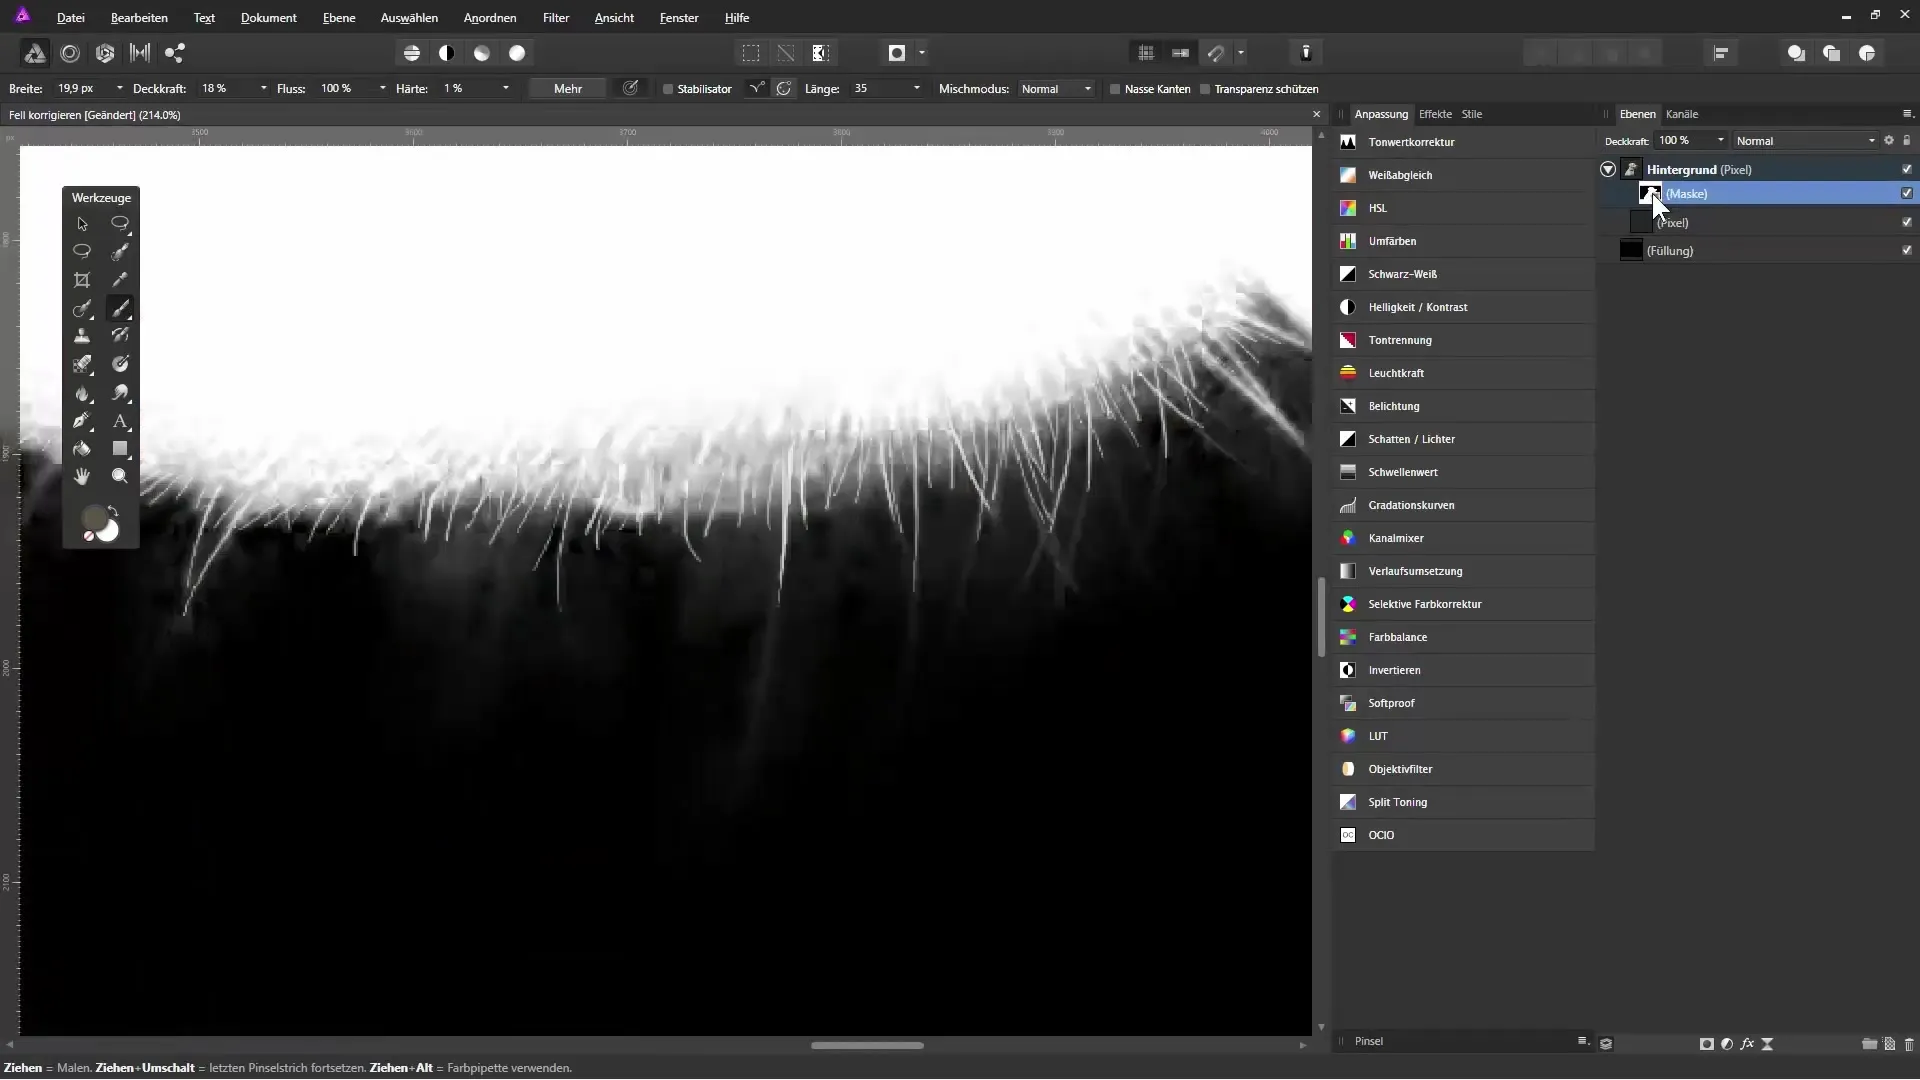
Summary - Fur Correction and Isolation in Affinity Photo
With these steps, you have a detailed guide on how to effectively isolate a dog from the background and retouch the fur. Patience and a trained eye for details are crucial for a beautiful result. Use the brush and mask functions of Affinity Photo to optimize your images, and don’t hesitate to experiment with colors and contrasts.
Frequently Asked Questions
How can I open an image in Affinity Photo?You can simply select an image via the "File" menu -> "Open..." or drag and drop it into the program.
What do I do if the fur is not well isolated?Make sure the brush size is suitable for the details and manually correct areas that need adjustment.
How can I adjust colors?Create a new fill layer and change the color for better contrast.
Do I have to work with the same brush size all the time?No, varying brush sizes is important! Use different brush sizes for different parts of the fur.
Do I need special brushes for fur correction?It's helpful to use fur brushes, but you can also create your own brushes or use a regular brush.
