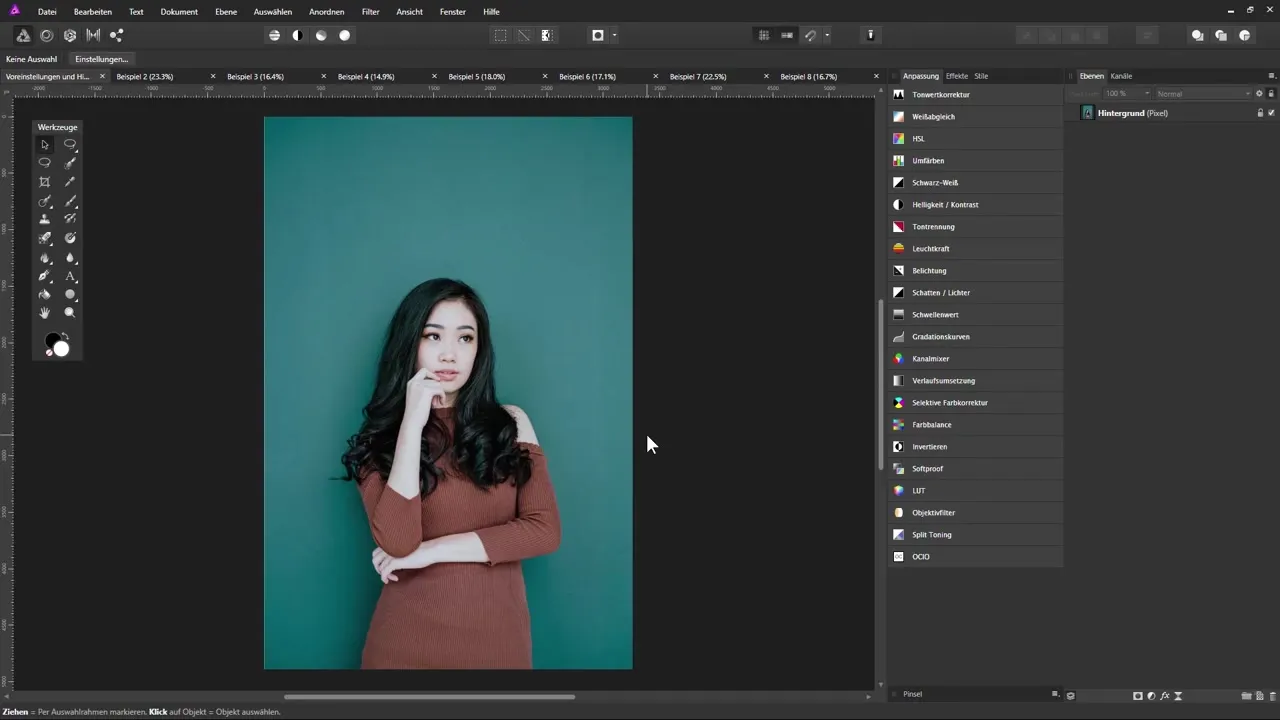
Do you want to learn how to cut out image objects in Affinity Photo? In this short video training, you can expect various techniques that will help you separate objects from their background precisely and efficiently. This may seem complicated at first, but with the right tools and methods, you will quickly see success. Let's dive into the details!
Main Insights
- With the Pen tool, you can draw very precise lines to cut out complex shapes.
- The Quick Mask offers an intuitive way to edit selective areas.
- The Brush and Background Eraser allow for creative cutouts of various image objects.
- Image channels help to separate even the most challenging objects, like hair or fur.
- Blending options and layer blending modes expand your possibilities for background editing.
Step-by-Step Guide
1. Use the Pen Tool
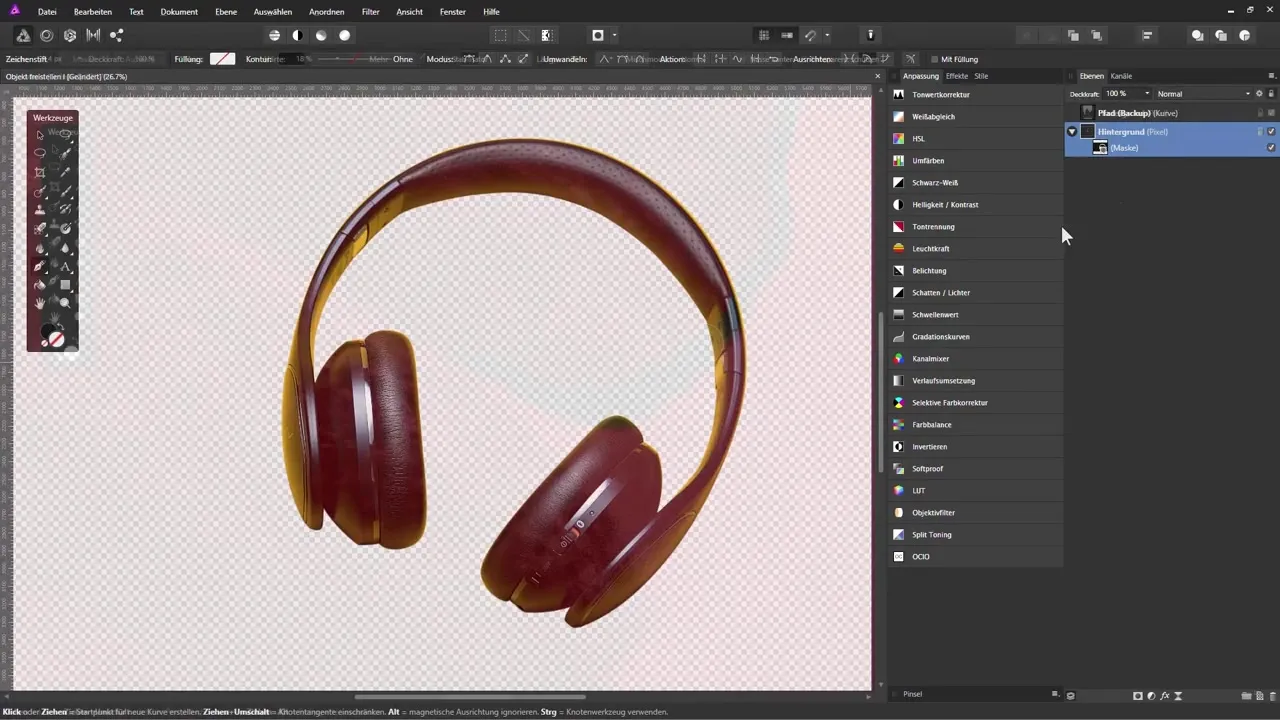
Start by selecting the Pen tool. This tool allows you to draw precise paths around the object you want to cut out. Carefully go around the edges of the object and click to set points. Your drawn points will connect into a line that you can adjust as needed.

2. Use the Quick Mask
After you have made the basic selection with the Pen tool, activate the Quick Mask. In this view, you can correct mistakes and refine the selection area. Paint with the brush over the areas you want to add or remove. Be sure to use different brush sizes to capture fine details.
3. Use the Brush for Creative Cutouts
The Brush tool gives you the opportunity to work creatively within your selection. Choose an appropriate brush size and paint over the object to separate it from the background. Make sure to capture the edges precisely for a natural result. Here you can experiment with different brush settings.
4. Use the Background Eraser to Remove the Background
Sometimes it's necessary to quickly get rid of distracting backgrounds. The Background Eraser is ideal for this. Select it and carefully go over the area to be removed. Be careful not to erase into the object – a skilled approach is required here.
5. Use Image Channels
For more complex cutouts, especially with hairy or furry objects, image channels are useful. You can use these to optimally set transparencies and preserve the fine details of object edges. It's often helpful to duplicate the channels and then refine the selection.

6. Blending Options and Layer Blending Modes
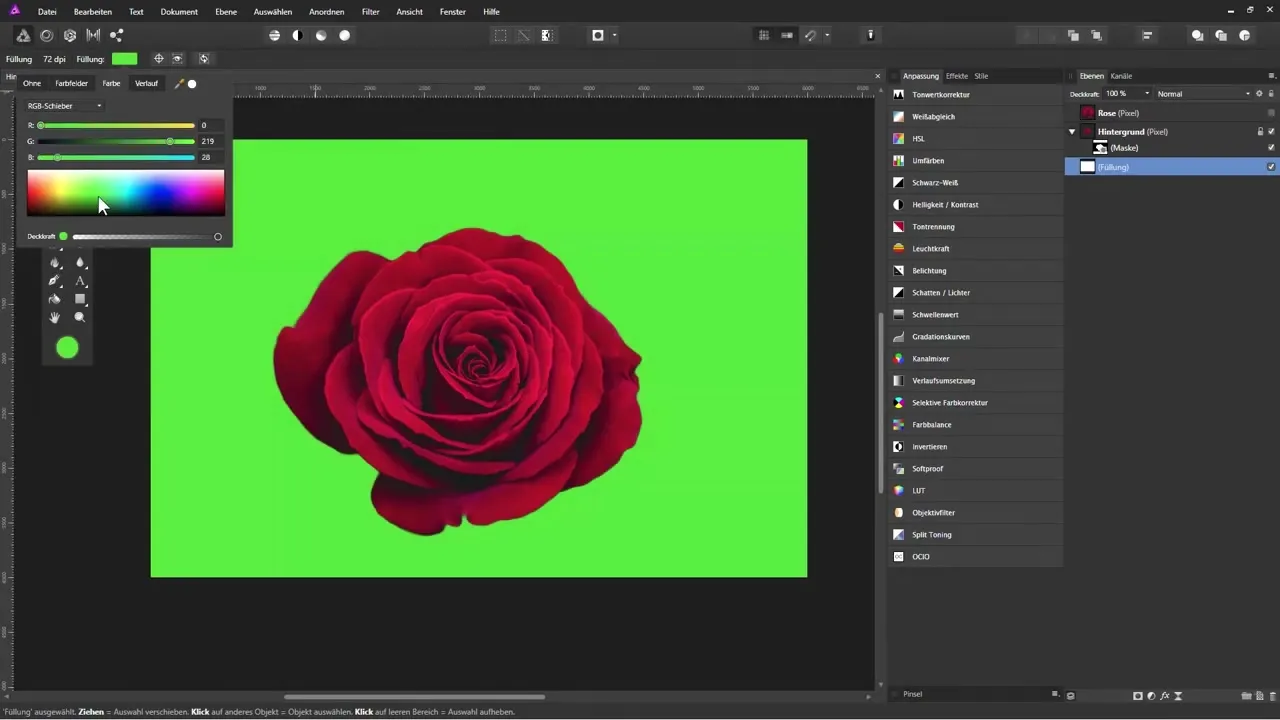
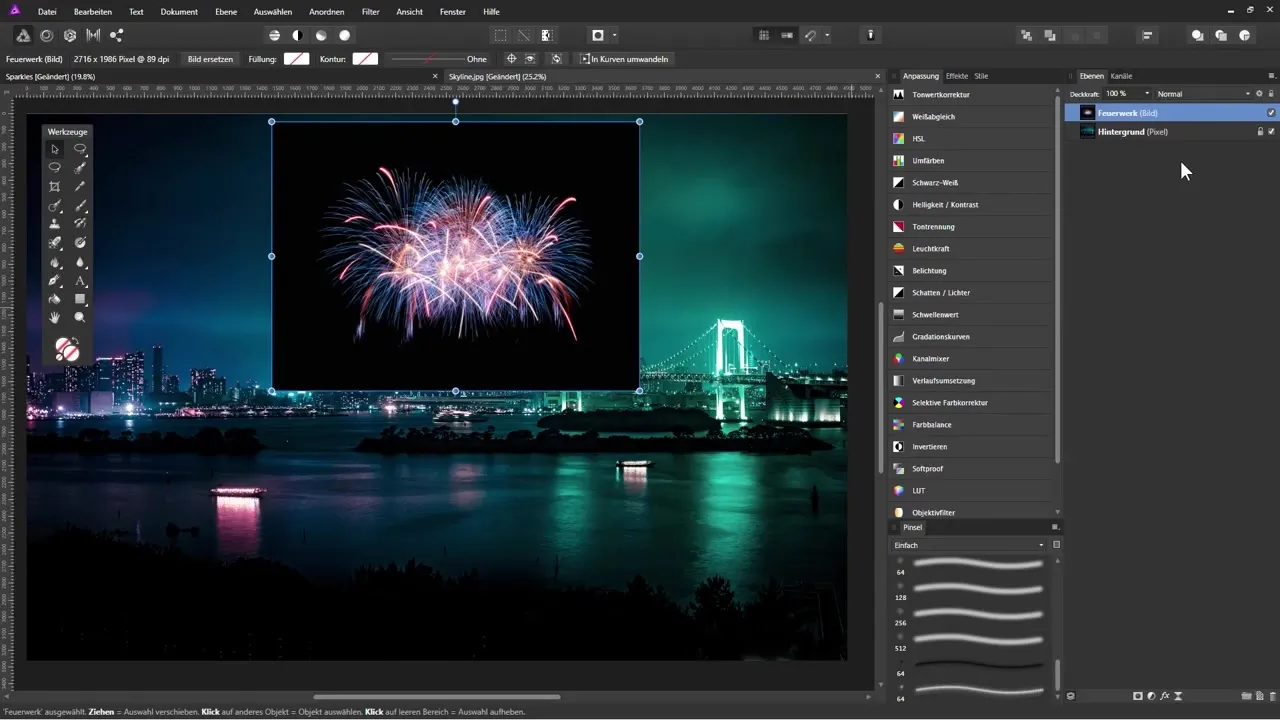
To effectively integrate your selected object into a new background, blending options and layer blending modes are essential. Experiment with different mode settings to achieve the best effect that seamlessly connects the object with the new background.

7. Final Adjustments
If you are not yet satisfied with your result, don’t hesitate to make adjustments. You can adjust colors and contrasts or add more details. Experimenting on your own is often the key to achieving the perfect result.

Summary – Cutting Out in Affinity Photo for Your Perfect Images
In this video training, you learned valuable techniques for efficiently cutting out image objects in Affinity Photo. From precise drawing to creative use of the Quick Mask to complex blending modes – all these steps are important components of a successful cutout process. Use this knowledge to create impressive designs.
Frequently Asked Questions
How can I make the best use of the Pen tool?Draw precise lines around your object and adjust the points as needed.
What is the Quick Mask and how does it help me?The Quick Mask allows you to intuitively refine your selection.
What is the Background Eraser useful for?It is used to quickly remove distracting backgrounds without erasing into the object.
How can I use image channels for hair cutouts?Image channels help you isolate and preserve complex transparencies.
What are blending options and why are they important?They allow you to effectively integrate your cut-out object into a new background.

