By digitally painting armor in Photoshop, you can give your characters a striking and creative touch. In this tutorial, you will learn how to paint a simple armor while focusing on important aspects such as light, shadow, and reflections. Let's get started!
Key Insights
- Use light and shadow effectively to create three-dimensionality.
- Experiment with different colors and shades to shape the depth of your armor.
- Consider reflections and ambient lights to give the metal a realistic shine.
Step-by-step Guide
1. Sketch the Basic Shape of the Armor
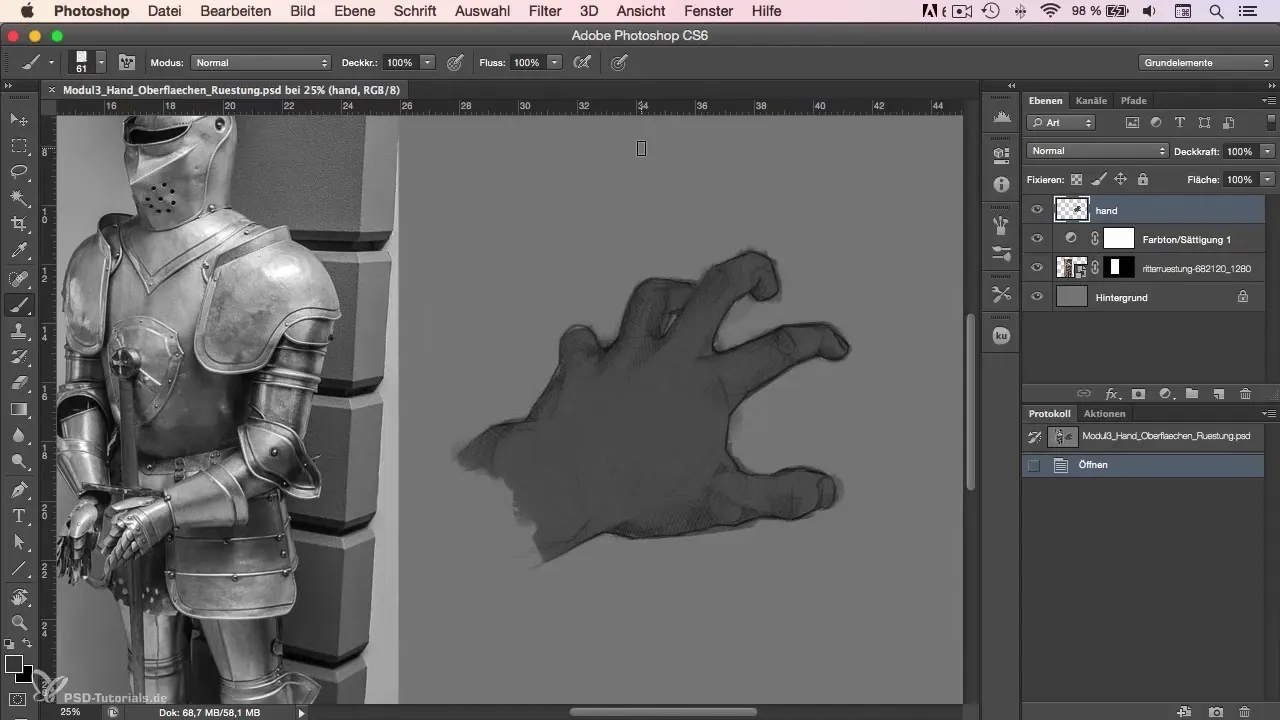
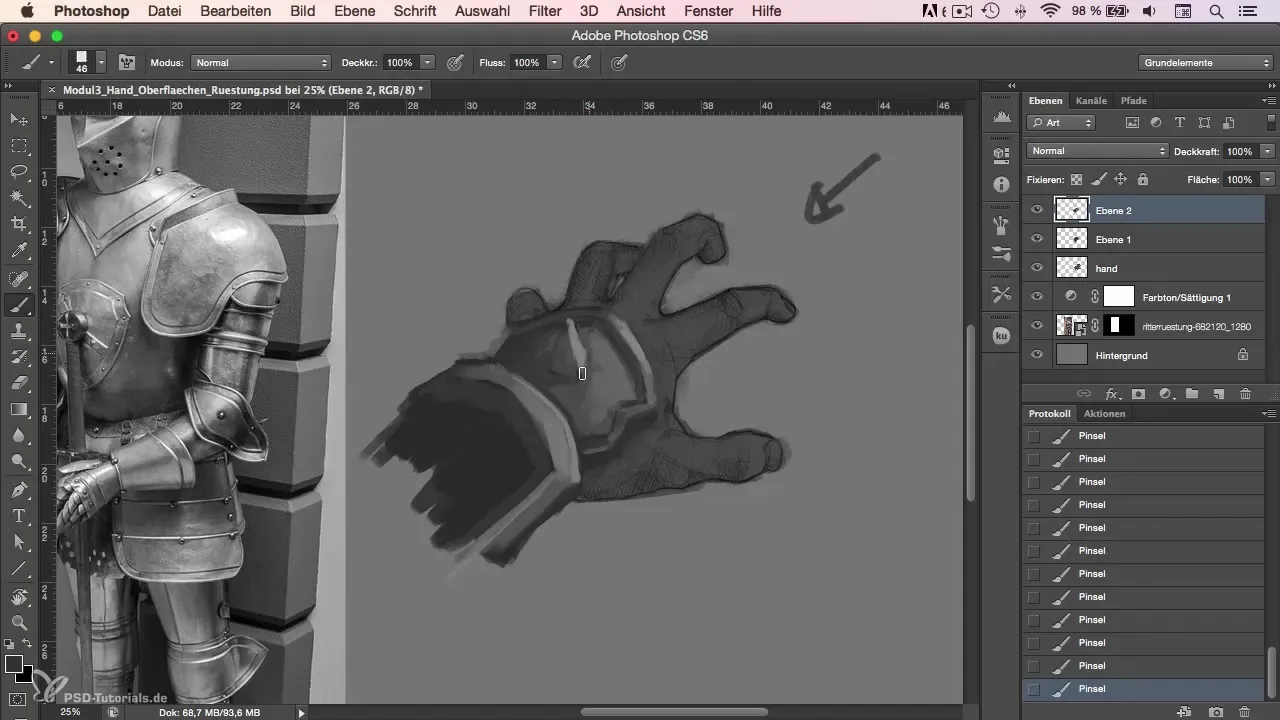
First, find a reference image to observe the lighting conditions and the reflections of the metal. But don't let the reference restrict you too much. Start with a dark color and sketch the rough shape of your glove, which overlaps various plates. Pay attention to getting the curves and the overall shape right.
2. Refine the Shape
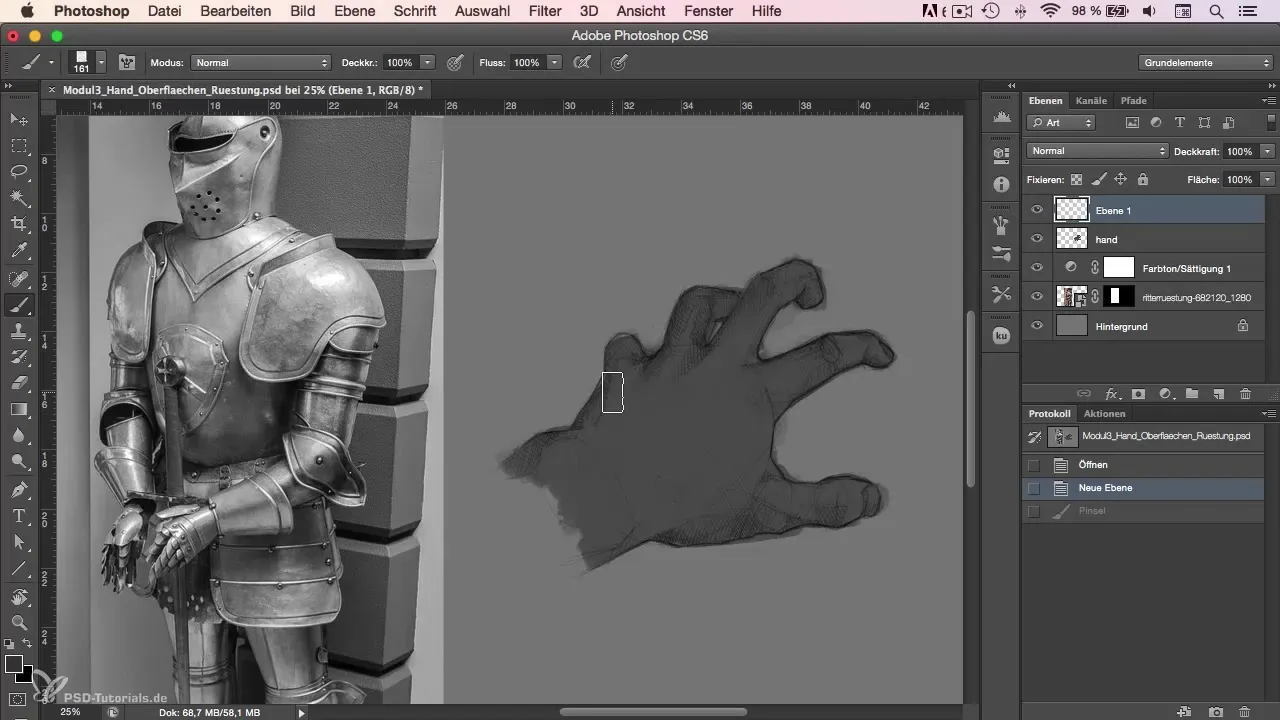
After establishing the basic shape, you should adjust the proportions and details of your armor. Slightly distort the basic palette to achieve the right structure. Ensure that the gradients lead in the desired direction and visualize the perspective during this process. A change in opacity can help you see if the positioning looks good.
3. Add Light and Shadow
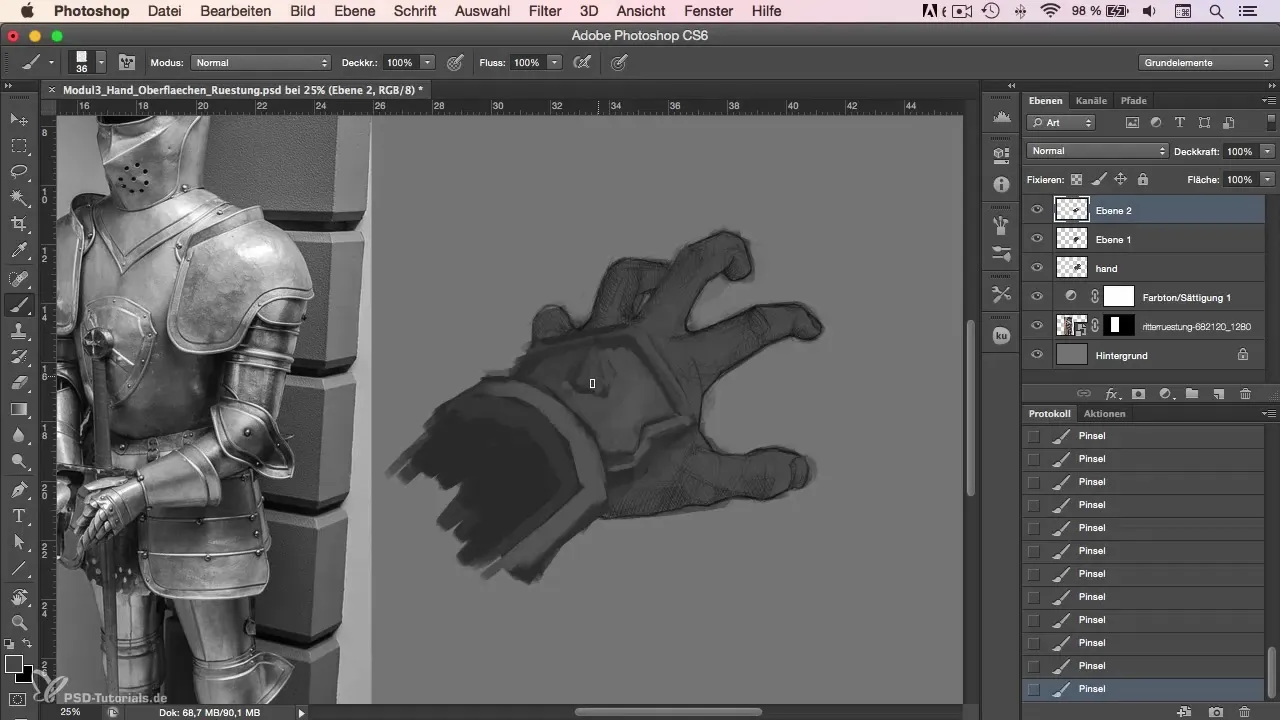
Now comes the most important part: the light. Decide on a light source. In this case, the light comes from above. Remember that the parts exposed to direct light should be brighter. Experiment with lighter and darker tones to create the illusion of three-dimensionality.
4. Occlusion and Additional Shading
In additional shading, pay attention to key areas like edges where surfaces meet. Here, light is reflected less, creating additional shadows. This technique ensures a more realistic look.
5. Reflections and Ambient Lights
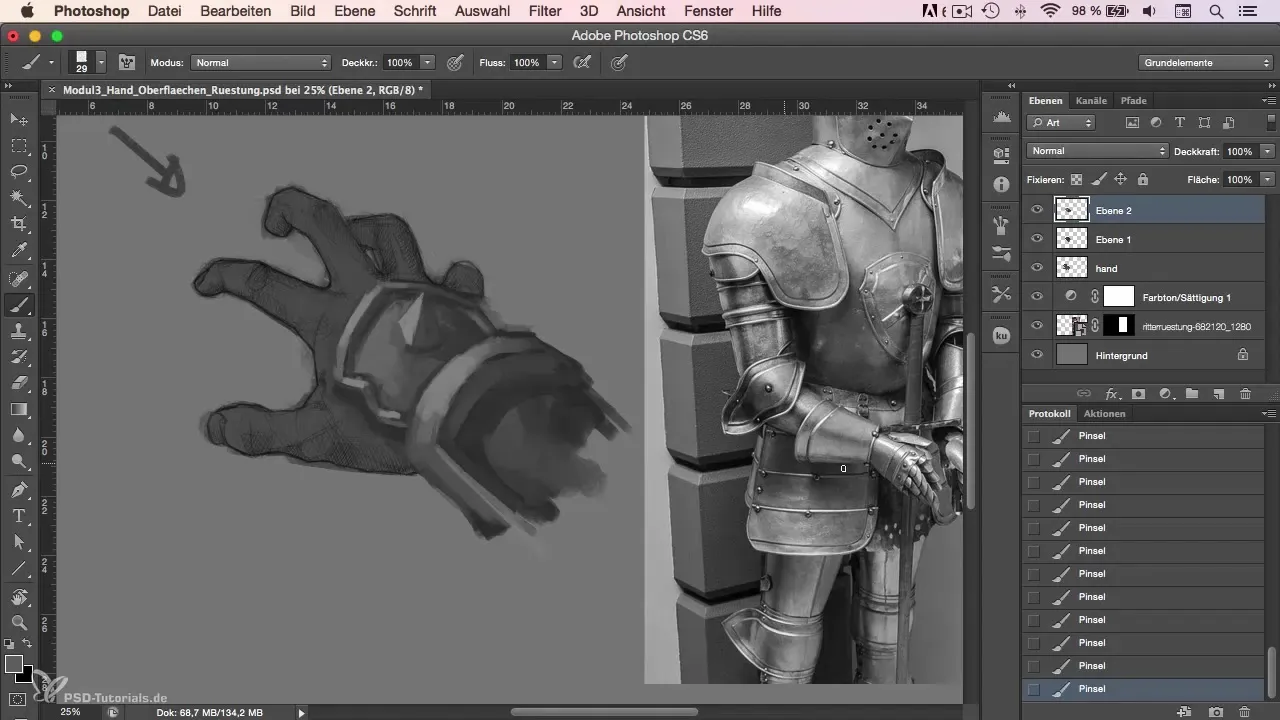
Since it's metal, the armor reflects the light from the environment. Add highlights by incorporating colors that capture the sky or other reflective surfaces. These reflections give your armor a more vibrant quality.
6. Making the Armor Look Realistic
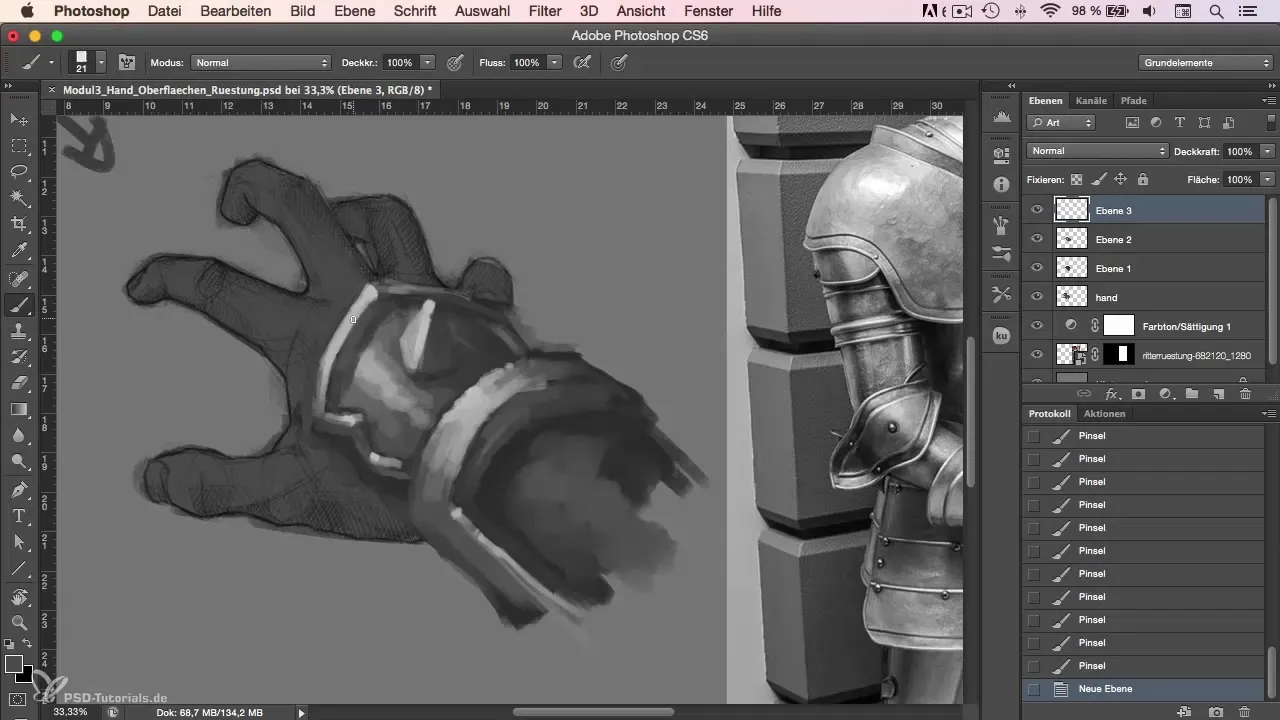
Add scratches and irregularities to mimic the authentic look of metal. Imagine how these marks appear light and dark due to light and structure, adding depth to the material.
7. Accentuate the Details
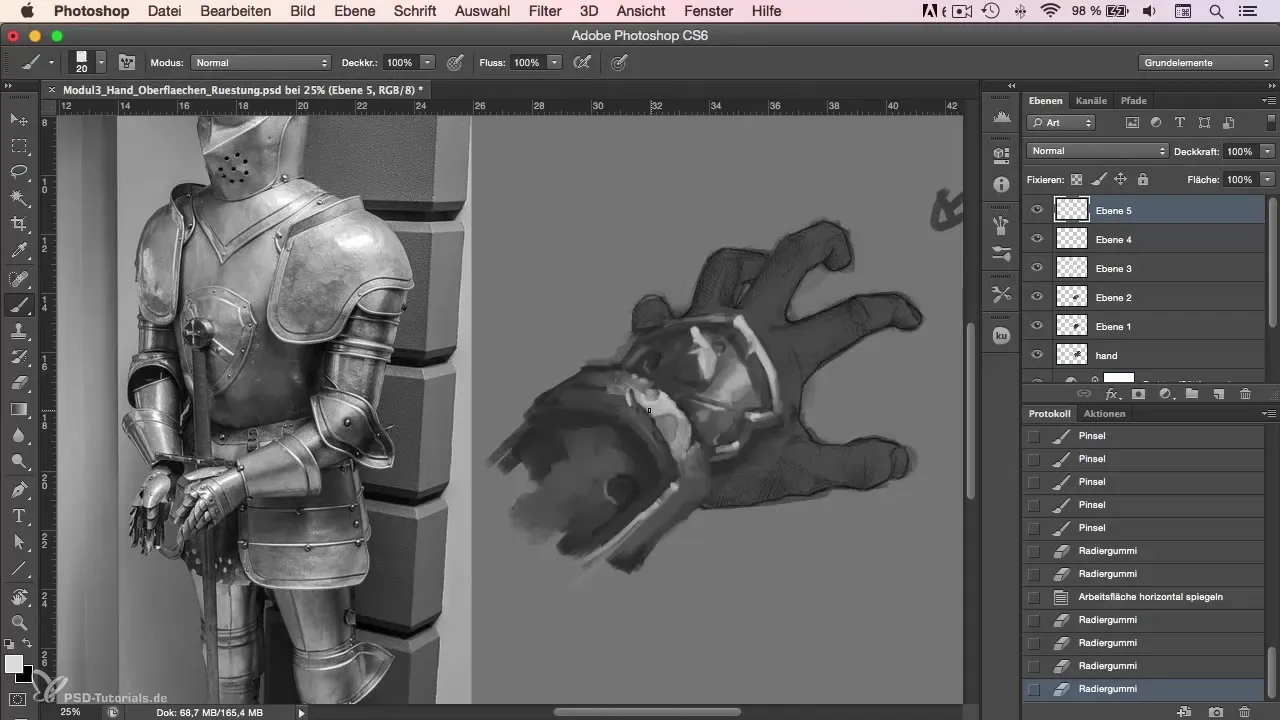
Finally, you can add further details, such as darker and lighter shadows, to highlight specific areas. Use various tonal values to set highlights and make the armor appear even more impressive.
Summary – Painting Armor in Photoshop the Easy Way
You have learned how to paint impressive armor in Photoshop while applying techniques for light, shadow, and reflections. With these tips, you can give your characters dazzling armors in digital art in the future.
Frequently Asked Questions
How do I find the right reference image for my armor?Look for images that show interesting light and reflection effects to serve as inspiration.
How can I realistically depict light and shadow in my armor?Consider where your light source is and make sure to place bright areas where they receive the most illumination, and darker tones in the shadowy areas.
What colors are best for metallic effects?Experiment with gray tones and bluish colors, as metal often reflects ambient light.
Can I create the armor without a reference?Yes, but a reference helps you develop a better understanding of light and texture, making your designs more appealing.
How do I create realistic reflections on armor?Make sure to incorporate the reflections of the sky and other objects in the environment into your color choices.
