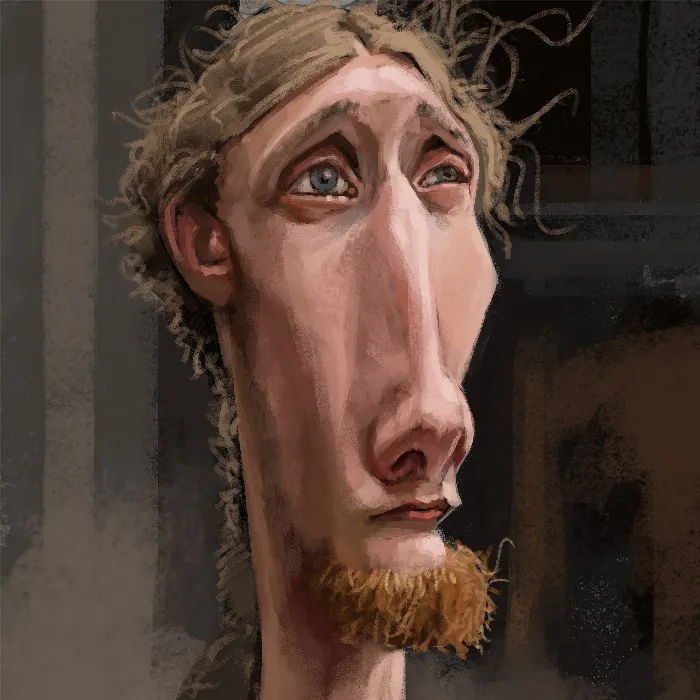
Revising sketches is a crucial step in digital painting, especially when you work with Photoshop. It allows you to refine the proportions, shapes, and details of your initial drafts. In this tutorial, you will learn how to optimize your sketch using Photoshop and prepare it for painting with color. Get ready to be creative and give your character more depth and expression.
Key Insights
- By refining shapes and proportions, you will be able to significantly improve your sketch.
- A structured workflow helps you work more efficiently and achieve better results.
- Using references is essential to represent the character realistically.
Step-by-Step Guide
To effectively revise your sketch in Photoshop, follow these steps:
1. Import the Sketch
Start by importing your sketch into Photoshop. Make sure it is clearly visible. It is helpful to organize it into its own folder to easily find the references later.
2. Apply Raster Layer
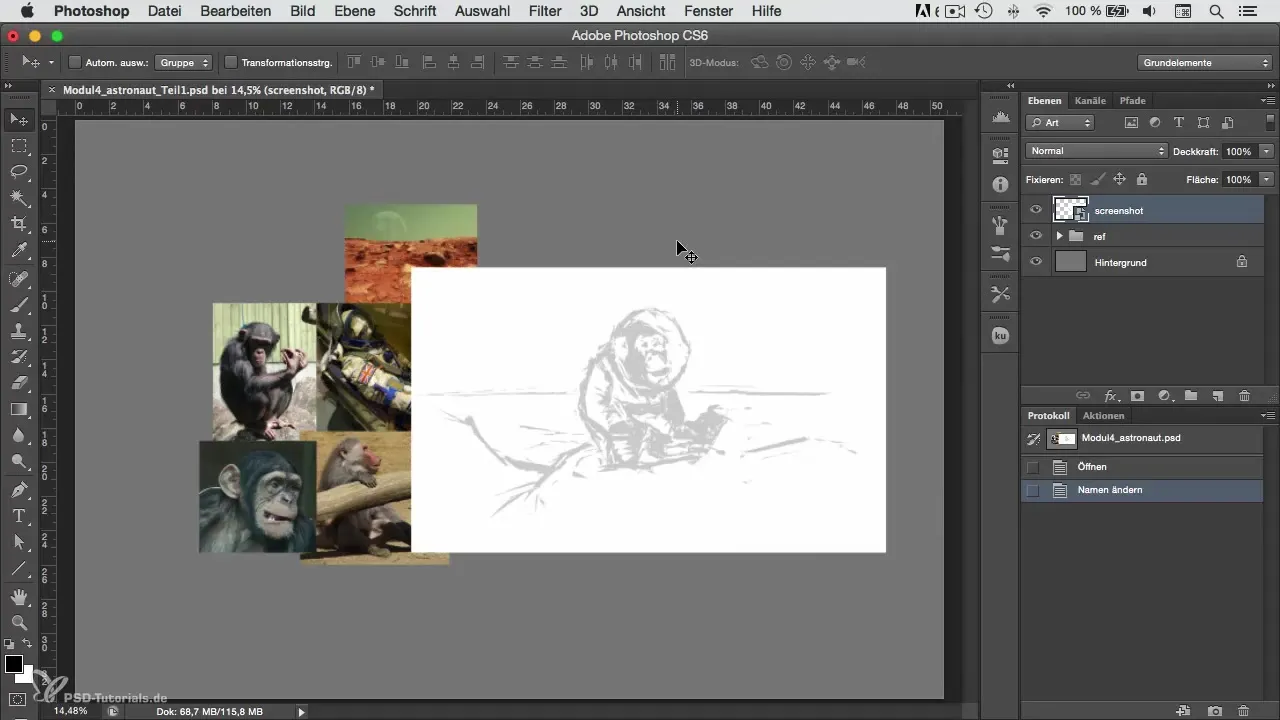
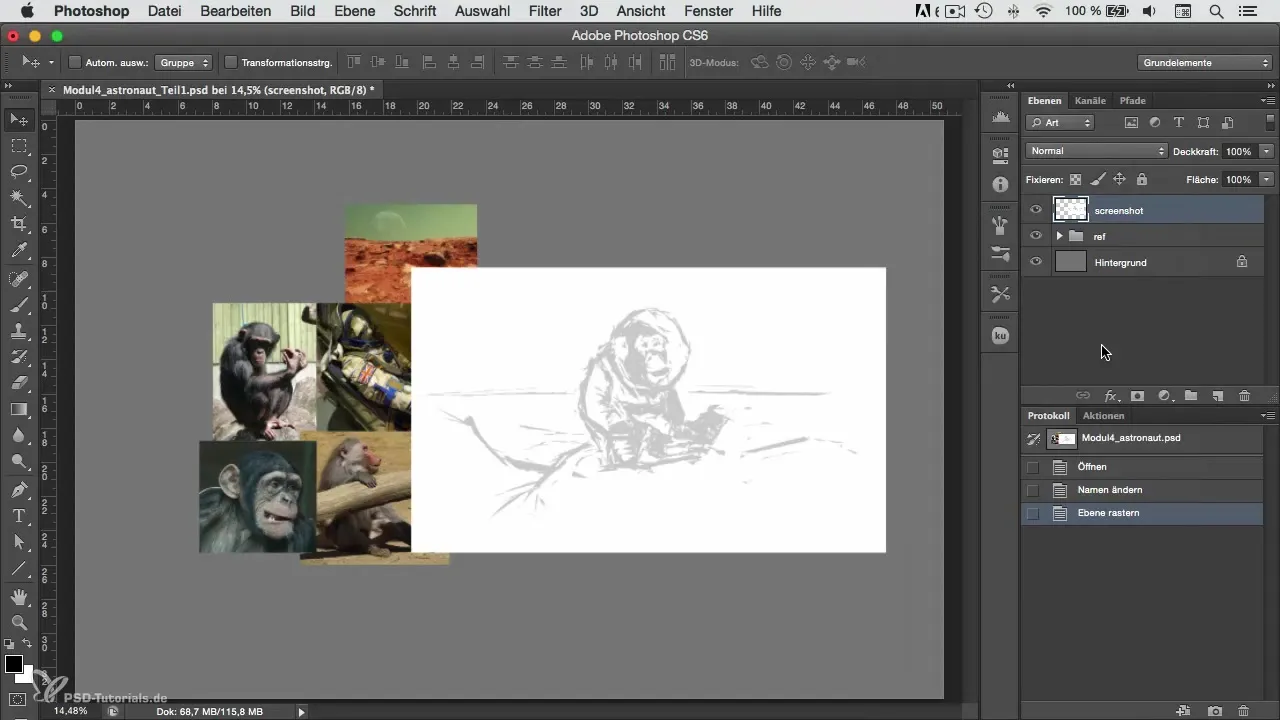
To improve the visibility of the sketch, rasterize the layer and set it to "Multiply." This method ensures that the sketch is better embedded in the background and helps you keep your work steps clear.
3. Adjust Saturation
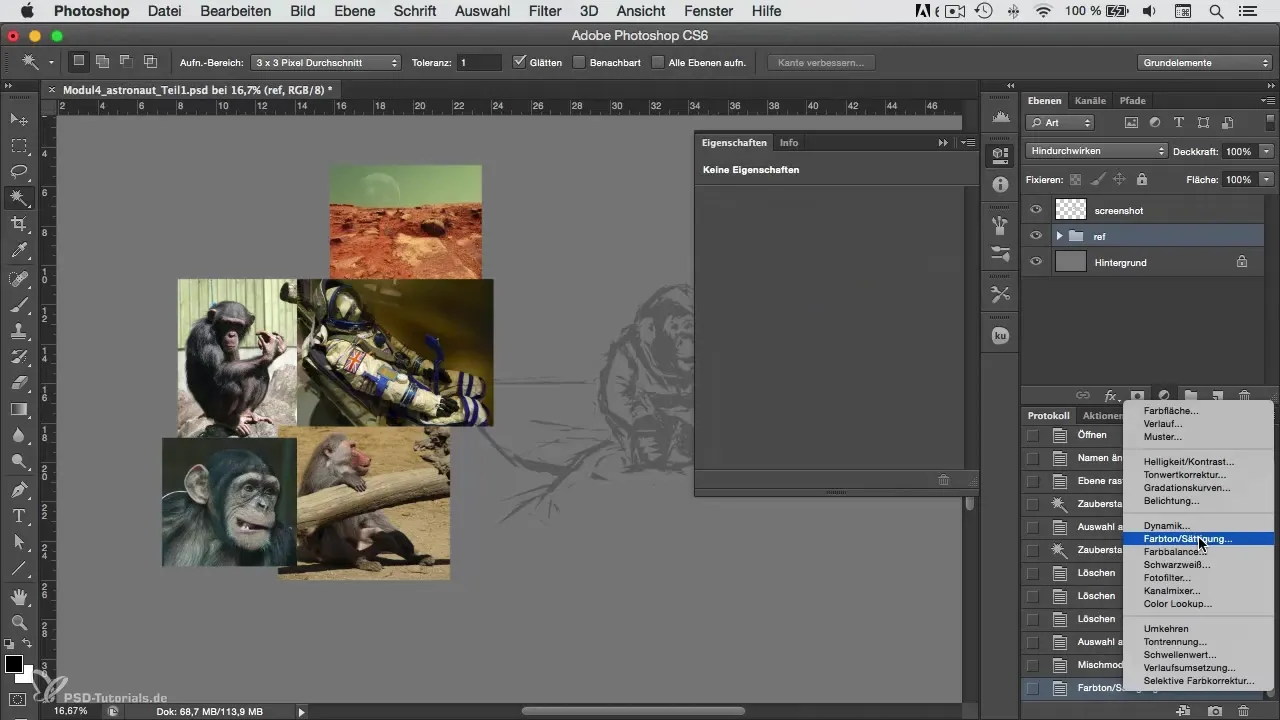
Lower the saturation of your sketch so that you initially work in black-and-white. This way, you can focus better on the basic tonal values before you start applying color.
4. Create a New Layer for Revisions
Create a new layer in Photoshop and choose a suitable brush to revise the rough outlines of your character. Make sure the edges are not too fluffy, and refine the contours to represent the shapes more clearly.
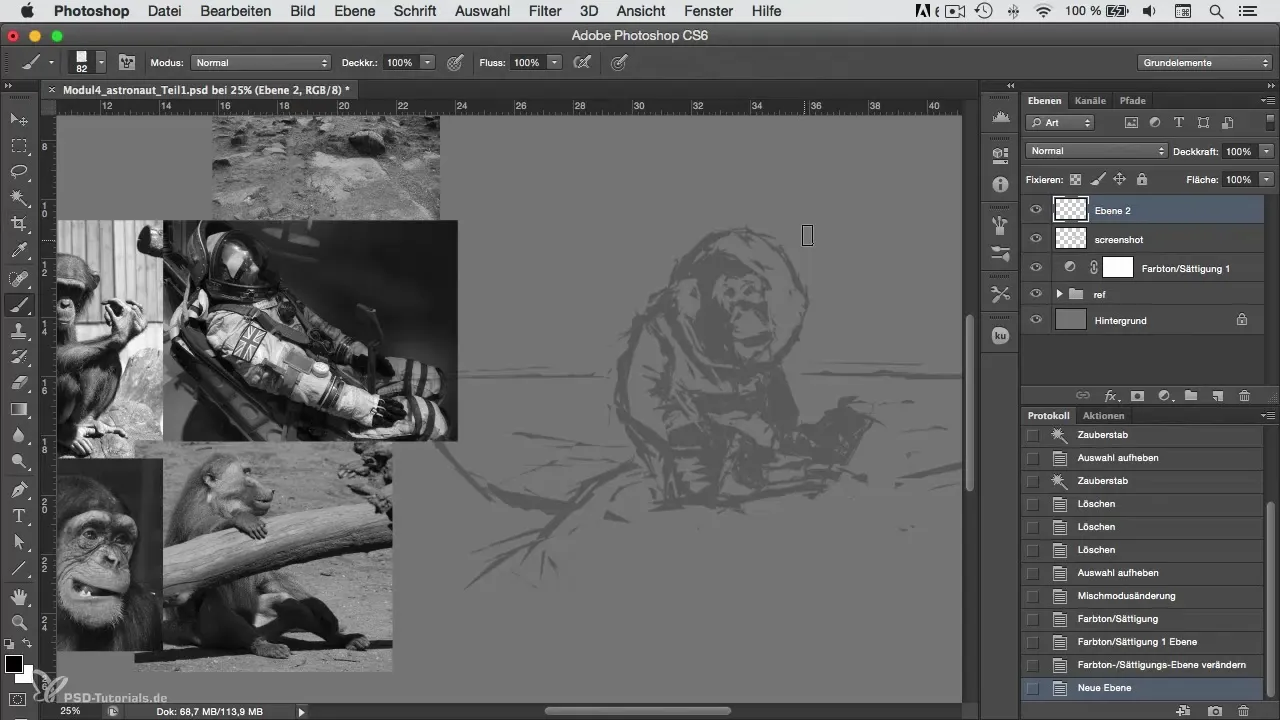
5. Work on Details
Focus on important details such as metallic rings or other characteristic features. These nuances give your character more depth and ensure that the designs are perceived more clearly.
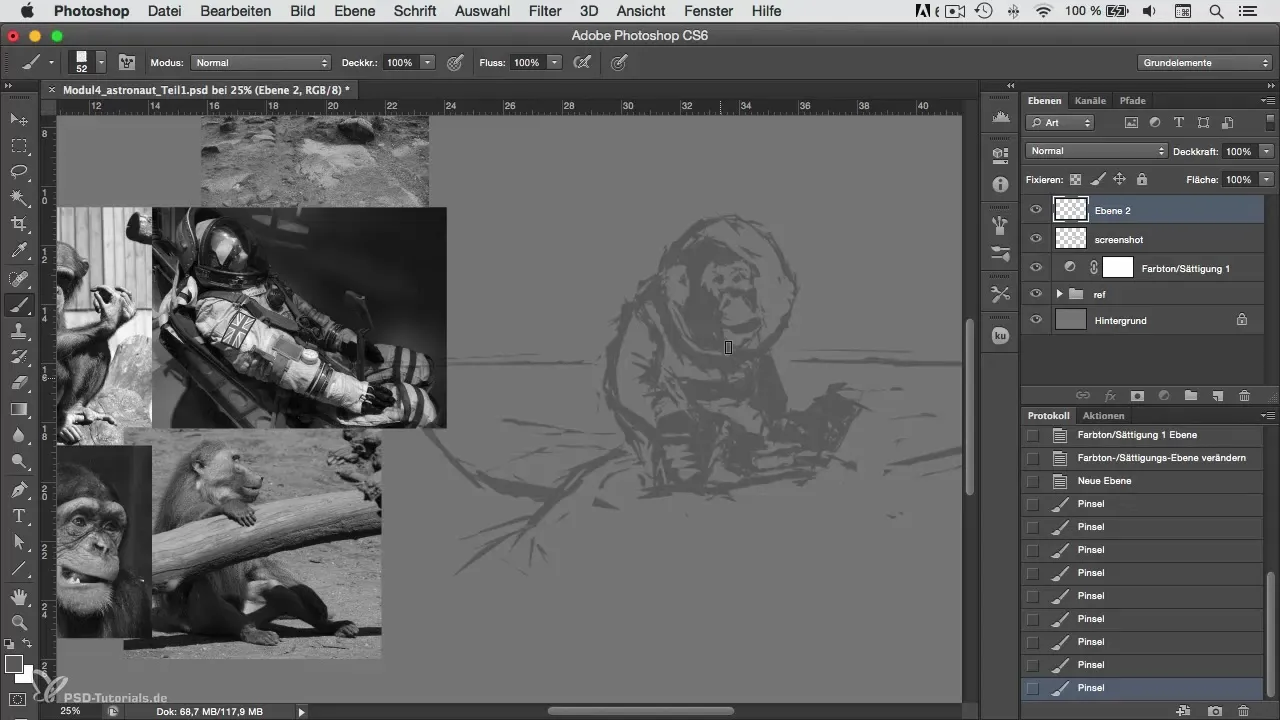
6. Check Proportions
Make sure that the proportions of your character are correct. This means closely examining and adjusting the head, eyes, and other important facial features to achieve a realistic appearance.
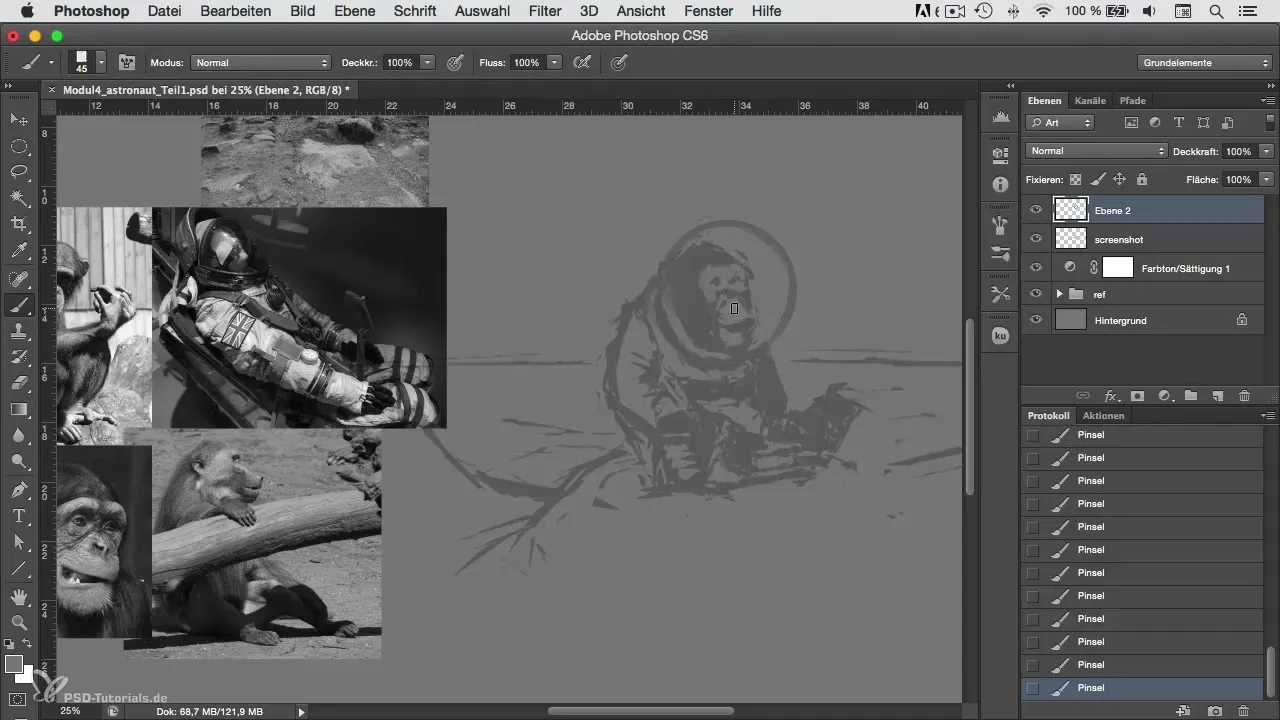
7. Use References
Searching for reference images is an important part of the creative process. Use images of similar characters or designs for inspiration. Make sure you do not use copyright-protected images.
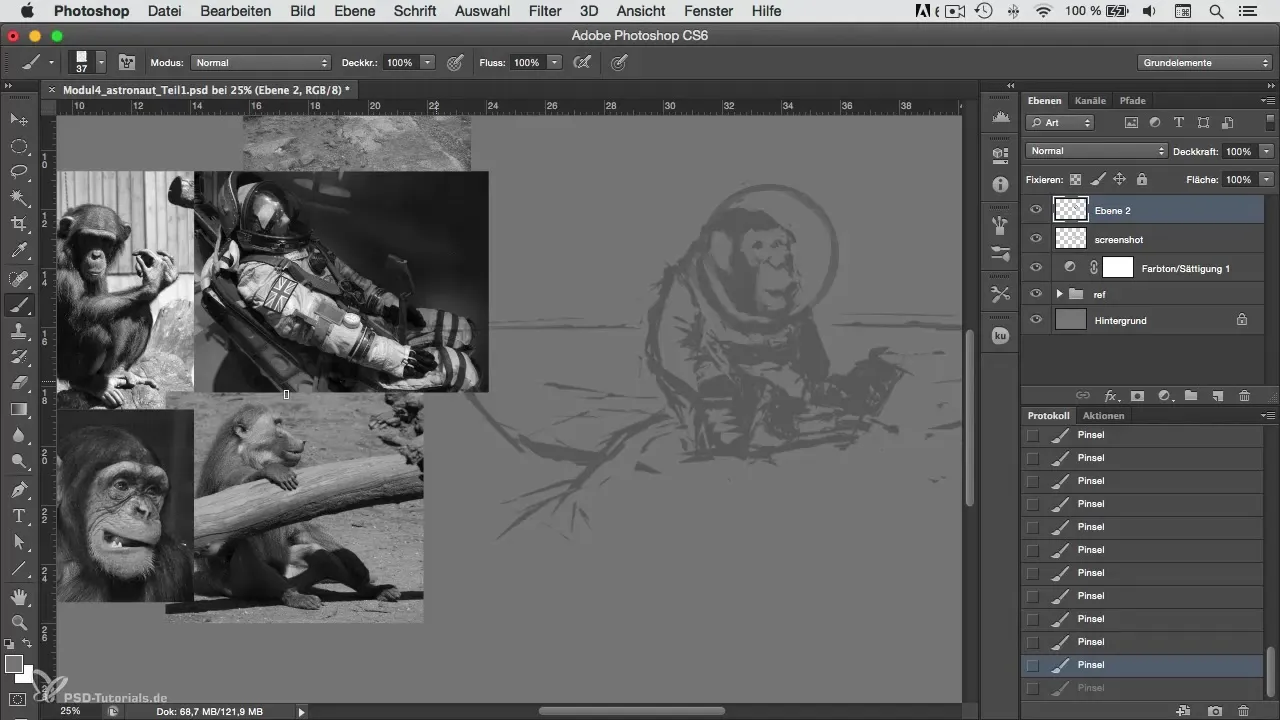
8. Define Shapes and Silhouettes
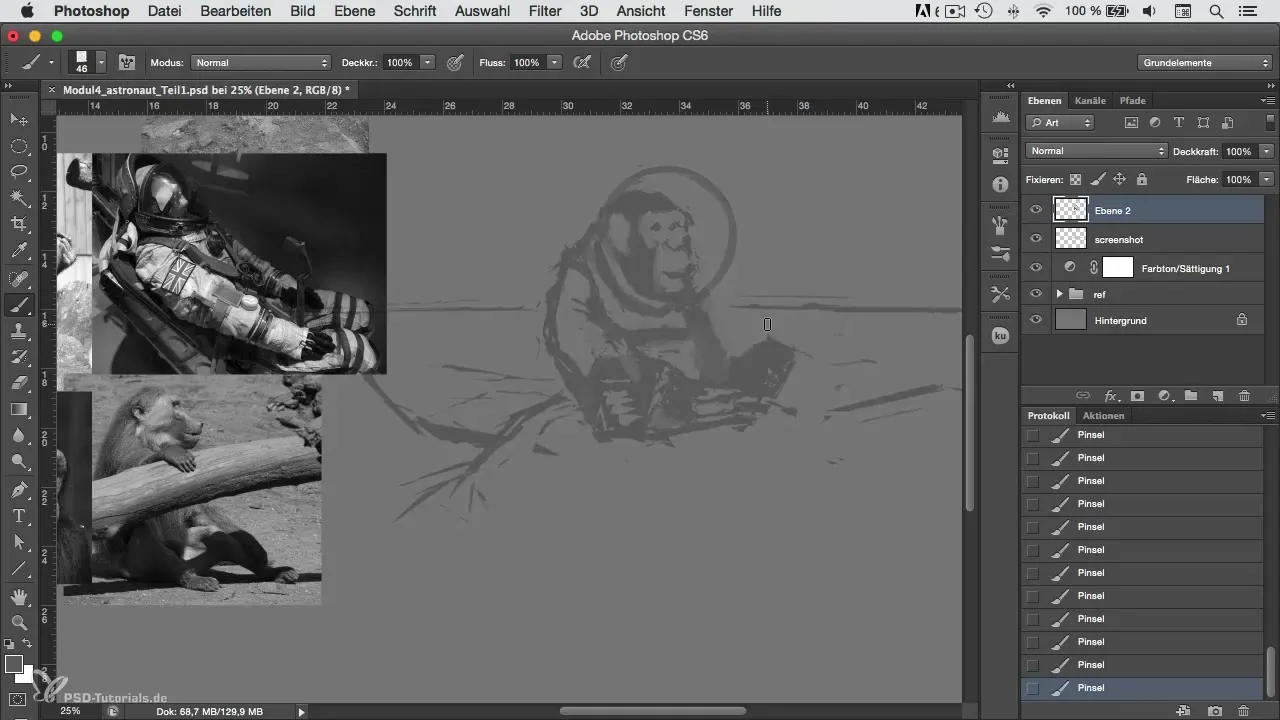
Experiment with different shapes and silhouettes. Use light and shadow to give your character dimension. This helps you enhance the visual depth before you start adding colors.
9. Add New Elements
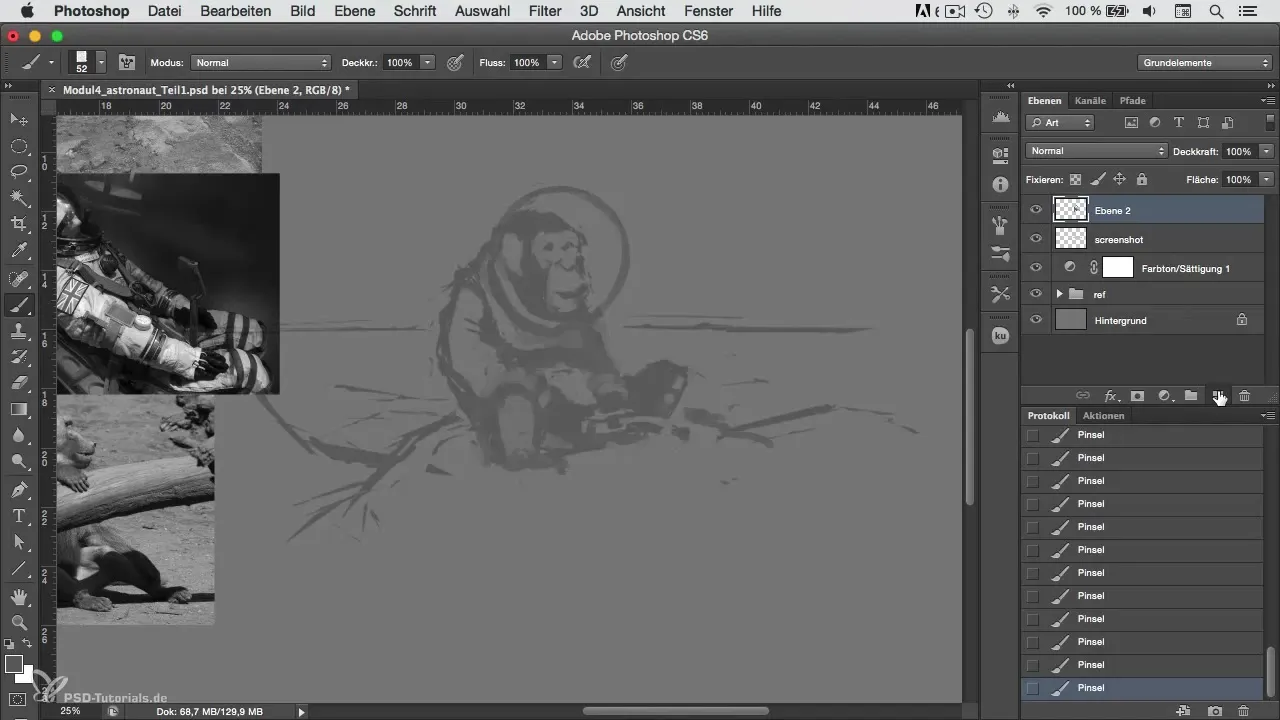
If needed, add new elements to your character, such as a belt or additional armor pieces. These details can be crucial for how realistic and exciting the overall image appears.
10. Make Final Adjustments
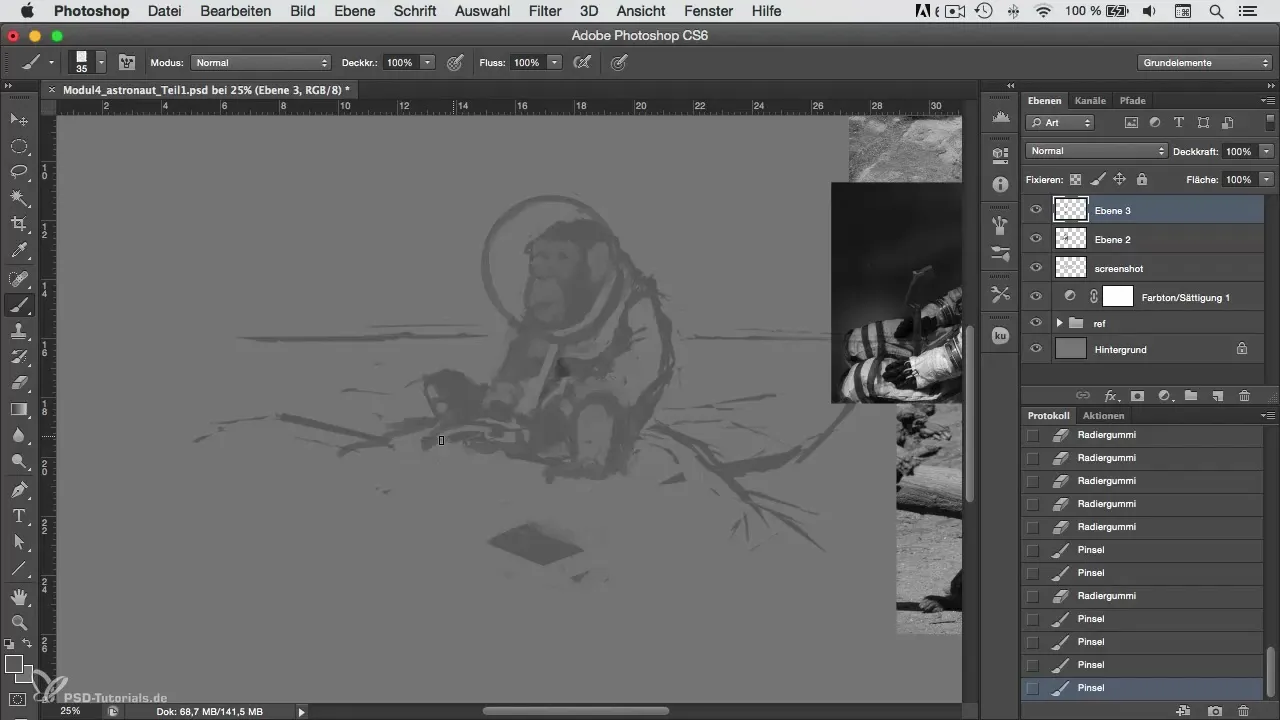
Before saving the final image, check all details and areas again. Make any necessary adjustments or improvements to optimize the image.
Summary - Character Painting in Photoshop: How to Revise a Sketch
Revising your sketch in Photoshop is a creative process that helps bring your character to life. By using the right techniques to edit proportions, shapes, and details, you can create an impressive final artwork.
Frequently Asked Questions
What is the first step in revising a sketch?The first step is importing your sketch into Photoshop.
How can I improve the visibility of my sketch?You can set the sketch to "Multiply" to make it better visible in the background.
Why is it important to work in black-and-white?Working in black-and-white helps you clearly identify the basic tonal values before adding color.
How do I find good reference images?Use online searches for specific topics and make sure not to use copyright-protected images.
How can I check proportions in my sketch?Use guidelines and compare the dimensions of various elements to ensure they fit well together.
