If you want to transition from hand-drawn sketches to digital painting, you're in the right place. It can often be challenging to get the right feel and control over proportions when drawing on a graphic tablet. Fortunately, you can rely on your traditional drawings and effectively enhance them with some Adobe Photoshop techniques.
Key Insights
- Editing scanned drawings in Photoshop significantly improves your digital painting.
- Working with a pen display can provide a better drawing experience than a graphic tablet.
- The contrast and brightness of the scanned drawing play a key role in the final result.
- There are simple techniques to remove edges and unwanted details that may disrupt your workflow.
Step-by-Step Guide
To optimally prepare your scanned drawing for digital painting, follow these steps:
First, it's important to make your drawing on a sheet of paper if drawing on a graphic tablet is challenging for you. You can also take a good photo of your drawing if you don't have a scanner available. Both options work well.
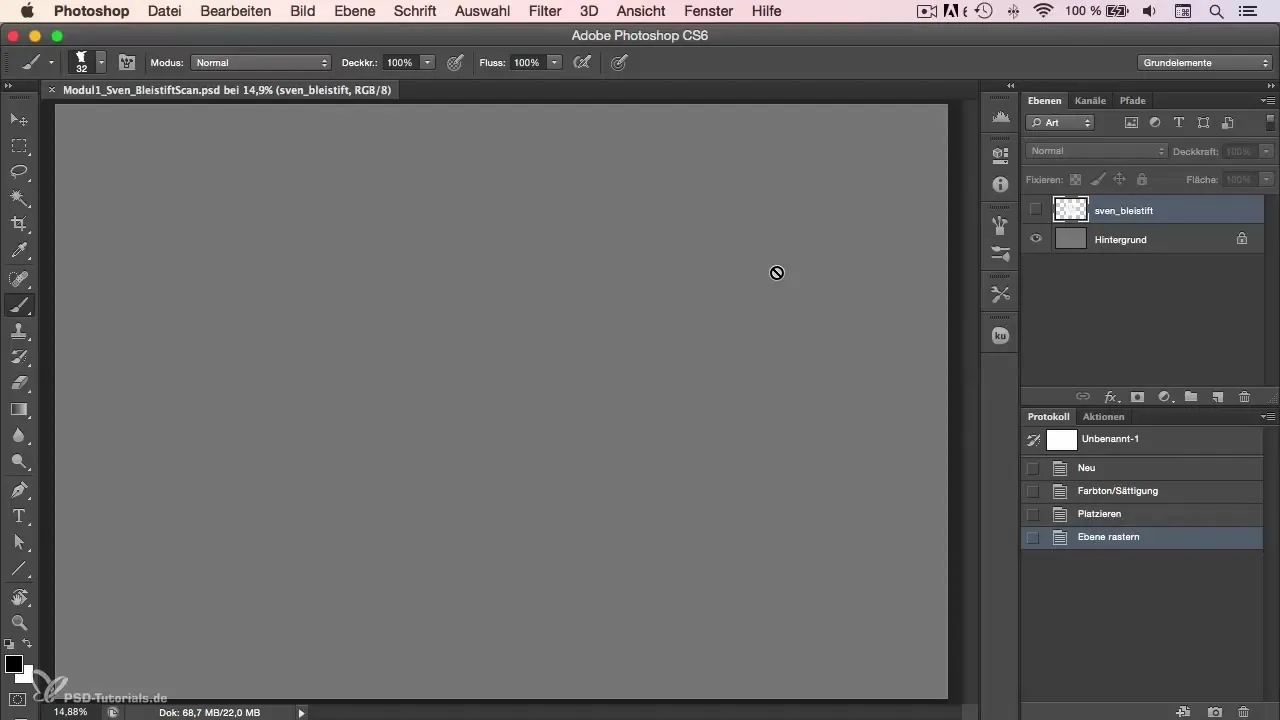
After you have digitized your drawing, open it in Photoshop. One of the first adjustments you may want to make is to increase the contrast. To do this, select the contrast adjustment in Photoshop. This helps make the drawing appear more vibrant and clearer, especially if the original drawing looks a bit dull.
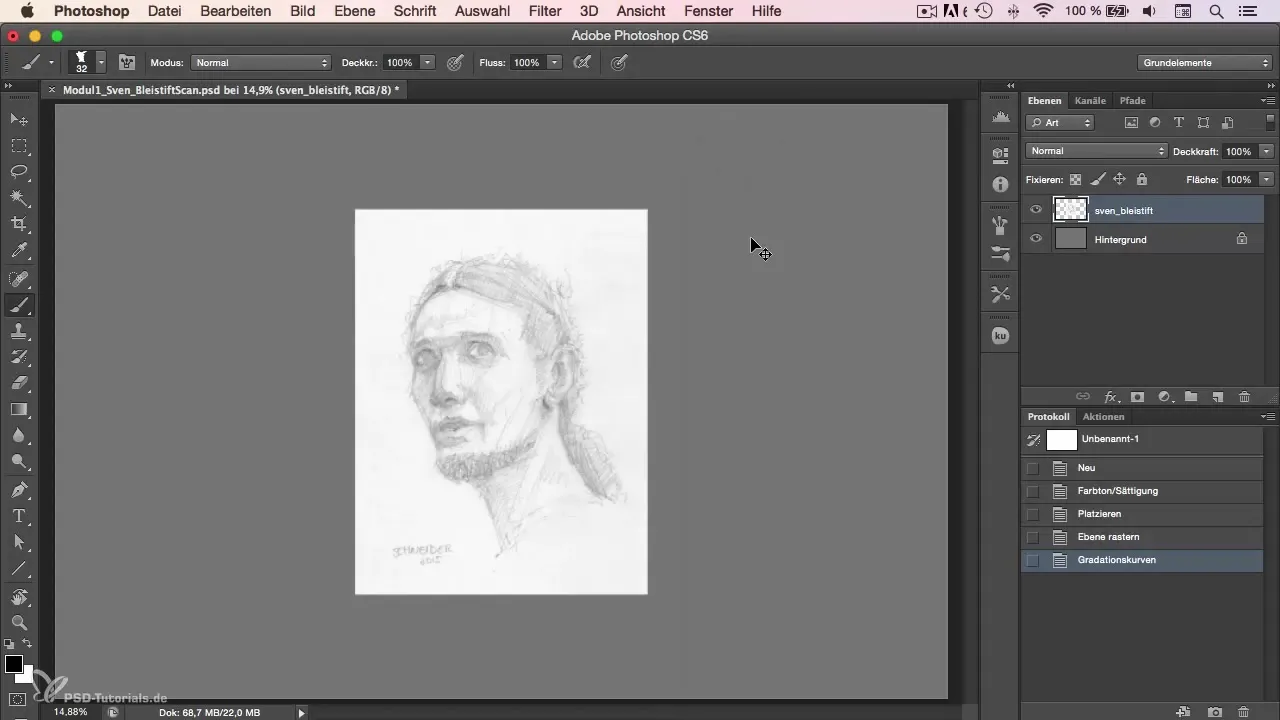
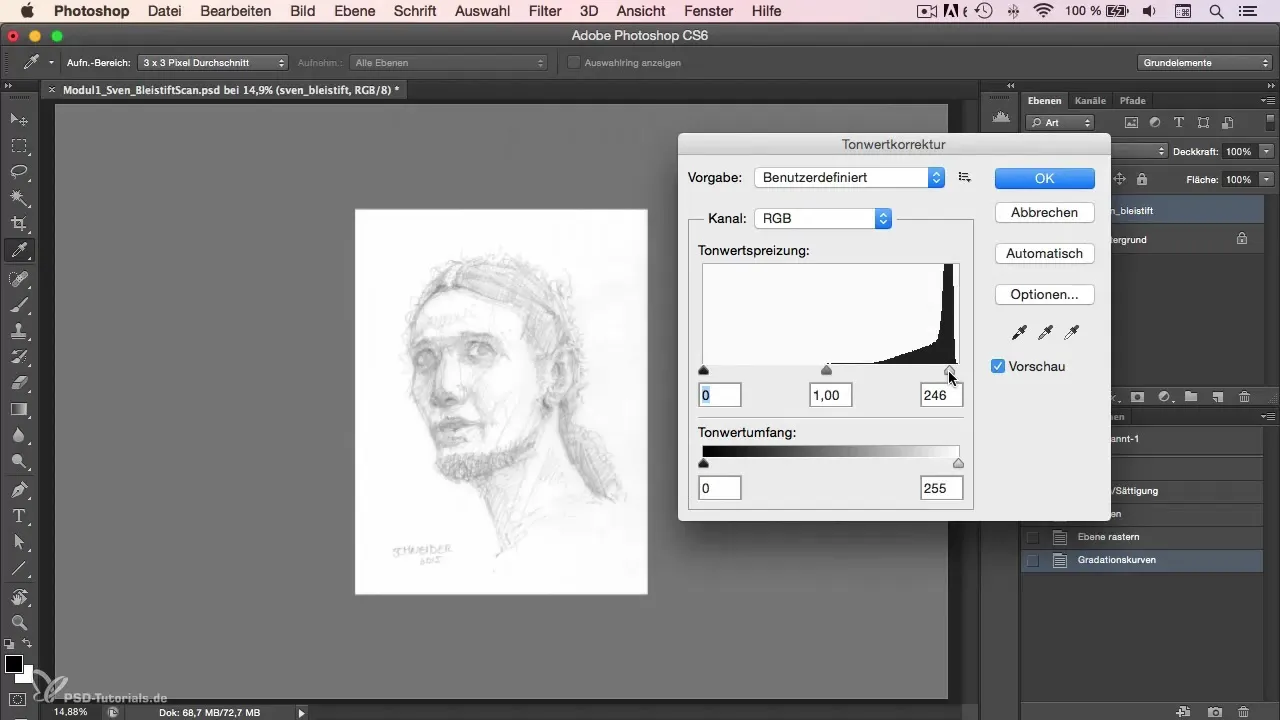
Another step is to optimize the white brightness of your drawing. You can enhance the fill on the white, making it look bolder and stand out from the background. This adjustment helps you better capture the details in your drawing and provides a solid foundation for digital painting.
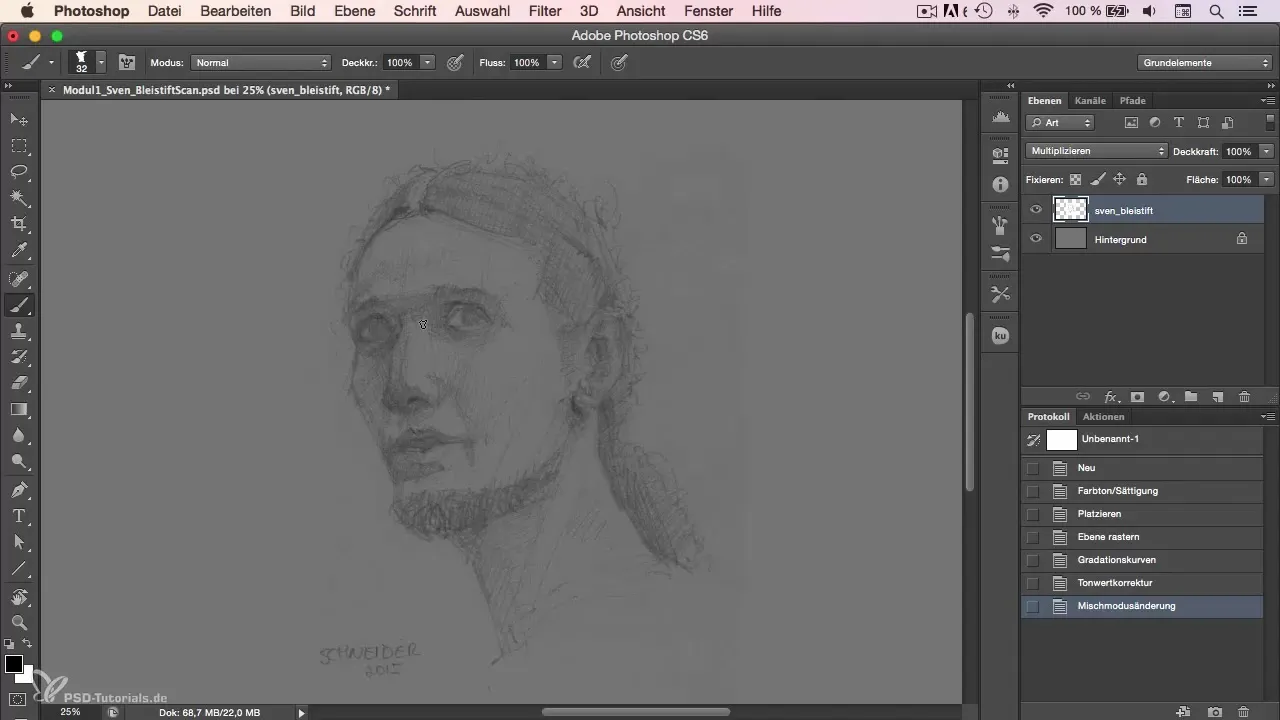
To prepare your drawing optimally for further editing, you can set the layer to "multiply." This allows the gray background to show through and keeps your sketch visible against a neutral color that is ideal for digital painting.
Now it's time to eliminate minor imperfections. One of the easiest methods to remove distracting edges or unwanted details is to use selection tools or the eraser. Refine the edges of your drawing to make the lines appear clearer and more precise, laying the foundation for your later painting.
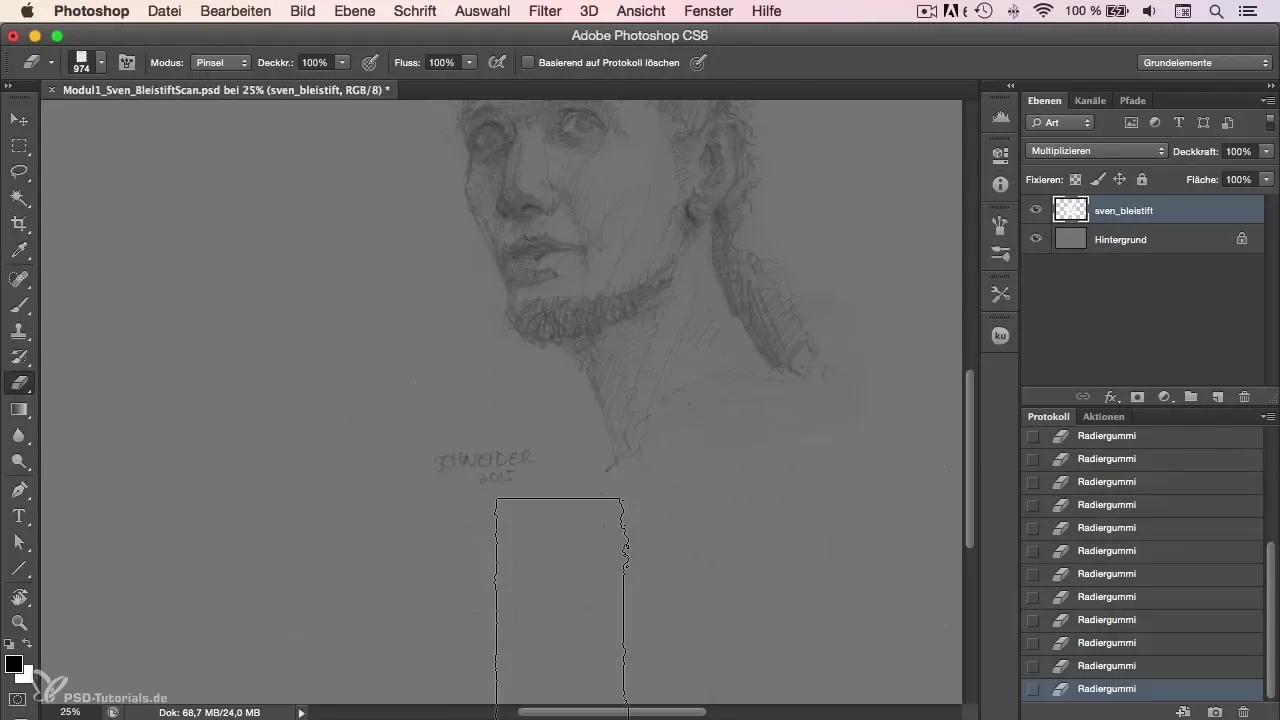
Finally, you can save your drawing and start the actual painting process. After completing these steps, you have created an excellent foundation for your digital painting. Use the groundwork you've laid to get creative and transform your drawing into an impressive digital artwork.
Summary - Character Painting in Photoshop: Editing Scanned Drawings
You have learned how to edit scanned drawings in Photoshop and optimally prepare them for your digital painting. This means you can achieve an appealing result with just a few steps, allowing you to fully unleash your creativity.
Frequently Asked Questions
How can I best scan my drawing?Make sure to scan or photograph the drawing in high quality to retain all details.
What setting is best for contrast?Use the contrast setting in Photoshop to highlight the lines more clearly without losing too much detail.
Why should I set the layer to "multiply"?Setting to "multiply" allows the gray background to show through and improves the visibility of your drawing.
How do I remove distracting edges from my drawing?Use selection tools or the eraser to methodically remove unwanted edges and details.
What is the advantage of a pen display?A pen display offers a more natural drawing experience since you are drawing directly on the screen and can better judge proportions.


