With the return of the Spotlightfeature, now known as Spotlight Version 2.0, ZBrush2019introduced a powerful extension: the Snapshot 3D tool. This feature allows you to create complex and clean meshes from simple alphas. Here I show you how to make the most of this new feature.
Main insights
- Spotlight 2.0 combines alphas and textures for precise mesh projections.
- The perspective view must be turned off to achieve accurate results.
- Targeted views and the use of alphas create high mesh quality.
- Snapshots can significantly enhance the geometry of your model.
Step-by-step guide
Step 1: Activate Spotlight
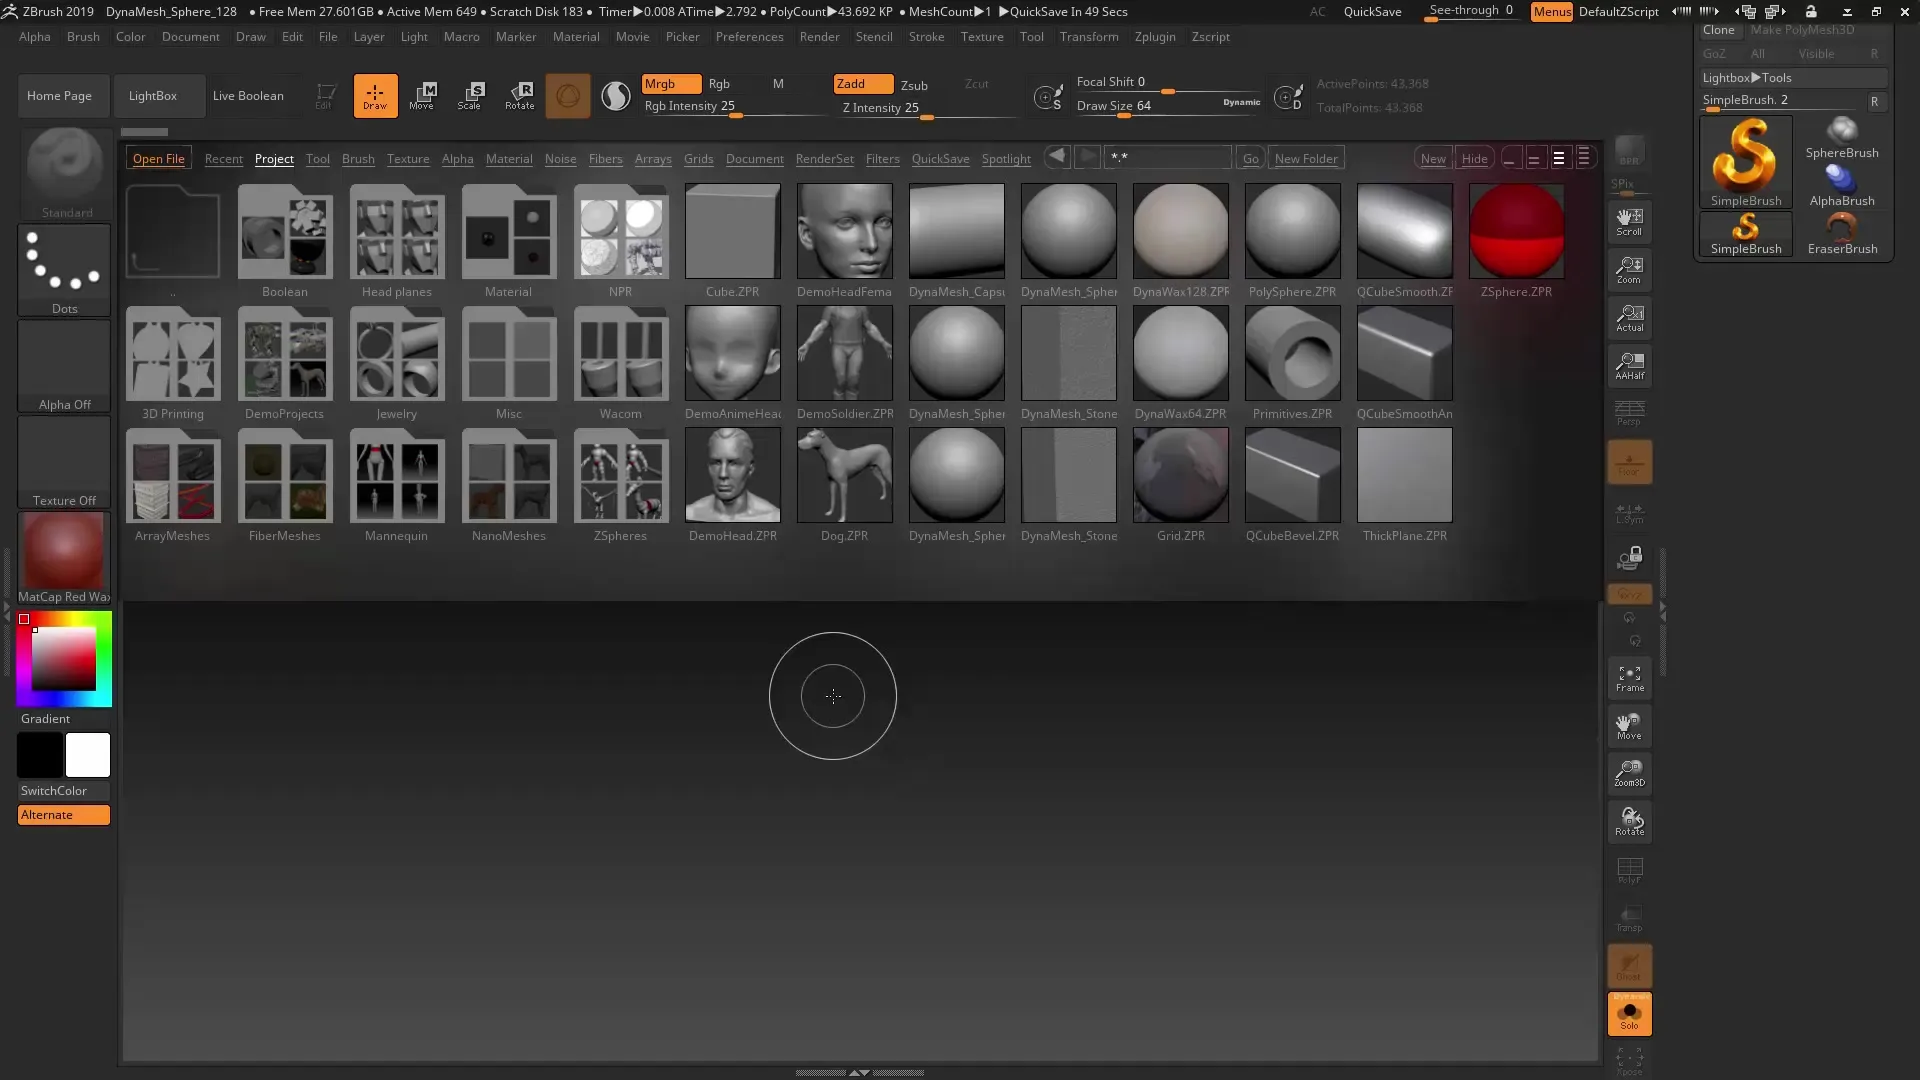
To work with Spotlight, first, select a suitable texture in the lightbox. I start with a wood texture, which you can find in the "Textures" category. Click on "Add to Spotlight" to add the texture.
Step 2: Apply texture to your geometry
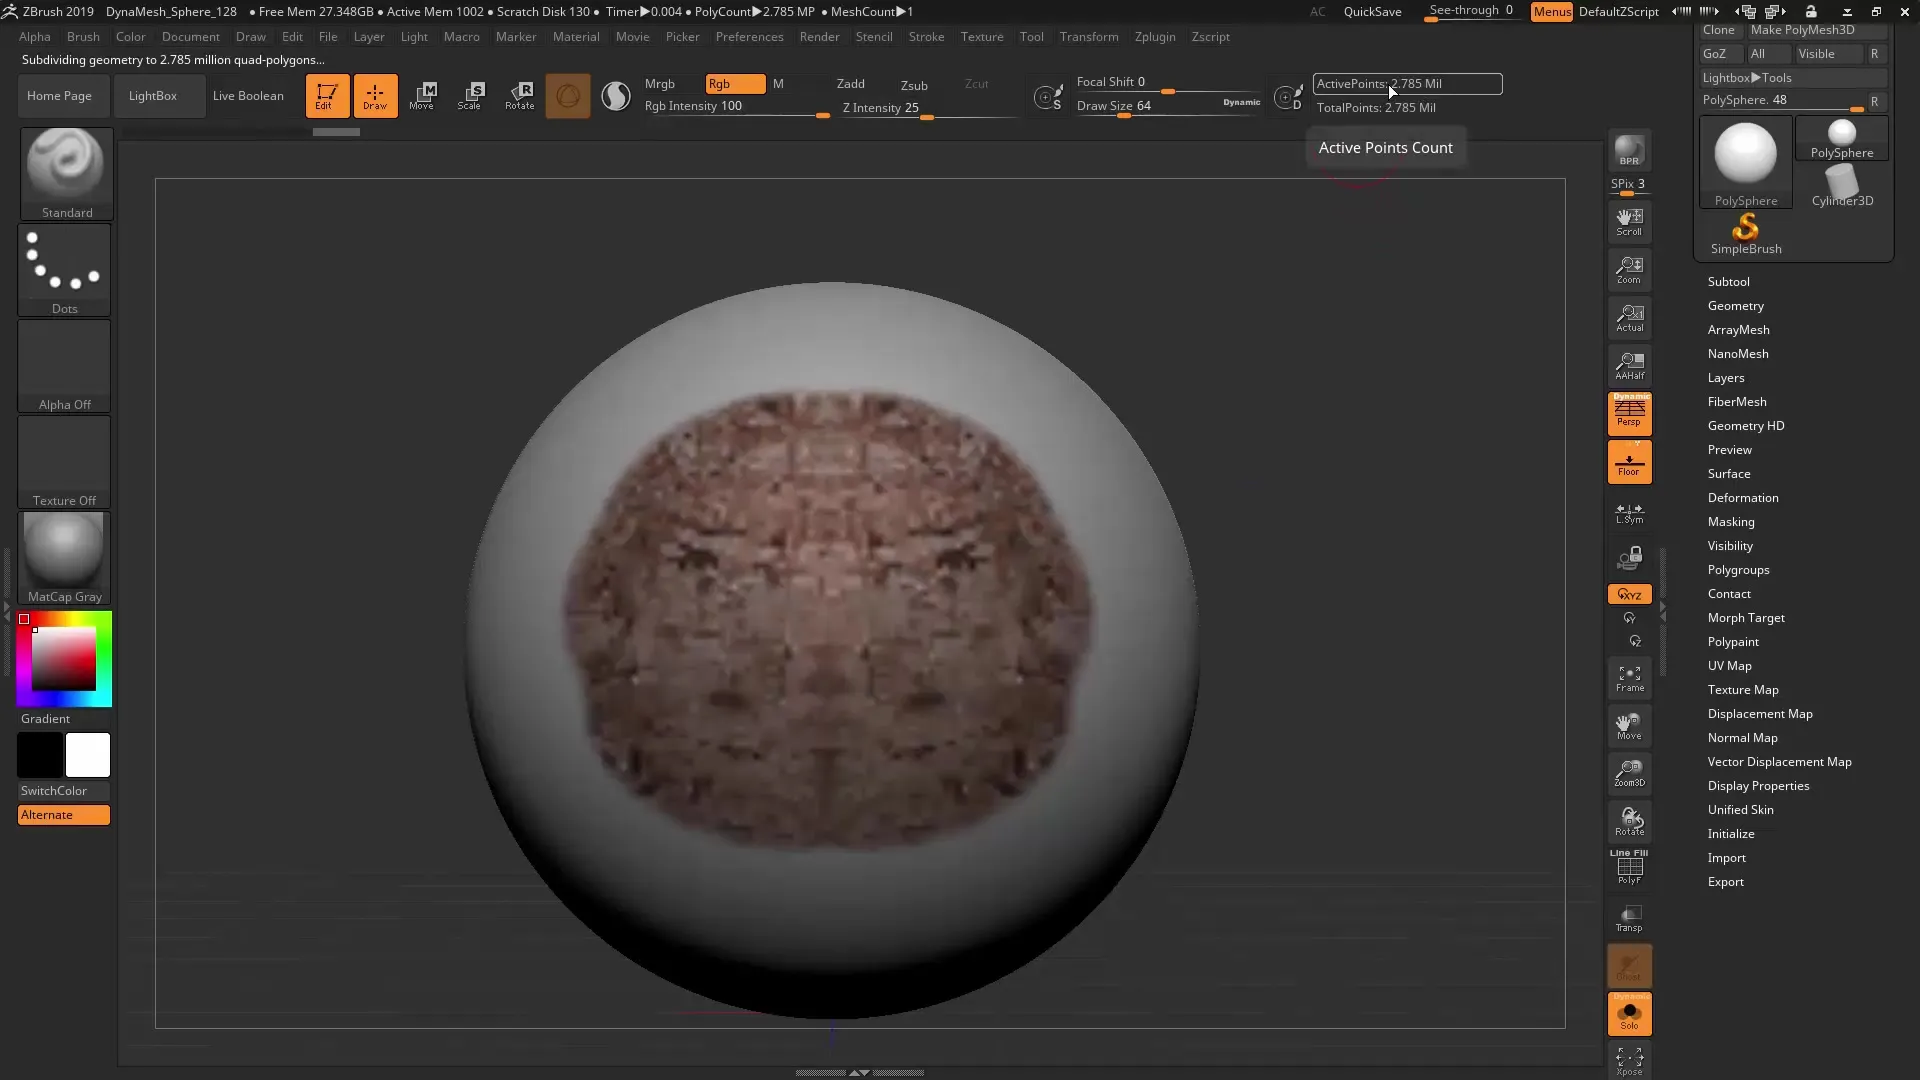
Position the texture on the geometry by dragging it with the mouse outside the orange circle. At this point, you can adjust the size of the texture using the scaling function.
Step 3: Increase polygons
To improve texture quality, you should increase the polygon count of your geometry. Use the keyboard shortcut Ctrl+D for that. A higher polygon count improves the detail of your texture. Check the result with Shift+Z.
Step 4: Use Alpha function
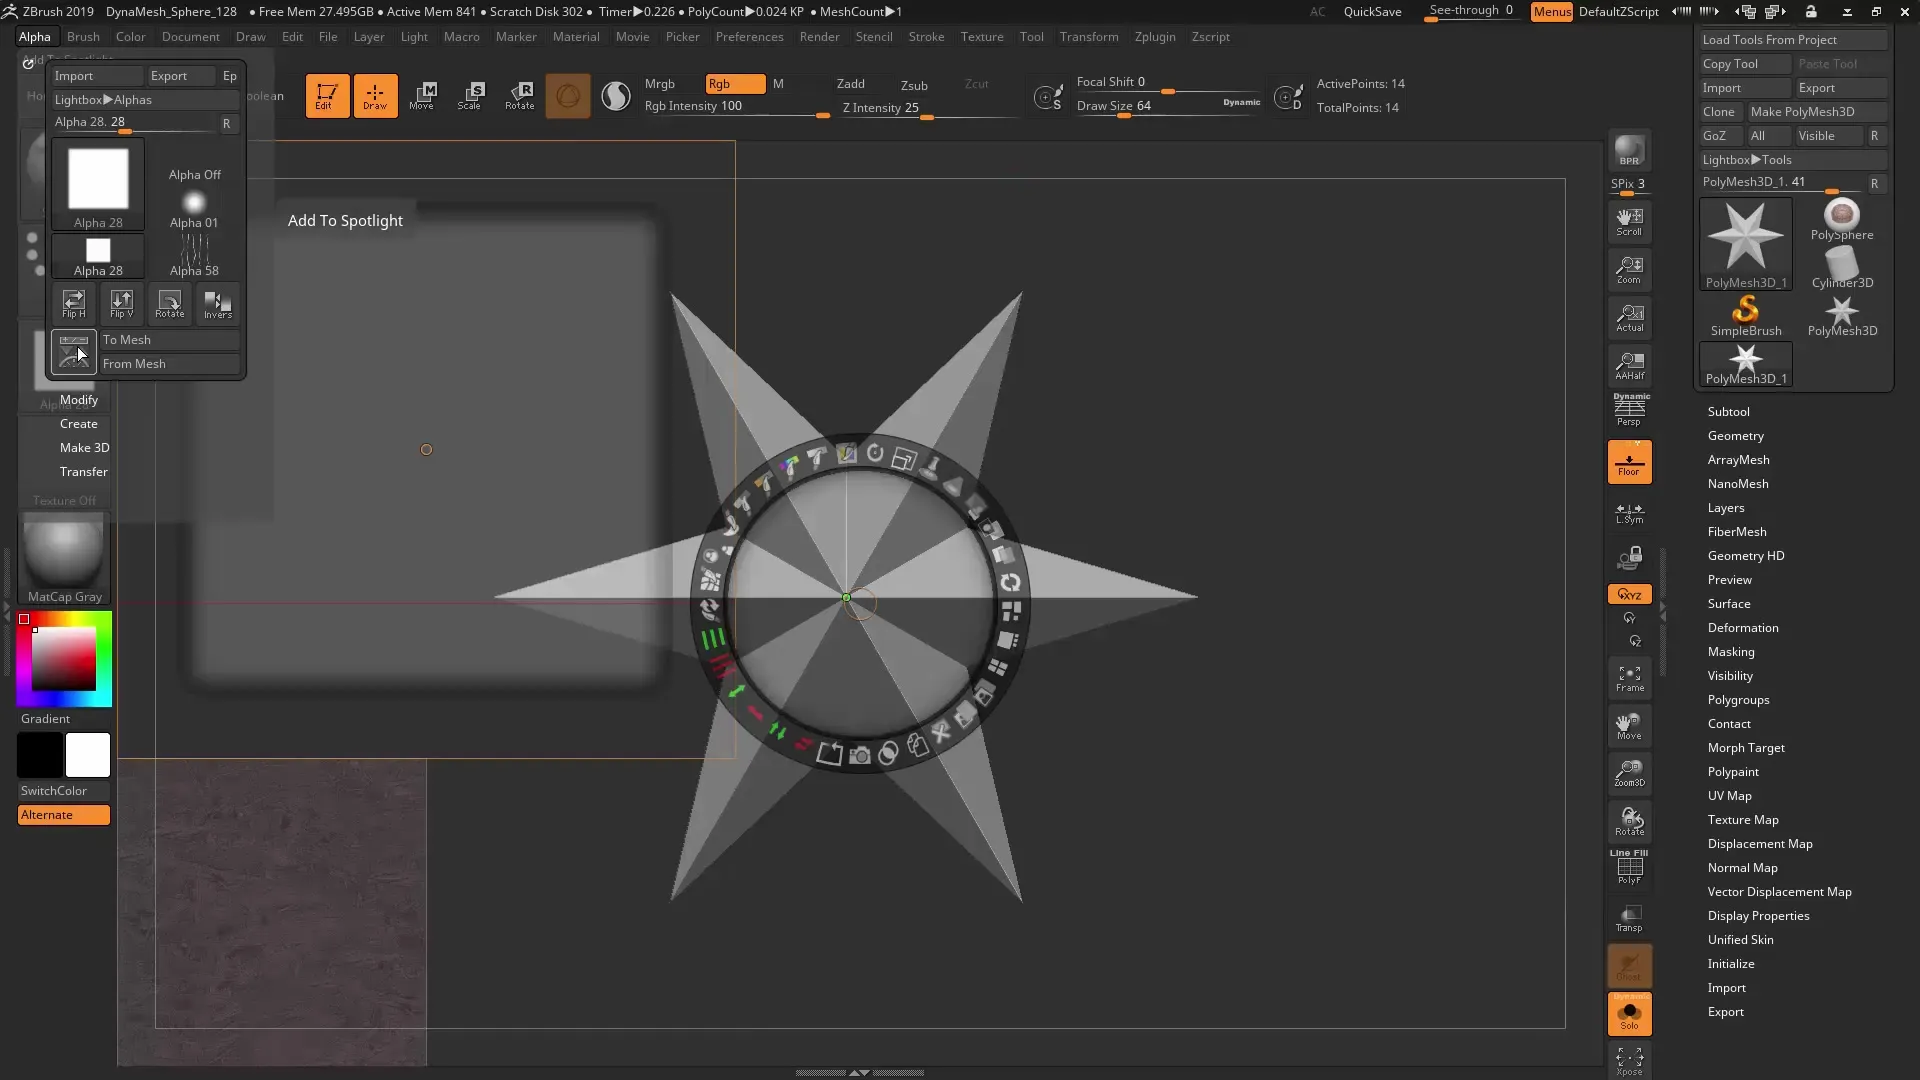
To use the new alpha function, go to "Alpha" and select a desired alpha. Add it to Spotlight. Delete the original texture, as you now want to work only with the alpha.
Step 5: Align Alpha
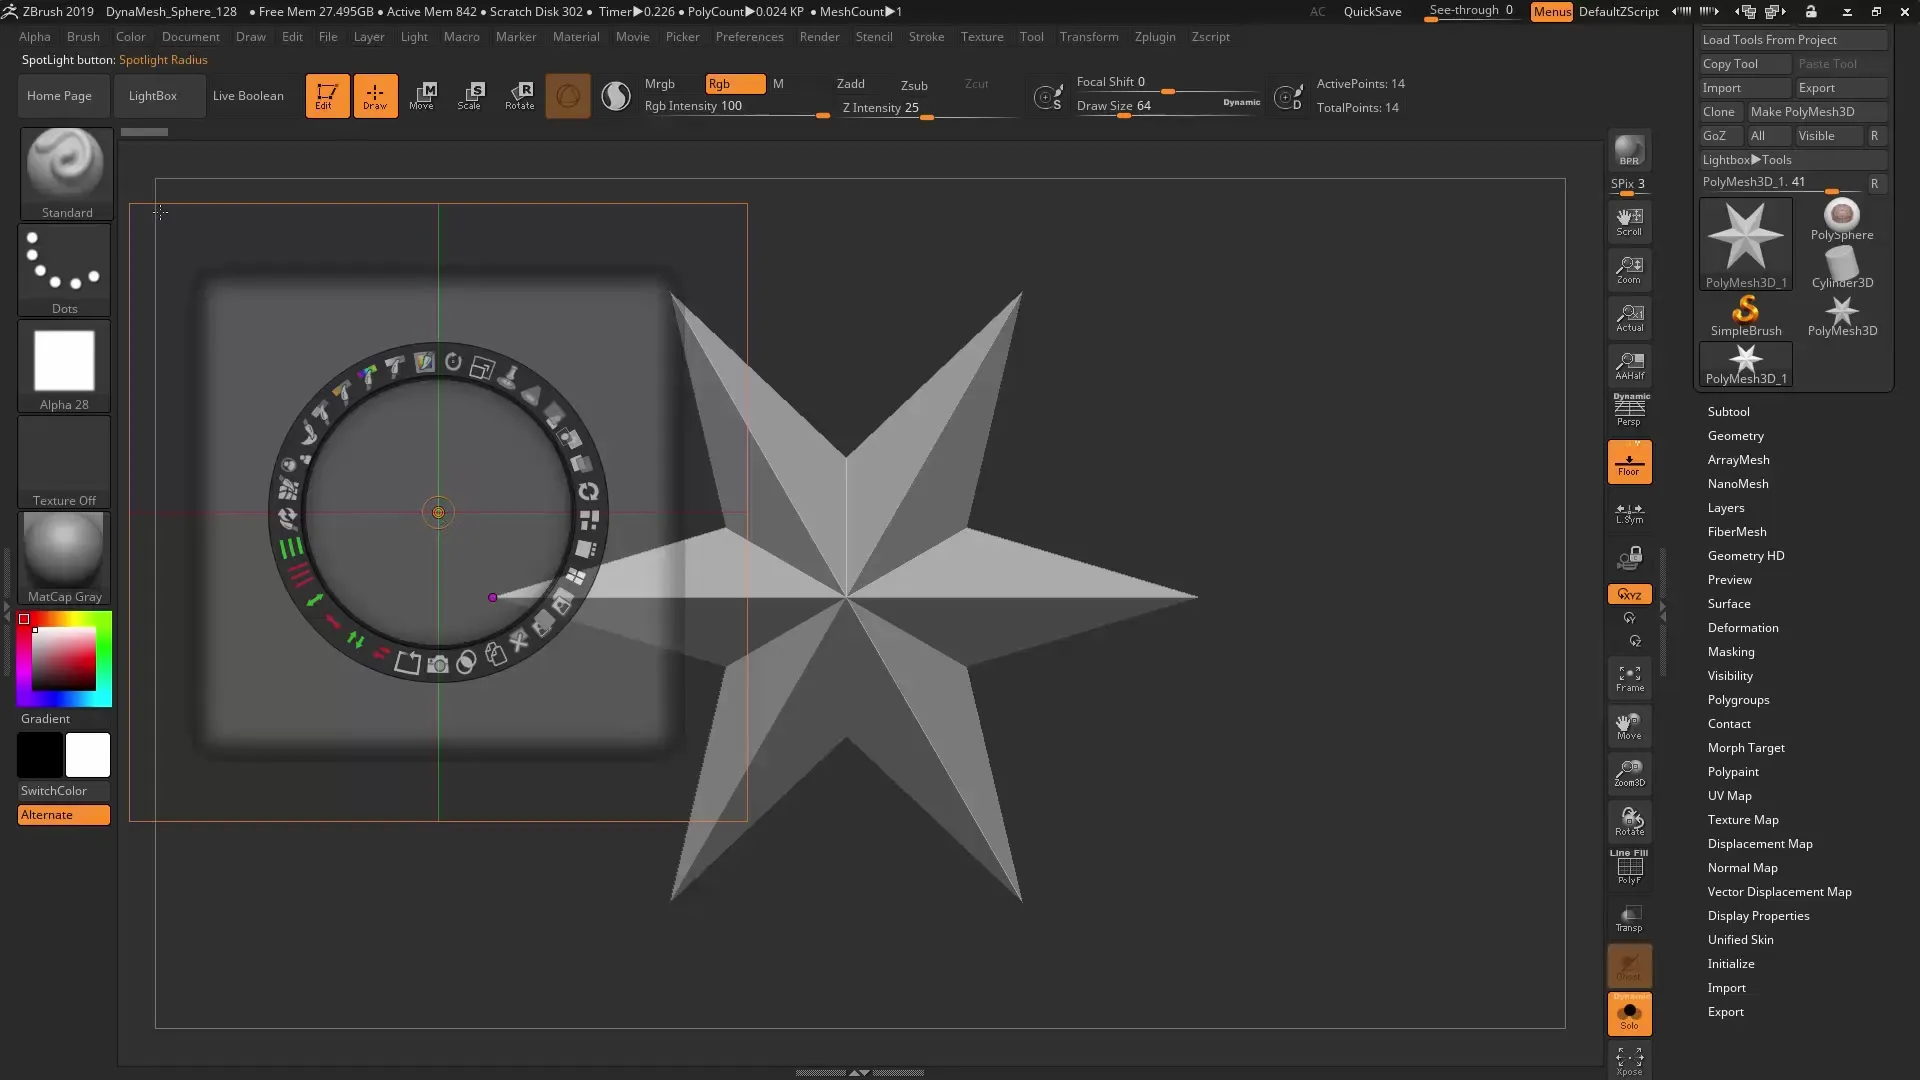
The alignment of the alpha on your geometry is crucial. Move the orange circle close to the center of your alpha until the "Image Center" tick becomes visible. This is where the alignment is optimally adjusted. Then drag the alpha to the desired location on your mesh.
Step 6: Create Snapshot
Now you have everything prepared. Create a snapshotby clicking on the respective function. You will notice that the mesh has now been created with a bright light. Make sure that the novelty of the rounded edges and the overall shape meets your requirements.
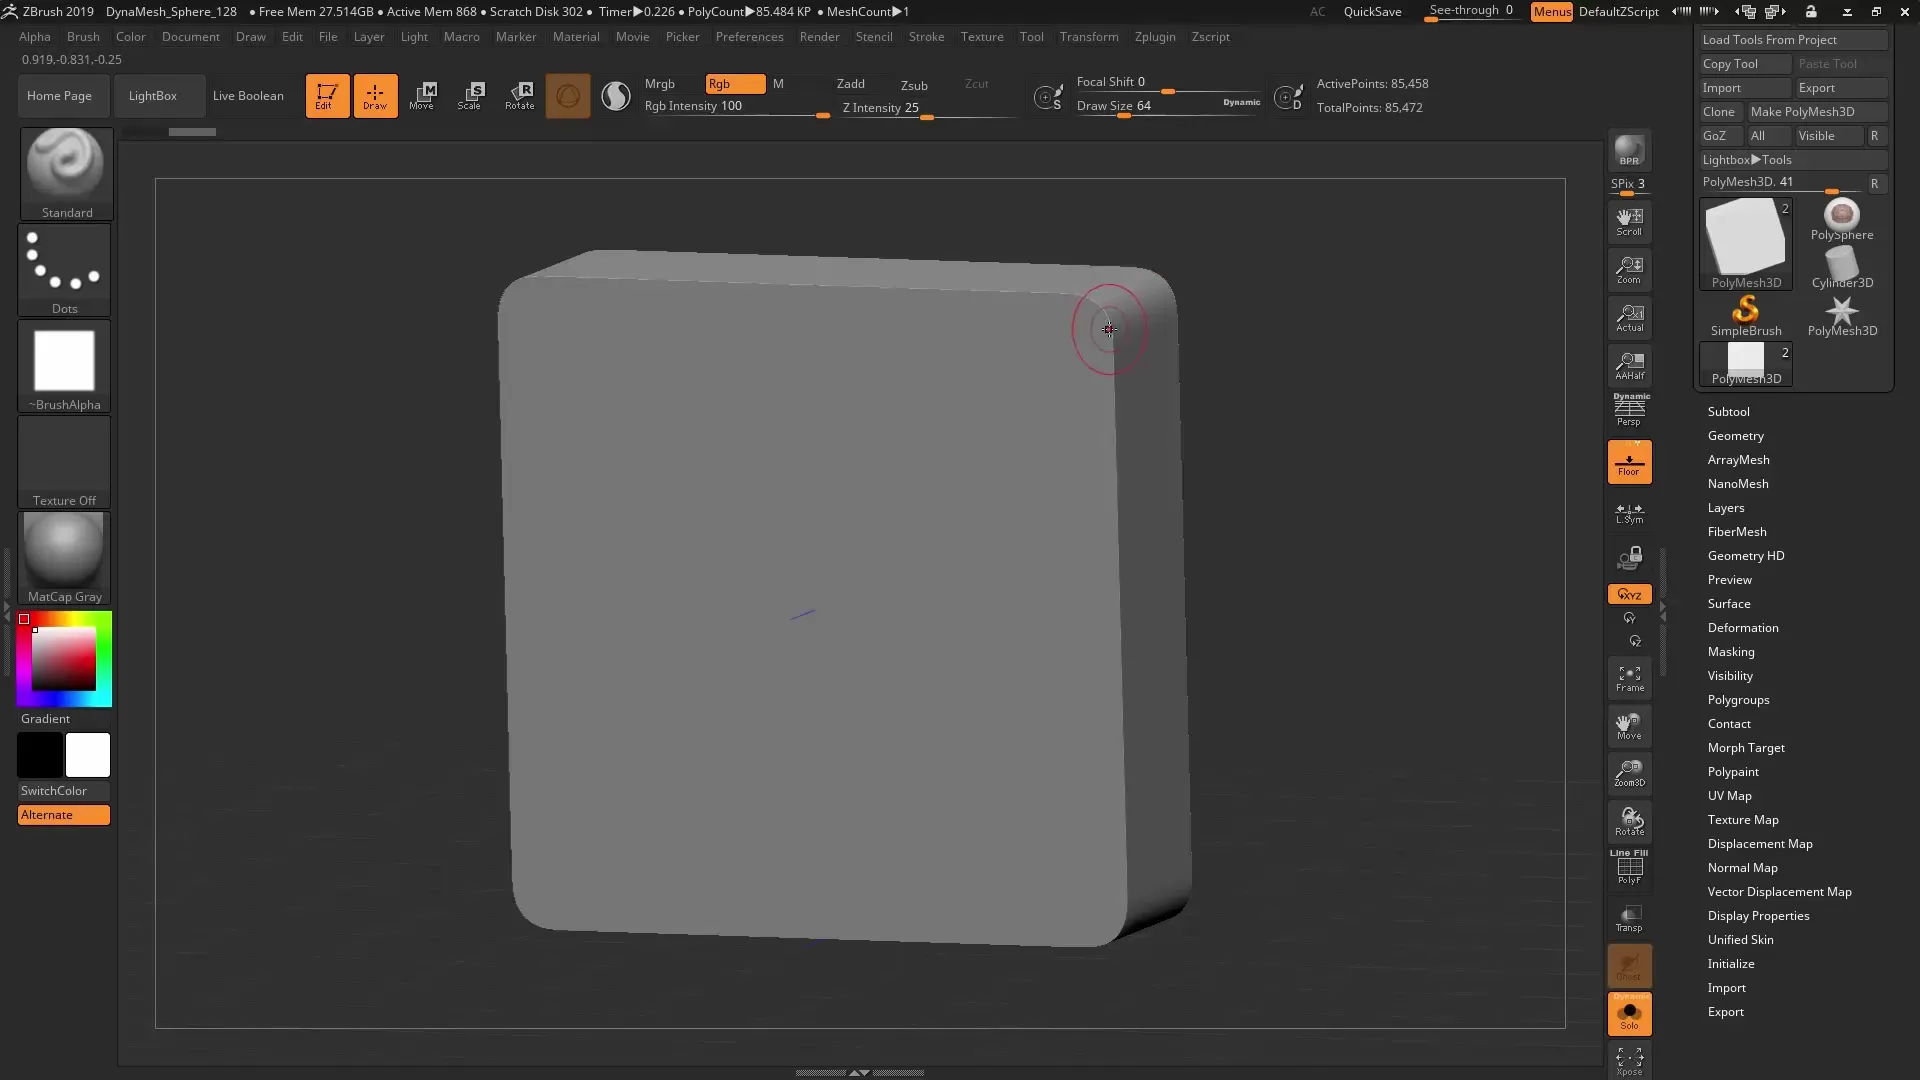
Step 7: Analyze visible layers and surfaces
Switch to the polygon settings and activate "Polyframe." This allows you to check the geometric structure of your snapshot. You will see that the surfaces are very clean and the edges are well defined.
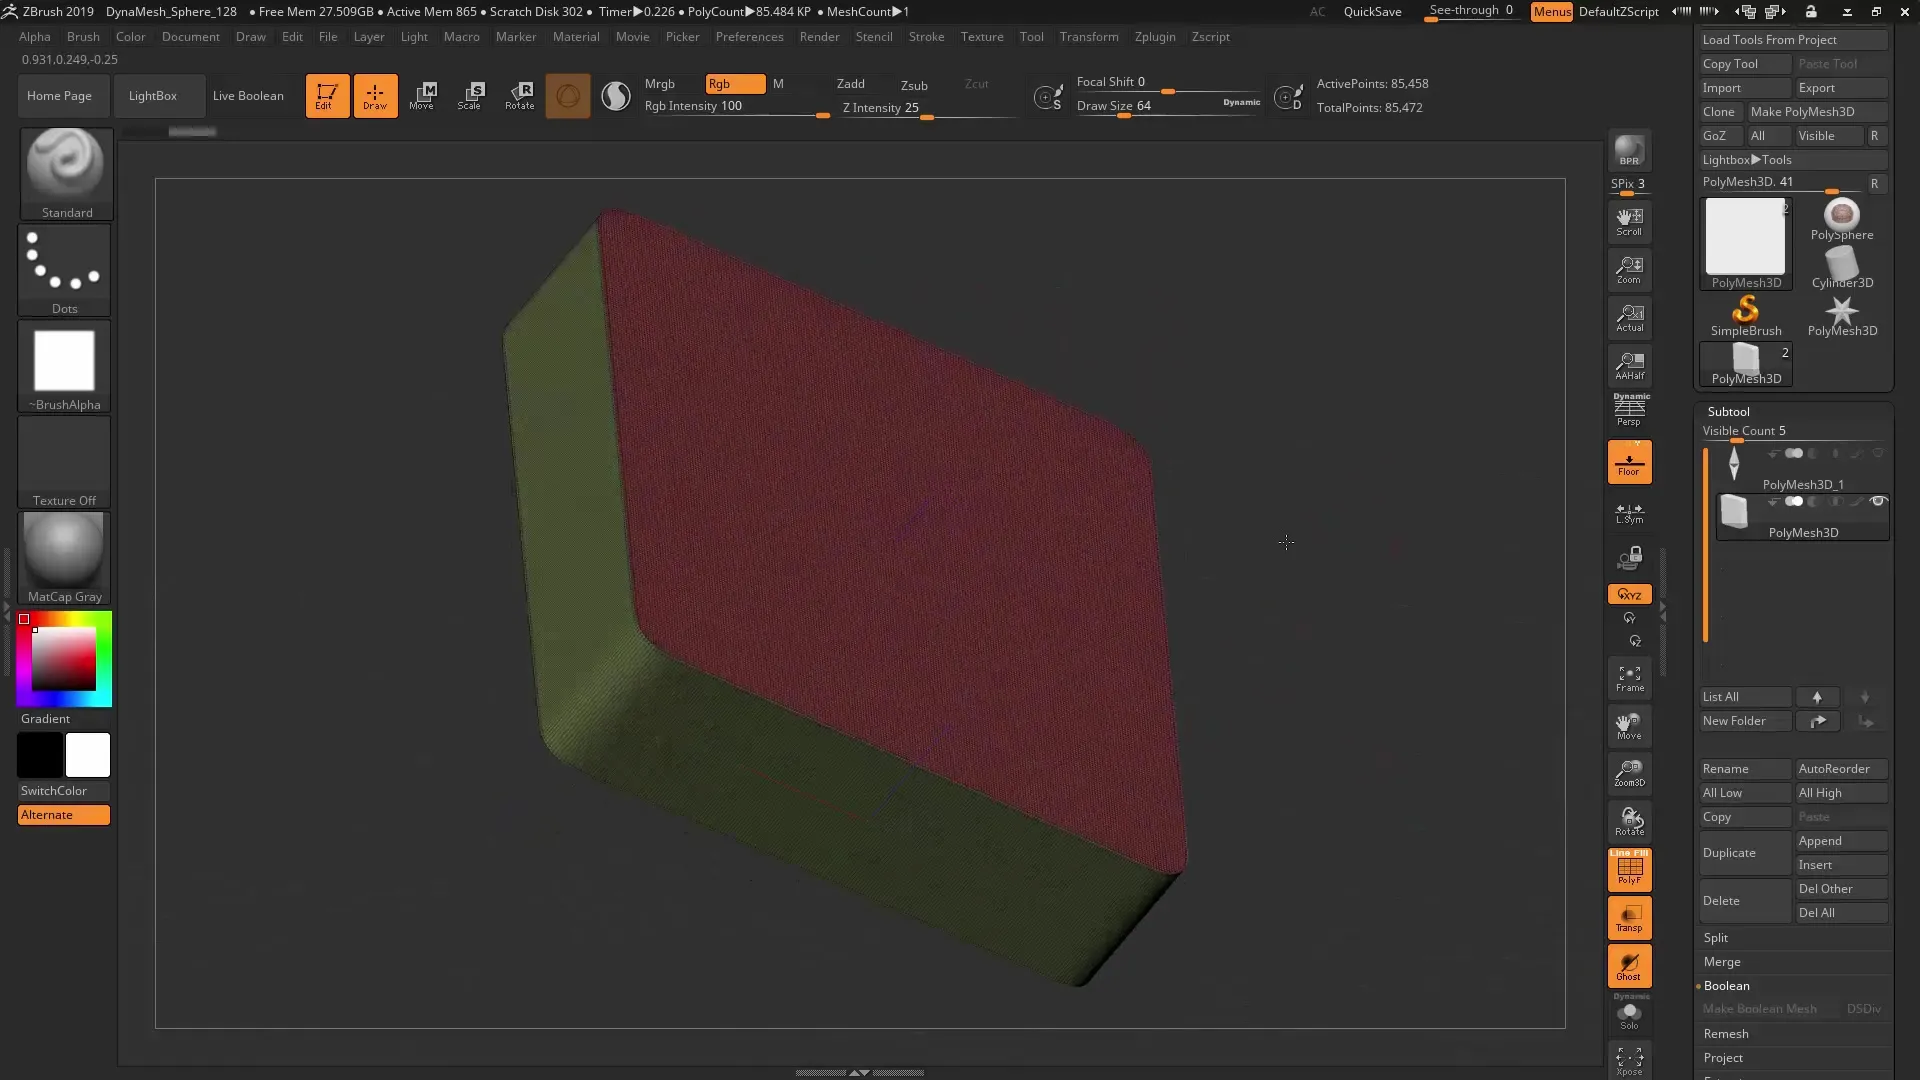
Step 8: Use more interesting Alphas
For more precise results, you can also use more creative alphas that you can create in programs like Illustrator or Photoshop. Import such alphas to create interesting and detailed designs.
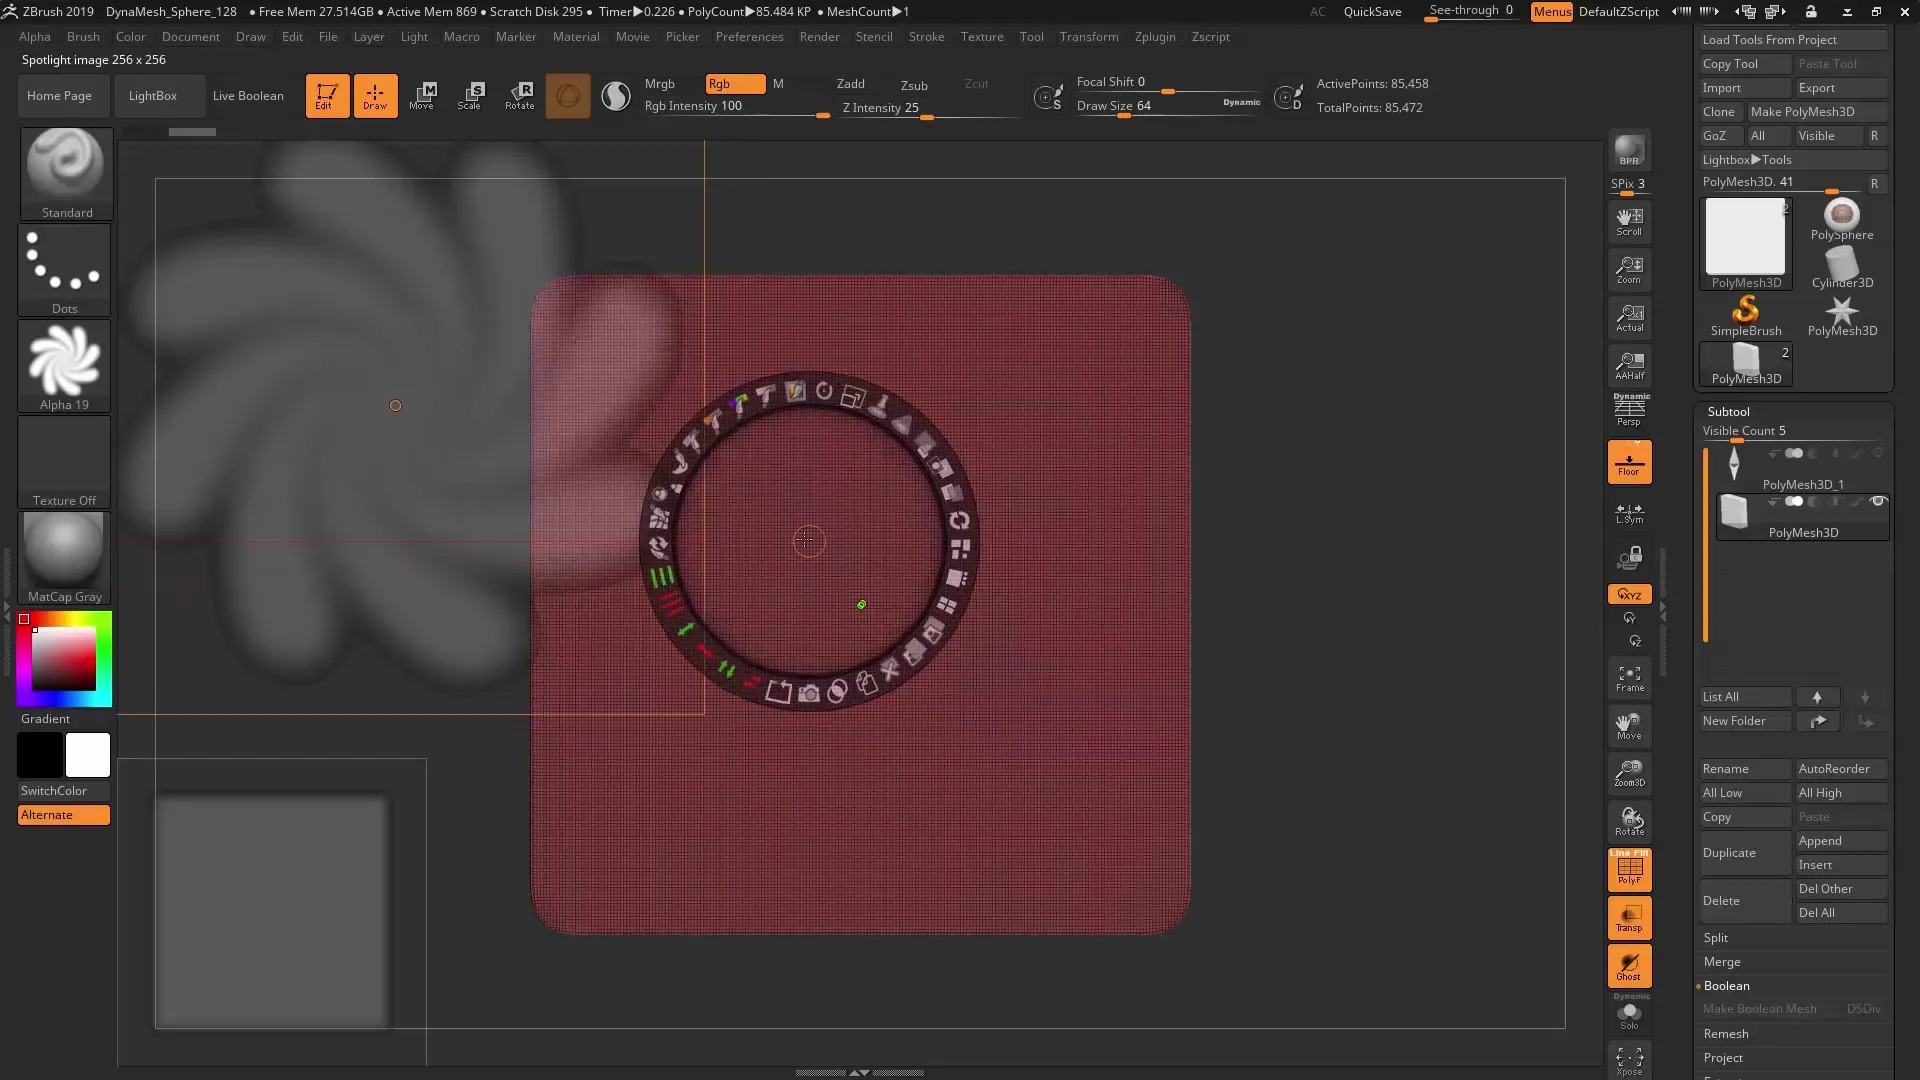
Step 9: Adjust the size of Alphas
Pay attention to the size of your alpha in relation to the mesh. It is important that the alpha is not too big or too small to achieve good results. Reduce the view if necessary and go back to the surface of the mesh before making another snapshot.
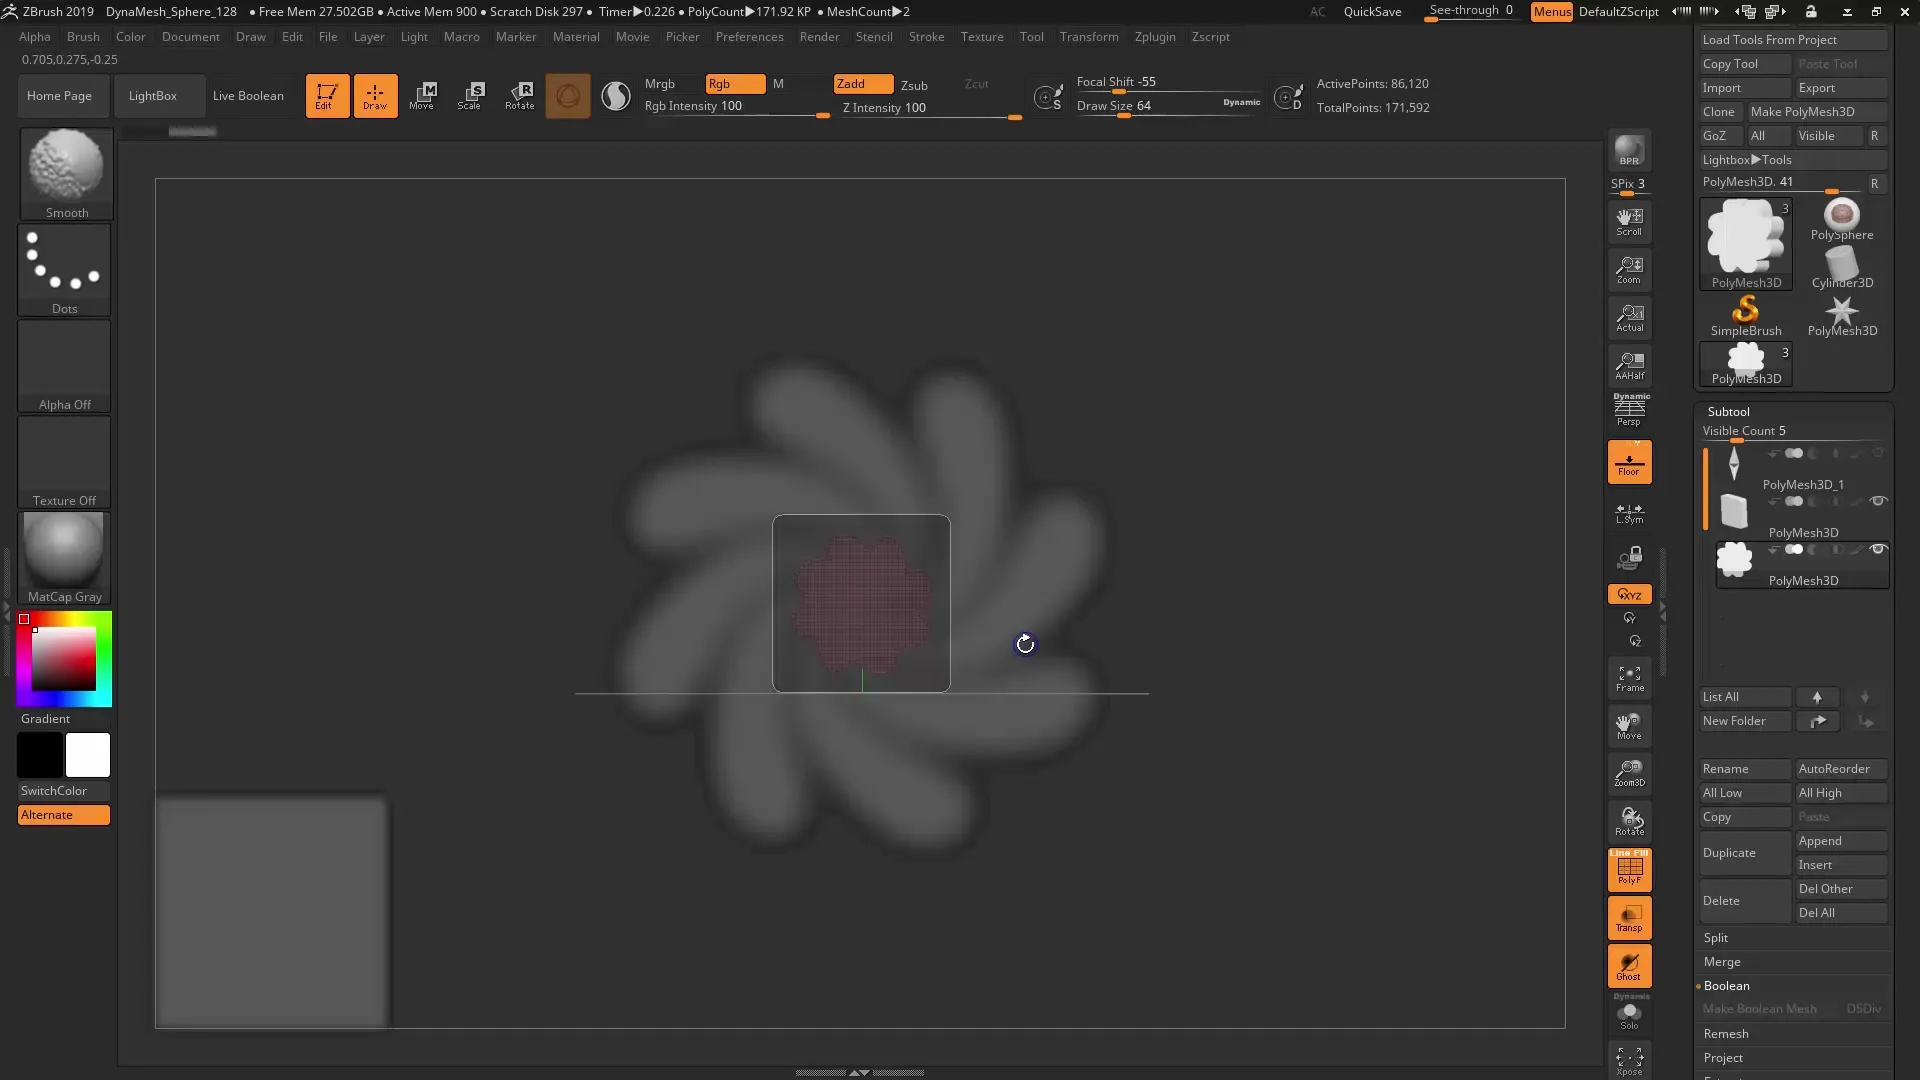
Step 10: Summary of creation
After you have gone through the various steps, the result of your work will vary due to differences in polygon count. With the right settings and alphas, you can quickly create complex and detailed meshes.
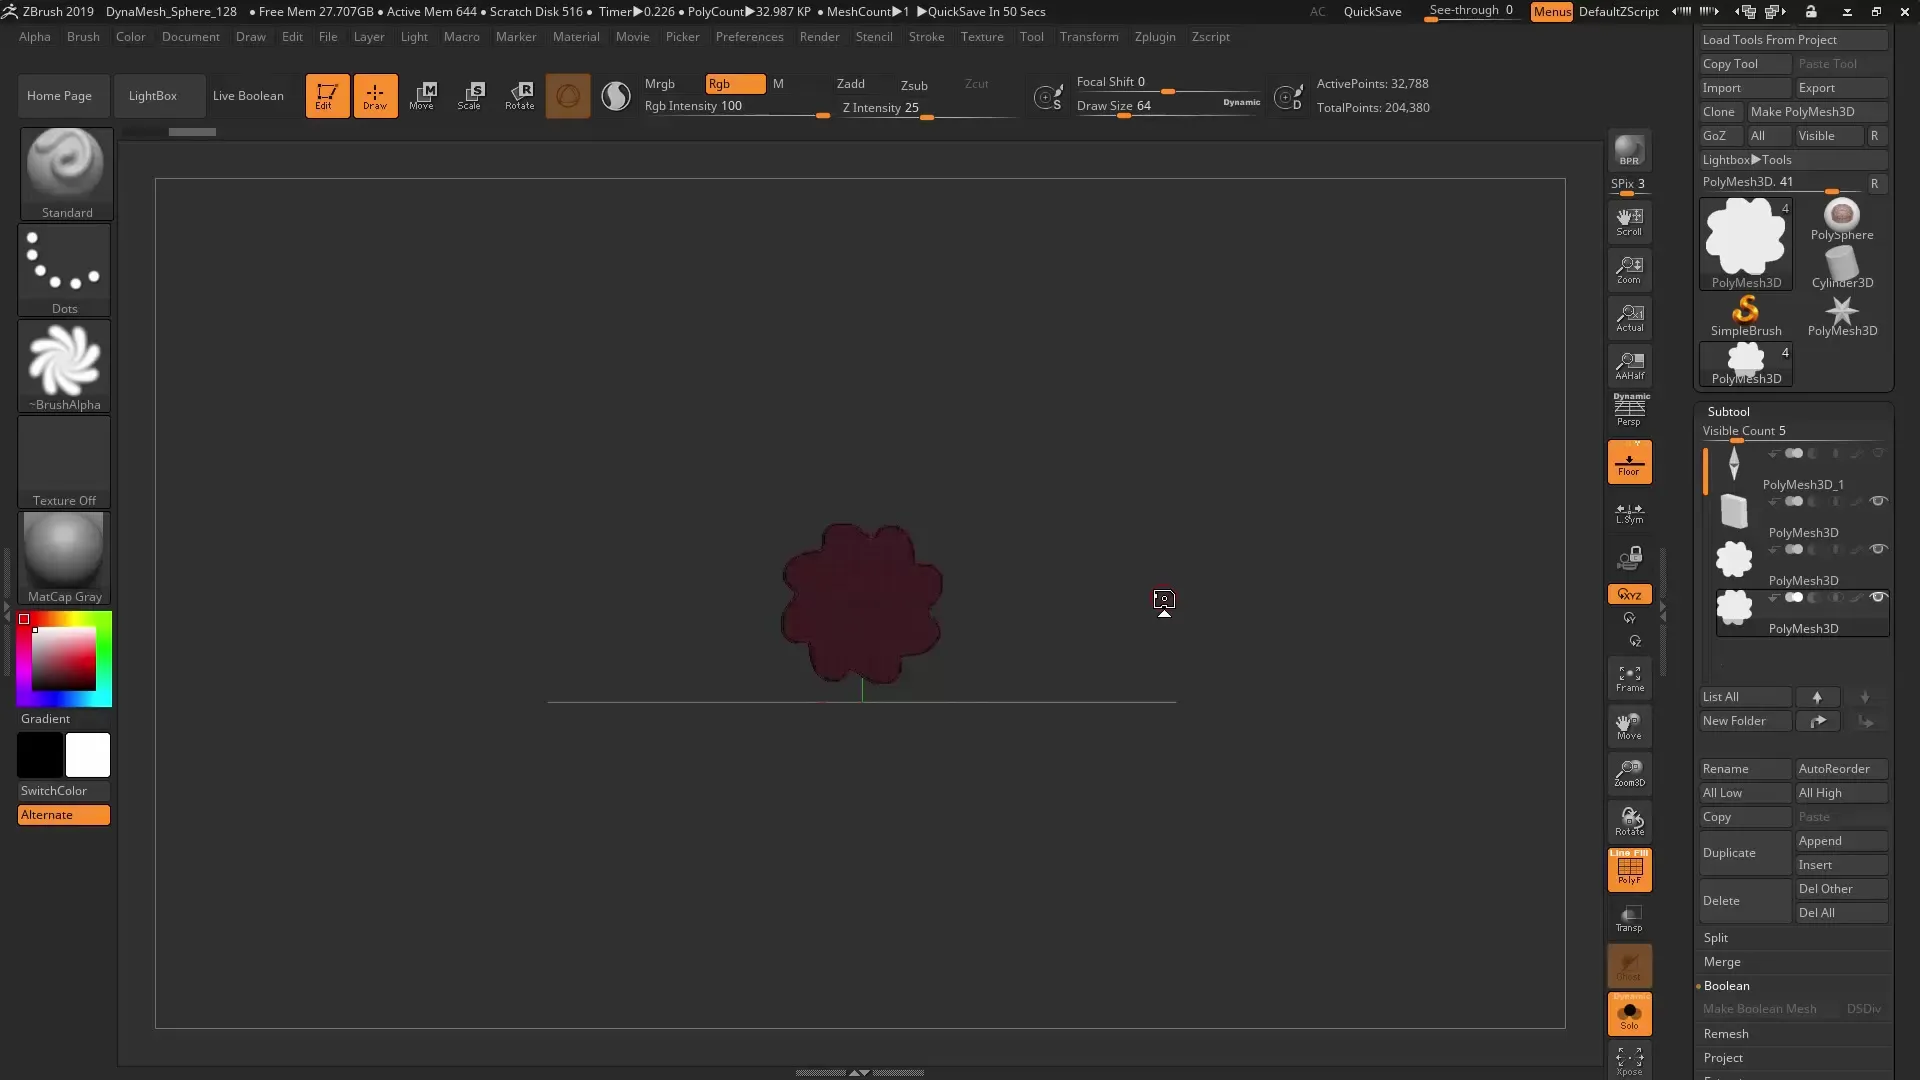
Summary – ZBrush 2019: Spotlight Version 2.0 and Snapshot 3D
By combining the Spotlight version and the new Snapshot function, you learn how simple alphas are turned into precise 3Dmodels. With the right technique and settings, you can achieve impressive results and elevate your projects to a new level. Use these steps to become active in the world of ZBrush.
FAQ
What is Spotlight 2.0?Spotlight 2.0 is the enhanced version of the Spotlight feature in ZBrush, which combines alphas and textures.
How do I use Alphas in Spotlight?Select an alpha, add it to Spotlight, and drag it onto the geometry.
Why should I turn off the perspective?Turning off the perspective ensures a clean and distortion-free projection onto your geometry.
How can I increase the polygon count?Use the keyboard shortcut Ctrl+D to increase the polygon count of your current geometry.
Can I create my own Alphas?Yes, you can create alphas in programs like Photoshop and Illustrator and import them into ZBrush.
