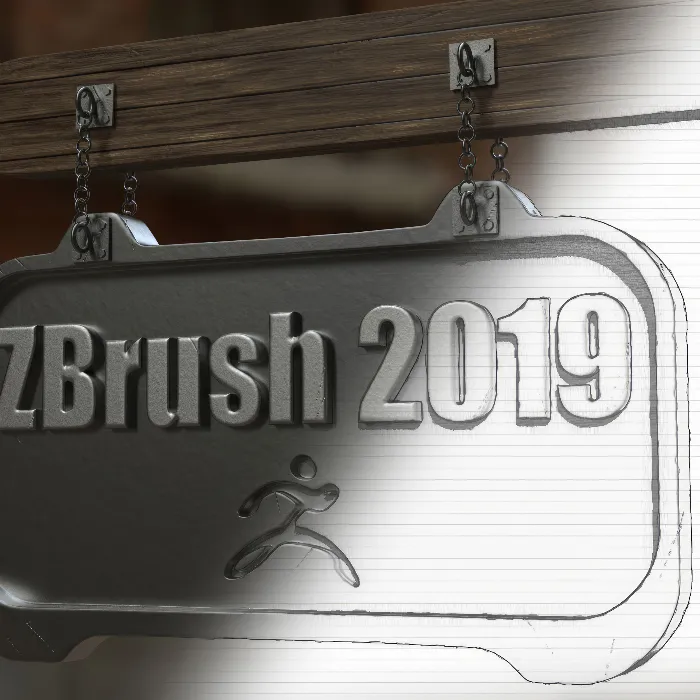
ZBrush has established itself as an indispensable tool for 3D artists, but it can also be excellently used to create non-photorealistic (NPR) renderings. This technique contrasts with the common rendering methods that aim to achieve the most realistic results. Using the advanced BPR filter system in ZBrush, you can create impressive graphic styles that are often difficult to achieve in programs like Photoshop. In this guide, you will learn how to use these filters effectively to transform your 3D models into impressive 2D graphics.
Key Insights
- ZBrush enables not only photorealistic renderings but also creative NPR renderings.
- The use of the advanced BPR filter system gives you a wide range of design options.
- You can save and reuse render sets, which saves you time and increases consistency in your projects.
Step-by-Step Guide
First of all, it is important to have a good base model before you start with NPR rendering. Load your model into ZBrush and follow these steps:
1. Select the Model Load a model into the Lightbox or import your own. In this tutorial, a classic concept image is used to demonstrate the procedure.
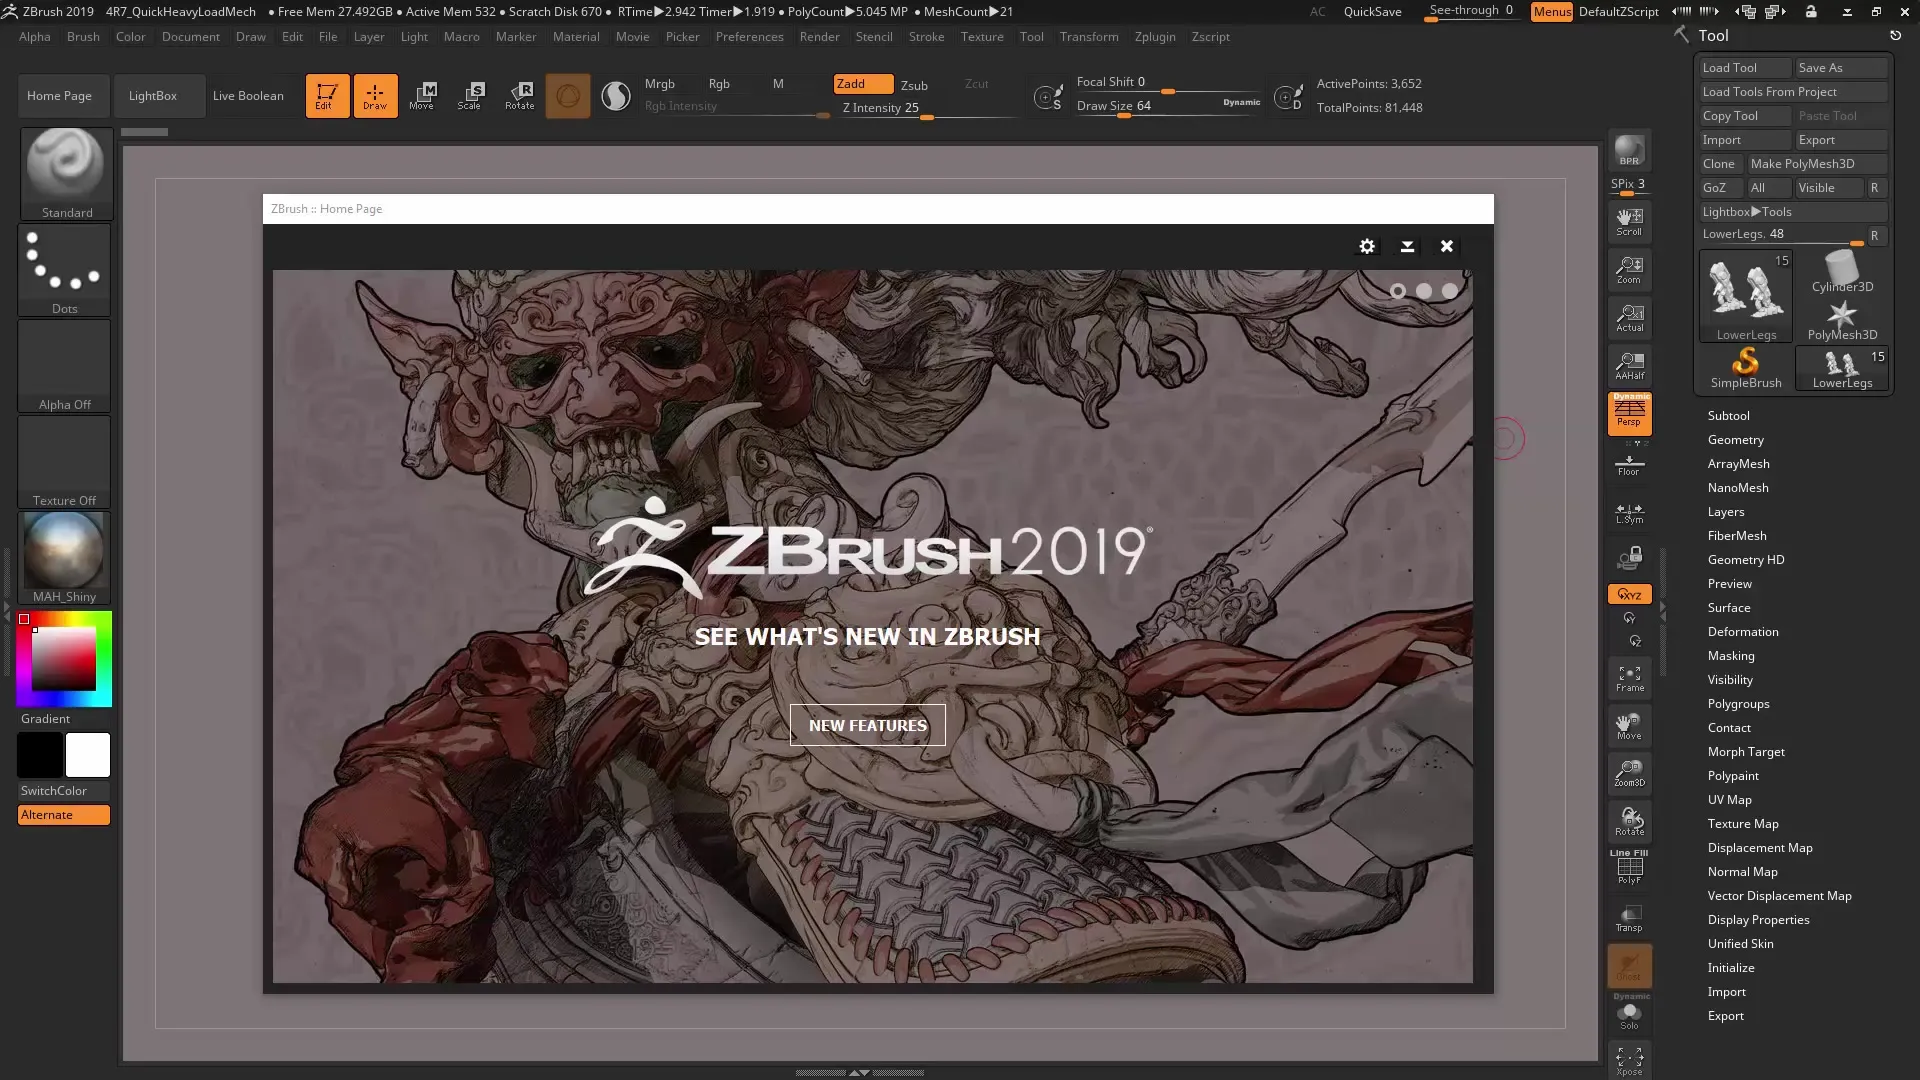
2. Access the Render Menu Navigate to the "Render" menu in the ZBrush main menu. Here you will find all the options and tools you need for your rendering.
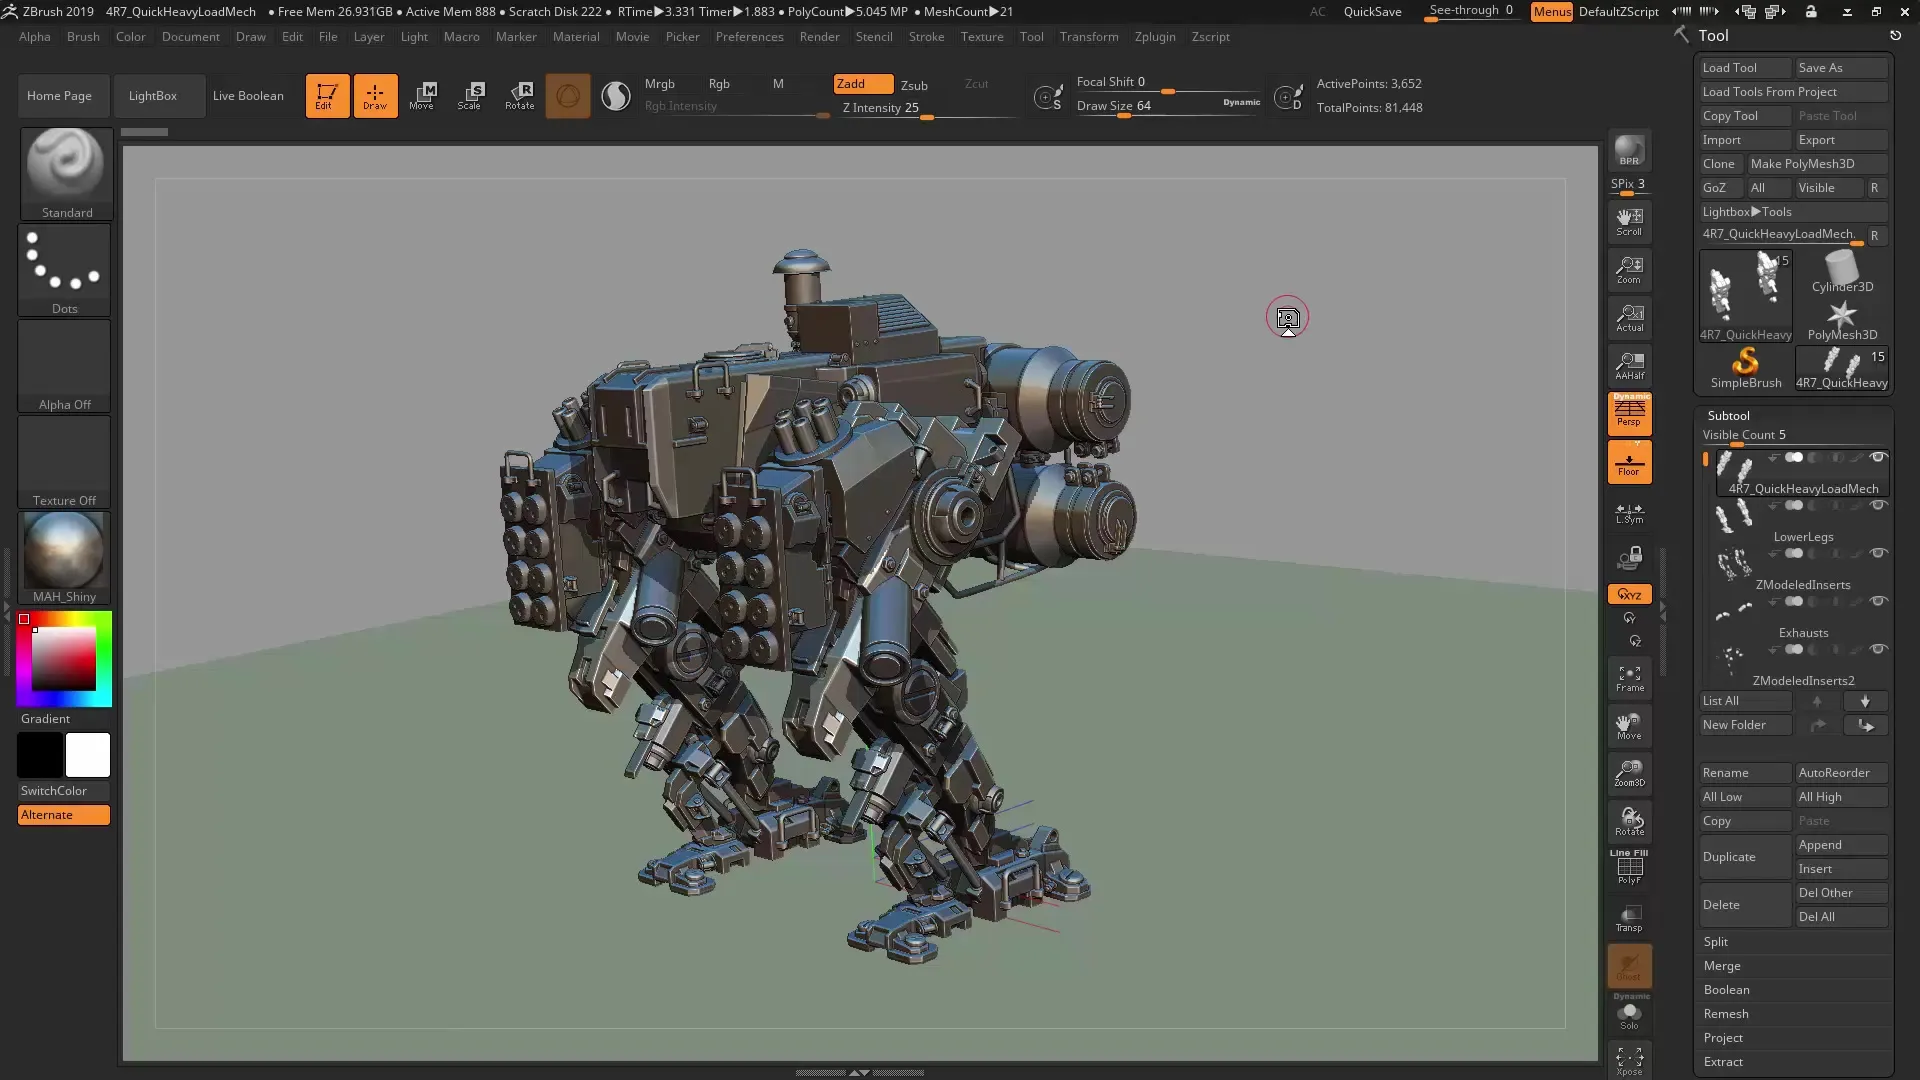
3. Select BPR Filter In the Render menu, select the BPR filter system. The latest version offers numerous advantages, including an improved user interface and a wider selection of filters.
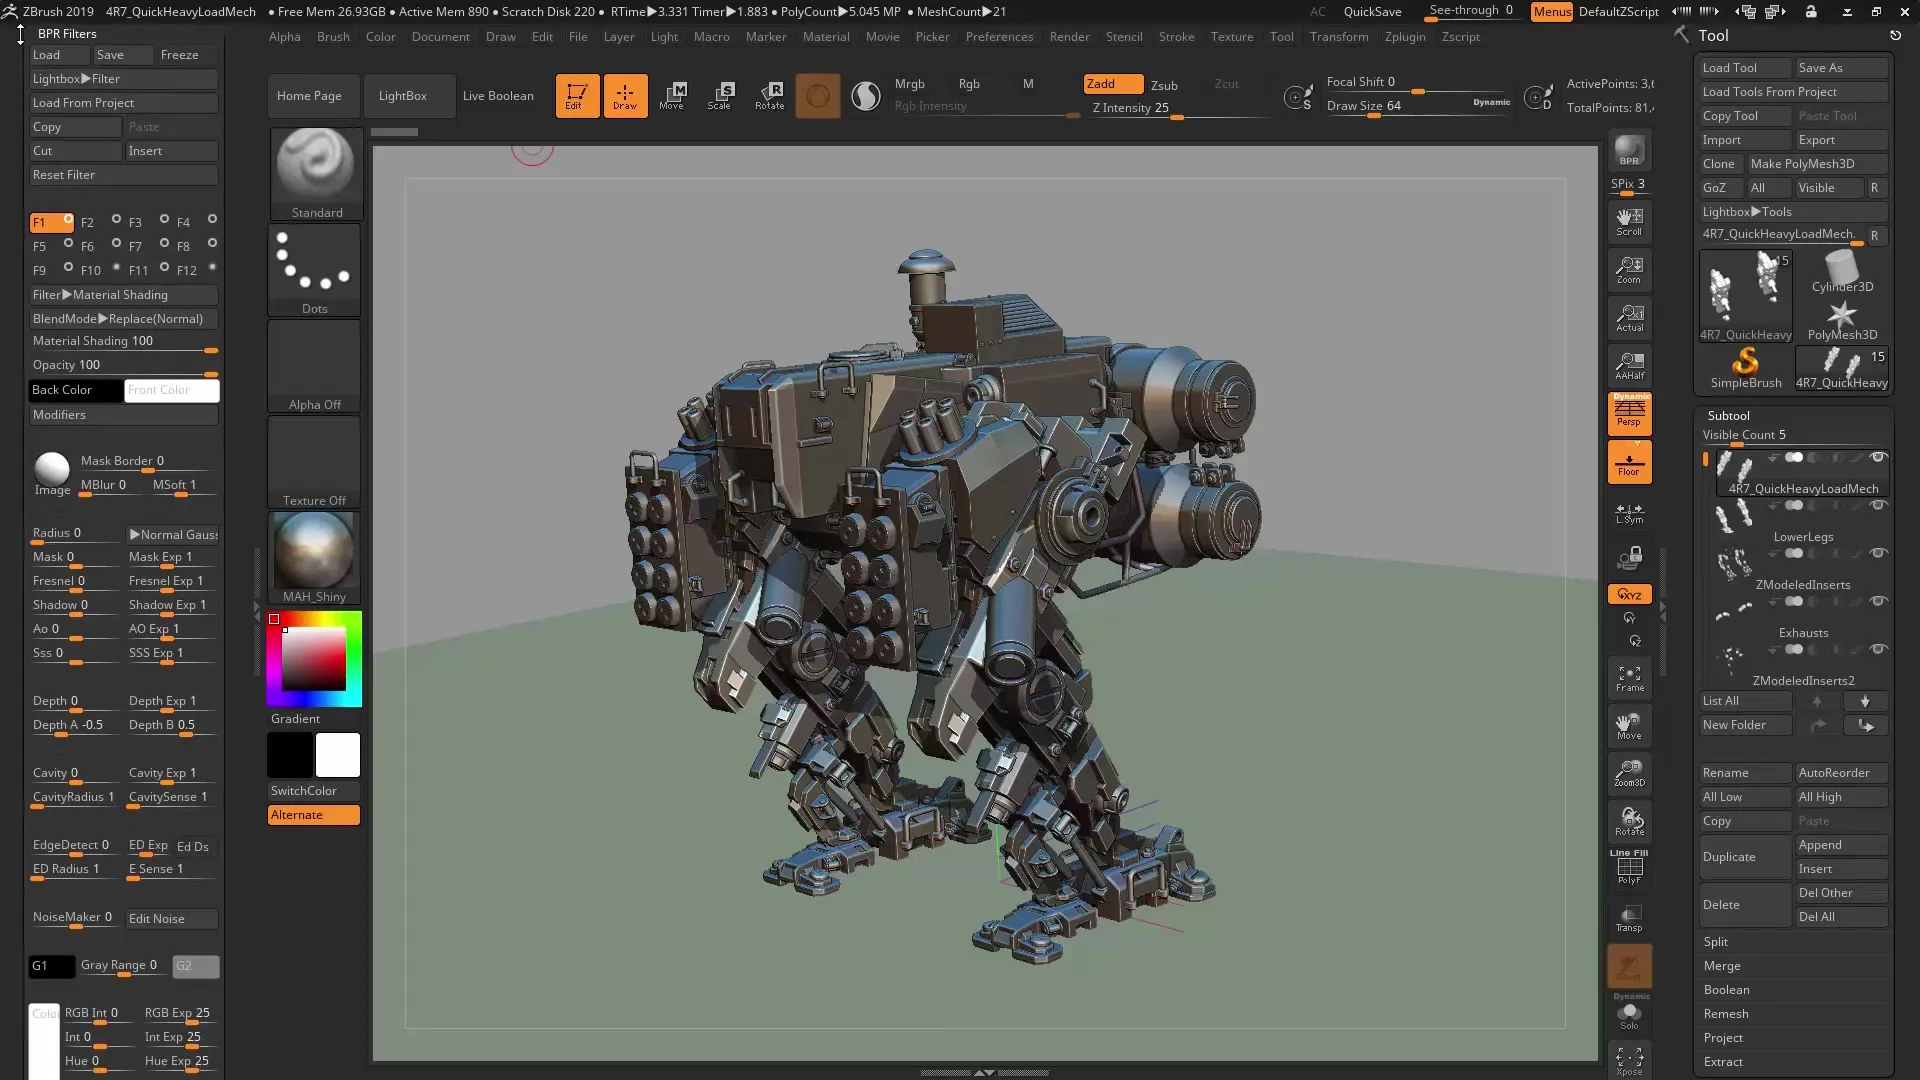
4. Apply Filters By clicking on the available filters, you can apply them directly to your model. Experiment with different filters to see how they change the appearance of your object.
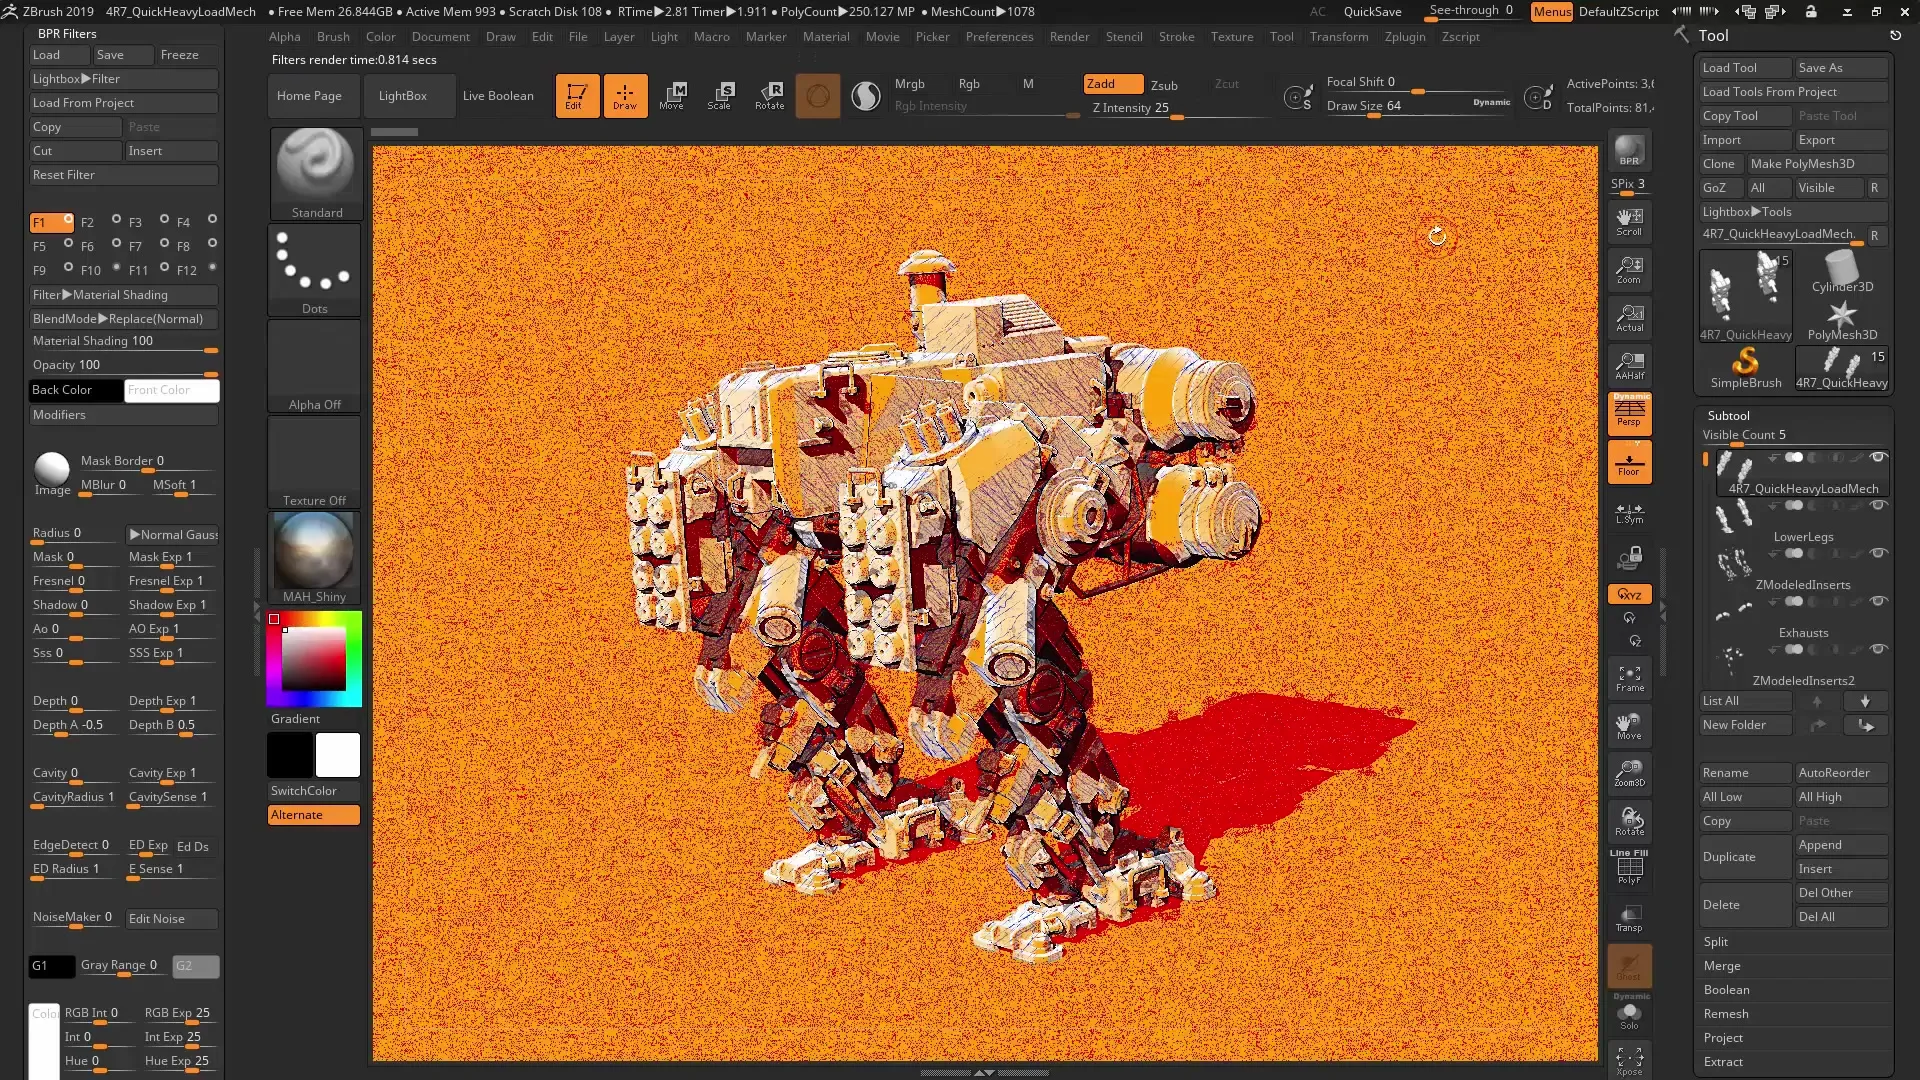
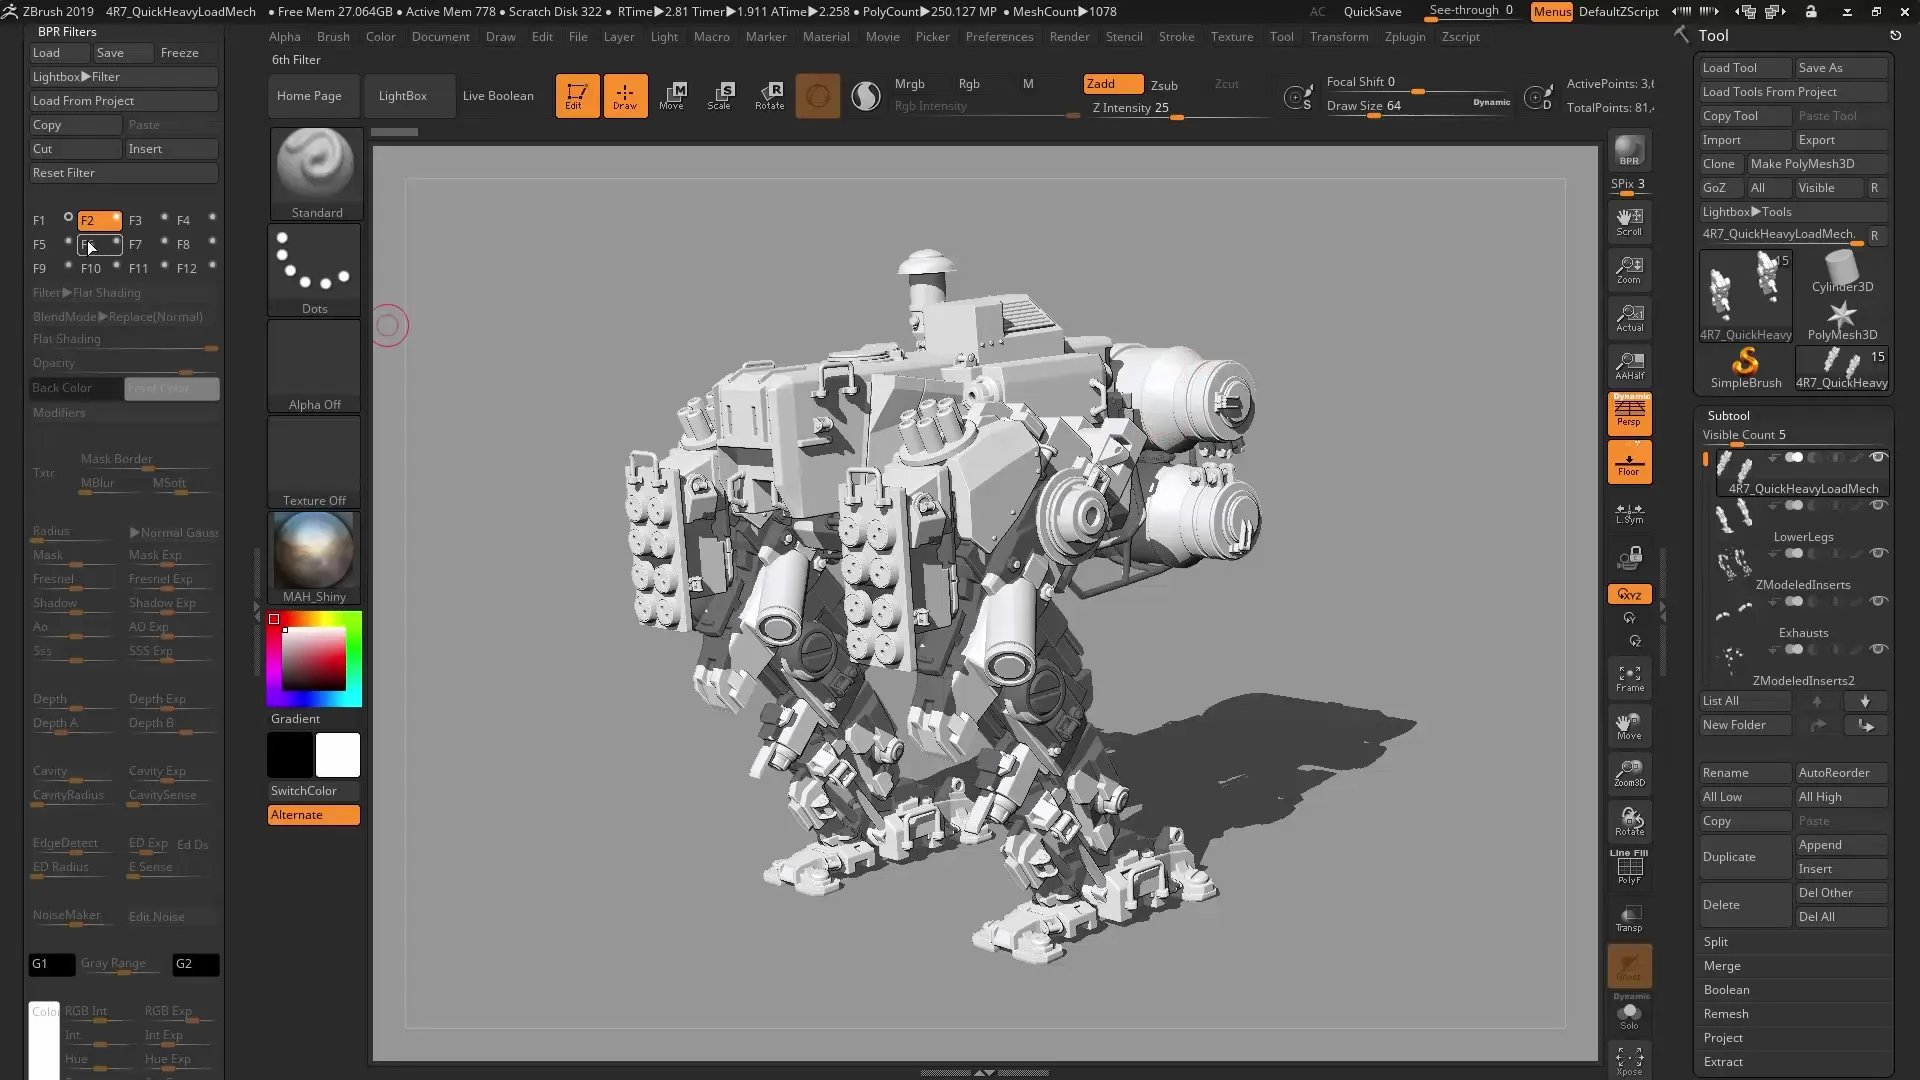
5. Combine Filters ZBrush allows you to layer up to 12 different filters. These can be combined and adjusted to achieve unique results.
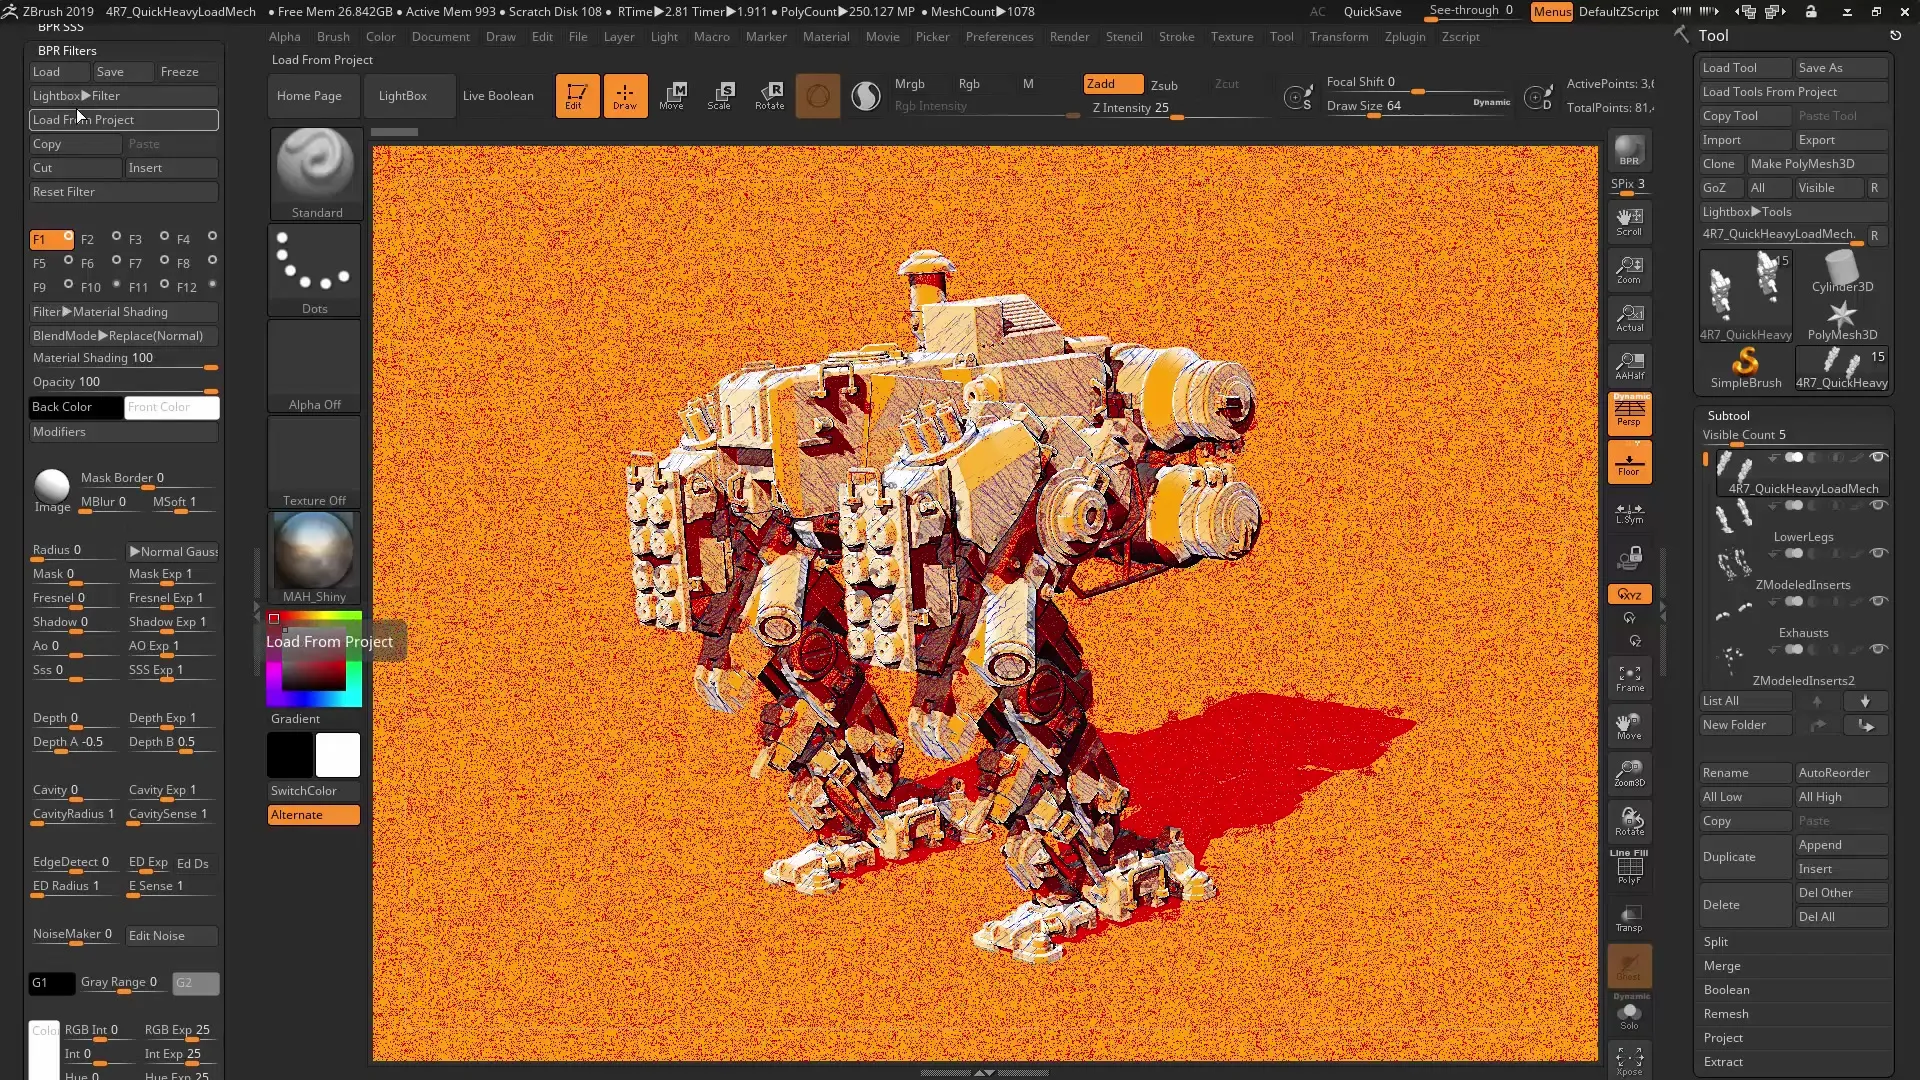
6. Undo Changes If you don’t like a filter, you can undo changes at any time. This allows you to experiment confidently with the various options.
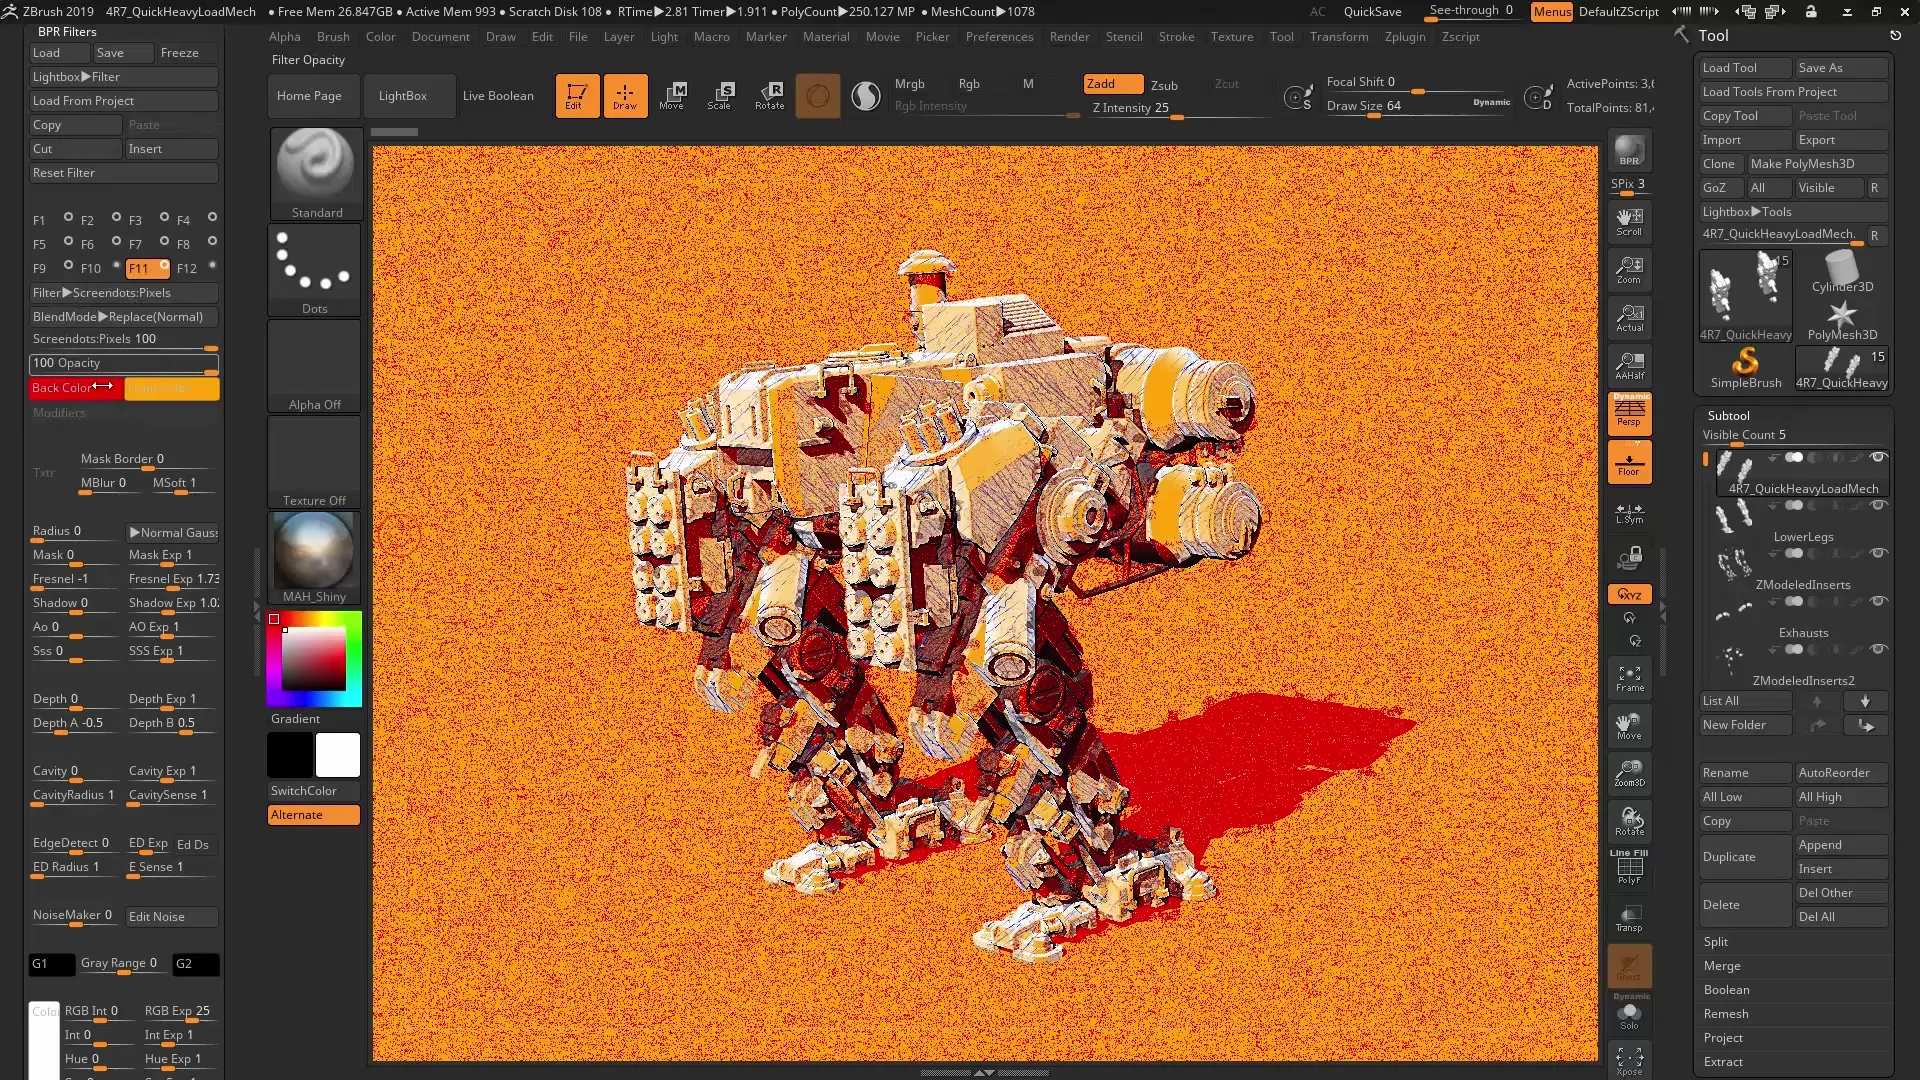
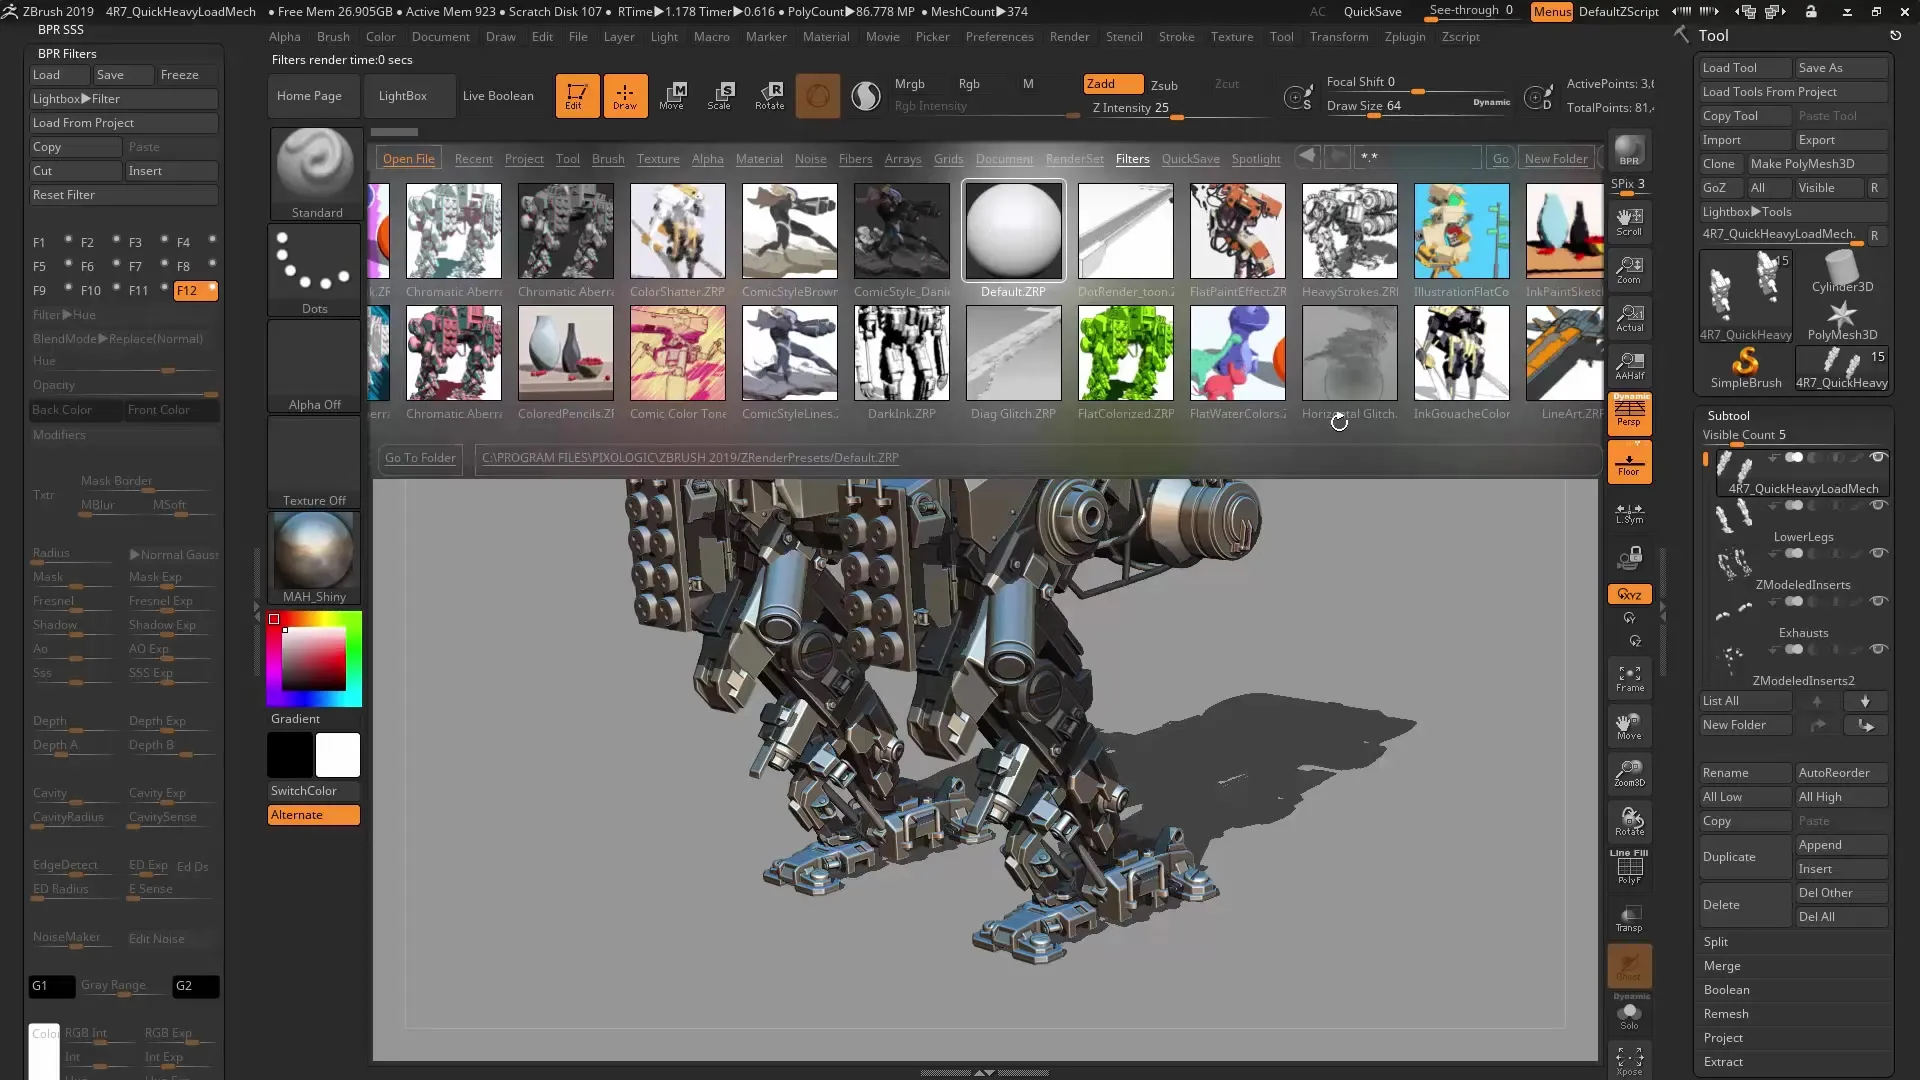
7. Use Presets ZBrush offers a collection of presets that are already preconfigured with various filters. These can help you achieve impressive results quickly.
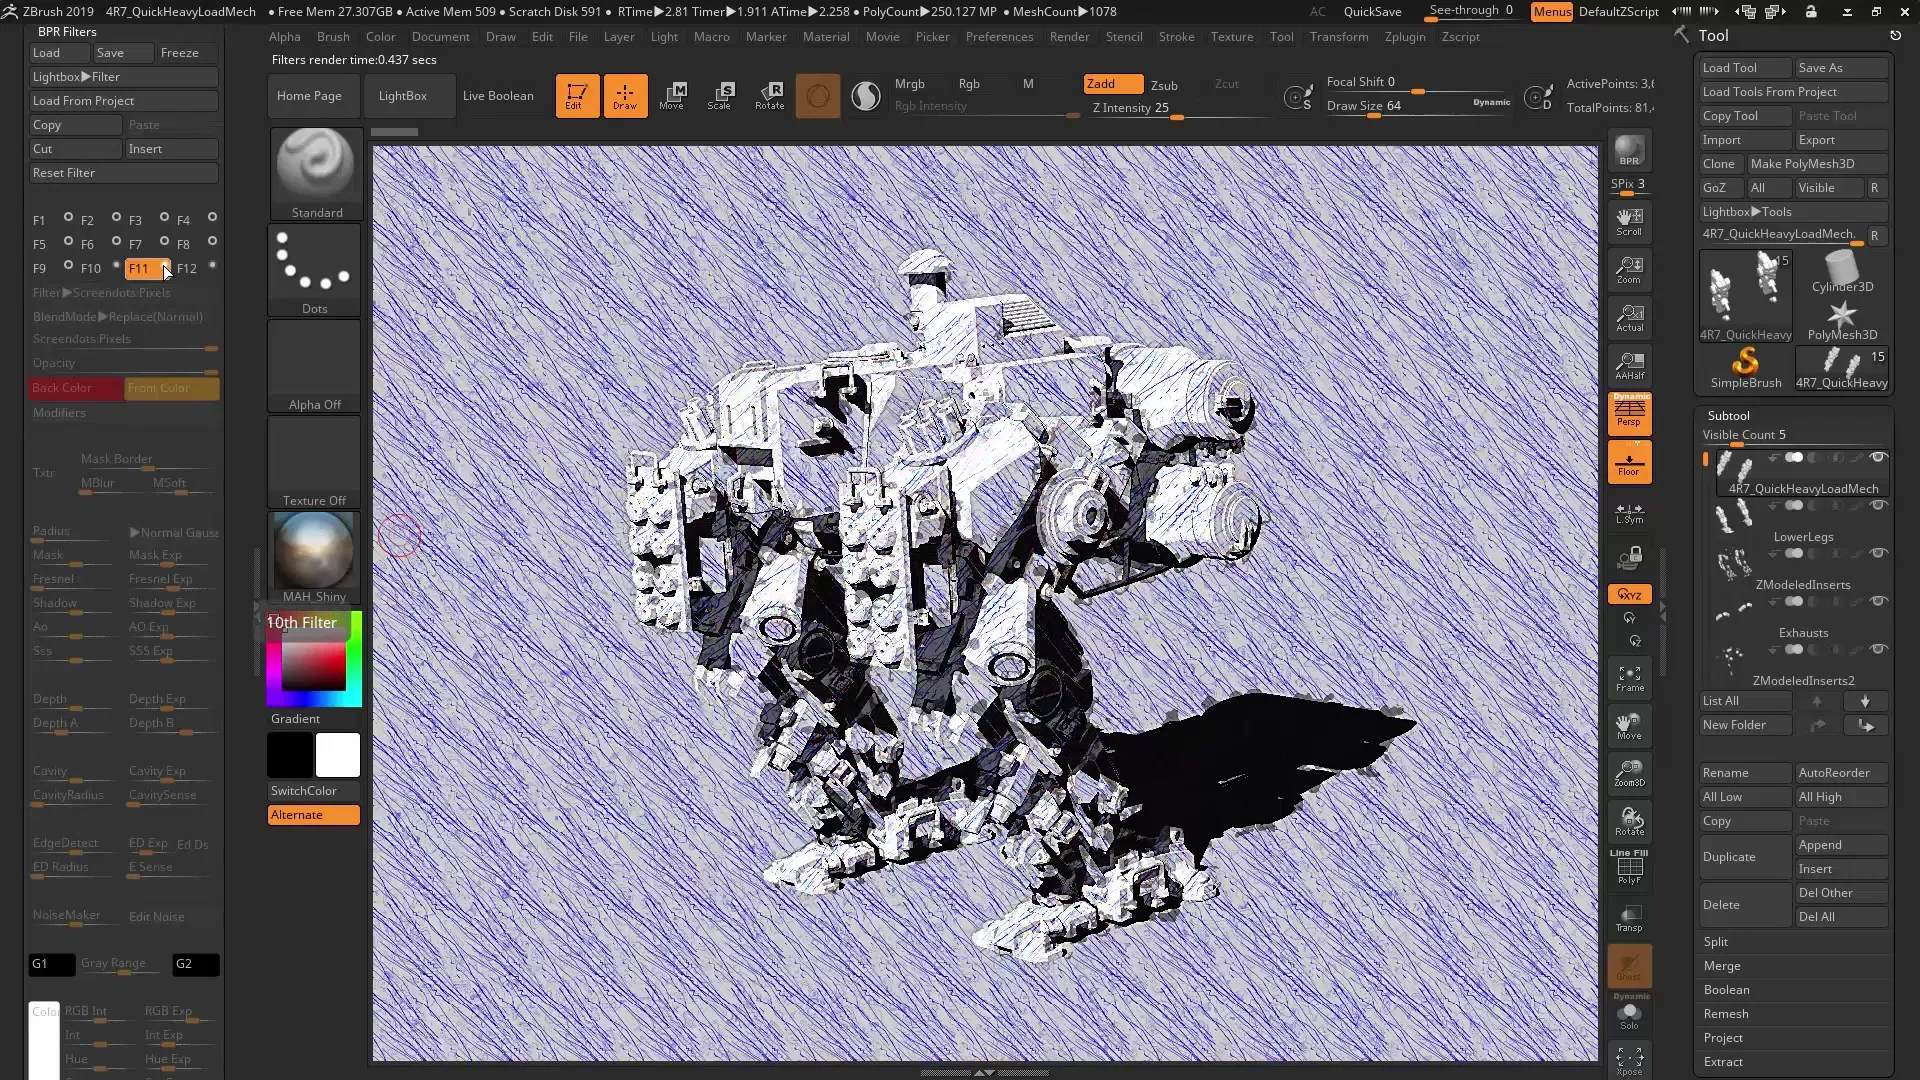
8. Adjust Settings Make adjustments to the filter settings to refine the rendering further. You can change the strength of the filters or tweak specific effects to optimize the appearance.
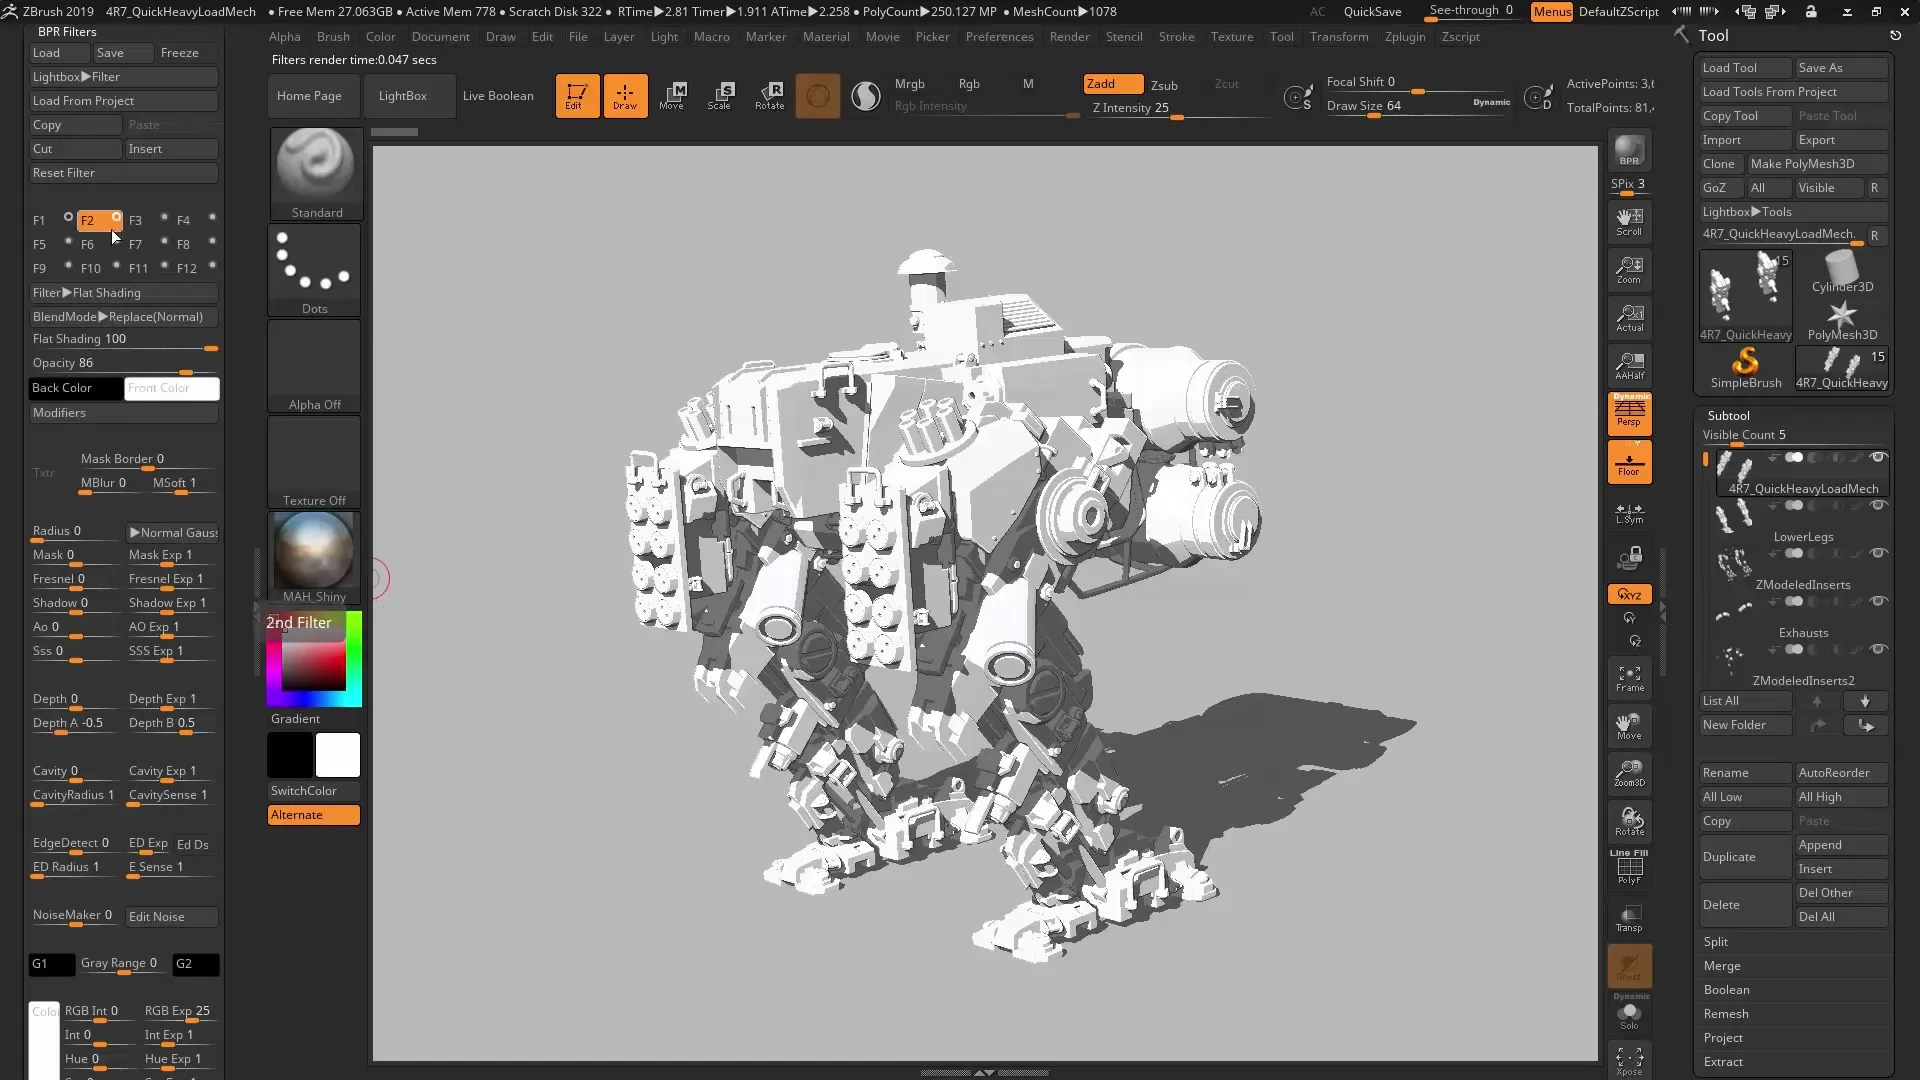
9. Save Your Work Once you are satisfied with the result, save your filter set. This allows you to use your settings for future projects.
10. Export the Result Once you have created your final rendering, you can export the result. Choose the desired format and save the image for further use, whether in your portfolio or for further editing in other programs.
Summary – ZBrush 2019: Master Non-Photorealistic Rendering
Using non-photorealistic rendering in ZBrush opens up an exciting opportunity to transform your creative ideas into 2D graphics. With the flexible application of the BPR filters, you can explore different styles and create innovative designs. You have seen that the tools in ZBrush are not only designed for photorealistic renderings but also enable the realization of opulent artistic expressions.
Frequently Asked Questions
How do I install ZBrush?ZBrush can be downloaded and installed from the official website. From there, follow the instructions for your operating system.
How do I load filters in ZBrush?Filters can be loaded directly in the Render menu under the BPR filter section.
Can I create my own filters?Yes, you can save and create your own filter combinations to use for future projects.
Where can I find tutorials for specific filters?There are various resources and tutorials on the ZBrush website and in the community.
