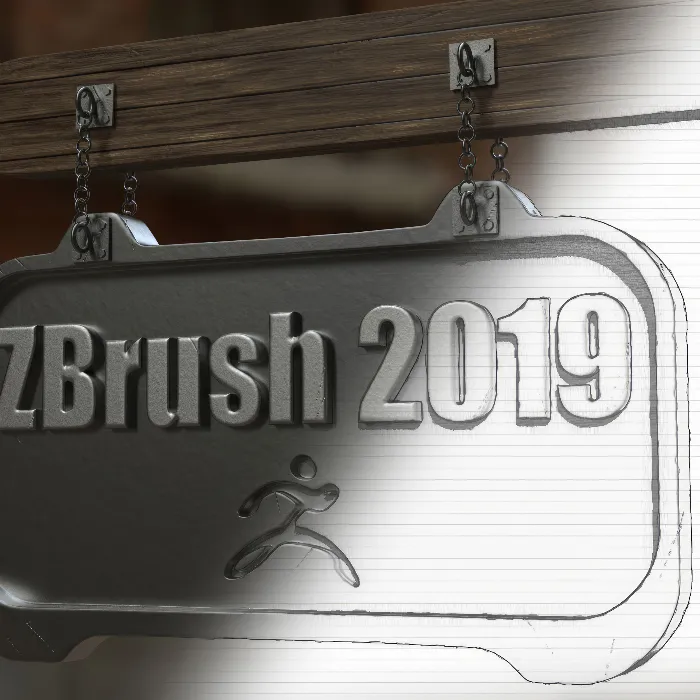
With the new UniversalCamerain ZBrush2019, you are offered a more accurate handling of camera settings. Thanks to the ability to adjust the focal length and save settings, you can manage your projects more effectively and improve communication between ZBrush and other 3D programs. Let’s dive into the details and discover how to make optimal use of the camera.
Key Takeaways
- ZBrush 2019 features the Universal Camera, which allows you to adjust and save the focal length.
- The ability to switch between different camera views enhances flexibility.
- The saved camera settings can be transferred to other 3D programs, facilitating collaboration.
Step-by-Step Guide
To use the Universal Camera effectively, follow these simple steps:
1. Activating the Universal Camera
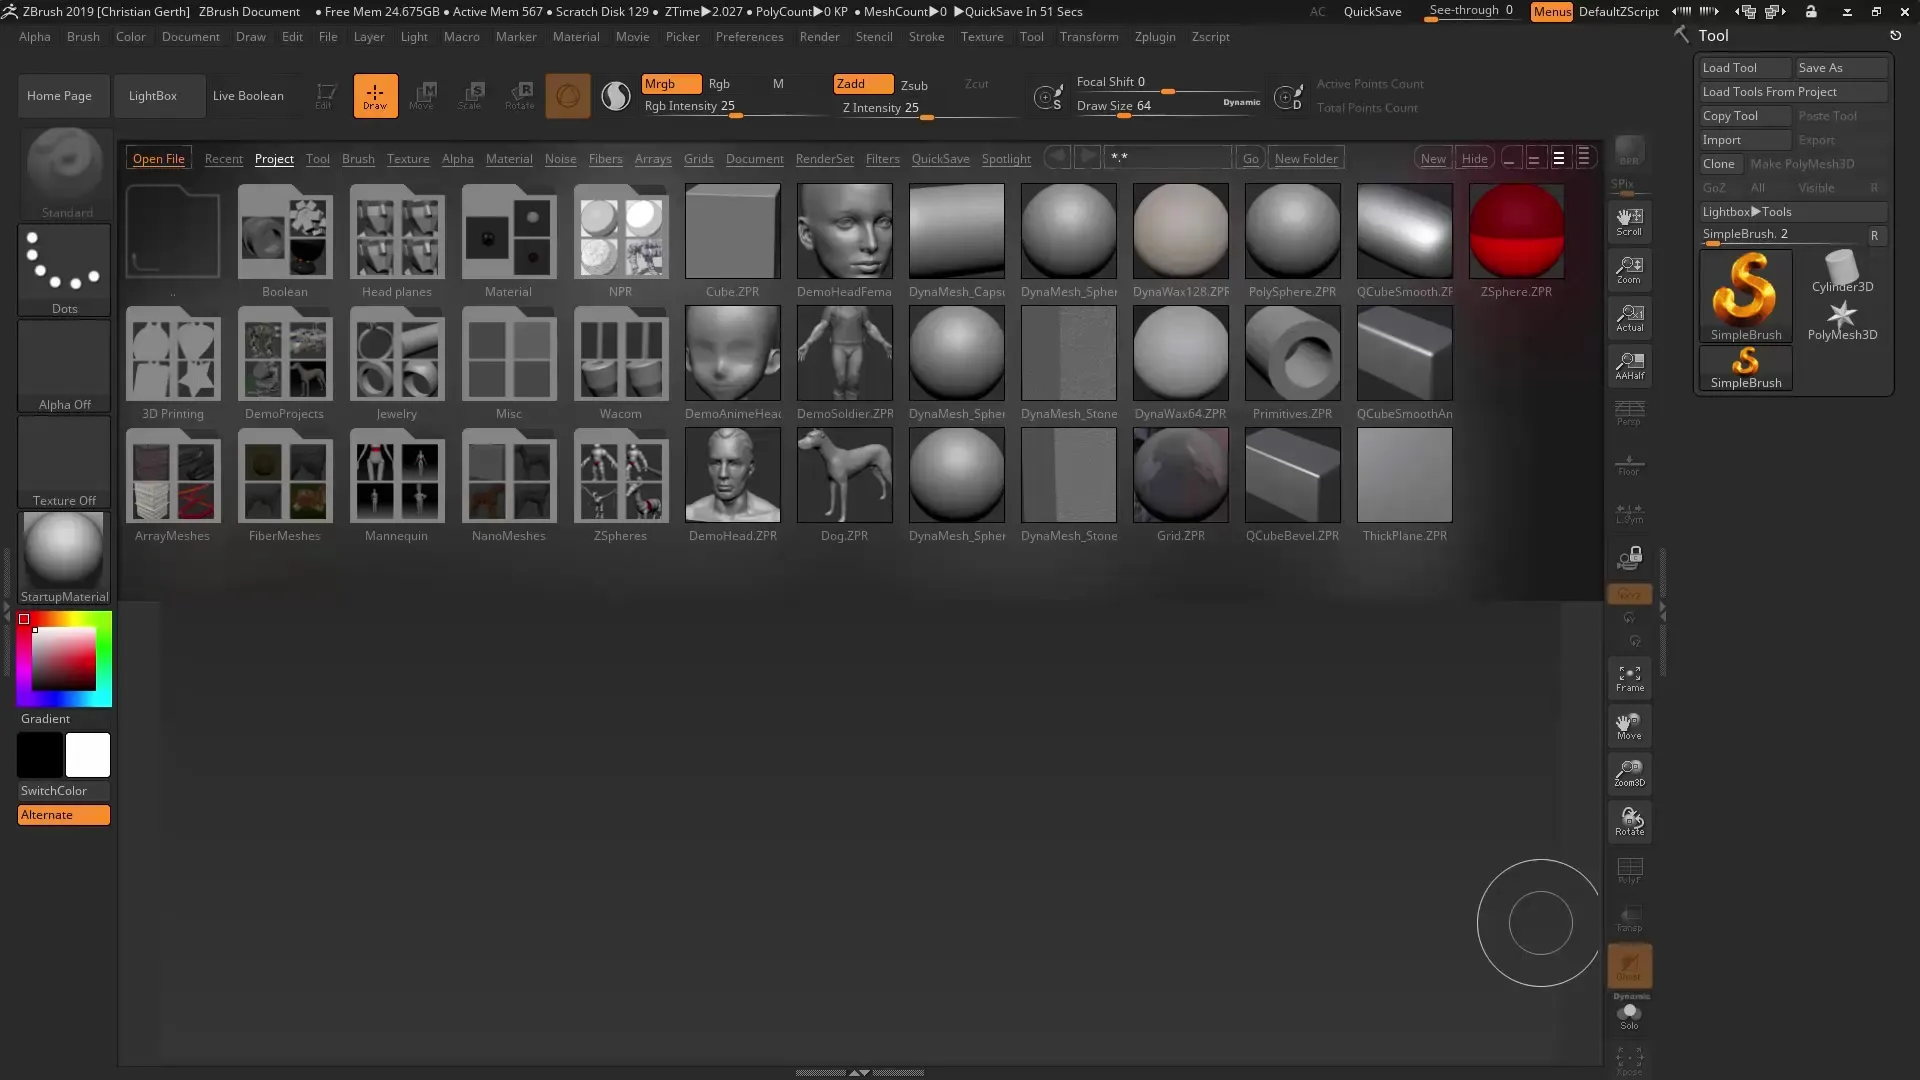
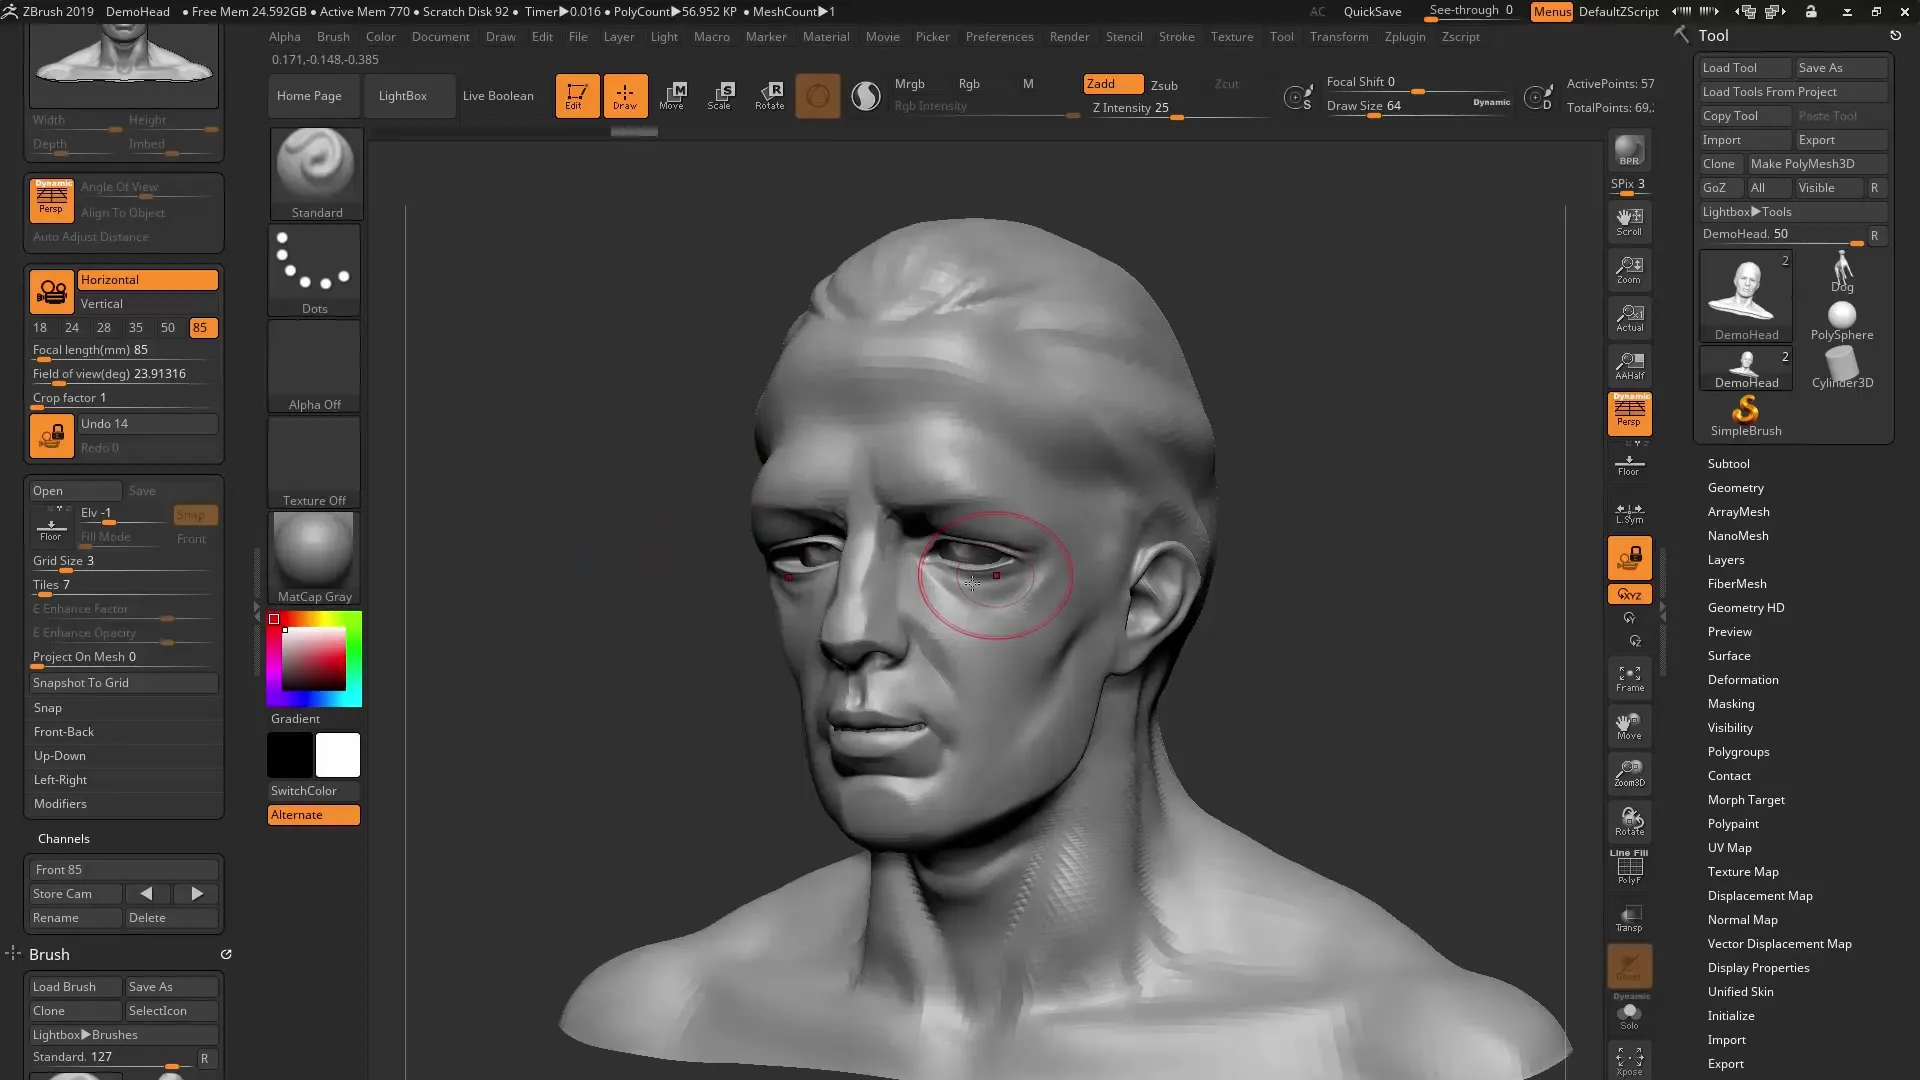
To select the new camera, open your project in ZBrush, go to the "Draw" menu and activate the camera option. Drag the camera to the left side of your interface for quick access.
2. Adjusting the Focal Length
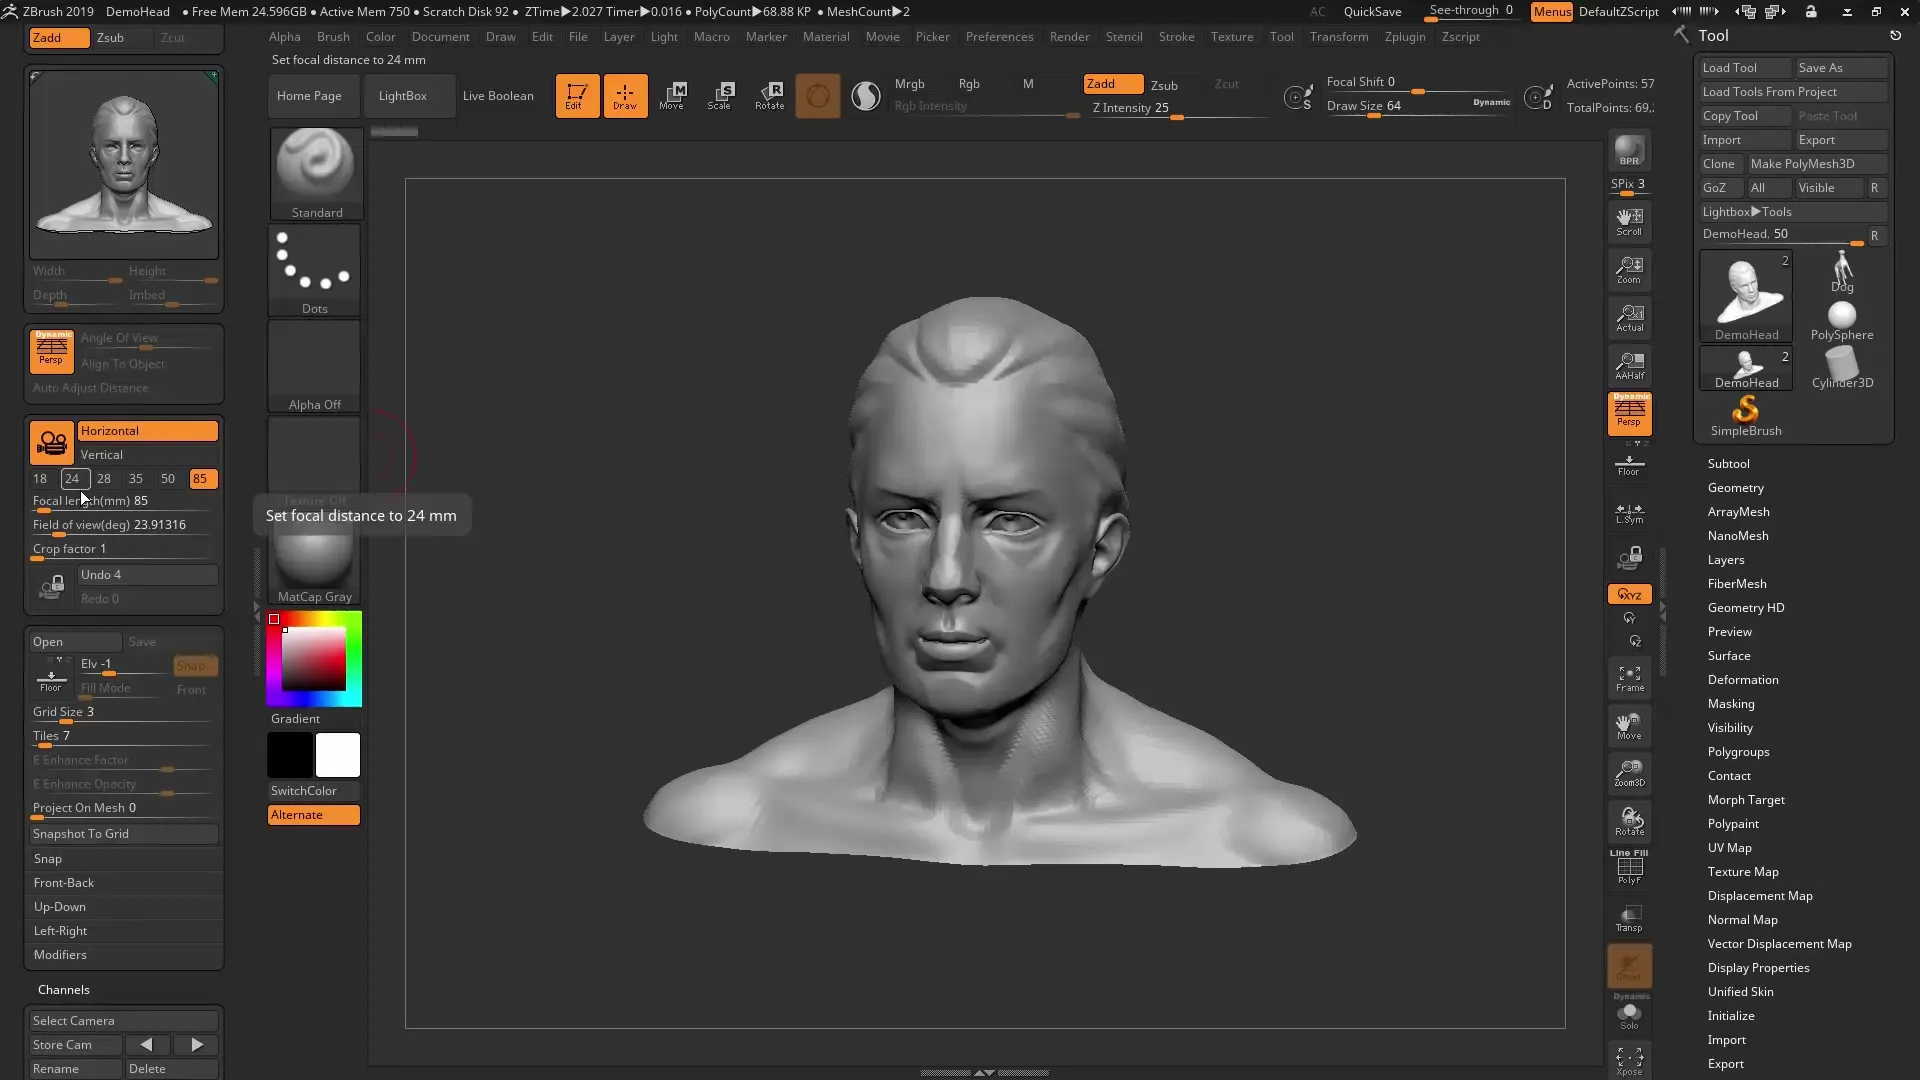
Now you can adjust the focal length. By default, you have the option to choose a focal length of 85 mm for portraits or 18 mm for wide-angle shots. Make sure that the perspective is activated; otherwise, you won’t see changes in the focal length.
3. Saving Settings
Once you have defined the desired focal length and view, you can save these settings. Below the camera channels, you will find the option "Store Camera". You can give the view a name, for example, "Front View". This allows you to easily switch between different views later.
4. Switching Between Views
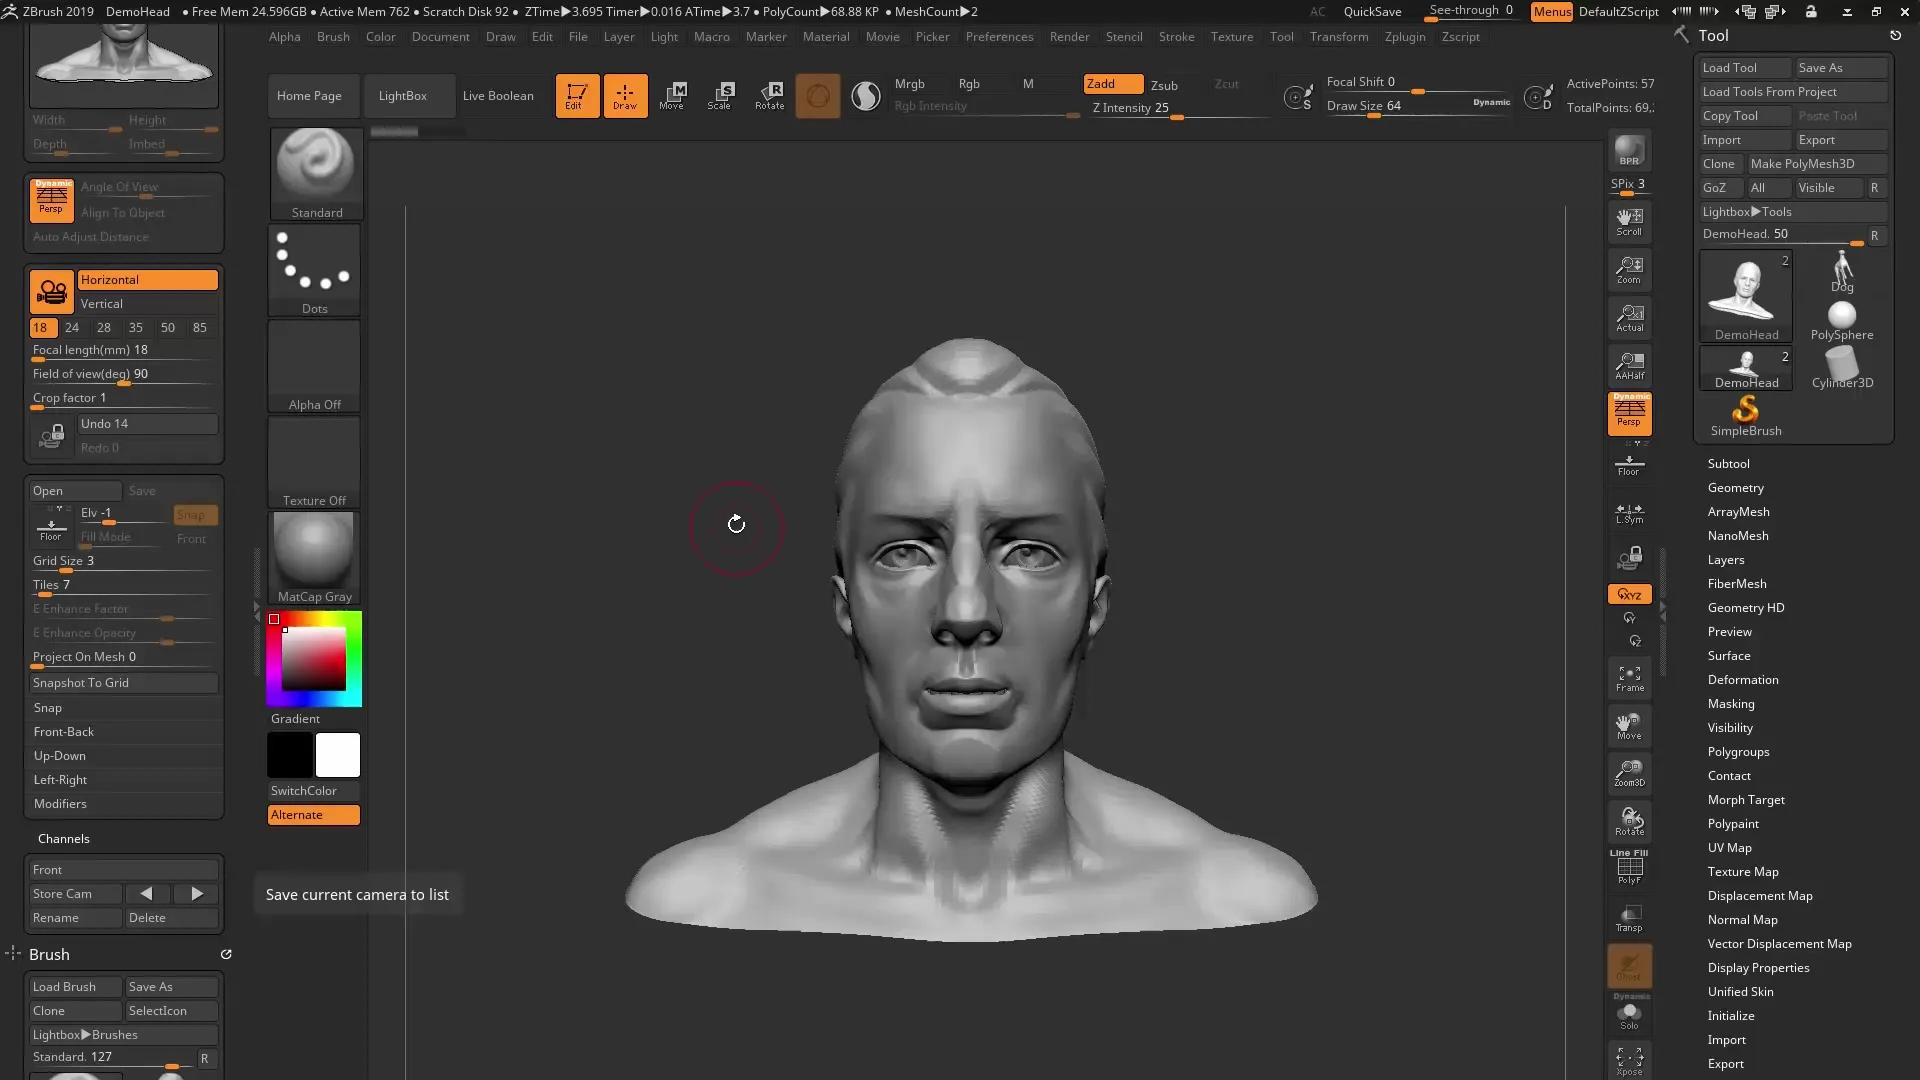
Once you have saved multiple views, you can easily switch back and forth between them. This allows you to try out creative options without losing the original composition. Here, you can also adjust the focal length and save settings for additional views.
5. Locking the Camera While Editing
If you want to keep a view while working on your model, you can "lock" the camera. This allows you to edit the model without changing the view. This is especially helpful when working on specific details.
6. Rendering in ZBrush
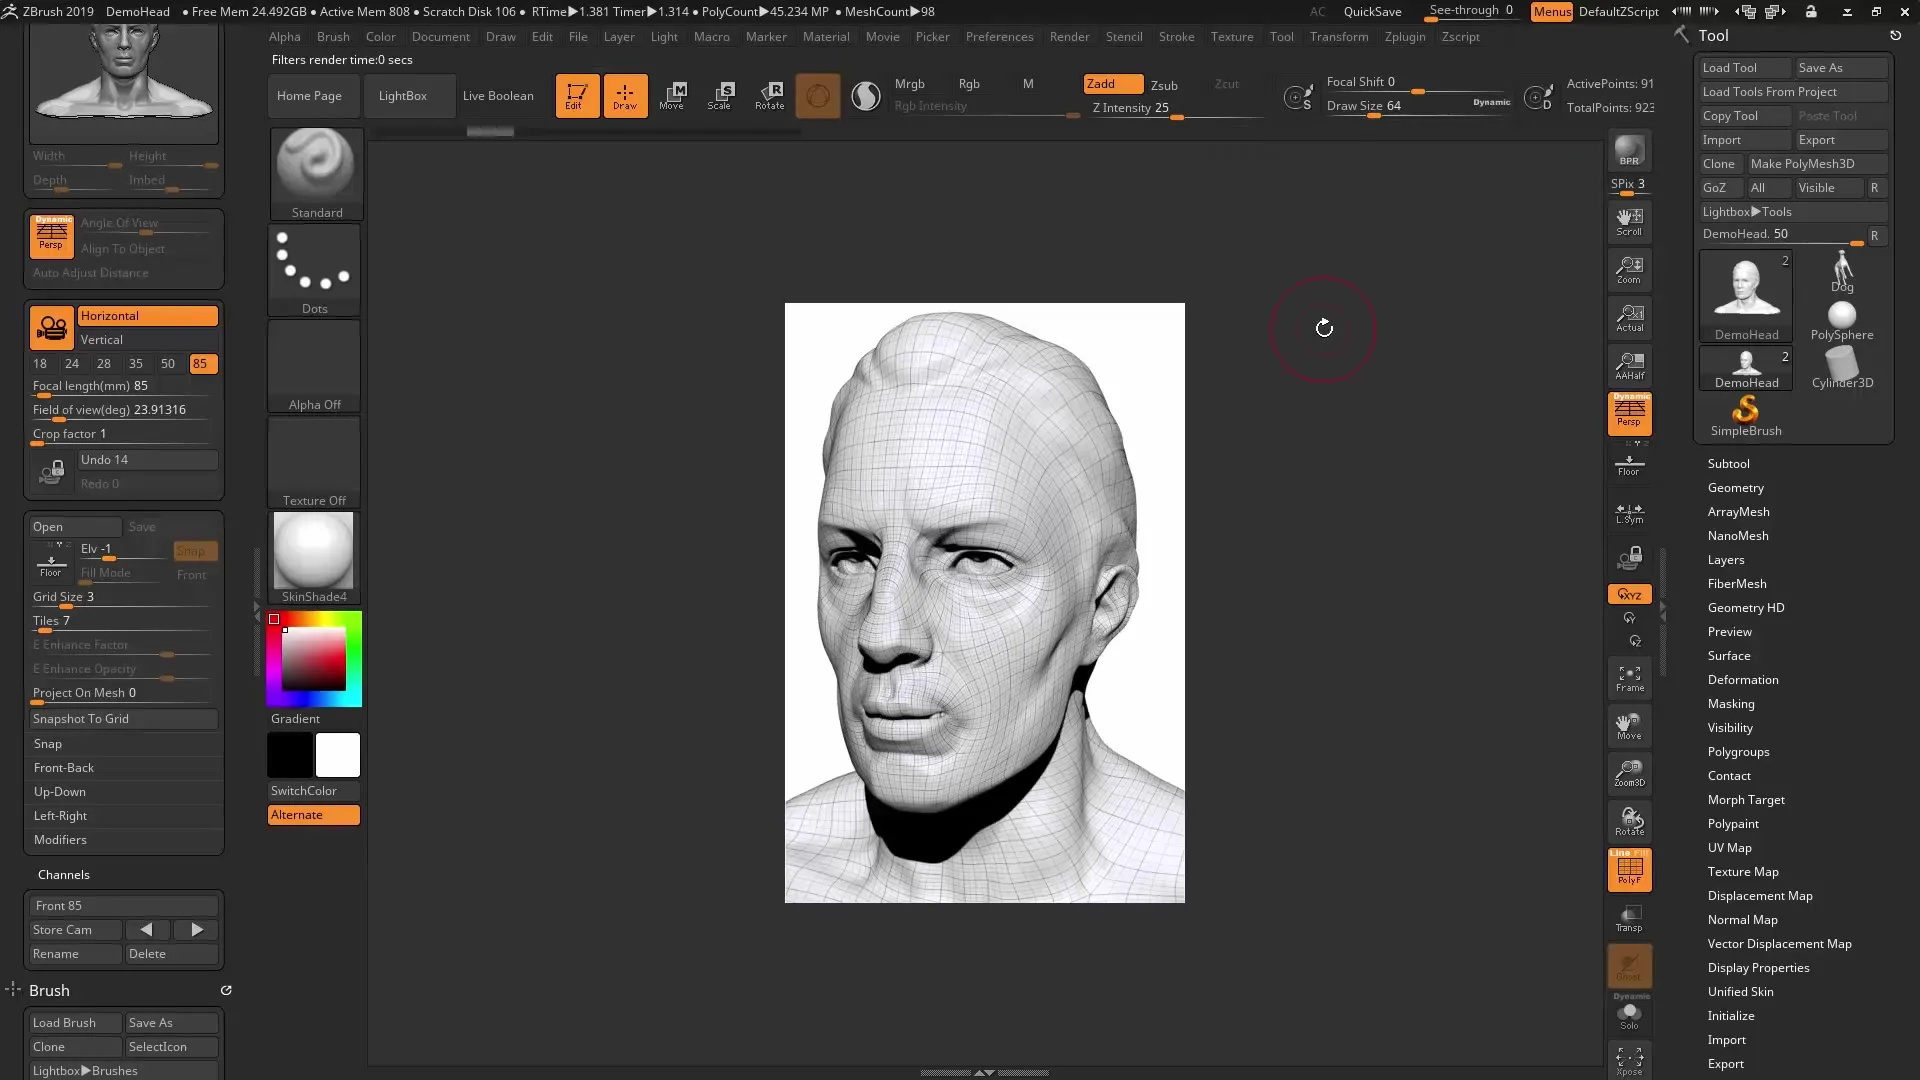
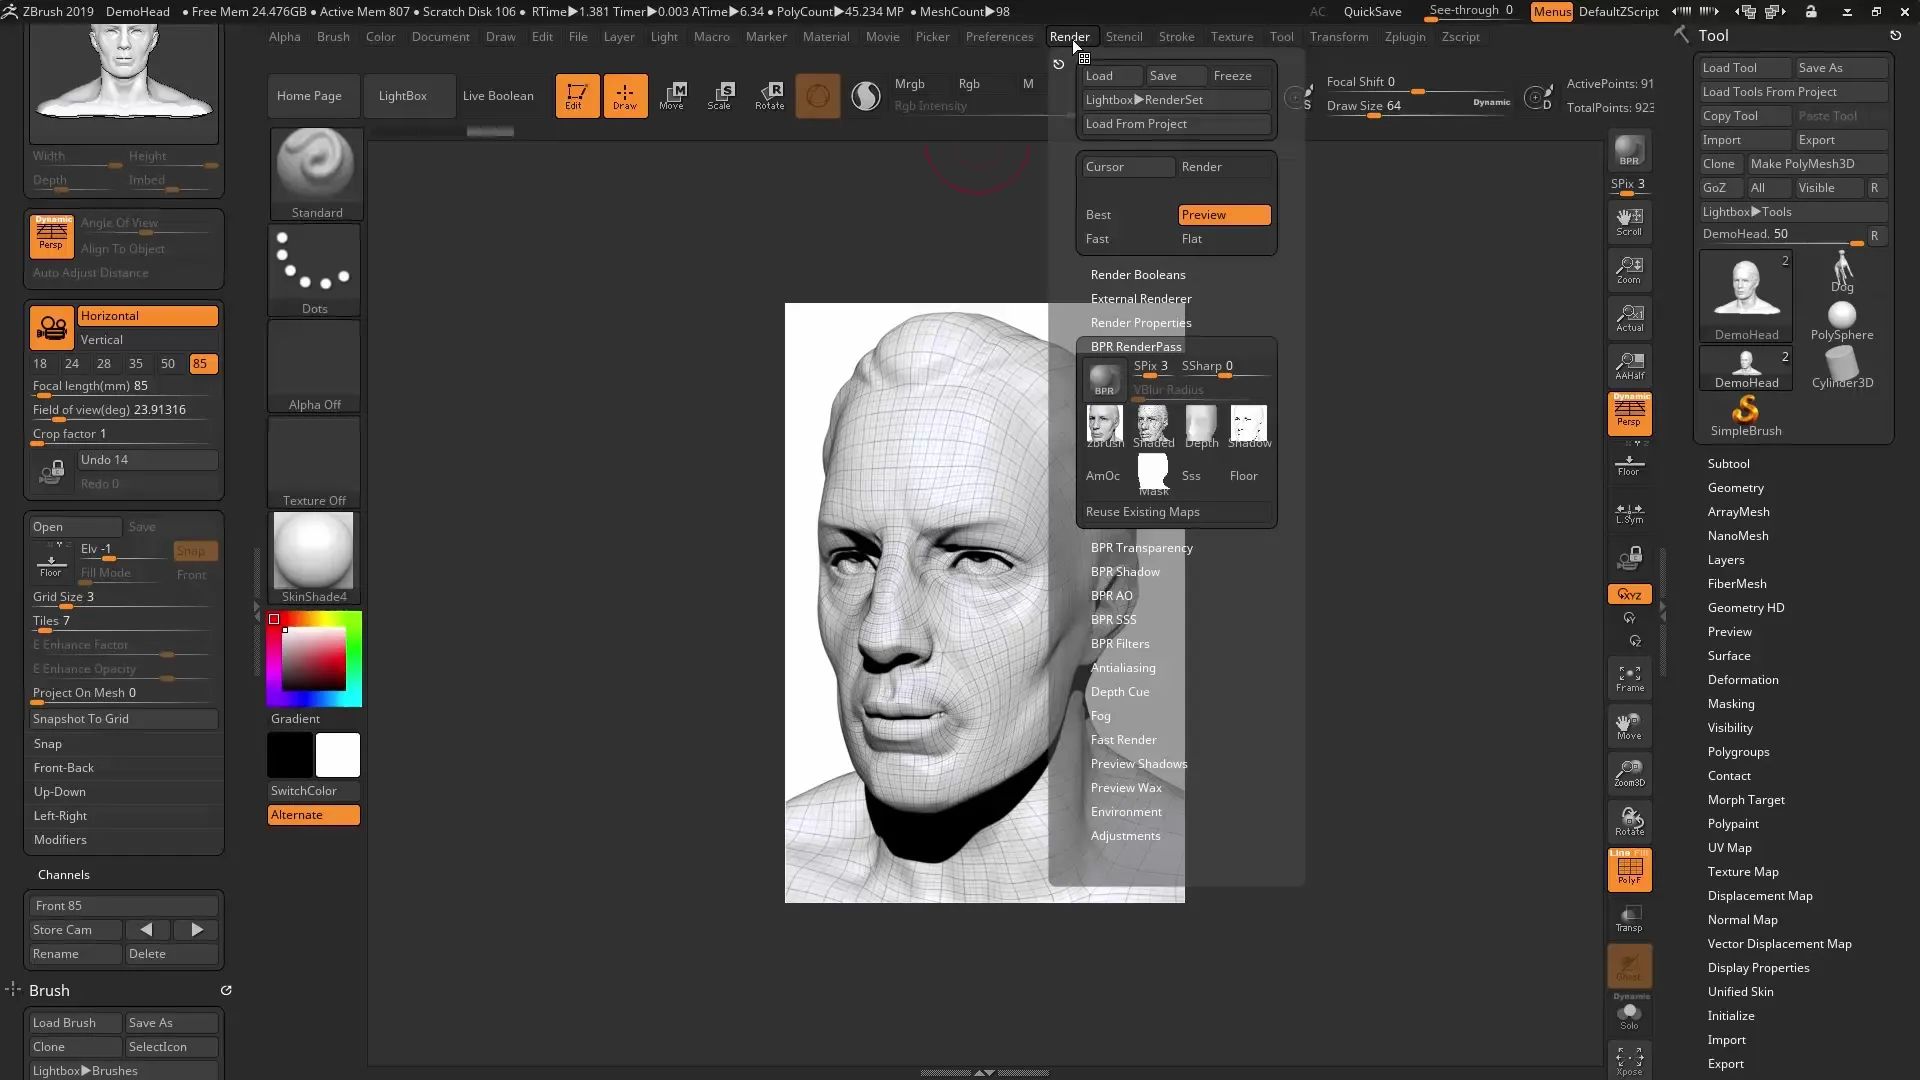
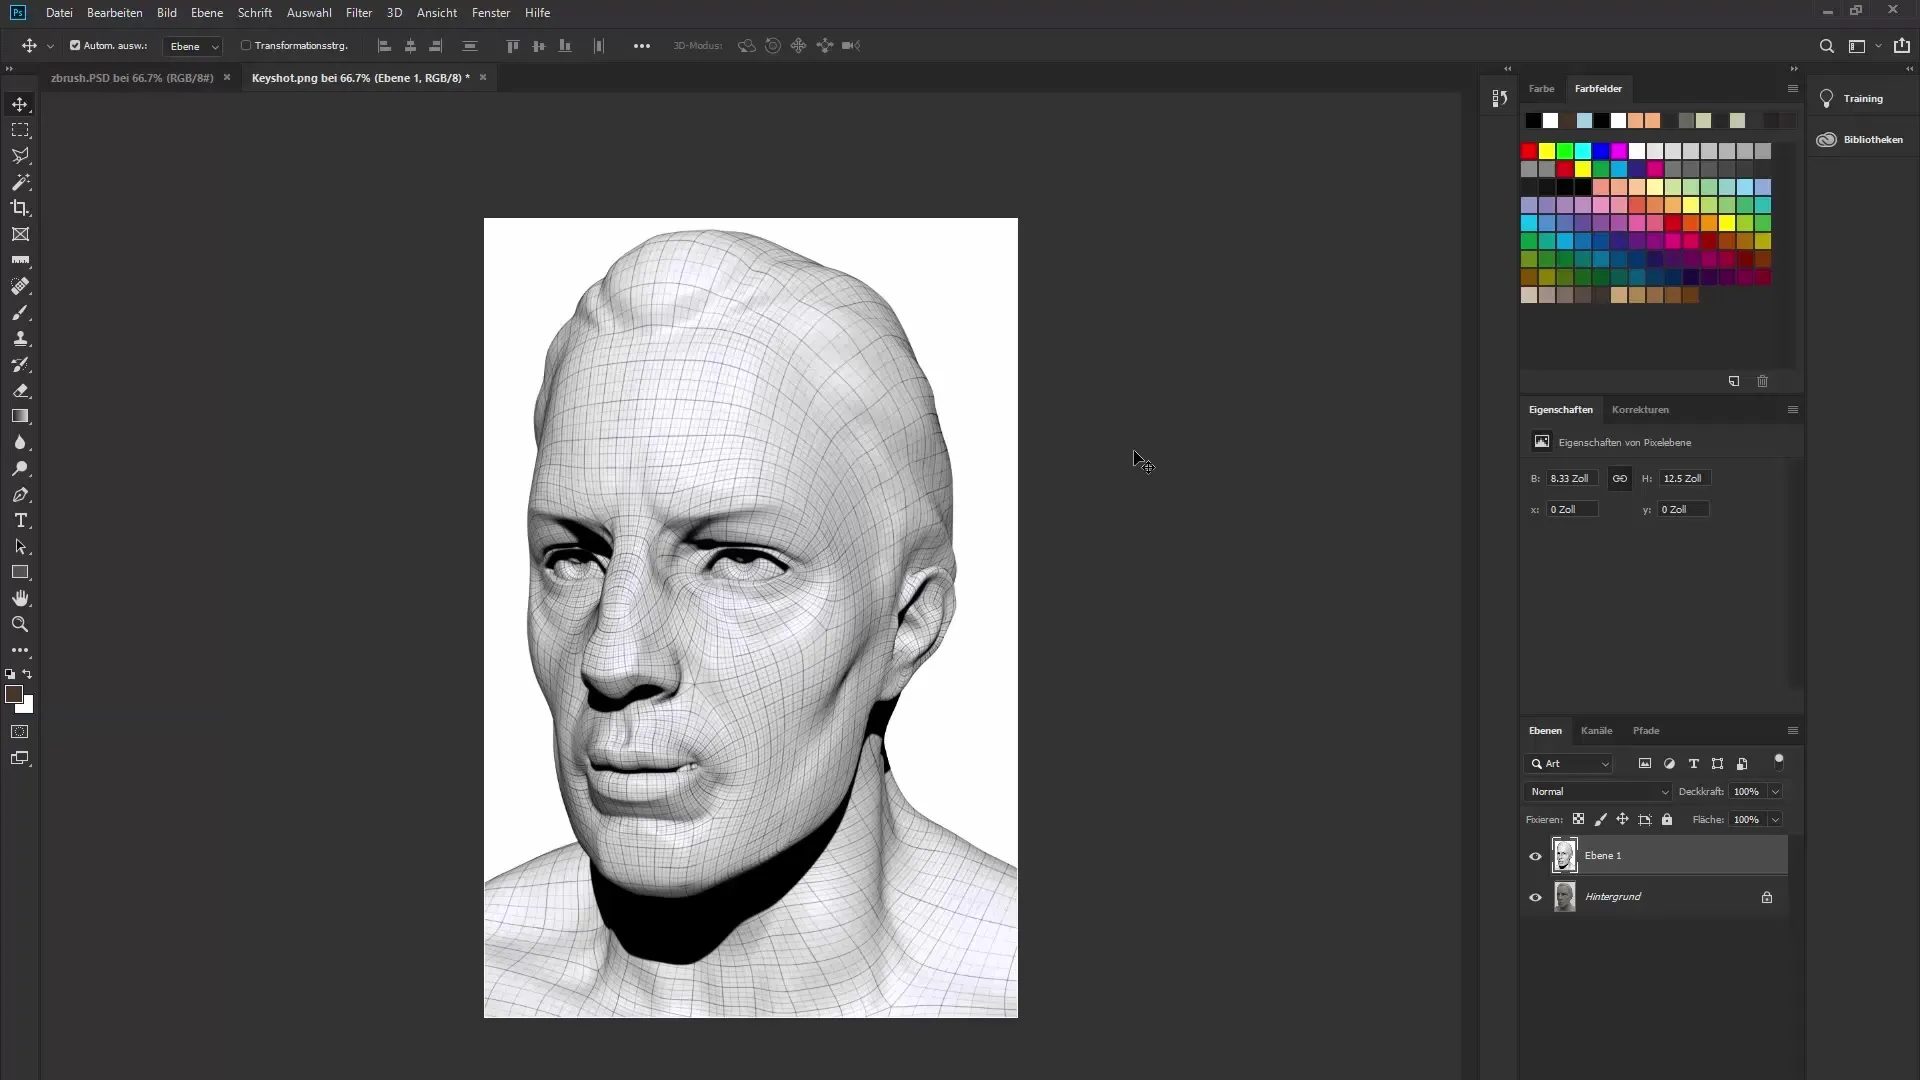
To create a renderingin ZBrush, select the right material and background color. Make sure to adjust the polyframe in the render menu so that you only see the frames and not the fill. After you have optimized your settings, you can perform a BPR (Best Preview Render).
7. Transferring to Keyshot
If you are working with Keyshot, simply import your ZBrush document. Be sure to maintain the camera settings and format to ensure smooth communication between both programs.
8. Rendering in Keyshot
In Keyshot, you can adjust the format and select the desired material for your rendering. Once you have set the options, execute the render and wait for the process to finish.
9. Merging in Photoshop
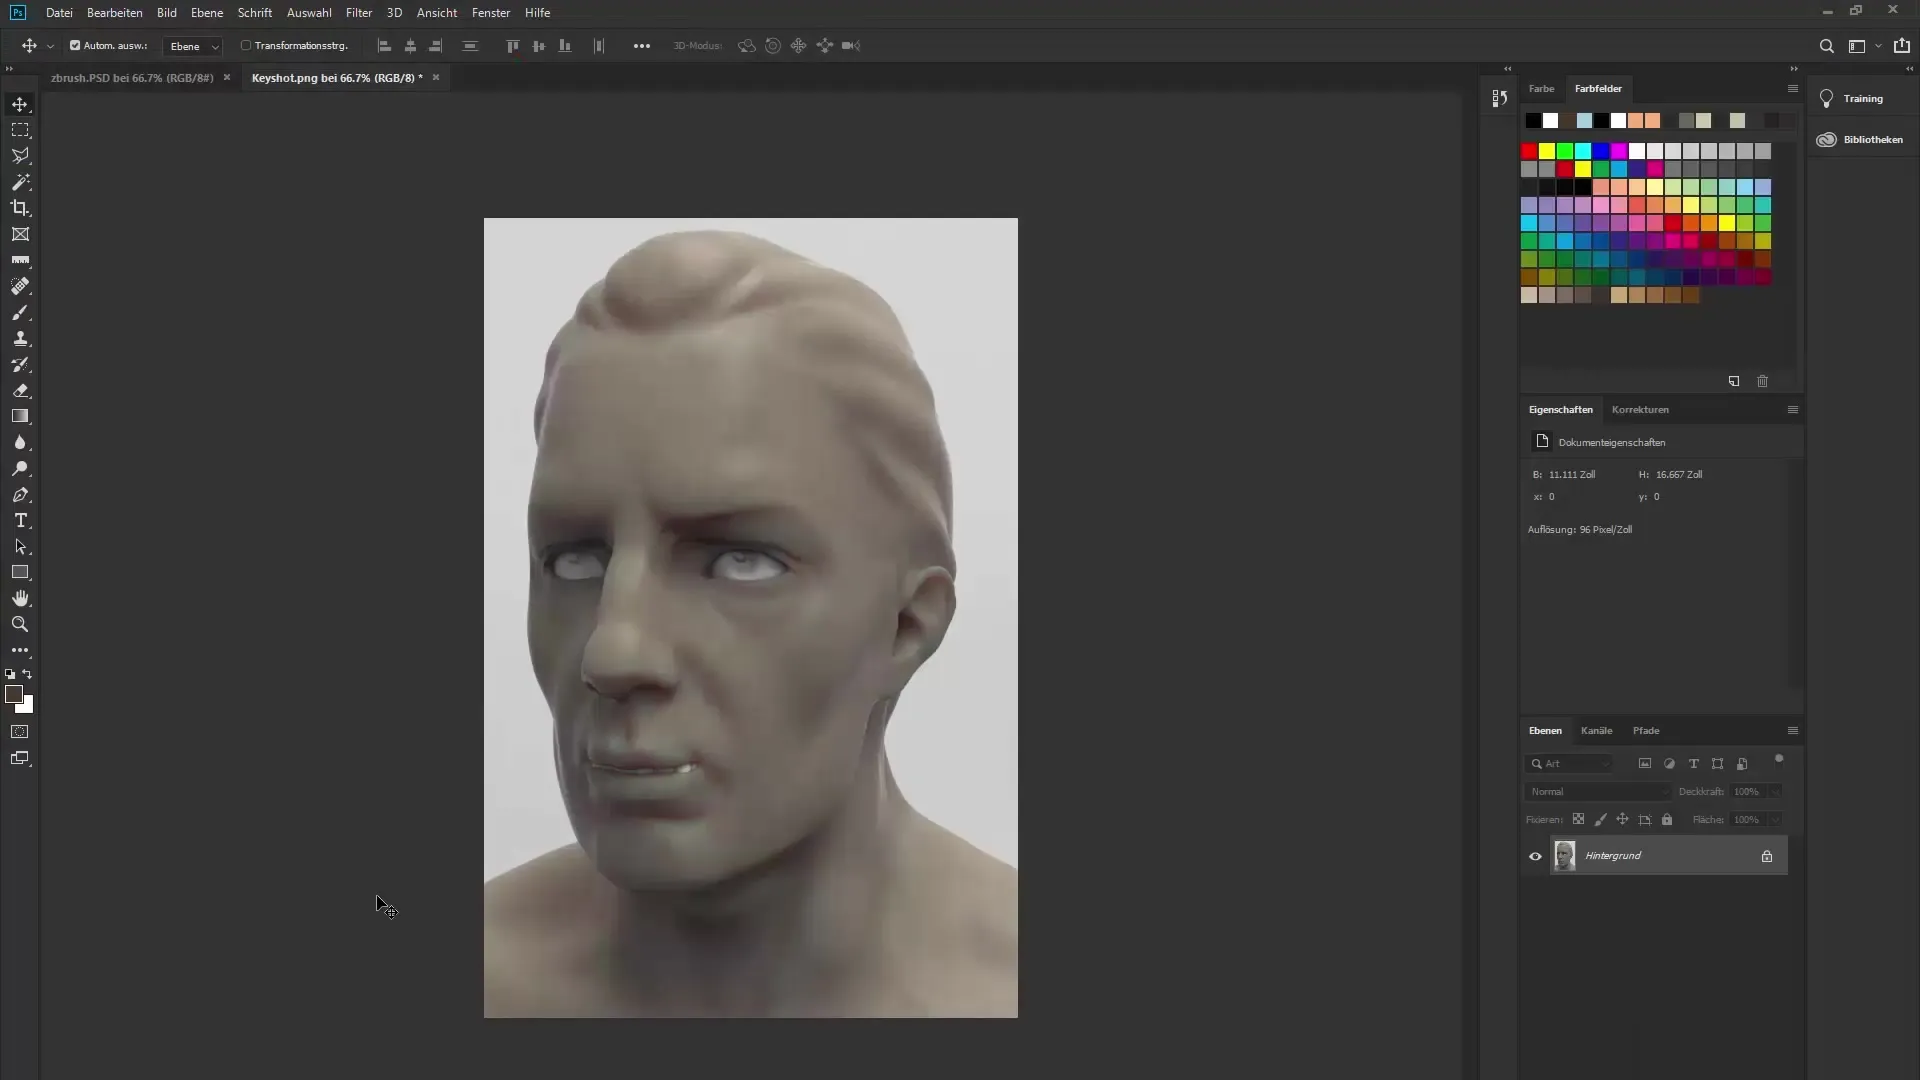
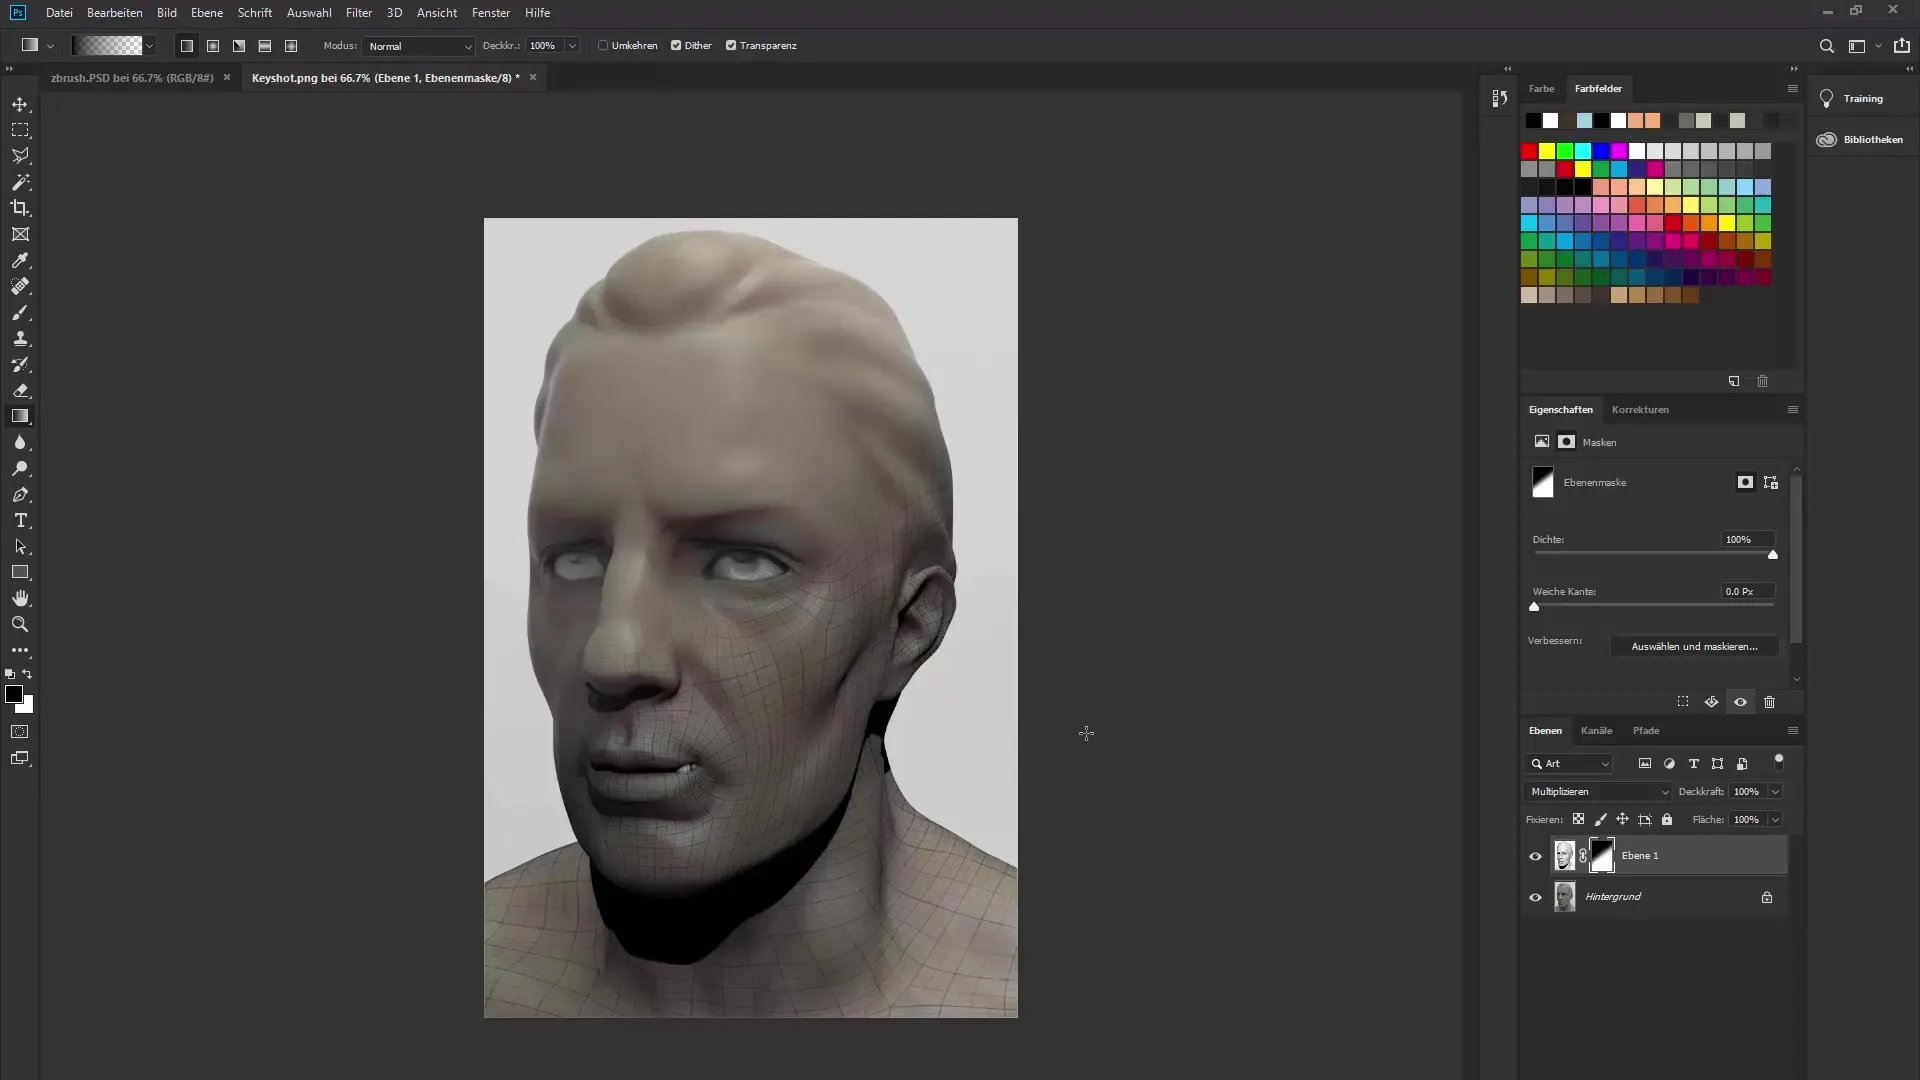
Open both renderings in Photoshop and place the ZBrush rendering over the Keyshot rendering. Using the "Multiply" option, you can combine the two layers and fine-tune the results to create an appealing final output.
10. Finalization and Conclusion
Utilize the capabilities of layer masks to hide parts of the rendering and create a harmonious transition between the two views. This way, you can optimally present your 3D models and fully exploit the advantages of the new Universal Camera in ZBrush.
Summary - Universal Camera in ZBrush 2019: Optimal Use of New Features
The introduction of the Universal Camera in ZBrush 2019 revolutionizes the way you work with camera settings. You can adjust the focal length, save views, and easily switch between them. These features facilitate integration with other 3D programs and improve your overall workflow experience.
FAQ
What is the Universal Camera in ZBrush 2019?The Universal Camera is a new feature that enables the use of precise camera settings.
How can I adjust the focal length in ZBrush?The focal length can be adjusted in the "Draw" menu by selecting the appropriate values.
Can I save camera settings?Yes, you can save your camera views under "Store Camera".
How does the Universal Camera communicate with other programs?The camera settings can be exported to other 3D programs like Keyshot.
What is a BPR in ZBrush?BPR stands for Best Preview Render and is a method to create high-quality renderings directly in ZBrush.
