You are at the beginning of your musical journey and want to learn how to create your own music with Magix Music Maker? This text will explain the most important features and steps to successfully implement your first musical projects. Let's dive into the world of music production together and discover how you can realize your creative ideas.
Key Insights
- Getting to know the basic functions of Magix Music Maker
- Loading or starting a new project and adding tracks
- Importing and editing sounds and samples
- Adjusting the tempo of your project
- Applying effects and controlling the volume
Step-by-Step Guide
1. Starting the Program and Choosing a Project
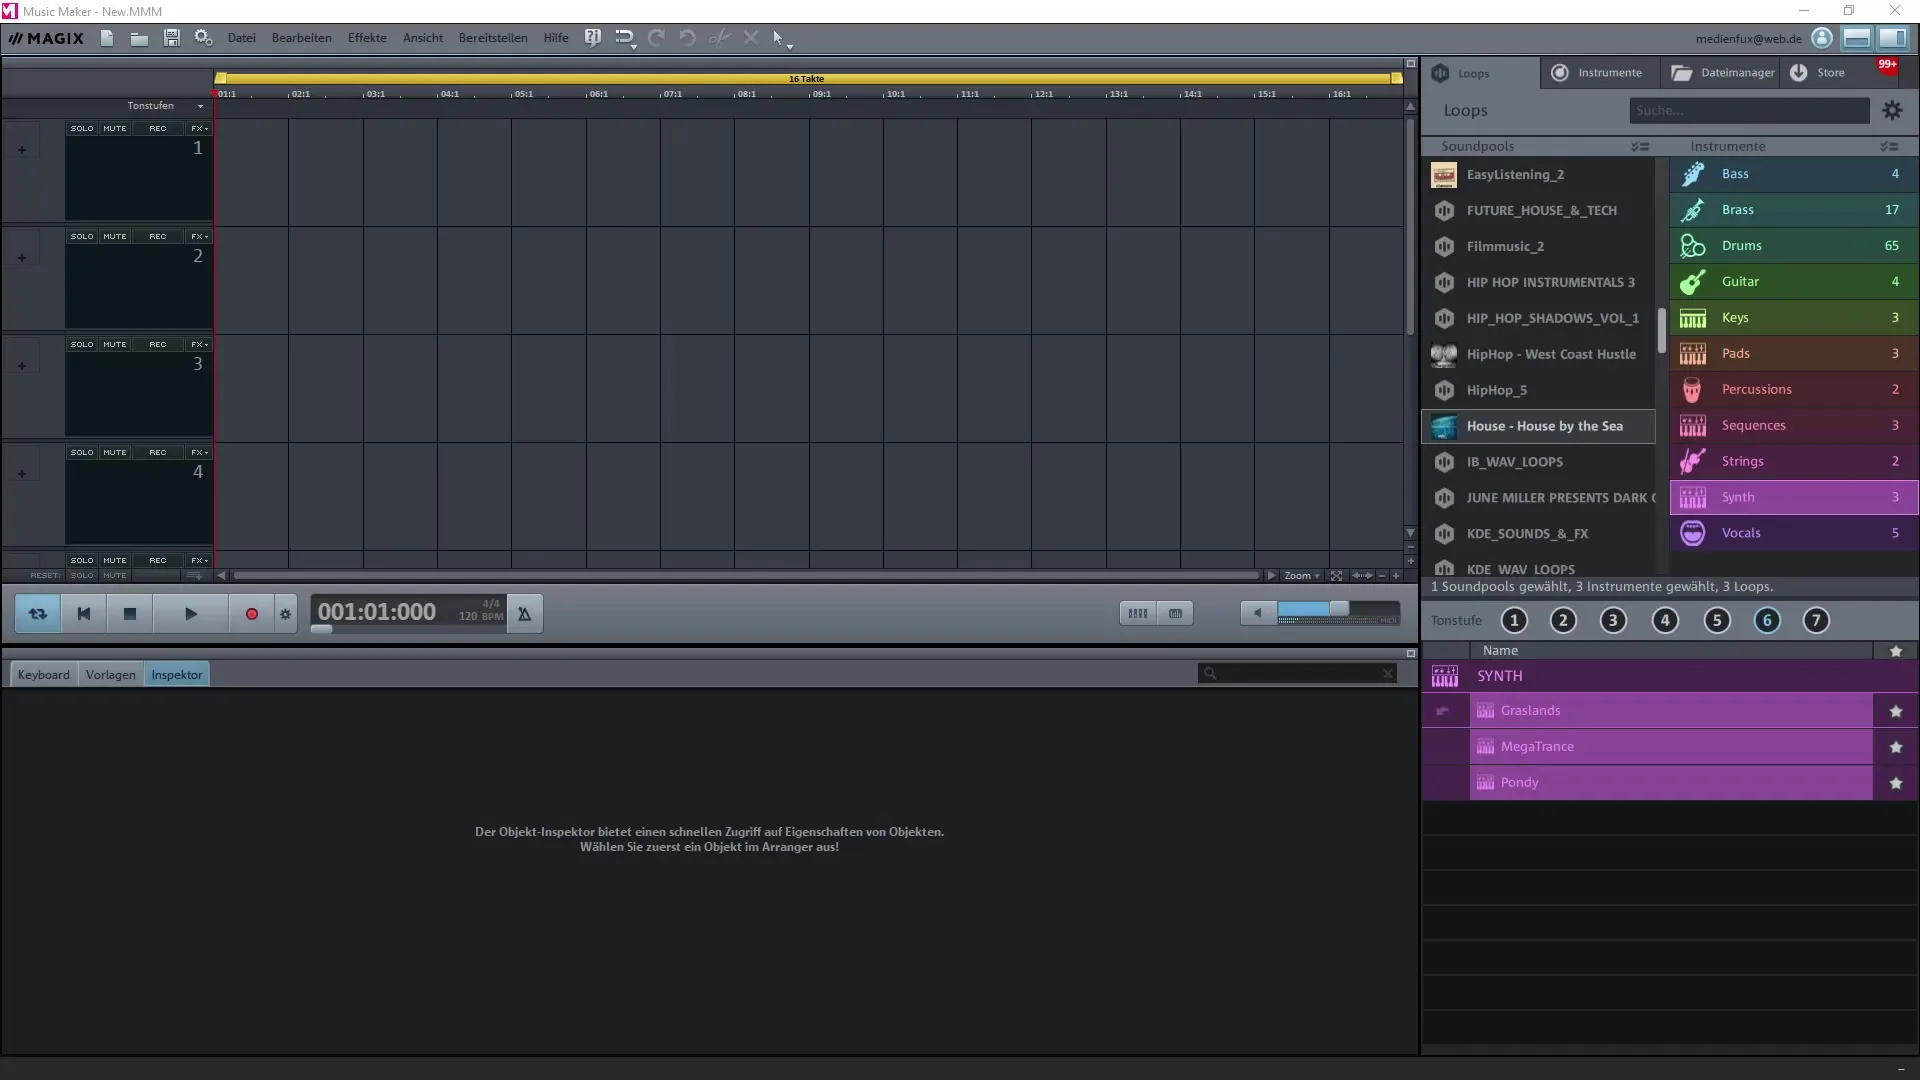
Open Magix Music Maker and choose between starting a new project or loading an existing one. You can either start a blank project or load a demo project. I will show you how to select and start the demo project "House by the Sea".
2. Adjusting Layout and Soundpool
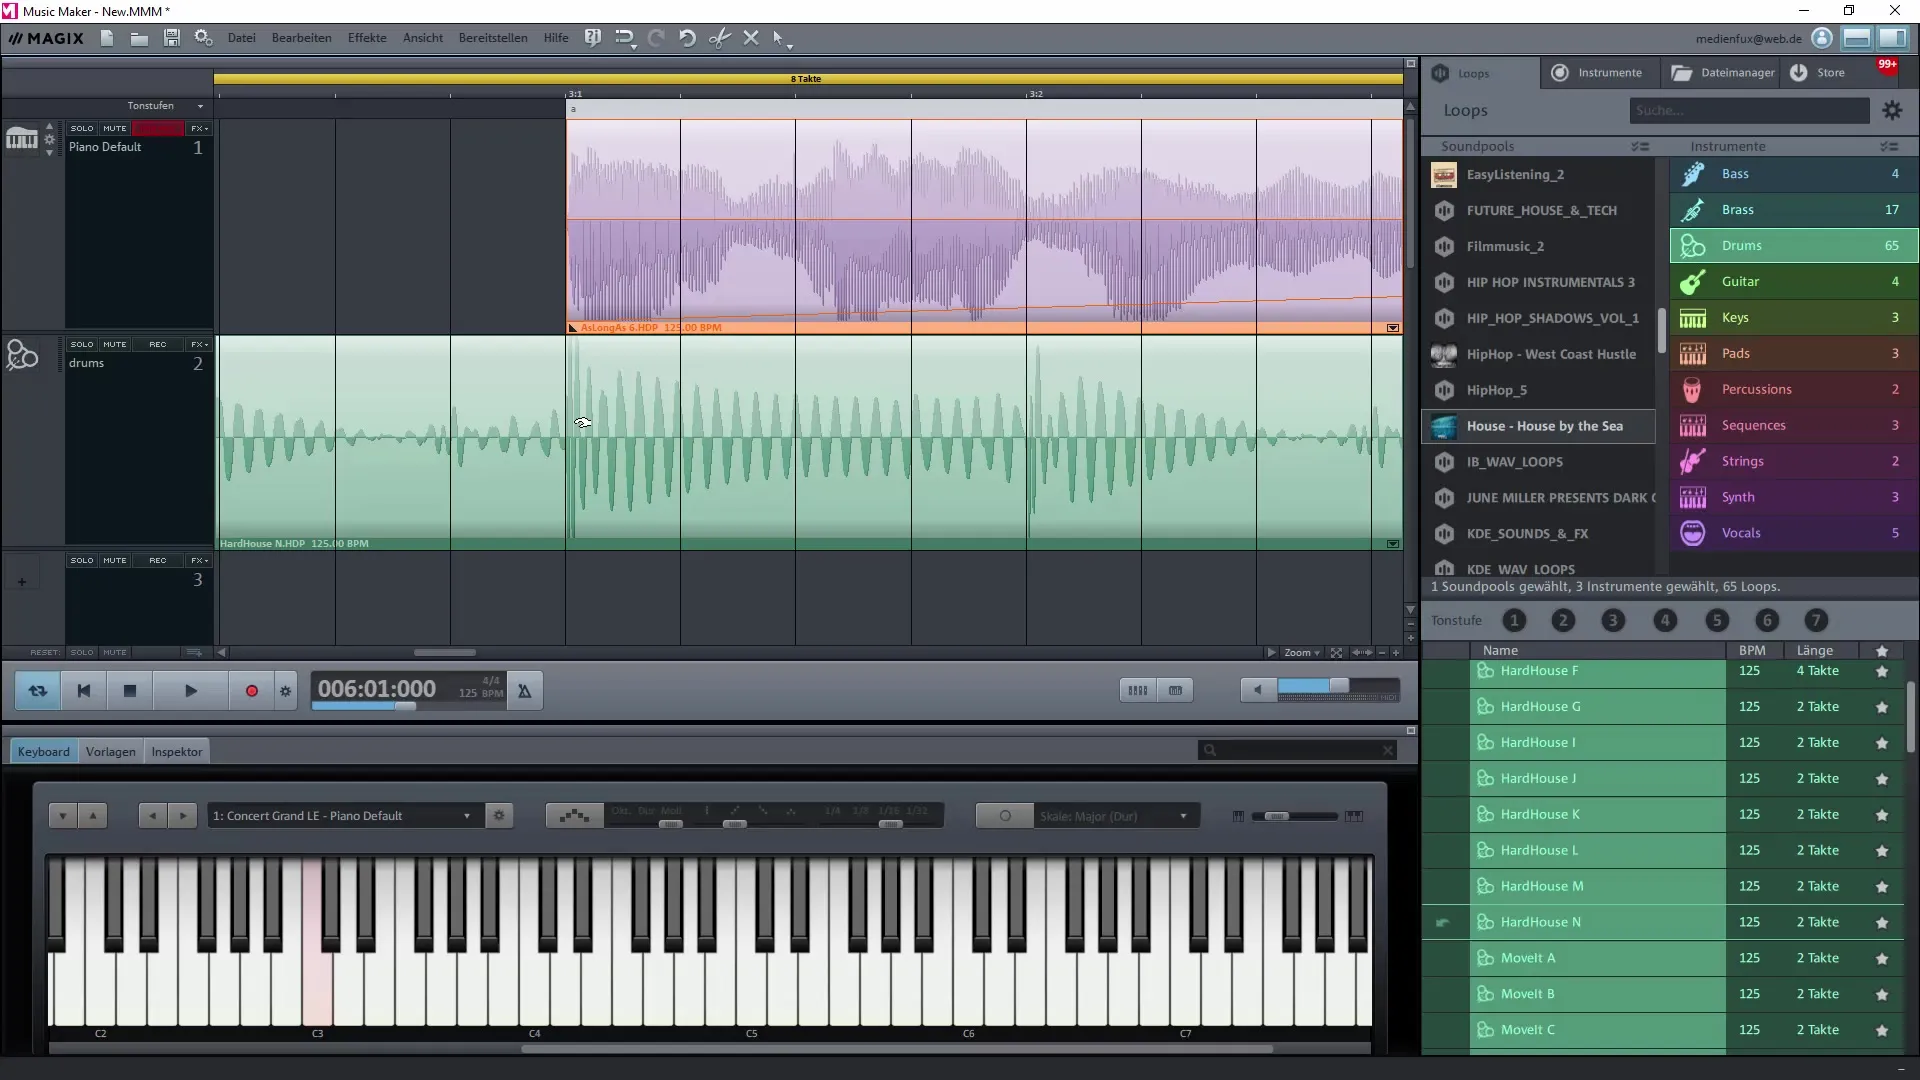
Once your project is loaded, you will see the user interface with the default tracks. To create order, you can reset the layout. It is also helpful to bring back the keyboard overlay.
3. Importing and Using Samples
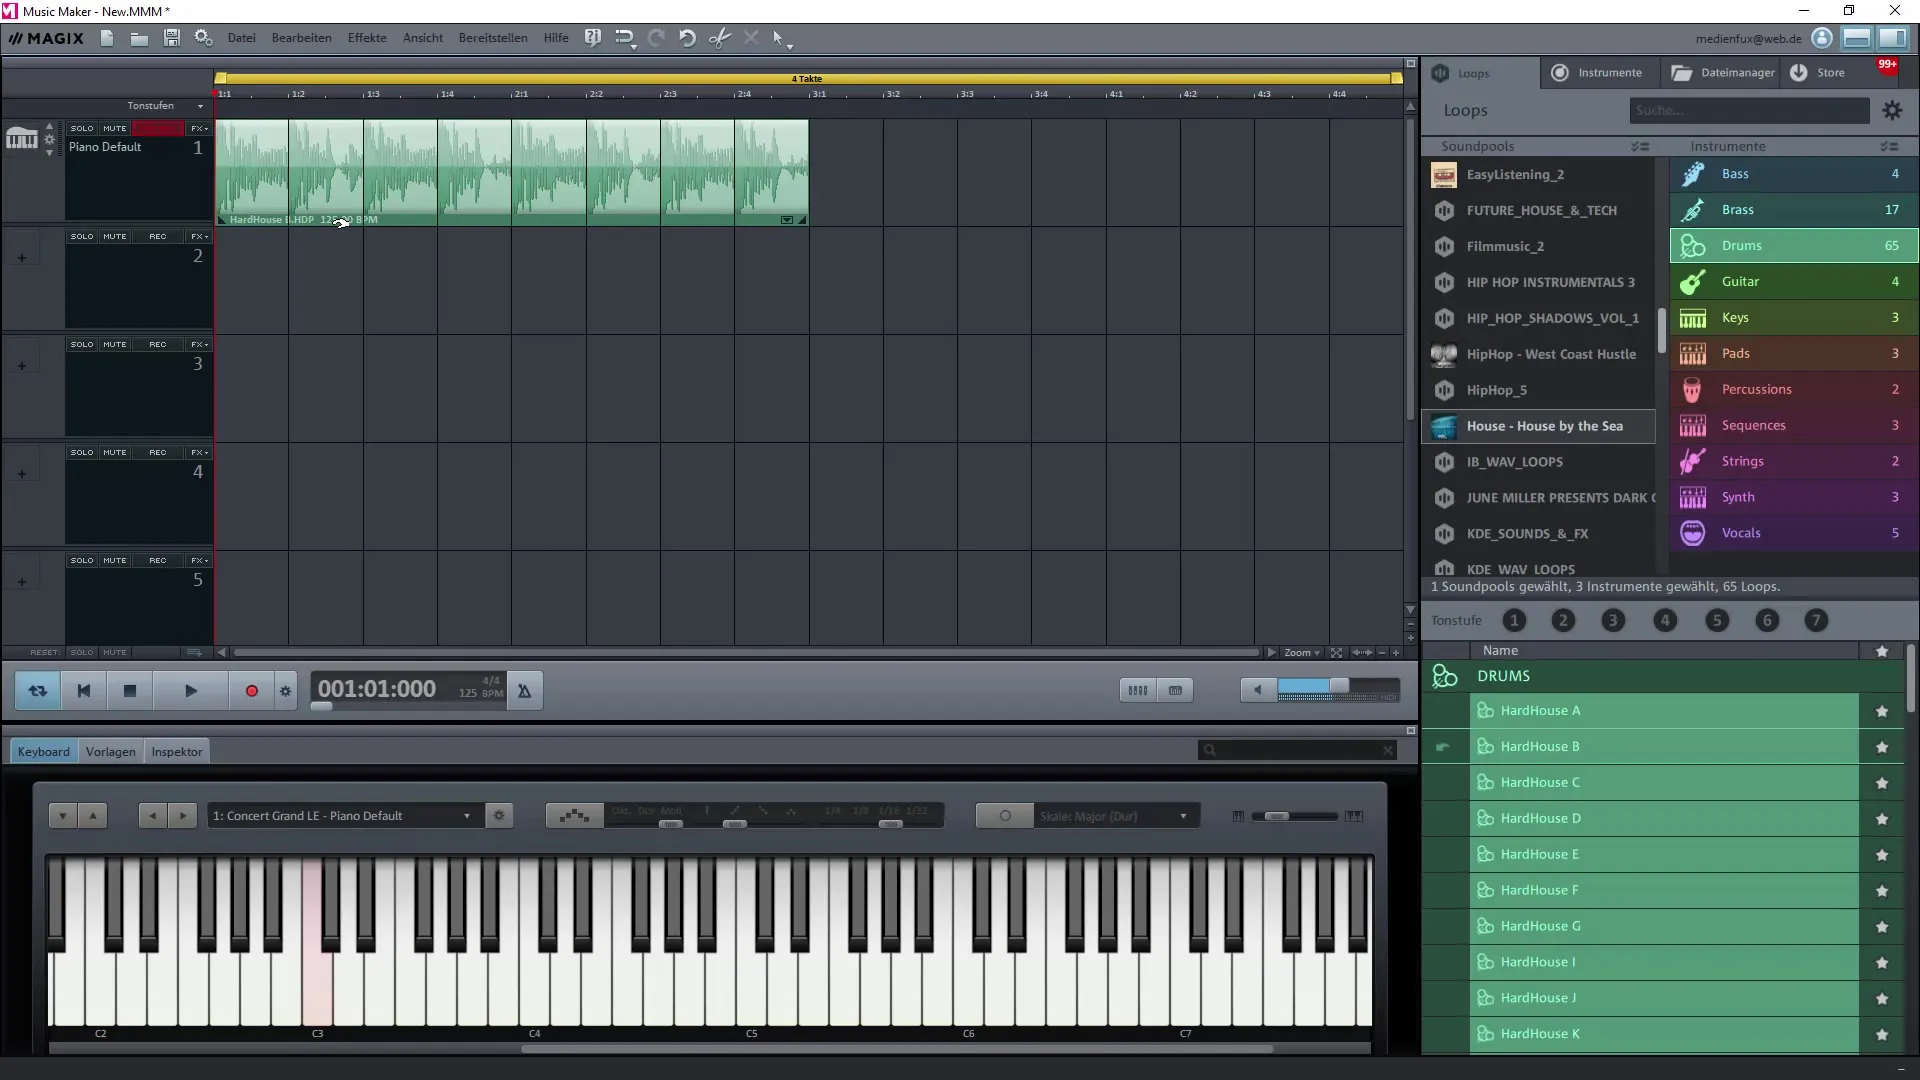
Select a sample from the soundpool and drag-and-drop it into your editing track. This allows you to choose the right sound for your project and adjust the BPM. If your sample has a different BPM, it will automatically be adjusted in your project.
4. Adjusting BPM
Magix allows you to quickly adjust the BPM of your project. Click on the BPM display and select the desired speed. The samples will be recalculated accordingly, helping you achieve the desired sound.
5. Expanding Sounds
Take advantage of the opportunity to purchase additional samples and integrate them into your soundpool. The options in the settings allow you to display various audio files, including the BPM, giving you a better overview of your sounds.
6. Editing Tracks
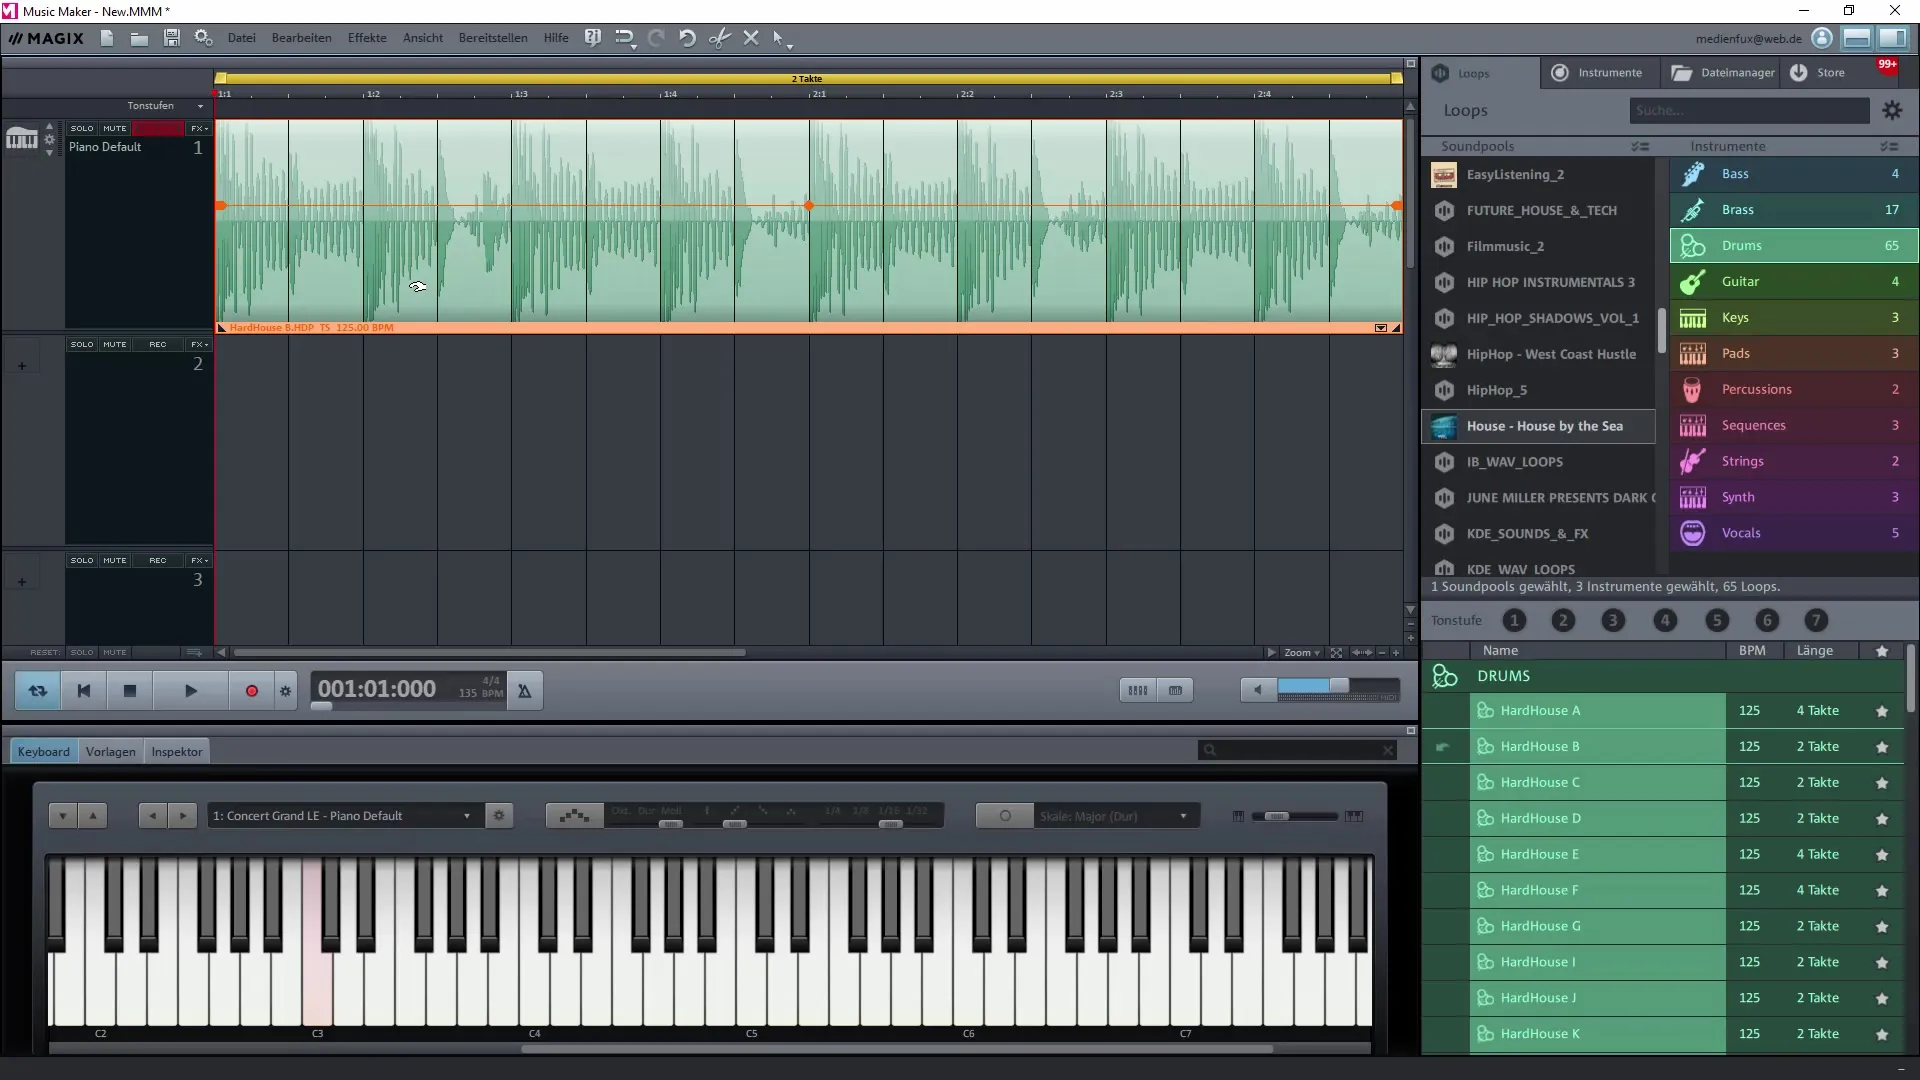
You can adjust the individual tracks by regulating the volume and creating transitions by changing the handles or ends of the samples. This allows you to smoothly adjust the volume curves.
7. Trimming or Duplicating Samples
A useful feature is that you can trim or duplicate samples. Hold down the control key while dragging the sample to create a copy. This is especially useful when you want to use different parts of the same sample in your project.
8. Fine-tuning with Grid and Zoom
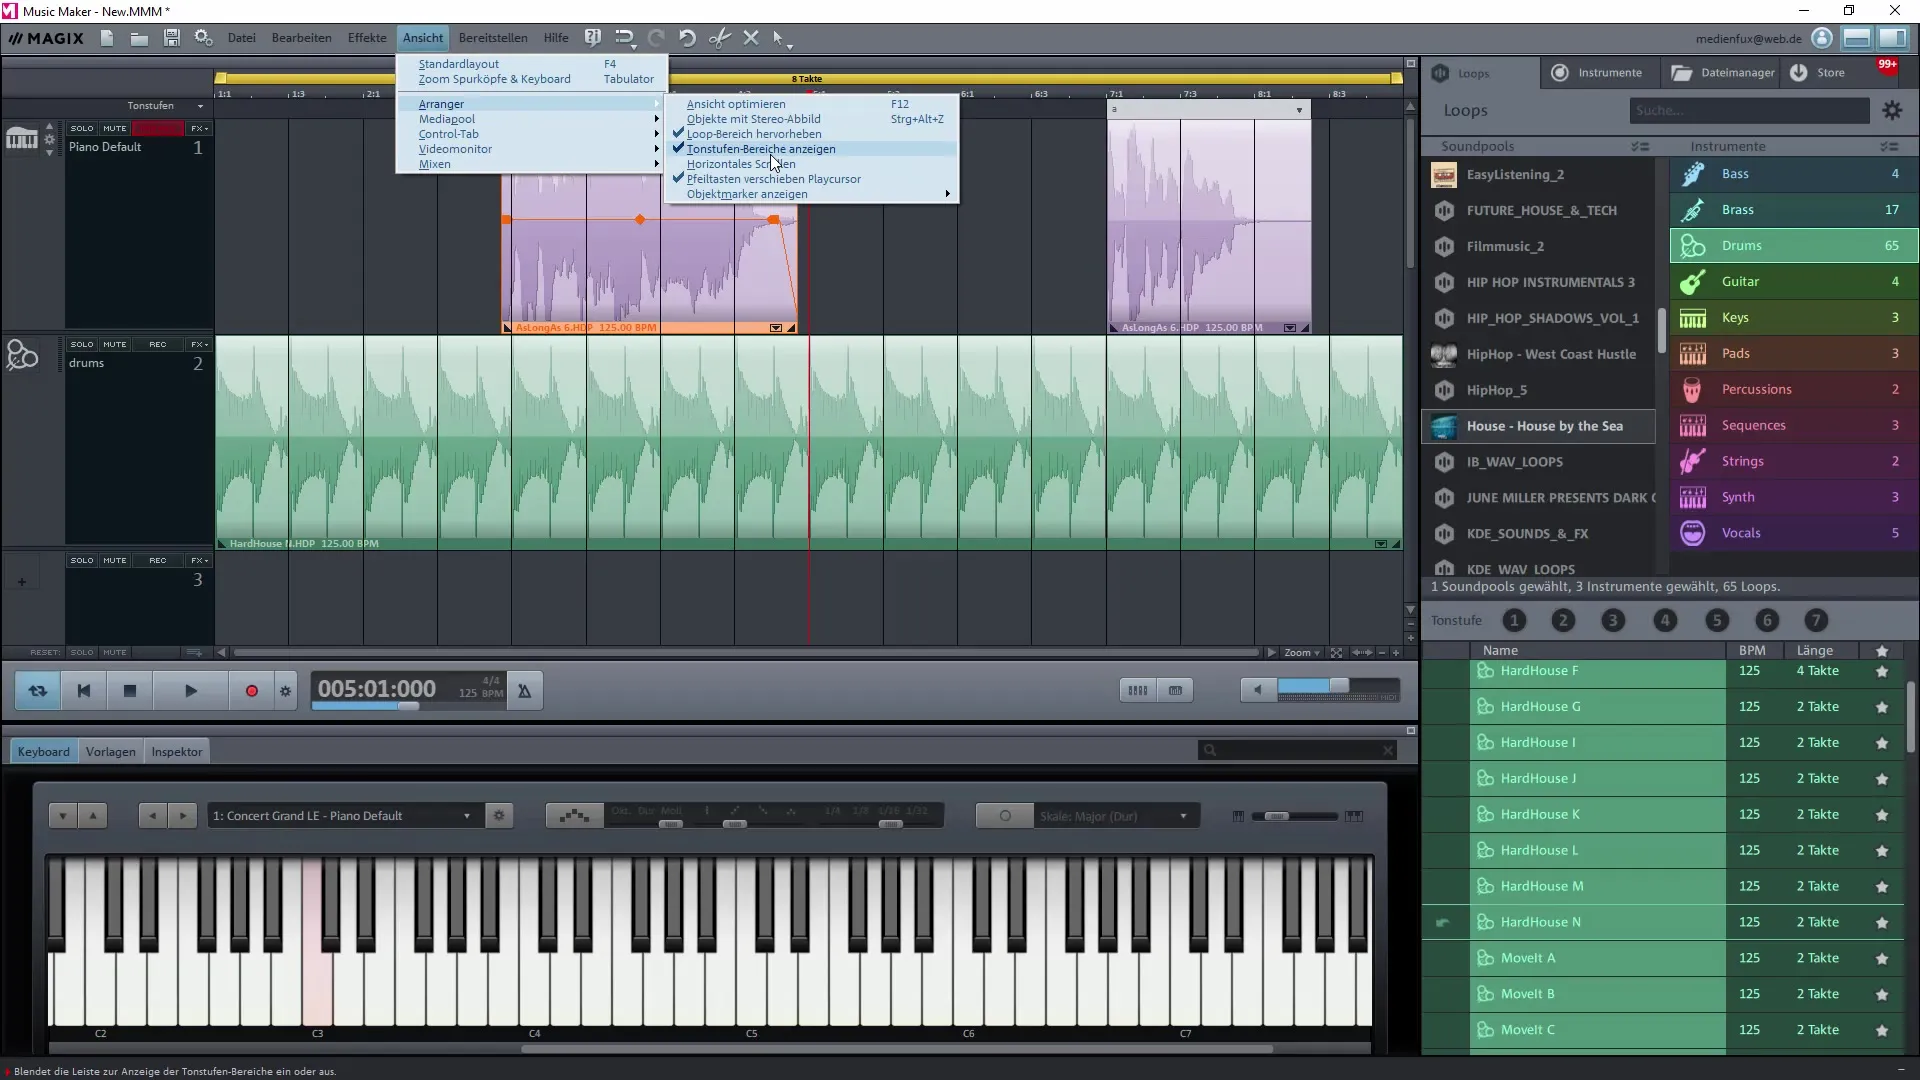
To adjust the exact positioning of your samples precisely, you can use the grid. Go to the view and select the desired bar limit so that your samples are placed exactly. You may need to zoom in to capture the smallest details.
9. Applying Effects
Adding effects is a creative process that gives your project more depth. You can try different presets for your sounds and adjust the audio settings as desired.
Summary – Music Production Made Easy: First Steps with Magix Music Maker
In this guide, you learned how to start Magix Music Maker, load projects, import samples, adjust the BPM, and edit your music with effects and volume adjustments. With each new feature you master, your creative freedom in music production will grow.
Frequently Asked Questions
How do I load a demo project?You open the program and select the option "Load Demo Project."
How can I change the BPM of my project?Click on the BPM display and select the desired speed.
Can I save my projects?Yes, you can save your projects at any time via "File" and "Save Project."
What effects can I use in Magix Music Maker?You can add and adjust various audio effects through the user interface.
Where can I find additional samples?Additional samples can be purchased in the Magix Music Maker store.


